First off, wishing you all the seasons greetings and best for 2022.
Phawk me its been long, but we’re here - just keep on keeping on…
now dont go thinking I’m complaining or anything or even having a bit of a whinge, I fully appreciate what the devs have done bringing us 3.8 (and the various folks on youtube who teach us how to use it), but I’ve been having a couple of issues -
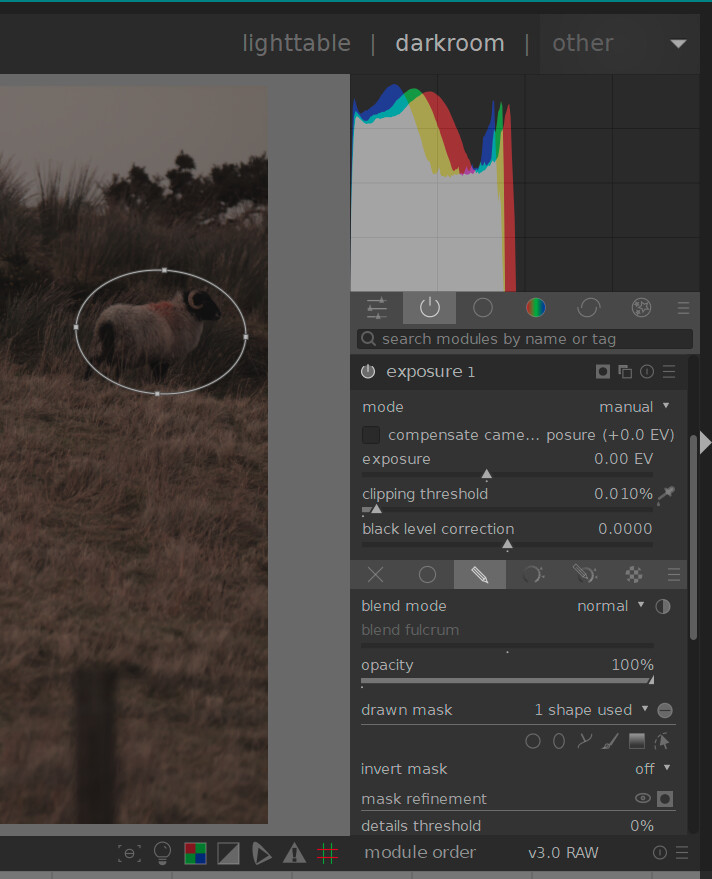
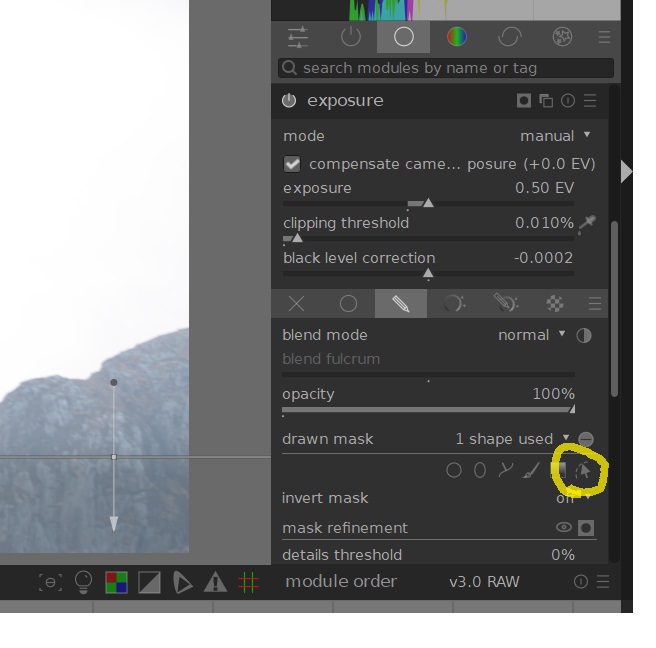
specific to 3.8 - the mask show / hide thingy (pointer with dotted arc) stays greyed out when I pull a mask onto the image meaning I have to click that thingy TWICE!!! to make the mask go away.
I might be wrong but I’m writing about it and its bugging the ahh bits offa me but didnt that light up before?
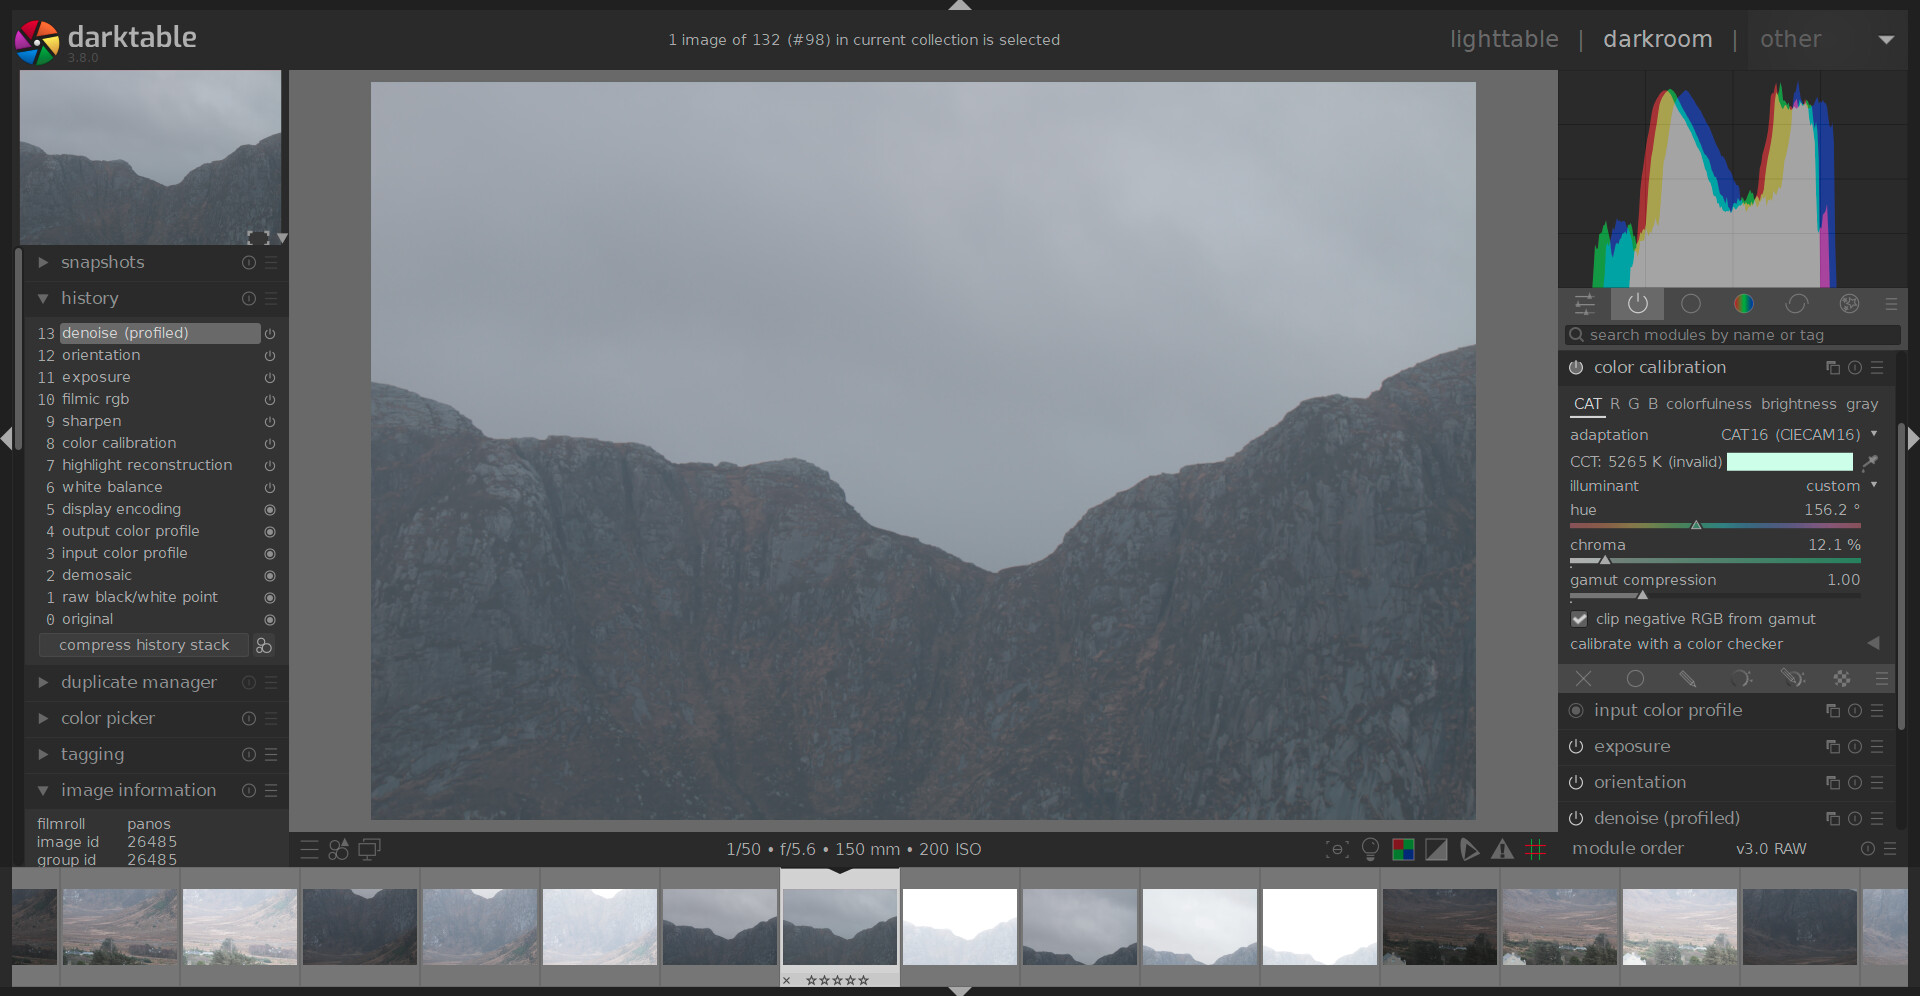
RAW from camera into windoze - fine.
Window$ into DT lighttable - fine.
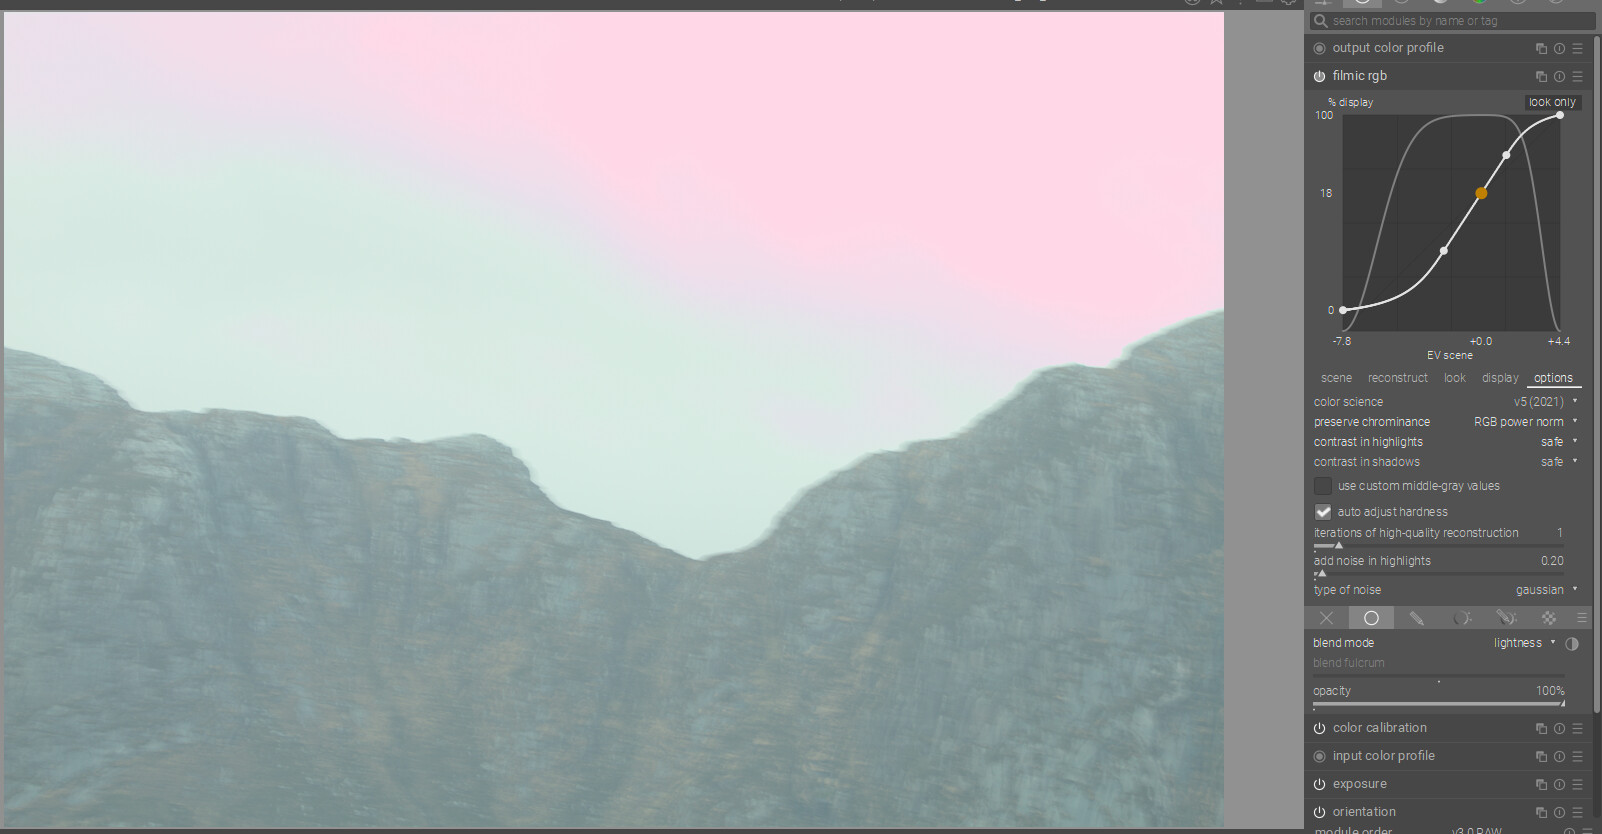
Click on (overexposed) image in darkroom - eek!!! (BTW blur’s all me - windy day and one of Uncle Jeffs cheapo tripods)
No edits performed, just opened it up in darkroom and exported.
Modern scene referred workflow like all good boys and girls.
Later tried colour calibration CAT16 with -
various colour picker points & areas - nope
various illuminants - nope
RGB - nope, but no expert either
Had some, well wont call it success, with colour zones but results were meh
Could probably have had it sorted in less time to write this verbage but figured it much easier to put it out there and blag your .xmps…
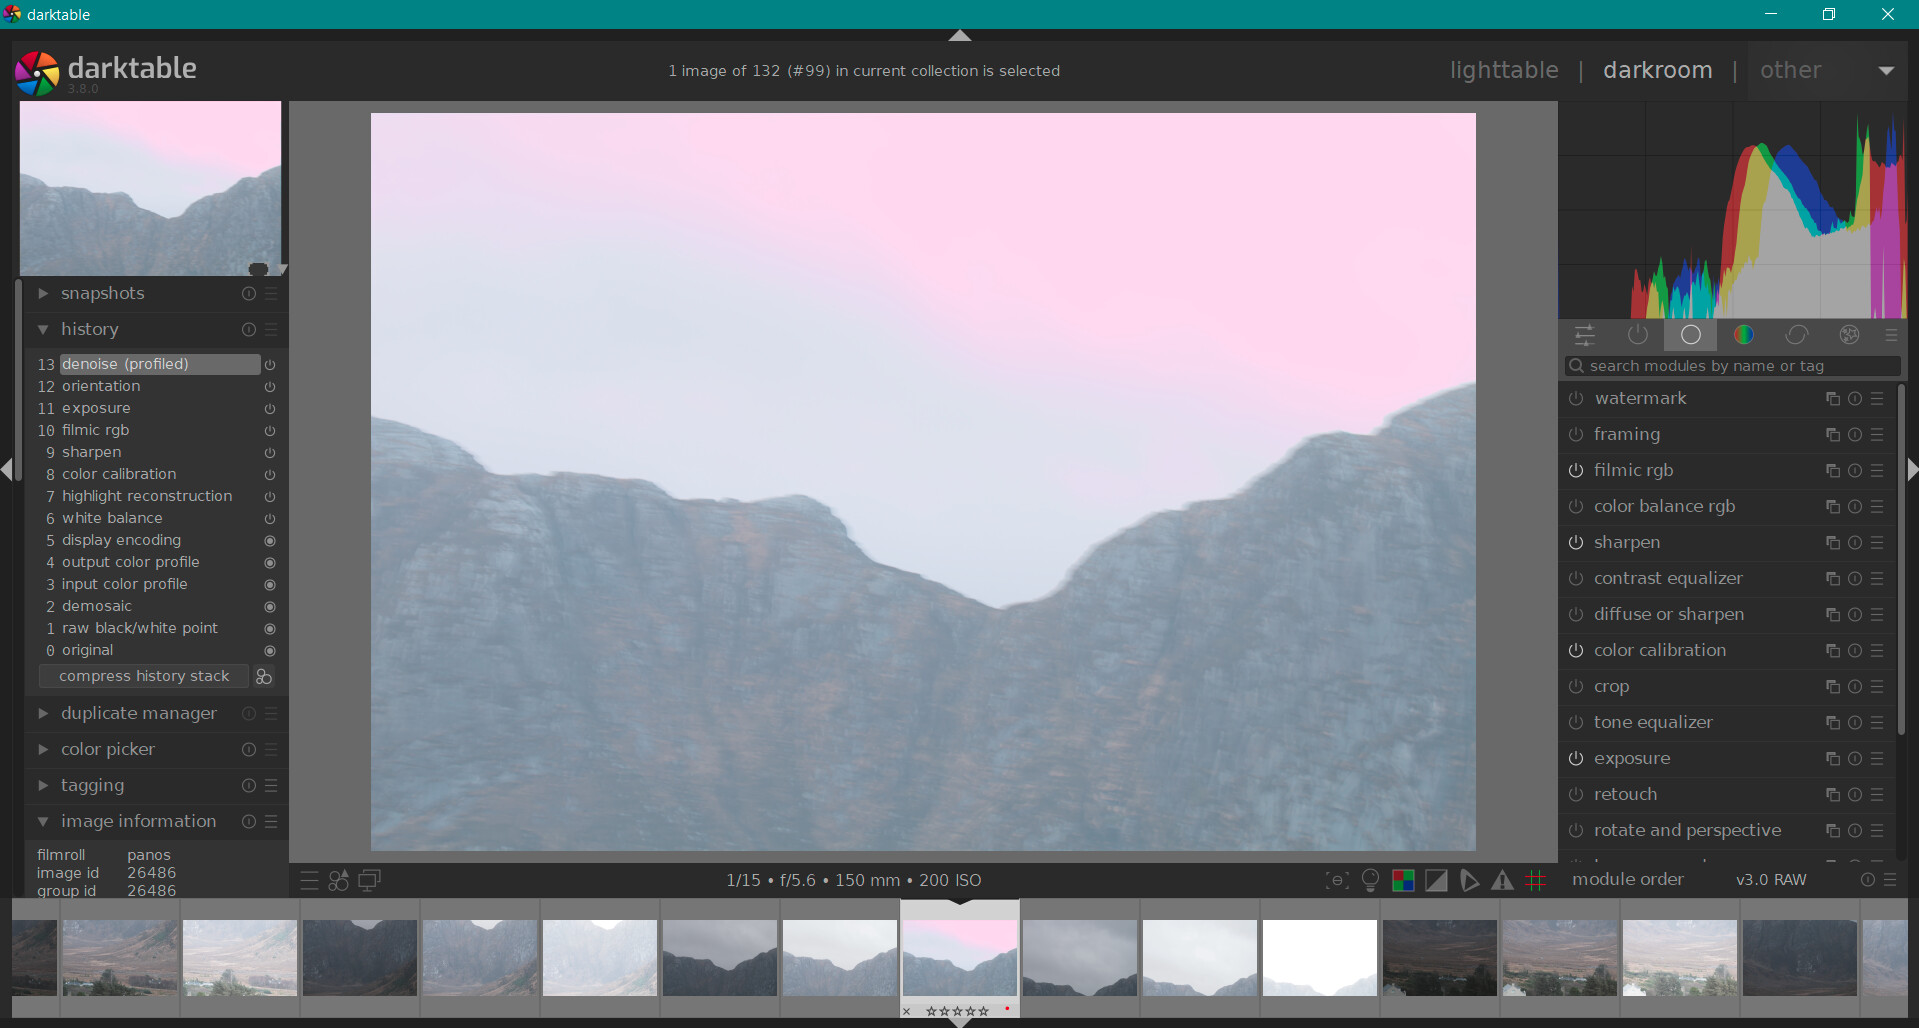
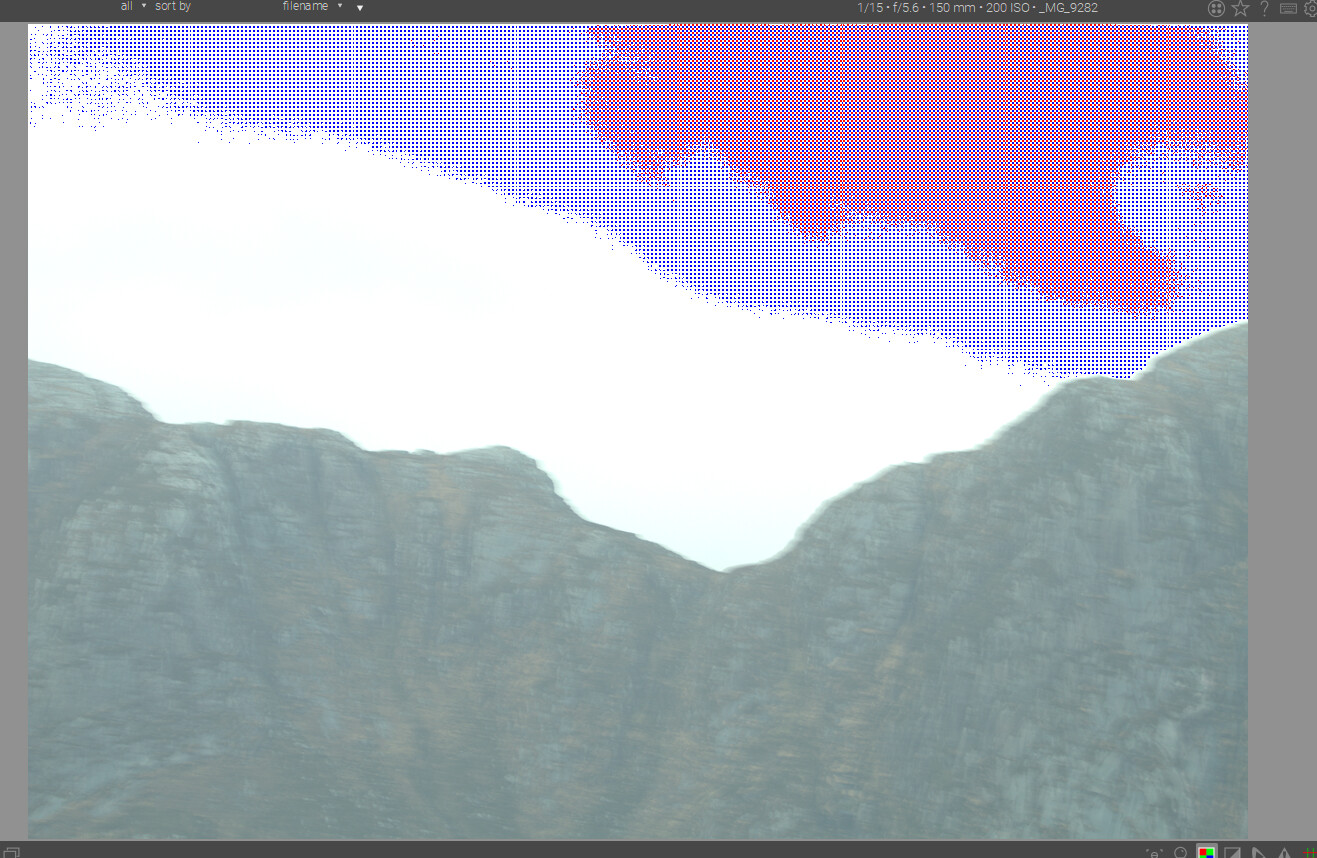
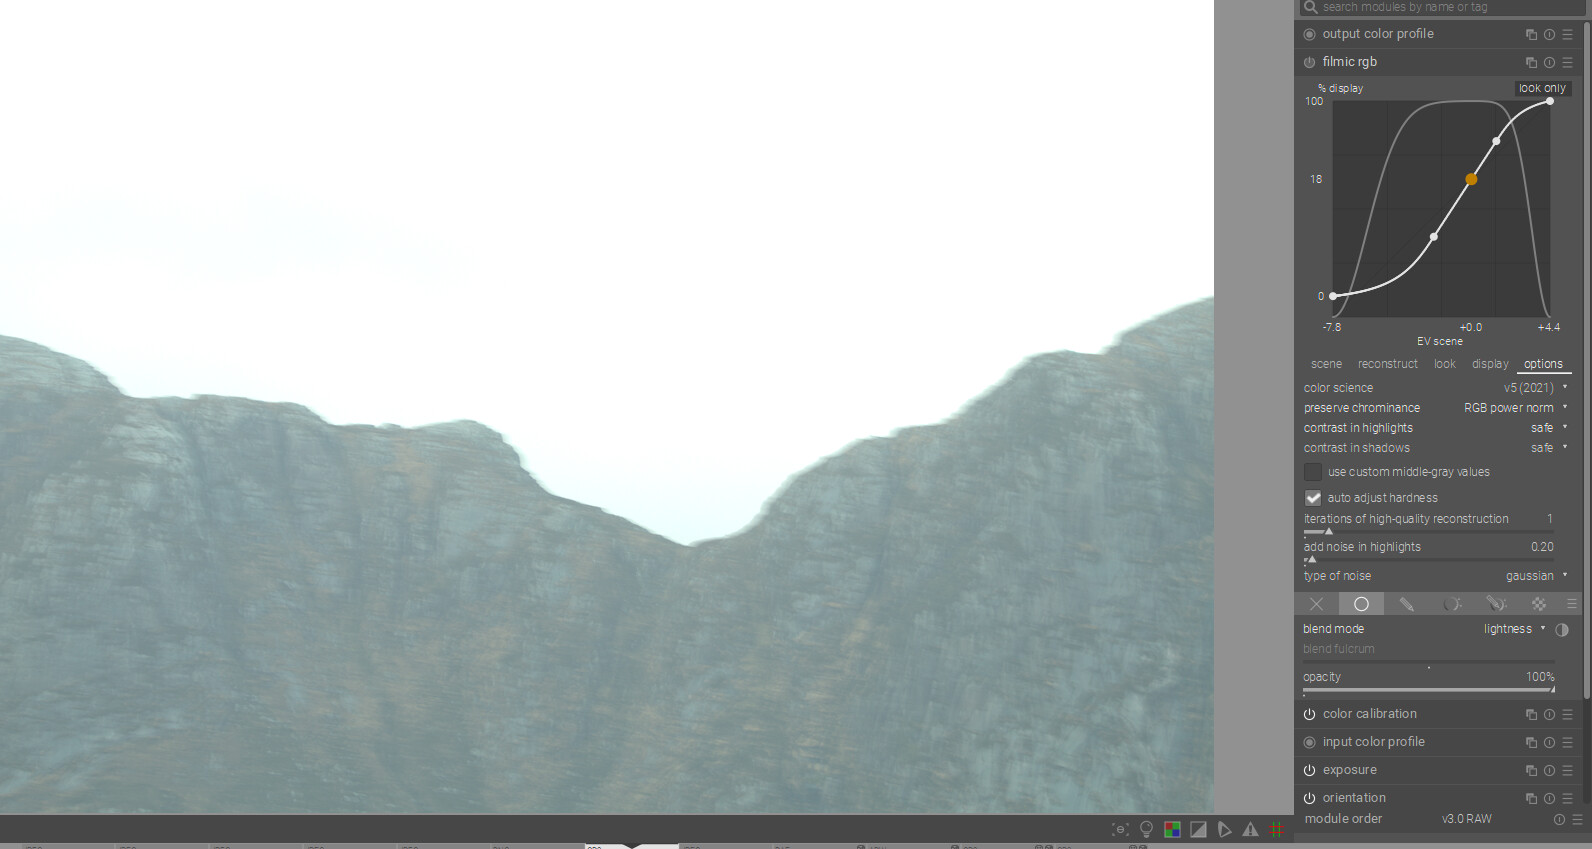
If you turn on the raw overexposed warning you can see that that area is blown…it looks fine initially as your preview is the embedded jpg. When you pull it in to edit and you see the raw file it shows the blown area…this is being amplified by filmic…if you turn filmic off it goes away so it is how filmic is handling this blown area…
I’m not sure what you mean by “pull a mask” but I think this is on purpose and its purpose is clearer when you have a mask with multiple shapes. If you place shapes one at a time, the last shape you placed (and only that shape) is visible immediately after you place it (so that you can adjust it if needed) but any previously-placed images are not visible. If you click the “mask show/hide thingy” once, you will also see all the other shapes you have placed. Clicking it a second time hides all shapes.
I was about to say just that as for example a brush mask can get very complex with many nodes and if it overlaps other drawn elements it can be difficult to manipulate them…I think this has been the case for some time I thought it was in 3.6 but maybe not, maybe it has just been in the master for a while???
Hi, thanks for that.
figured it would be something simple. Also pulling white relative exposure down from 4ish to 3ish works too (and dynamic range scaling…)
So the pink wasnt a colour issue but a (blown) highlight issue
better go read the documentation, again, and take notes…
I understood what you were referring to but maybe I wasn’t clear in my response. The gradient shape is shown on the image because you just placed it. If you were next to place, say, a circle, then the circle shape would be shown on the image and the gradient shape would be hidden. The drawn mask indicator button is only activated when all shapes are shown, which usually only happens when you manually click the indicator to show them. I believe there were some cases in the past when it was activated in error but I can’t recall when this was fixed.
When you blow out the green channel for example then usually you get pinkish hues in the blown highlights there are several ways to try and recover what you can but when its missing raw data…results won’t be fantastic…
OP had highlight reconstruction enabled (step #7 in the history stack), so there shouldn’t have been any magenta highlights, I think. Maybe the camera white point is wrong?
Of course, if that module is disabled, then one has to deal with clipped raw files in some other way (filmic etc.).