FYI I haven’t found any LUTs that I like for Darktable. I use LUTs in KDenLive for converting from Apple log video to a nice color space (rec 709 with optional extra color grading).
Although I love my X-T2, I don’t shoot for Fuji film sims, I prefer my own processing of the RAW. However, sometimes I want to go for a fun look, like this shot of yours, (and being lazy) I’d just slap a 3DLUT in.
Fuji film sims are very nicely crafted, highlights (especially bright LED spots) are very well controlled and smooth, shadows are just punchy enough yet still has details. Depending on your subject, different film sims are tuned for different skin tones, too.
A note to everyone here: Thank you very much. This exercise has opened my eyes to a variety of ways to render an image and a vision. My love for photography is now fully rekindled, and I can’t thank you enough.
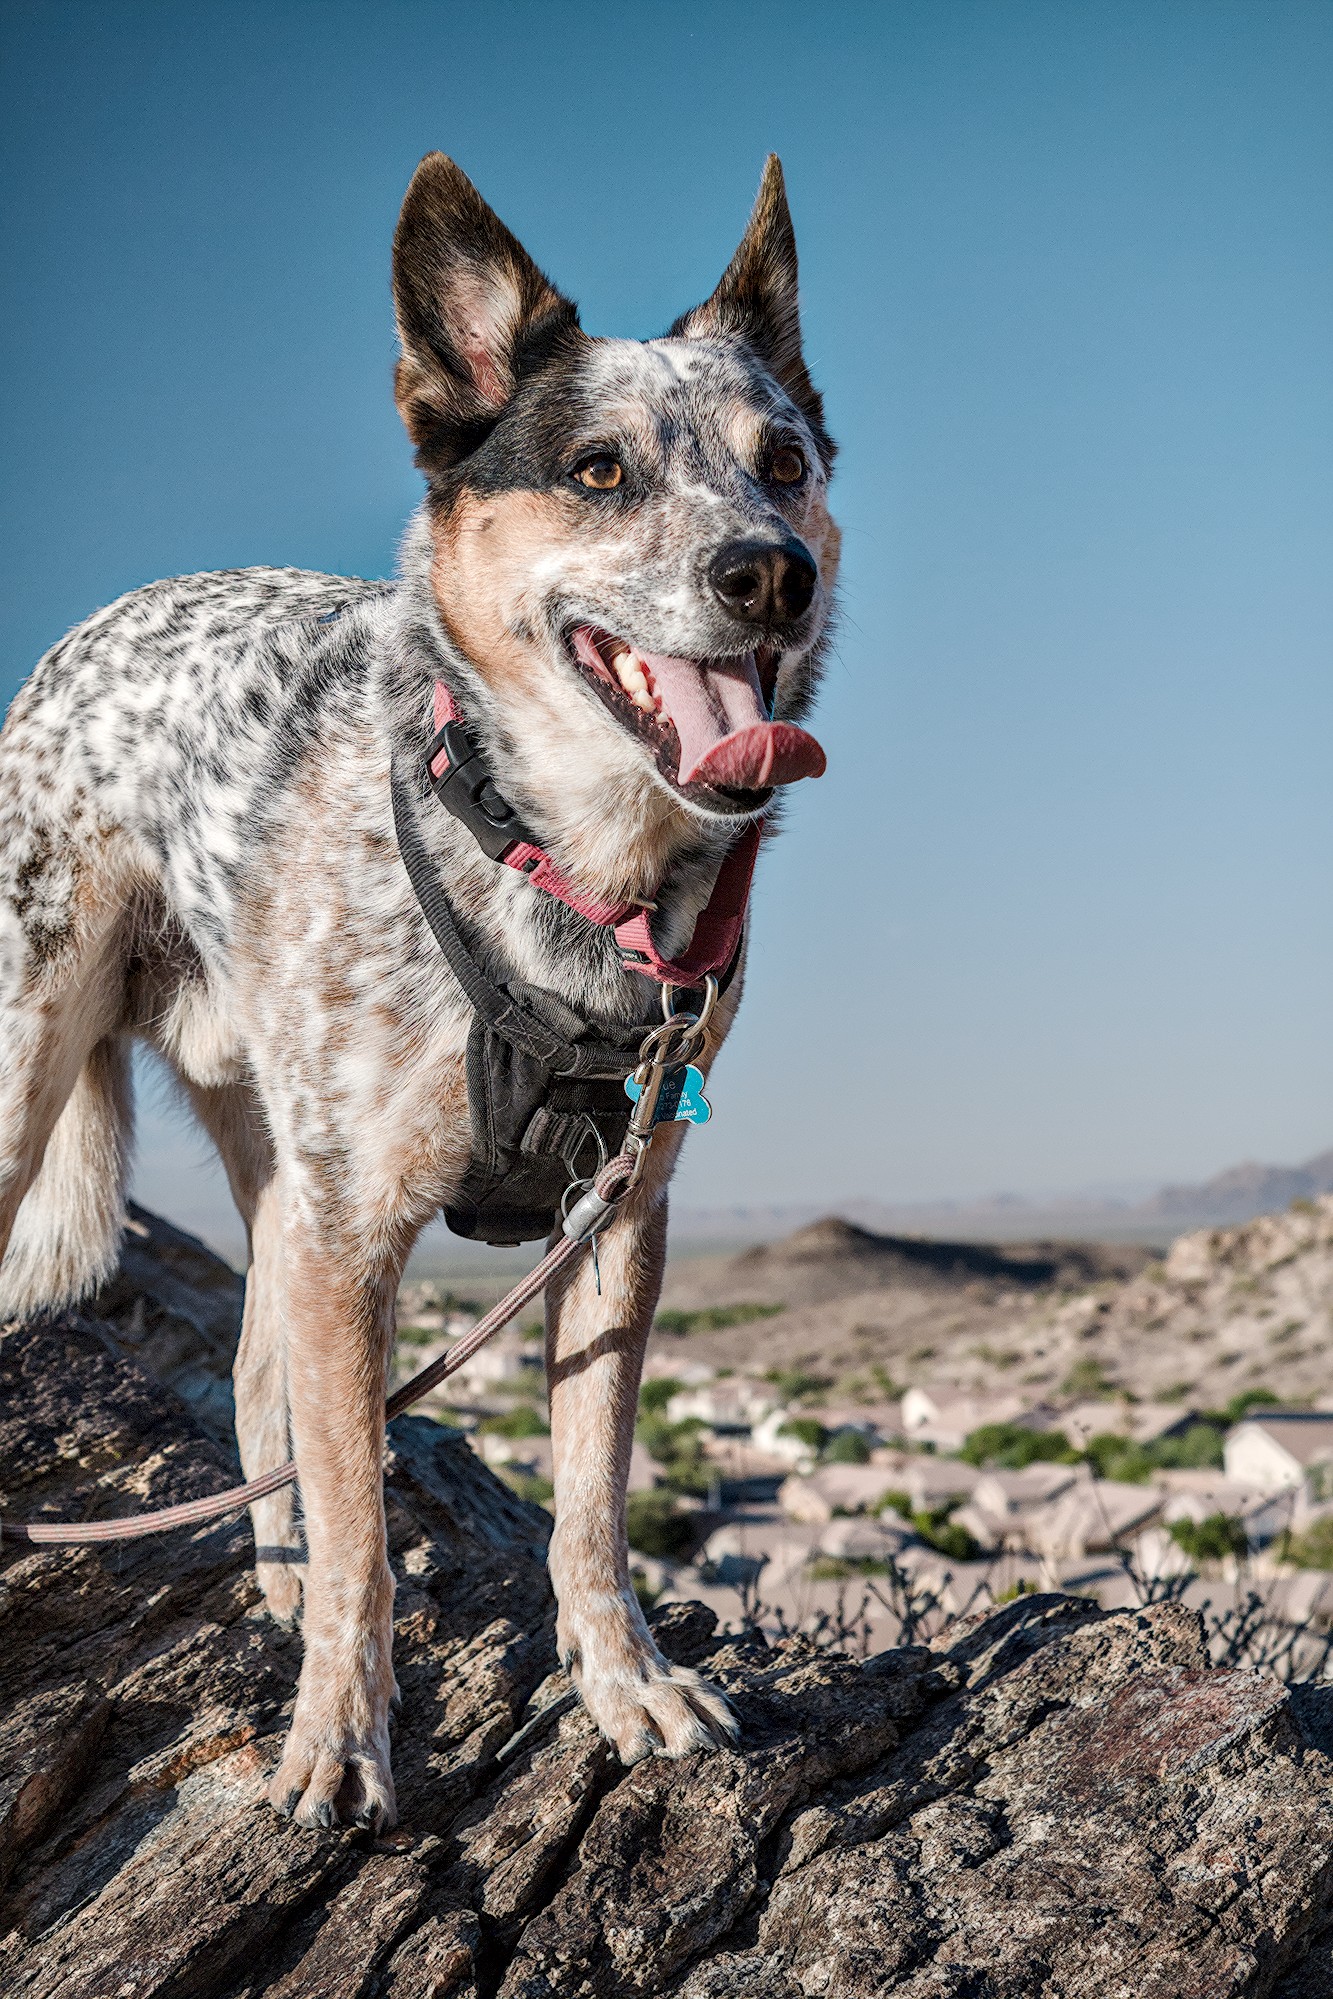
Ya I have a preset I sometimes use and I rarely use it full strength usually 50 to 80 percent opacity…not sure what I used here…also I was playing with capture sharpening so I might have left that cranked up
Thanks again for the LUTs! I’ve been experimenting with these in DT on some iPhone JXL-HDR images, and for me it’s an interesting and easy way to change the look of the photos.
FYI This is how I’m recording and “converting” the iPhone images: JXL from DNG ProRaw
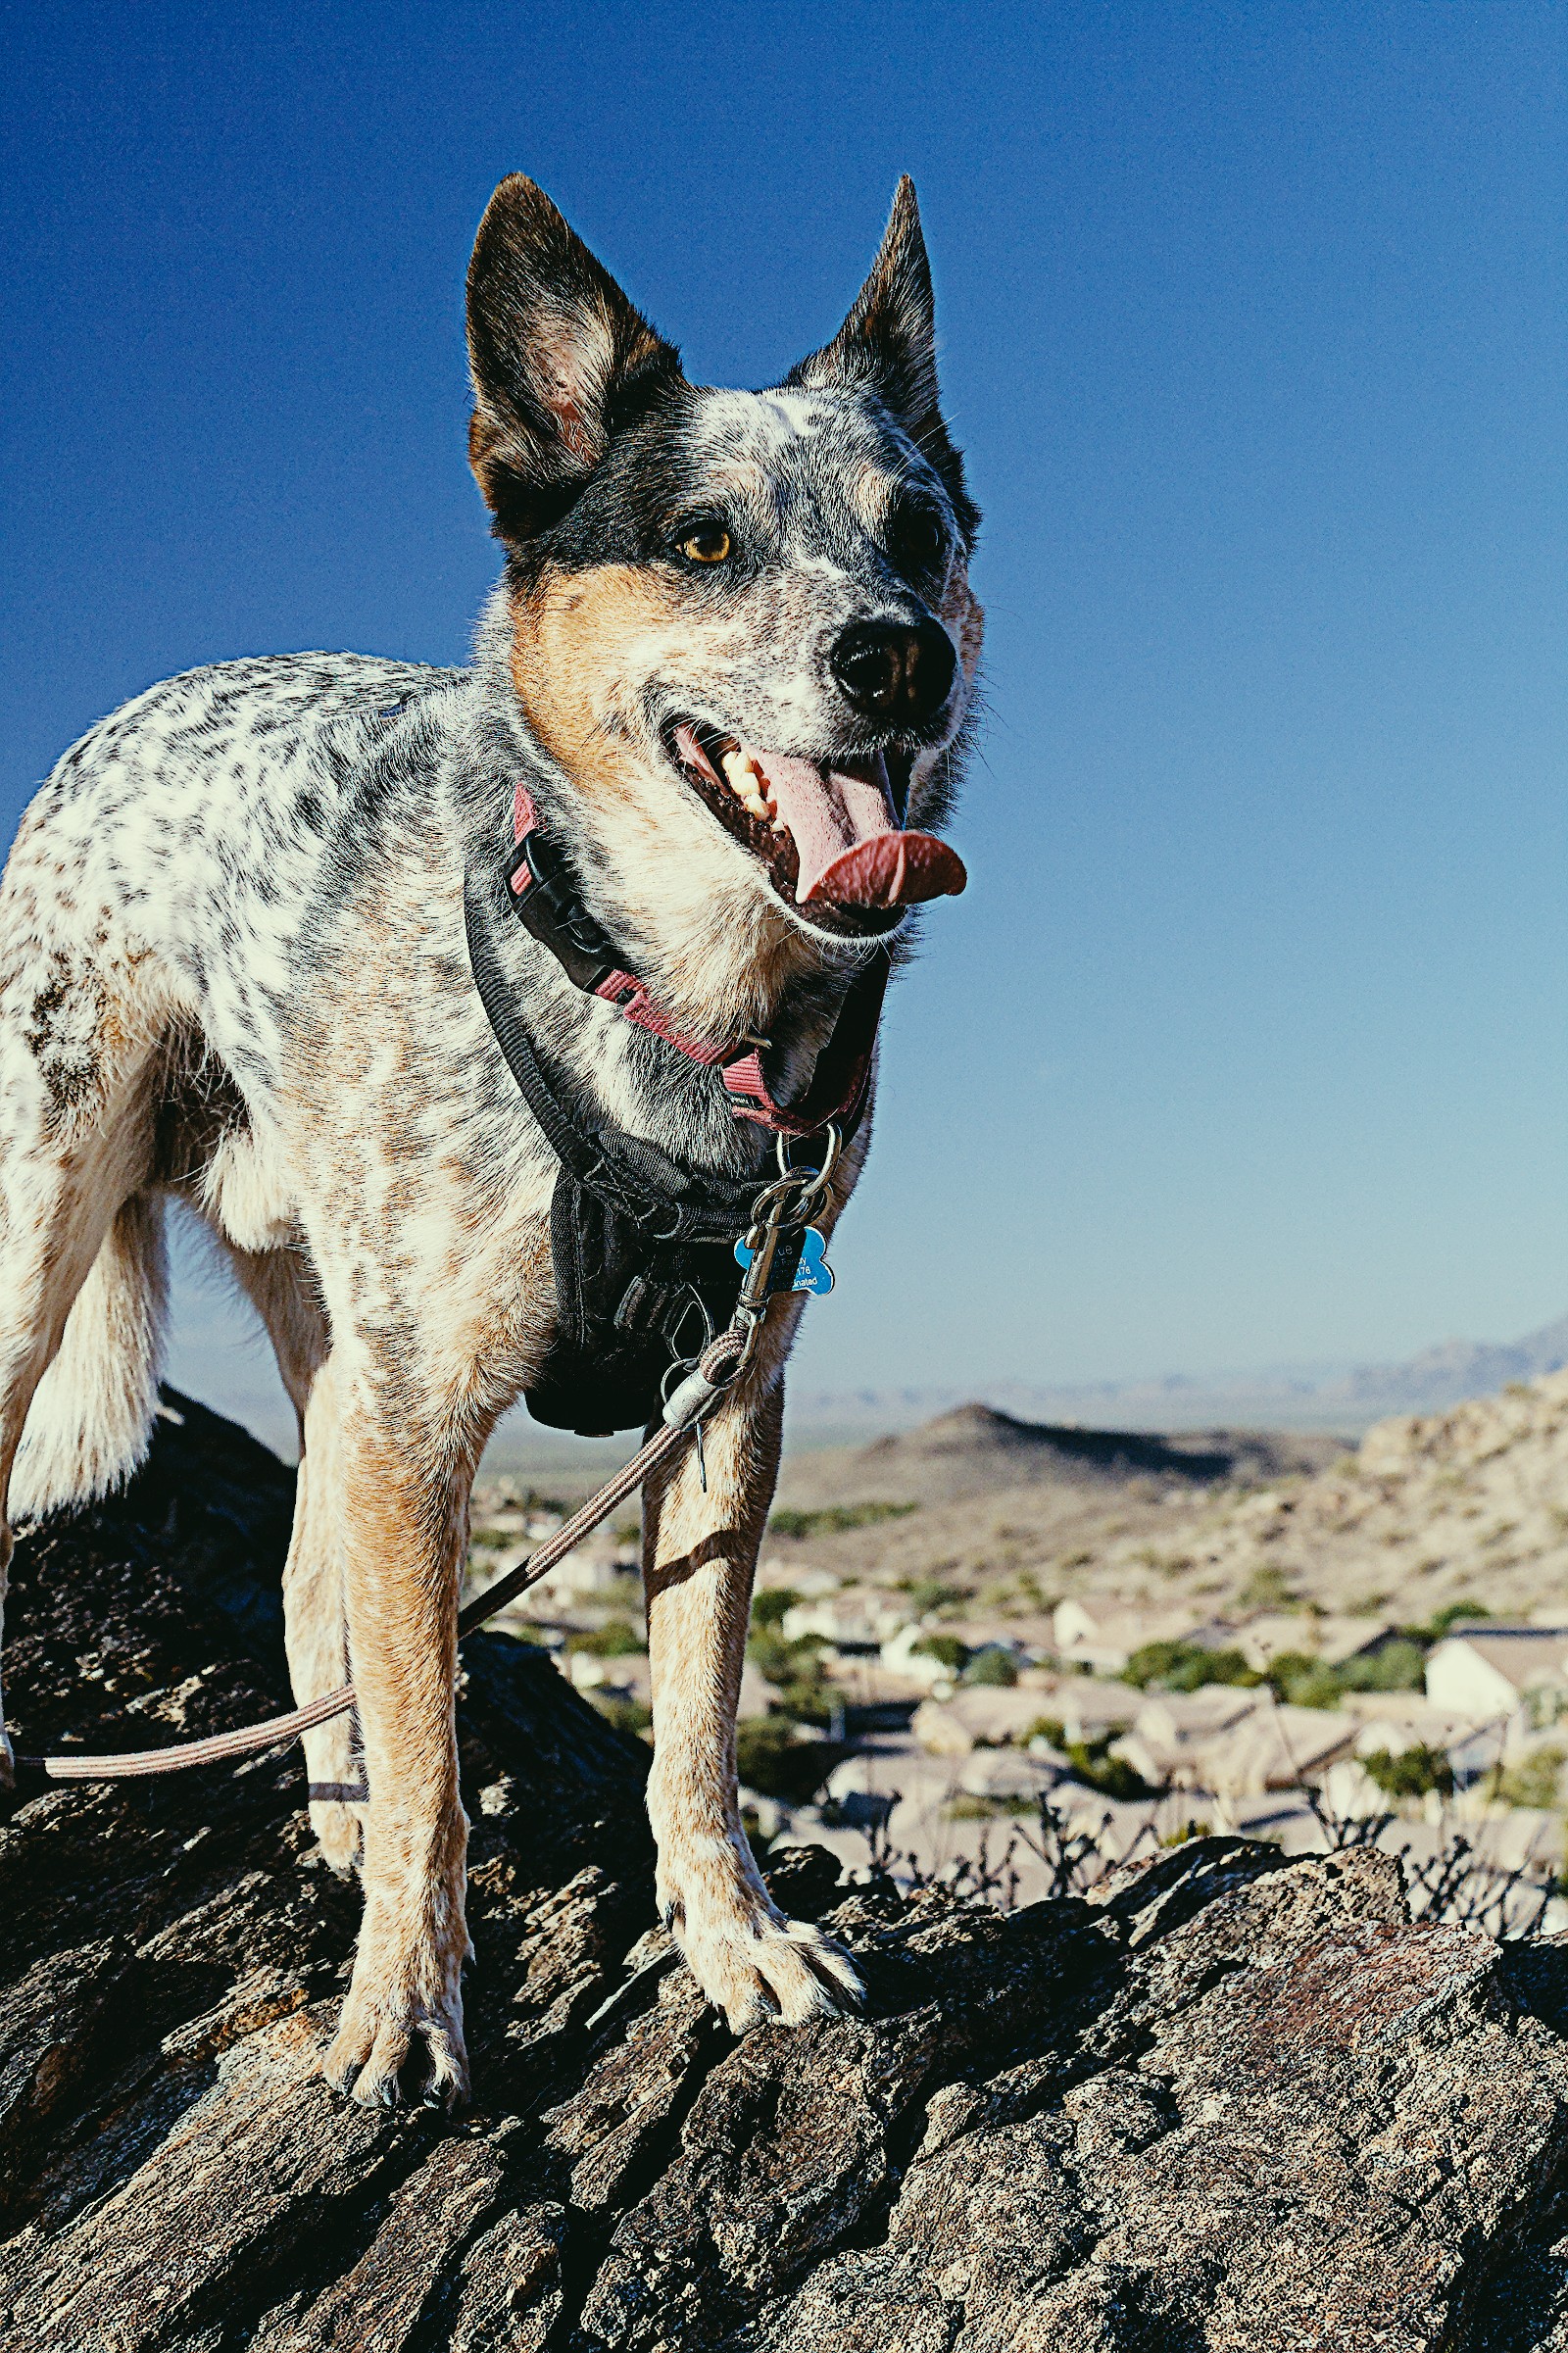
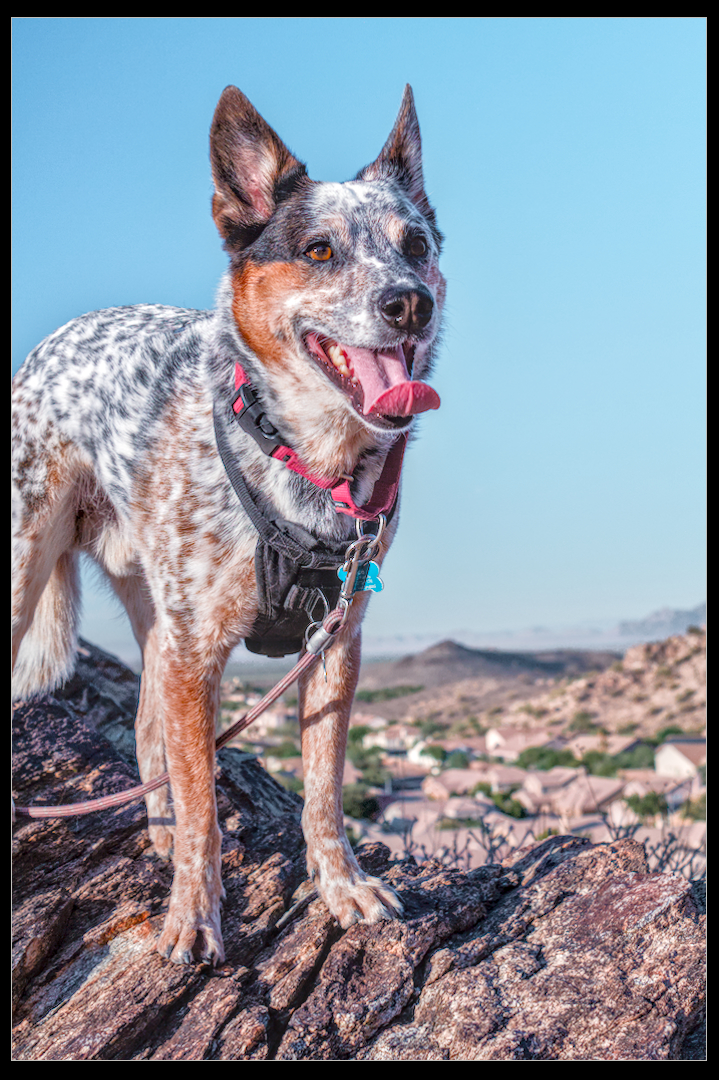
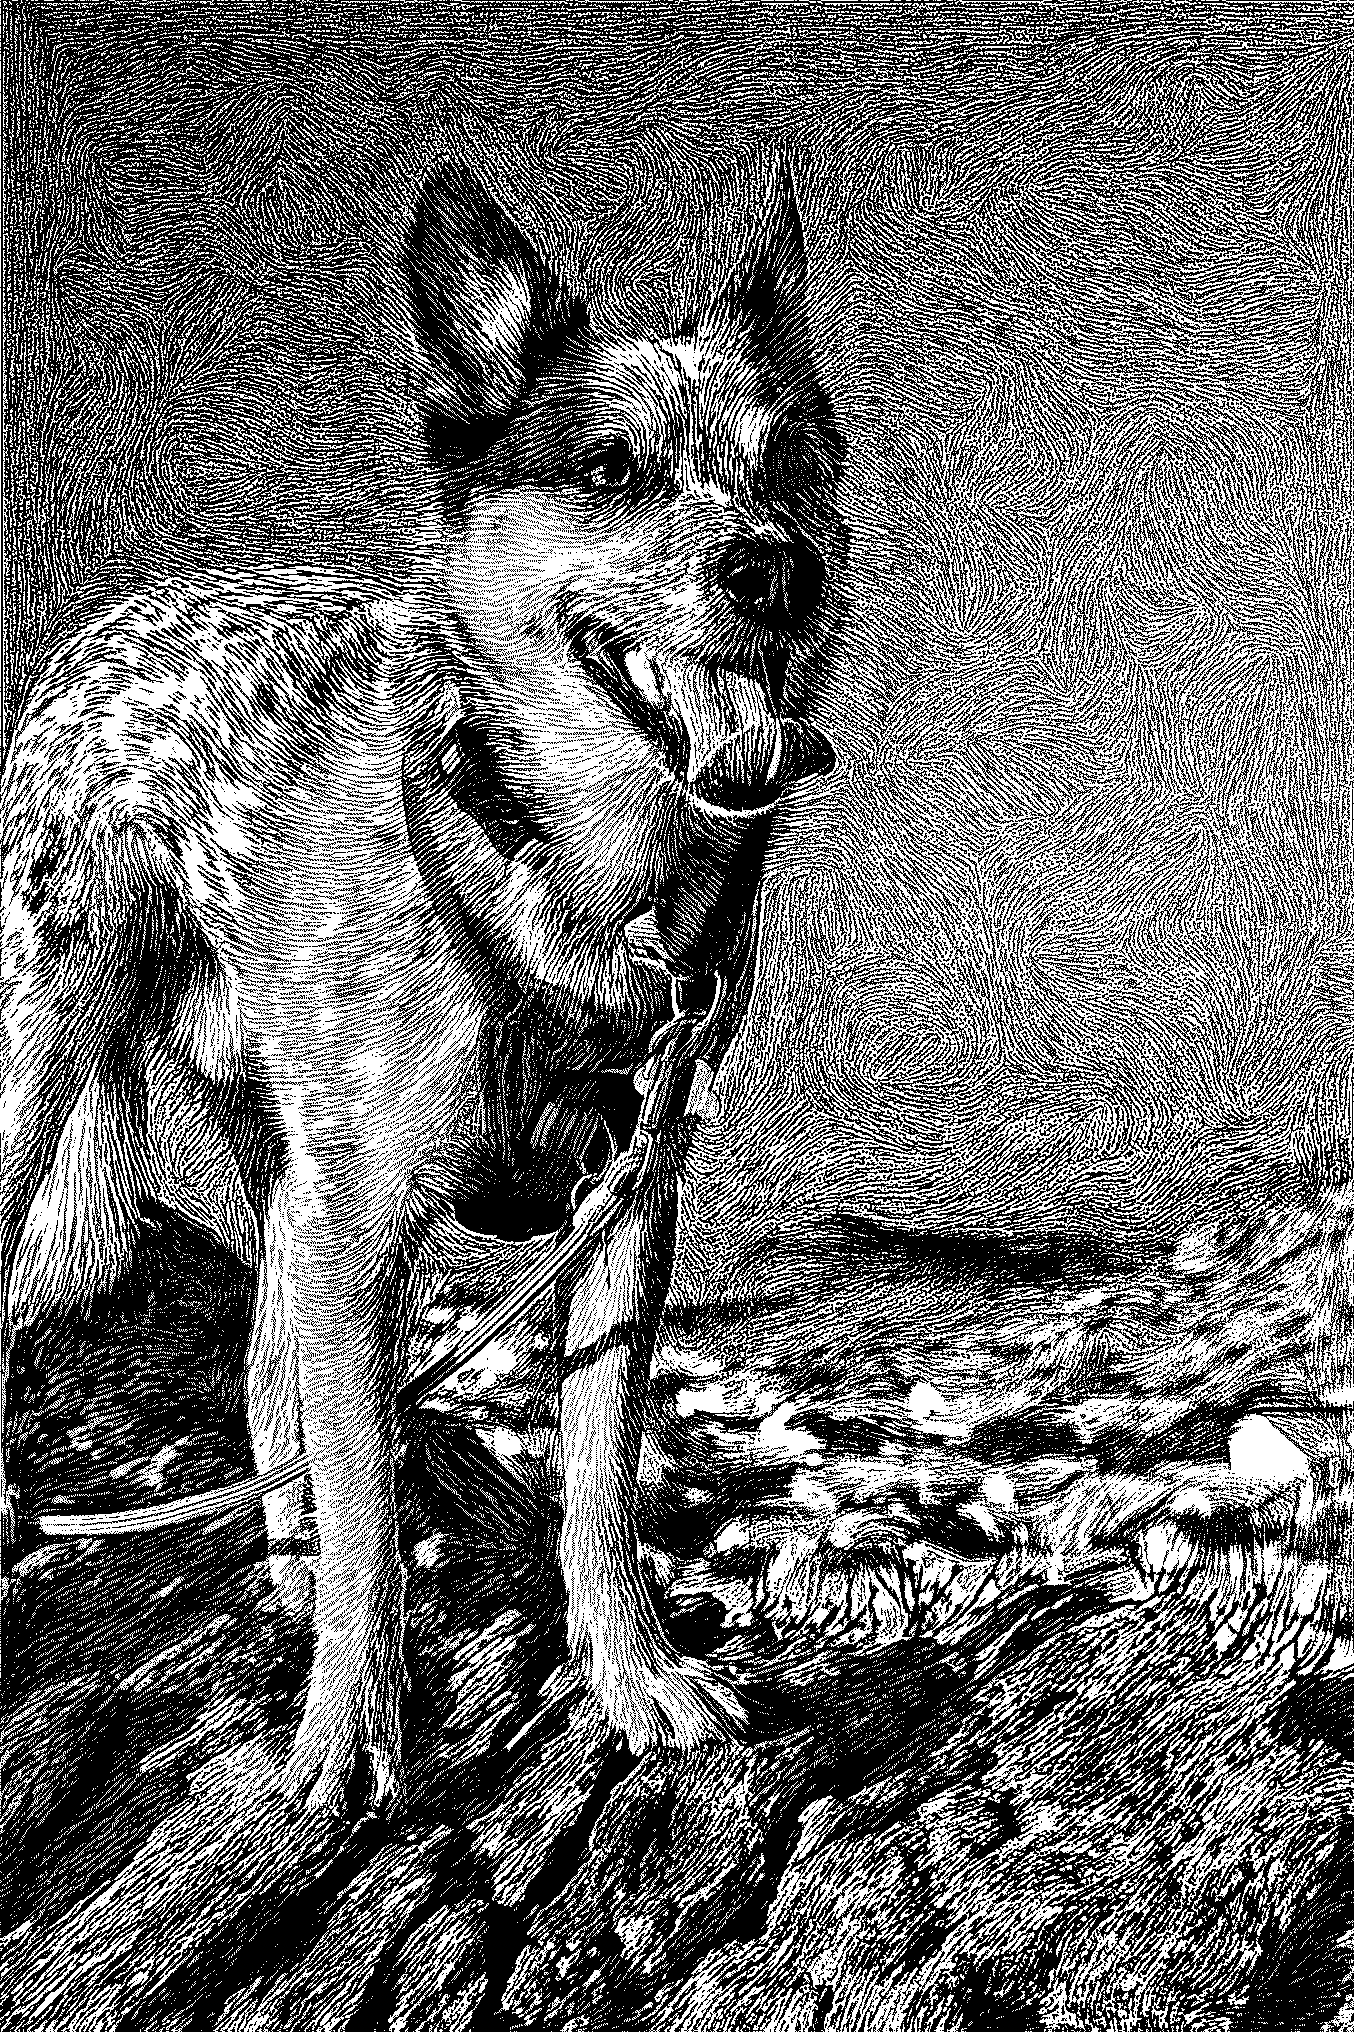
FWIW, I don’t think that a lot of lenses from the film era have this level of sharpness/detail. You can try getting rid of a bit of that with contrast equalizer or diffuse & sharpen, but frankly, I would just leave the photo as is, it is a great composition.
The final look of the LUT in DT is going to depend on where you place it in the pipeline and each lut is expecting a certain colorspace/gamma… it you use it with another one the results will vary…The lut module has a few choices to try to match the pipeline to the expected input for the lut but its limited and many many luts use log video to something like rec709 or the reverse and DT doesn’t support these log profiles… you can still get interesting and pleasing results by chance but they might also look nothing like a sample of the lut that you have seen… You might be able to do some editing of the Lut to make it work more as intended but its just something to be aware of…
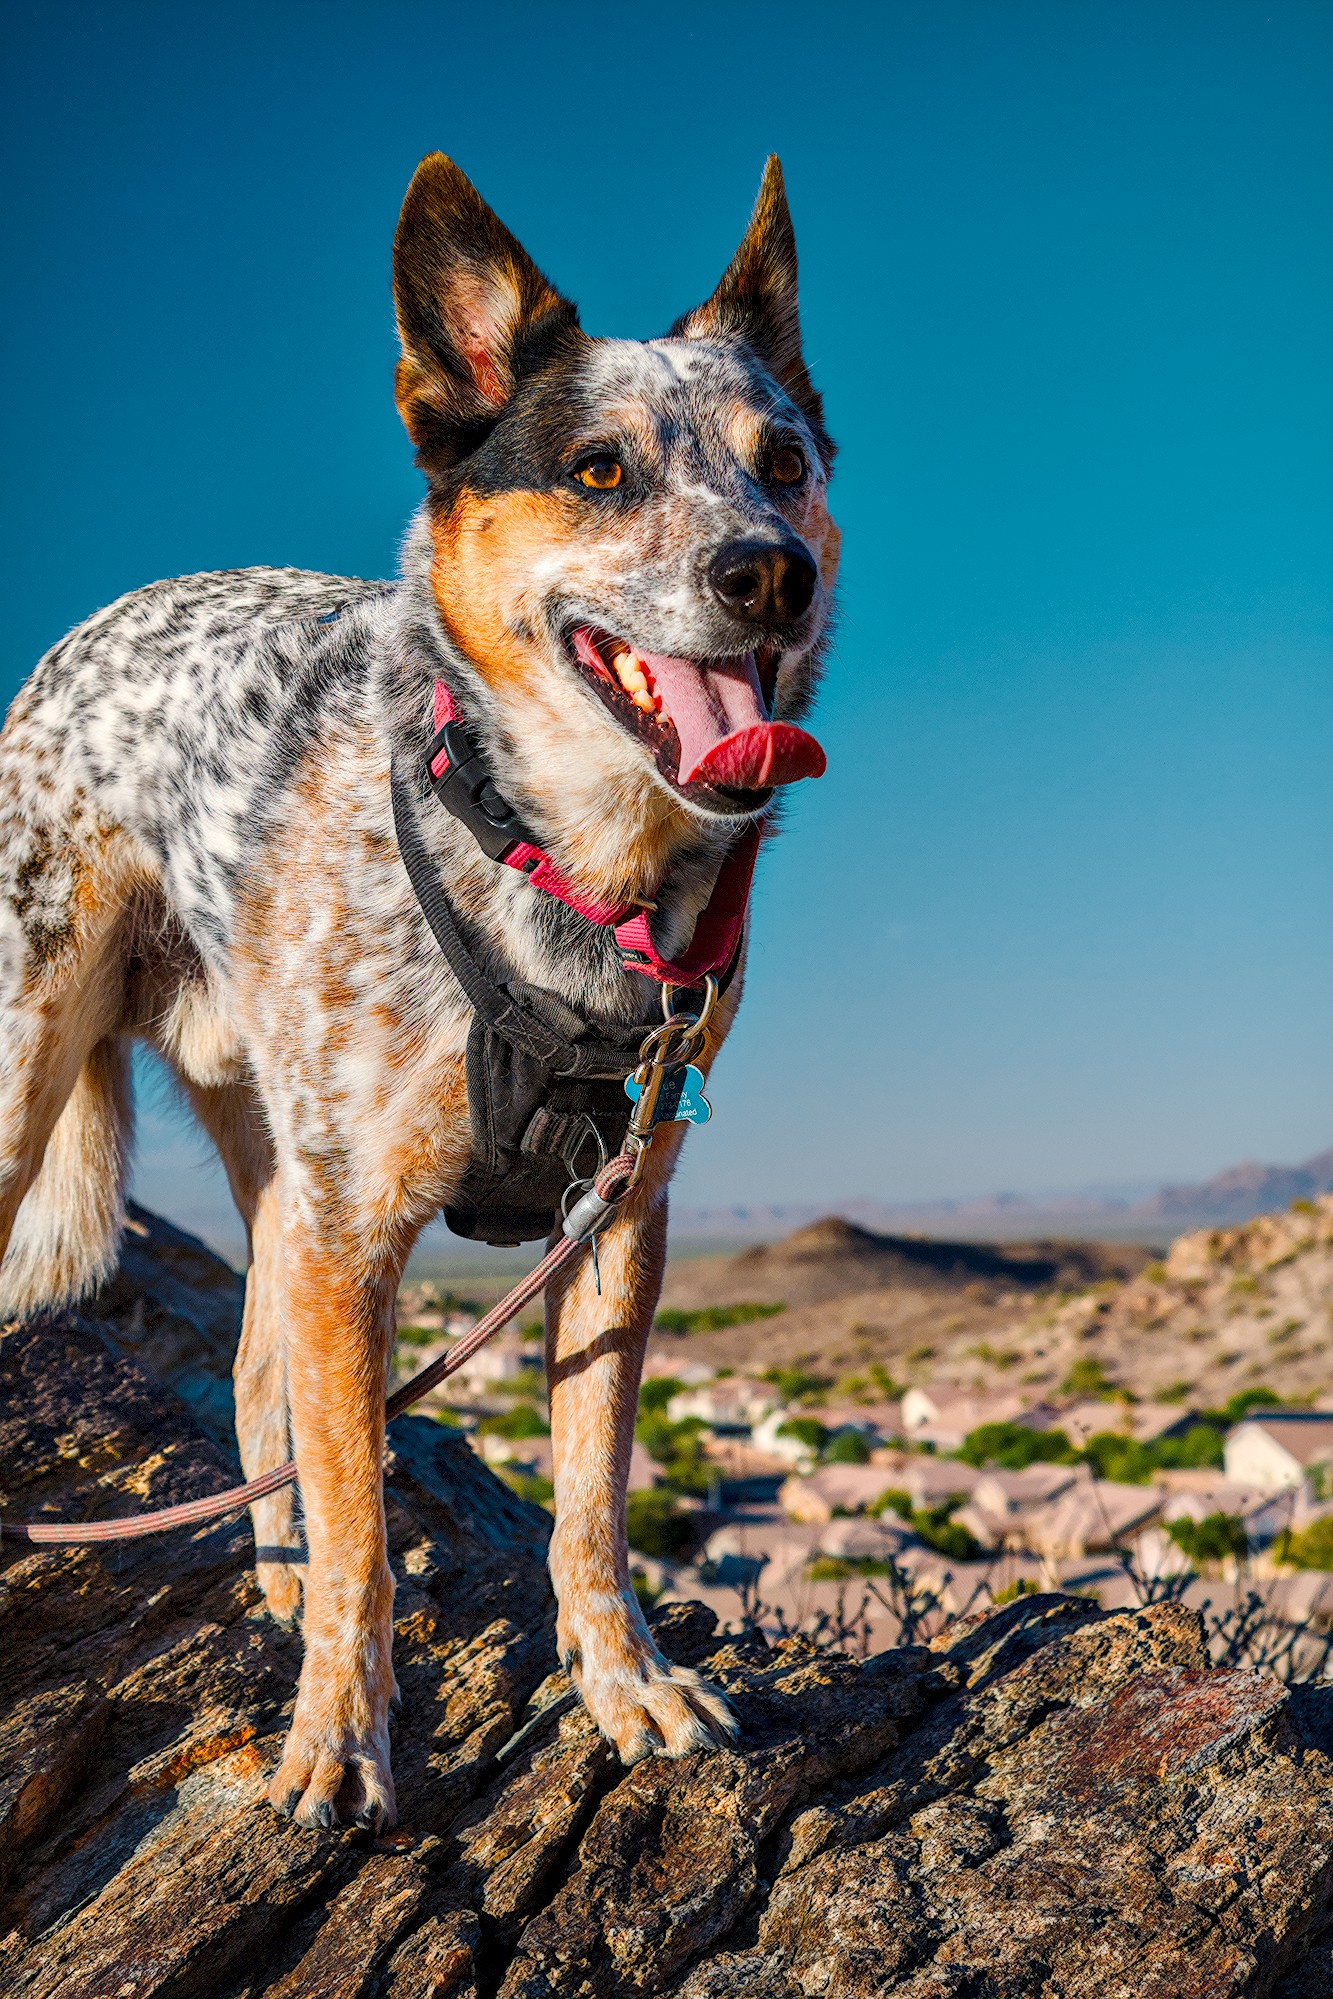
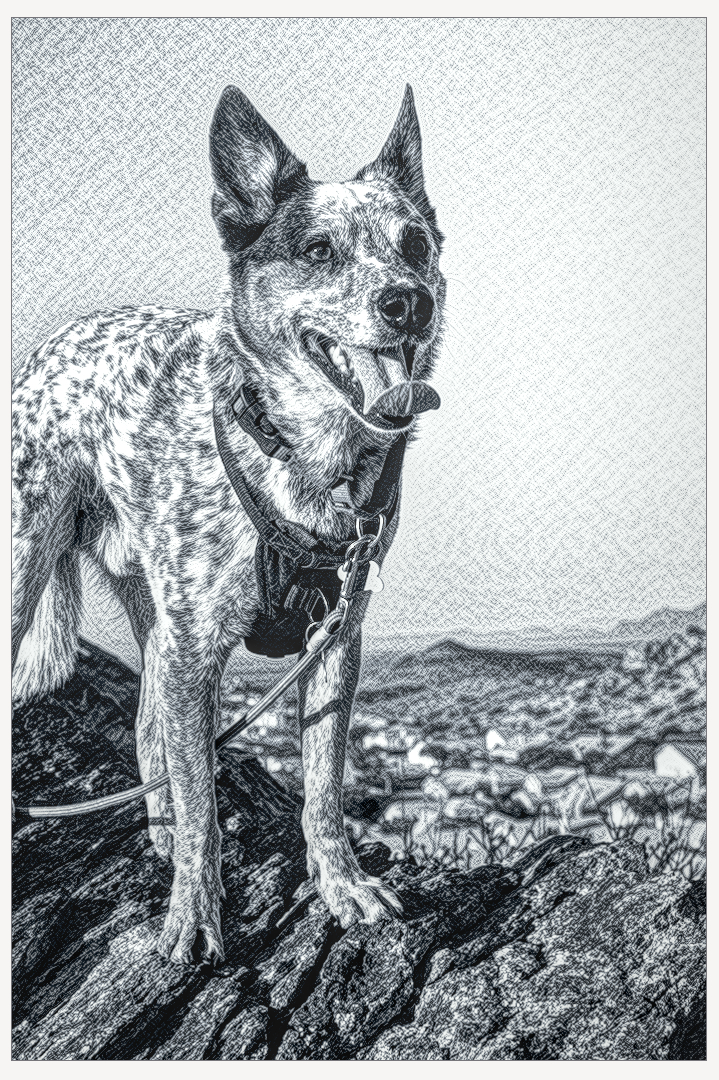
Actually, I did employ some diffusion in my edit, something I picked up from Boris’ video. Not too much, but enough to soften the image a little and reduce some strong contrast. Then another instance of Diffuse and Sharpen after that to sharpen a little.
I suspected as much, which is why I started with some iPhone ProRaw files with a minimal processing pipeline. Just 1) Output Color Profile, 2) Display Encoding, 3) Orientation, and 4) Input Color Profile.
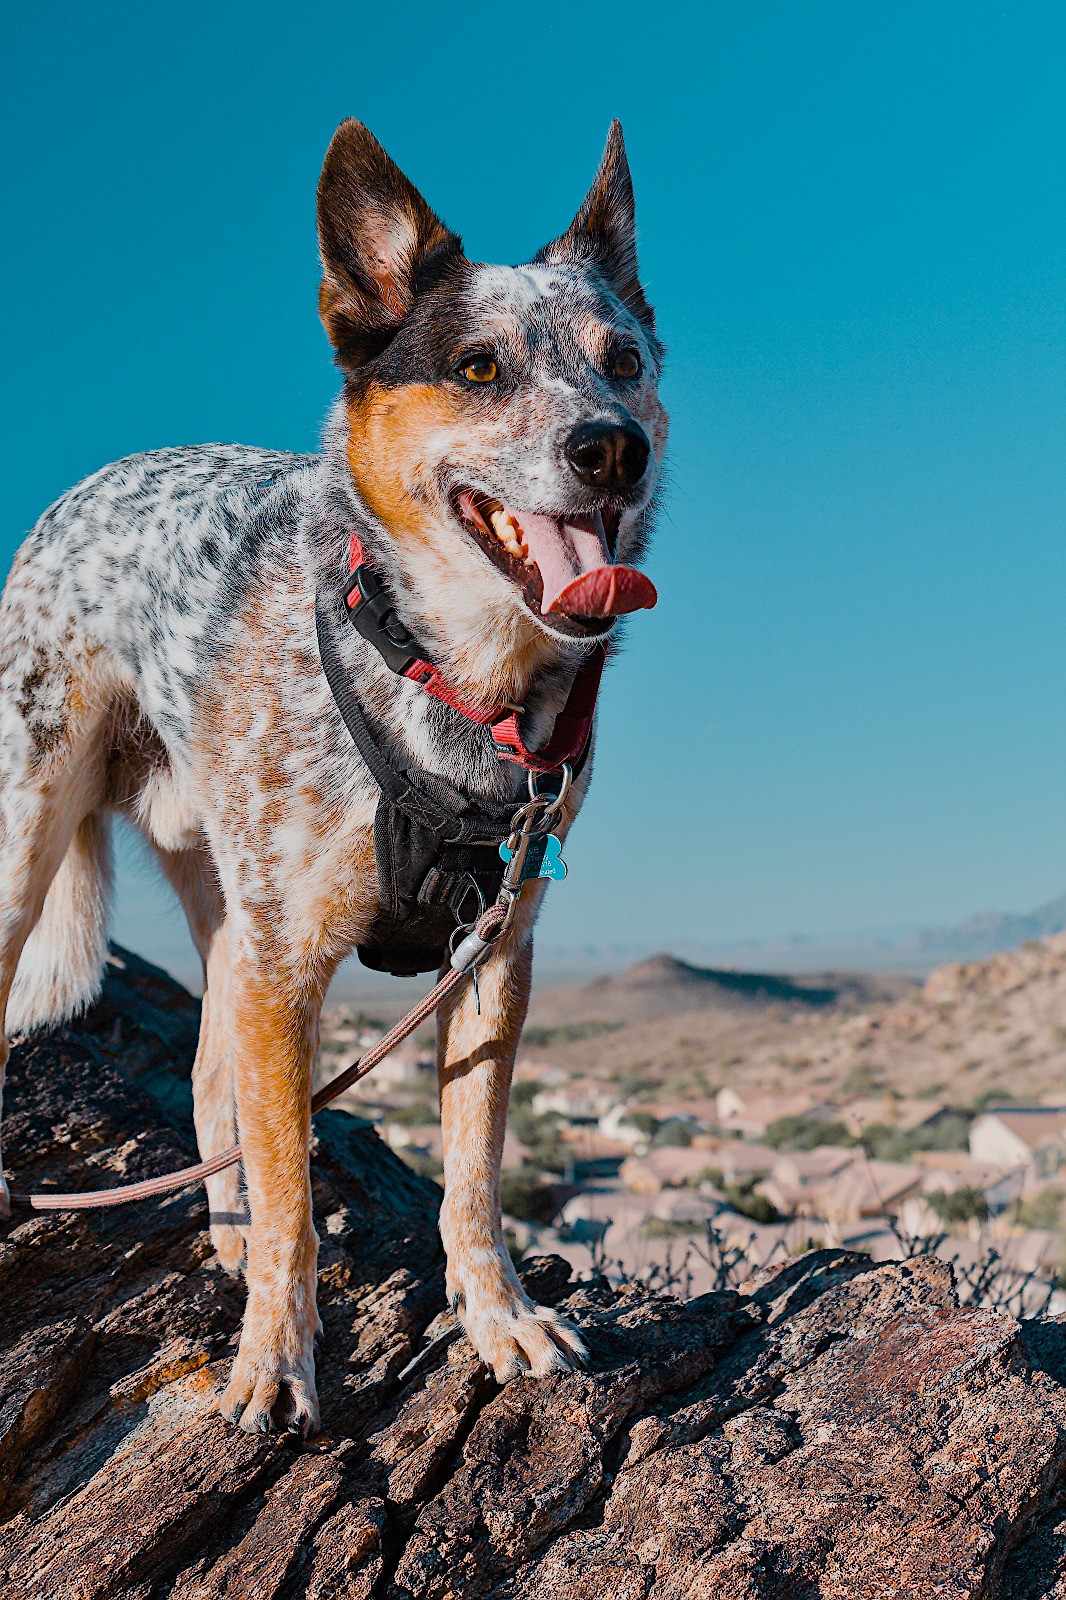
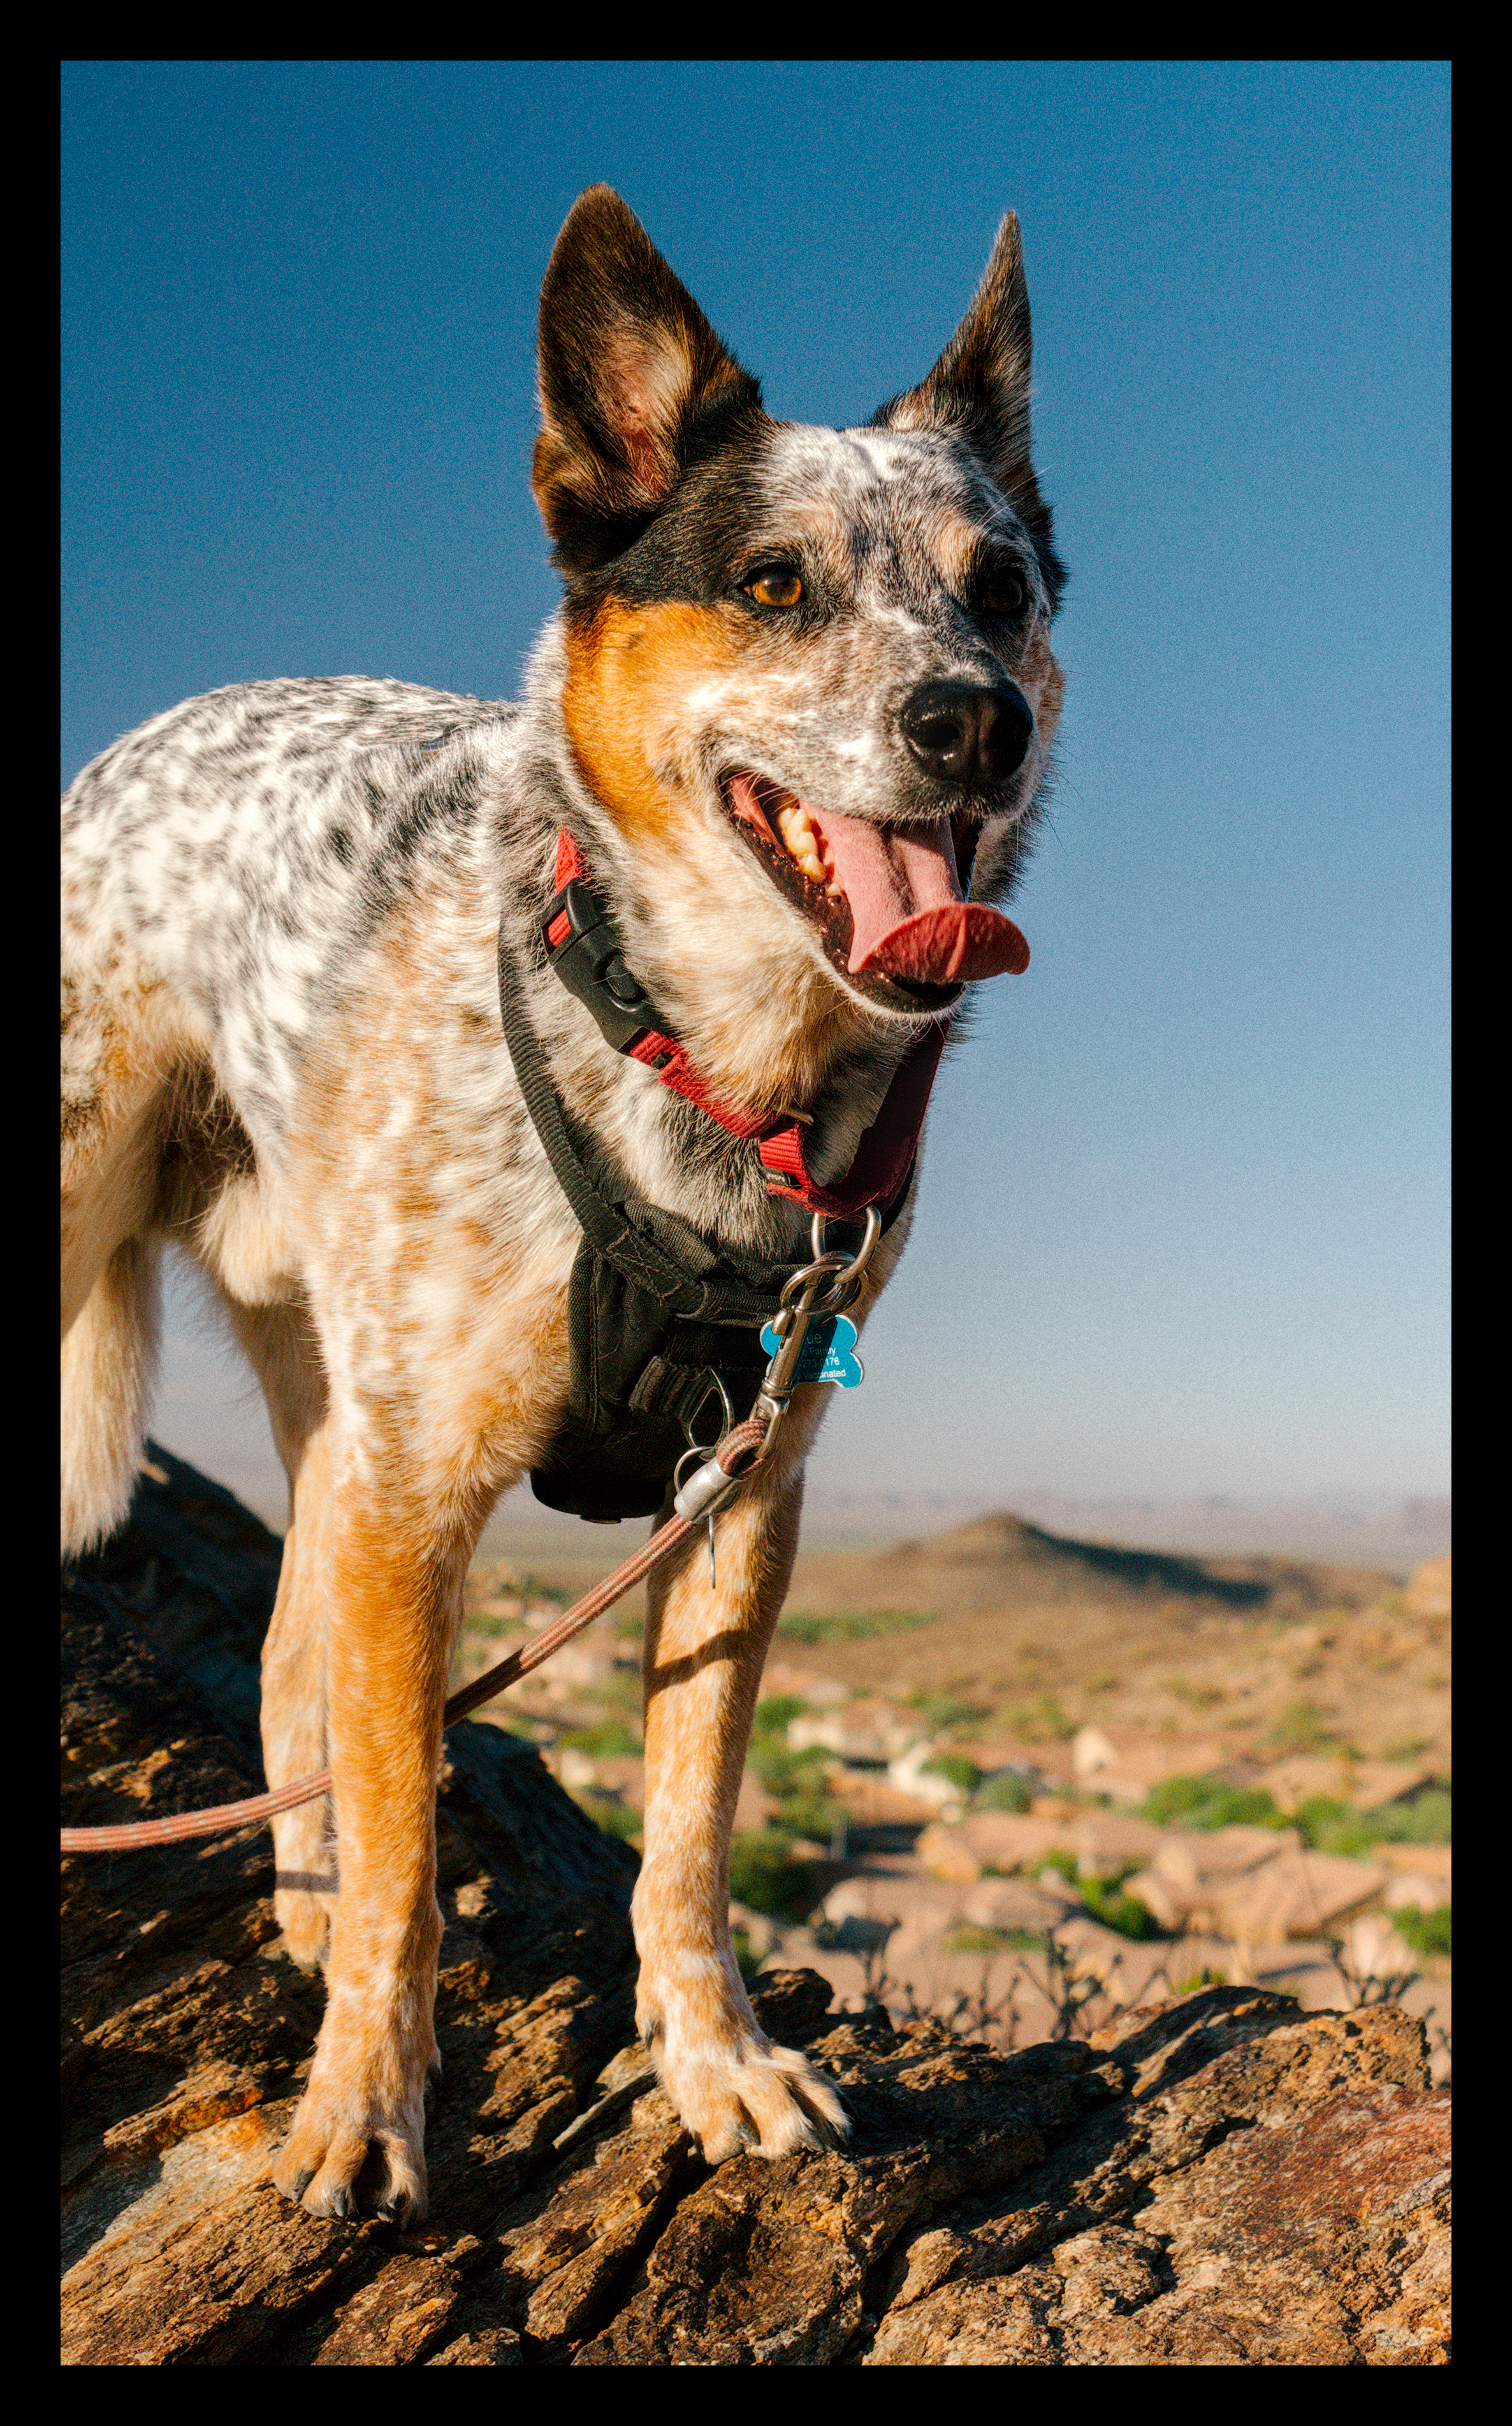
These JXL images are not true RAW files at all; already highly processed. But they do not appear oversharpened, and to my eye, the colors are neutral. Add the Fuji Velvia LUT and these look like oversatured photos from the 90’s! It’s doesn’t look good on all images, but where it works it’s like a time machine.