I’m currently developing some old pictures of mine with darktable. I think this is a good exercise in order to learn how to use the program.
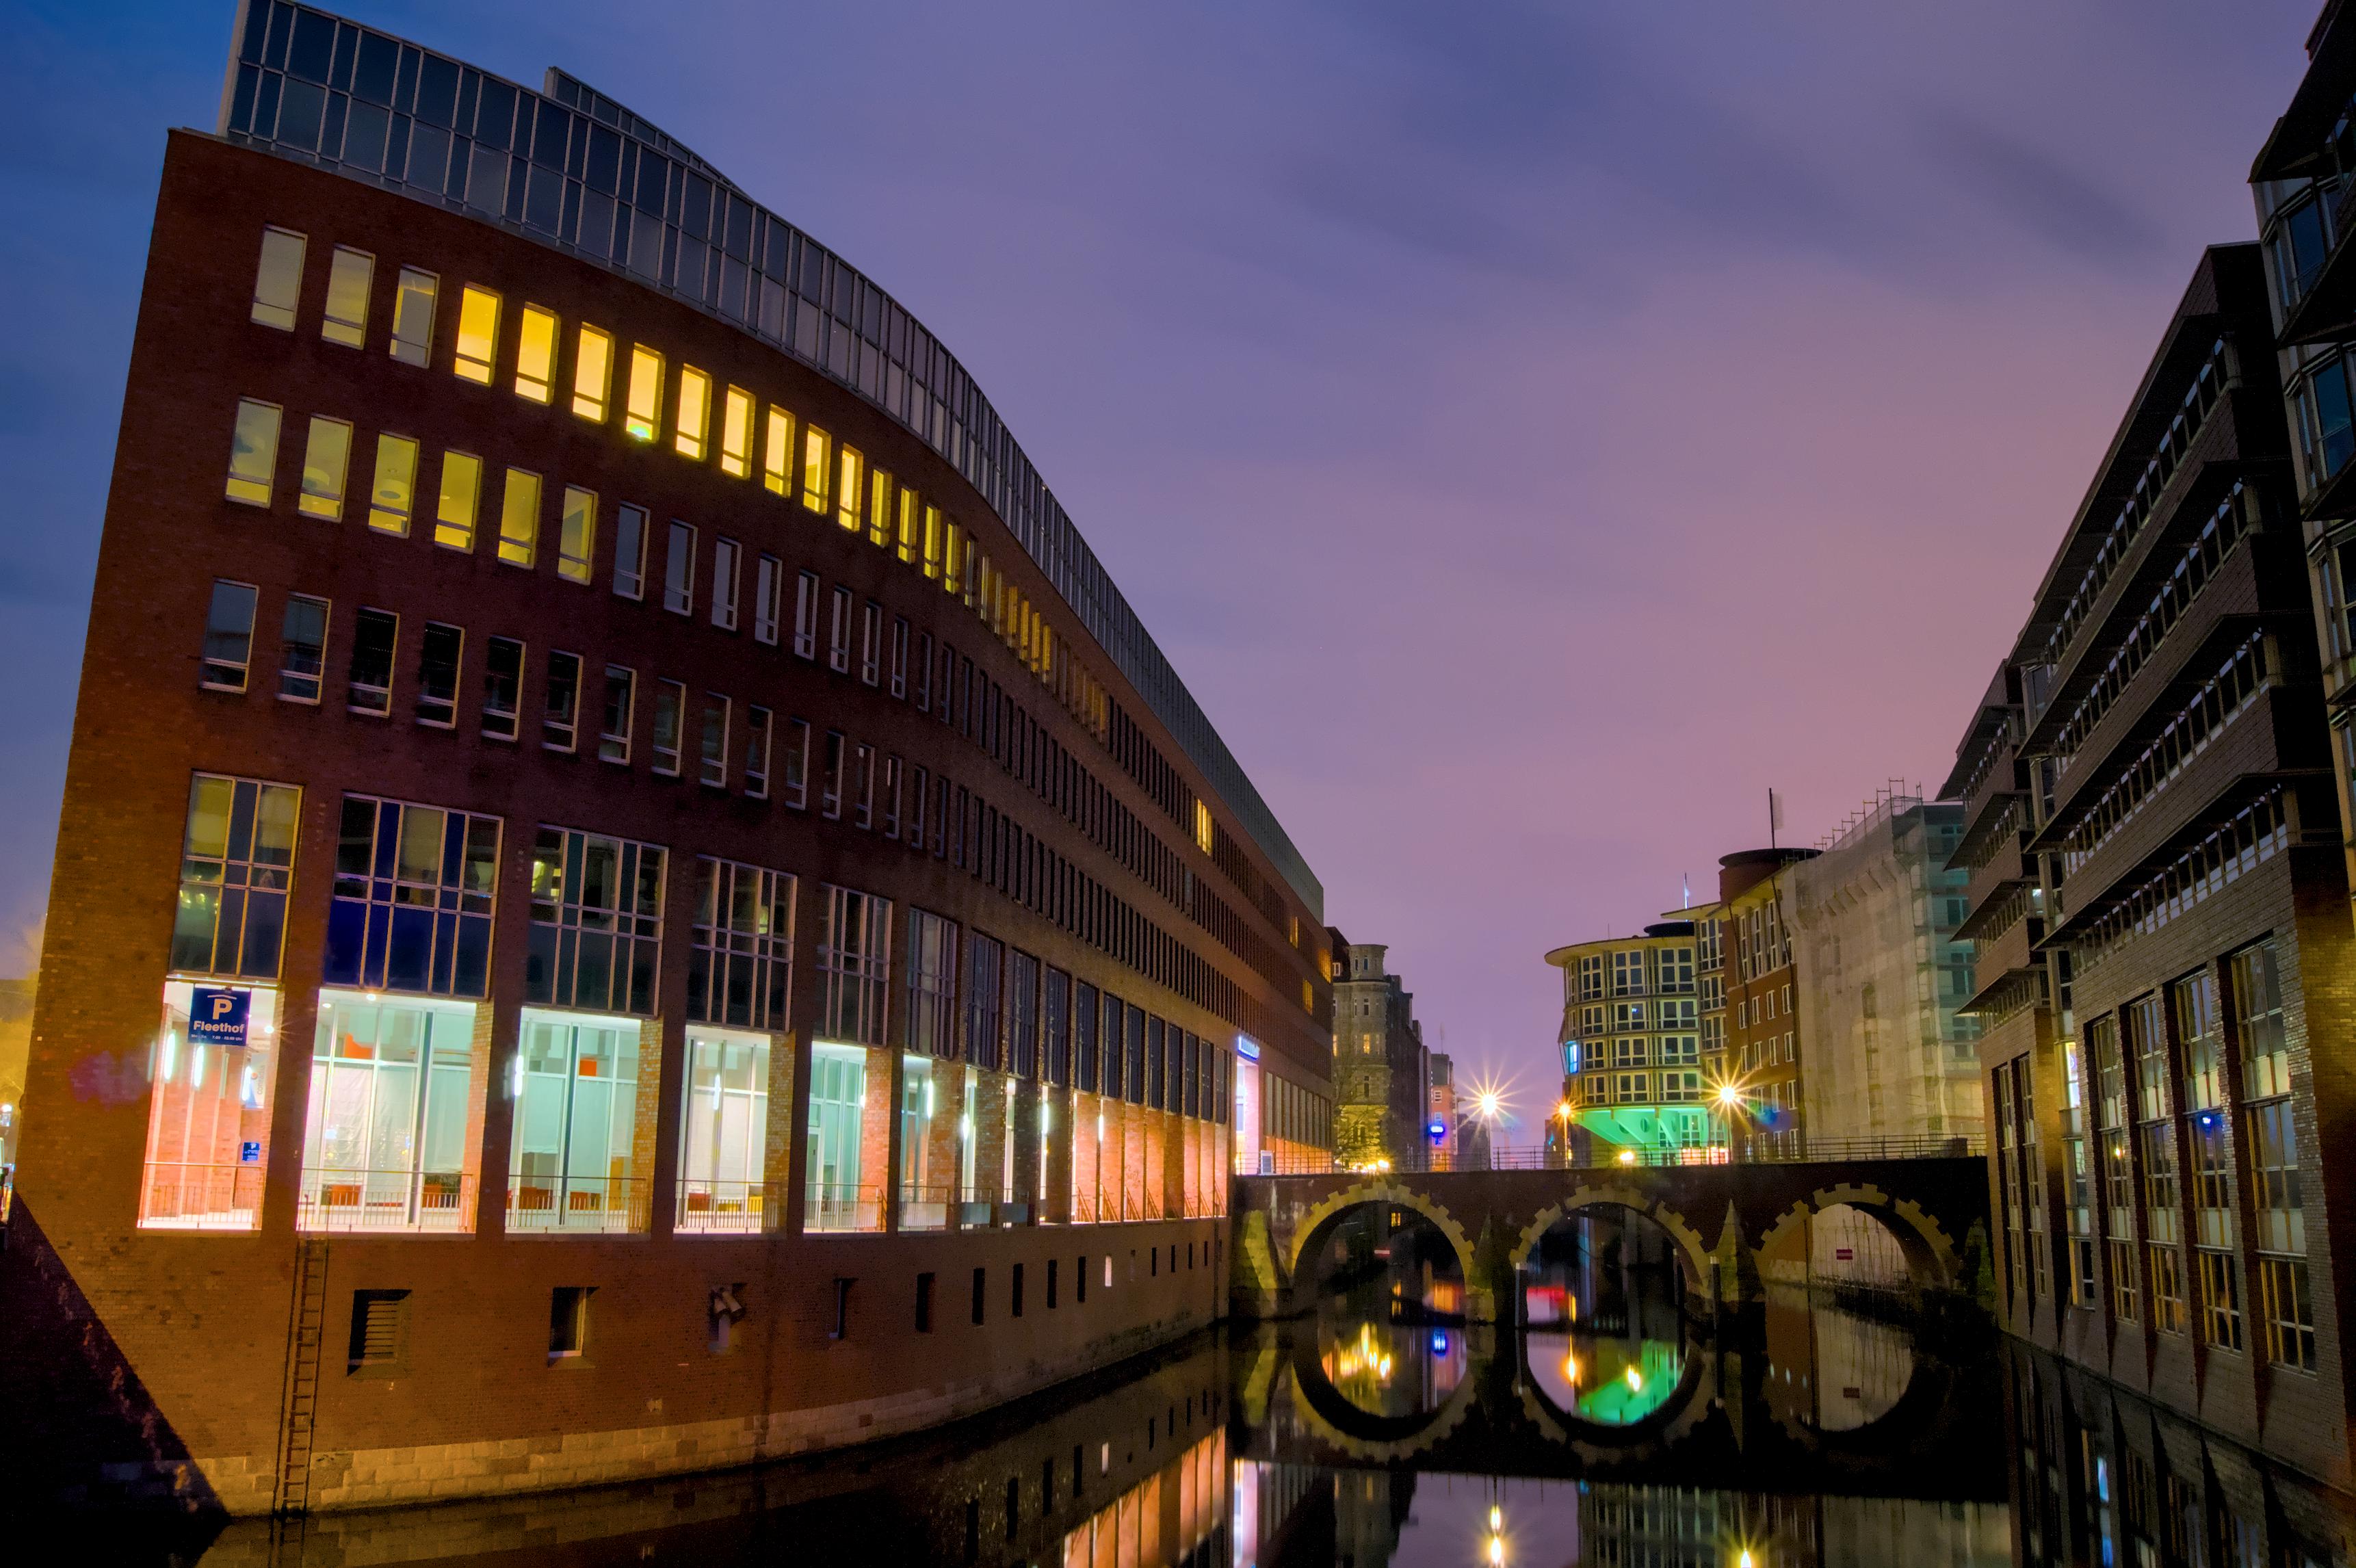
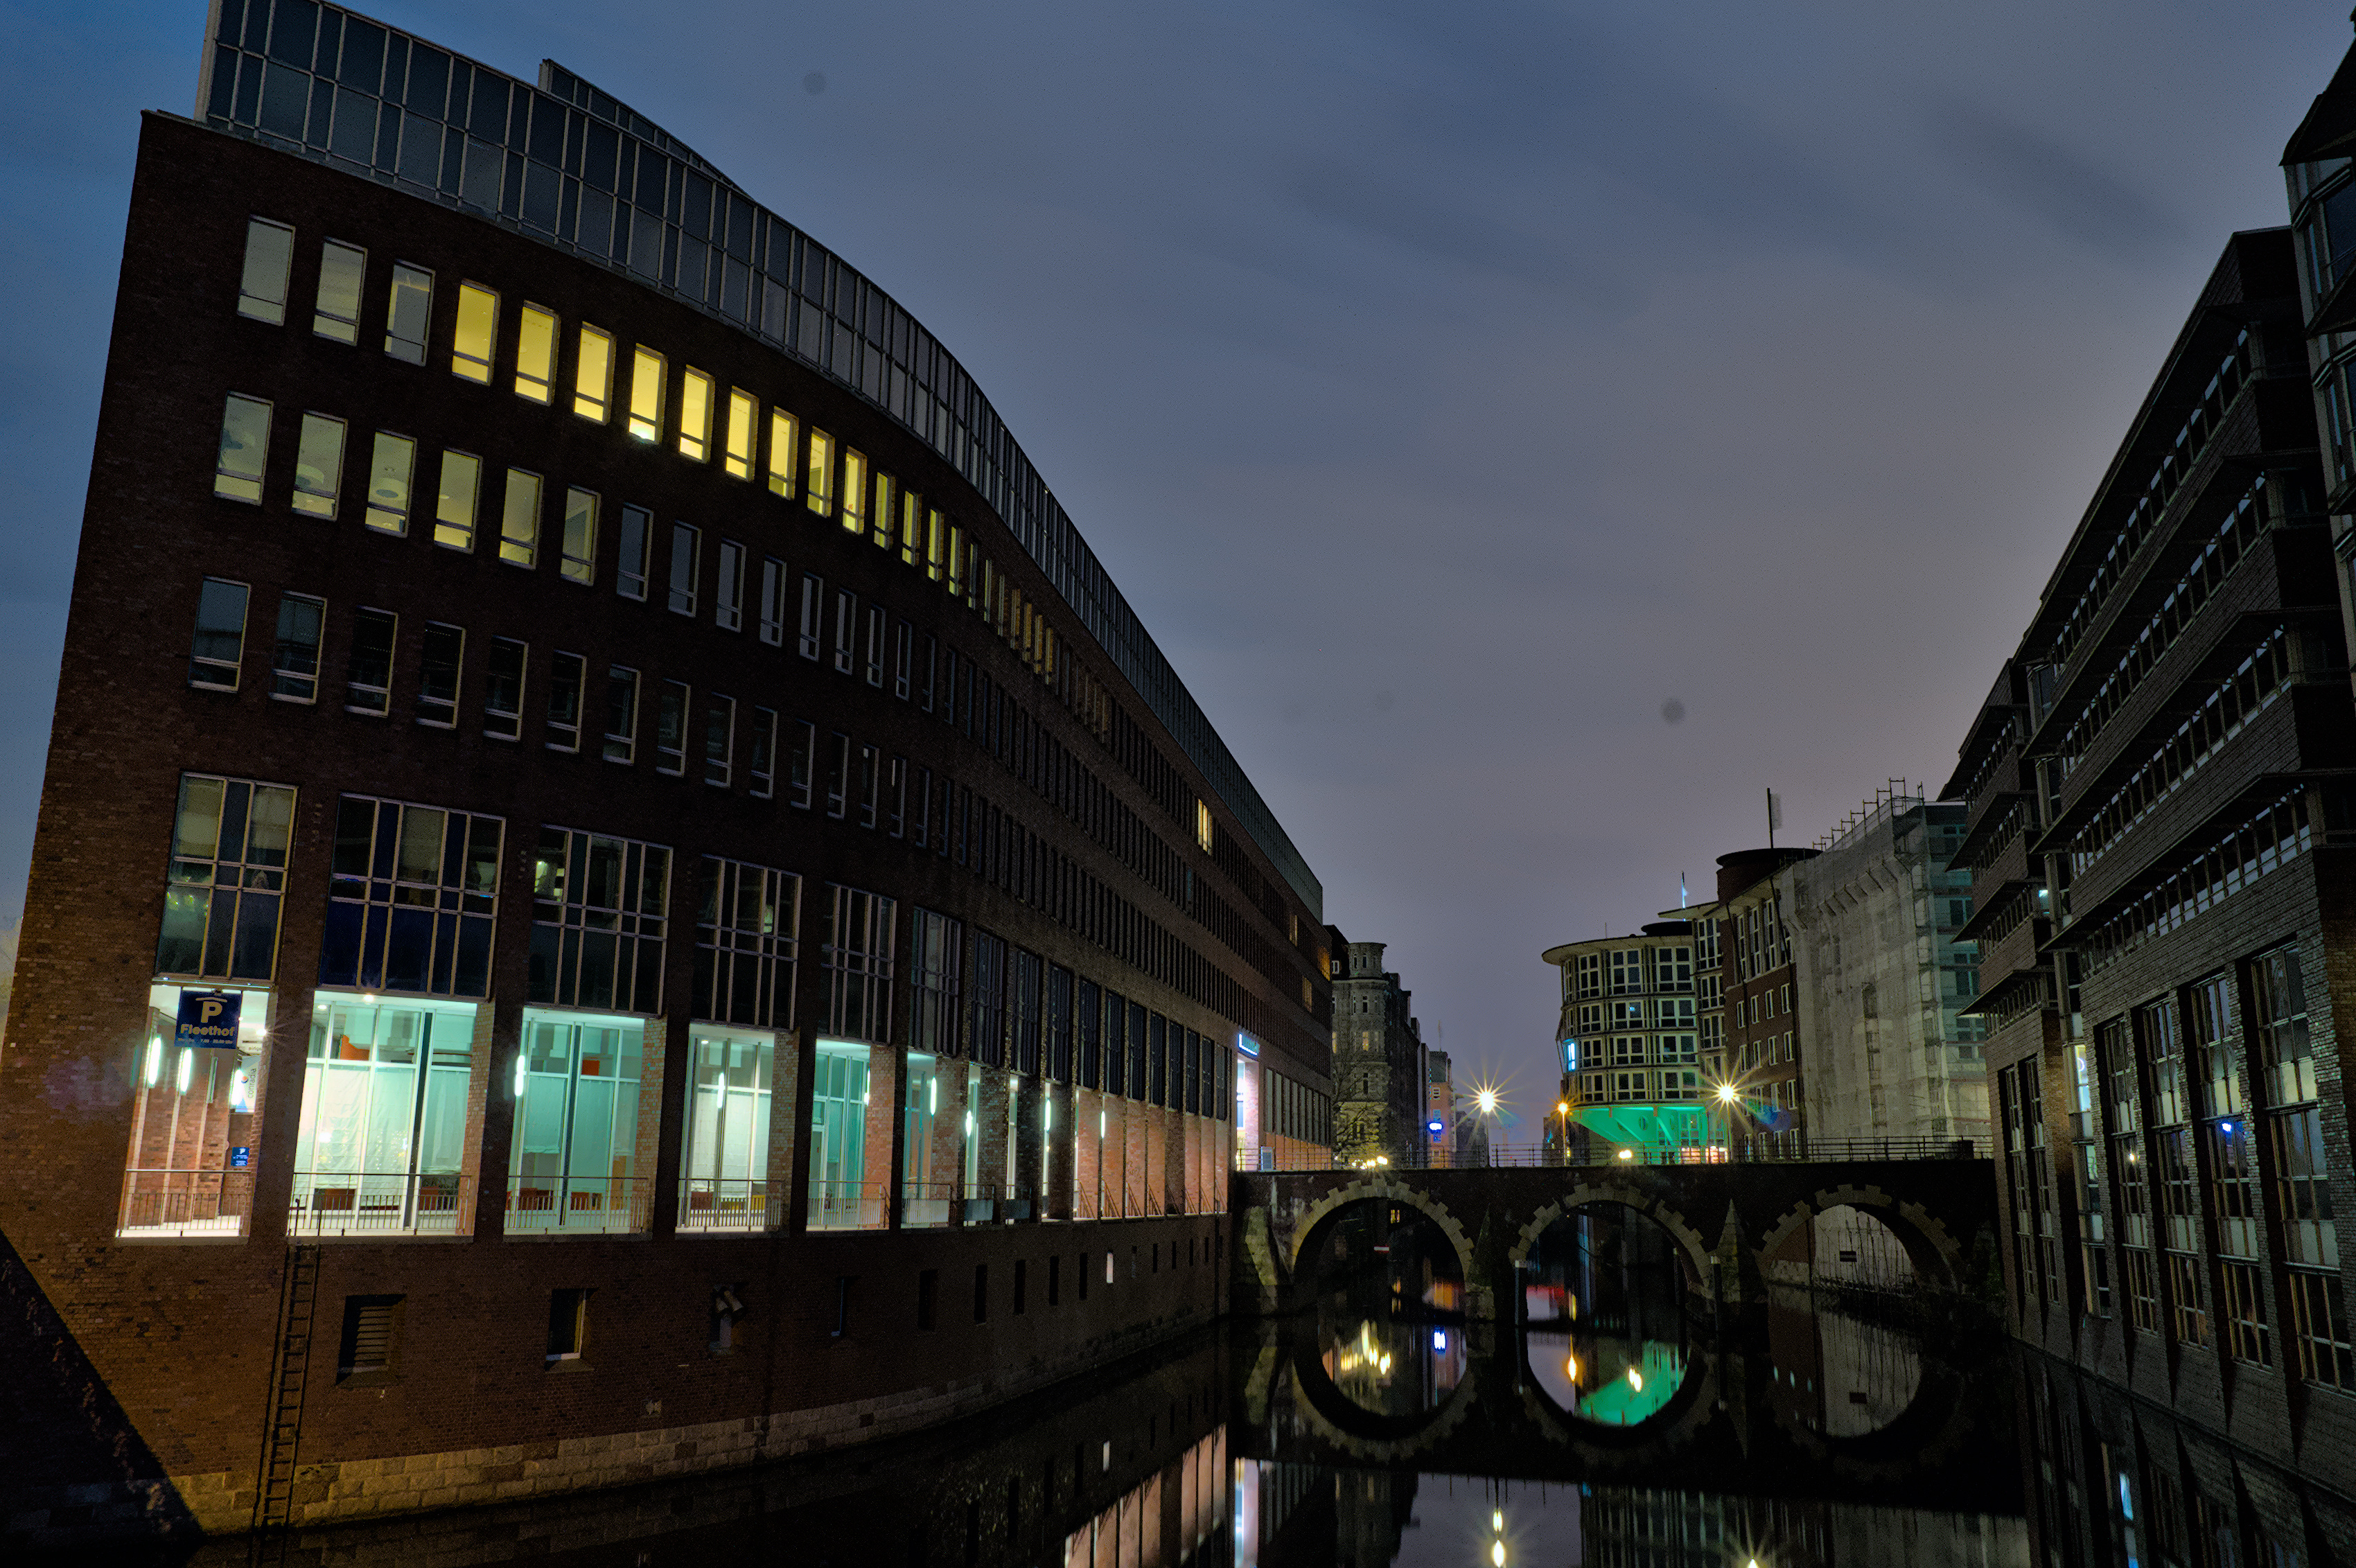
Usually I can recover highlights with darktable pretty good, but I’ve found a picture that is a challenge for me where I cannot find the settings to reconstruct the highlights properly.
@priort the old one was developed a long time ago with lightroom. @foto yes, back then I converted every RAW file to DNG while importing into lightroom.
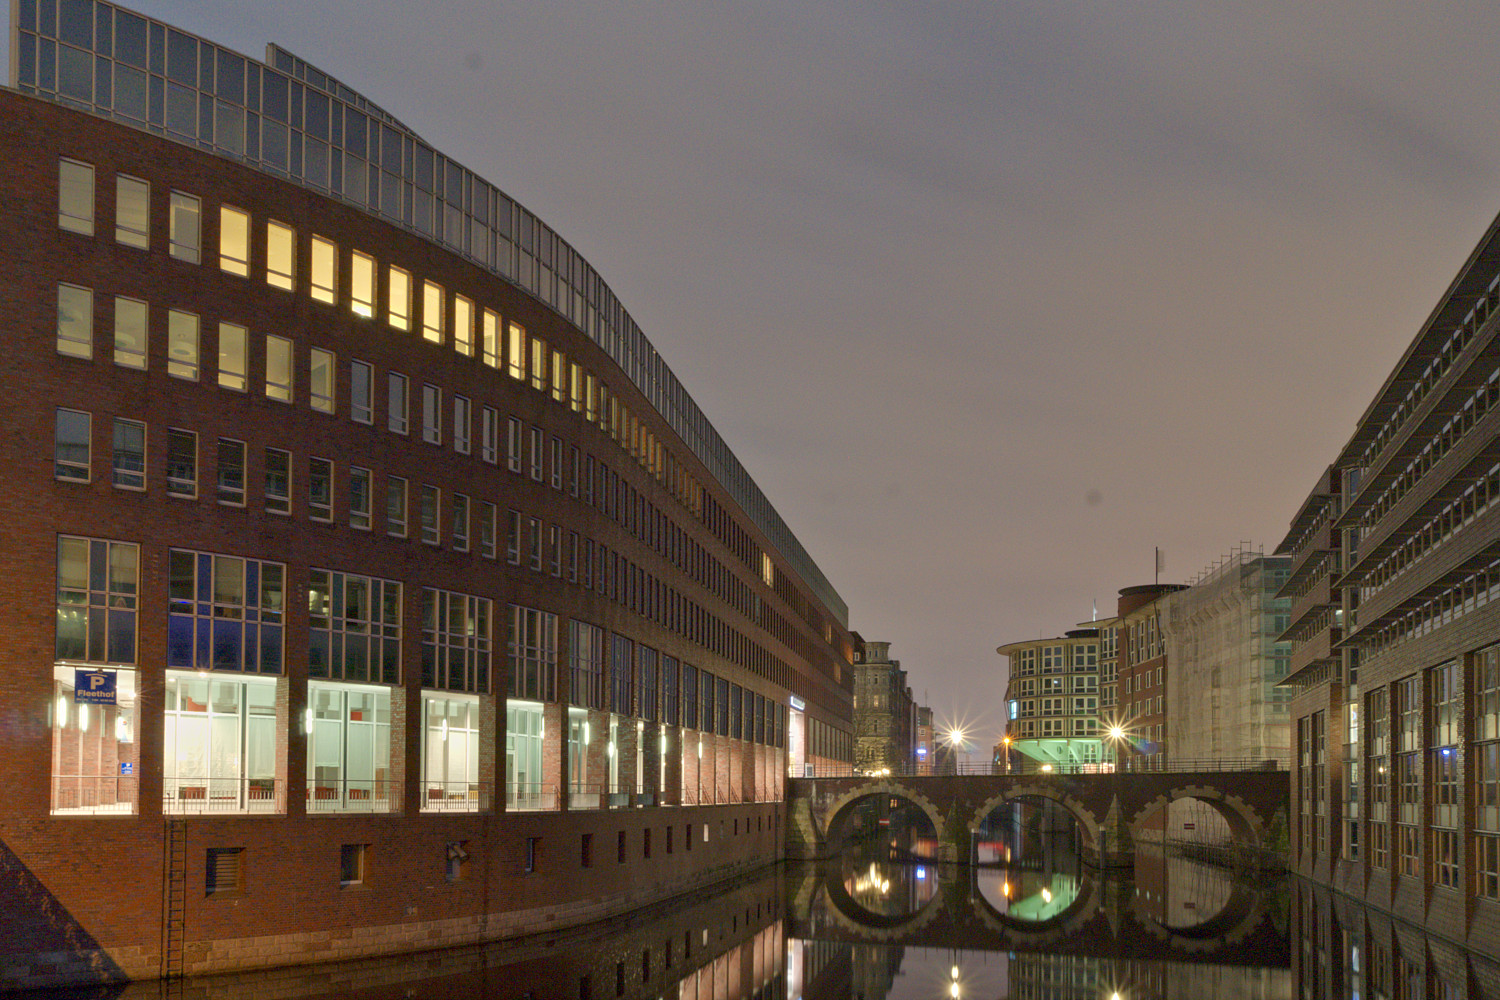
My try with photflow
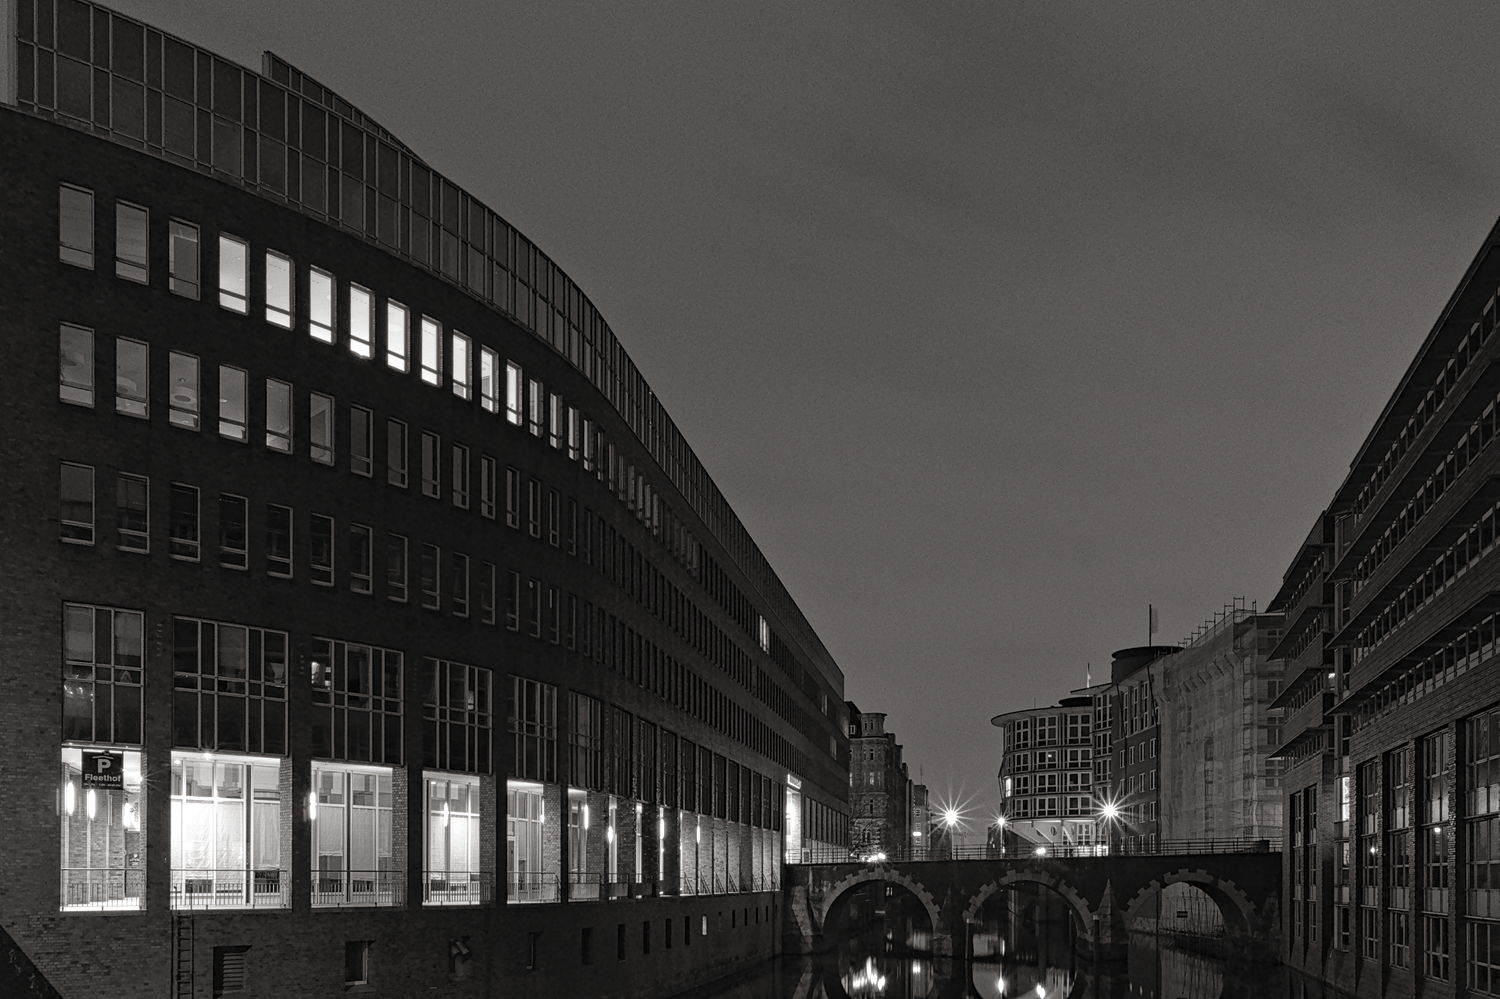
In my edit I don’t ahve used local tone adjustments like shadows/highlights or tone equalizer so shadows are too much dark and highlights are not reconstructed at all.
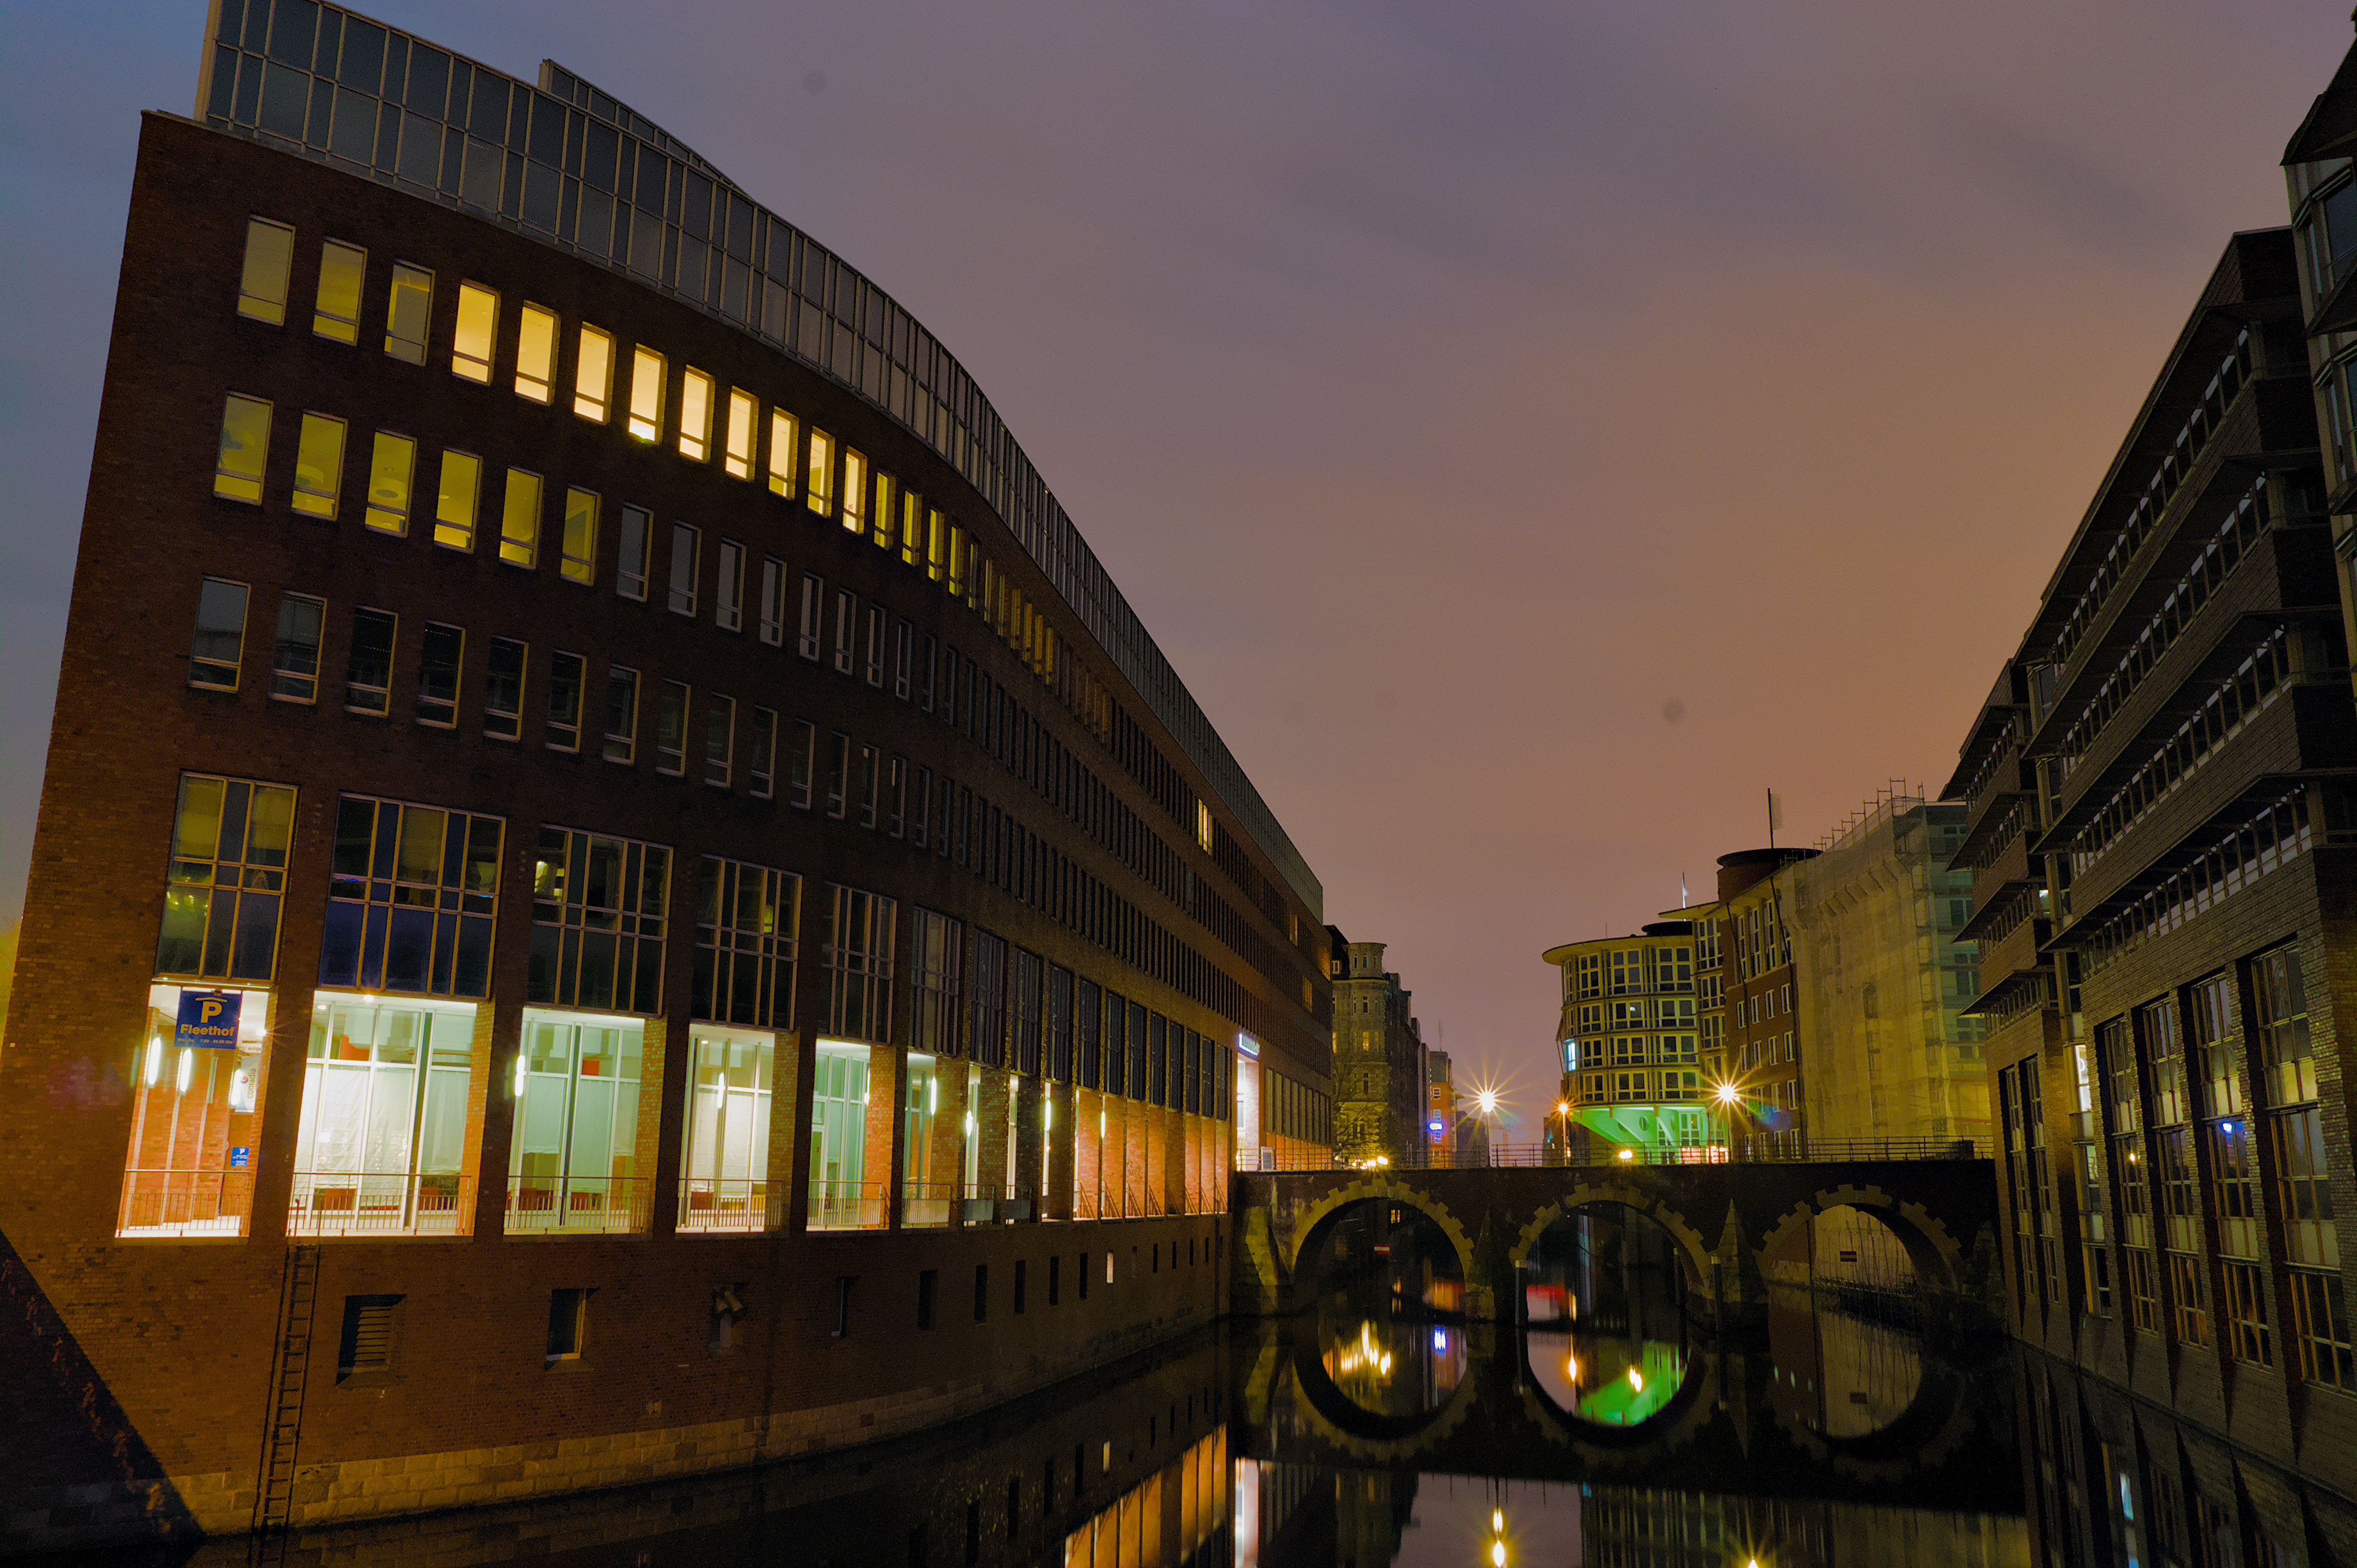
Color wise it looks closer to the lightroom version
Nitpicking , but this has nothing to do with ‘reconstructing’ right ? ‘Reconstructing’ is for when your sensor clipped and you need to make something of the spots that have information missing.
What you want is the data you captured to be visible , and the problem with your current newer edit , is that the details are not noticable enough to your liking. So contrast around the upper highlights .
(Without looking at the xmp or trying myself right now, my guess is that switching away from the ‘max rgb’ mode of filmic might bring you closer to what you expect .
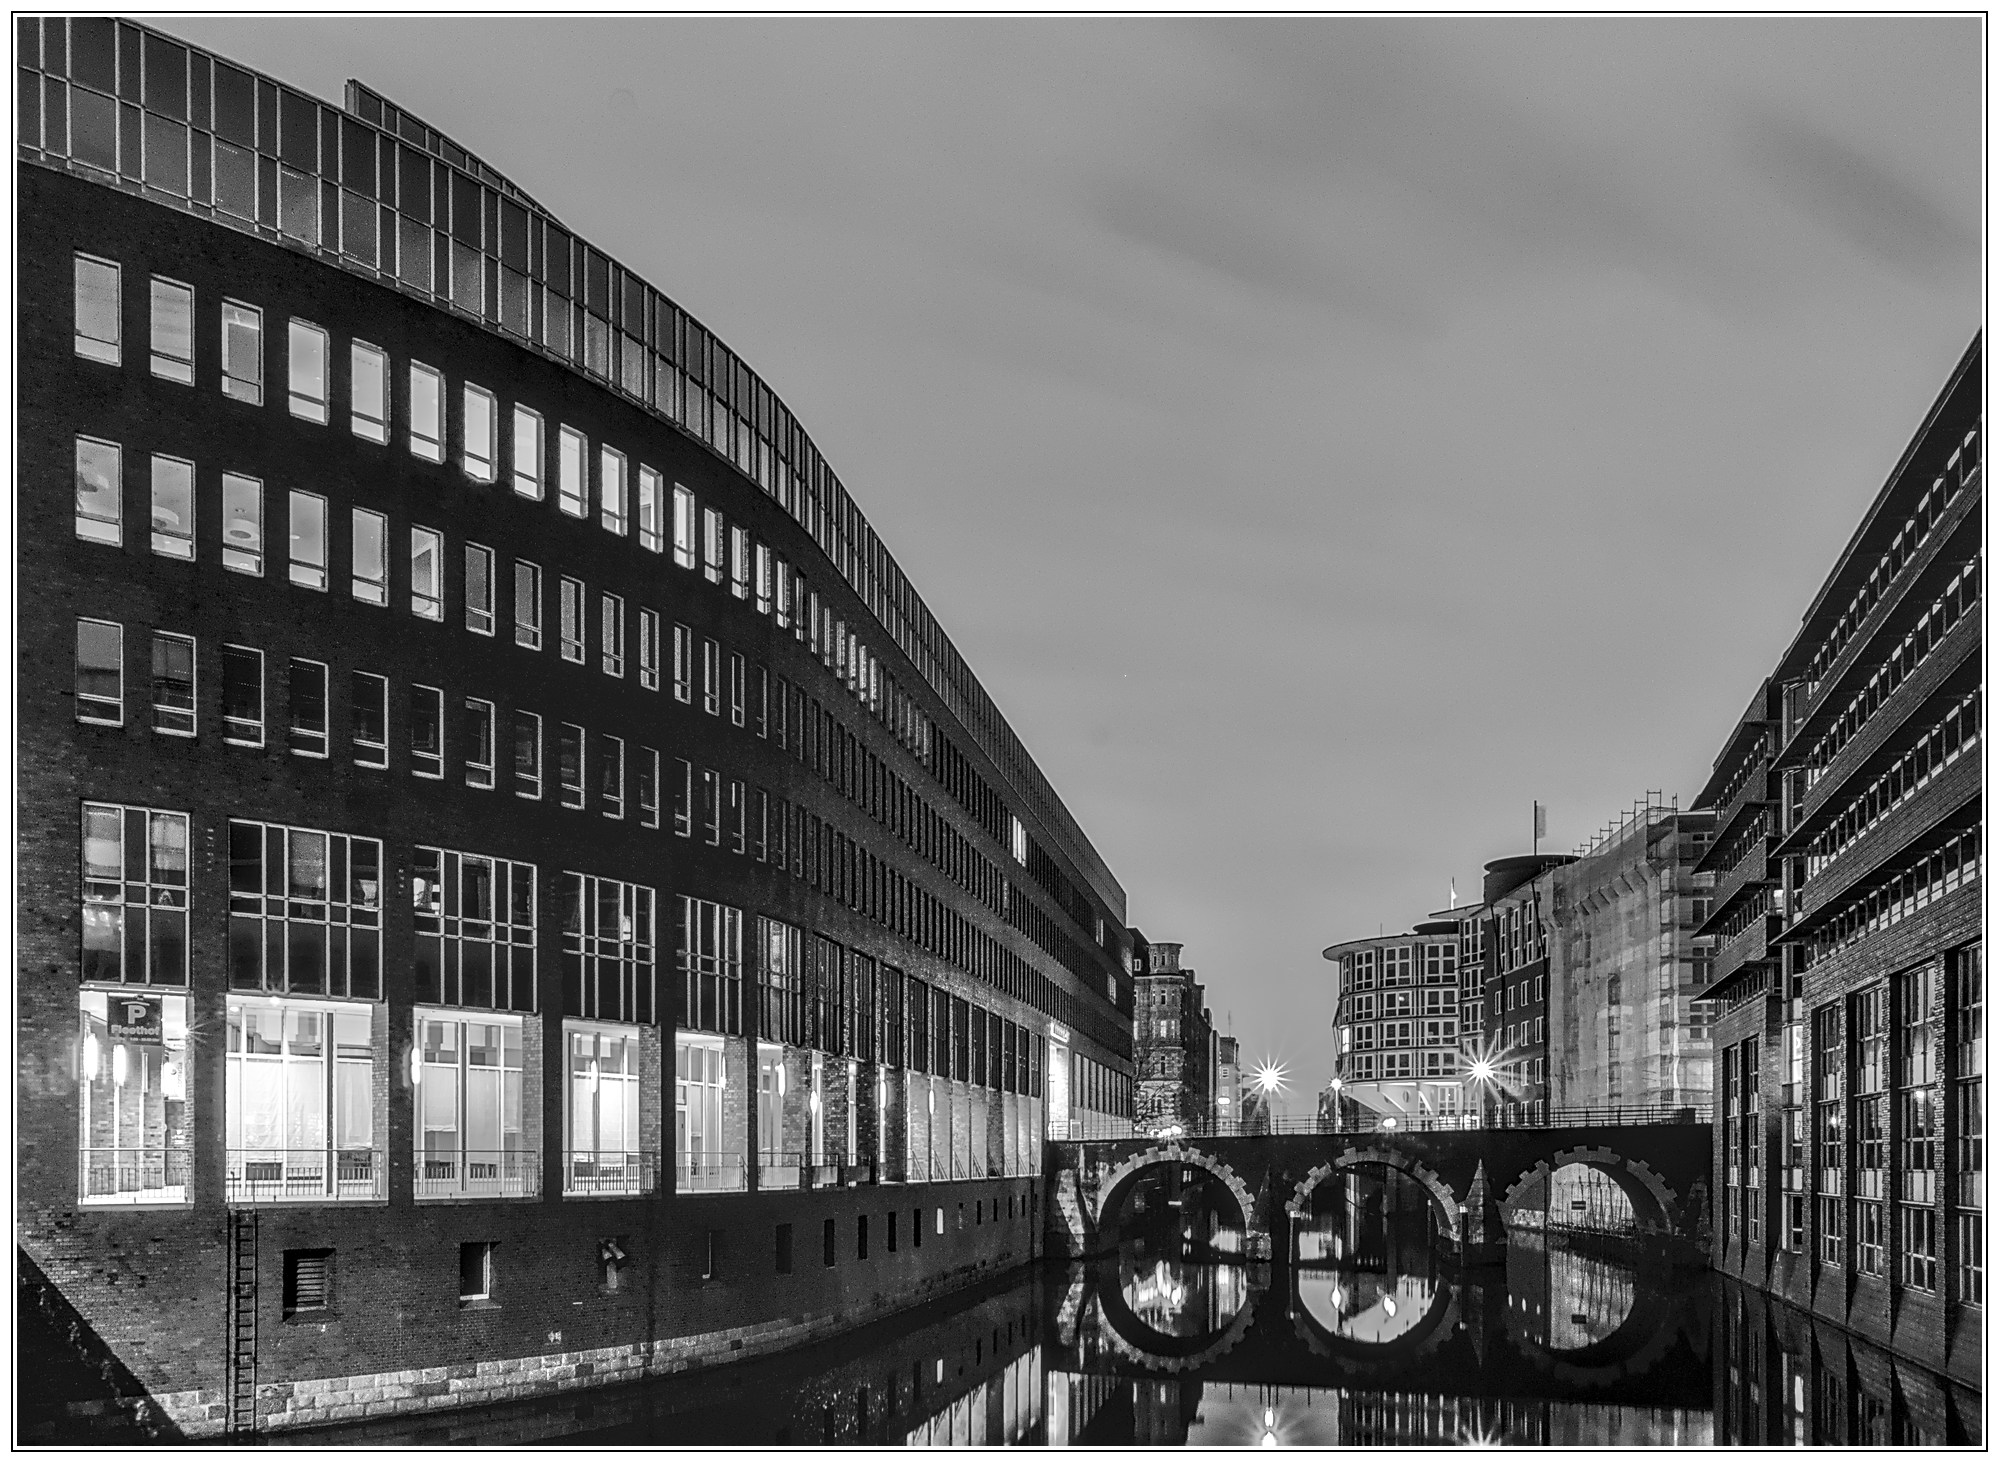
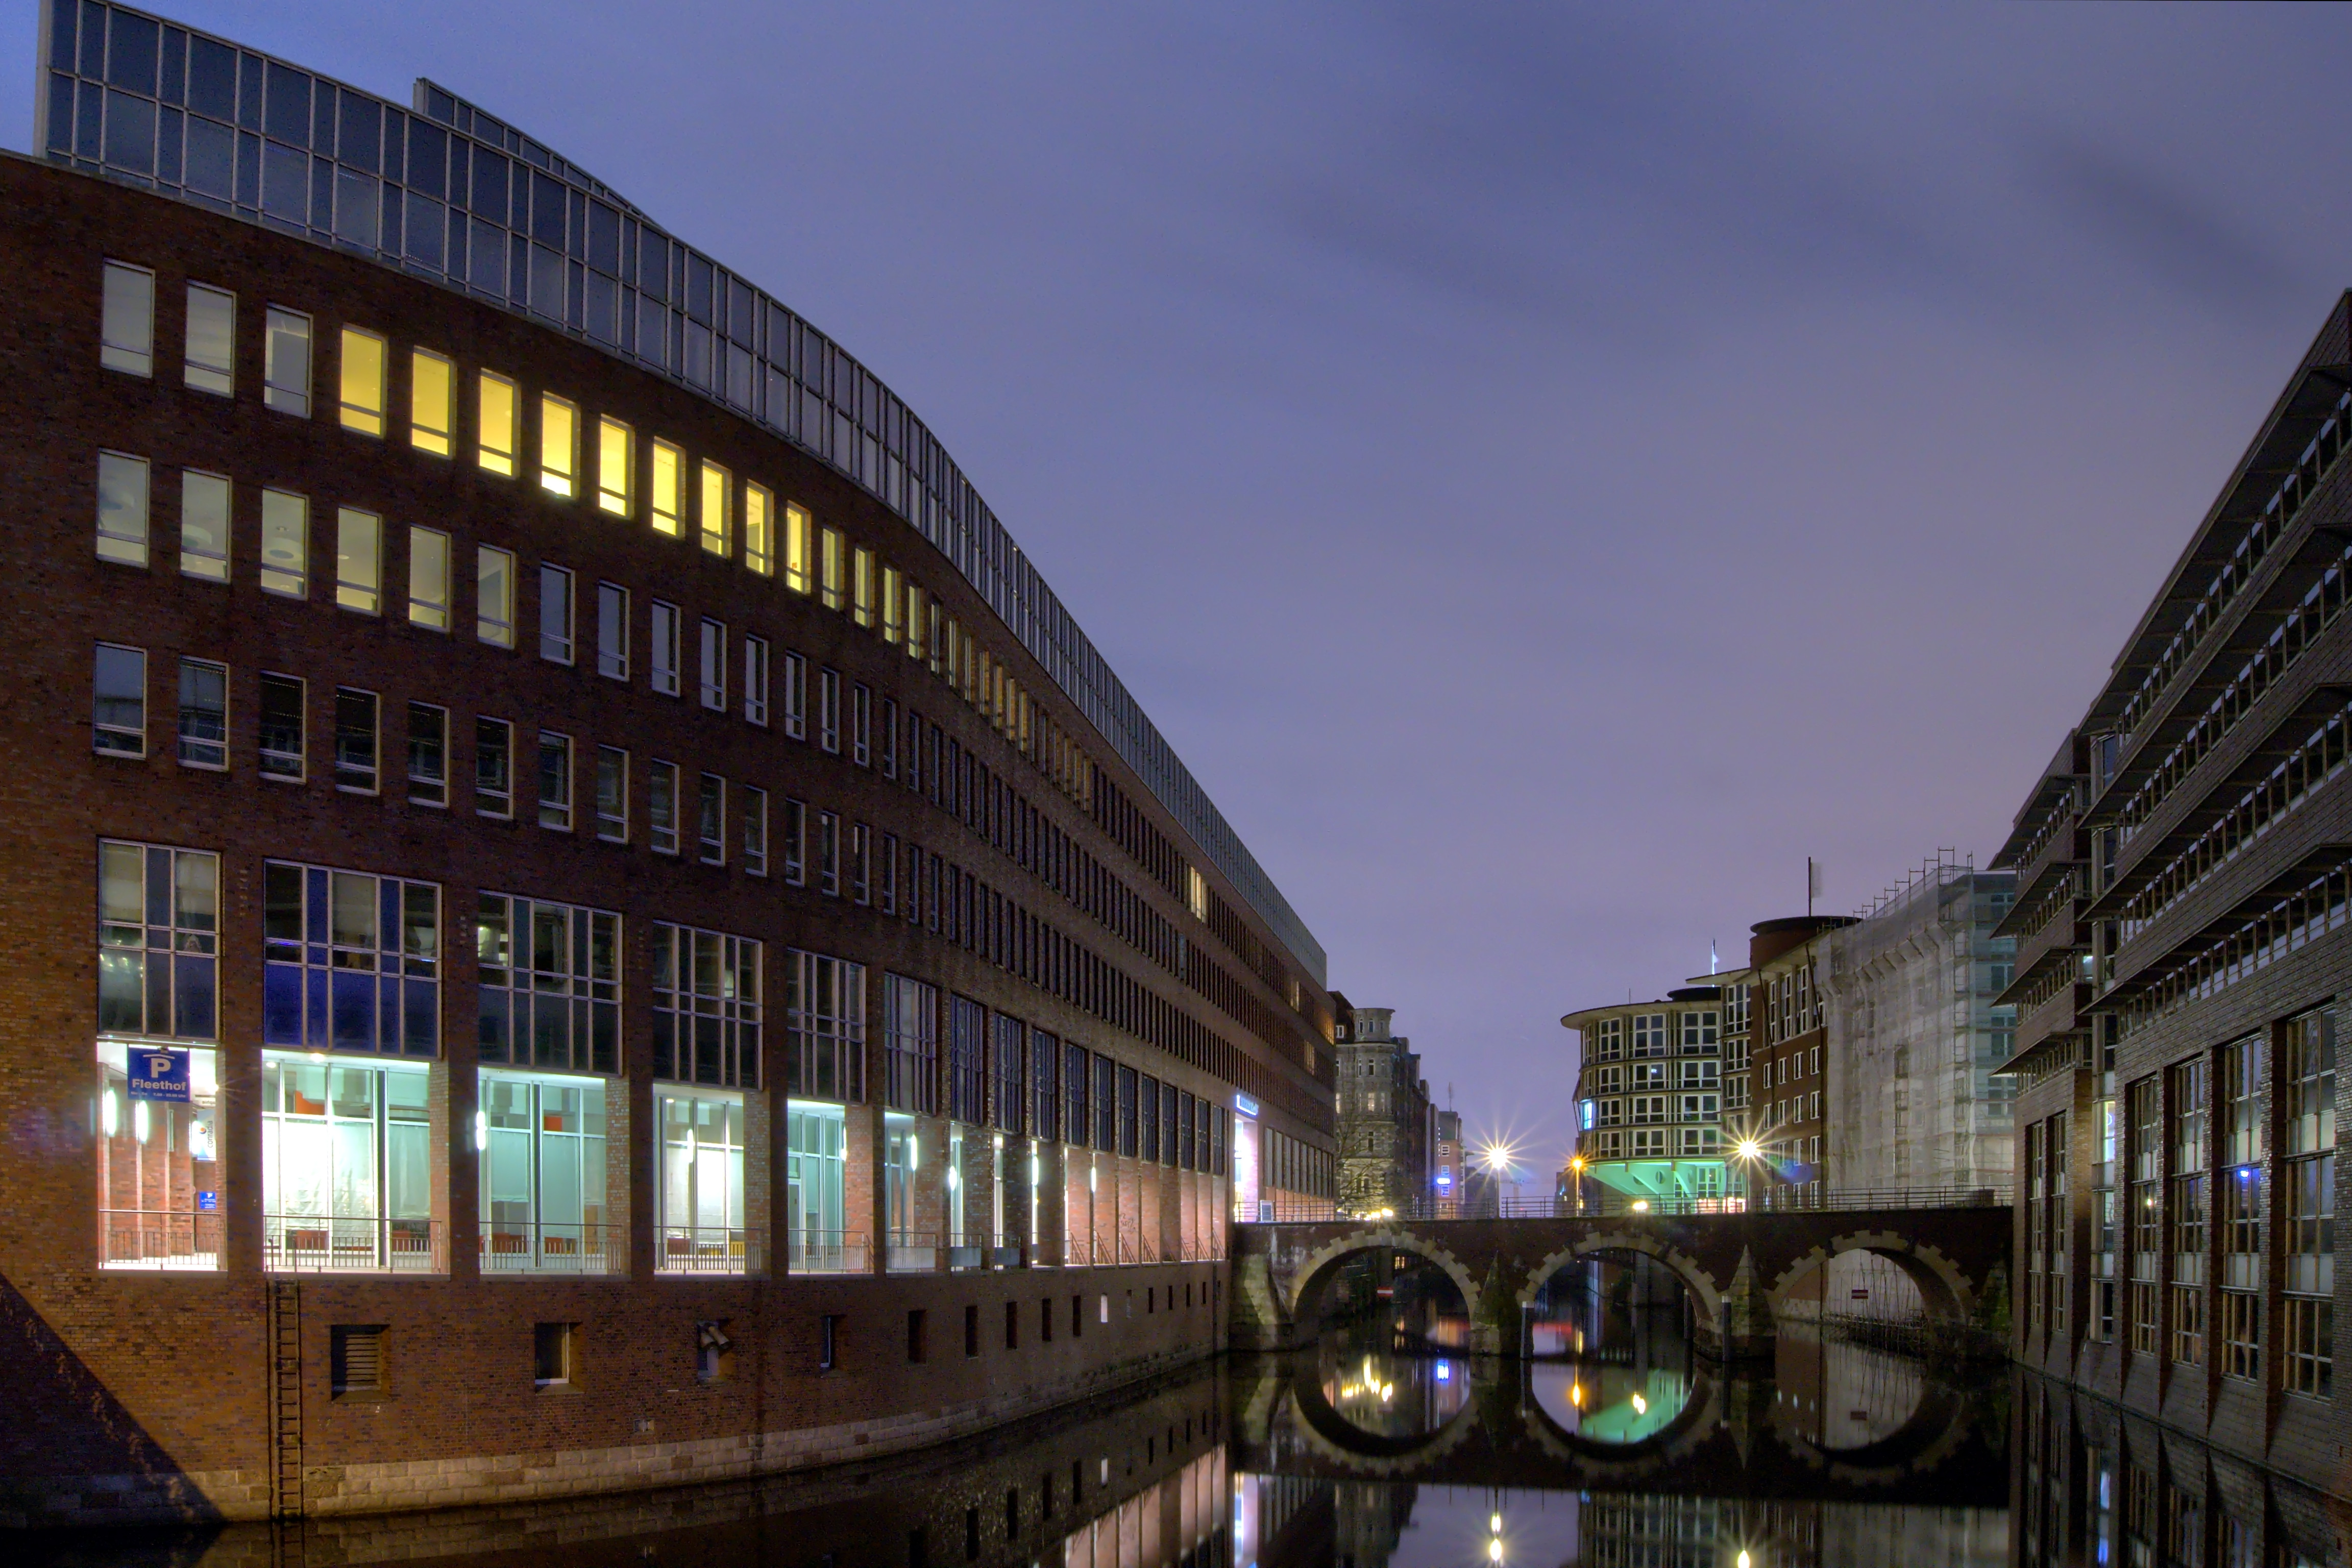
using filmic v6 the biggest impact on the highlights was choosing no to preserve chrominance and of course using the tone equalizer to bring down the highlights to desired level
edit : and of course choosing reconstruct color in the highlights reconstruction module
edit 2 : actually don’t even need the highlight module for this image . filmic reconstruction settings and no chromi is doing all the heavy lifting for me
Rally nice…I had something similar…not as good as what you have managed but I felt I wanted to go back and protect the sign with the P…it gets a bit mangled…and see if i could make it look normal…
Not sure you loaded the right sidecar…for me its much darker…loaded the edit from your jpg and got the matching result to what you posted…might just want to check…
Okay maybe just me…somehow I may have chosen somethings different…it was no issue in the end I grabbed what I needed from the jpg…Not sure how I ended up with the darker version…maybe I incorrectly grabbed a sidecar from some version I was playing with…sorry for the noise