Which norm are you using …if you use no then v5 is much more saturated …if you use maxrgb for both then v6 is more saturated… it looks like you are using no if you have your images in the right order… below for me are v5 and then v6 with chrom pres set to no and then the same at maxrgb
Now maxrgb
Using maxrgb for me and doing nothing other than the defaults for scene referred I don’t see the image that you show unless I select not that is why I ask…
NP just confirming and you see this after just the default so no other modules… What does the color picker indicate in a similar region of the image?? Sorry only on my phone now… I’ll take a look later… since no is desaturating in V6 for sure it could look shifted but maybe it’s not???
So you might argue that hue is best preserved by v6 maxrgb and least by v5 No… wrt the image hue without filmic… not sure what your eyes would say
I am sure there could be a better way to show this but that would be my take home. I did a luminosity mask and identified the section on the flower in that highlight range and set the picker there…
I hope I am not going off on an irrelevant tangent here. I just looked at a violet flower and opened it with filmic v6 preserve chrominance max RGB. I then switched filmic to V5 and it retained the max RGB preserve chrominance method. V6 was much better. I feel the real issue here may be less about V5 vs V6 and more about the preserve chrominance method chosen for each. When I switch the method to no V6 looks nice for this image but V5 has garishly vibrant colors that are horrid for my image. I have come to appreciate the value of exploring the looks obtained from switching the preserve chrominance method. No one method is best for all shots. I hope this is helpful information.
Yes I feel this is much more important in v6. I previously never used max rgb, but in v6 often find it best. v5 is still a neat option if you do want desaturation in the highlights.
Interestingly …AP mentions using No as the option in v6 to do this and from my quick test up there it is actually the most “desaturated” or at least has by far the lowest chroma value in the LCh color space…
Edit… in fact luminance goes even further to a chroma value of 18 in v6… Legacy Euclidean is the lowest at 36 for v5 but its the one of the highest in V6 as is legacy Euclidean is 86.
So in this example at least v6 preservation modes yield lower chroma values for the most part wrt v5 and the modes are not at all alike ie with luminance giving a chroma of 18 or so with v6 and 94 with v5…
Maybe some more testing but picking a highlighted area and comparing to no filmic and then all the preservation modes in both v5 and v6 will produce quite different results…
Its part of why I don’t enable it by default and I like to have a look first at the image before using filmic…
For completeness…The full range of preservation options with the resulting color…
Left column is v5 and the right one is v6…
Preservation modes shown in the order in which they appear in filmic dropdown…so each column shows the range within one color science and adjacent images are v5 vs v6 for the same mode…
Before filmic
So the closest to before filmic was applied would be it seems luminance and Euclidean for v5 and maxrgb and legacy Euclidean for v6… also big difference in how no behaves in the two versions of the color science…
The effect of the different options depends on the actual pixel values. So, while the comparison you posted is interesting, it’s only valid for that specific colour, at that specific brightness.
In particular, the different norms show the largest differences for pixels at the ends of the brightness scale: deep shadows and bright highlights (the latter of which you’d be unable to directly sample without filmic, as they would be blown – you’d have to drop exposure first).
@Terry Thanks, it was a helping information. Meanwhile I’m doing what you suggested. My problem is that I find that in my edit the image looks better when there is no filmic applied at all. I thought filmic is a module that must be activated always in order to get the pixel values within the display dynamic range.
@priort So, not enabling filmic by default seems to be a good idea. And thanks for your detailed comparative!
Seems that I still have to understand properly how filmic works. Maybe it’s a good time to rewatch the AP videos about filmic
Ya as always you explain things better than I do…that’s why I included the other “highlight” region…not quite at the same luminance and a different hue and there there is really very little difference observed between all the settings. So as you say this is not an across the board result every time. Its why I start without filmic just to see the image and then use it or many times not bother with it and just use exposure and tone eq unless DR requires it…
Its just how I do things…doesn’t mean its a good idea…in fact it hadn’t occurred to me that doing it this way filmic does not use exposure to set its starting points. This really doesn’t impact me too much though as I use the auto picker. At one time it could be unreliable but I find it quite good now.
filmic is a tone-mapping operator; an alternative to the base curve. Most of the time, if I raise midtones so they look OK on my screen, all highlights will be blown without filmic.
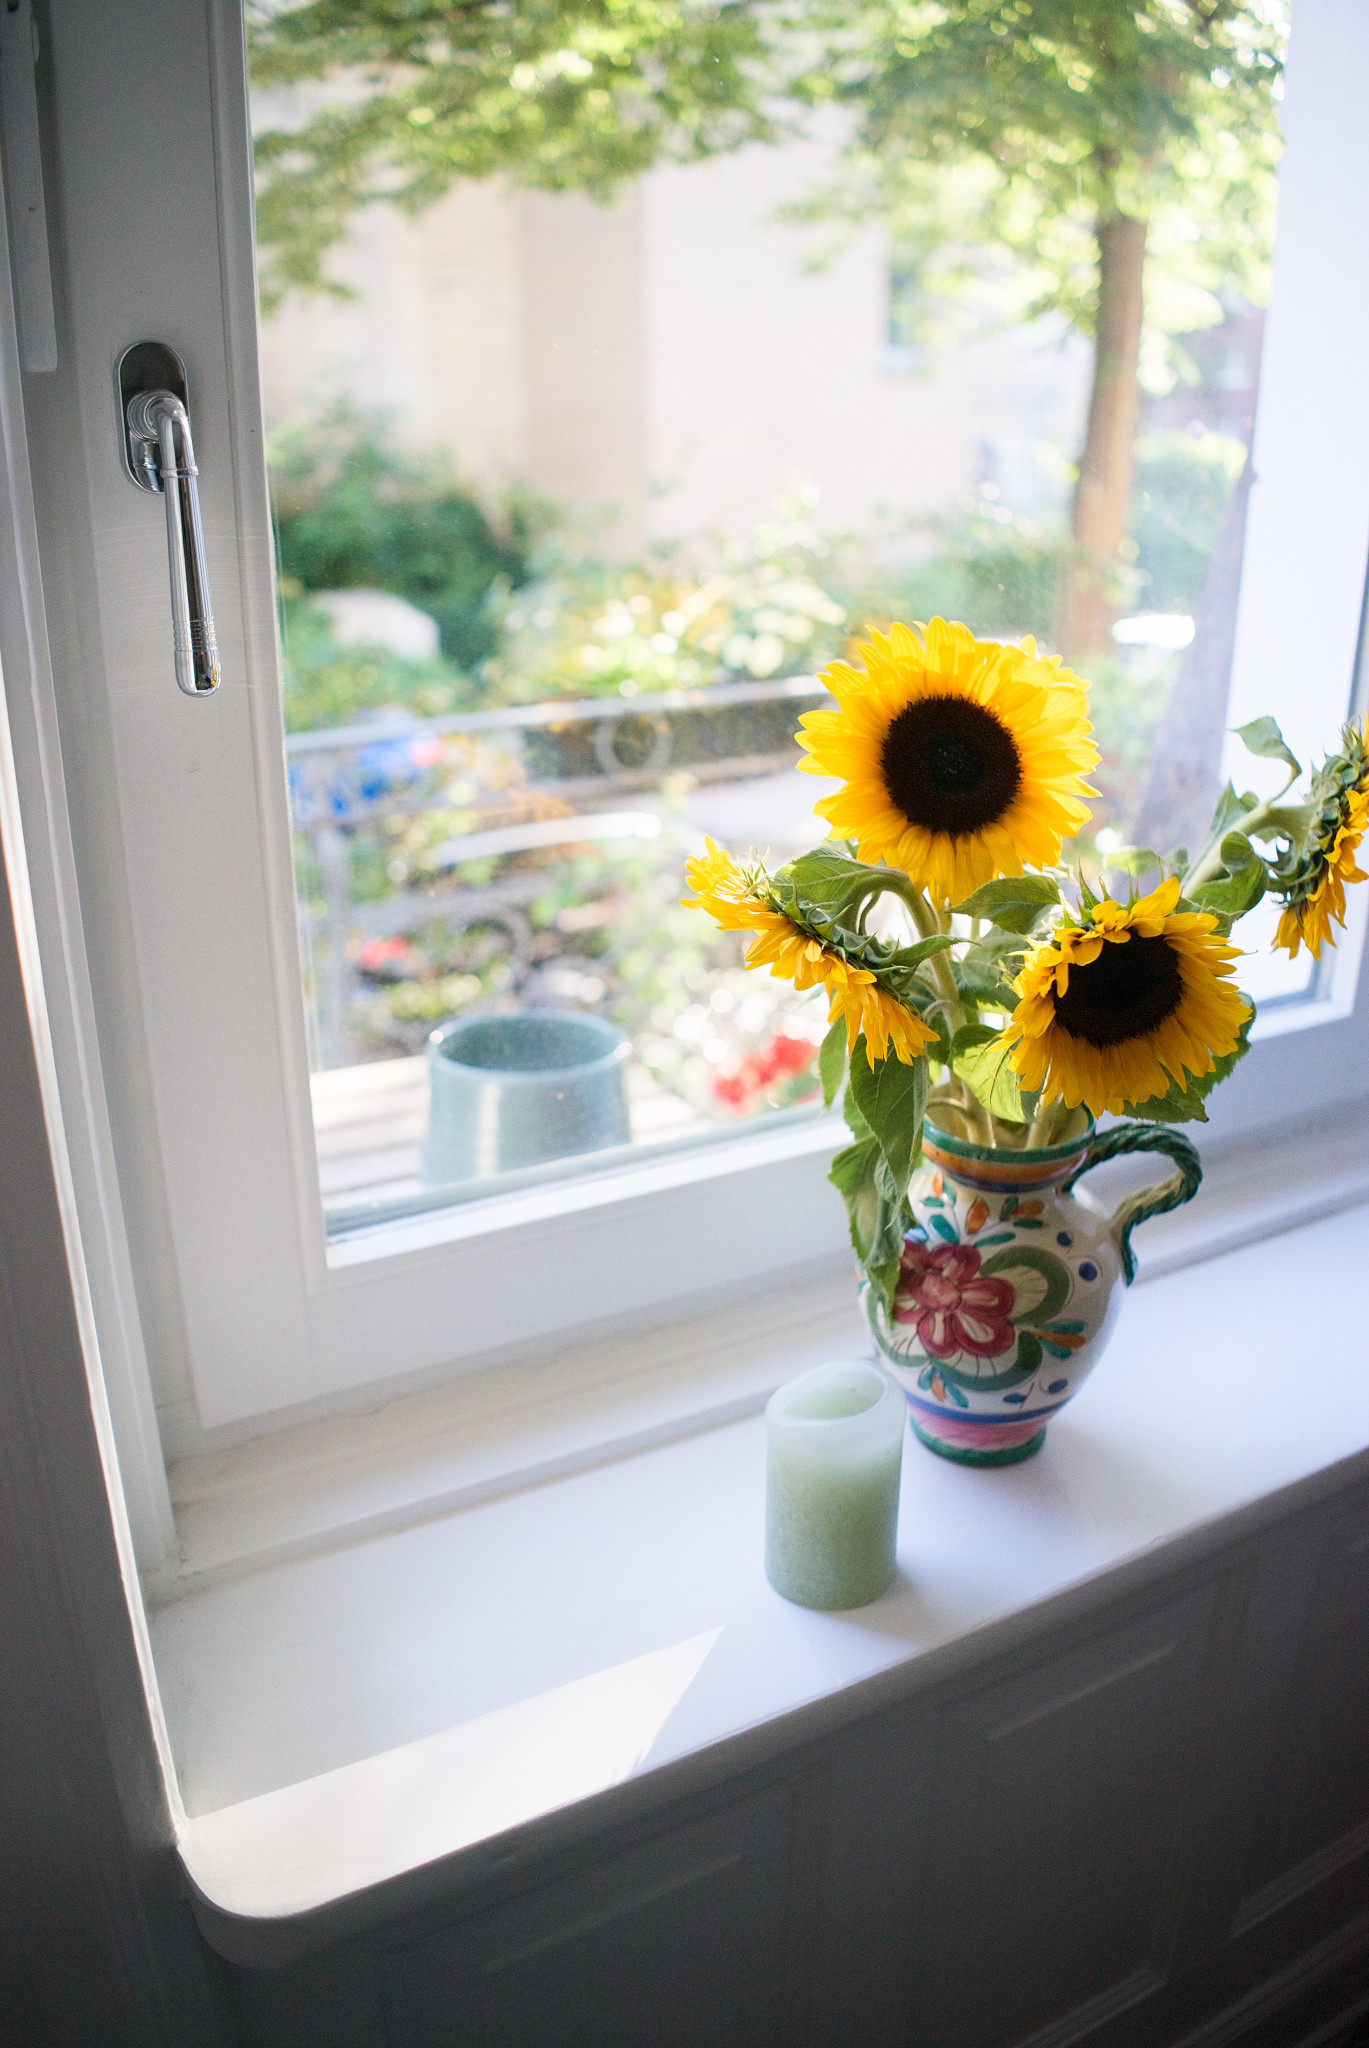
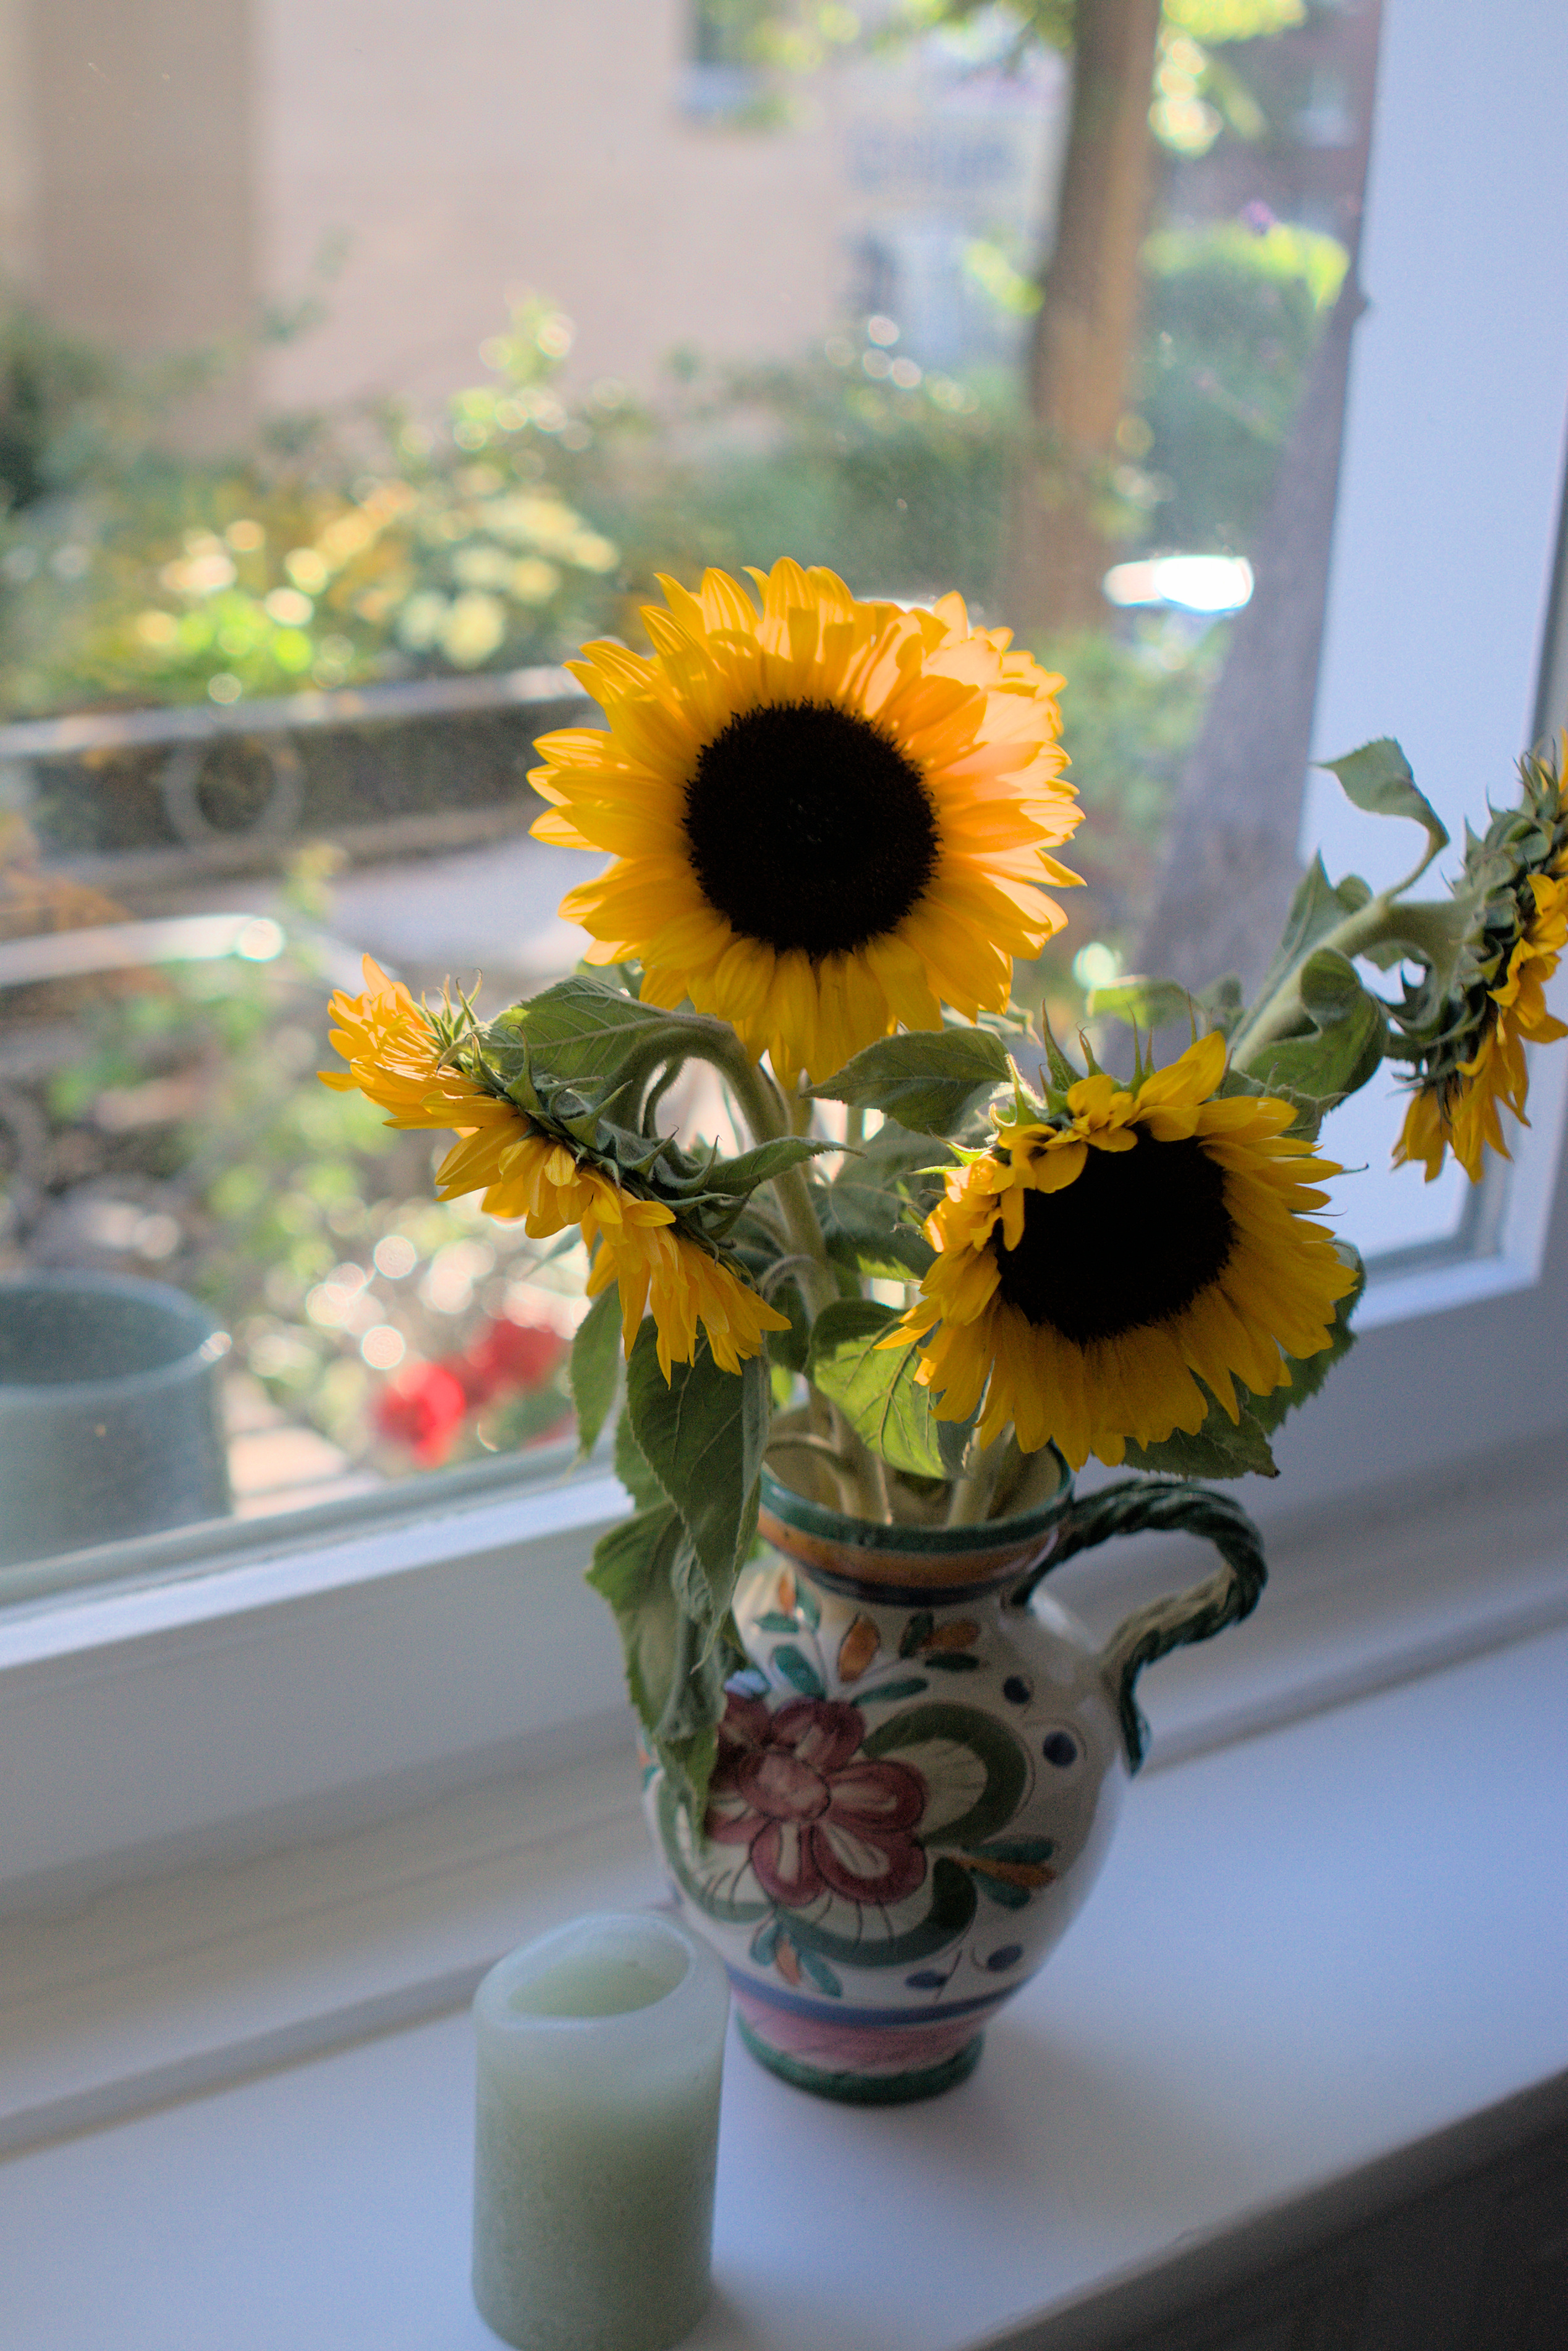
In your photo of the sunflowers, in addition to filmic, you rely on tone equalizer and masked exposure instances to manage the tonal range. You can always use such techniques, and any other curves, to do the tone mapping.
BTW, in your filmic you have a huge reversal, meaning that the curve is not monotonic; some scene-referred → display referred mappings for scene-referred values s1, s2 will result in display-referred values d1, d2 such that s1 is darker than s2, but d1 is brighter than d2 (that is what the orange part of the curve indicates):
(How can one actually write that in English, without s1, s2, d1, d2? I’ve tried several times, but all my attempts were even more complicated. “Some dark scene-referred values will be mapped to brighter display-referred values than some brighter scene-referred values”?)
Anyway, a rendering from me - I went for a(n over-) saturated look. DSC09445_02.ARW.xmp (8.7 KB)
Thank you @kofa for your very good explanation. I somehow knew that but now I can connect some dots and understand it better.
I’m asking myself now what are the advantages of filmic over other methods to manage the tonal range. I think it was already discussed here, so I will search and reread it.
I understand what you mean with the not monotonic curve. It is just an error after playing with the filmic input controls too much
The base curve, even if you move it to the end of the pipeline (actually, it is there if you use the scene-referred workflow, or at least the scene-referred pipeline order), expects input in [0…1] and produces output in [0…1]. Filmic can basically handle whatever you throw at it (from -16 EV below mid-grey to 16 EV above, so roughly [0…12000] (0 EV, or ‘1’, being 2.45 EV above mid-grey, and 2^(16-2.45) being ~11993.79).
This means that you can first brighten your raw image (using exposure) to put midtones at their proper place (brightness-wise). In modules like color balance rgb, which have sliders for shadows, midtones and highlights, those sliders will work properly. filmic leaves midtones alone. base curve, on the other hand, brightens the image (keeping 1 = 1, but pushing low values to the midtones, so you get a normal-looking image). However, if base curve is near the end of the pipeline, the modules that come before it will think your midtones are actually shadows.
If you put base curve near the beginning of the pipeline (that’s the scene-referred way of working), you get correct midtones, but if you go over 1 anywhere (e.g., while sharpening, increasing contrast, manipulating colours), you will either introduce clipping, or need to add another tone mapping operator at the end, to bring values that went over 1 back to the 0…1 range.