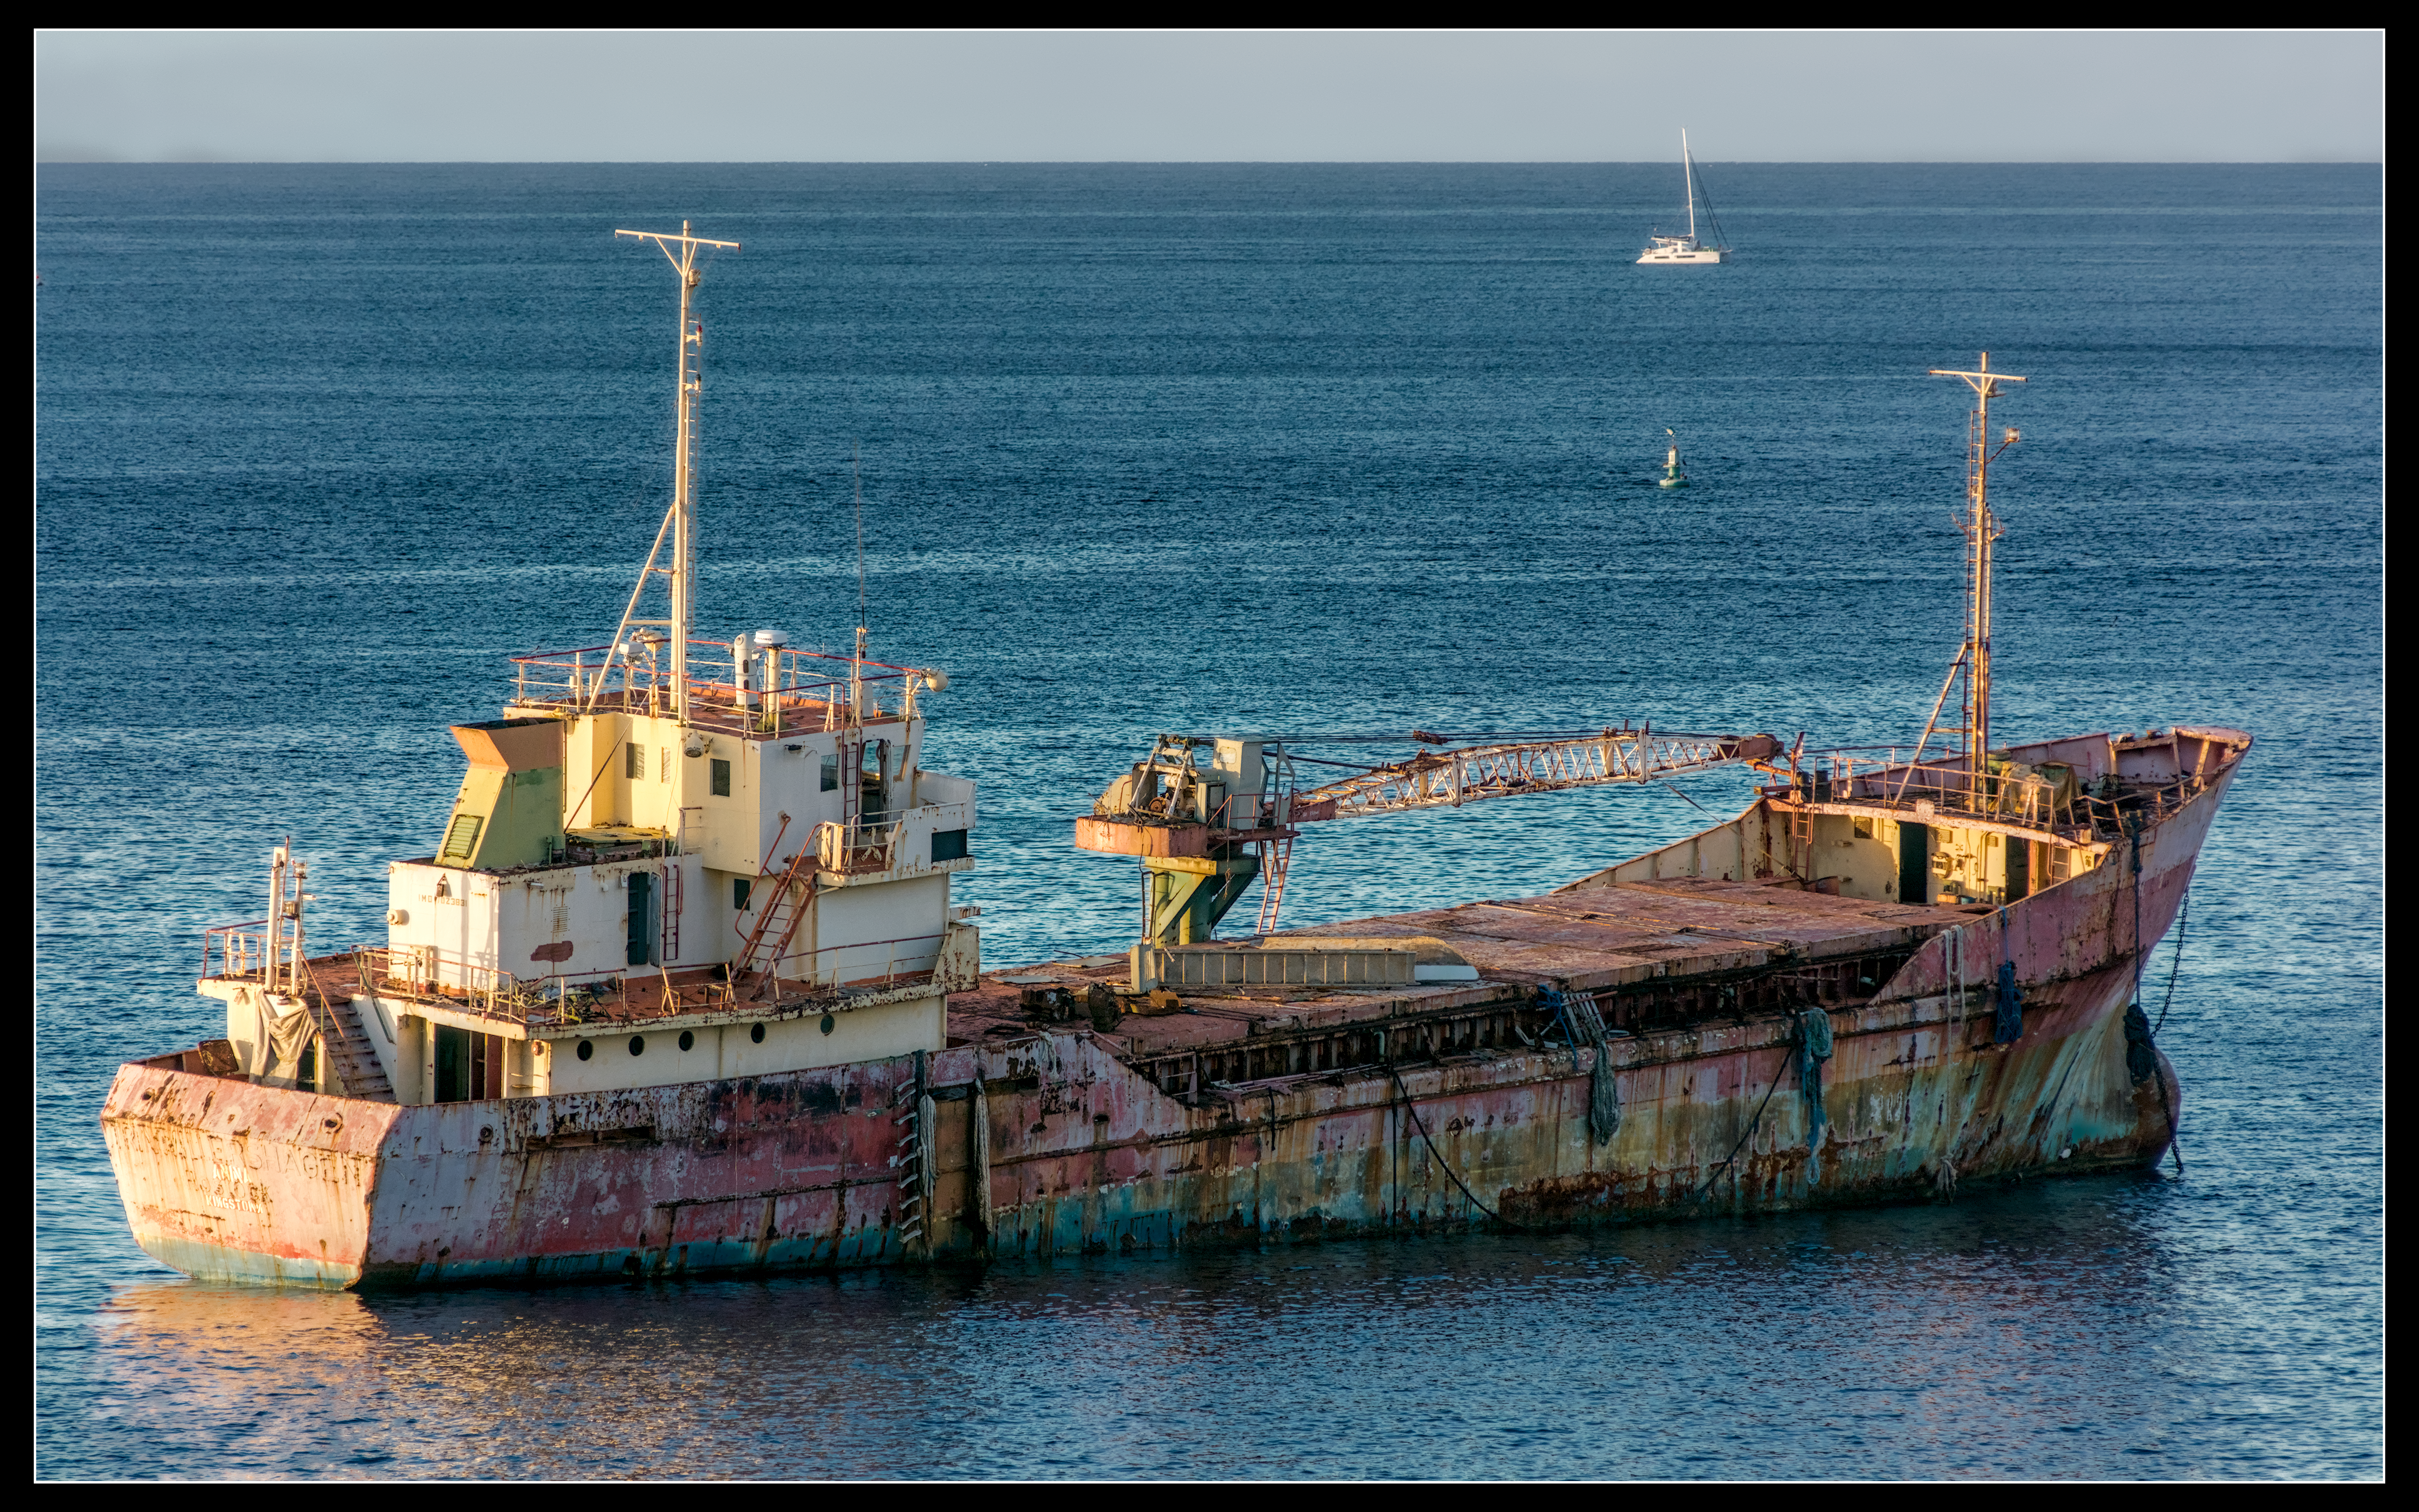
This is my first playraw.
The photo aint a partikularly good one, but showing an issue I have.
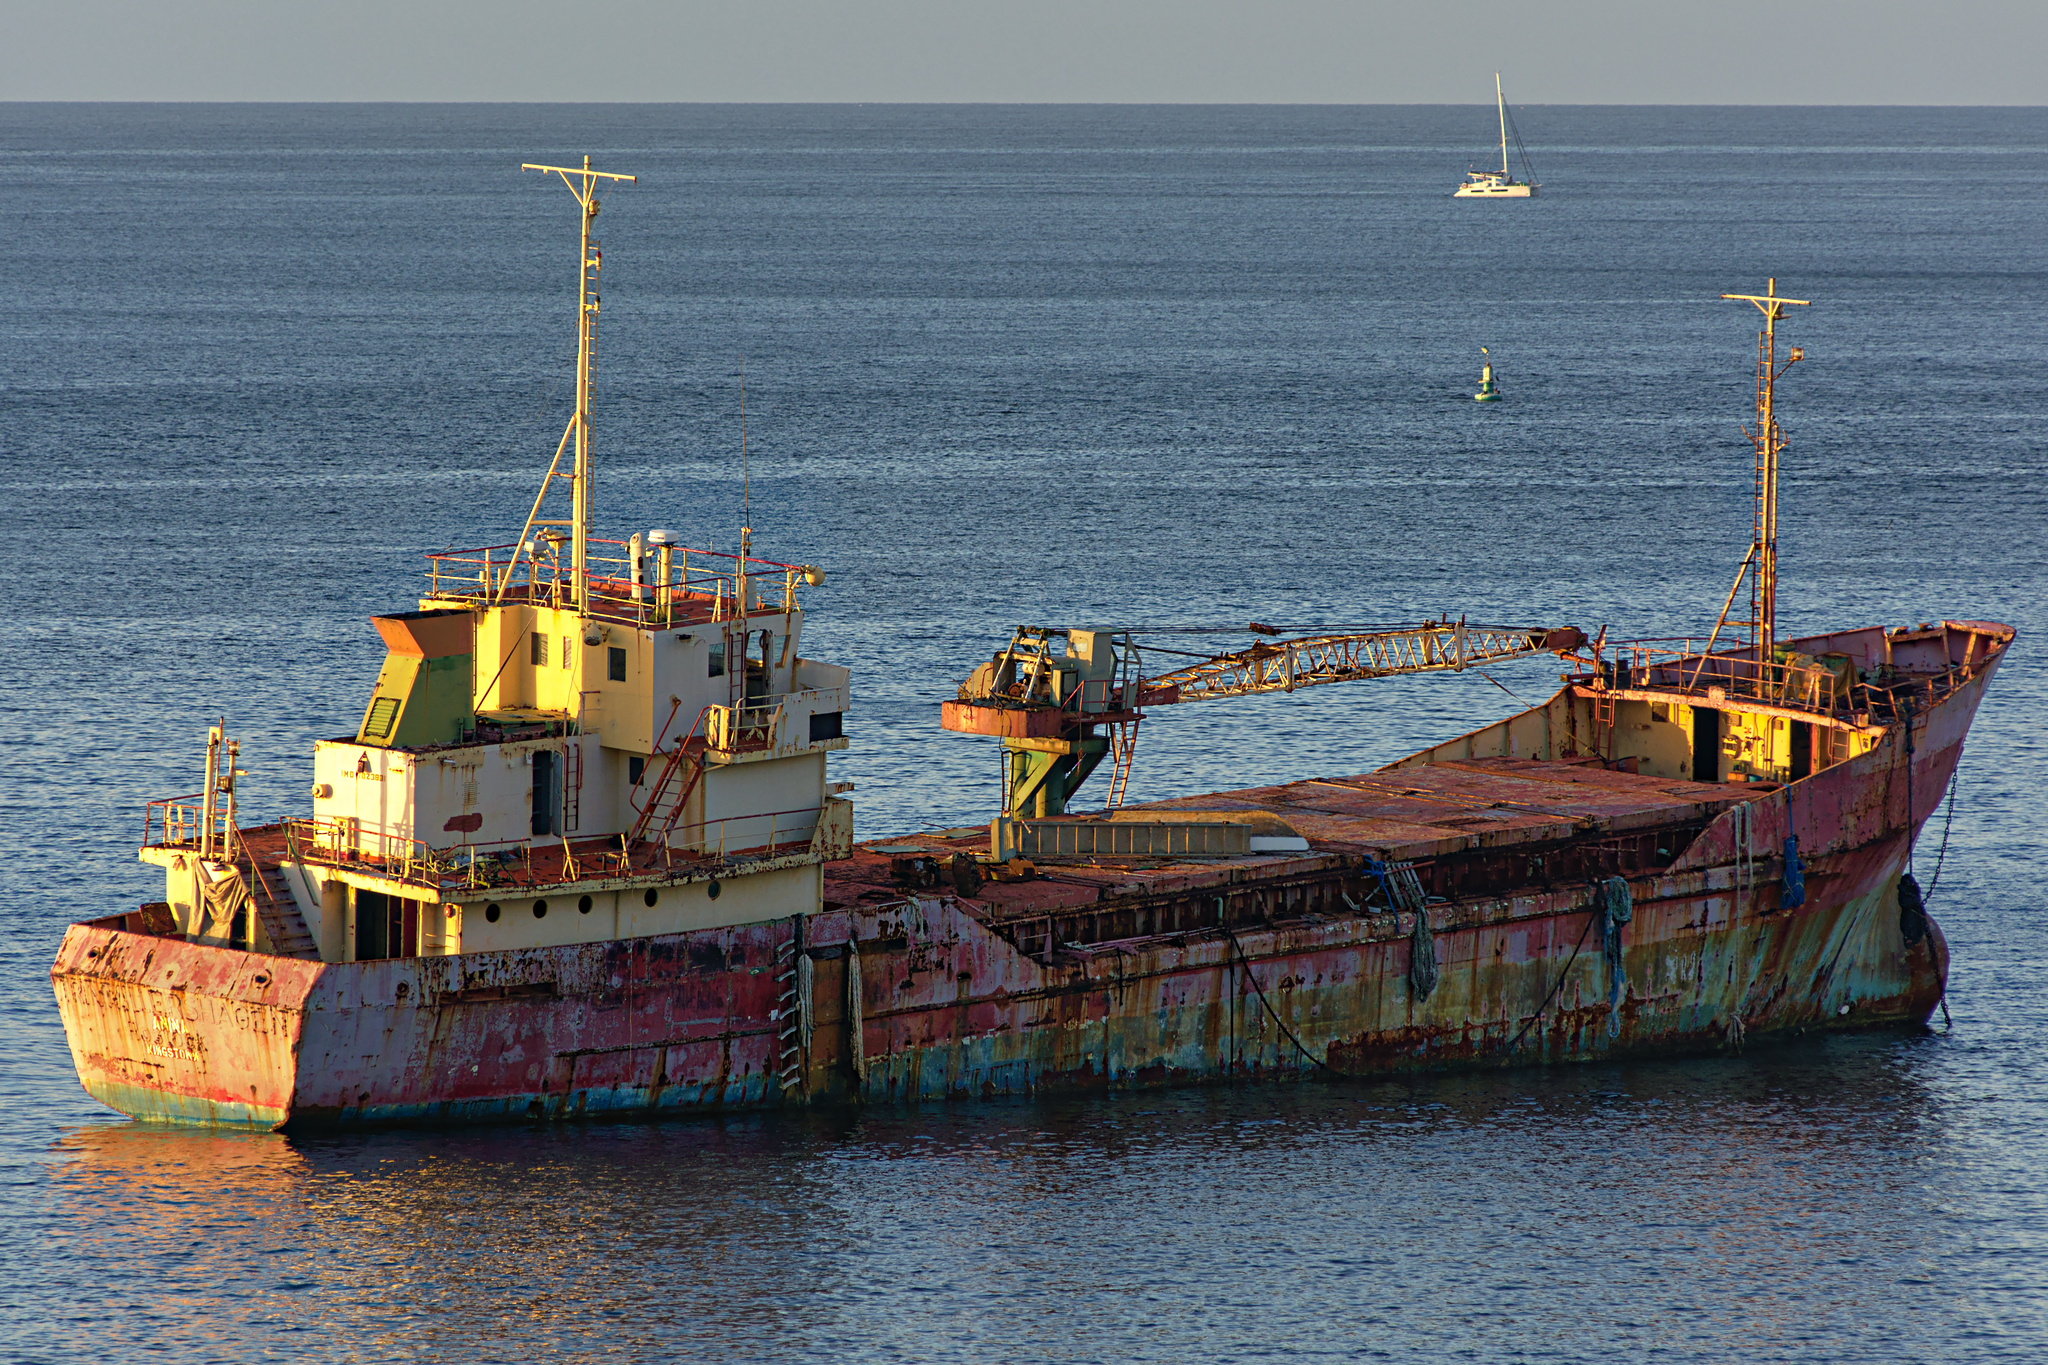
I do like filmic and getting along with it quite well. However, from time to time I re-edit older photos and sometimes I struggle with getting the OOOoooomph which the basecurve gave me
(sorry for that unprofessional wording, it is not just contrast but hard to say)
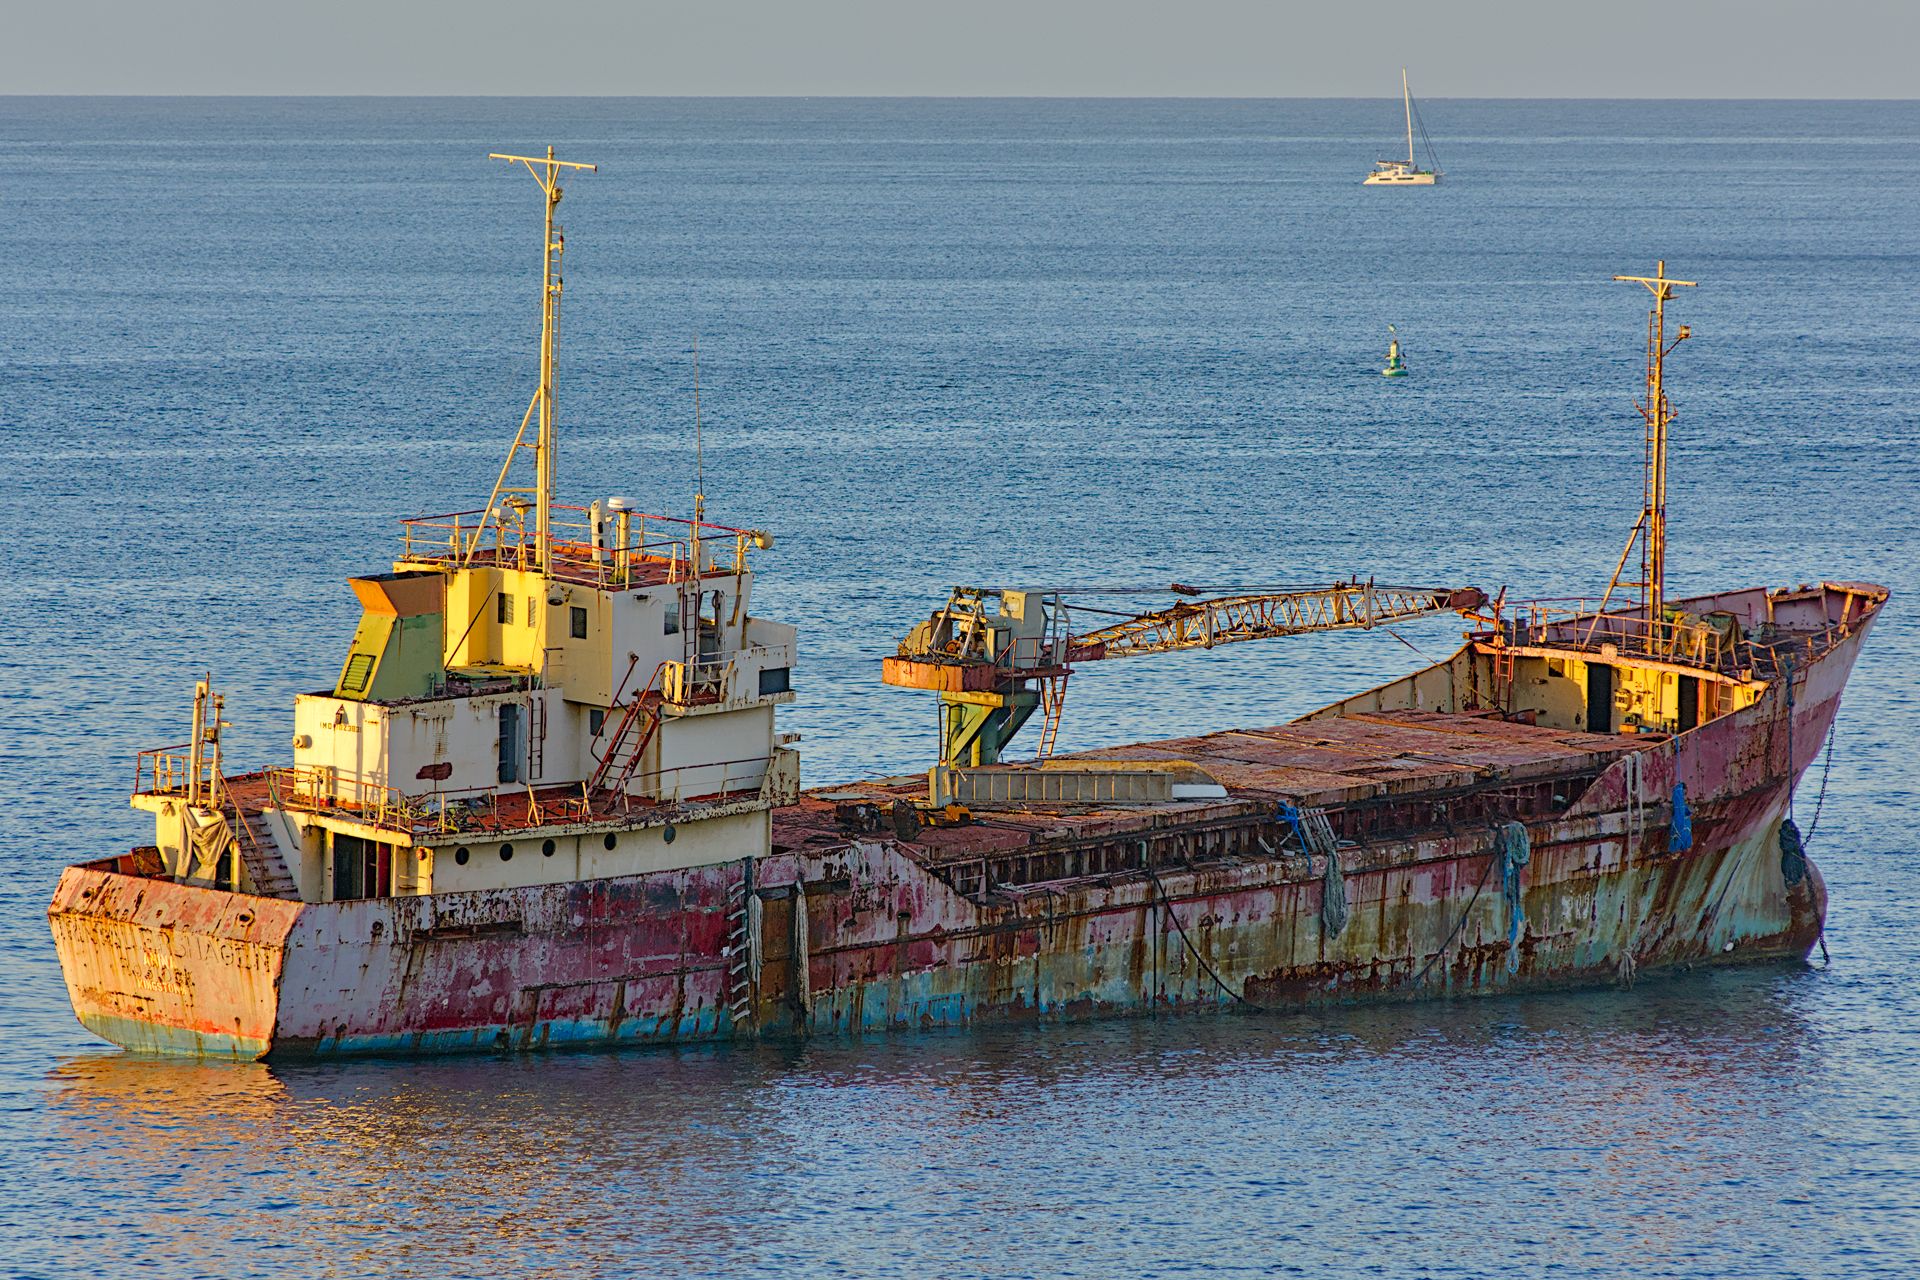
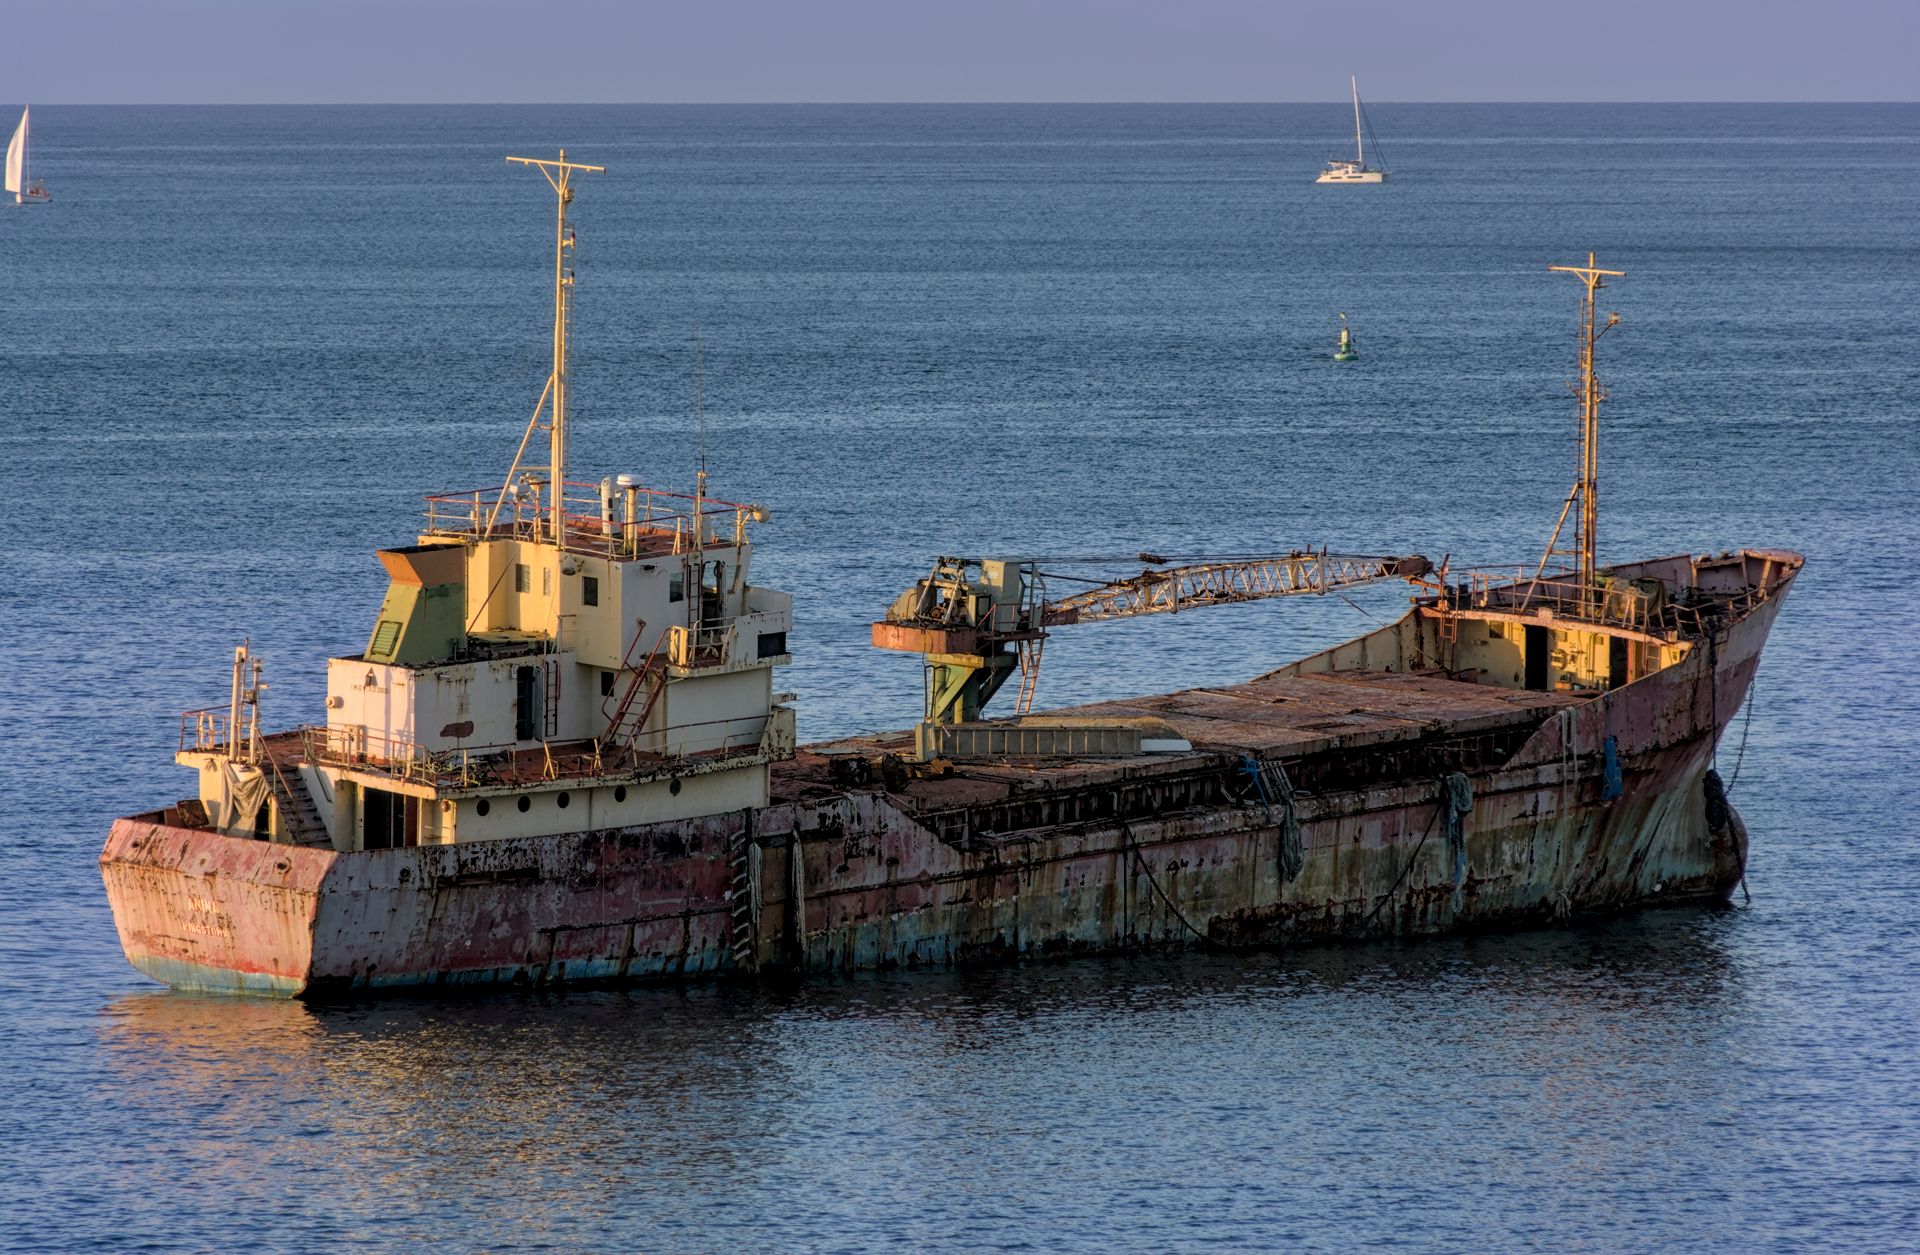
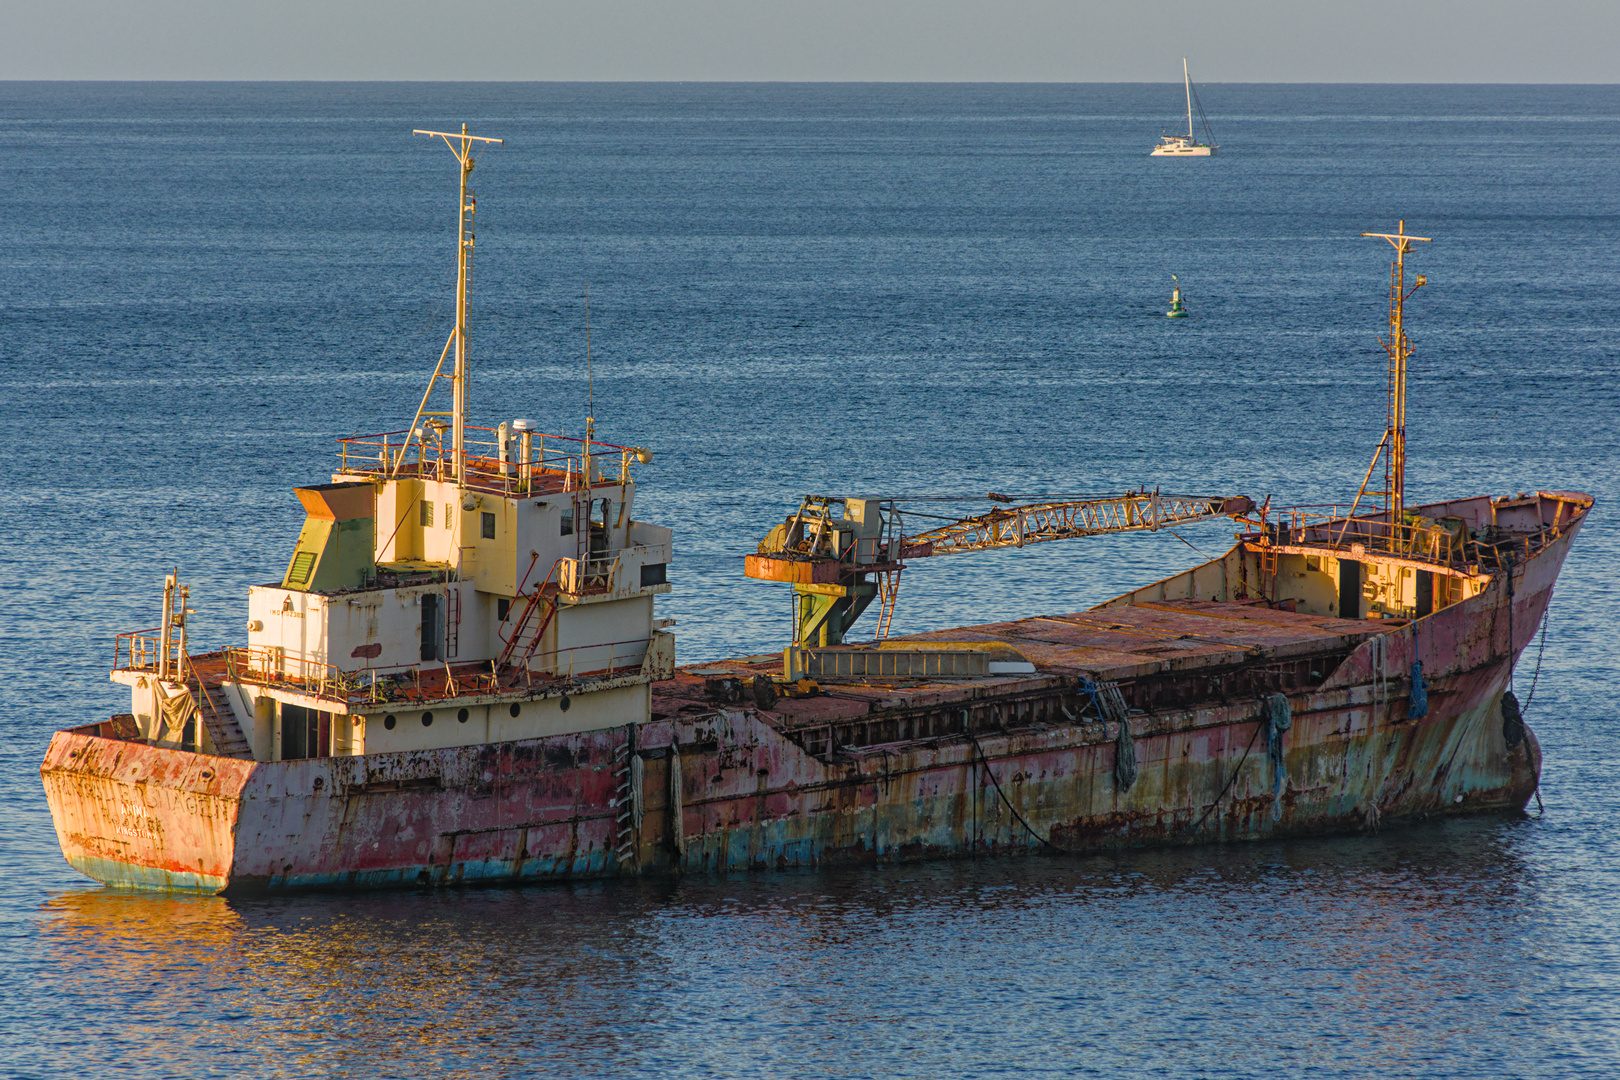
Just a quick comment on your base curve image. The highlights at the back of the ships buildings seems very yellow and not very natural. Filmic does a great job in preserving hues.
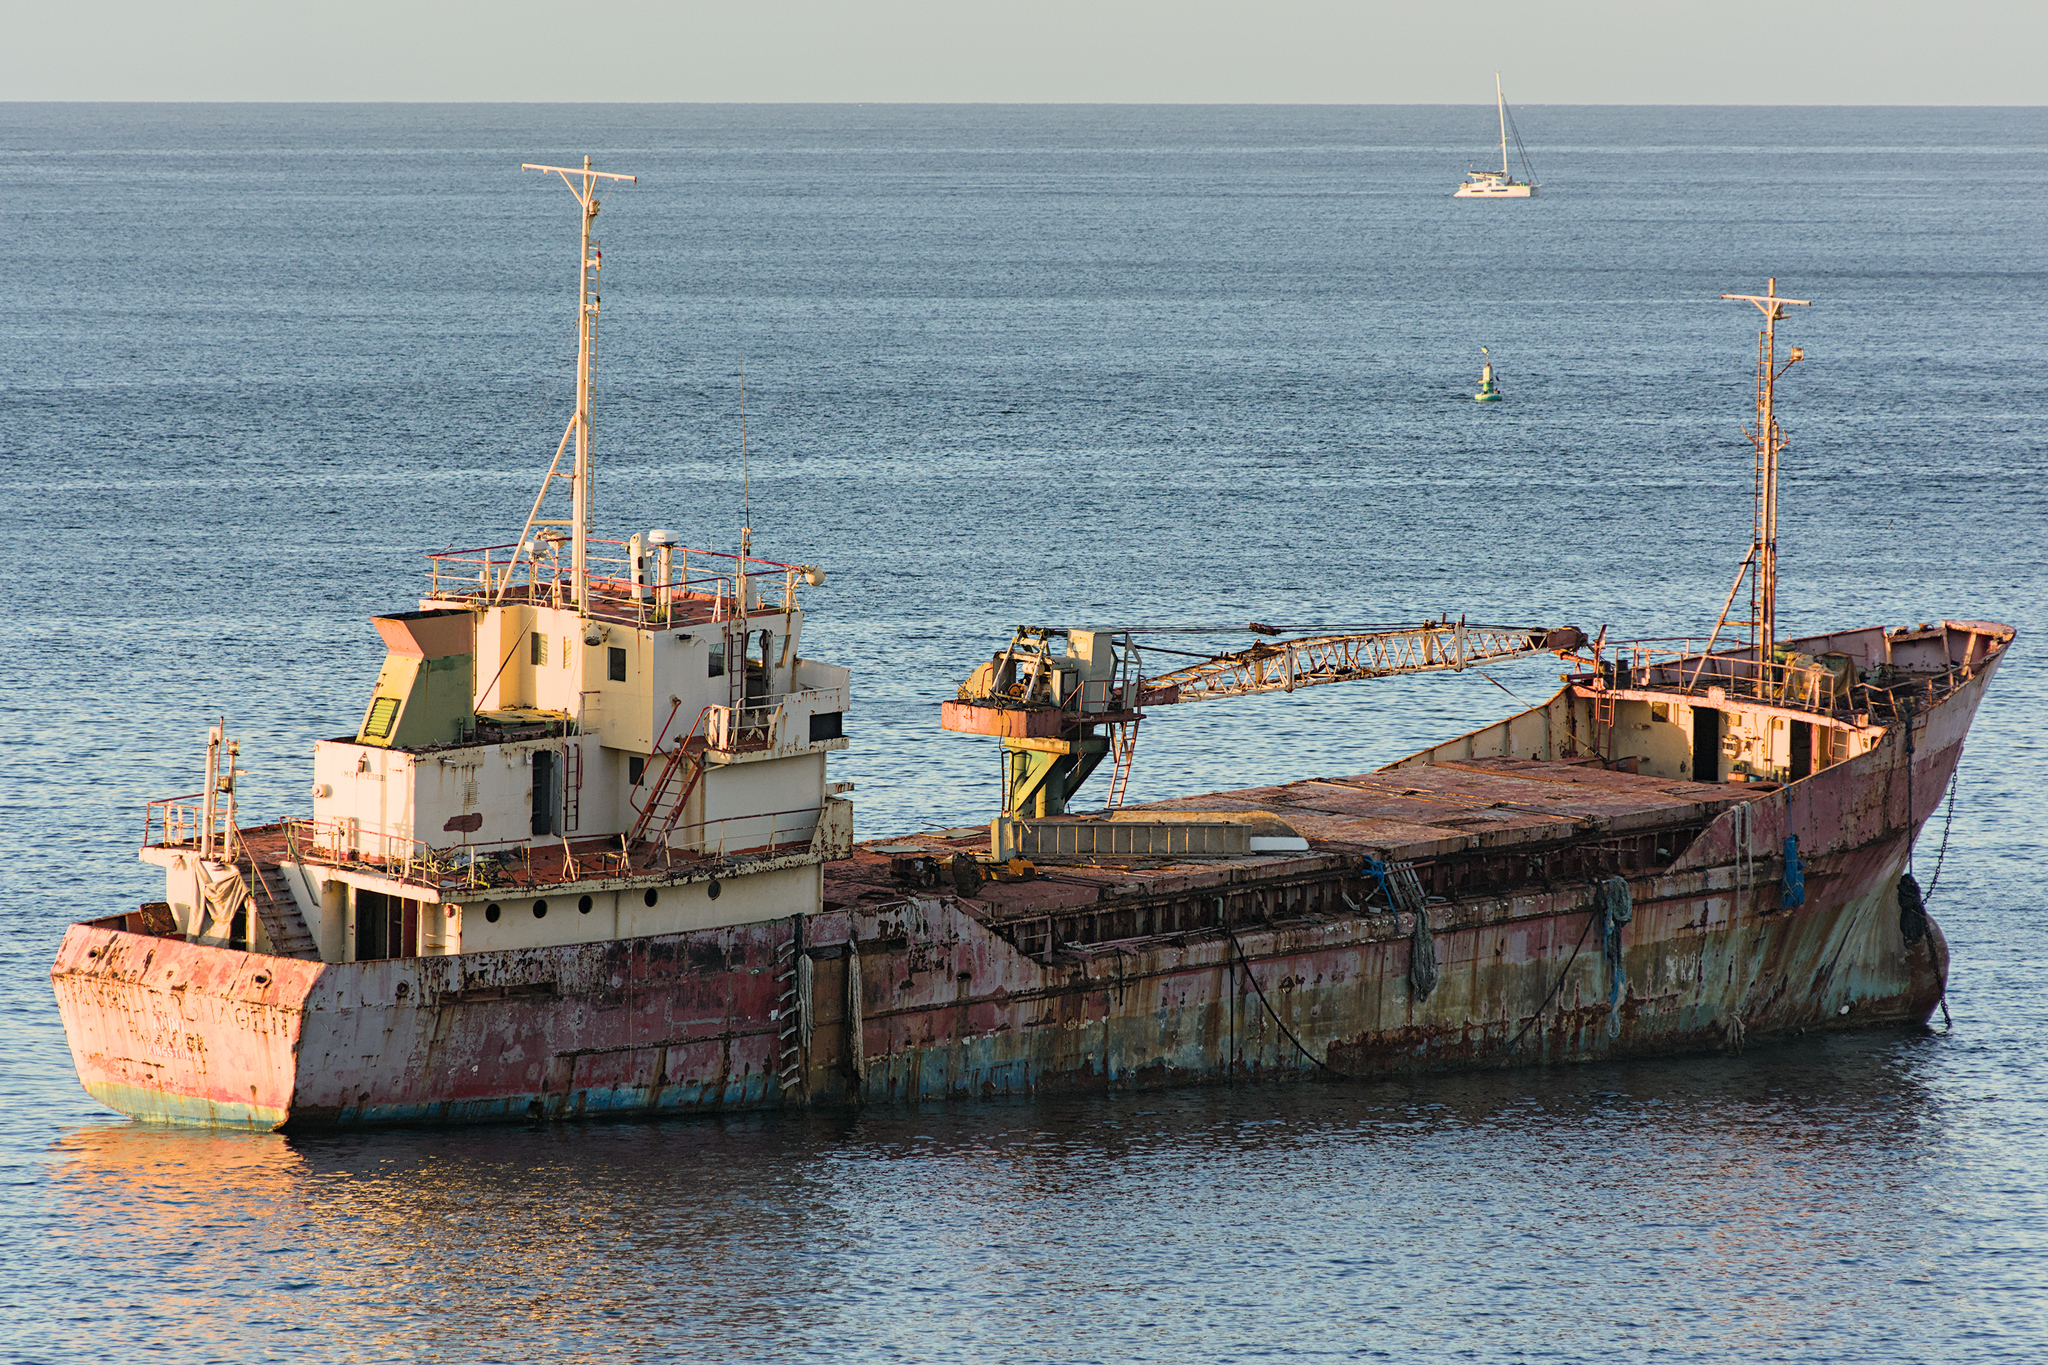
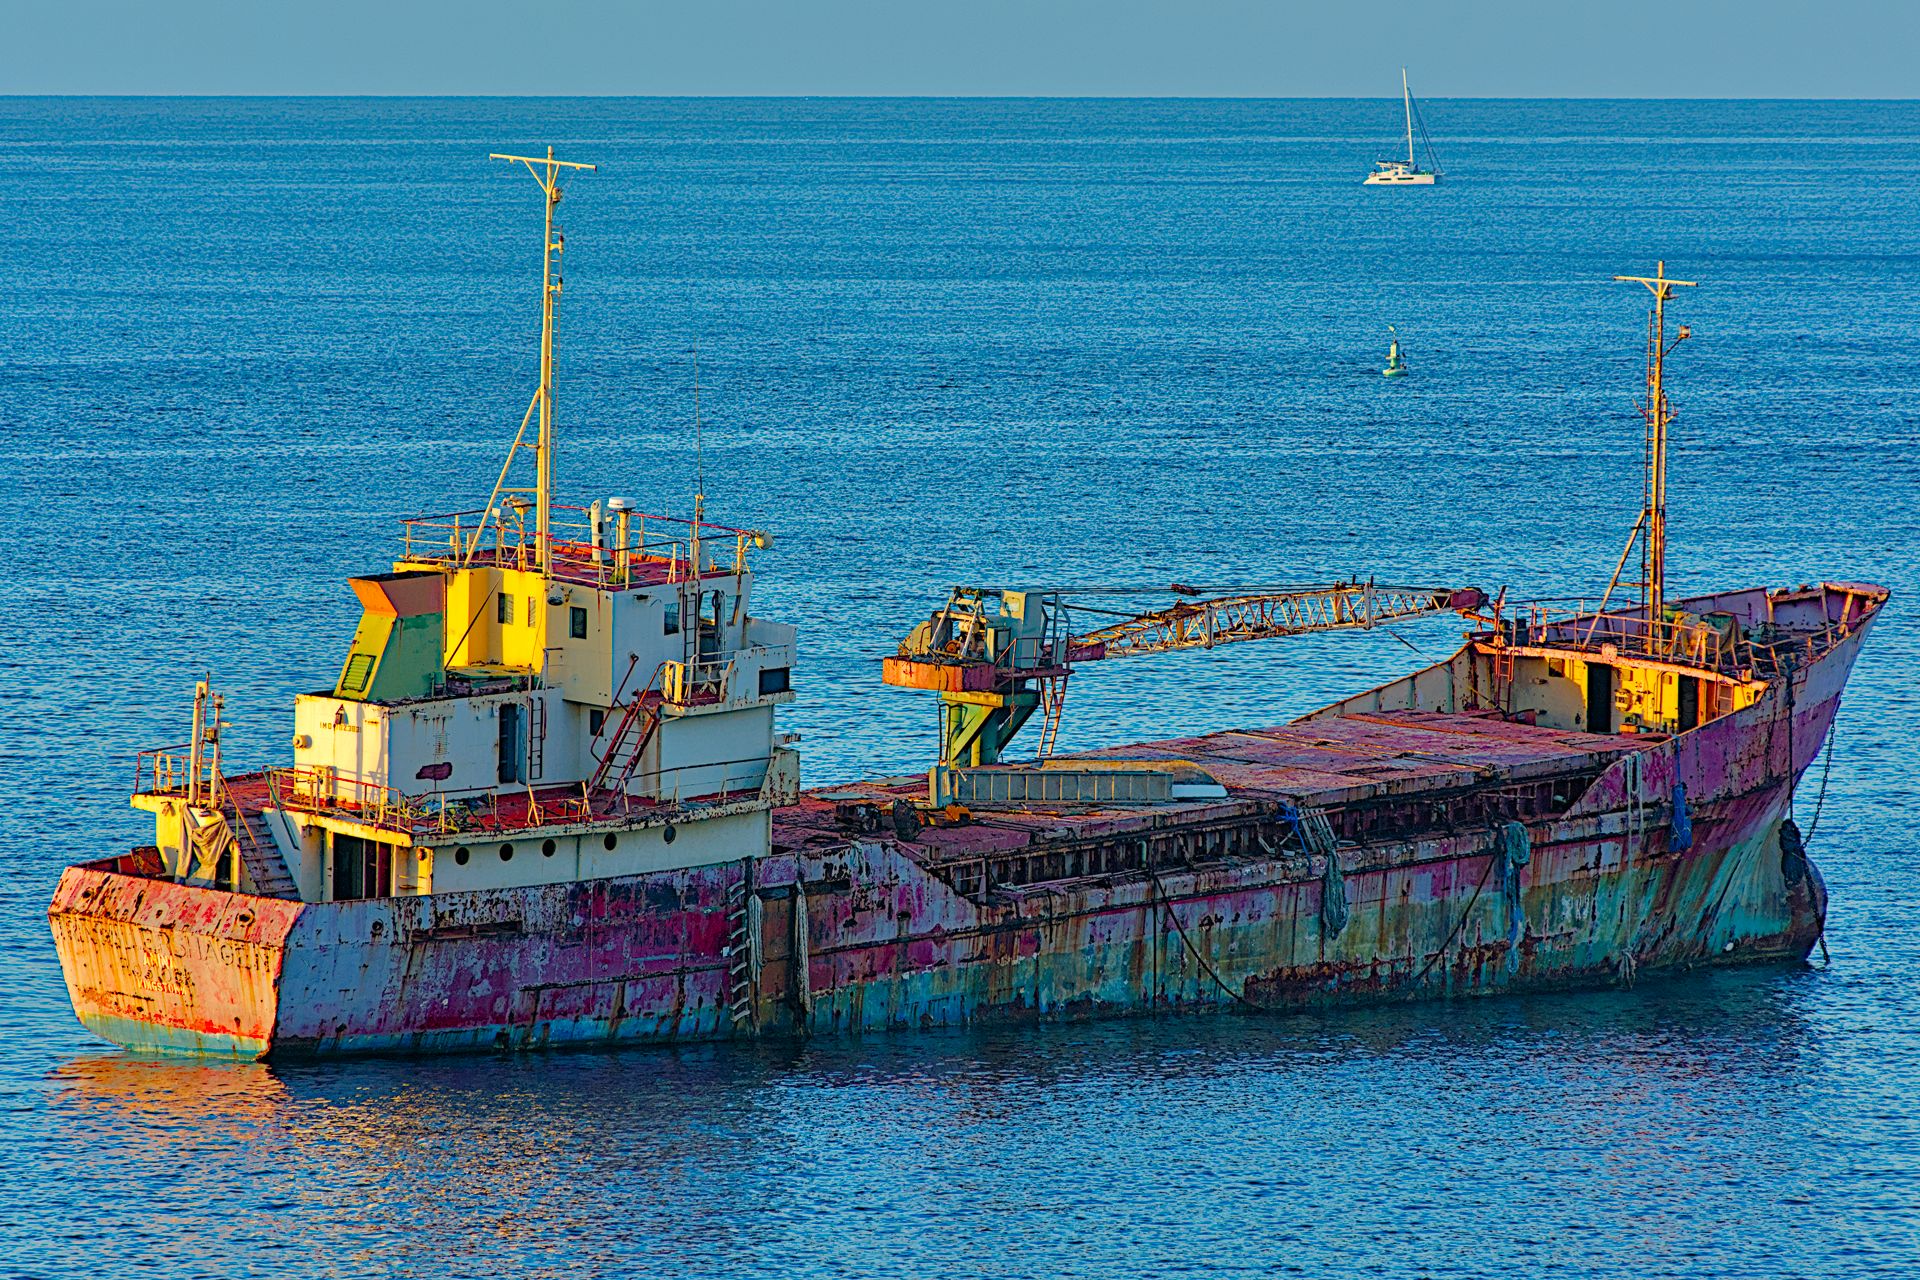
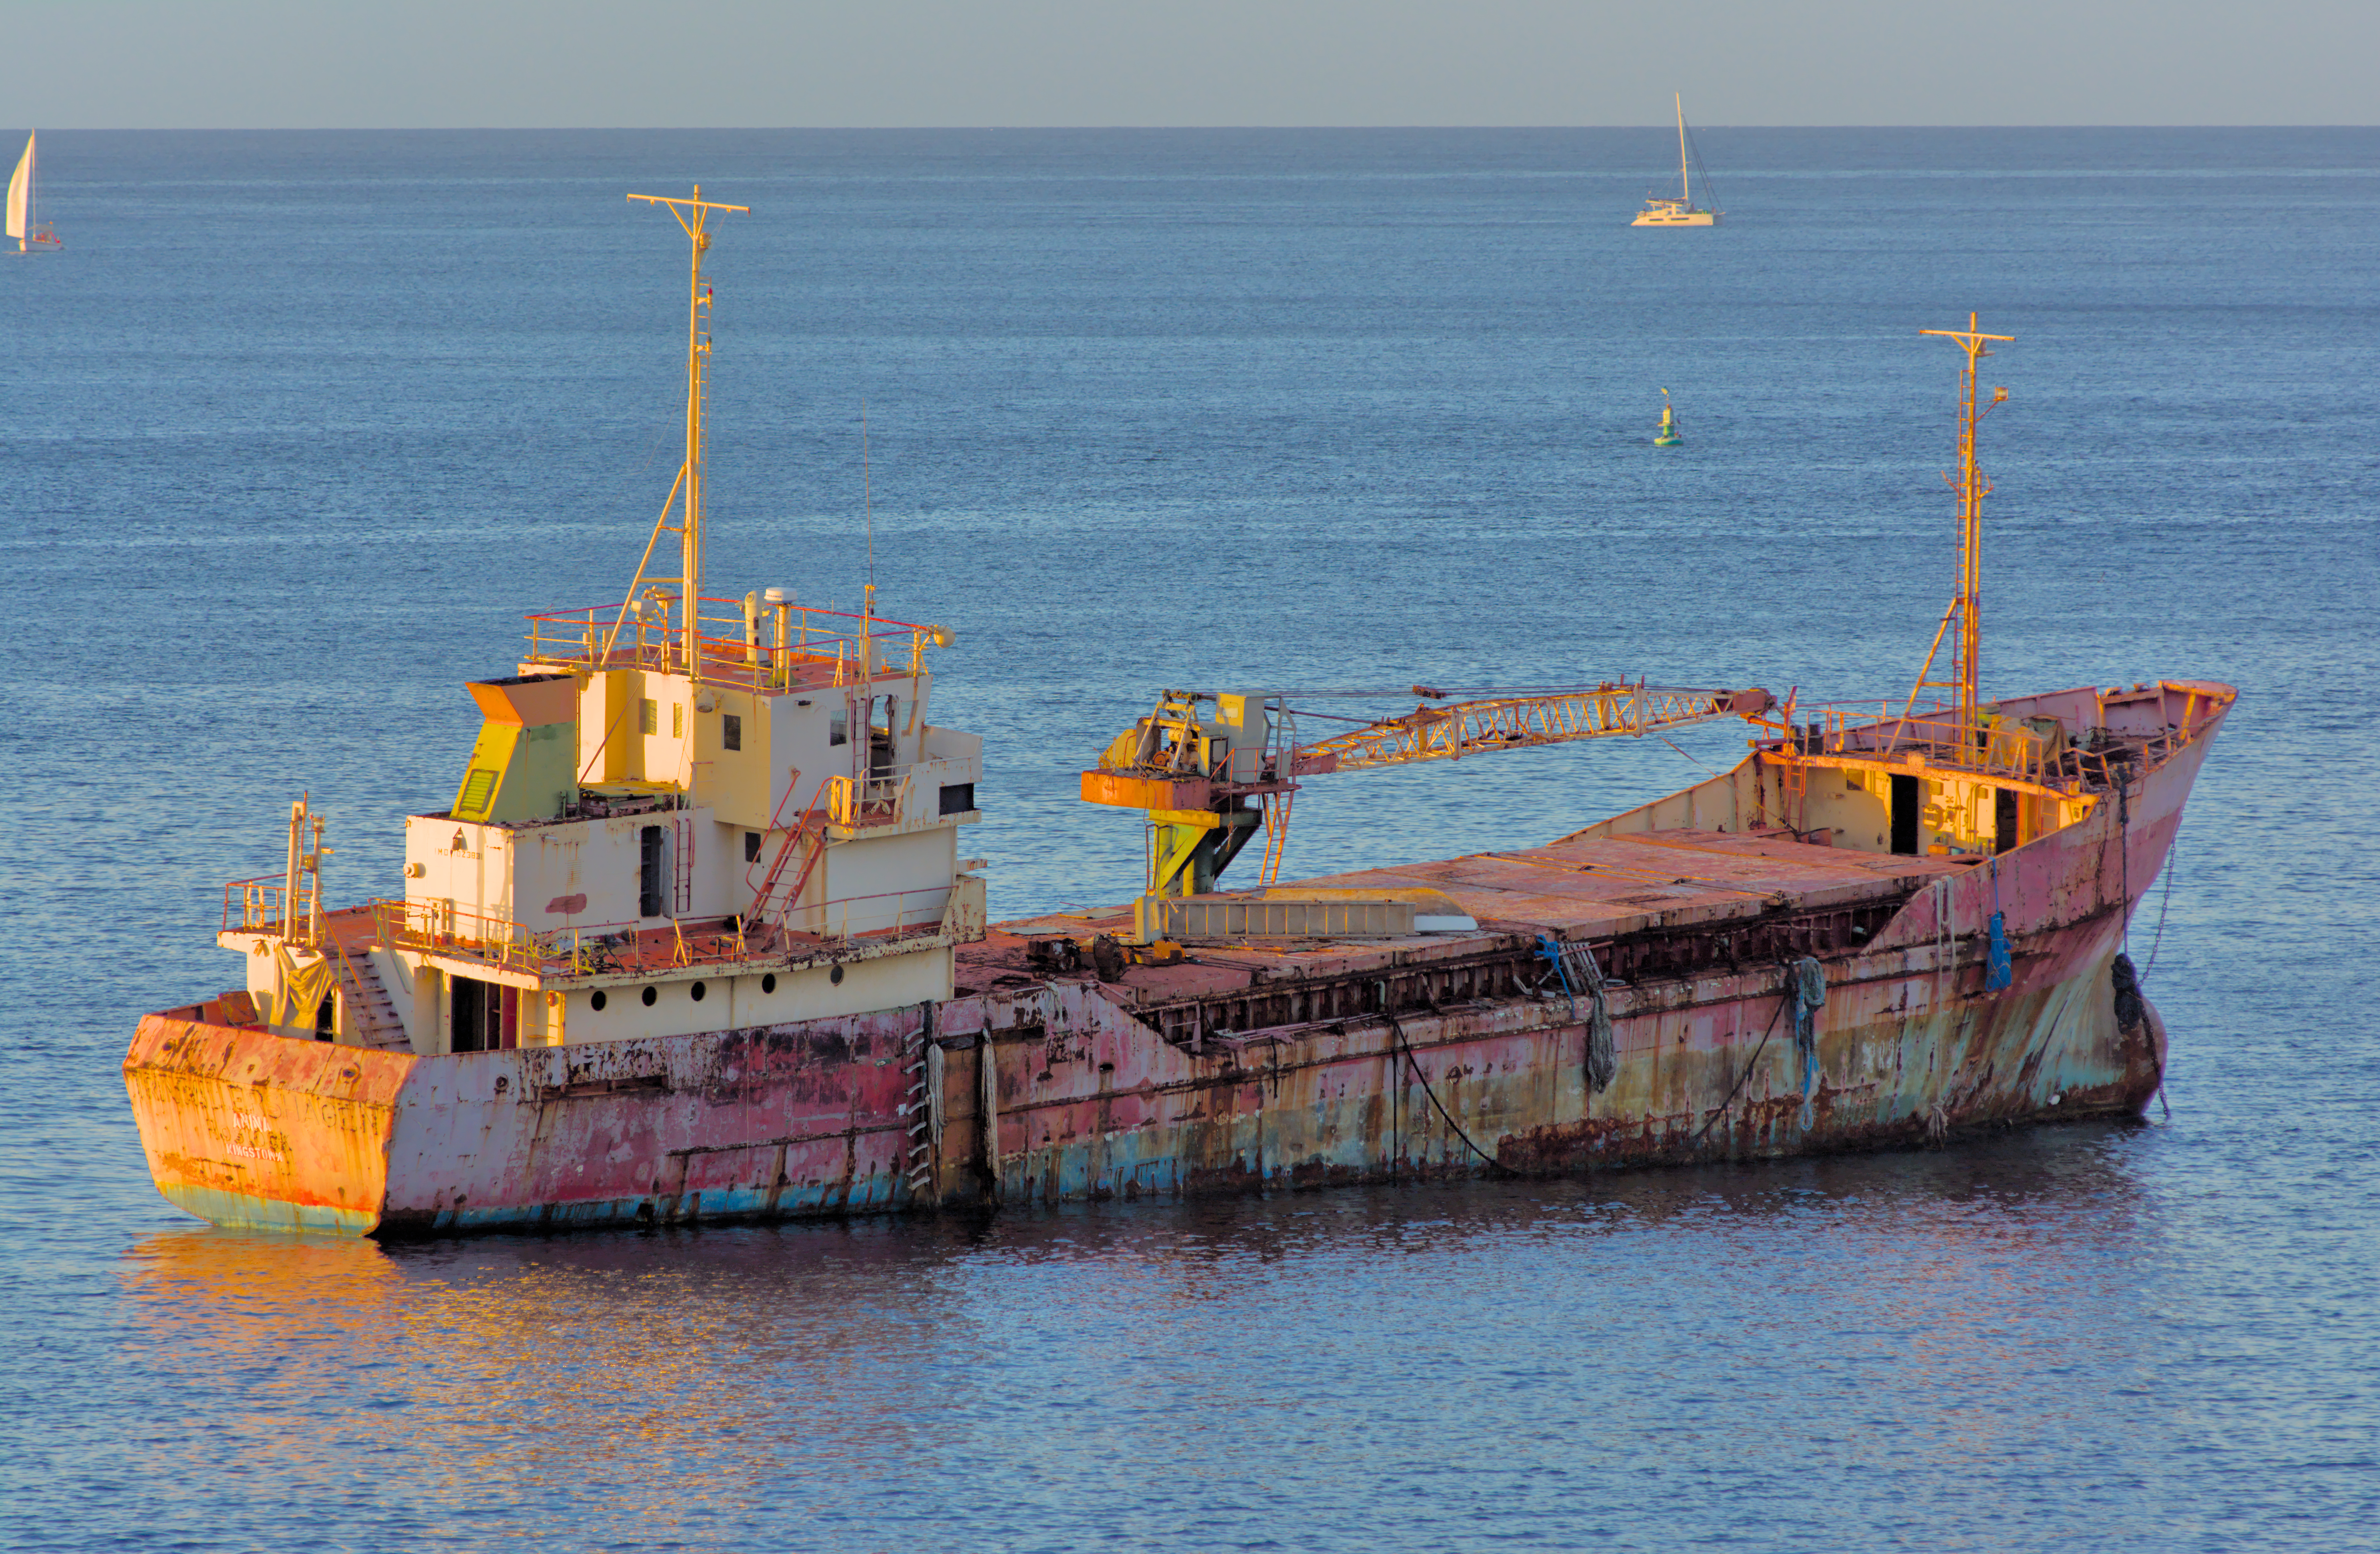
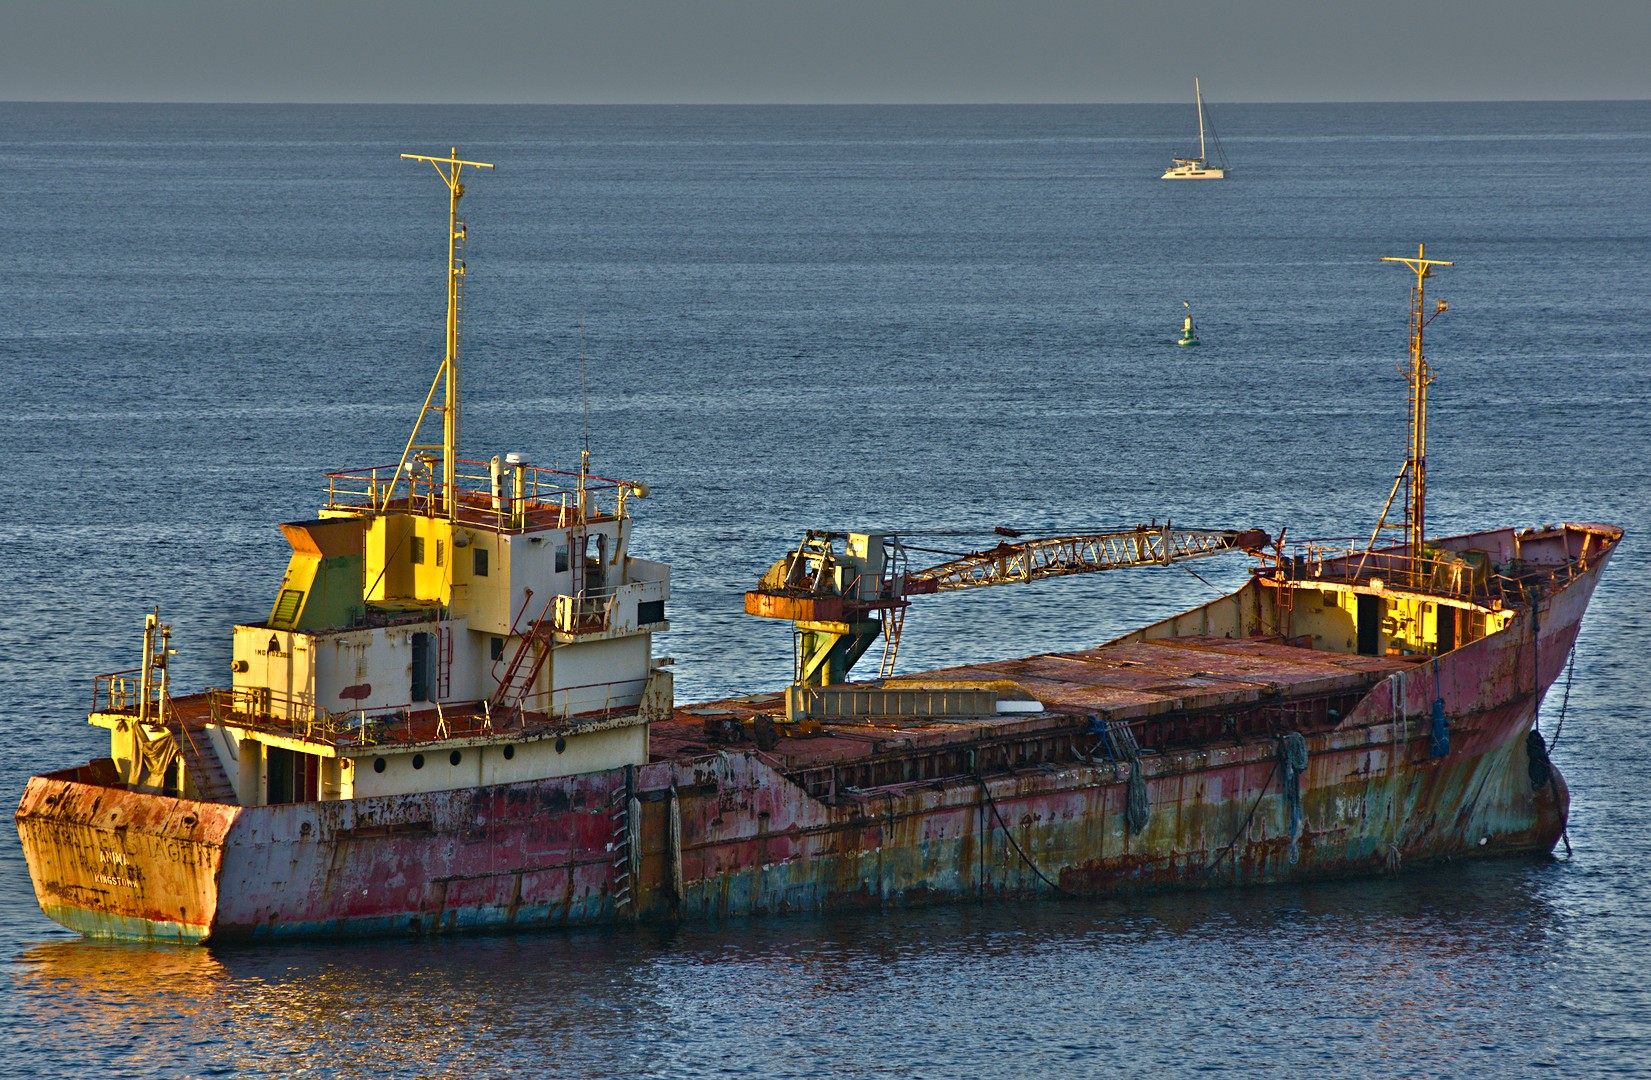
So not using my own recipe but preference I really prefer v5 filmic I did an edit using your xmp. Using filmic v5 set to color pres no and tweaking exposure which you have dramatically different in your filmic edit (it would be higher for filmic but its still overall much brighter than your base curve edit and it contributes a bit to the more washed out look)… Here is a 30 second change…
One, make wb the same… so I copied from your basecurve edit as I don’t think the wb is equivalent.
Two, use the autopicker for exposure set to 50%… work with that… this is my default way to set exposure and if I don’t like the value I select an roi instead of the whole image …leaving it at 50% and then remapping with the tone mappers… so step 2 lower/different exposure…
Then just swapped your filmic for v5 … v5 lets you add back saturation nicely for those warm looks…
I left all the other steps the same as your filmic xmp… I didn’t look to see if there were other steps in your base curve not in the filmic one or the reverse…
So I made exposure more similar. made sure both edits were using the same wb and then used v5 filmic in place of v6…
The rest is all you and for sure I could spend more time to get them closer but really as a proof of approach not really necessary…
Your first attempt with V5 looks bests to me and closest to what I expected. I forgot to mention in my initial post (updated) that I know that trick and look forward to get it with V6 as well
I don’t think you will V6 is quite different…I would go so far as to say there are 4 options Filmic v5 V6 sigmoid and basecurve. The saturation curve and the two sliders that control it and the lack of gamut mapping handcuffs makes v5 quite different
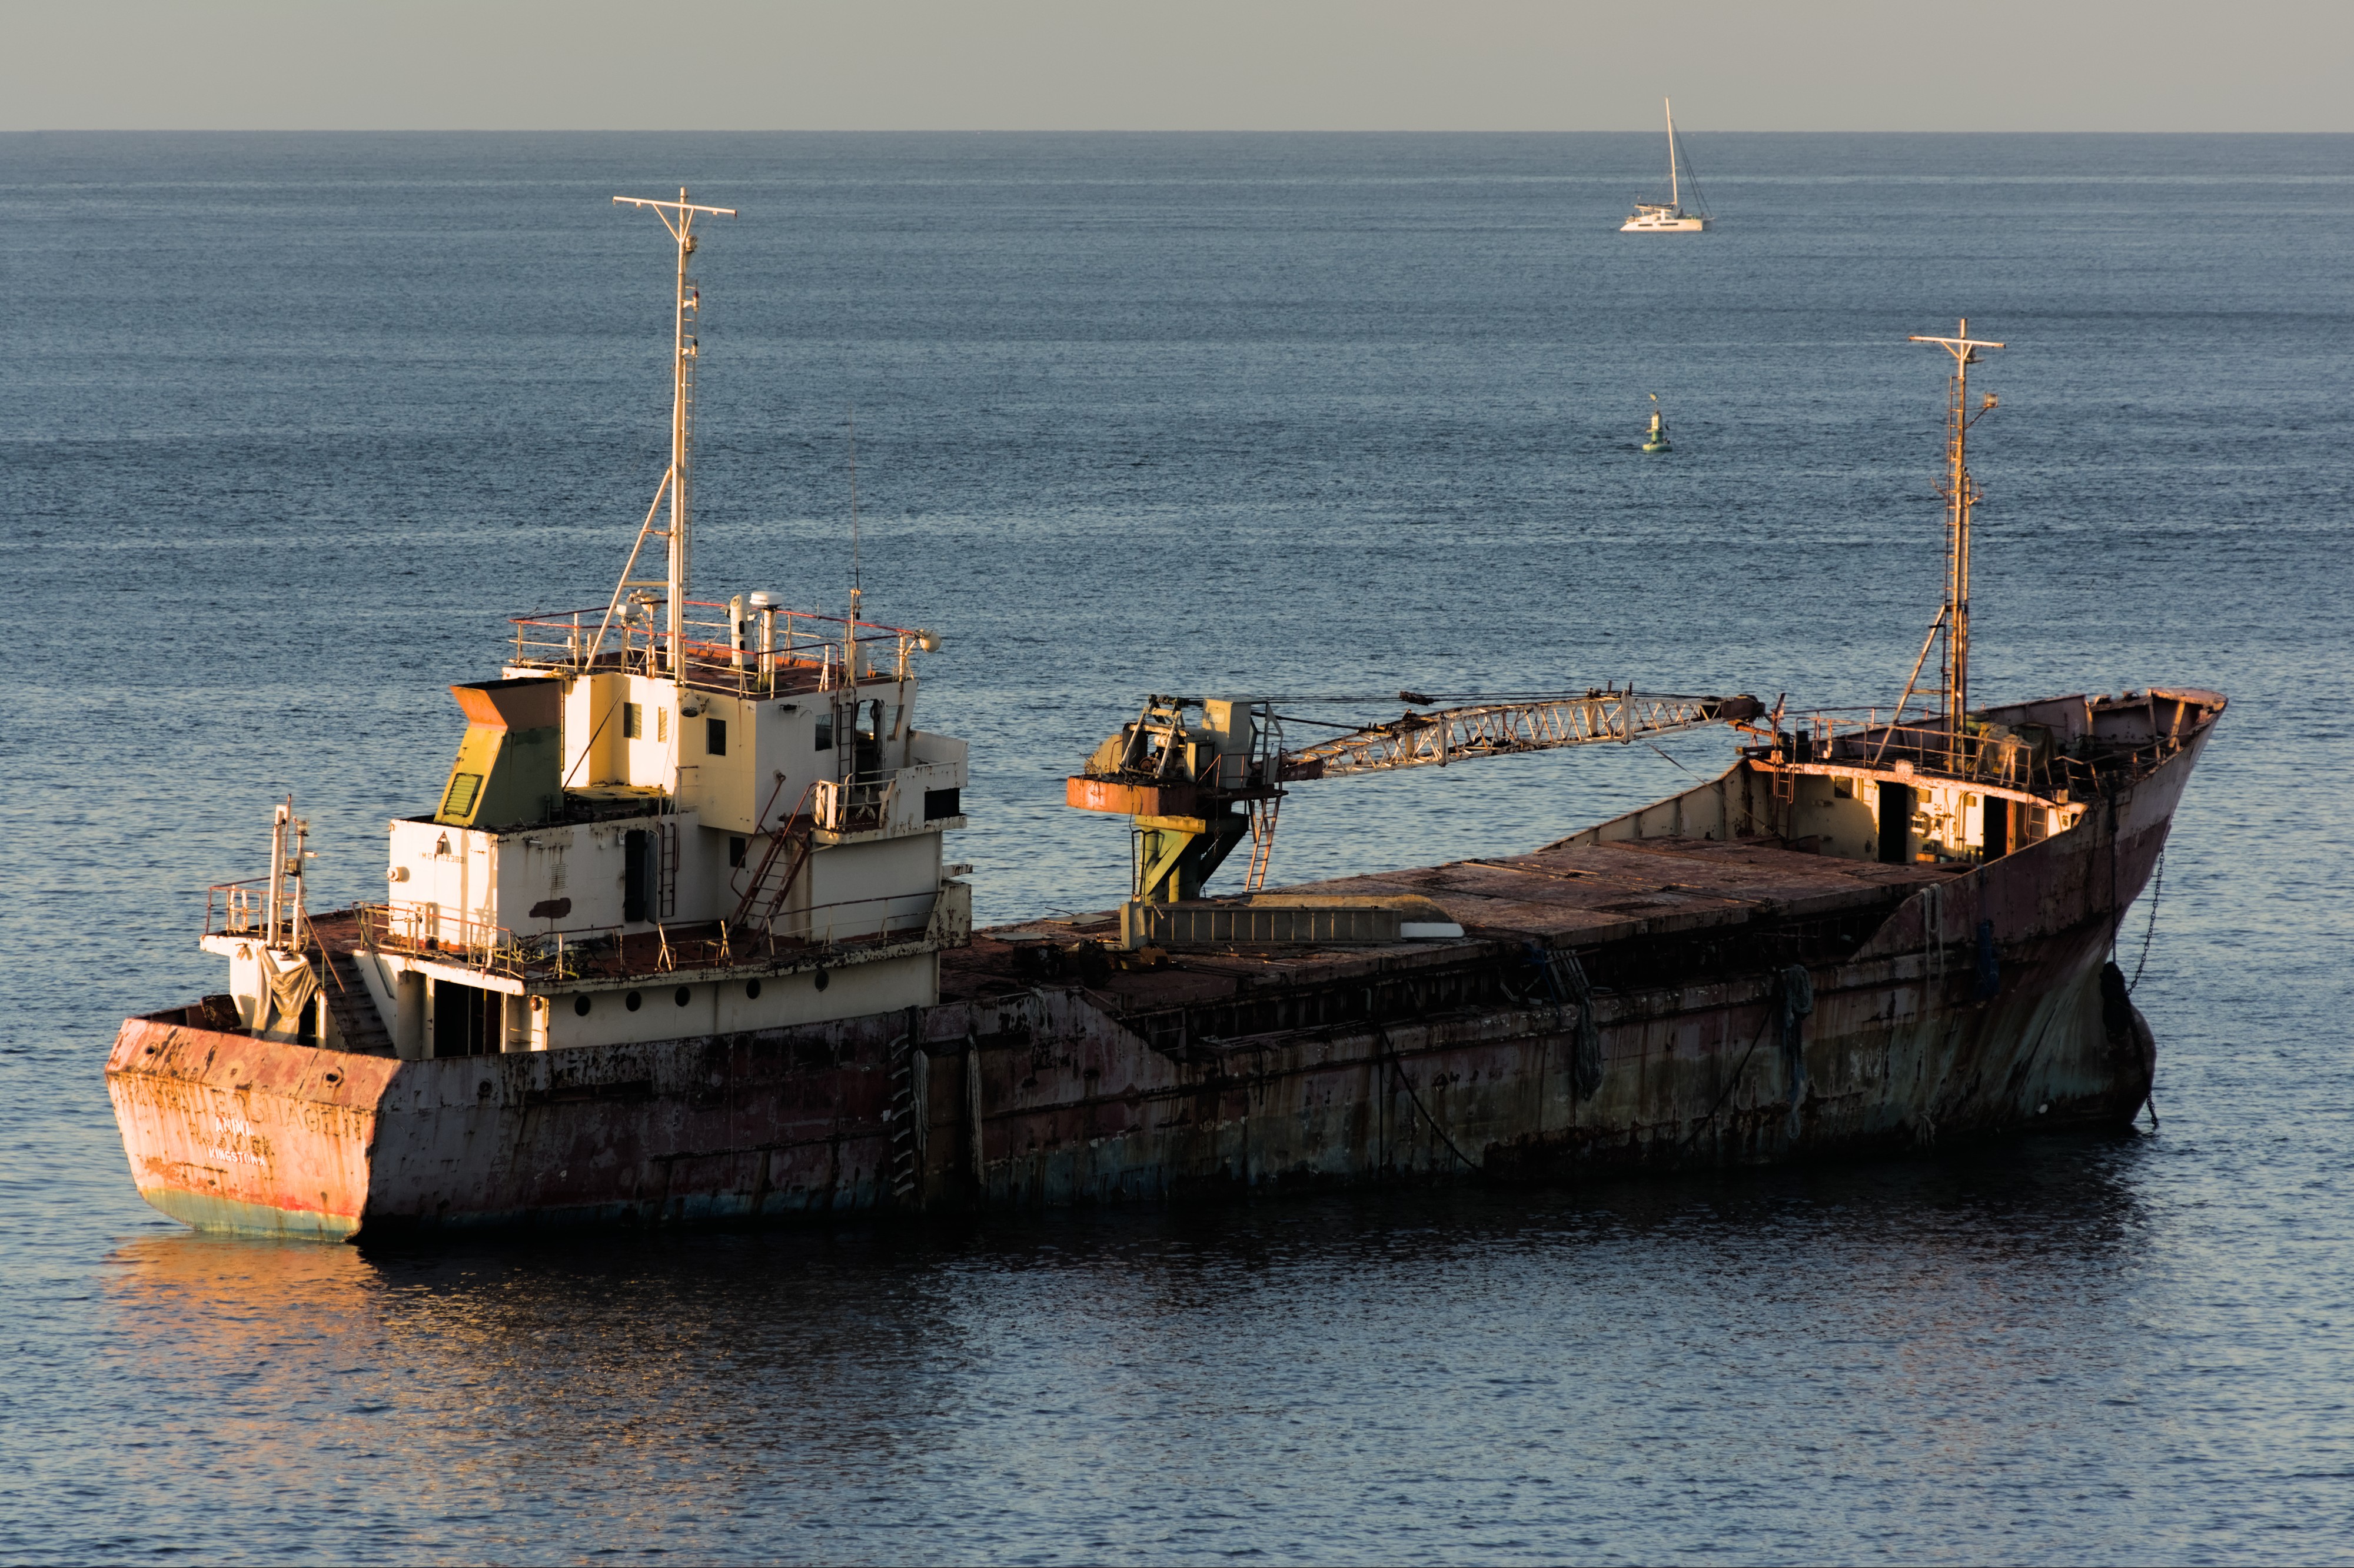
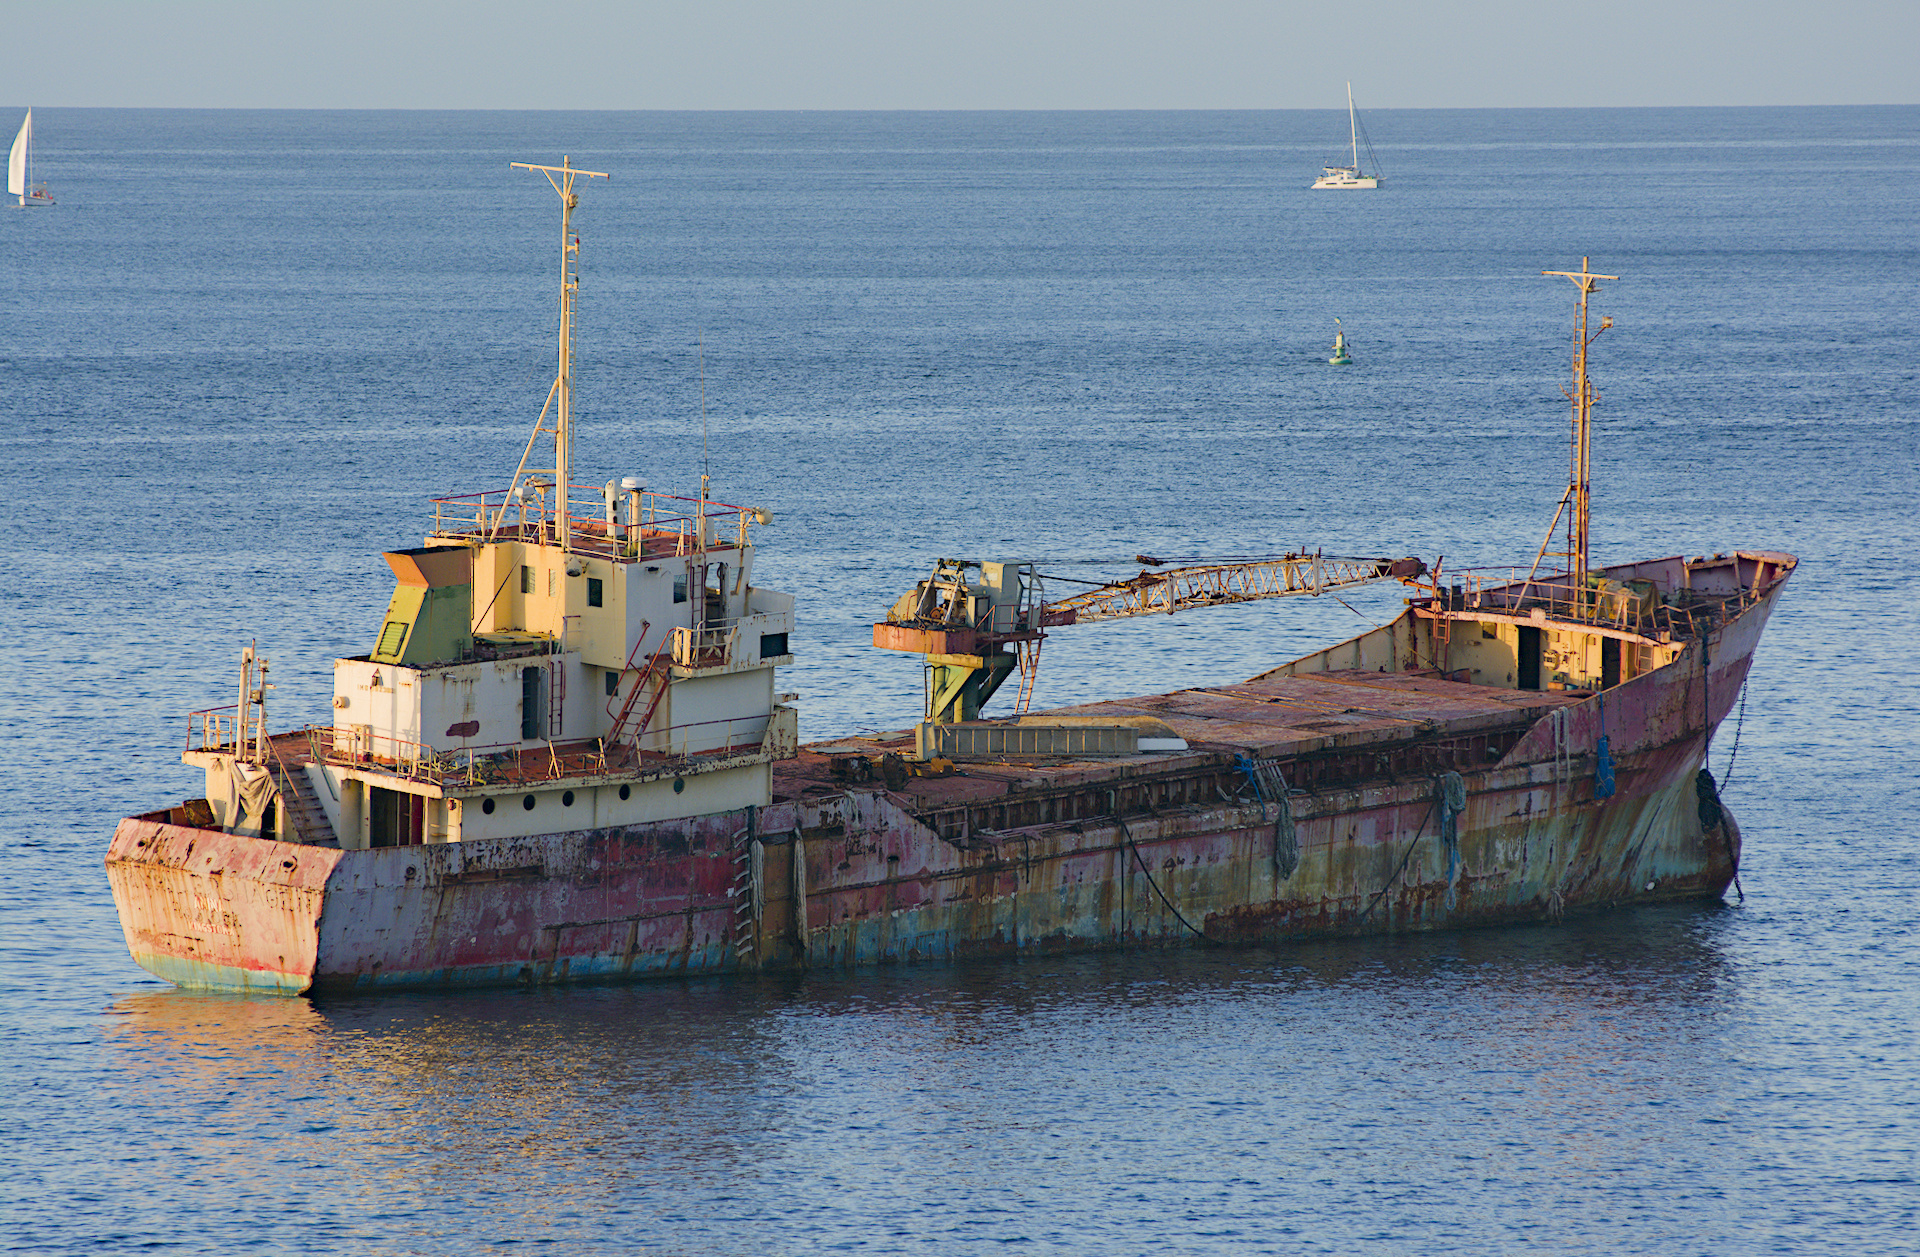
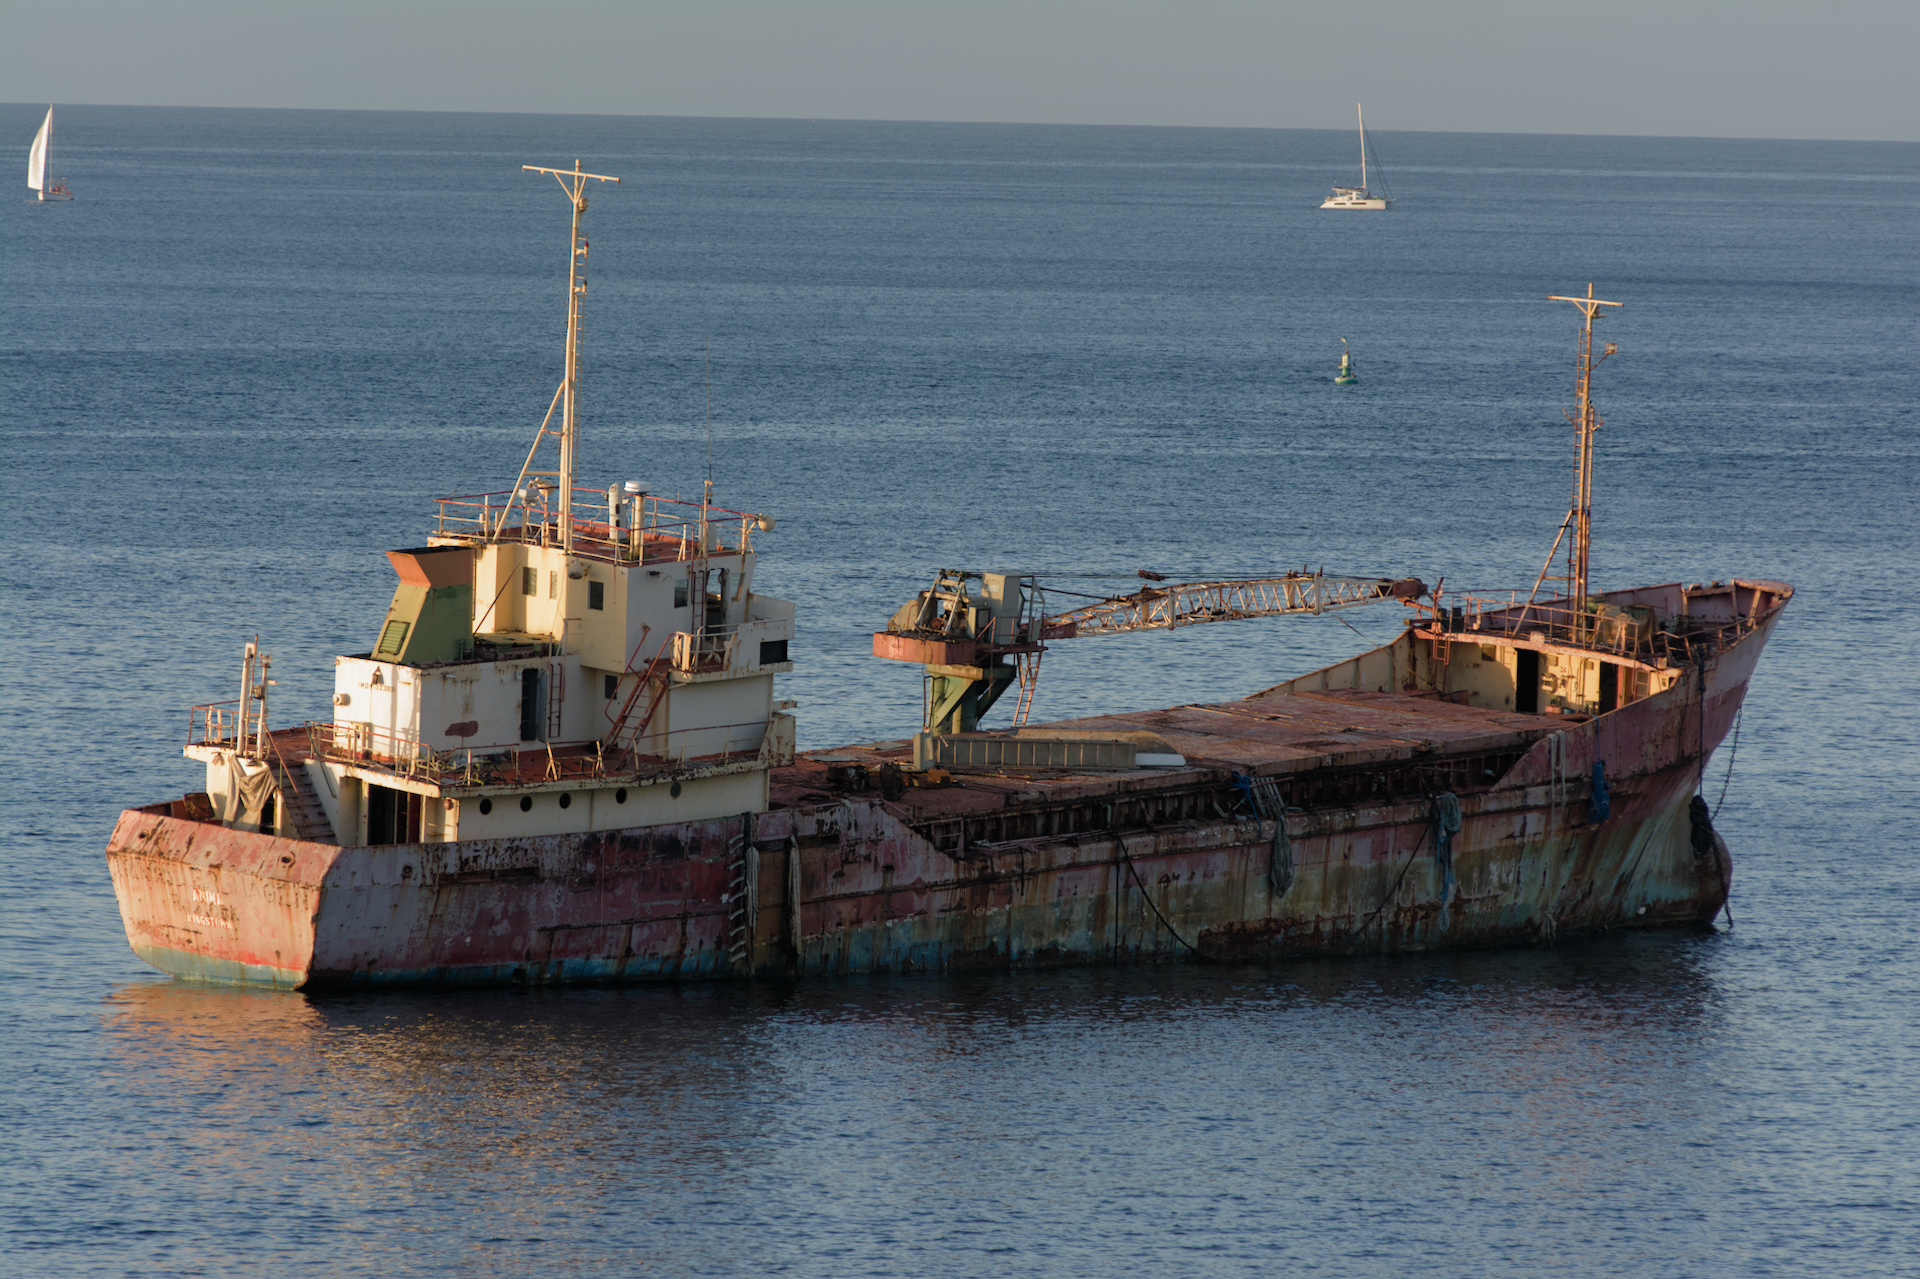
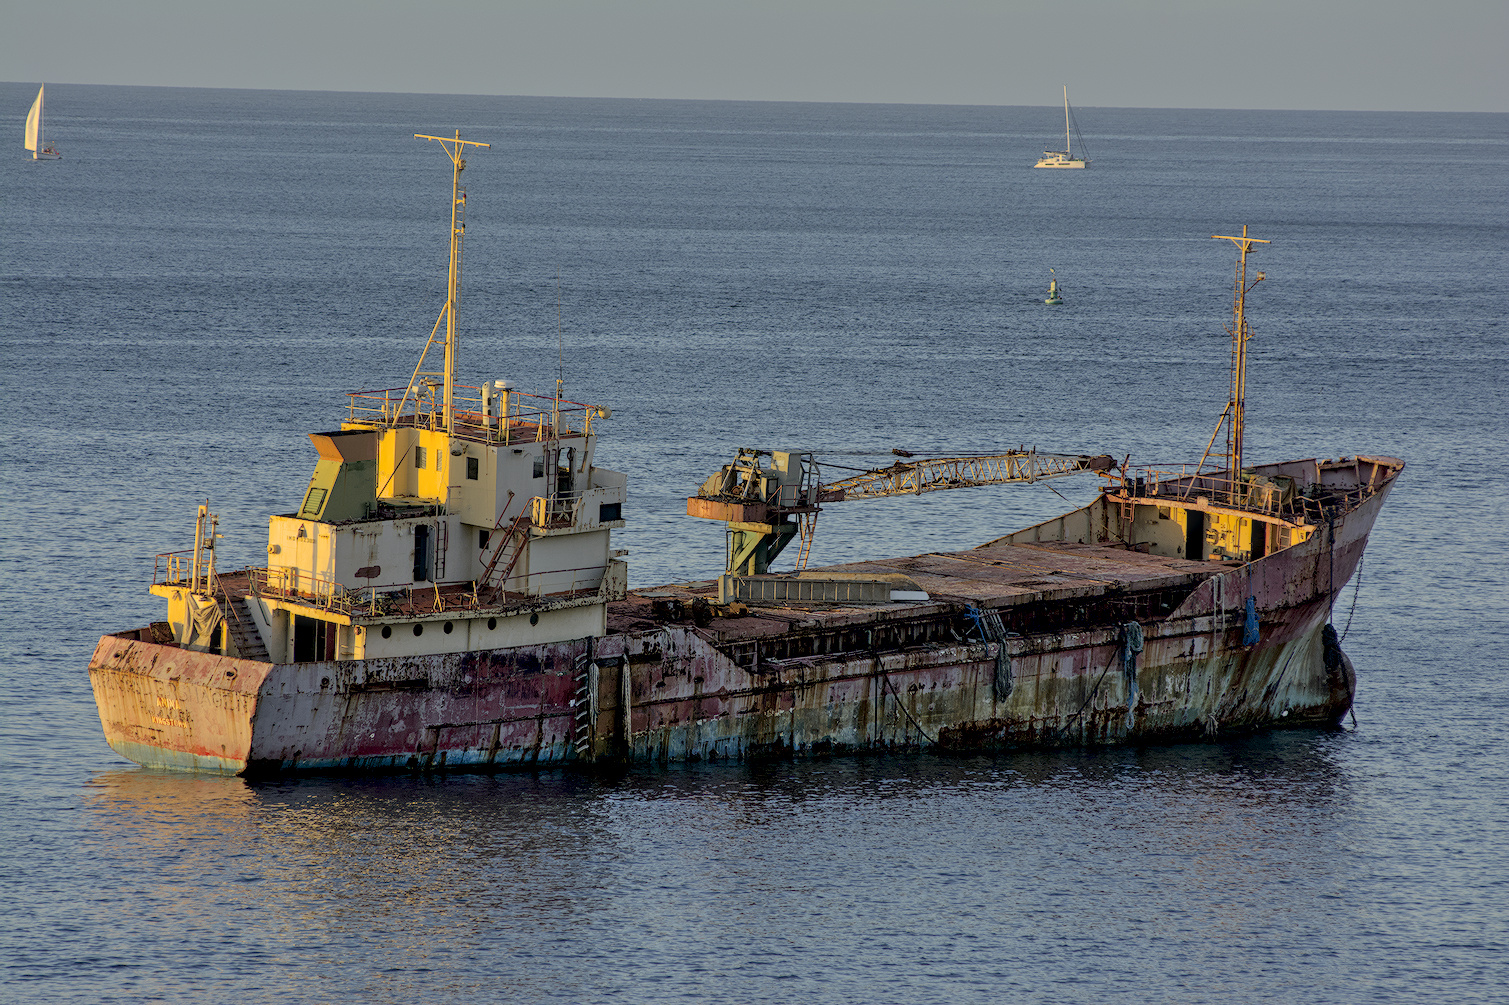
If I used v6 I would end up around here… I guess the key for this edit is the back of the boat…how warm and saturated a treatment you perform on the highlights…some edits have them white some quite yellow and some are a bit blown out…to me that area of the image is a focal point for the overall look of the edit… I think a bit warm is nice and ties in with warm light at the front of the boat…
For this edit is seems tweaking the relative whitepoint on filmic here has a pretty strong effect on how much warmth you leave or remove…
@kofa and @Amaury_De_Ganseman , both showed me, it is colorbalance, who gives the punch the easiest, like in the early times of filmic. Just I “unlearned” it
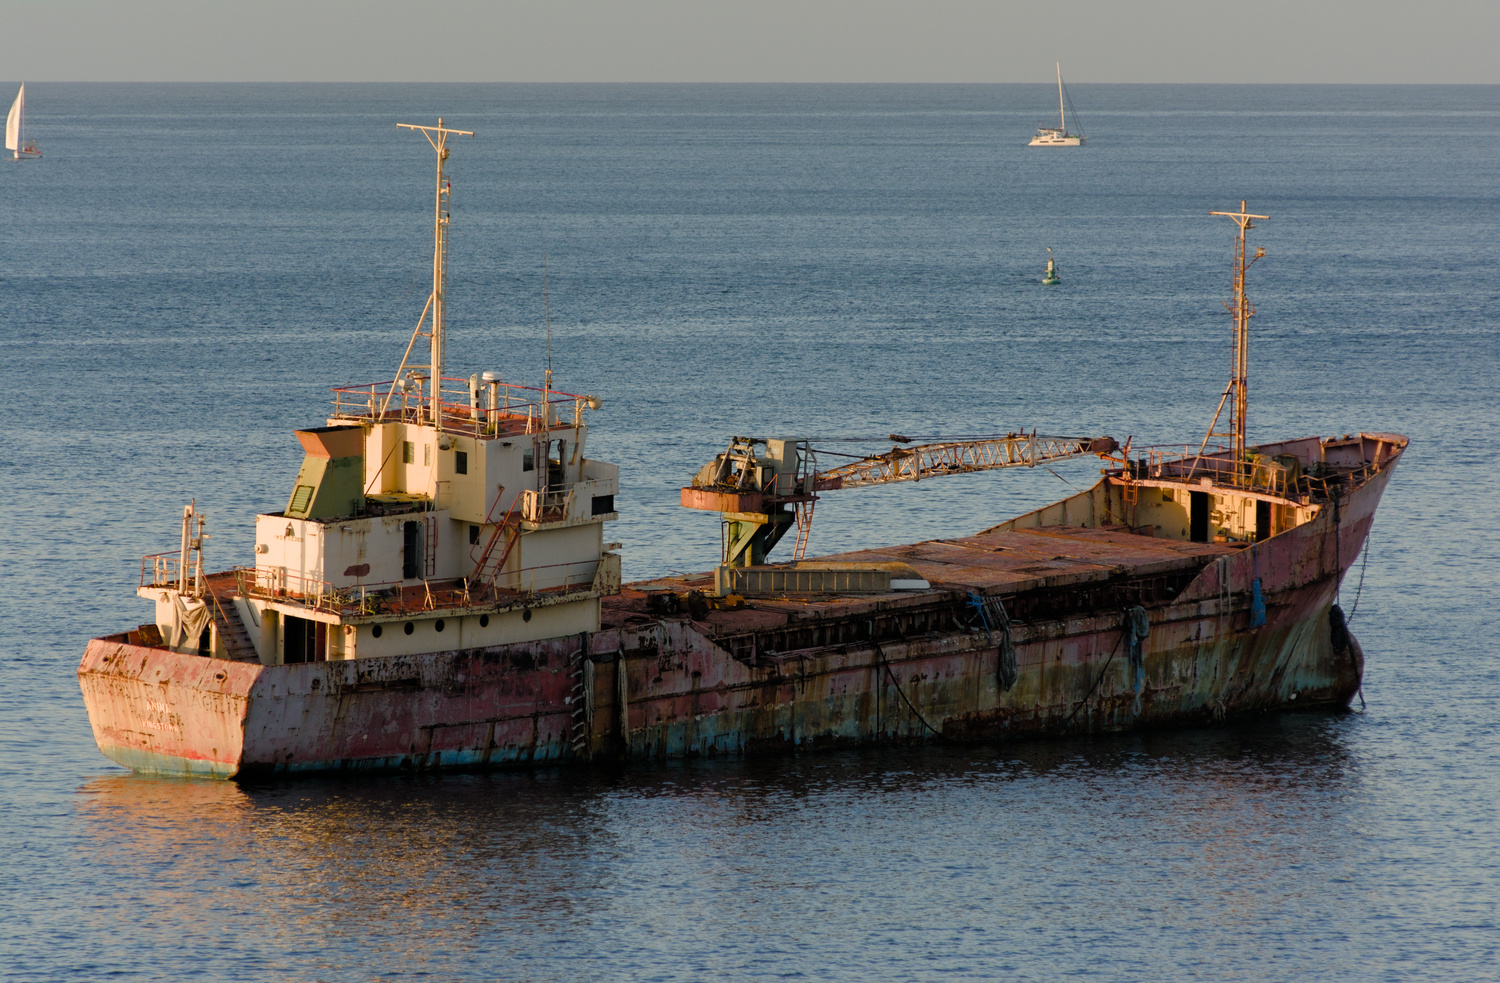
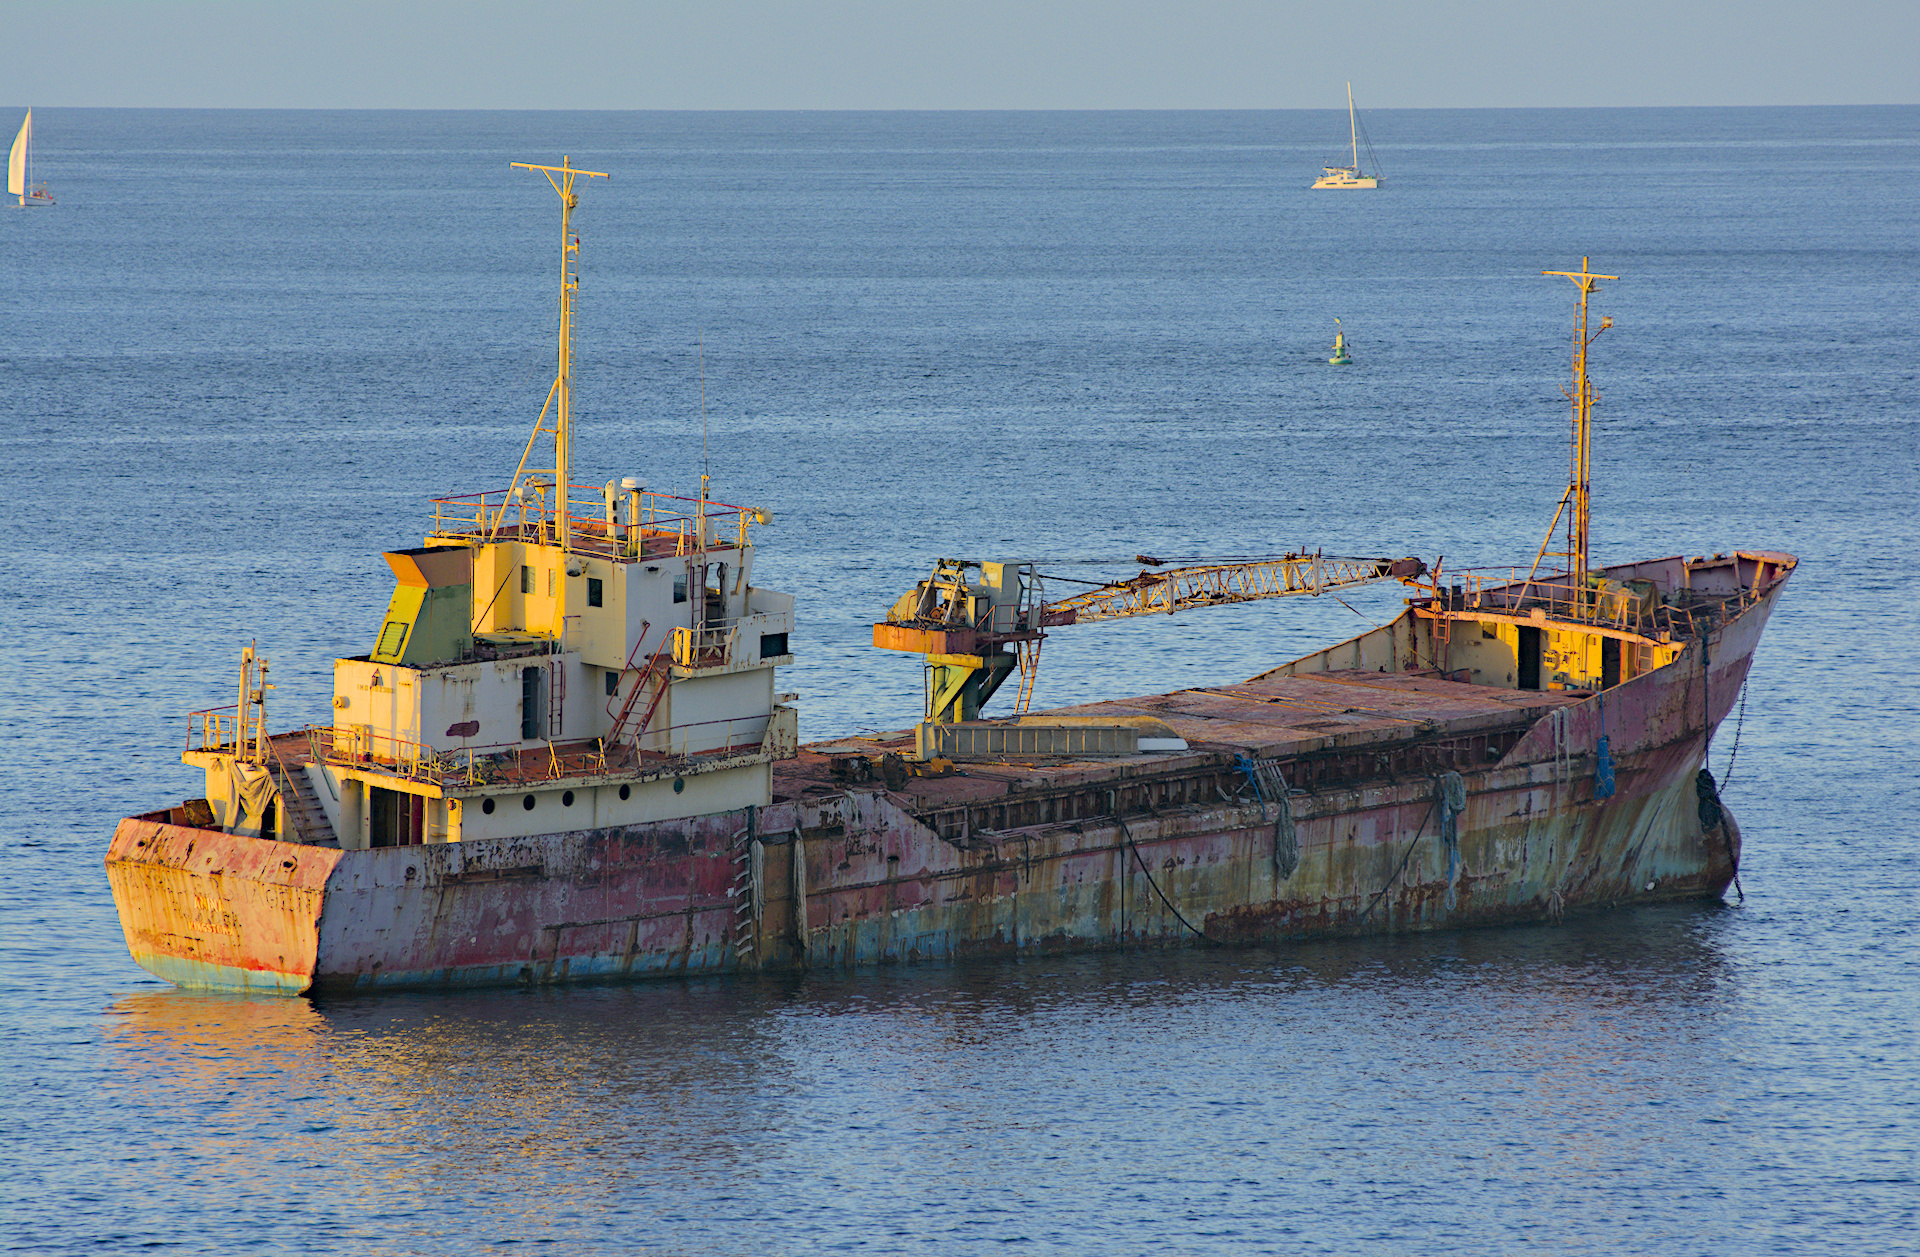
Here is my quick attempt. I presume you like the strong yellow highlights because it represents the late afternoon sunlight. I used filmic V6 and pushed the latitude slider to the right and increased extreme luminance saturation. I also put oomph into the shadows by using the shadow and highlights module. I played with contrast, saturation and highlights brilliance in the color balance module. This module is proving more and more useful as I explore and learn it better.
I would definitely recommend that you explore the sigmoid module as an alternative to filmic for an image like this. It provides more oomph out of the box with this image (sample image not shown).