hello
quick test, but i get vertical line artefacts in the blown out whites. i tried to smooth them with filmic. if i smooth them completely i seem to loose the color
an easy starting point should be to set the method to “reconstruct color” in the “highlight reconstruction” module. then to play in the reconstruct window in filmic
The trouble is that highlight recovery (of blown areas) is one of darktable’s weak points. Those small clouds above the trees are present in the image, and are recovered nicely by Lightroom. They can also be made visible in darktable by dropping the exposure and switching highlight recovery to reconstruct in LCh:
And just to show how much luminance detail we have (can keep) in the sky when we hit filmic, here’s a screenshot of filmic’s highlight reconstruction mask (adjusted to demonstrate detail here, not for actual highlight reconstruction):
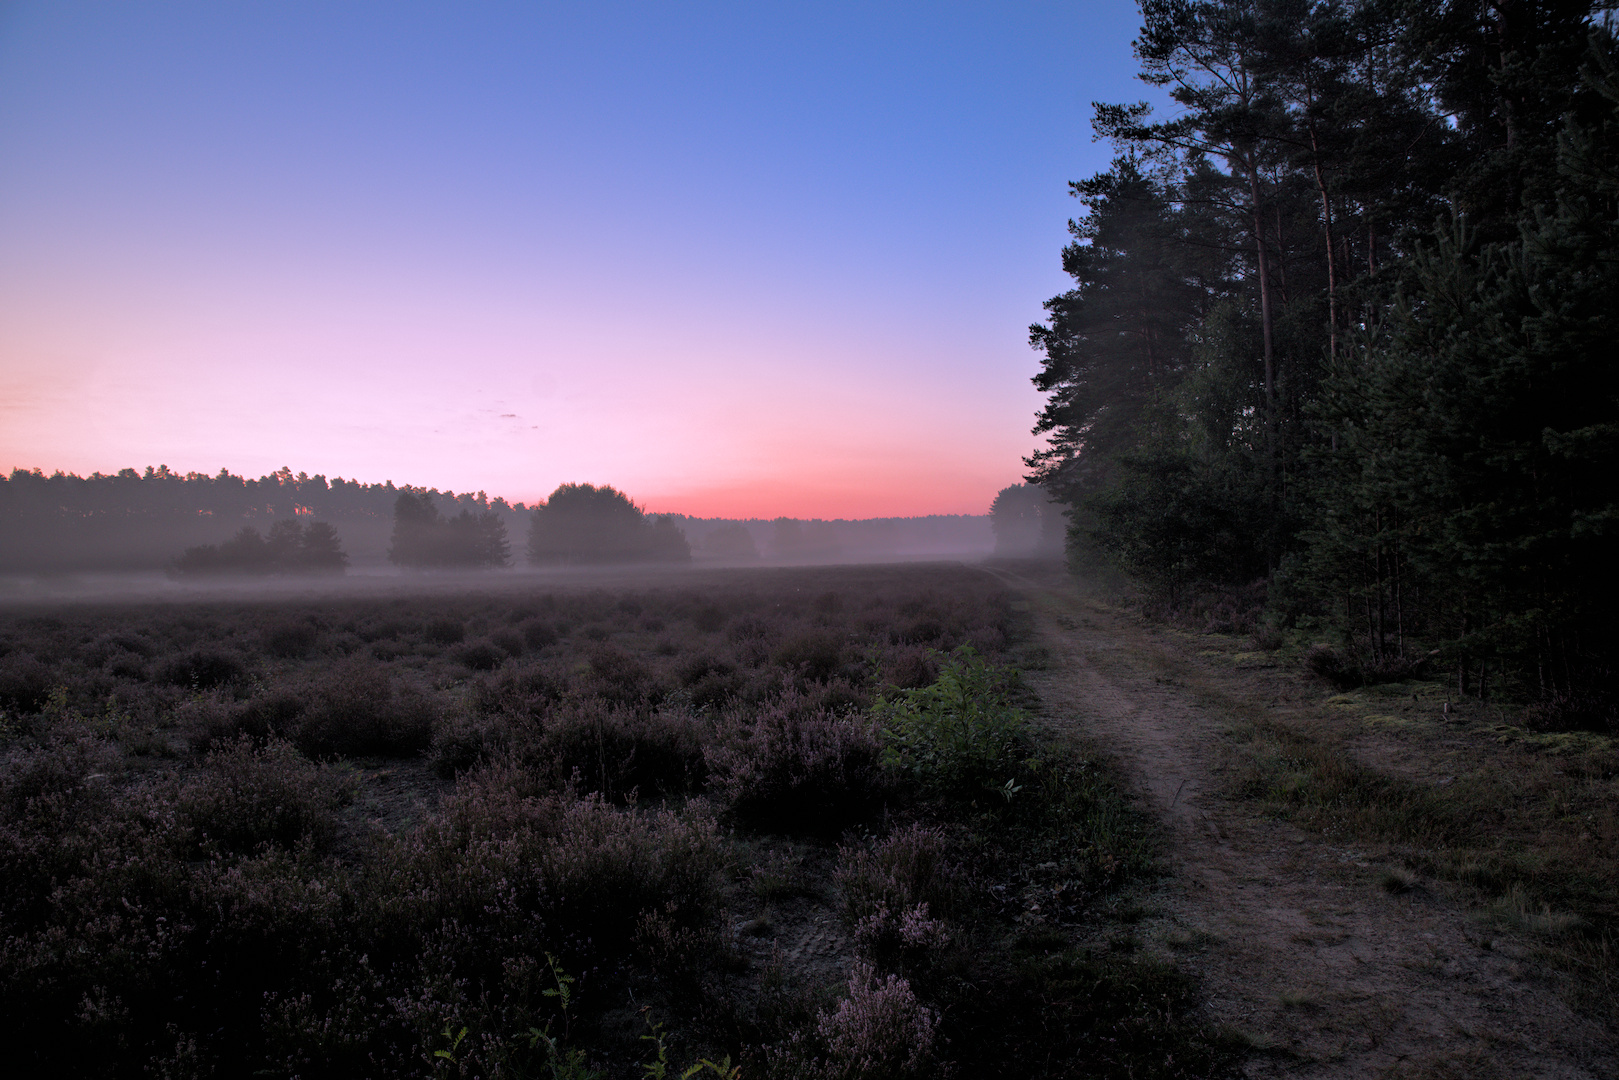
Here a take with alot of color from filmulator. Increased brightness of the shadows so the overall image could be taken down a bit, along with drama 50 and highlight recovery 2
I apologize for using RawTherapee … using Colour Propagation as Highlight Recovery mode along with -1 EV Exposure Correction gave quite good results for the blown sky.
one, named dummy for mask, is placed before the original instance, and does nothing but define a brightness-based mask, as close to the original image as possible;
the other, which I named contrast boost, I moved to the end of the pipeline. It also does nothing (does not really adjust the exposure); however, it is merged in multiply mode, which increases contrast. That adjustment would be rather extreme, but I tell it to use a raster mask from the dummy for mask instance, so it affects highlights mostly, but those apply multiplier levels close to 1, so they don’t cause a huge contrast boost. If you zoom into the image, you’ll see that the clouds are there.
This boosted saturation too much to my liking, so I reset color balance rgb to use the add basic colorfulness preset.
Yes sorry for not using darktable previously. Here a darktable version with the intent of making it look like your lightroom file. Used filmic rgb, shadows and highlight and saturation
I don’t have the nice local contrast tools of the “regular” softwares, so there was only so much lift i could give to the shadows before the sky went white, and even then I had to introduce a small bit of HSL saturation to keep the sky from going too purple-ish when I tone-curved.
My current metering strategy sometimes allows very high-energy highlights to blow through sensor saturation, and I’ve found the RT recovery algorithm to mitigate those quite nicely.