With DT3.4 I took the plunge and switched to a scene-referred workflow with filmic, after 20 years of using base curves. I am really impressed by how simple and straightforward the new workflow is, and blown away by the results. Adjust exposure for the midtones > Filmic > local contrast > sharpen > done.
I notice though that on some of my images worked this way I tend to have to increse Exposure by a lot (2 or sometimes 2.5 EVs) in order to get the midtones where I want them, which pushes up noise. I general in the final picture the noise goes unseen (and the overall result is great compared to the regular workflow) however I wonder if I need to change the way I expose in-camera.
In the past when I shoot I kind of expose for the highlights and using “matrix exposure” (Nikon d500, it has a setting in the exposure meter to ‘expose for highlights’). Looks like that is not a good idea for the new scene-referred workflow. Question - shall I start exposing for the midtones (more like center-weighted or even “spot” metering), accepting overexposure that can later be corrected by filmic?
I was wondering this too. I use to have a -0.3/-0.7 exposure compensation when shooting in aperture priority/auto ISO, and since I switched to scene-referred workflow I ditched that, but still have to add 1 or 2 EVs of exposure
I’ve been working on this as well, partly due to noticing the large increase I often need in the exposure module but also seeing the unused space on the right side of the histogram when reviewing photos. Since the in-camera histogram is based on the JPG preview and not the RAW (for most cameras), I set the picture style on my Canon to neutral (to try and get the JPG closer to the RAW) and have been trying to do an easy form of ETTR and keep the histogram close to the right side. As others have noted here, you still want to be sure and avoid any RAW highlight clipping (for important highlights anyway). I have noticed an improvement in quality and less noise, so I think there’s value in not trusting in-camera metering to use up all of the headroom and to be monitoring and make adjustments as needed. I’ll likely write a blog post on this subject at some point once I’ve done some more testing too.
I suggest that when we are shooting for RAW files, the only “overexposure” that matters is sensel saturation, hence highlight clipping. If there is no in-camera clipping, we haven’t overexposed.
@garibaldi is right. Expose so that histogram is pushed further to the right without blowing highlights. It is what @anon41087856 recommends when using filmic.
I think exposing to the right is the recommended approach with filmic and doing some testing on your dymanic range to see what you can push it to helps so that you know when you are showing clipped that you still have x EV left before the raw is clipping…This is a neat little series of blog posts…part 3 of the series dives in to assessing the working DR of your camera so maybe the relevant bit to this topic…he uses his Nikon D5200 …but there are lots of cool information here including creating a custom lut from all this information… Adventures in Scene Referred Space - Part One — Paul Chambers 3D
From what I see, you indeed have to add some exposure compared to your camera’s indication. How much seems to depend on the camera (brand), and certainly depends on your subject. And the difficulty I see is that the in-camera jpegs are not a good guide, in that they tend to be exposed more to the left than I would like for my camera (Sony).
For low contrast subjects, I can easily add 1EV, for landscapes with sun I have to be more careful. But that means that for some subjects, the “best” exposition leads to apparently overexposed jpegs… (yet another reason not to try and imitate the in-camera jpeg )
Is what me recommends if and only if your image contains true whites.
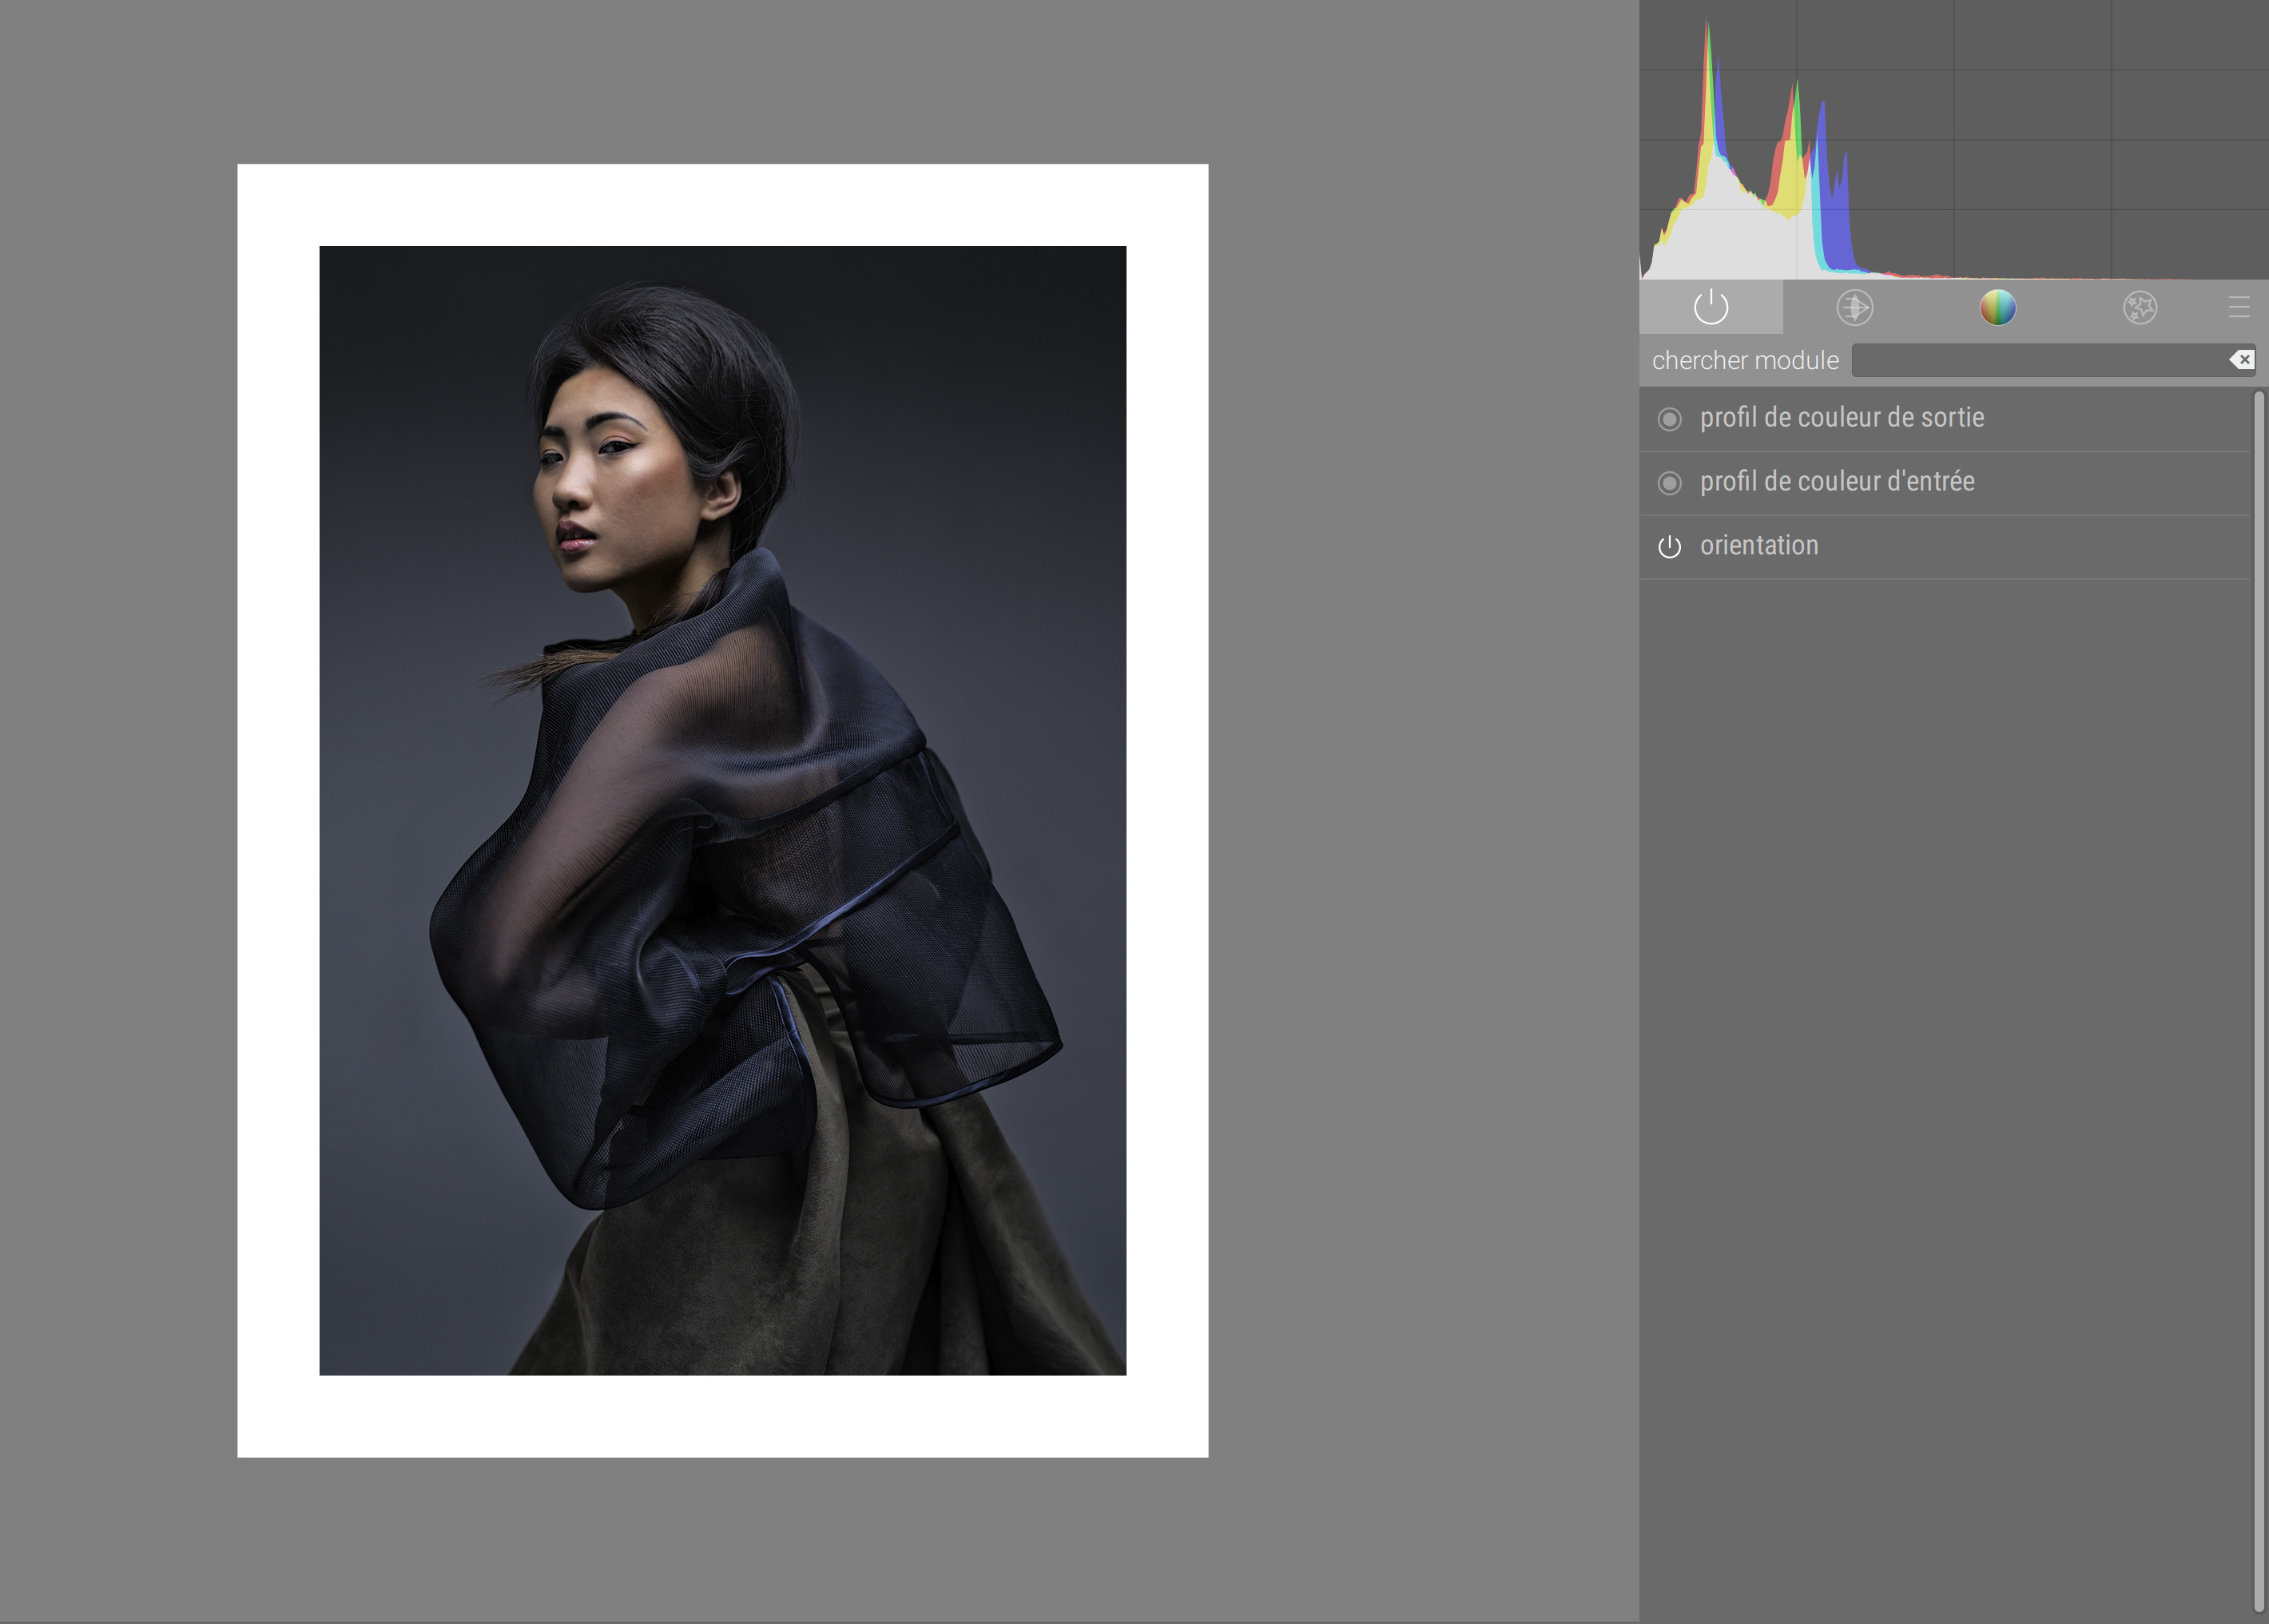
People really need to care less about the advice and more about the context in which the advice is given. Some pictures have legitimately no whites. Example with a picture my wife just edited in dt 3.4 :
Would that mean that you can’t push the camera histogram to the right? You still have the highlights on the cheekbone (perhaps not true white but not “caucasian” either
I think the suggestion should be to use ETTR in the camera when taking a photo, but obviously not when developing in Filmic (unless you have the true whites)
I tried the preserve highlights metering/exposure mode on my D850, this is preserving highlights in the jpeg, and depending on the scene can lead to really poor results, for example of you have glass or metal reflecting the sun, this throws that metering mode way off.
I don’t know what you’re shooting, but I like to shoot urbex, so my scene typically isn’t moving. I use live view, and generally shoot several exposures of my scene. First exposure is ETTR using the live view histogram, and I usually increase the exposure at about half stop or 2/3 stop increments because I know I generally have 1-1.5 stops of head room between the jpeg and the raw.
You can always modify the JPG the camera is producing.
I did that to match the result of scene-referred defaults. Start with the “Neutral” or “Flat” in Set Picture Control (Nikon naming), it took me 5-6 shots and 10 minutes to achieve a similar look.
Well, camera exposure is another matter. Indeed, push it to maximize PSNR, so maximize signal intensity aka brightness. But… by experience, this is a dangerous game where highlights might be blown much sooner than you expect, so I personnaly prefer a bit of noise and to give some safety margin to highlights, and never try to massage the camera histogram. It’s as simple and sneaky as a a shiny nose shot at the wrong angle, and you get red clipping in an otherwise ok skin patch. Also watch out for eyes reflections, they will not show a peak on the global histogram, you will only get the bad news on your computer monitor. Besides, that histogram is showing the processed JPEG RGB, so it’s not really relevant to us.
All in all, playing on the edge of an irrelevant histogram is danger on top of danger. Reliability is achieved by minimizing risk.
@snibgo I meant the on-cam overexposure indicator (nikons can ‘blink’ the overexposed parts of the image while reviewing it), but based on the discussion here I need to ditch that approach and just base the exposure evaluation on the histogram.
I almost always shoot in manual mode so I guess I will start using center-weighted metering instead of ‘matrix+expose for highlights’, to get the initial setting for the first shot.
Ah, yes, okay. I think you should pay attention to that. Blinking pixels on my Nikon D800 show areas that have probably clipped in the in-camera JPEG. I assume your camera is the same. If this is just specular highlights or the actual sun then I don’t worry about it. If it is big chunk of the sky or the side of a white building or something else that I care about, I probably need to dial down the exposure and try again.
Clipping in the in-camera JPEG doesn’t necessarily mean the RAW is clipped. But if a large area of the JPEG is clipped, than probably a smaller area of the RAW is also clipped. Experience will help you guess whether the RAW will also be clipped.
The histogram is also based on the in-camera JPEG, so clipping here isn’t necessarily a problem.
Another technique I’ve read about is to determine the number of stops between middle grey and highlight clipping on your camera (by testing) and then spot meter on the important (not spectacular) highlights and set exposure compensation based on the results of the test. This way, in theory you won’t clip highlights but will also keep the histogram to the right. I haven’t practiced this much yet though, I tend to use the technique @paperdigits mentioned above of just setting exposure compensation to +1/3 or +2/3.
Looking into all of this has made me realize that I should be thinking more about metering when composing and not just letting the camera decide automatically
@snibgo got it. I’ll experiment with this some more.
Question for you. With my d500 I have always noticed that prior to applying the basecurve (in the old days), the histogram of the RAW file in darktable appears way to the left, even if the on-camera display and histogram shows as decently well exposed (histogram reaching all the way to the right, when applicable), do you notice the same with the d800 RAWs? In the old days, the D500 basecurve would “mask” that by pushing the histogram to the right significantly (by at least 1 or 2EV I think), making it similar to the on-cam JPG histogram.
When we say “ETTR” here we refer to the histogram of the RAW file, prior to applying any correction (basecurve or exposure or filmic), is that right? If that’s the case then the on-cam JPGs would be expected to come out (way) overexposed, is that right?
Also does anyone know if there is a setting in nikon cams so that they provide the RAW histogram instead of the JPG histogram, since the JPG histogram per this discussion seems to be basically useless and makes (me) waste a good chunk of the dynamic range of the sensor, when using it as a guidance of good exposure?
 )
)