Hi.
To improve my understanding of darktable to obtain a specific look, sometimes I enjoy triyng to replicate a sooc image, often generating a style afterwards.
But there are times when I cannot grasp how to replicate the sooc image within an acceptable level of accuracy.
I give myself just one rule in these cases: to not use any drawn masks, as I suppose that the camera doesn’t use any, so it may be possibile to obtain that look without them.
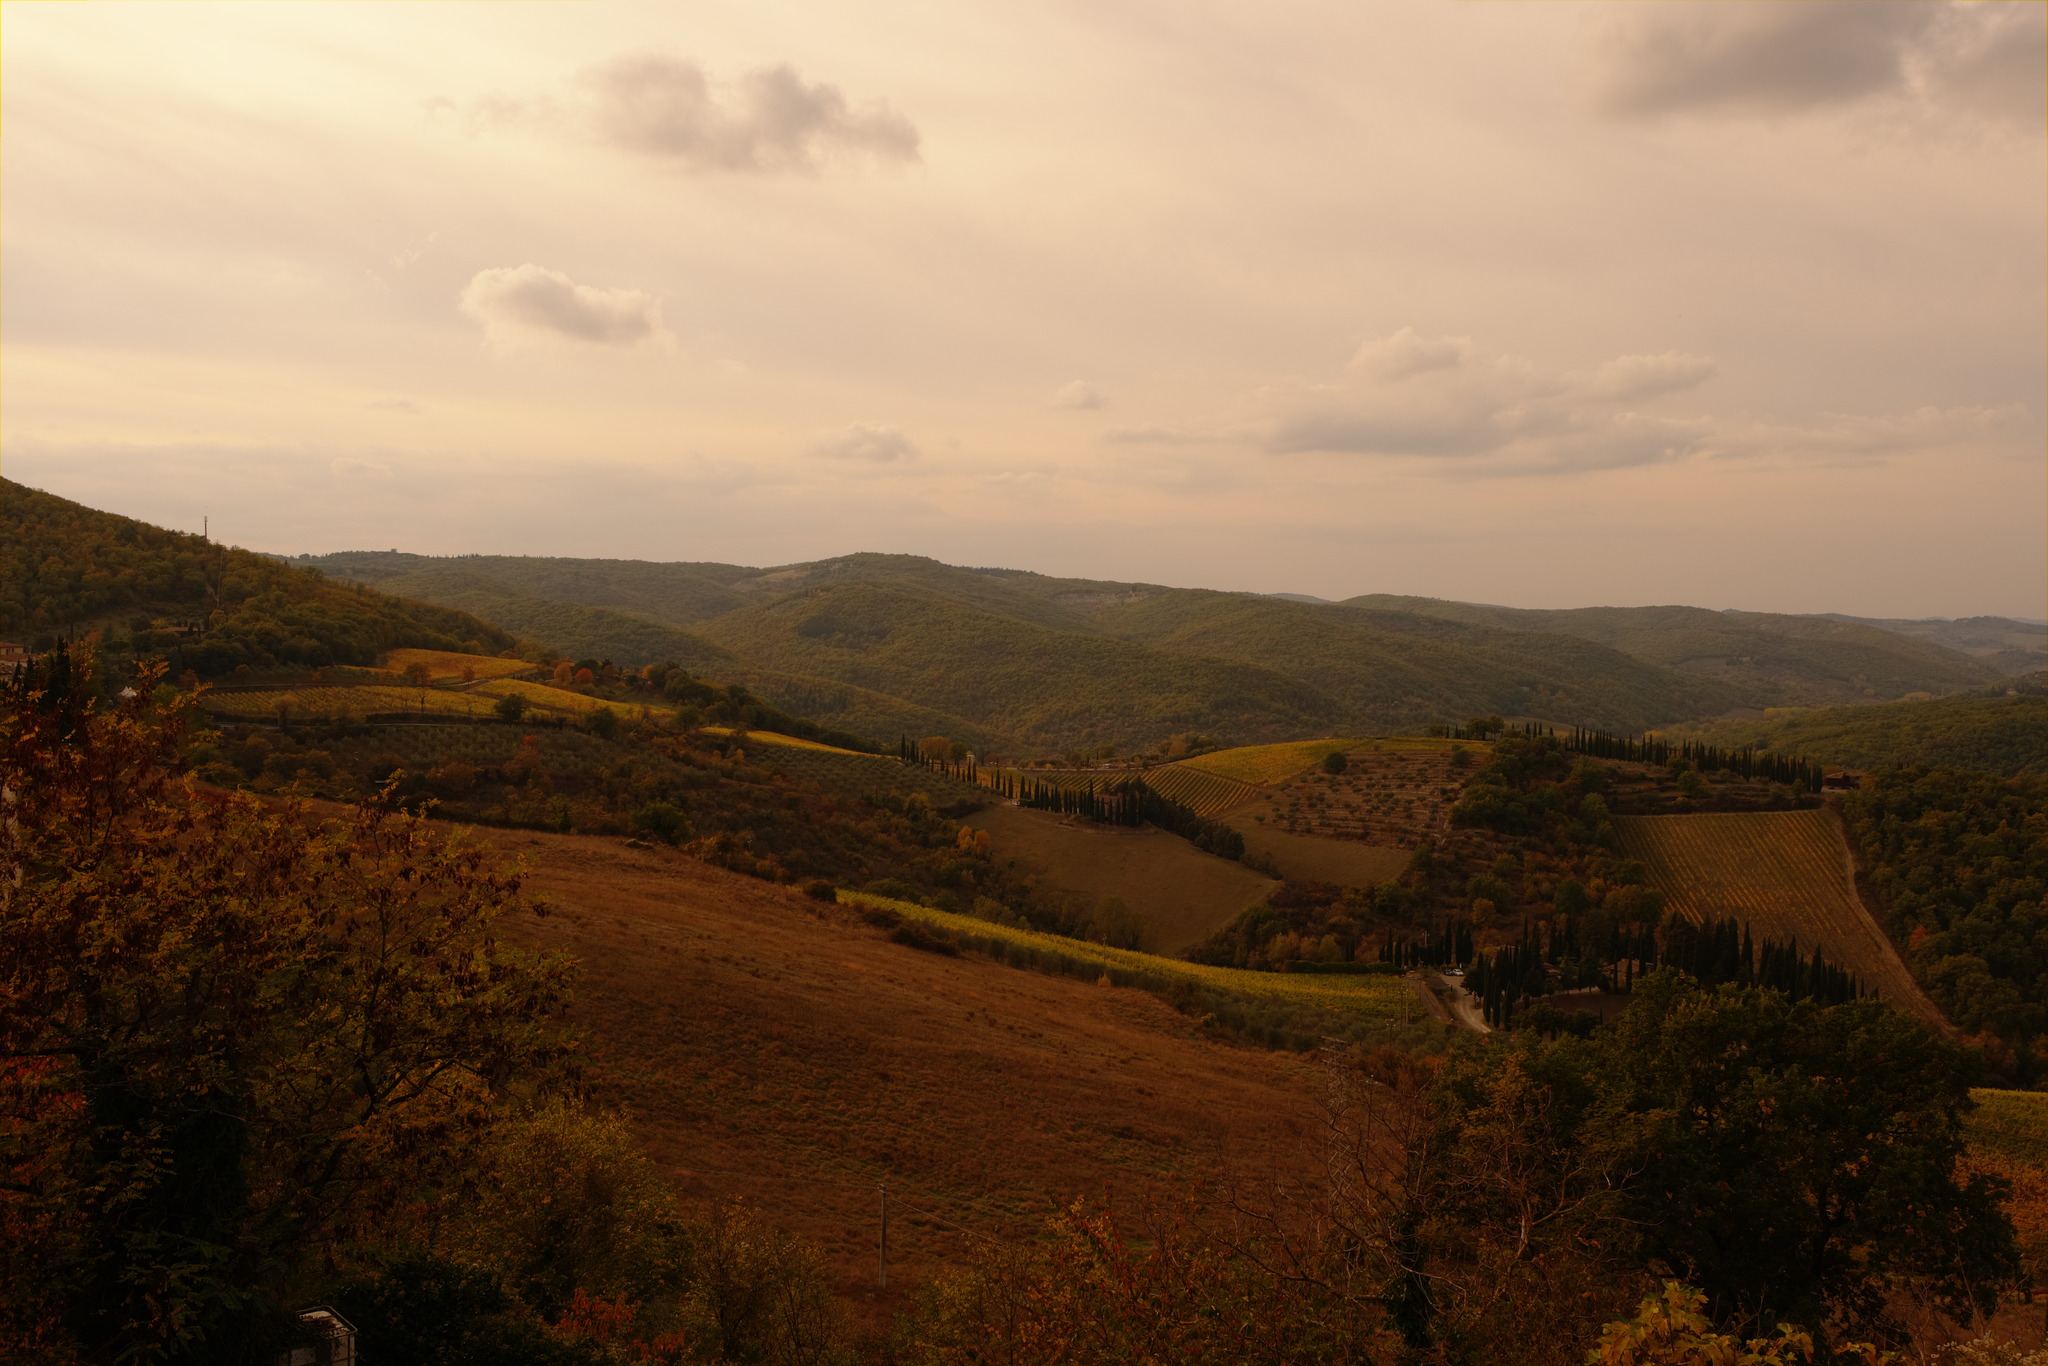
Here attached there is an example where I have a really hard time to replicate the sooc from my fuji x-t3 (velvia simulation with some tweaks in shadows/highlights in camera).
I find the hardest time to differentiate the color of the farthest and nearest hills. In the raw are very similar but in the Sooc the farthest are quite greenish and the nearest a lot more reddish.
Also nailing the sky without using drawn mask is also a challenge.
There are some LUTs and darktable Fuji styles that are versions of velvia. Also you can for matching use darktable chart. Use the jpg from the in camera fuji velvia as the matching jpg…you would need a color chart though for this…otherwise color picker and eyeballs…matching jpg from raw will usually leave you spending quite a bit of time and not really coming that close in my experience and what works for one image is rarely a great fit for a batch of them…The real power of raw editing is not duplication but creation of something new…CLUT module also has a preset …you could try that to see the color palatte…
Thanks todd, I already tried the clut way but with no success.
I cannot obtain a pleasing image editing the raw, even not using the sooc for reference.
I really liked the sooc result and the live panorama was wonderful, but I’d like to modify something in the sooc and it’s frustrating that I’m not able to come even near the sooc results for use it as a base.
In the sooc there also is a twist in the wb that I cannot recreate on DT.
I’m not at all sure why it is that you, @Andrea_Mingaroni, would severely limit yourself by not using masks. Use all the power that an editor gives you. Especially when using darktable: Masks are so powerful in that piece of software.
Mine was done using RawTherapee (without using masks and multiple modules of the same type I would not know how to approach this in darktable…). No masks/shapes, double modules or experimental stuff was used in this edit.
Doing this without masks and doing a good job is possible but will take a lot of time, many different curves and a lot of patience.
@age used ART and has better greens, but the sky is less orangey, my sky is “better” but the greens are lacking.
I agree with the general opinion to not try to replicate the SOOC image. It can be a great guide to give you a general direction, but that’s it (in my opinion).
I know that it’s not the best to try replicating the sooc picture. I do that usually just as an exercise.
In these cases I try not to use any DRAWN masks, just because as the camera cannot use them, I do a little challenge to myself trying to not use them as well.
Then, there are the cases as in this picture, where I like very much the sooc rendition of the scene, which I’d like to use it as a starting point for some little tweaks and with a lot of frustration I cannot seem to be able to replicate it in Darktable in any way.
Neither I seem to be able to get a different look that pleases me enough.
I think that in this picture the bigger problem is nail the right white balance, which was daylight with a shift in camera.
(sorry, I hope that my english is good enough to make my point clear)
That is a rather good reason and one of the better ways to learn in my opinion.
Yeah, that does make things easier. Have to admit that I did not read it that way (don’t know, actually, why I interpreted that as no masks at all…).
Separating certain parts of an image, especially this one, isn’t always easy even when you have normal masks to work with.
Having a good neutral (=whites are white) starting point is rather important indeed, especially when you later on start to add the velvia look-and-feel. If you start out with an already tinted image before attempting to simulate a look you will run into problems.
Anyway…
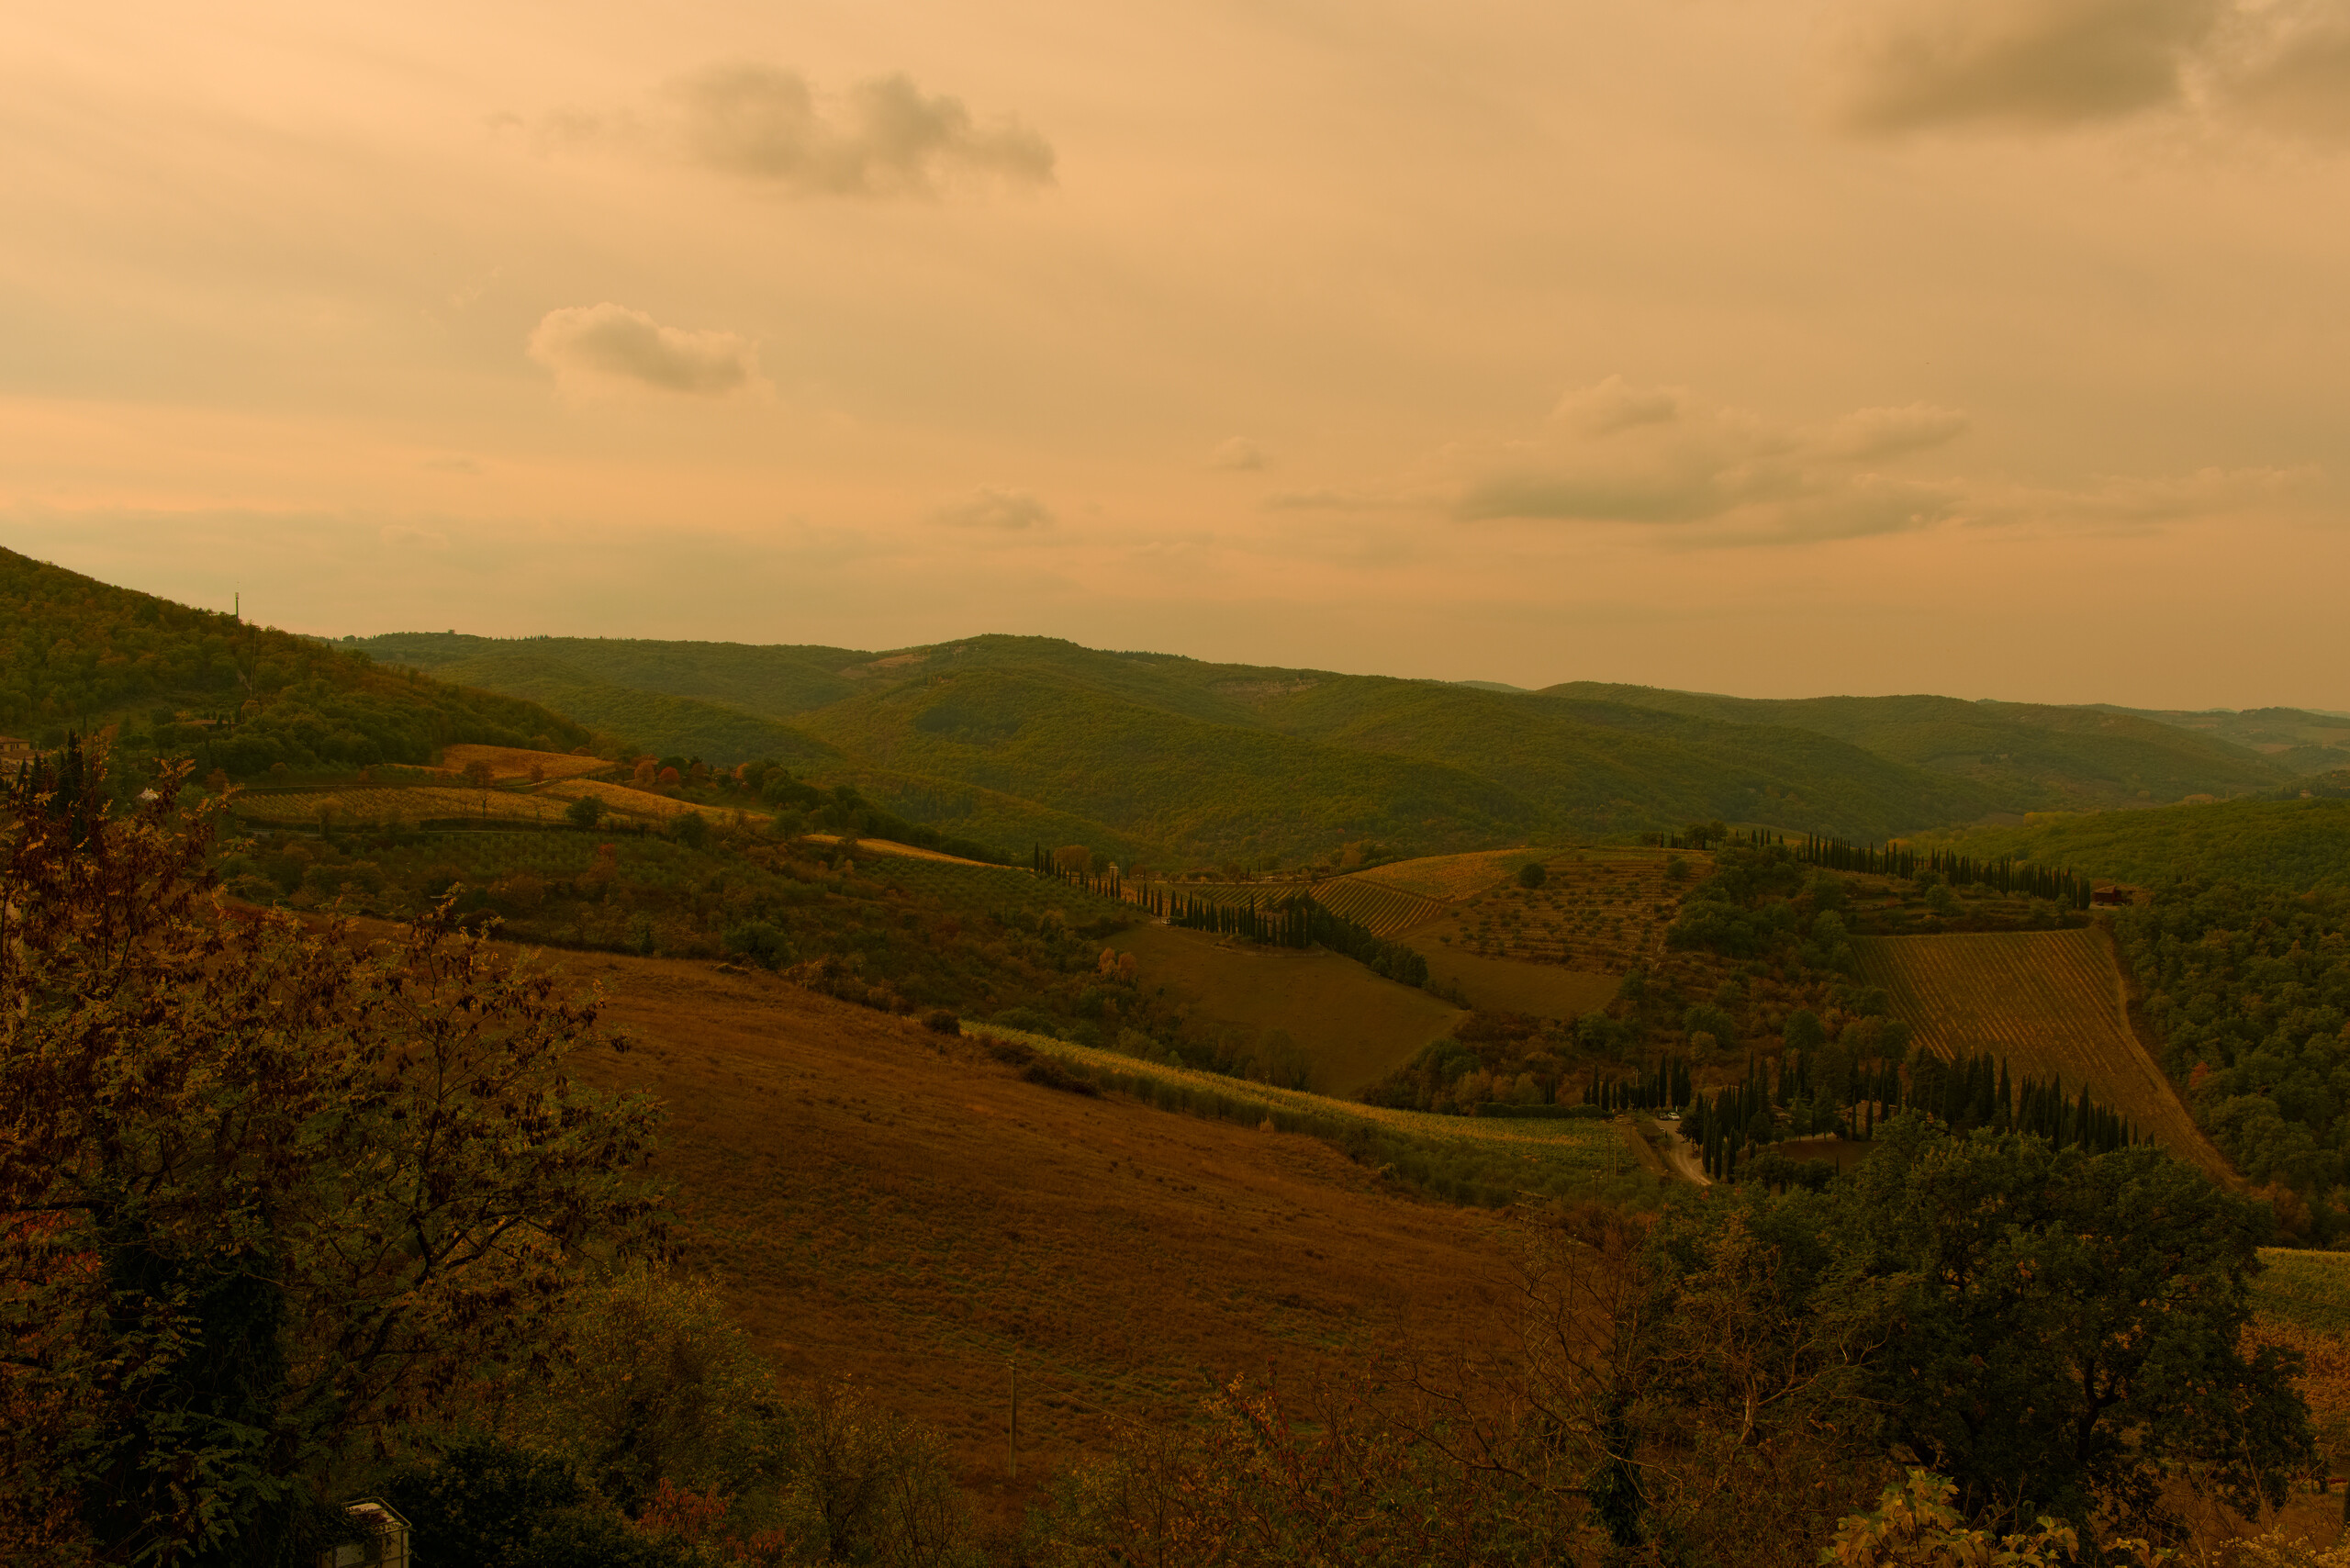
I had a second go at this one. Still with this velvia look in mind, toned down and a bit more geared towards my own taste:
Just adjusting properly WB (not looking for any bias, just regular) and then using two instances of Color Balance RGB, one with parametric masking on greens (well, really more on blues) to oversaturate them to survive the second instance, which is just bringing in a lot of reddish tint… It’s softer than the ooc picture (which seems a bit excessive for me, just taste!), but in the same direction.
For me it’s easier working with Color balance RGB than with curves (I’m not experienced on working on color). But probably RGB curves and/or channel mixer in Color calibration would be more powerful.
-UPDATED: 'cause it was too dark a sky, and much less contrasty image than yours, so I think it was too far from what you are looking for.