Having a Play with PhotoFlow

Having a little play with PhotoFlow (0.2.6): I wanted to see what the sidecar file (.pfi) would look like if I used a ‘freehand’ mask.

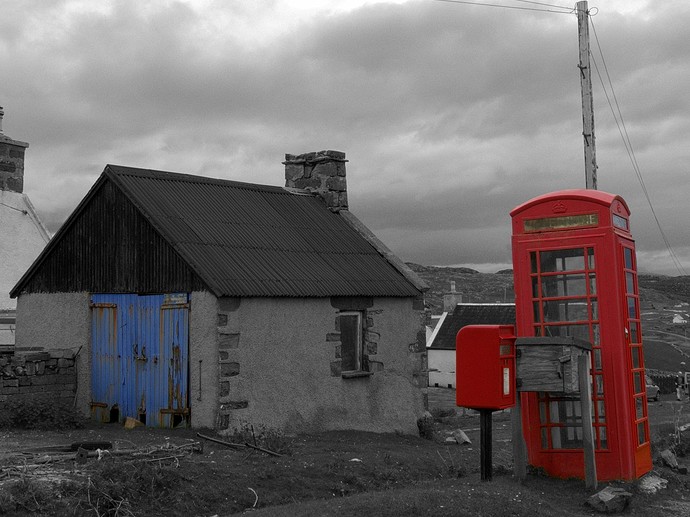
This is the centre of the hamlet of Stoer, in Scotland (near Lochinver - recently back from a holiday there). The colour juxtaposition of the red phone box, post box and blue doors looked interesting, and I reckoned it would make a good subject for a black and white photo with the colours added back.

This is a basic desaturation (Lightness) with a Freehand Drawing Mask (erasing most of the mask except where the objects in question were. It’s a bit ‘messy’ (I rushed it a bit!). The .pfi file is rather large!! But it works. Opening the .pfi in PhotoFlow also opens the image.

Hope you like it.
Biff

1 Like

Good job, and nice picture!

Let me take advantage of this example to give some explanations, and suggestions for a more efficient editing:

  • the .pfi is large because the freehand strokes are entirely saved as a sequence of point coordinates. In other words, the .pfi file contains the instructions to replay your strokes and re-generate the freehand mask each time some pixels are requested (for previewing or final export)
  • you say “erasing most of the mask except where the objects in question were”. A more efficient approach would be to set the background of the mask to white, and paint in black where you want to “erase” the desaturated version and let the coloured one appear
  • you can also generate a mask as a sequence of layers, typically blended in “darken” or “lighten” mode. You could in this case use some other tool like the “path tool” to roughly isolate the objects and refine the selection with the freehand. Or you could isolate the portions of the image by color using the Hue curve of the “HSL mask” tool, and then again refine the selection with few freehand strokes.

The number of possibilities is quite large. If you are interested, I can post here some examples (either directly on your image if you want to share it, or some of my own images).

Thanks for the reply, Carmelo_DrRaw.

I’ll attached the raw file I used, if you want to play. (OK, I would, but my browser won’t let me upload a RW2 file!! So I’ve uploaded it as a JPEG froPhotoFlow. Cropped and resized to below the 5MB limit):

I did wonder how the .pfi file would record a freehand mask, which was one reason for the exercise. I did also try making a mask using the Hue curve, but didn’t realise you could then refine the selection manually: that would be most useful (and easier). And the Path Tool - tried that, but I think I pushed it by trying to put a HSL Mask on top of the Path Tool Mask (a mask on a mask!) - PF crashed. Oops!!

Biff

1 Like

Adding a mask to a mask is at least in principle supported by the code, but I never tried that in practice, so I’m not surprised you got some crashes.

However, masking a mask is not really needed, because you can build your mask incrementally with a sequence of layers. Here is an example based on your image.

First I added a “desaturate” alyer and then I started editing the associated mask. The goal is to create a mask which is white everywhere except on the blue door and red telephone.

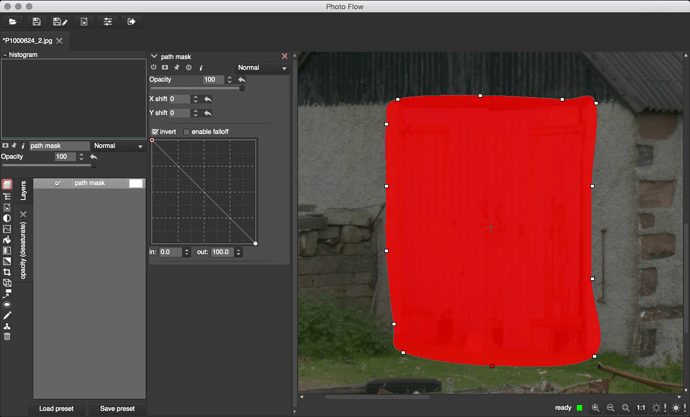
First I approximately isolated the blue door with a path mask:

Then I refined the selection with some freehand strokes around the door, using a white pencil on a dark background and setting the blend mode of the freehand tool to “lighten”:

Then I added a group layer that will hold the portion of the mask that isolates the red telephone.
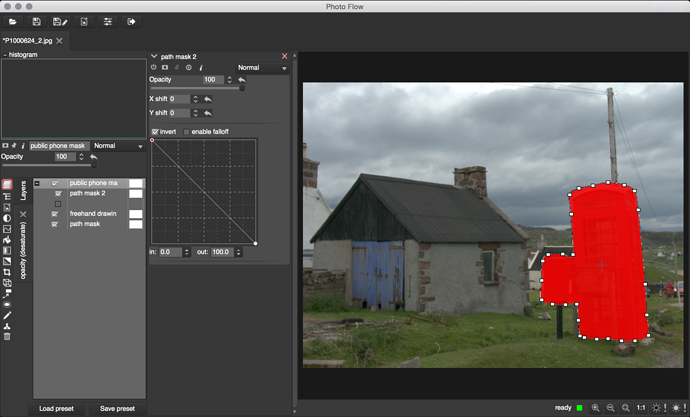
In this group layer, I first added another path mask:

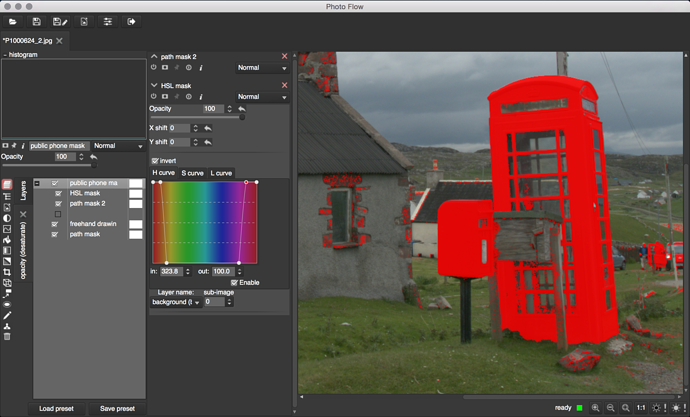
Then I added an “HSL mask” layer above the second path, selecting the background layer as the source and adjusting the curves such that the red hues are turned into a black mask. For this, I have used a combination of the H and L curves and then inverted the resulting mask:

For the moment, the HSL mask replaces the underlying path. To combine them properly, I have set the blend mode of the HSL mask layer to “lighten”:

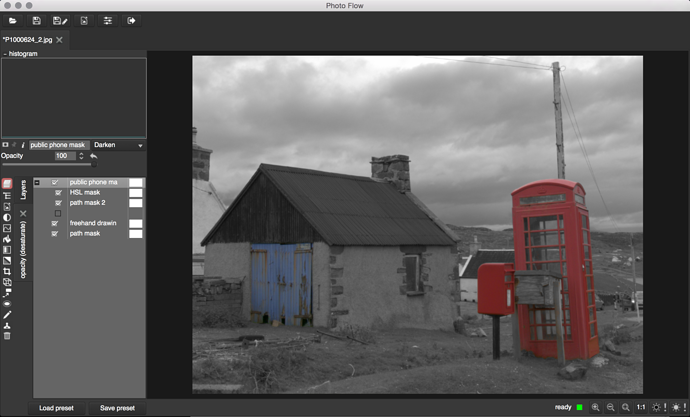
Finally, I have combined both portions of the mask by setting the blend mode of the group layer to “darken”:

And here is the final result:

All this might look quite complex, but once you get familiar (if you aren’t already) with the lighten/darken way of combining the mask layers, the incremental generation of complex masks becomes quite straightforward…
1 Like