The blend mode “screen” works as a reverse version of “multiply” (but the mathematics are more difficult to understand): Your image becomes lighter. So it could be interesting to use this blend mode to assist in lightening shadows, which is something you do often.
My idea is to enable modules you will use anyway and select blend mode “screen” instead of “normal” and watch the results. Just turning on “exposure”, “levels” or “tone curve” with default settings does not change the image, but changing the blend mode from “normal” to “screen” does.
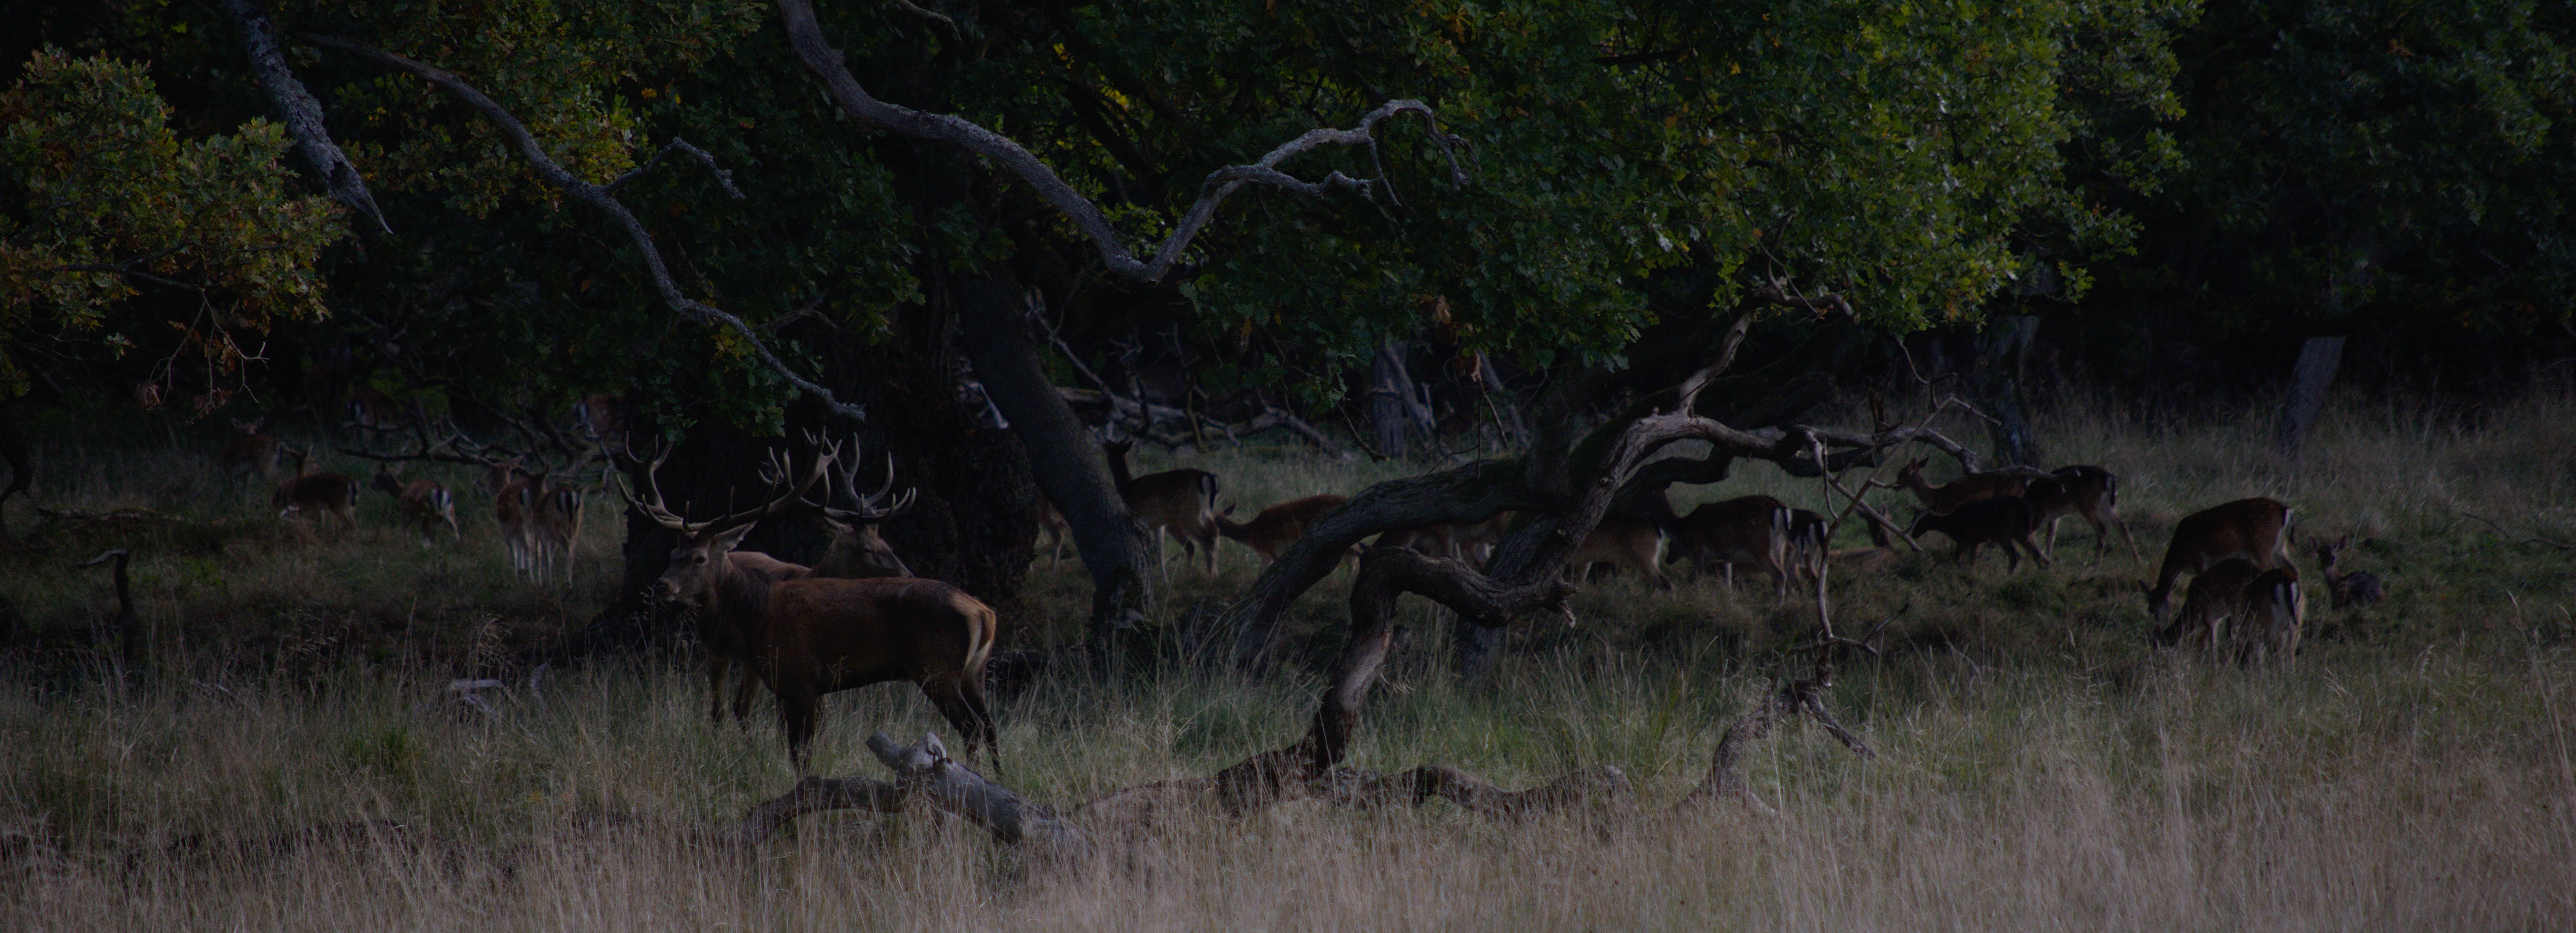
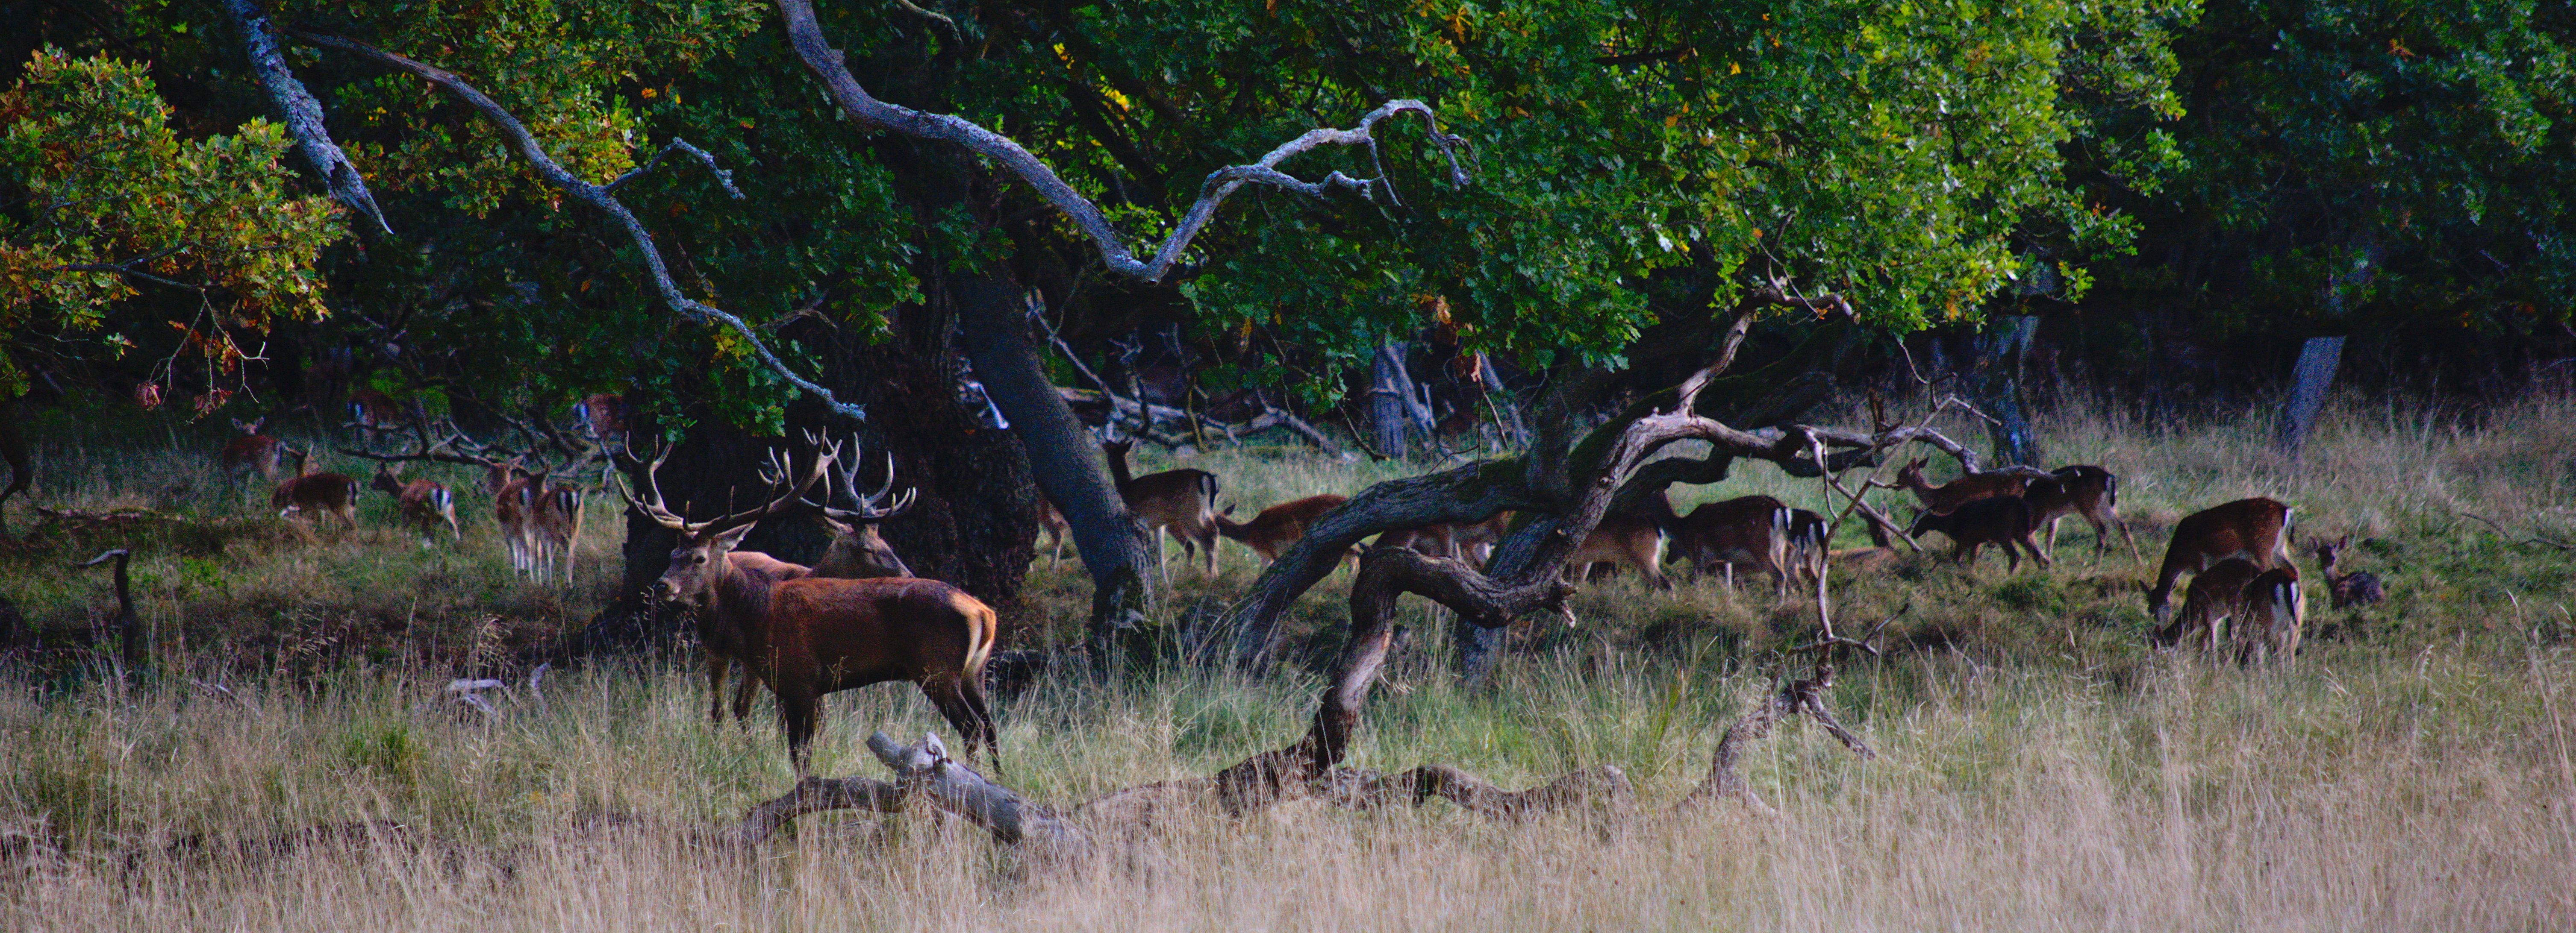
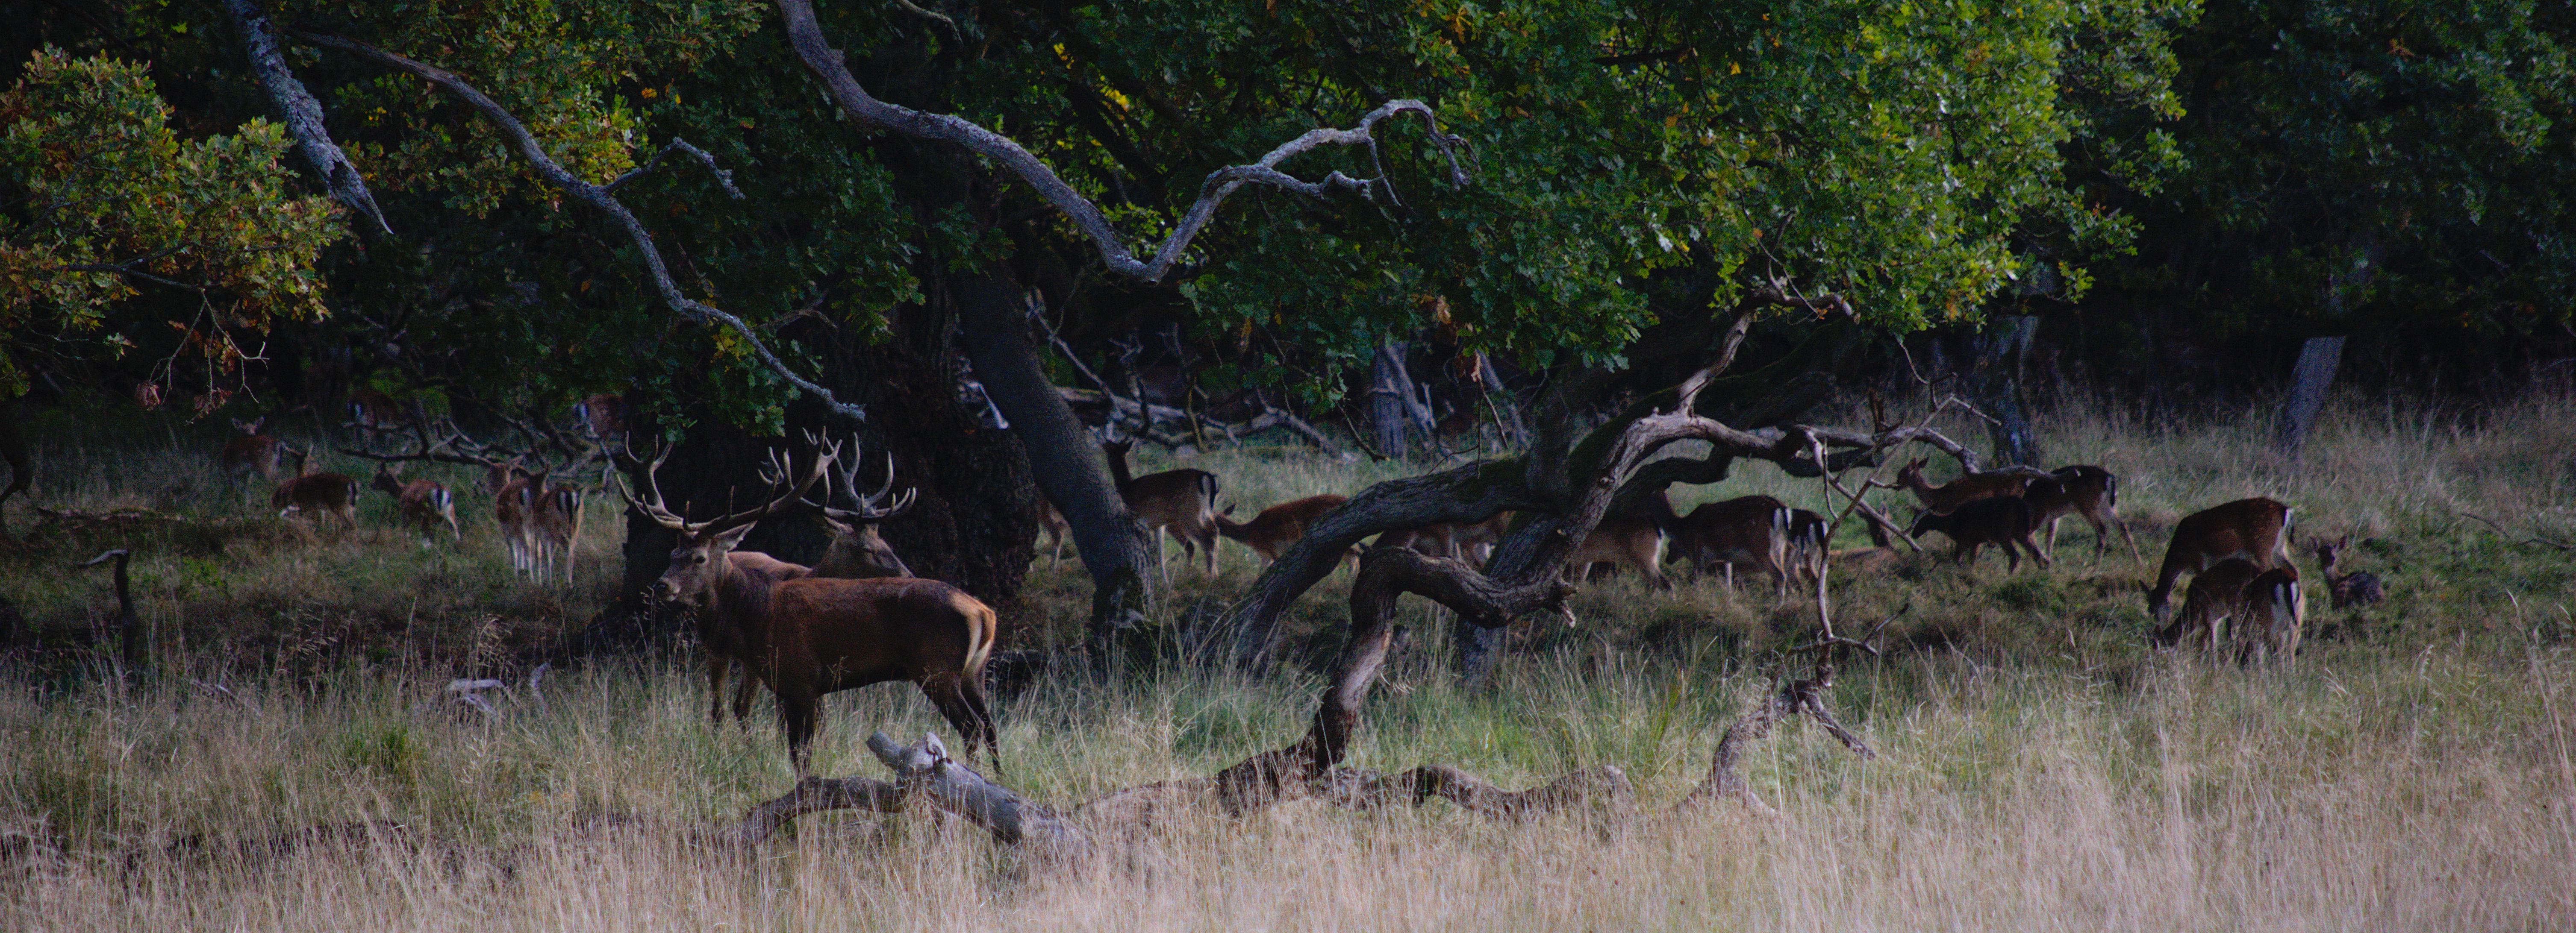
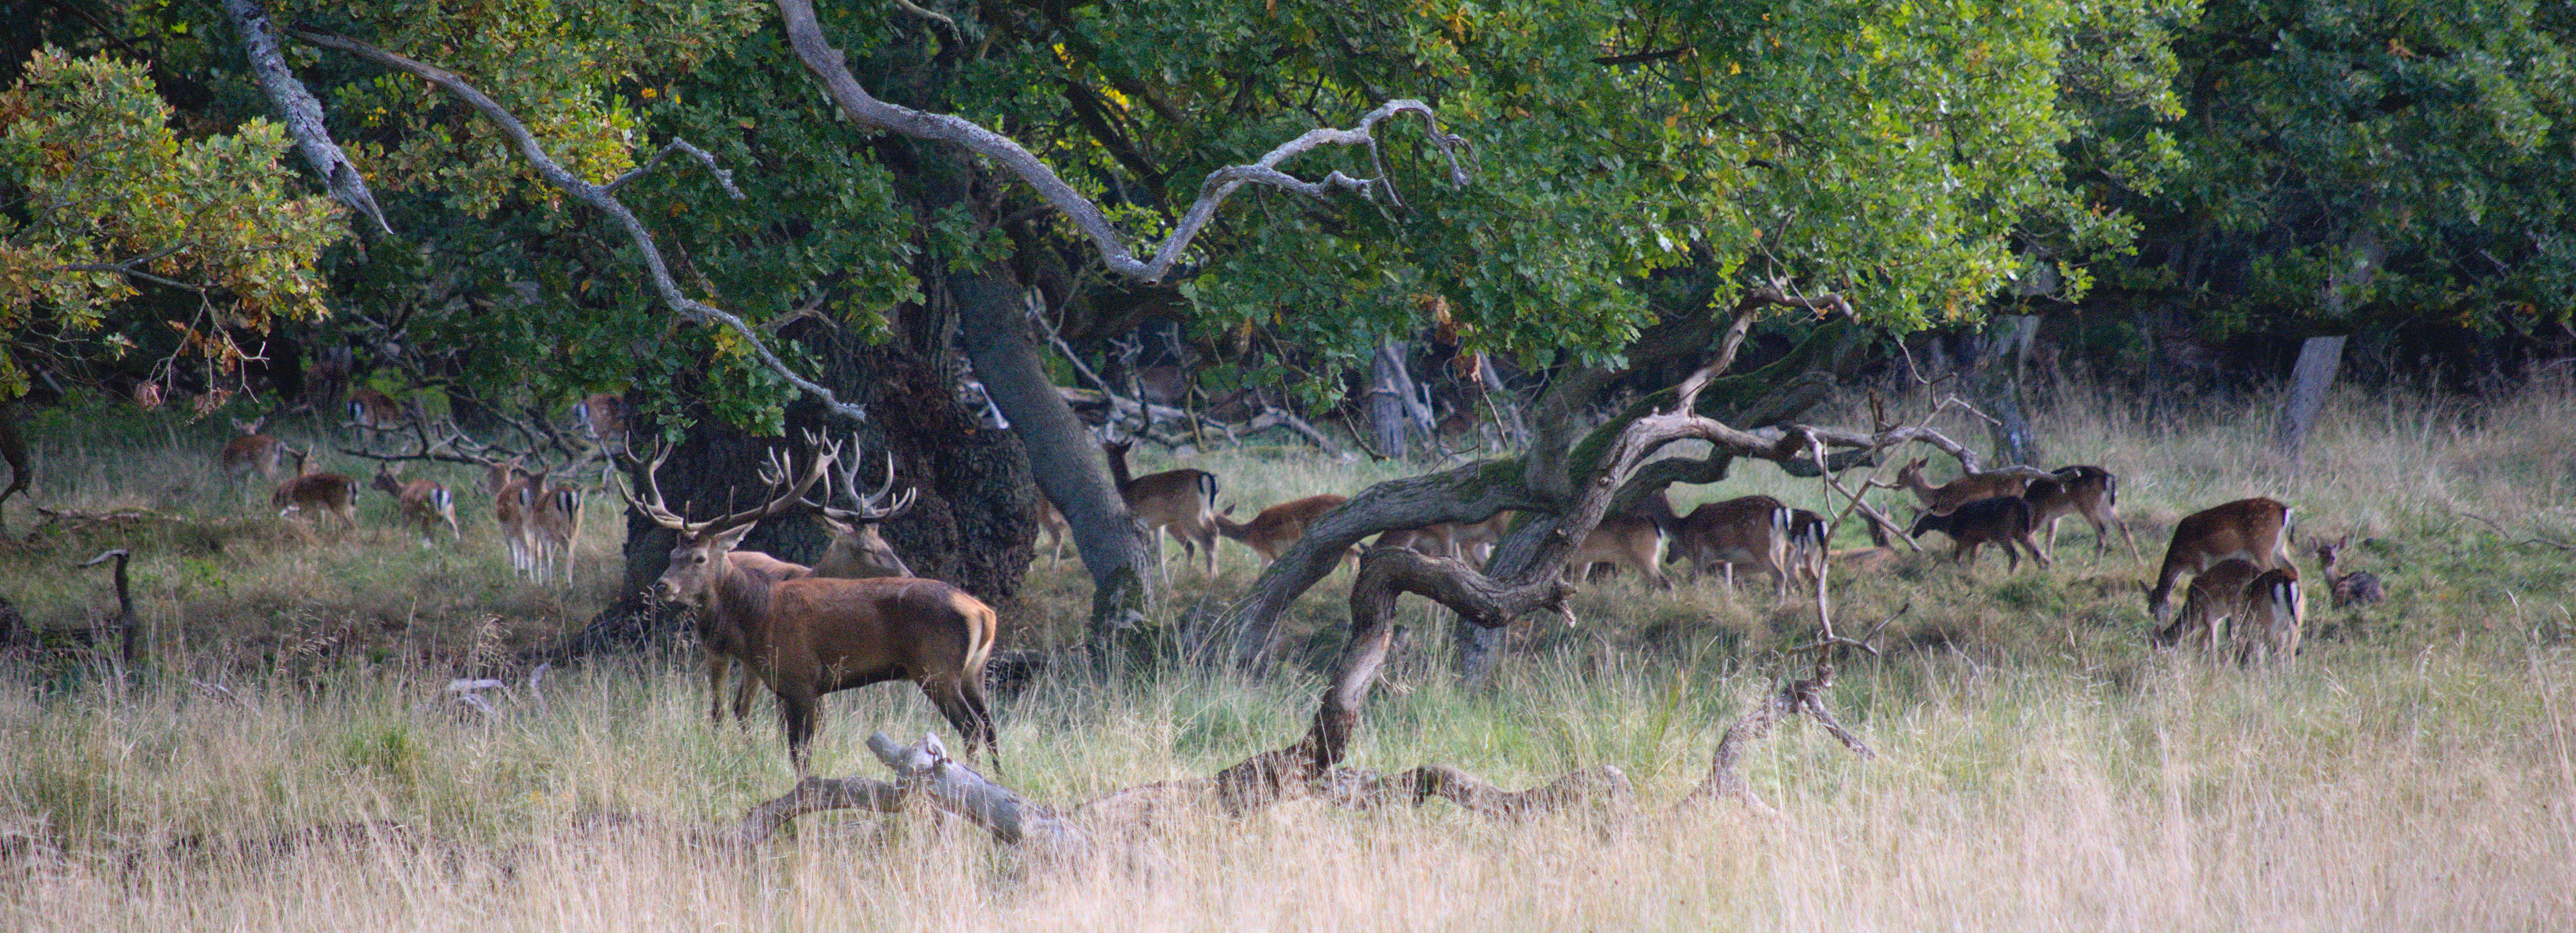
Below you find some results of my experiments with the same image. All settings are default unless otherwise noted.
DT standard
Shadows and highlights enabled
Exposure enabled, blend mode screen
Tone curve enabled, blend mode screen
Exposure and tone curve enabled, blend mode screen in both modules
The difference between 3 and 4 is caused by the modules being executed either before or after the base curve module.
In this case I personally prefer the result of lightening the shadows with the exposure module compared to the shadows and highlights module
Thanks for sharing your ideas. The play_raw tag, however, should be used for postings, where the owner of the image gives others the oportunity to play with the raw. Which is not the case in this thread. So you might want to remove the tag.
Yes, I use the exposure module with the screen blending for my manual vignetting correction – I find it gives me better quality than the vignetting module.
[edited to add] Apart from the order in the pixelpipe, the underlying colour model of each iop might contribute to the different outcome. As I understand it, each module may use a different colour model, so the screen blending might give you slightly different results.
I use the exposure module and set its blend options to drawn mask. The blend mode is set to screen and I usually use something like 60% opacity for the type of vignetting my lens exhibits. I save it as a preset (which is part of the default style that I apply at the beginning). The only thing which I then have to do manually is select the “add circle” icon, and place it in the middle of the frame. I use a pretty generous feathering (see the screenshot):