Masked exposure as a replacement for Shadow/Hilights, etc

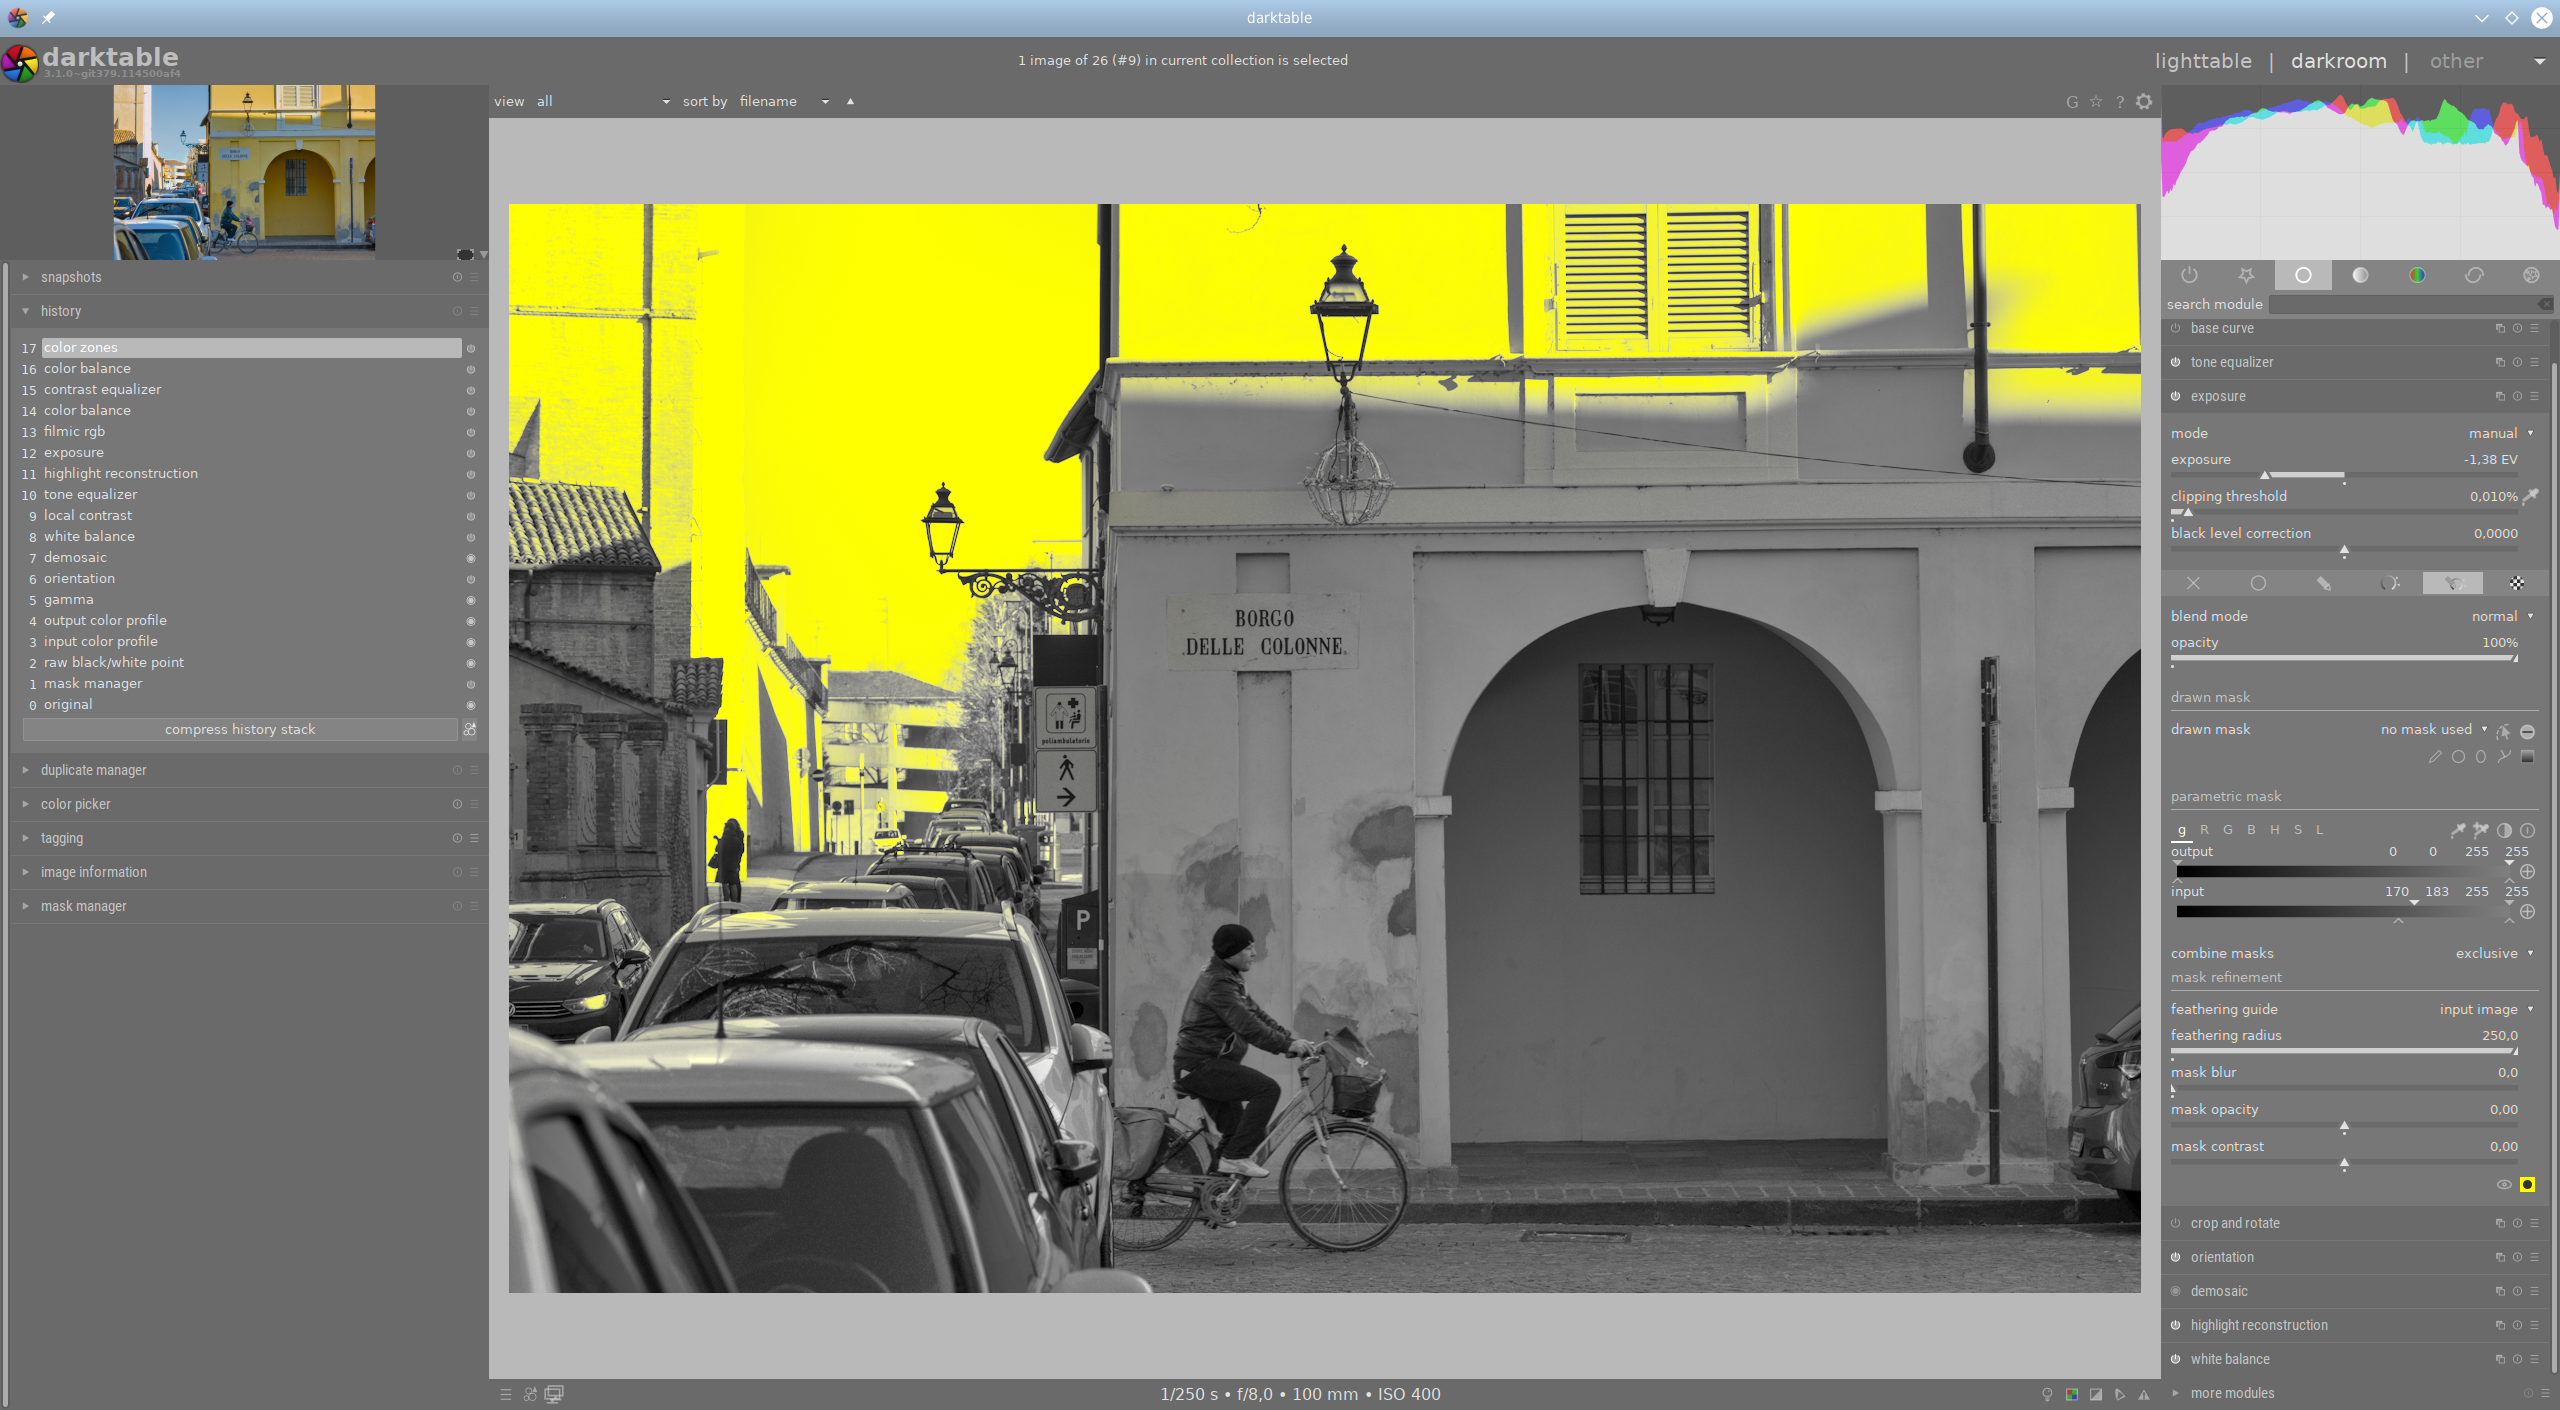
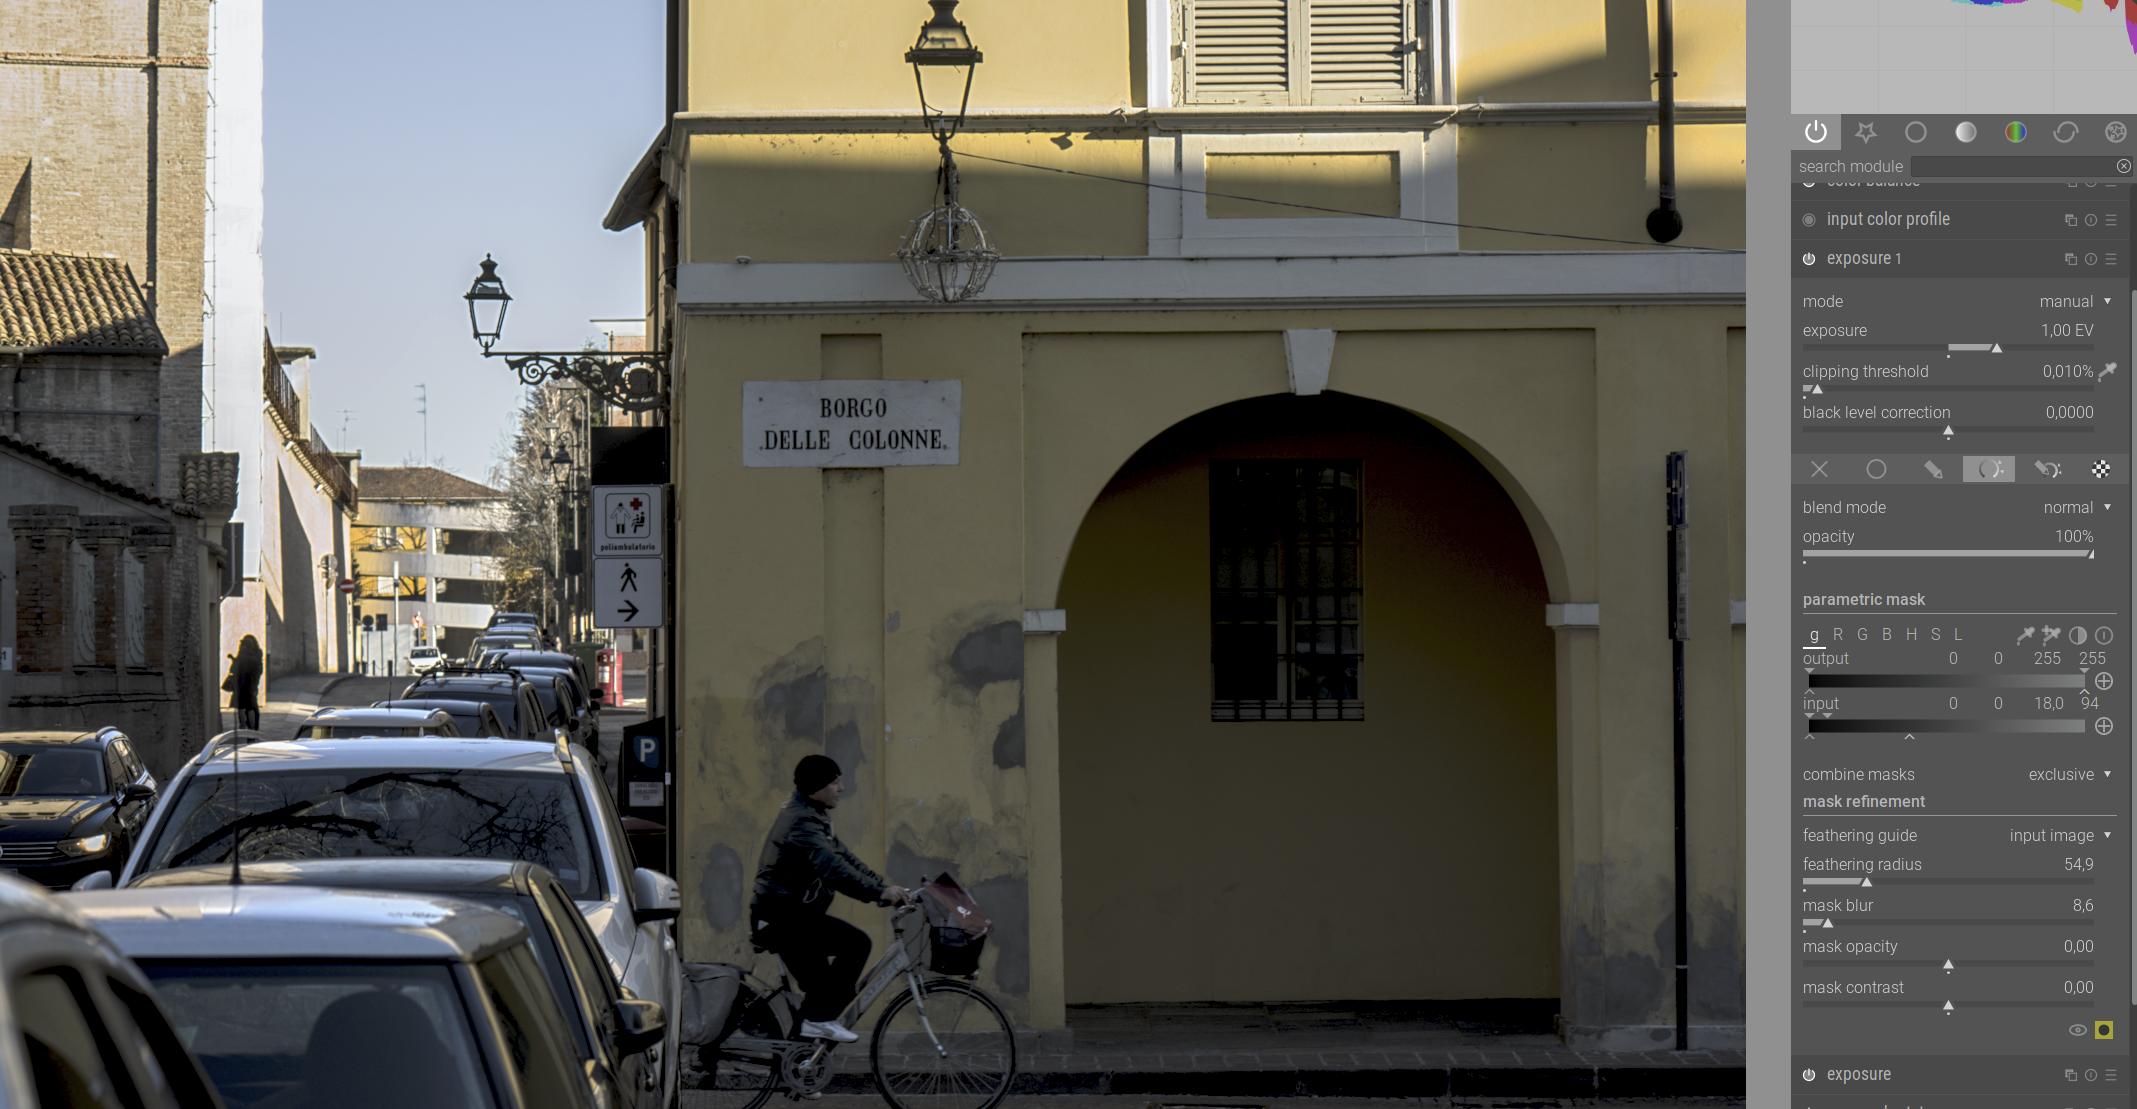
After Aurelien’s recommendation to simply use exposure with a mask as a straight replacement for shadow/hilights, I did try the following but I’m unable to make the transition from dark to light smooth and realistic. This screenshot below shows the photo and the parameters for the masked exposure:

Obviously this is a situation where Filmic would be the ideal solution so I did try that and even if I like the output I’m unable to match the colors in the two copies, also I don’t even know anymore what is the most accurate/realistic rendition of the colors in the scene (check the yellow of the building). This type of situation, with high contrasts and strong shadows is something that I like a lot when taking photos so this is why I’m focused on getting this right and understand what’s the best solution.

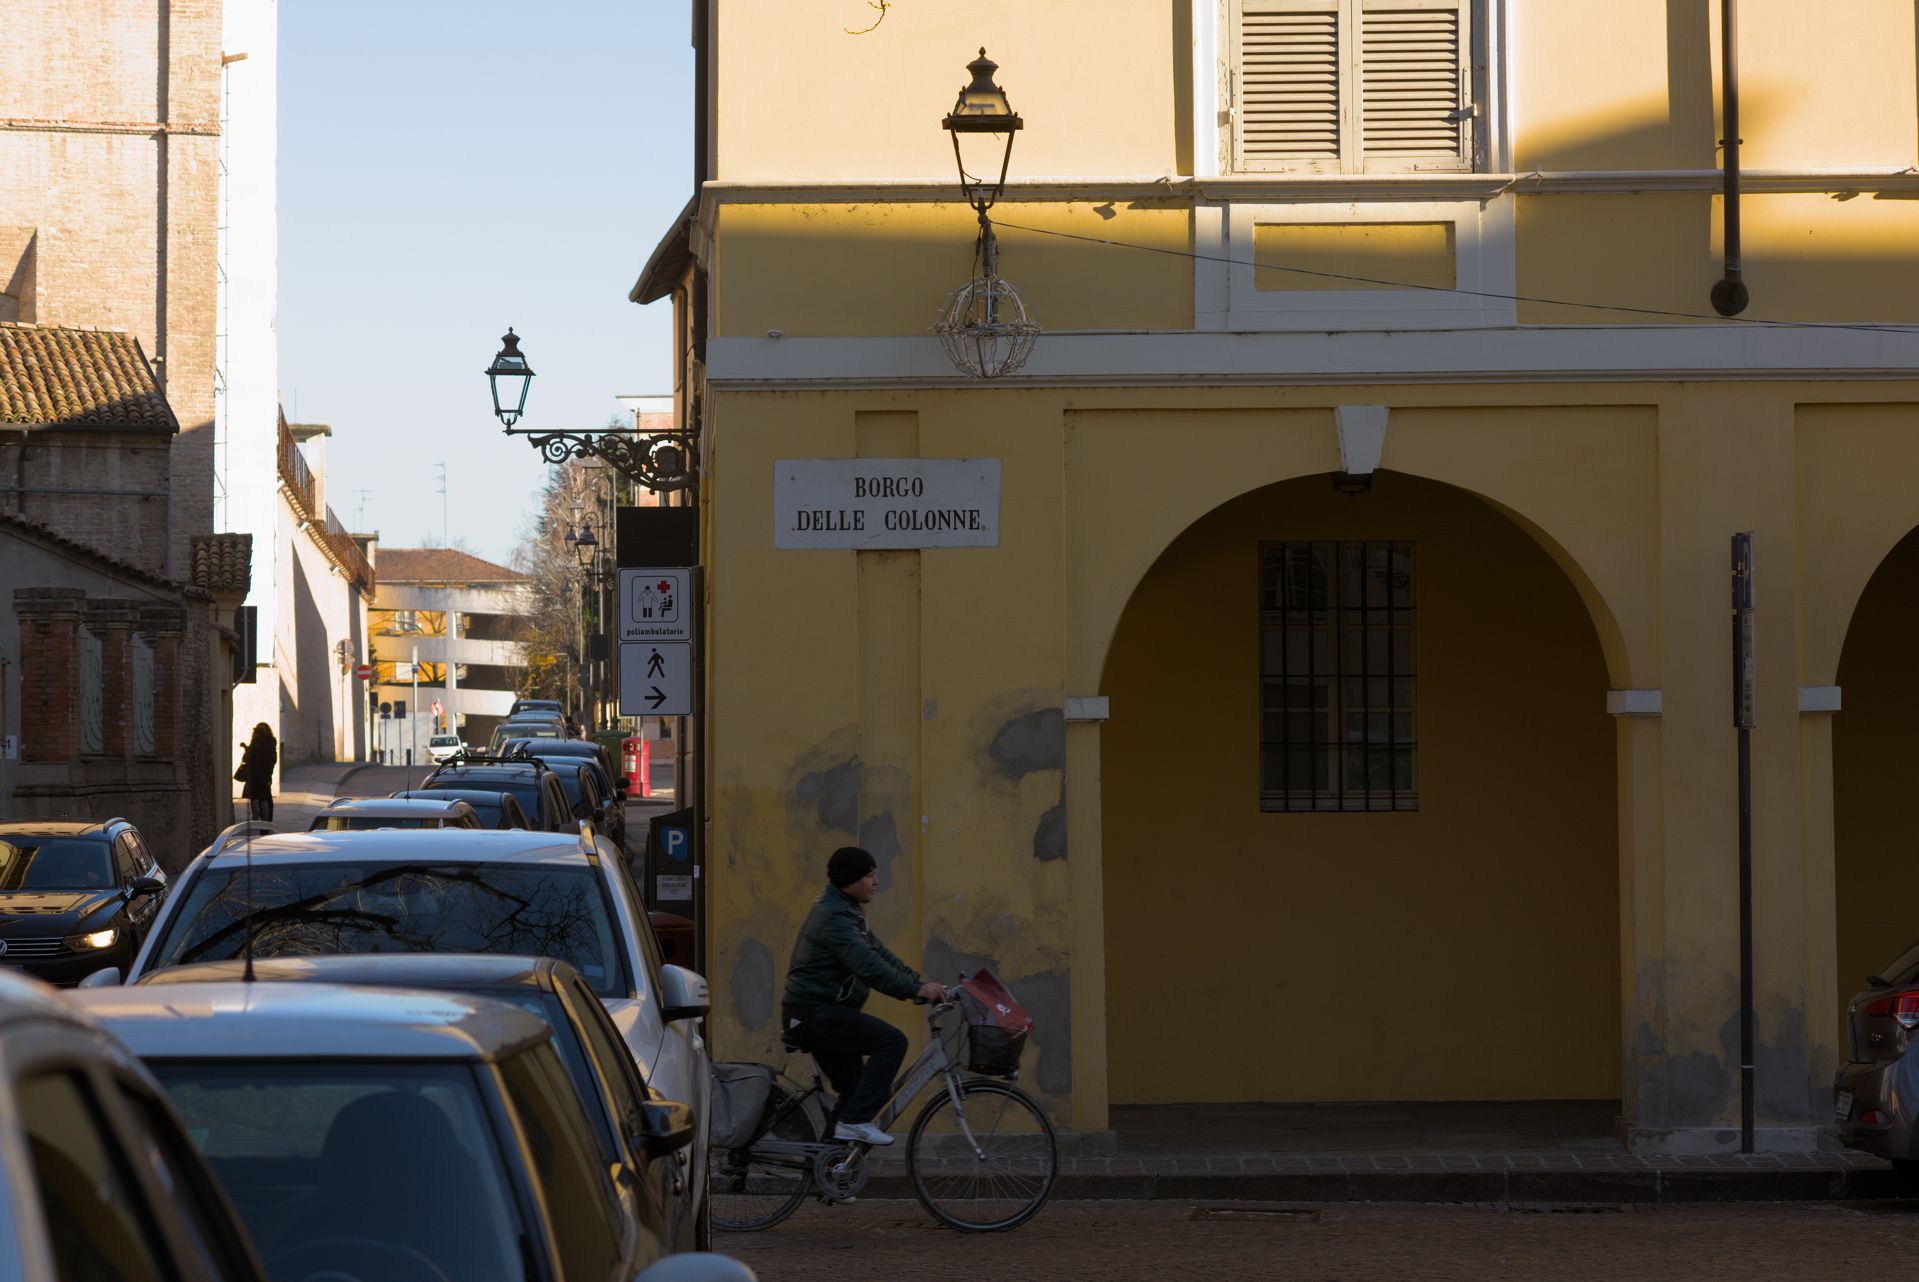
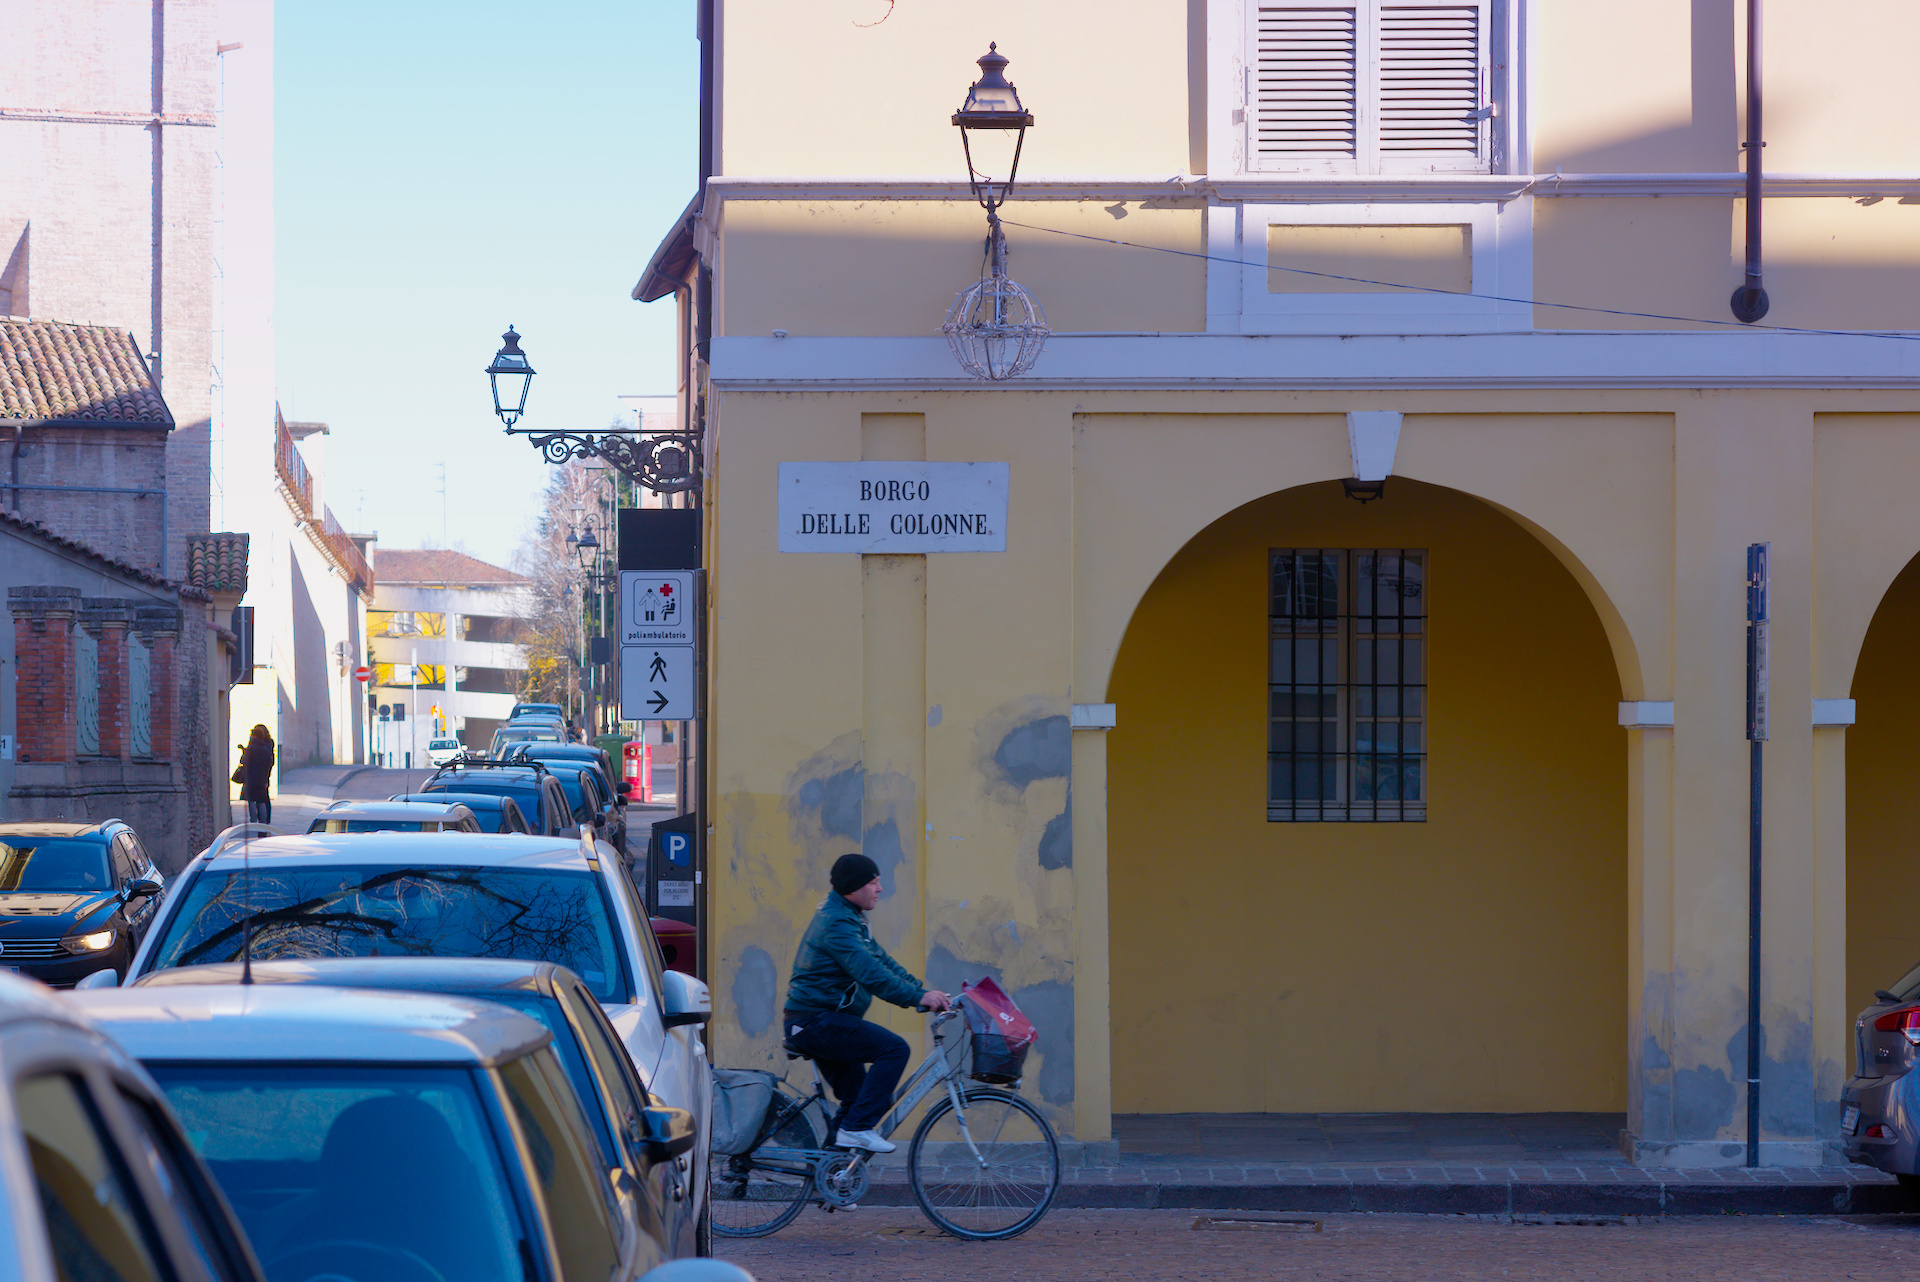
So, this is a jpeg created by using my usual minimal set of modules (exposure, rgb curve, color balance, local contrast):

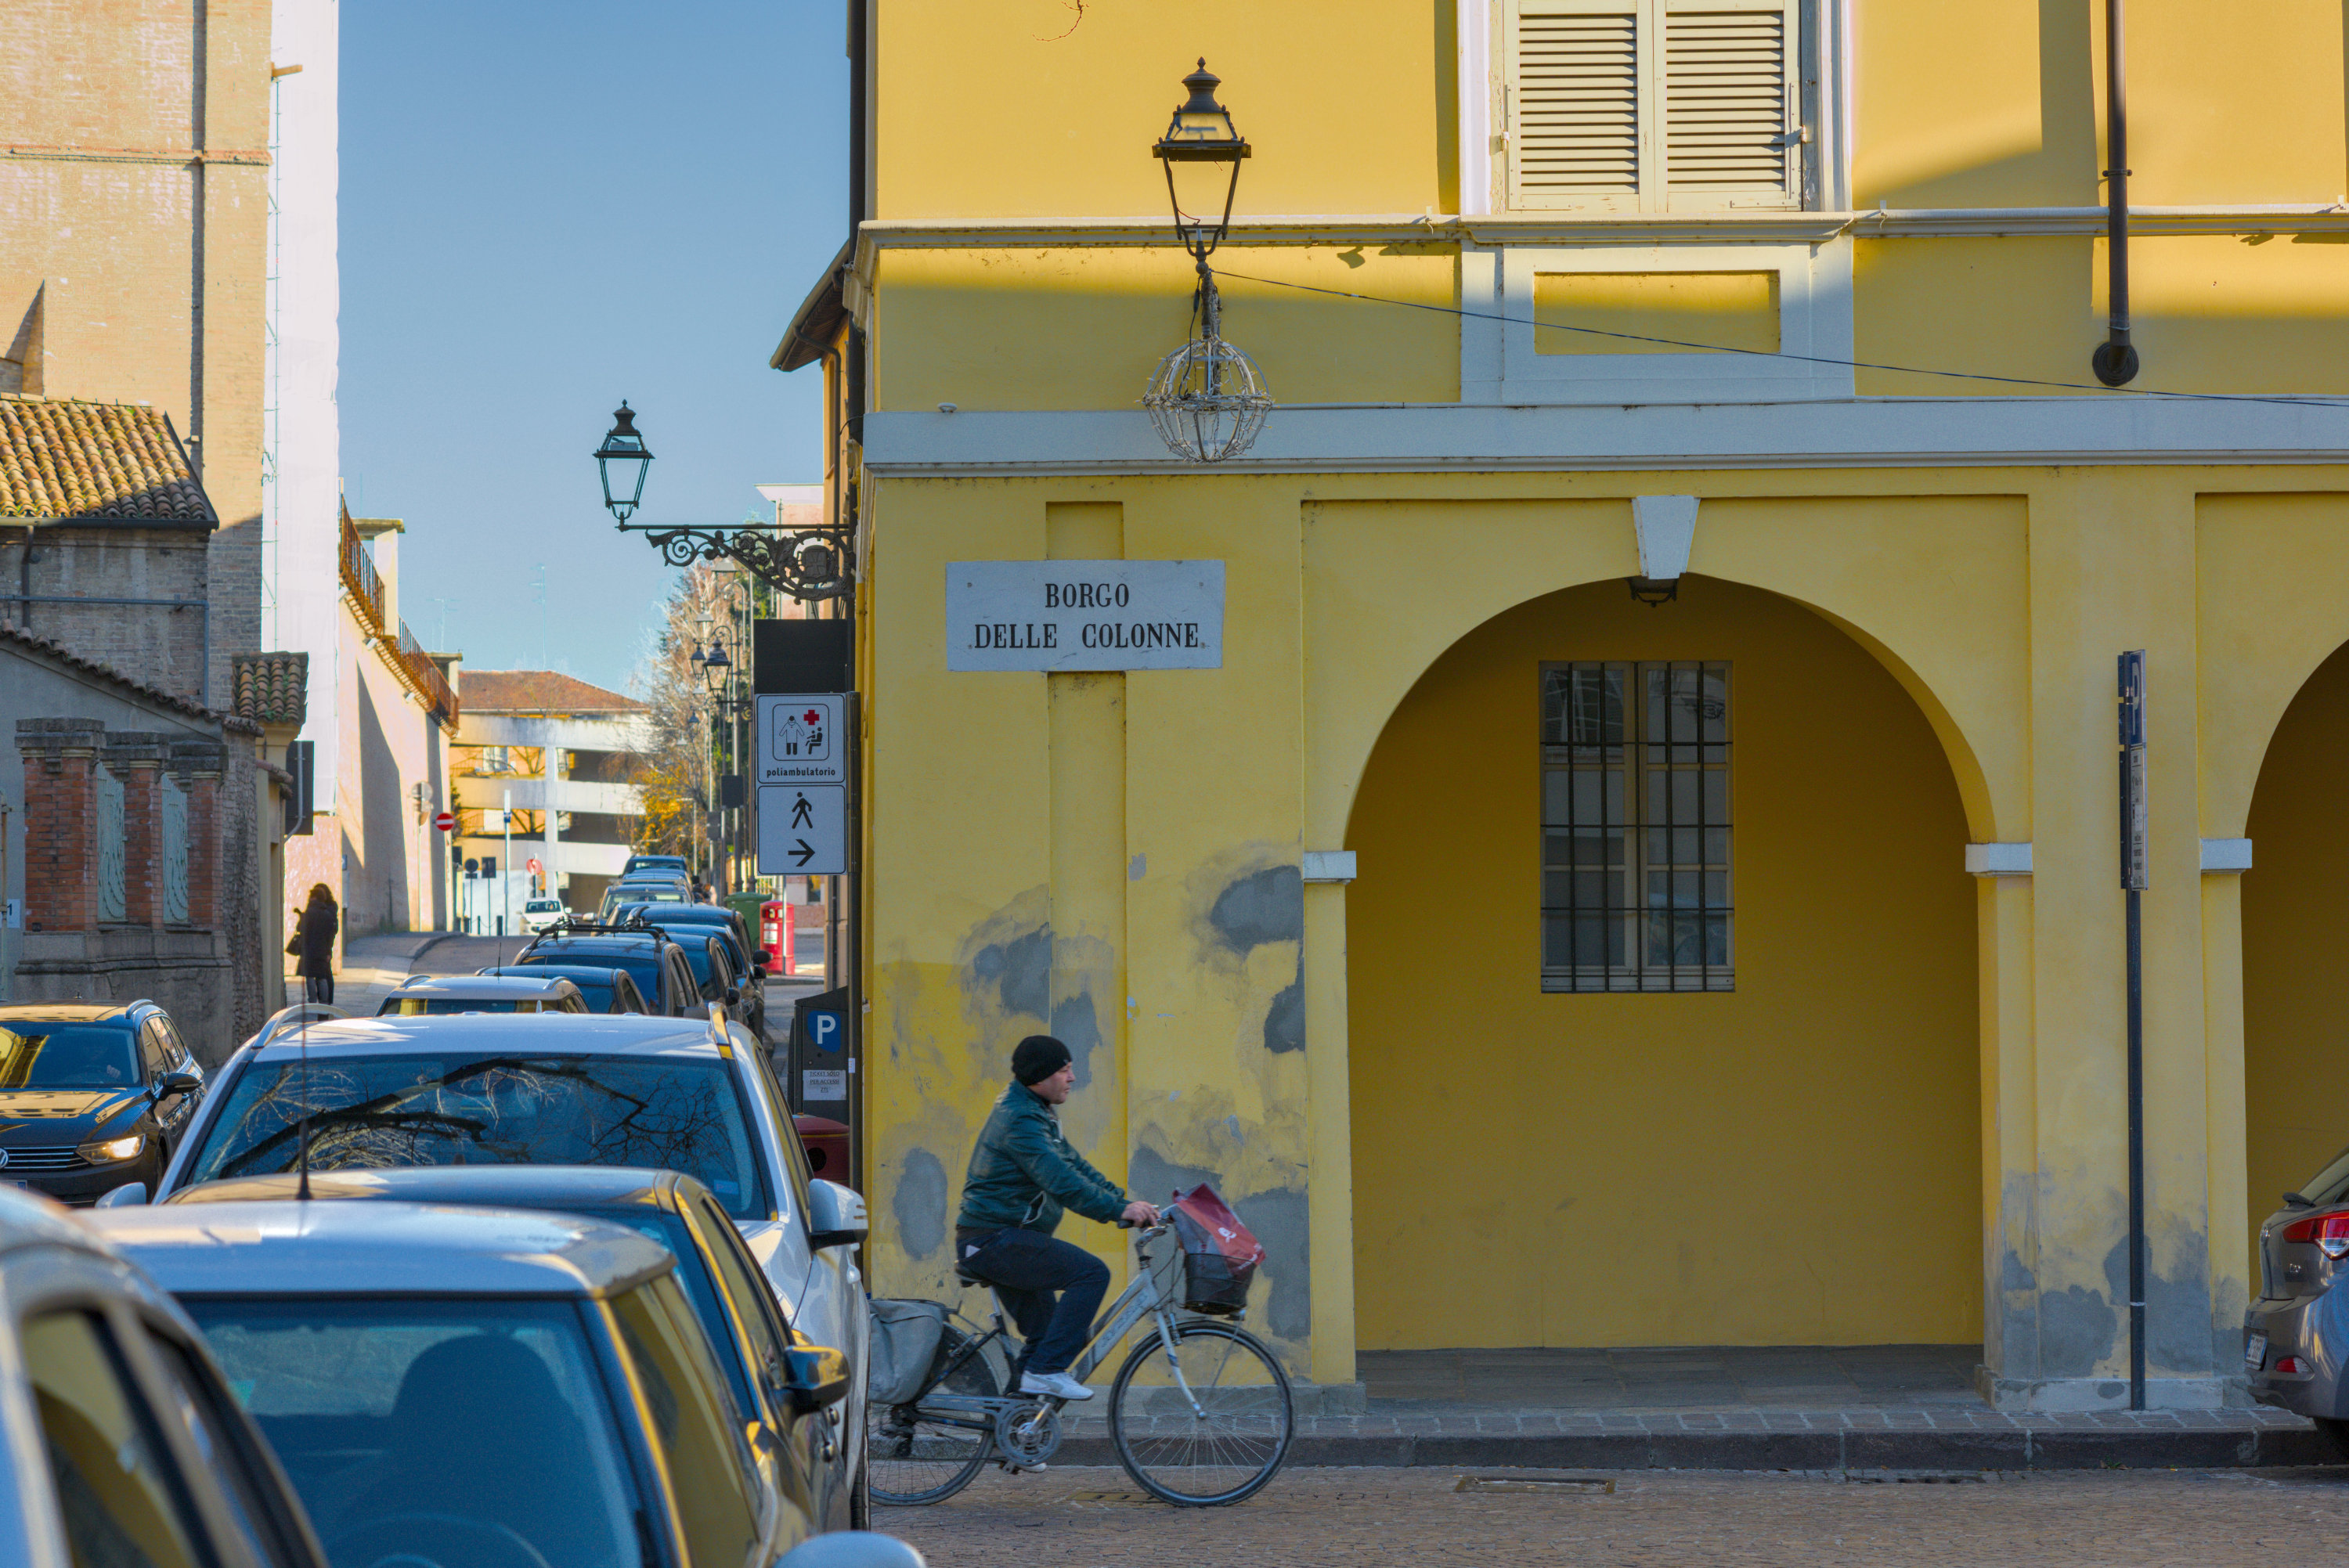
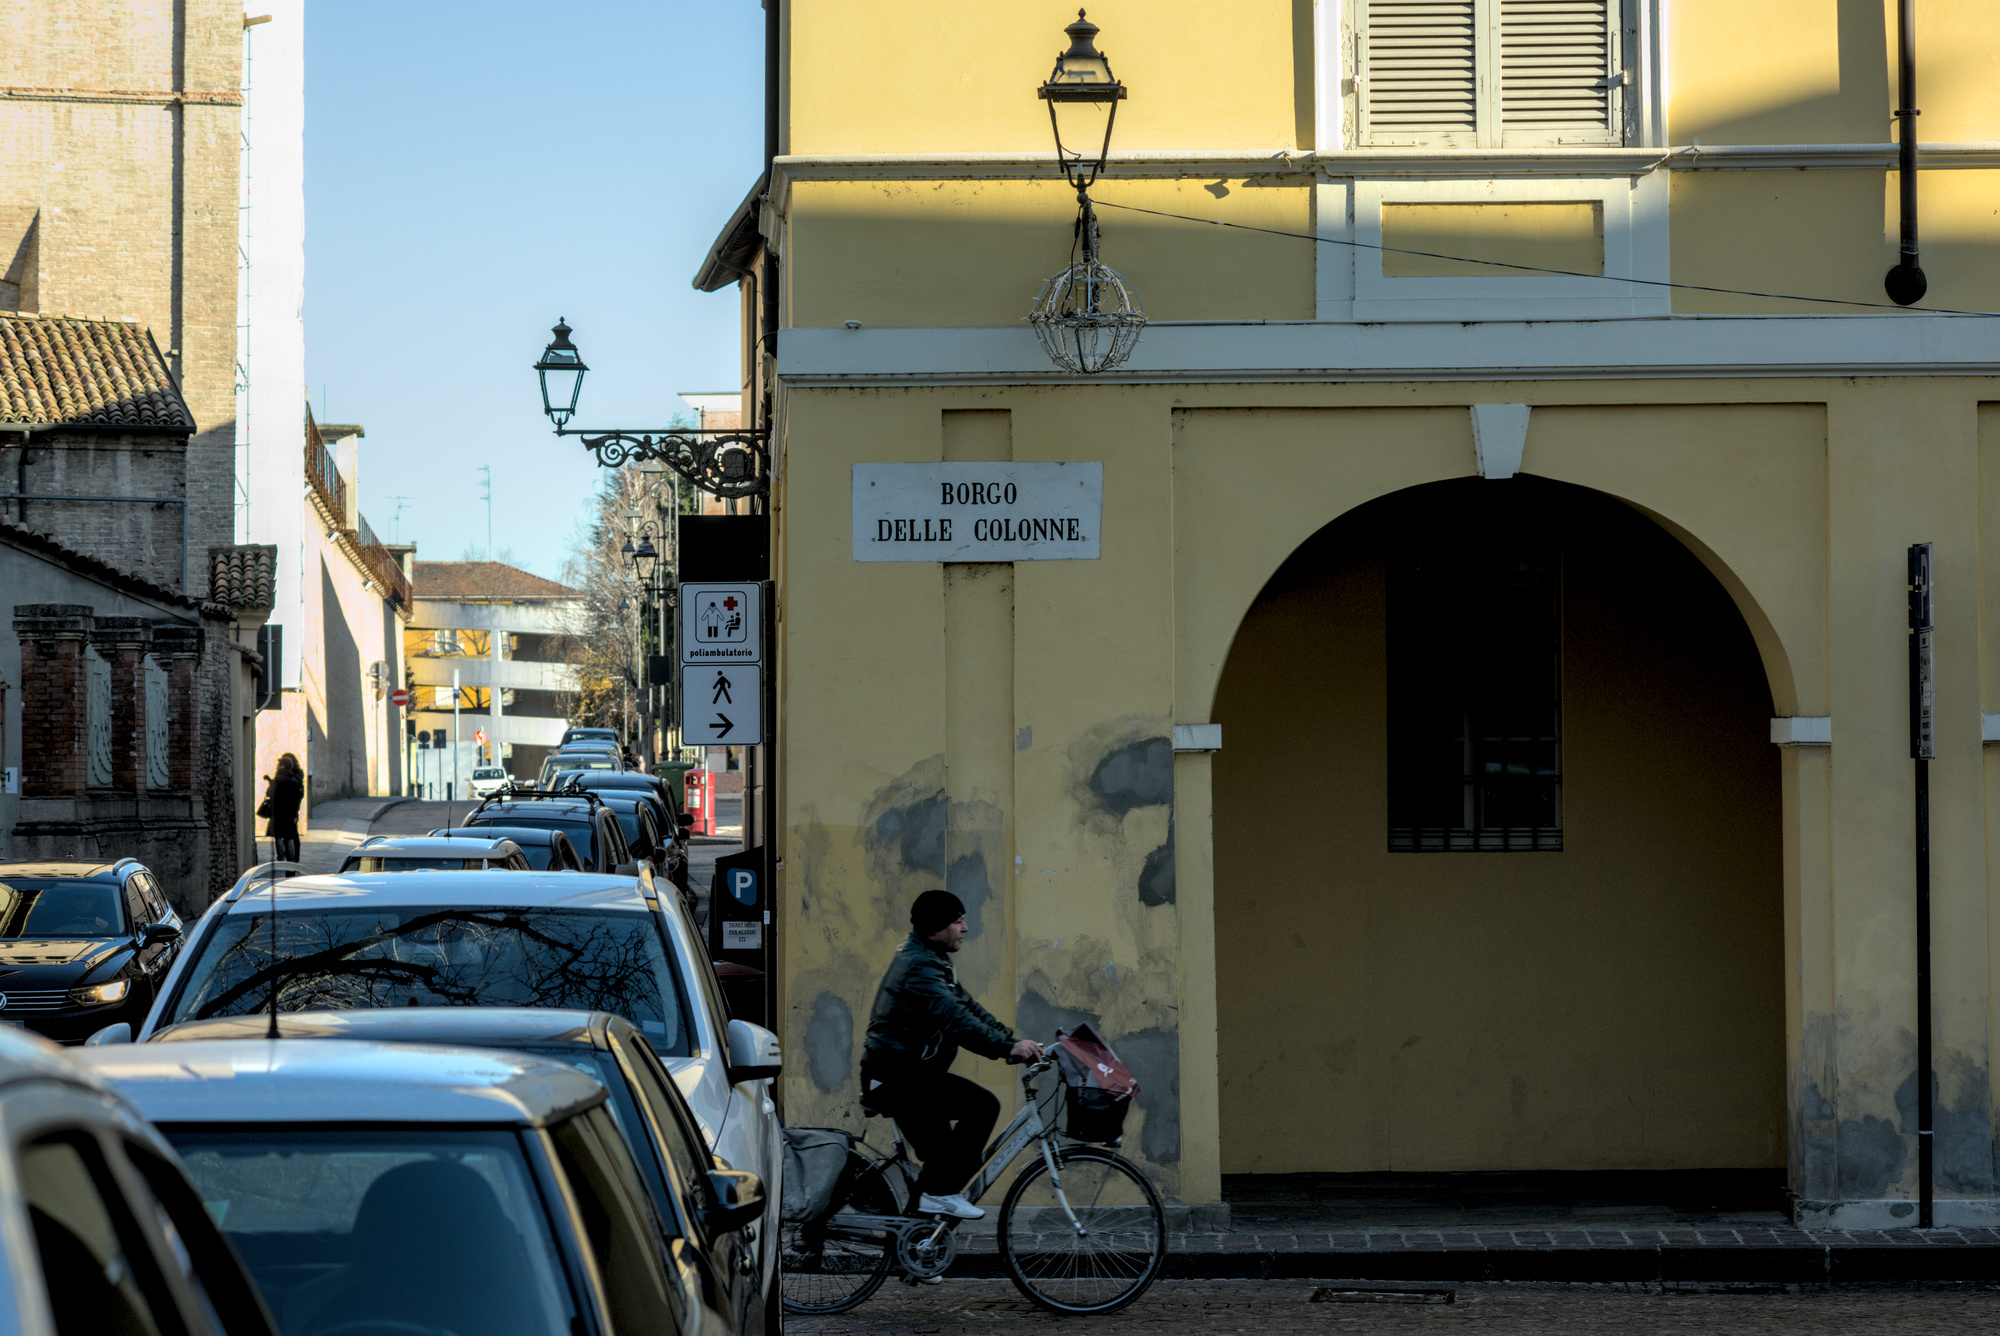
While this is using filmic:

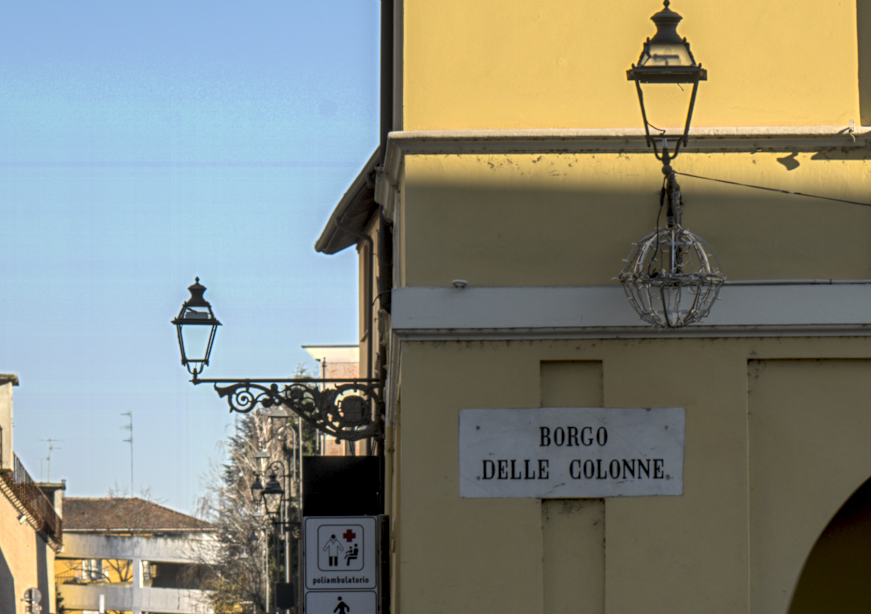
Finally, there is also the issue of highlight reconstruction; If there is no overexposure I stick to the default (clip higlights) but in this situation I would normally use use “Reconstruct in LCh” (what I’ve done in these two examples). However, by using “Reconstruct in color” I get back a saturated yellow in the building which is exactly what I remember; however the sky falls apart with artifacts such as these:

(please note that the colors of these screenshot are not accurate and do not reflect what I see; the jpeg exported from DT however they’re truthful).

So in summary I’d like to get your ideas about:

  • how to create masked exposure to recover shadows, i.e. the actual parameters to make the mask
  • how can I better control (or match) filmic’s color rendition compared to a simple exposure+rgb curve
  • recommended parameters for highlight reconstruction

Thanks to everyone in advance!

This is the original raw file plus the two .xmp to recreate the two versions above:

20191226_NIK1830.nef (42.9 MB)

20191226_NIK1830.nef_filmic.xmp (13.8 KB)

20191226_NIK1830.nef.xmp (9.8 KB)

As always, the raw file is provided with a CC license blah blah blah

The good of filmic module is that it forces dt users to use more global adjustments (filmic is like curves) and less local adjustments ( like insane settings in shadow/highlights and local contrast)

Copy/paster from another post

My way to use filmic is :
1)recover the highlights moving the exposure slider to the left
2)in the filmic module set the contrast to 1.125 , shadow/highlights balance to 0 %, preserve the chrominance= no
3)move the middle gray luminance as you like

In this case I’ve used luminance color preservation
20191226_NIK1830filmic.nef.xmp (11.9 KB)

This is really one of the extreme cases - overexposed highlights and main subject in the dark.

Sometimes it’s easier to do it the opposite way - mask highlights and then darken them because they don’t contain as much detail that will make masking more difficult. And then use a second exposure instance to brighten up the whole image:

In this case I used exposure to darken the highlights and that was the basis for Filmic RGB.

For me, Filmic RGB is never the end of editing. Afterwards you should correct contrasts and colors. Filmic RGB itself offers preserve chrominance option where you can choose different modes. The best thing to do is to try them out. I used “Max RGB” because it darkens the blue sky a bit. You can also play with “preserve luminance saturisation”

Here I will also recommend to experiment. All three options have only one slider that you can move. You can see the results immediately. In this case the “reconstruct in LcH” option was the best. I have slightly increased the clipping threshold until the sky did not show any artifacts and overexposed walls did not show any purple color shift.

Here is my final result:

20191226_NIK1830_01.nef.xmp (9,8 KB)

6 Likes

@s7habo That is too saturated on my poor unprofiled monitor… :sunglasses:

Is this one better for your monitor?:wink::

3 Likes

Better; however, the saturation seems too even. Objects should have different saturation, esp. when the lighting is different. It is not bad; it is because you are @s7habo that I am pointing this out. :stuck_out_tongue:

2 Likes


20191226_NIK1830.nef.xmp (6.6 KB) (dt 3.1.0 master branch)

Here’s my result using RawTherapee dev. Sorry for the noise (as this is a darktable thread) :wink:

4 Likes

The key in this situation is to use one instance of exposure for global corrections, and one masked for highlights with feathering.


20191226_NIK1830.nef.xmp (17,6 Ko)

2 Likes

filmic+color balance
20191226_NIK1830.nef.xmp (7.5 KB)

here’s a try, darktable 3.0.0

20191226_NIK1830_01.nef.xmp (9,5 Ko)

In many entries, I also find the transition from shadow to out of shadow on the building unnatural.

Can the tone equalizer not be used for this?