Hello, I am Bill. New here as well as new to Darktable, Linux, and Photography. As I learn how to properly use my camera I also wanted to find some edit software to use and I stumbled on Darktable. Using Bruce Williams tutorials to get to some grips I actually learned a lot about Darktable and Histograms which should help me when I start shooting.
For some practice I found a Raw file on the internet as I don’t have any of my own yet. This was a old community edit challenge photo that was posted on froknowsphoto’s page. it can be found here: source
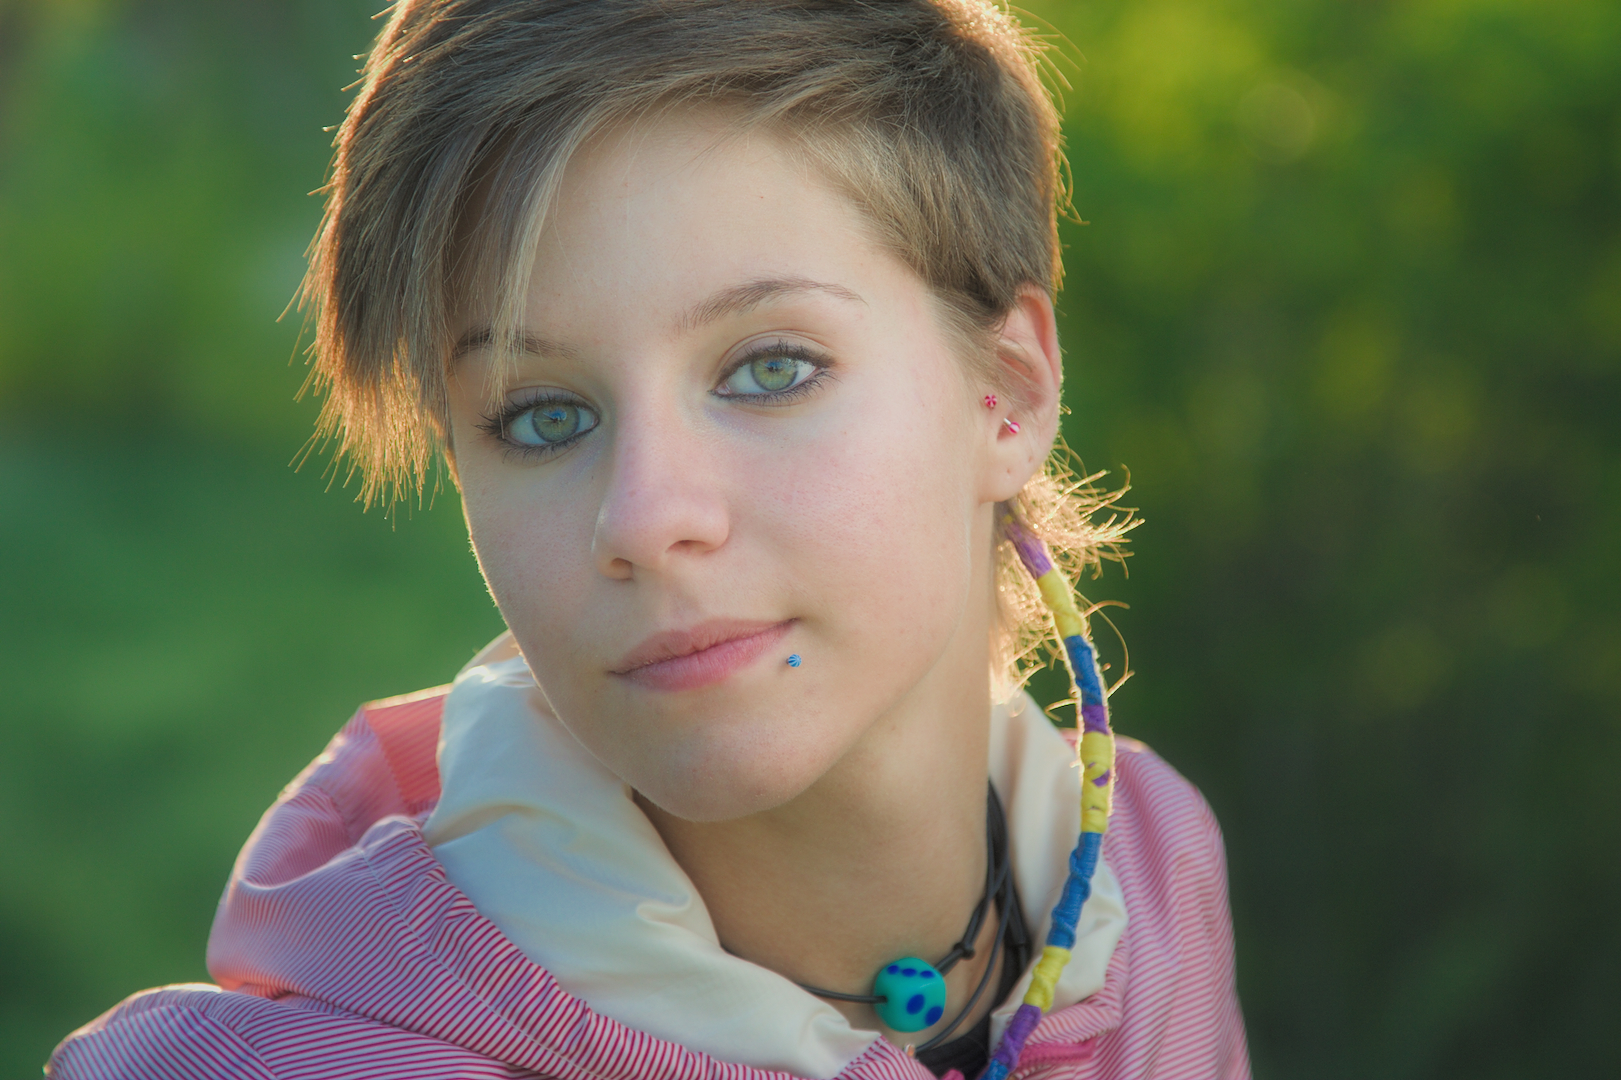
I wanted to go for a filmy like look I removed the base curve from the original image and tweaked the exposure and white balance. Then I used the filmic module for all the adjustments and added a little grain to top it off. Keep in mind my monitor is not hardware calibrated waiting for my device to come in to do so. So hopefully my edit does not look to messed up.
I think you have improved the image. The face is brighter and the skin colors are more natural and warm. Makes the face much friendlier than the original.
It looks like the image has got more sharpness and contrast as the original, but it could be a result of the grain effect on the image.
To improve further you could take care of the blemishes and red areas in the skin using the retouch module.
Moreover you could increase the brightness of the face, especially in the eyes using the exposure module with a drawn mask.
Finally there is a very bright spot in the background on the top border next to her hair. That draws too much attention from the face and could be replaced with some dark green part of the background. That could be done with the retouch module.
Thanks for all the feed back. I can see how the film grain can make it look too sharp.
I went back and made some tweaks removing the grain as you suggested @Thomas_Do. I chose to actually replace the grain with a slight soften just too actually pull back the sharpness a touch. Also per the suggestion of @pphoto I removed the huge exposure mess behind the upper left of the head and cleaned up a few blemishes. The retouch tool was quite frustrating to figure out but once I figure out the right sample spot it cleaned up nice. Also added a little exposure to the main eye focus to brighten up that side of the face a little. Here is the new version. Not as extremely saturated due to the softening.
The main issue is the separation of features. If we look at @Thomas_Do’s attempt, you would see that every part of the image has a distinct appearance. Also, what they mean by soft is not a blurred out face. Detail is important. Only remove that which is noise.
Thanks for all the help. @afre how do you get that detail overlay like that? I can see that being really useful.
I do know soften did not mean to actually use the soften effect but I wanted to try it anyway.
Here is a attempt at me trying to warm the image up a little more hoping this will help with the eyes a bit and I also tried to emphasize the detail using the equalizer because the sharpen module did not seem to really do anything. I saw in a video that under luma if you bring up the contrast in the middle detail area it can really bring some detail out. Not sure why still learning how to read curves.
I still got lots to learn I will keep experimenting and getting a feel for how things work. Not sure if all this warmth feel right for this picture I liked it a little better when it was cooler.