[Play Raw] Call for Darktable filmic workflows

Hi,
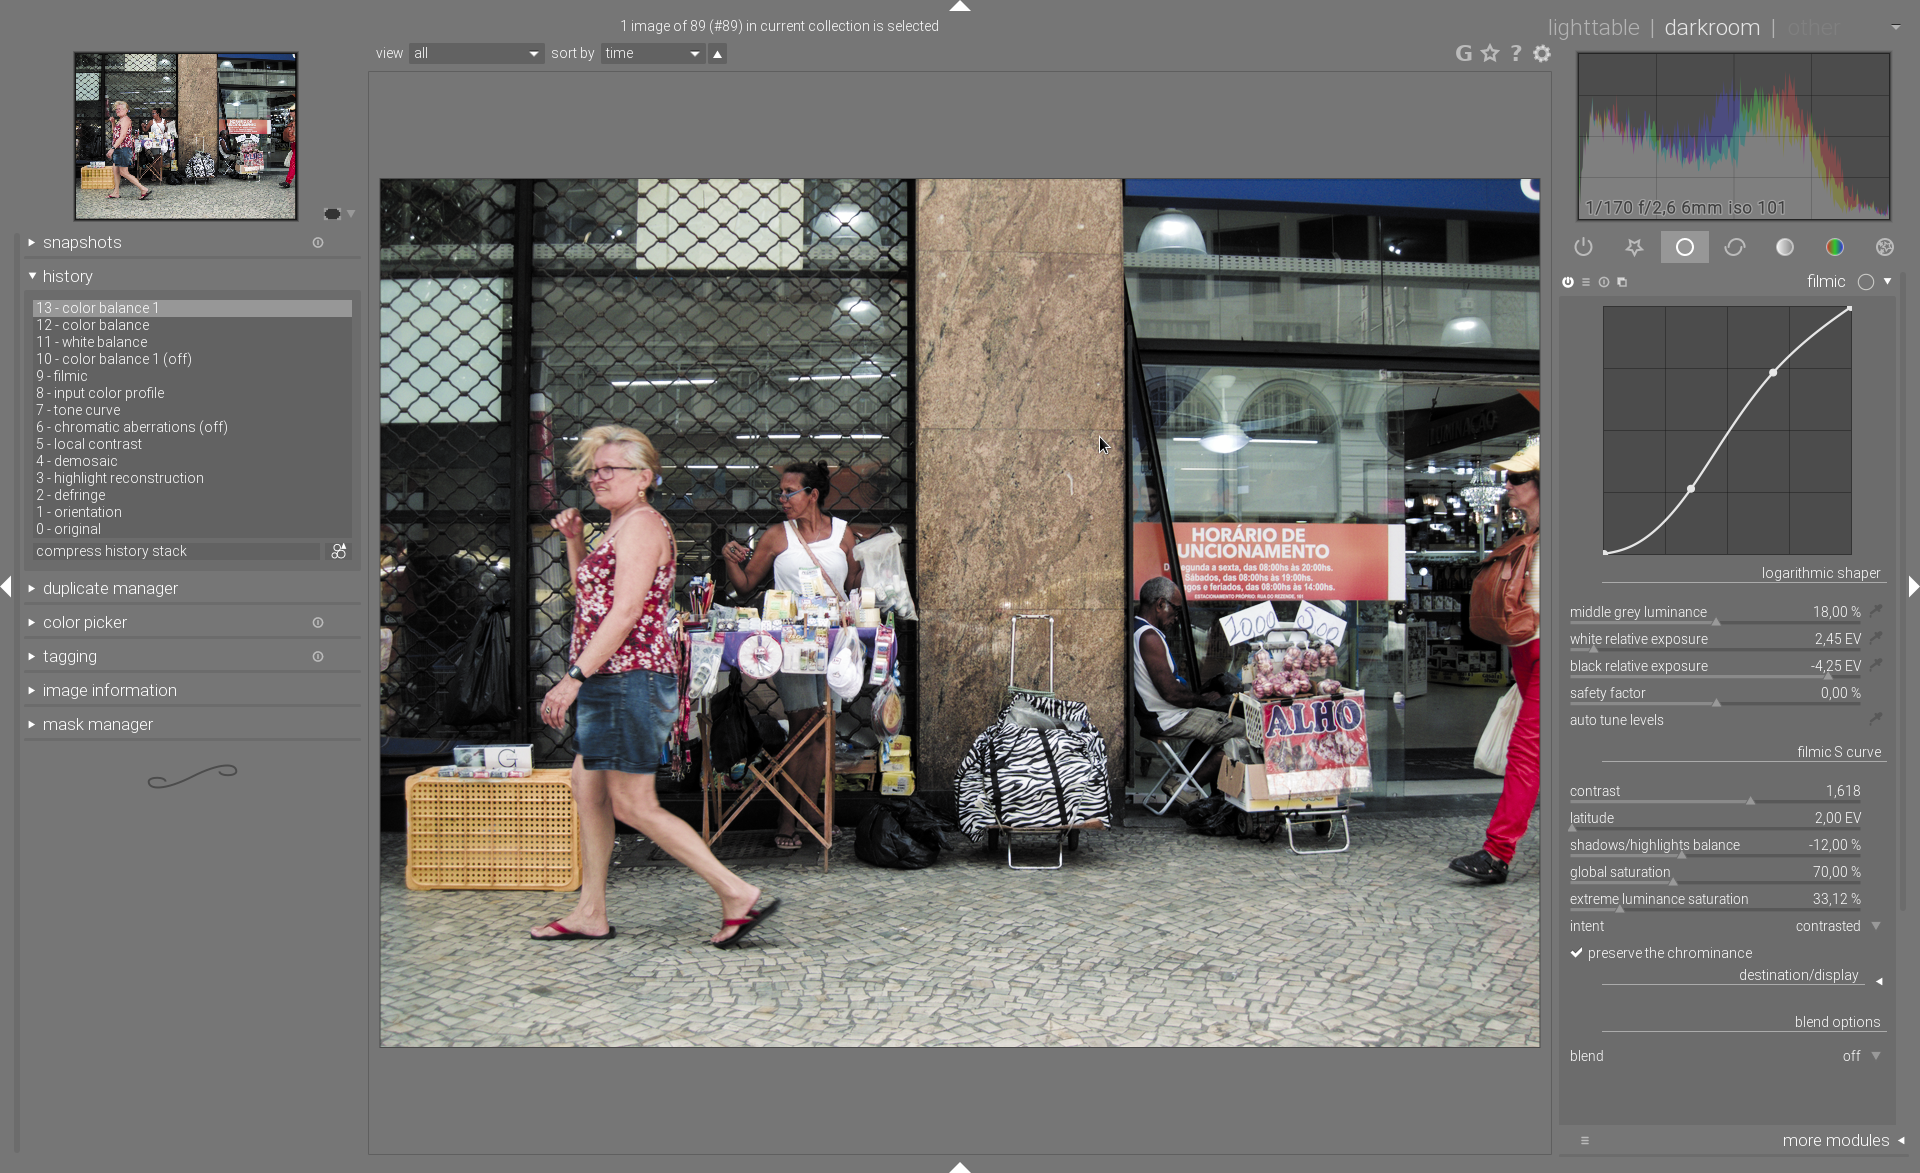
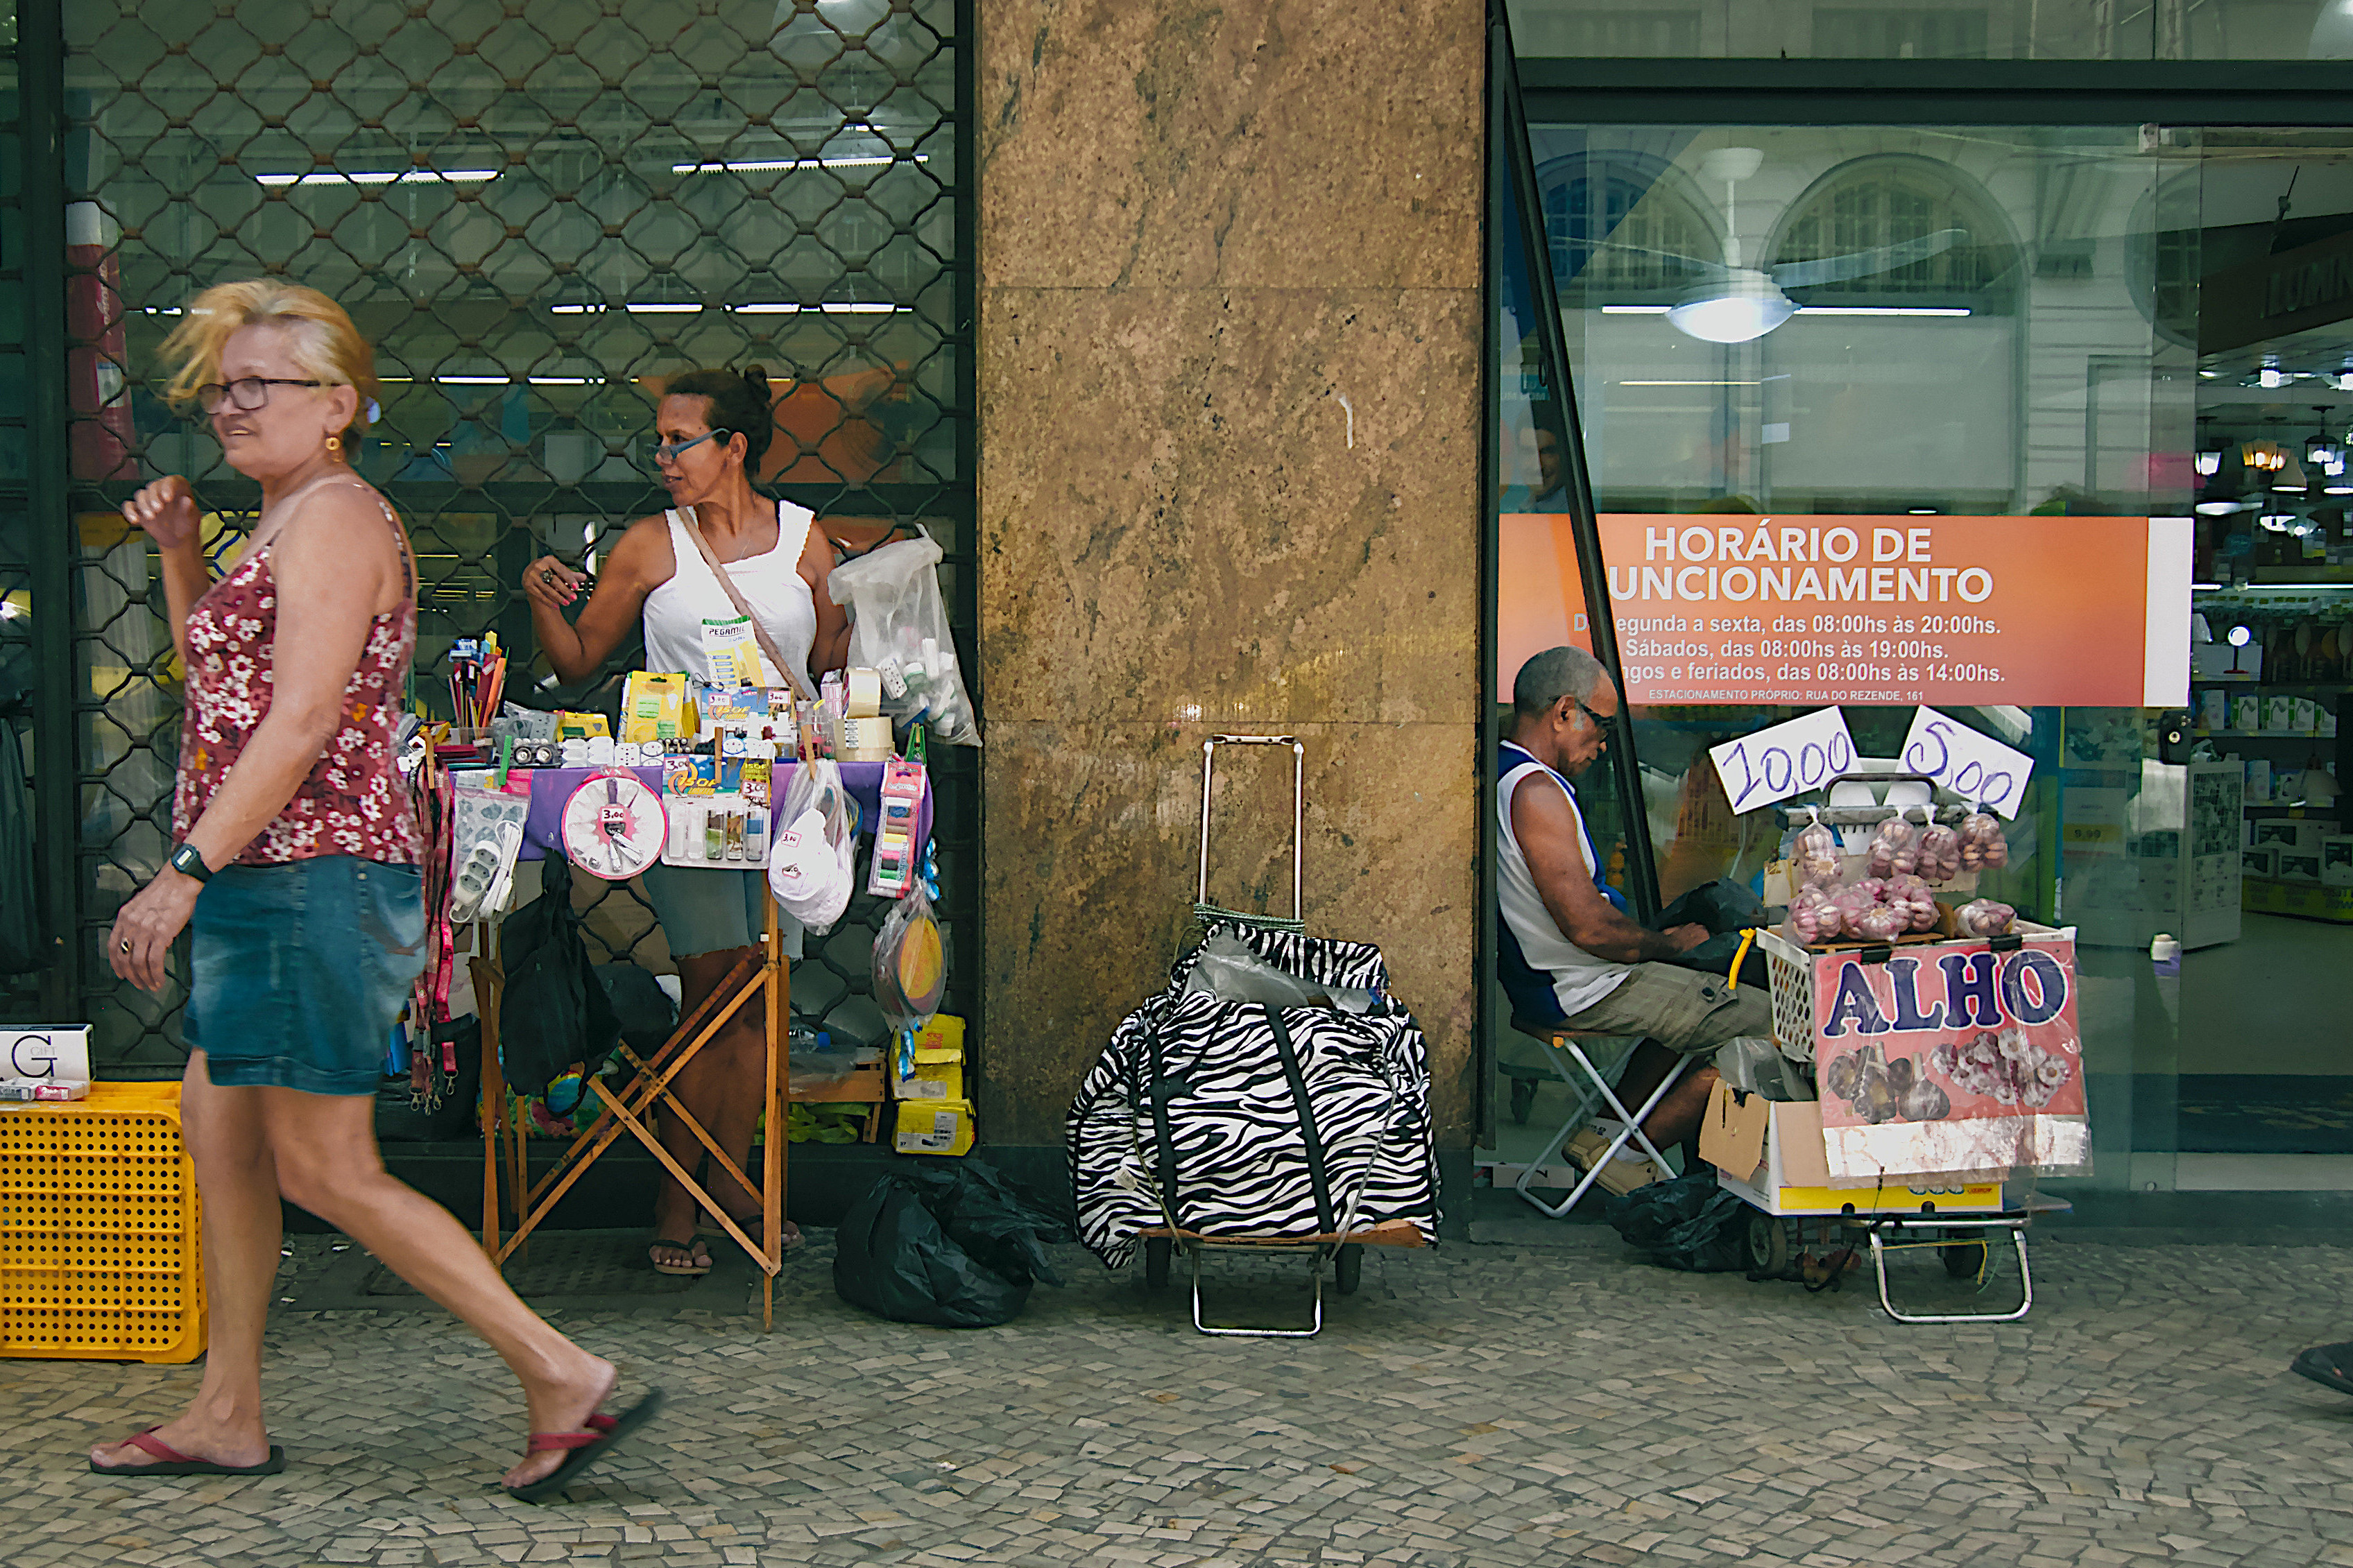
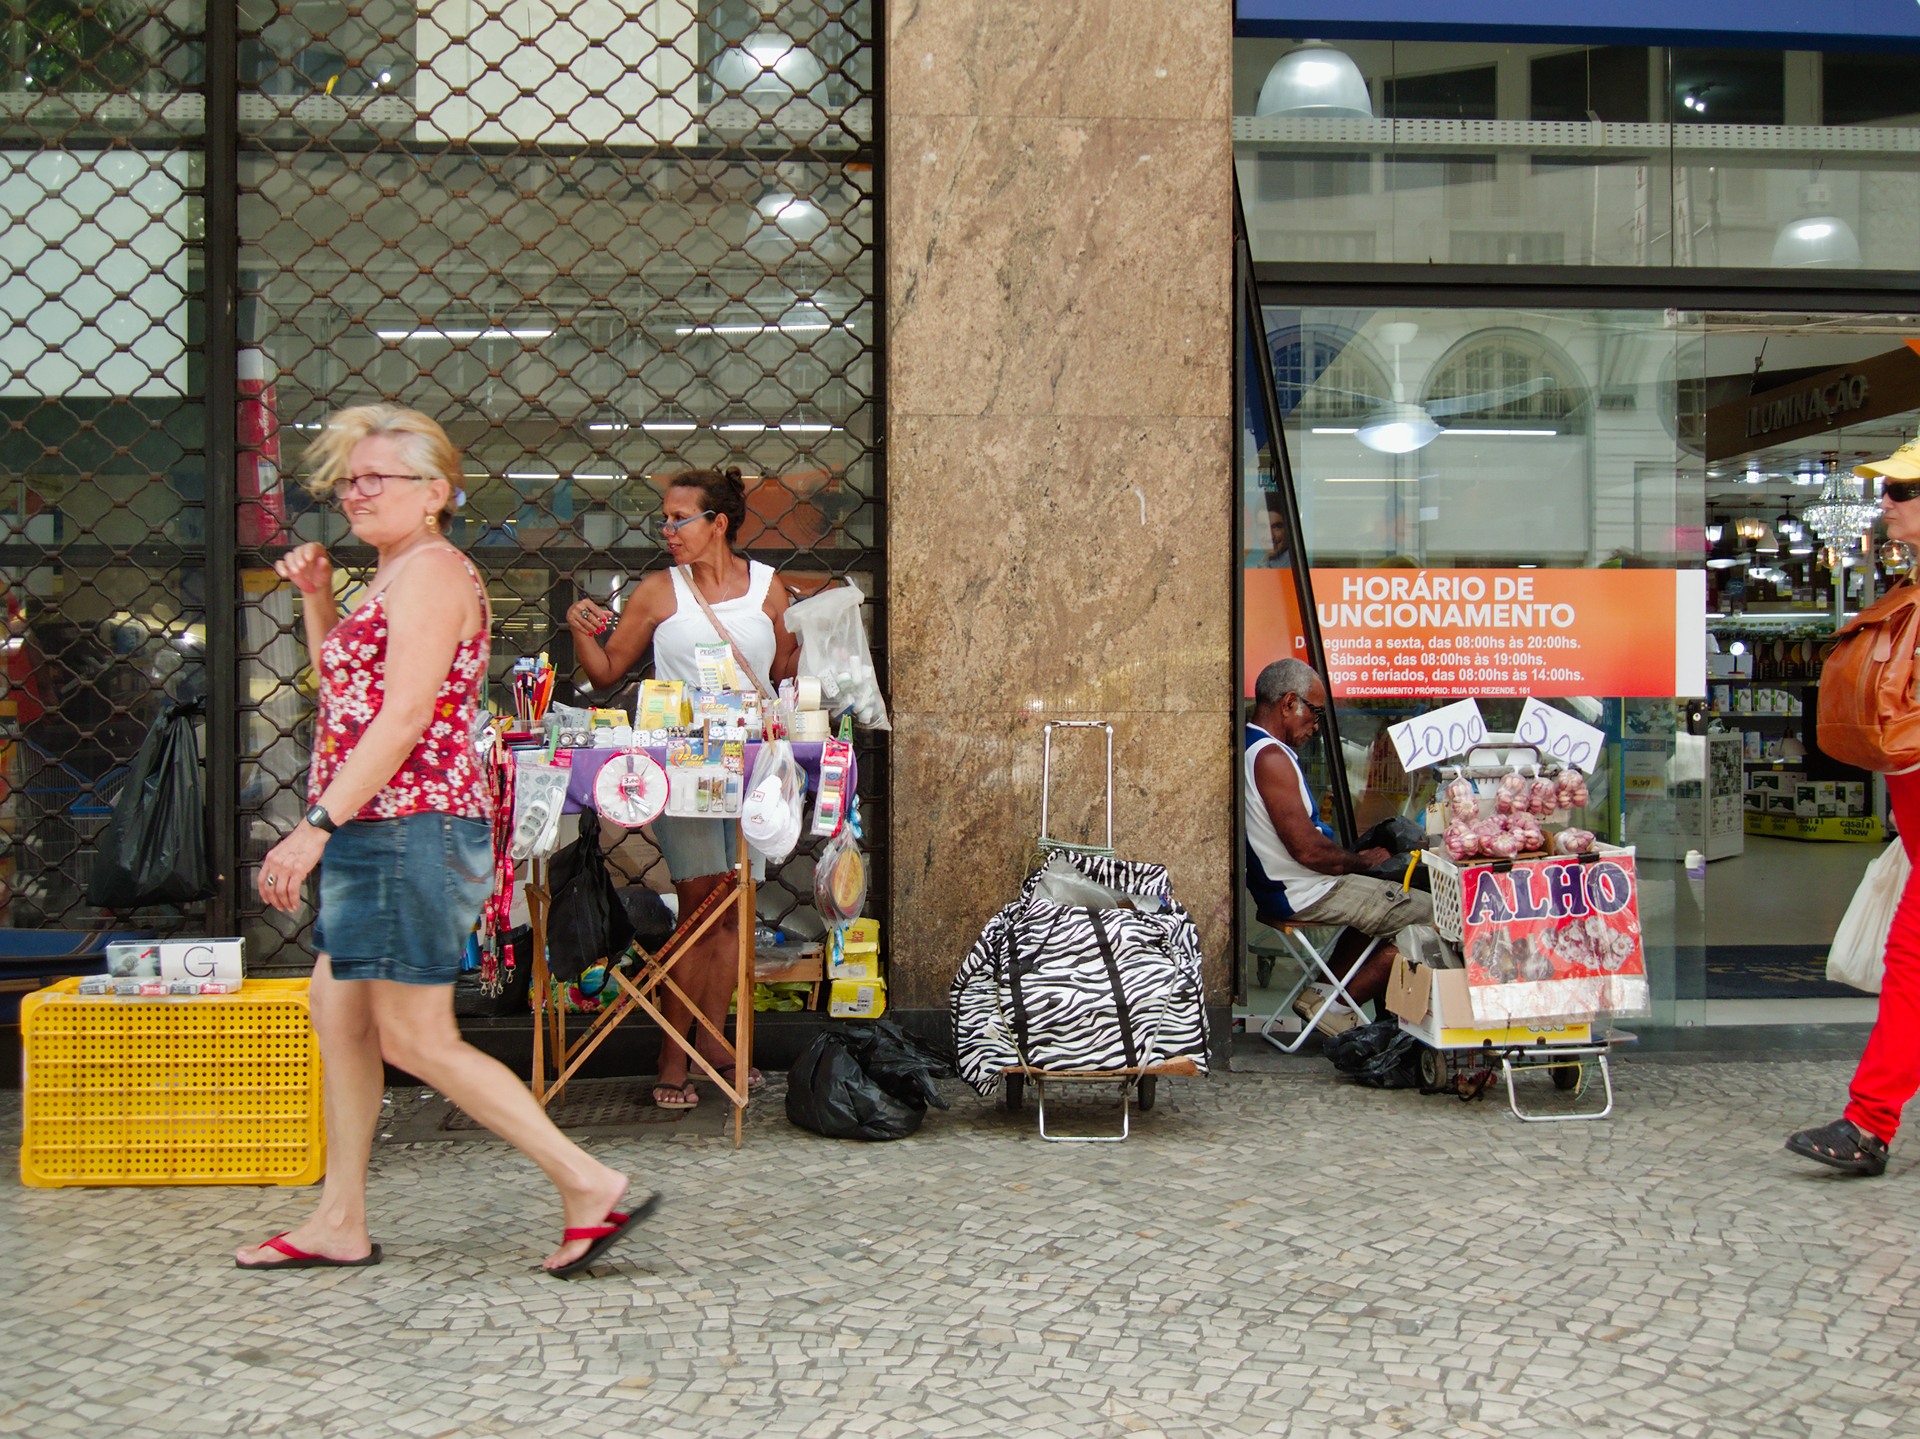
It would be great to see how others are using DT filmic and, specifically, to compare their approach to this street scene image.
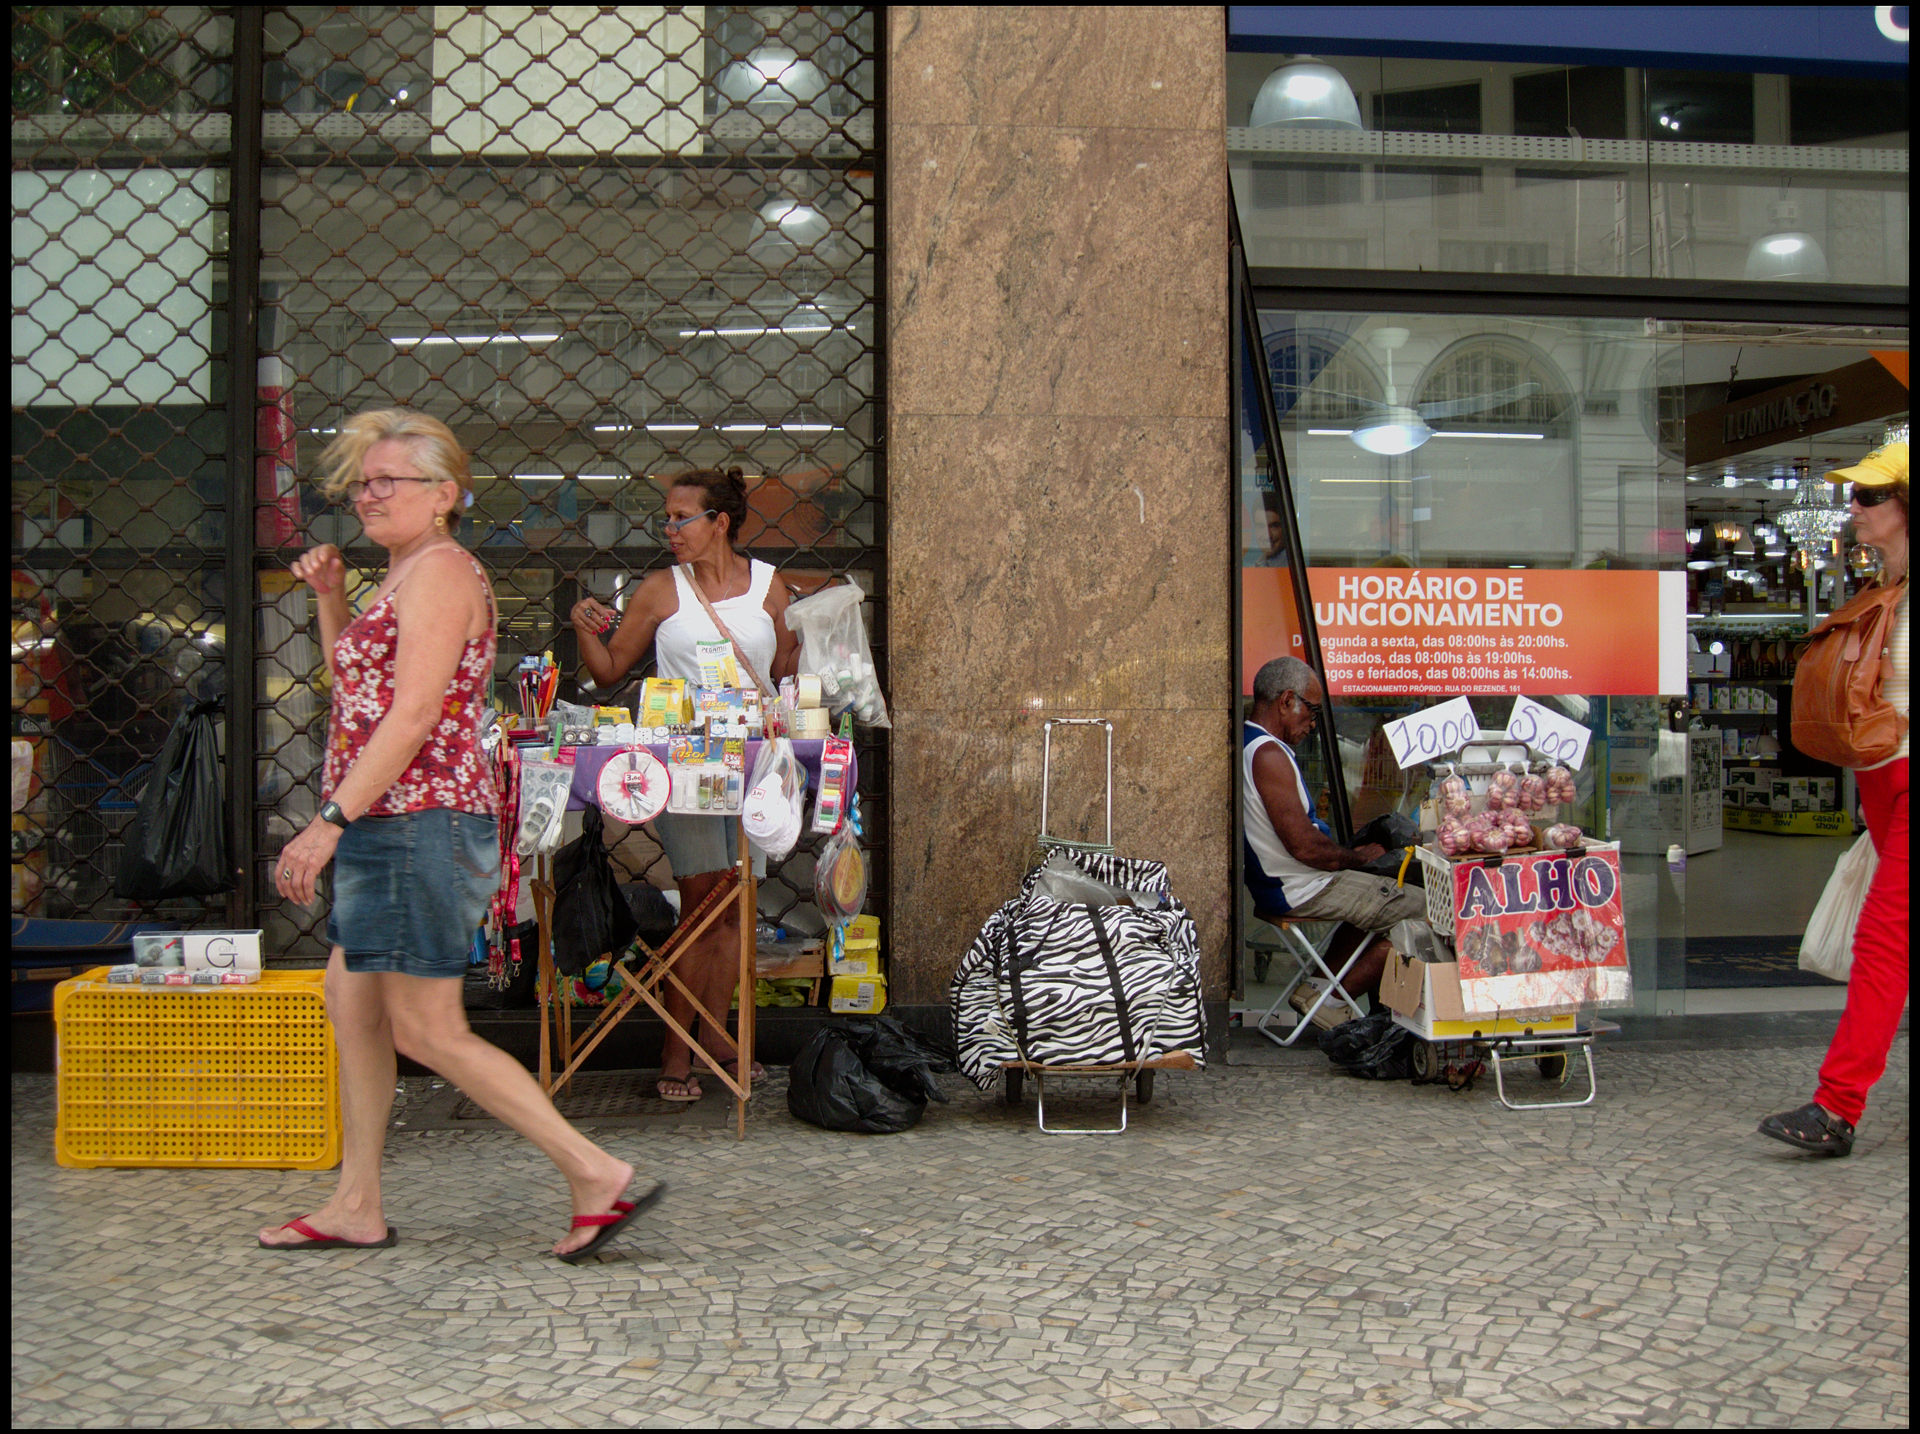
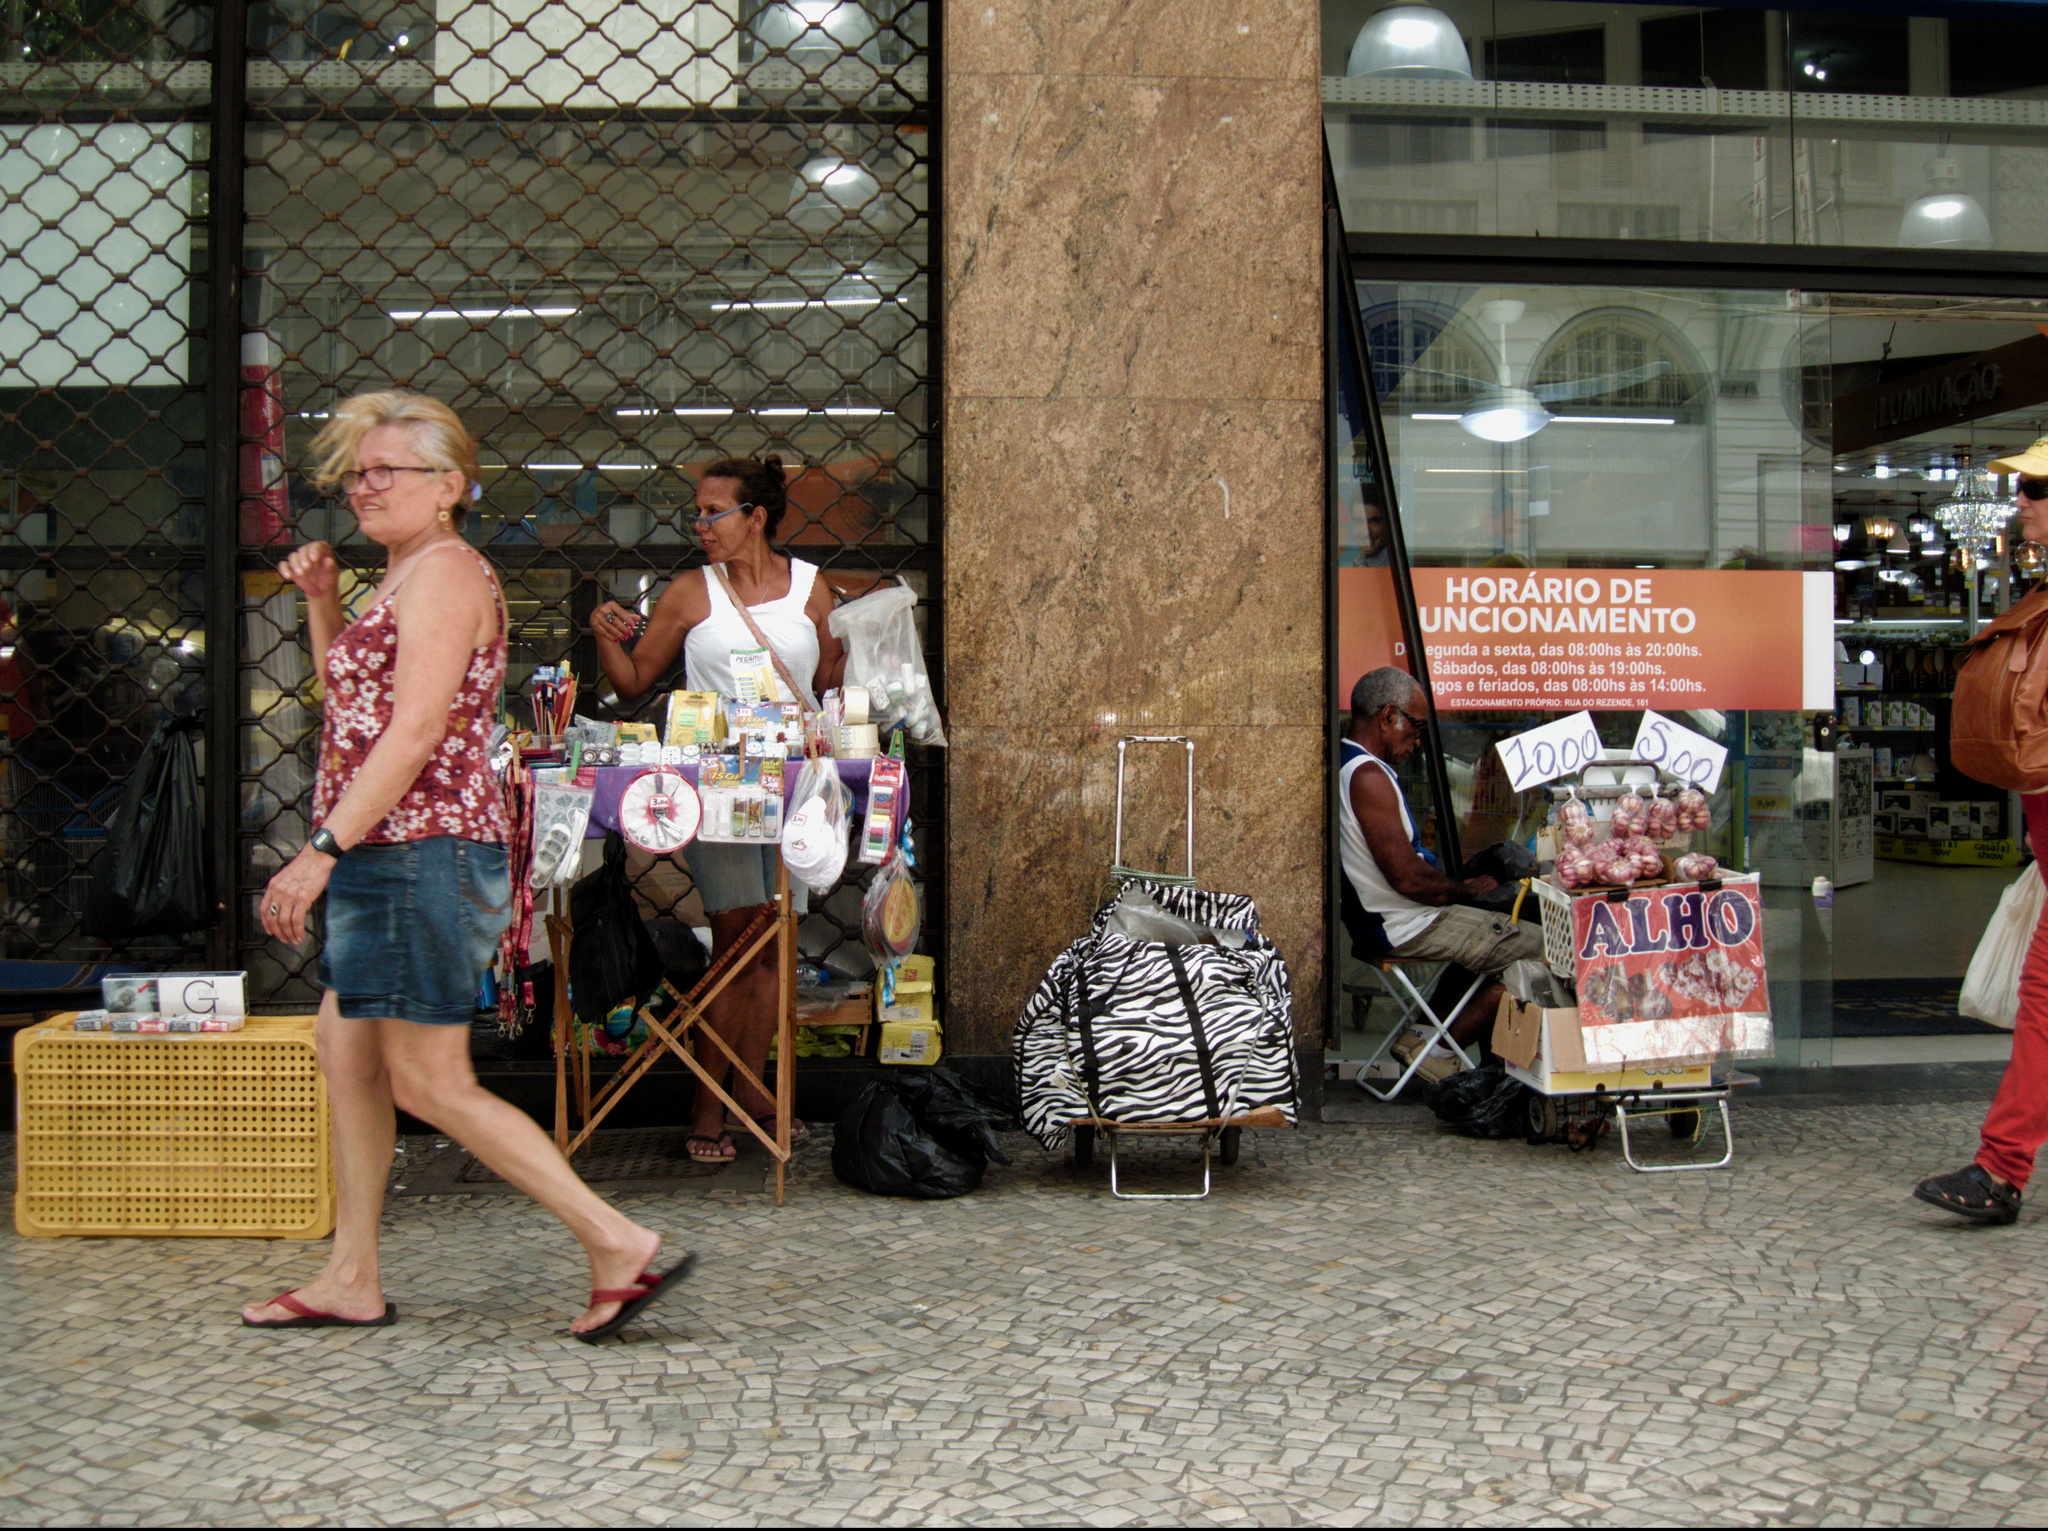
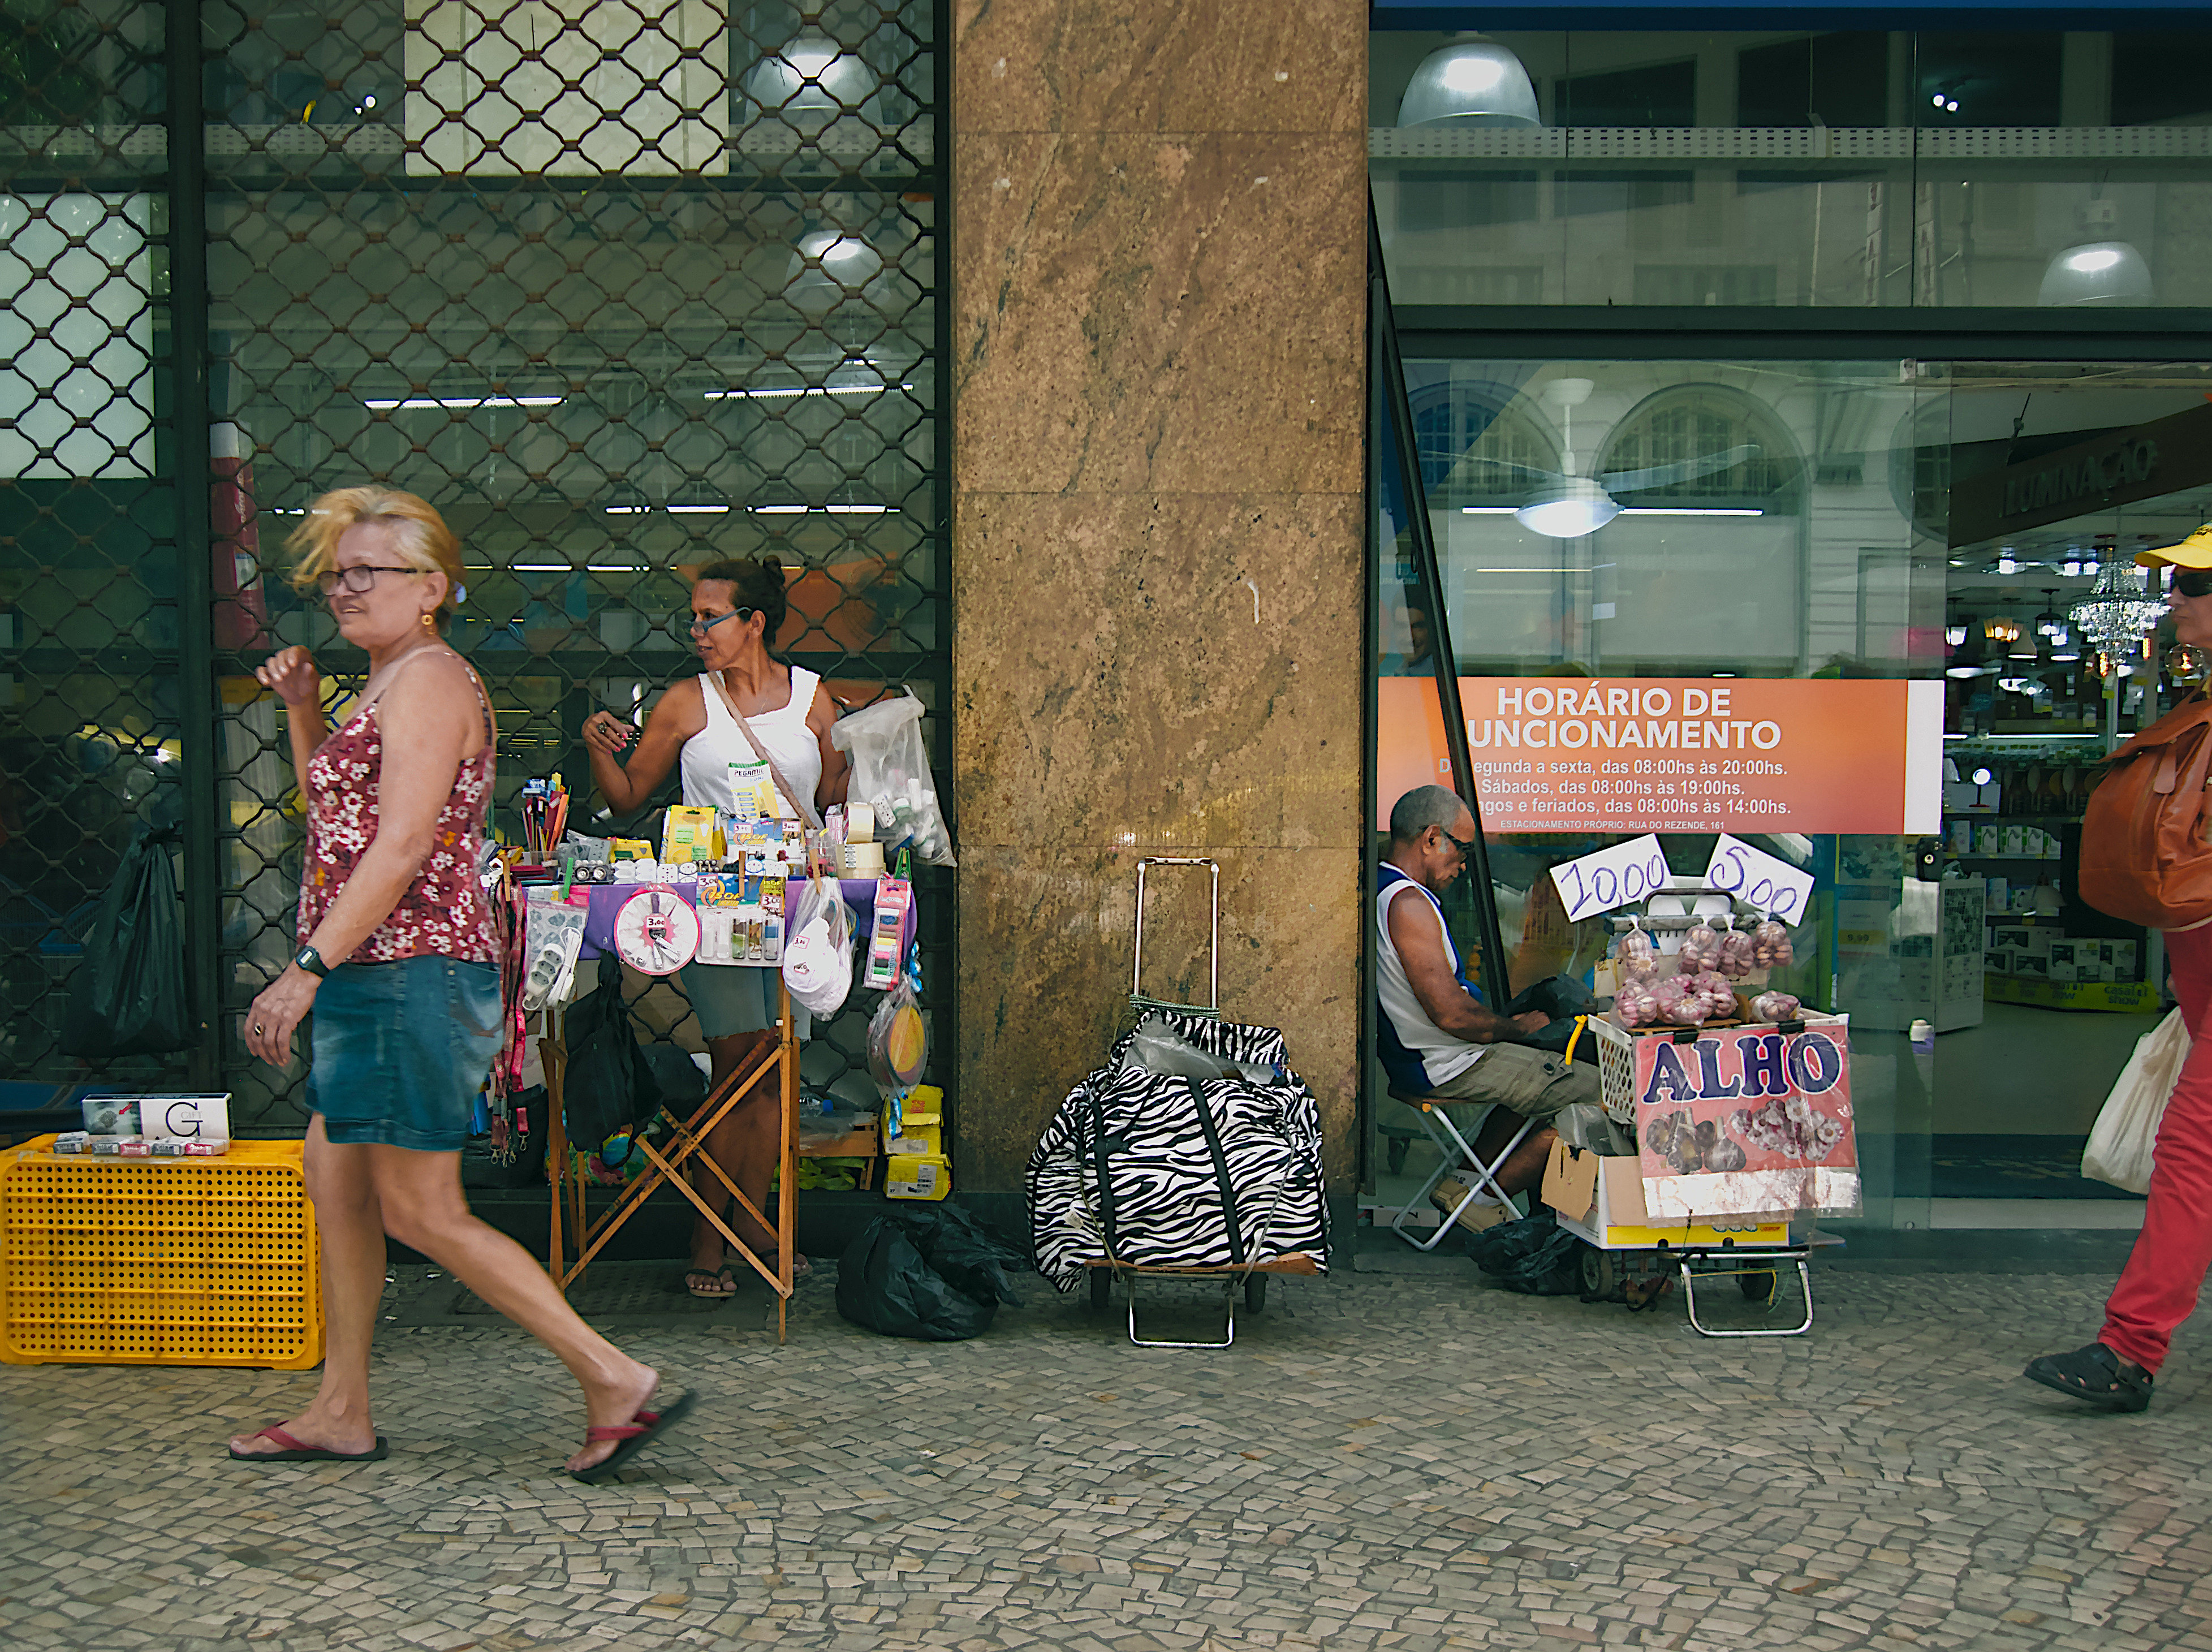
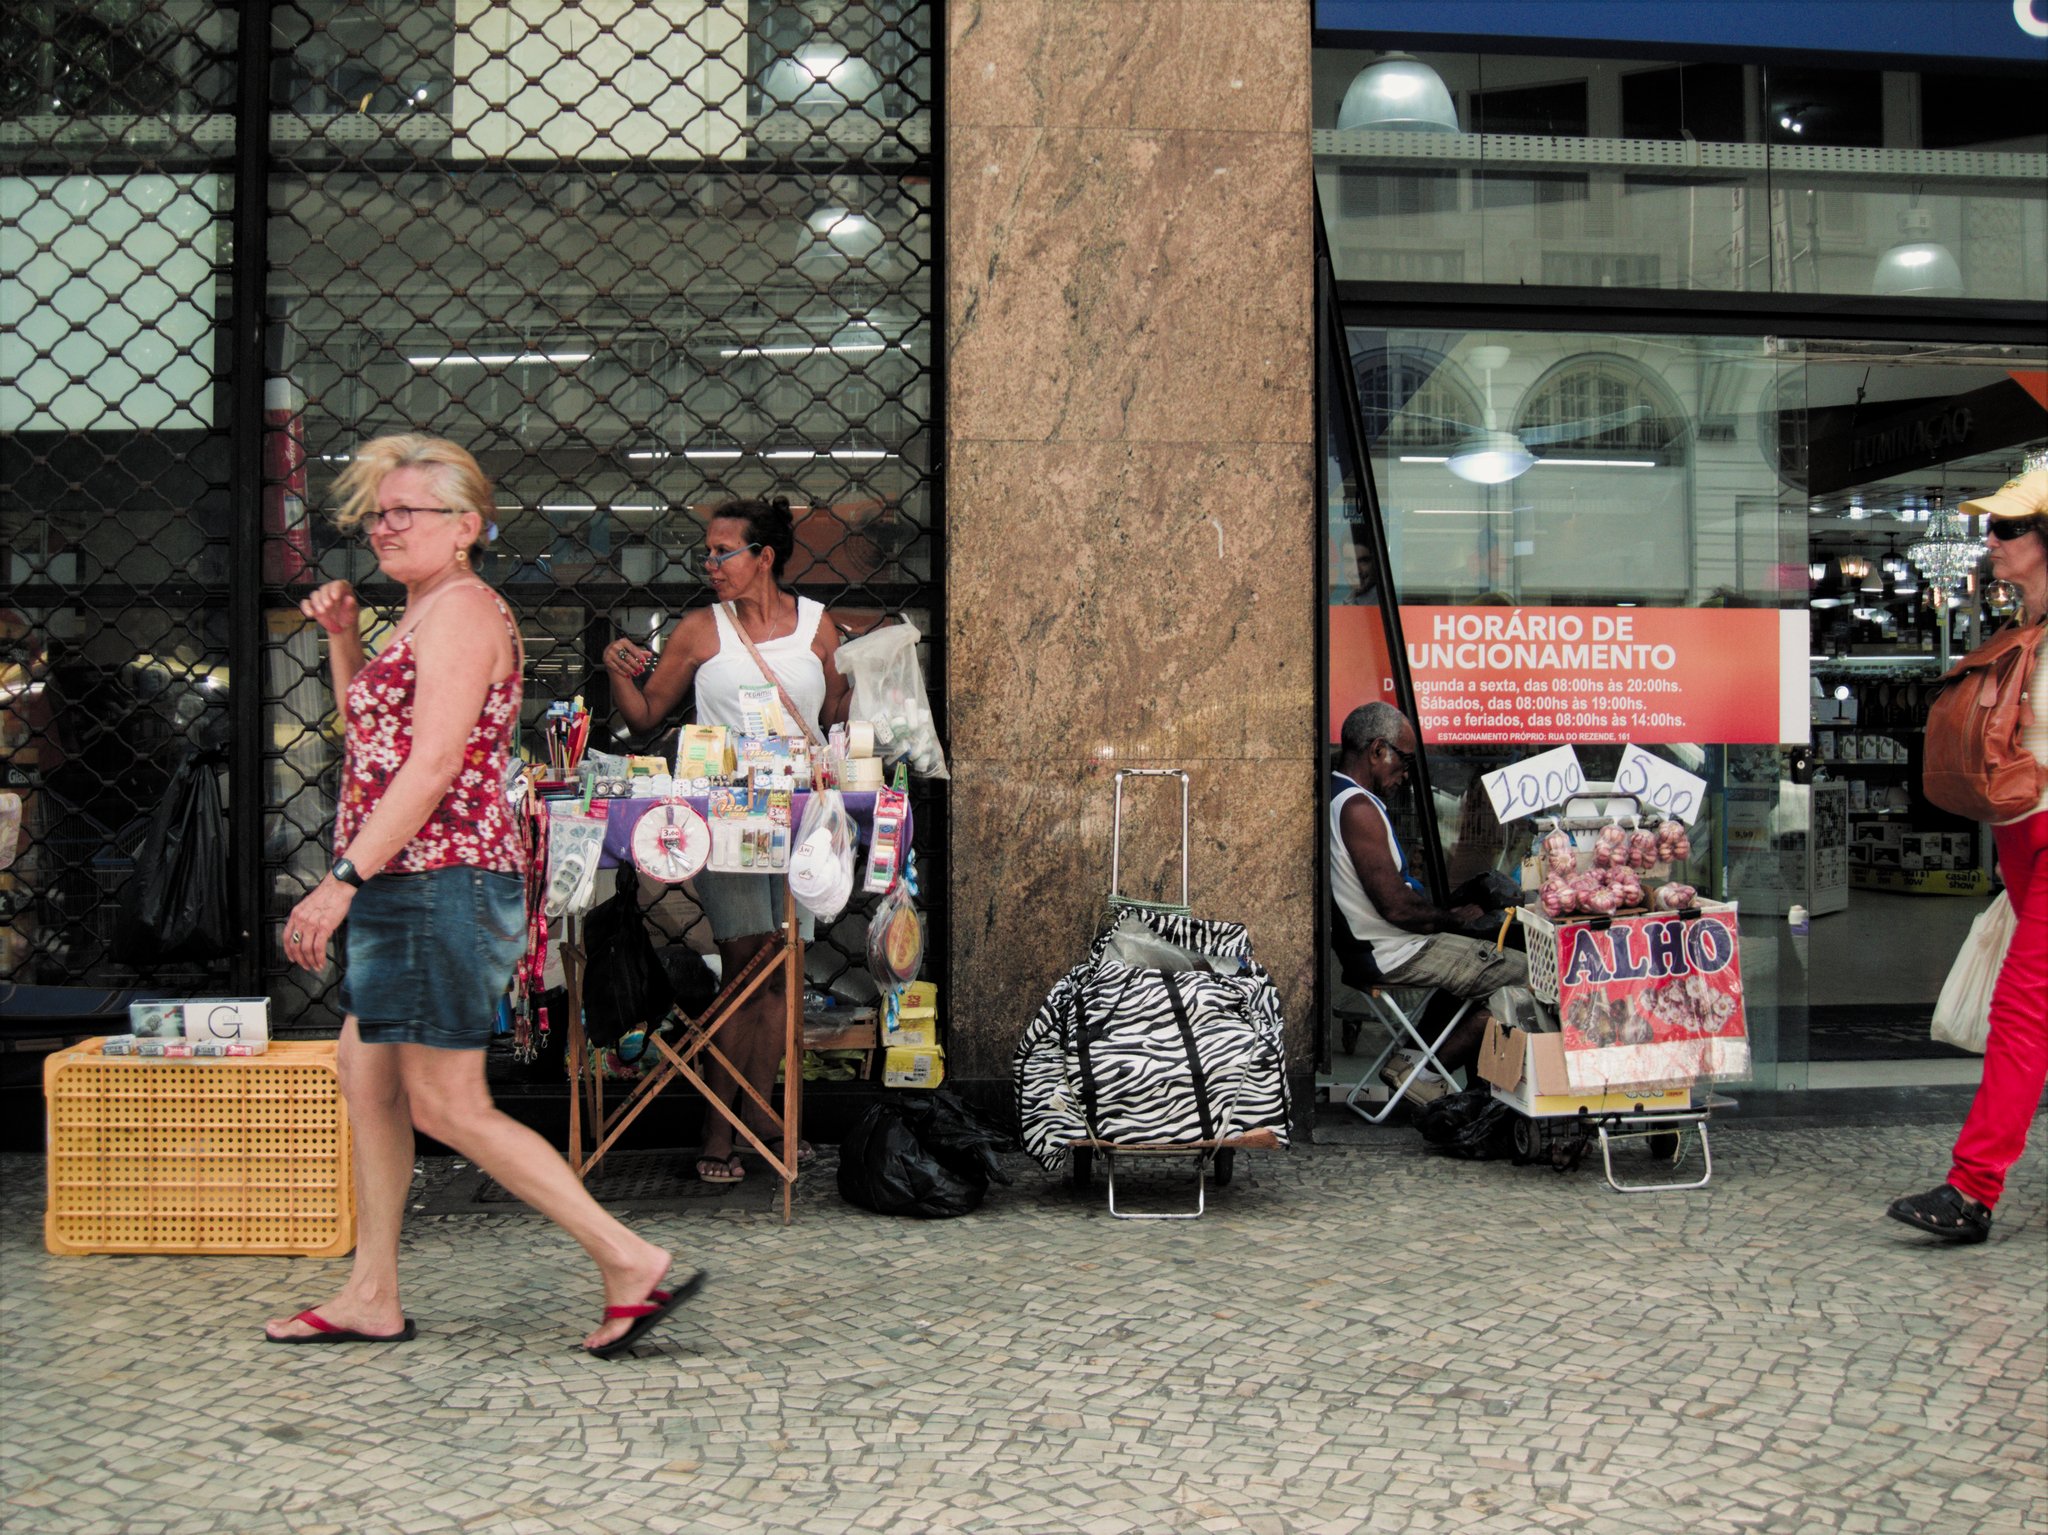
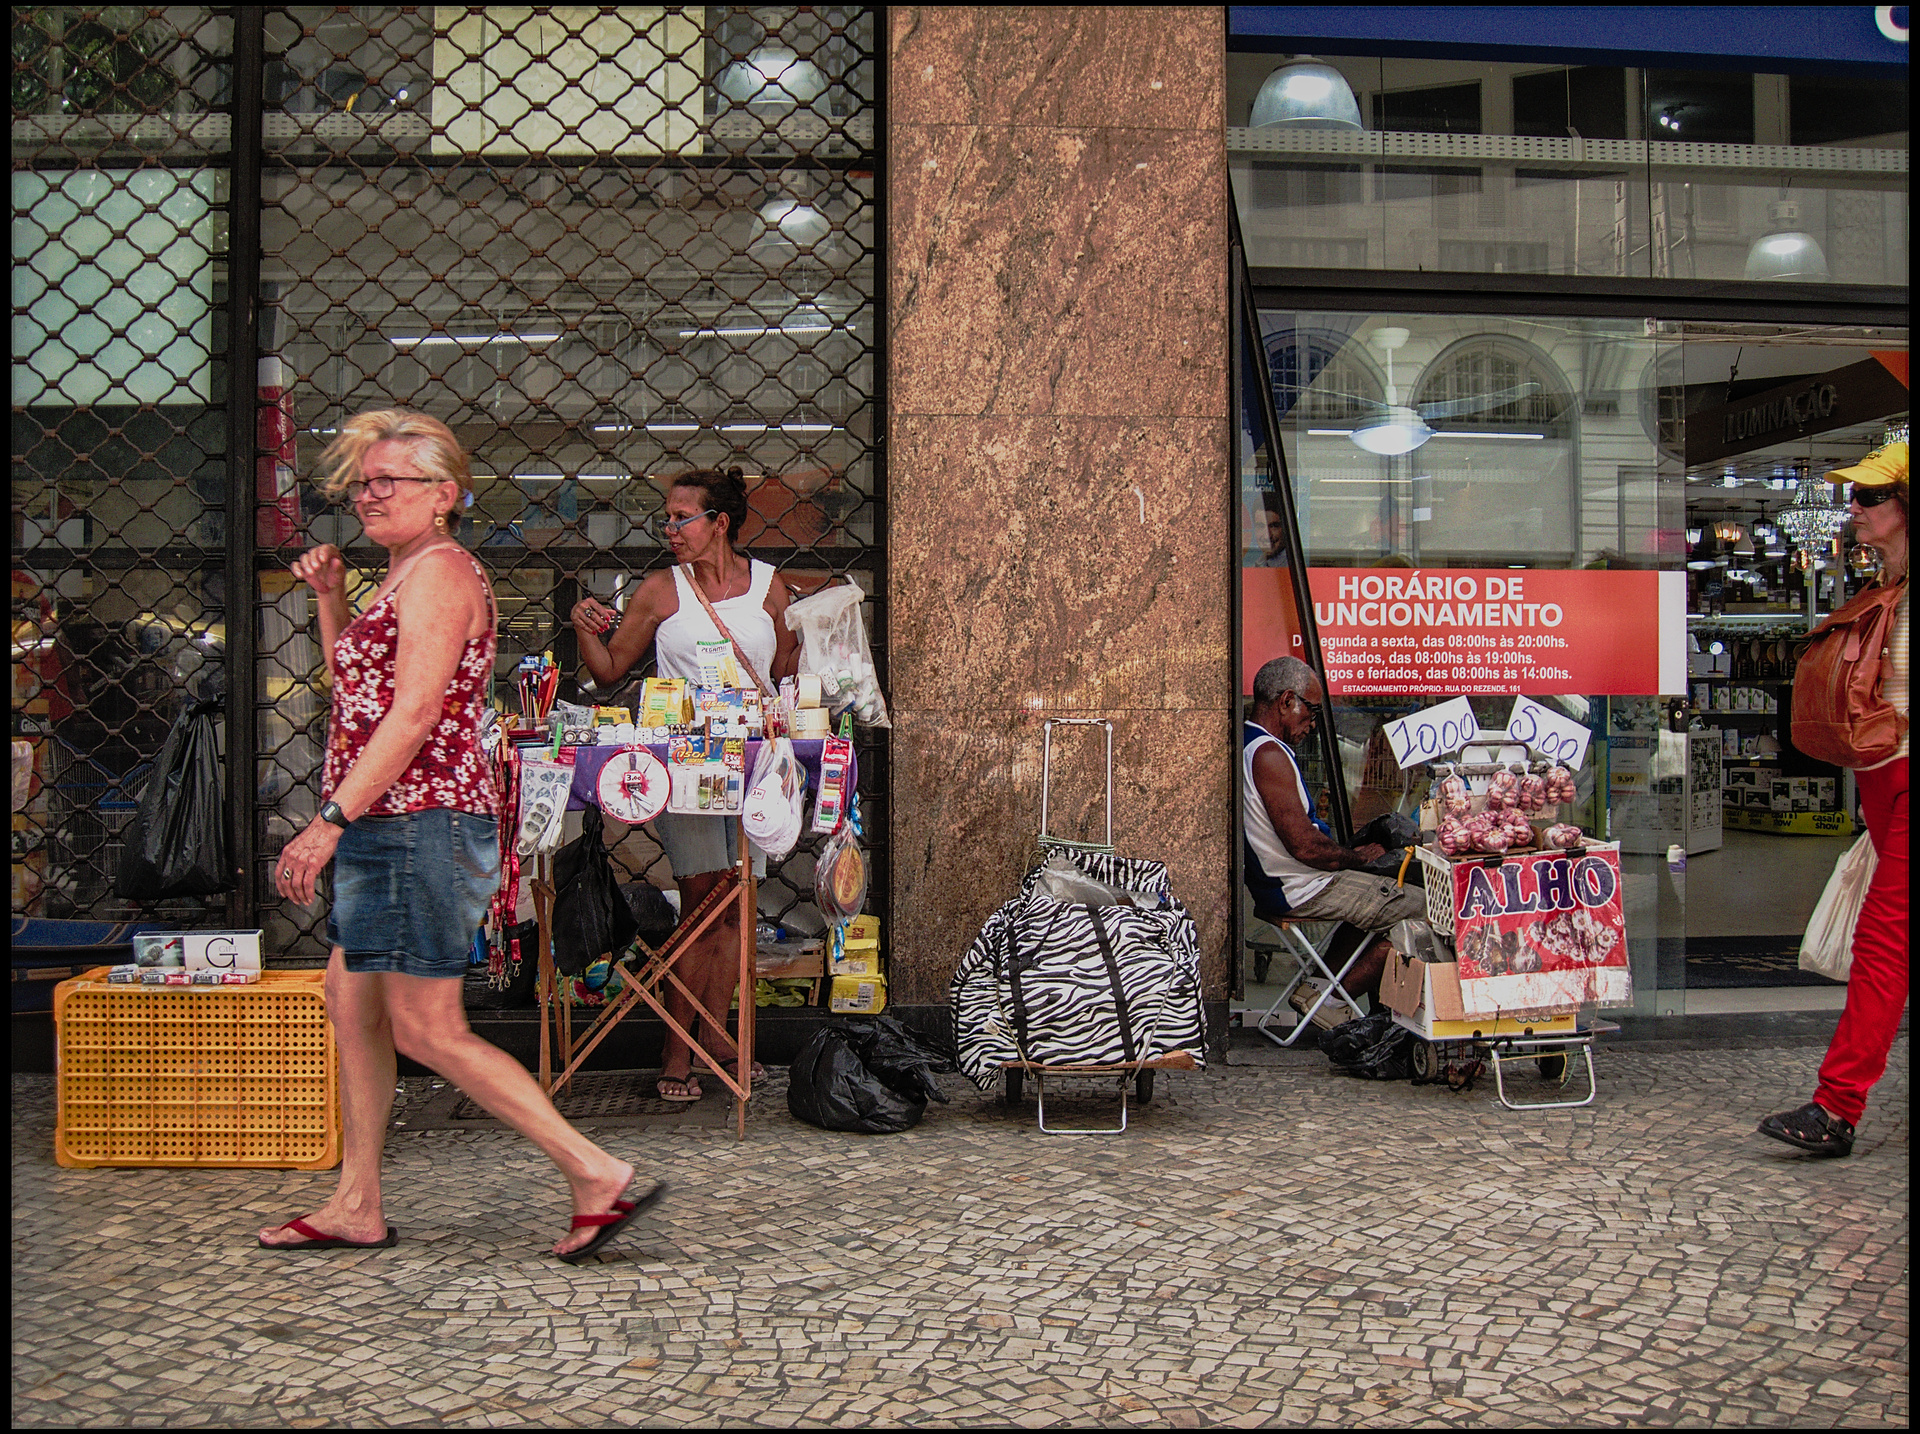
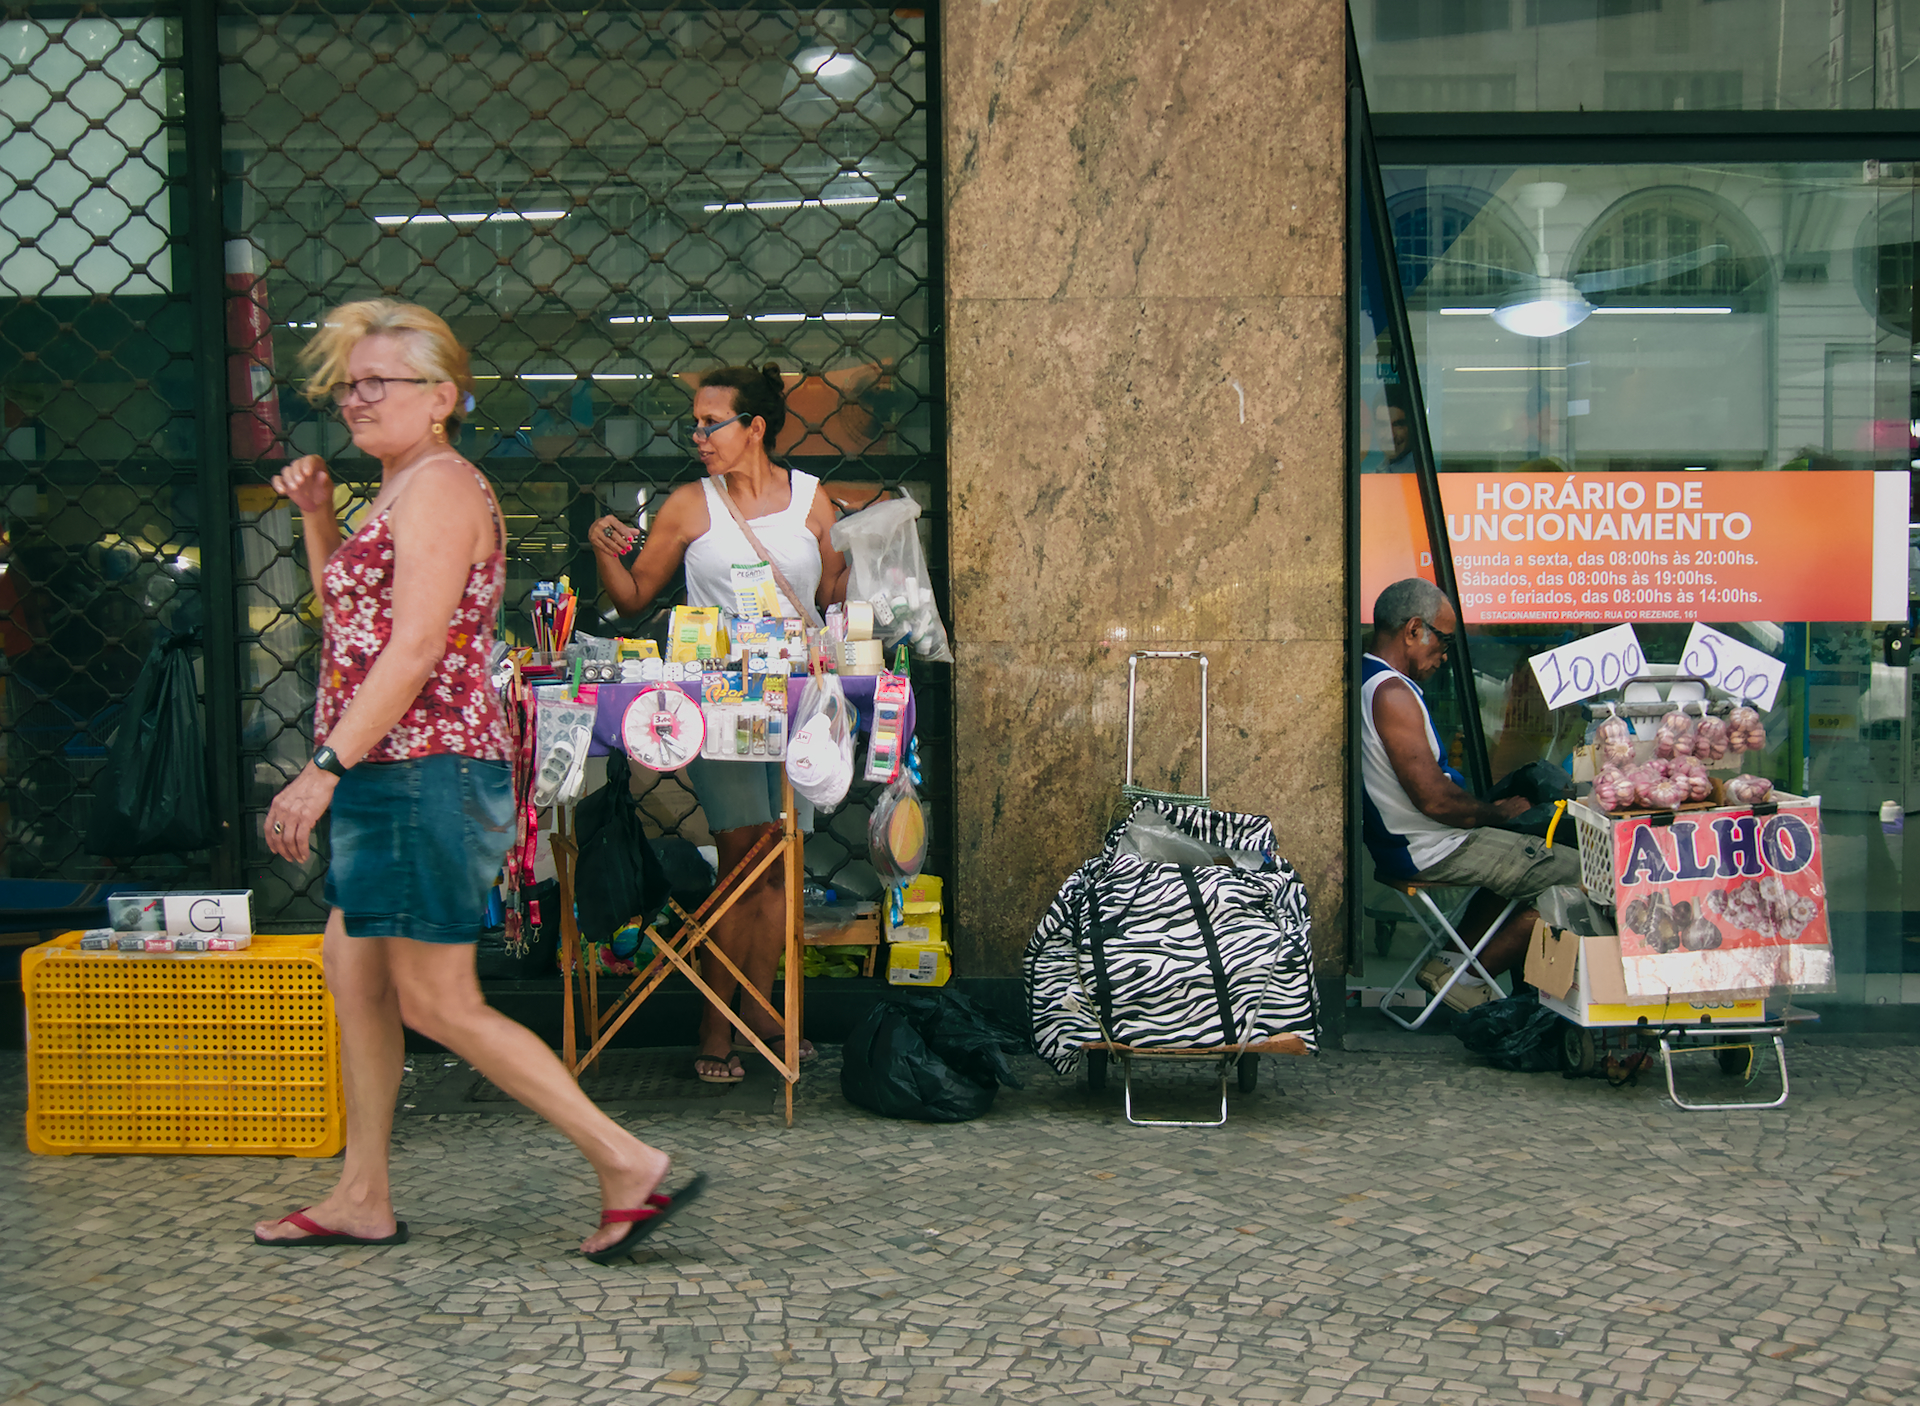
I’m not totally satisfied with my result, specially regarding the over-saturated reds. I’m referring to the red/orange pants of the lady at right and the red shirt of the lady at left. But also the more subtle reds in the skins of all the ladies in the scene, as well as the orange sign at right.
Taming the reds was at the expense of an under-saturated image, which didn’t fit to my taste.
Disclaimer: I have to admit that I’m not totally sure if those reds aren’t the real ones, because I took this photo in a hurry. I’m comparing to the camera jpg which, I know in advance, tends toward a greenish/yellowish hue.


CRW_4221.tif.xmp (17.9 KB)

tif file from Rawtherapee (only recovered highlights and saved as REC2020): https://drive.google.com/file/d/1p75MsJSDERCll4BEkg2rD24AJwNhTPCH/view?usp=sharing
raw file: https://drive.google.com/file/d/1ZxlbCvKLg-OjX_uF1ZDO86yOYplHilHu/view?usp=sharing

Creative Commons License
These files are licensed under a Creative Commons Attribution-NonCommercial-ShareAlike 4.0 International License .

3 Likes

Good evening, @gadolf

My first attempt is very much like yours, but mine is a bit colder (since I wanted to kill the super red char at right).

3c9a85e3c1daa1db6bba21e1359805d9b4408ee7.jpeg.xmp (3.2 KB)

Have fun!
Claes in Lund, Sweden

1 Like

I believe you.


CRW_4221.DNG.xmp (13.4 KB)

1 Like

You can always selectively decrease the saturation of over-saturated areas using parametric masking over Chroma. I used contrast/brightness/saturation iop but you can also use any other iop that deals with the color saturation, even monochrome iop! Though, color zones would be a better tool IMO because it gives more control over different colors.


CRW_4221.DNG.xmp (3.3 KB)

1 Like

Since I learned about limitations I decided to fall back to ‘freaky details’, equalizer and local contrast. Will run Doxygen on source code and try to figure out what is going on, it will take unknown amount of time.

2 Likes

Hi @gadolf ,

very nice shot!

In my opinion, this is a scene where filmic and color balance modules alone are not enough to emphasize the motifs. Interesting for me are the two salesmen, who are separated from each other by the column. The column itself makes a beautiful separation between these two worlds.

So, the task during the editing for me was not only to correct the dynamic range and colors, but how I can draw the viewer’s attention to this motif. Accordingly I have tried to darken the picture as a whole and to brighten up the two people a little bit:

CRW_4221.DNG.xmp (16,1 KB)

I also used color grading for this purpose. A kind of teal and orange makes the darker areas cooler and brighter warmer and thus the skin colors are even more accentuated.

At this point I think that it would be very practical to have a possibility to have selective adjustments at local areas of the image with the help of control points, similar to Viveza from NiK Collection or Selective Adjust from Snapseed.

@anon41087856 or @David_Tschumperle : Would it be possible to have something like this in darktable or G’MIC?

As far as desaturation is concerned, darktable has a very good color zones module with which you can easily desaturate individual color areas.

2 Likes

You already have drawn masks in darktable, as well as parametric blending, and you can use them together, isn’t that enough ?

This is what I get with filmic, white balance, color balance, local contrast and equalizer:

Same with a Kodachrome 64 preset I’m working on:

XMP (you will need darktable 2.7 though):
CRW_4221.tif.xmp (3.5 KB)

If you don’t have darktable 2.7/git master branch, here are the filmic settings (everything else should be compatible between 2.6 and 2.7):


Global saturation in filmic dt 2.7 == output saturation in color balance dt 2.6

4 Likes

My take on it.
Pretty much basic steps, with the help of the Equalizer and some Global Tonemap.

1 Like

Yes, in fact parametric blending in combination with drawn masks are very powerful way to mask and influence local areas of the image.

But there are some differences between this masking in the darktable and control points:

  1. sometimes in the darktable it is not so easy or very tedious to mask a certain area (in this case brown skin of people) - it is possible but not so easy - you have to combine more channels of parametric mask together (color, brightness etc.)

  2. if the different areas in the image that you want to change differ from each other, you have to treat them separately by activating multiple instances. In Viveza or Snapseed each control point can be handled individually without having to activate additional instances for each point.

Comparison:

Masking in darktable:

and in Viveza:

So, in darktable you can, if you try hard enough, work very precisely, but with the help of control points you are in many cases simply faster and more effective.

Have you tried this G’MIC filter?

image

That’s not true. You can have several drawn masks on the same instance, with different opacities, as well as masks boolean operations in the same instance.

The only time I have used control points (sort of) was in Photoshop fake depth-of-field tool. I hated everything about it.

But the thing is, I have no idea what sort of maths they use to extract the region around the control point. It looks like some sort of feathering on several channels, maybe guided filters like the ones Heiko added in dt 2.6, maybe graphcut segmentation like what OpenCV has, maybe a combination of both (or similar methods), I don’t know… Until I see an equation, I’m useless on that matter.

1 Like

Wow, thanks to all, very nice!

How couldn’t I have thought about it? I’m so filmic-oriented these days that I tend to favor global adjustments to local ones and forget about the latest. Thanks for the tip anyway.

Wow, it seems a huge task in front of you. Am I wrong to think that we have a new developer on the block?

@s7habo Boris, thank you very much for you thorough analysis and edit of the photo! Lots of things to learn from, much more than I’ve asked for!

Interesting that you’ve mentioned about this separation. I tend to give a more political stance to it and say that the column separates people that come from the same world, origin, class, whatever… now it’s just a matter of giving a name to the column :slightly_smiling_face:

As for accentuating the salespeople, very nice approach!
Before adding this pic to Play Raw, I ended cropping like this (your version):

This way I think the viewer’s attention is also drawn to the salespeople, but maybe we loose some perspective, a feeling of how small they are, which is present in the full framing version. The only thing I don’t like is the lady entering the scene at right. What do you think?

Finally, as for the color grading, it certainly adds to the message that the image conveys, with its cooler and somehow “industrial” mood.

Really, I have lots of material to think about.

Aurélien, I couldn’t find any of those settings in your xmp. I’m very interested in looking at it, since you seem to be the only one to have addressed the reddish problem without local adjustments.

Thanks again to all!

1 Like

If you want to influence similar parts of the image on different areas, yes, but f.e. not in this case:

On this picture I want to increase the saturation and brightness of orange leaves and green grass individually and only lighten the trees a little bit. Therefore I set control points for the corresponding areas:

This is the mask for each control point:

After I have changed the areas individually, the result looks like this:

in darktable, although I can have several drawn masks in one instance, I don’t know how to process the leaves and grass separately if I have to use separate color channels for the parametric mask to mark both, which is not possible.

:smile::+1:

Yes, it’s very good if the color differentiation is very clear but, you can’t choose the two different areas with similar colors, you have to repeat the selection each time. I don’t know, maybe this module could be improved a bit :slightly_smiling_face:

No. Me, too! :slight_smile:
I used Lab… [Pardon, @anon41087856! ]

lol… since you haven’t uploaded a jpg, I ended up forgetting about you… my bad

Yes, it looks better, but I would have crop it so as not to lose the symmetry (the separating column in the middle):

However, each viewer sees the picture differently. Very important is that you don’t let yourself be influenced too much by the opinions of others. :wink:

1 Like

GUI isn’t G’MIC’s strong suit, although it has been improving. I think your question is less of a problem in a raster editor than a raw processor. I have seen your work and know that you are proficient in GIMP. :nerd_face:

1 Like

Ok, I have watched that :

https://www.youtube.com/watch?v=4cLAudm5yXg

It seems very likely that they use a guided filter around the coordinates of the point, then sample the color of said point to define at once all the parameters you need to manually input in dt. That is something that could be done in dt too. But, for the correction itself, they use masks the same way Capture One does : define a zone first, then load corrections. dt’s logic is the inverse : define a correction first, then escape areas outside of the masks. That part will not be possible anytime soon in dt.

So, in dt, control point would translate in a vector storing coordinates, radius, hue, saturation, … and feeding this values as settings for a regular parametric mask with feathering. I could try it but… man this becomes a full-time job for real.

3 Likes