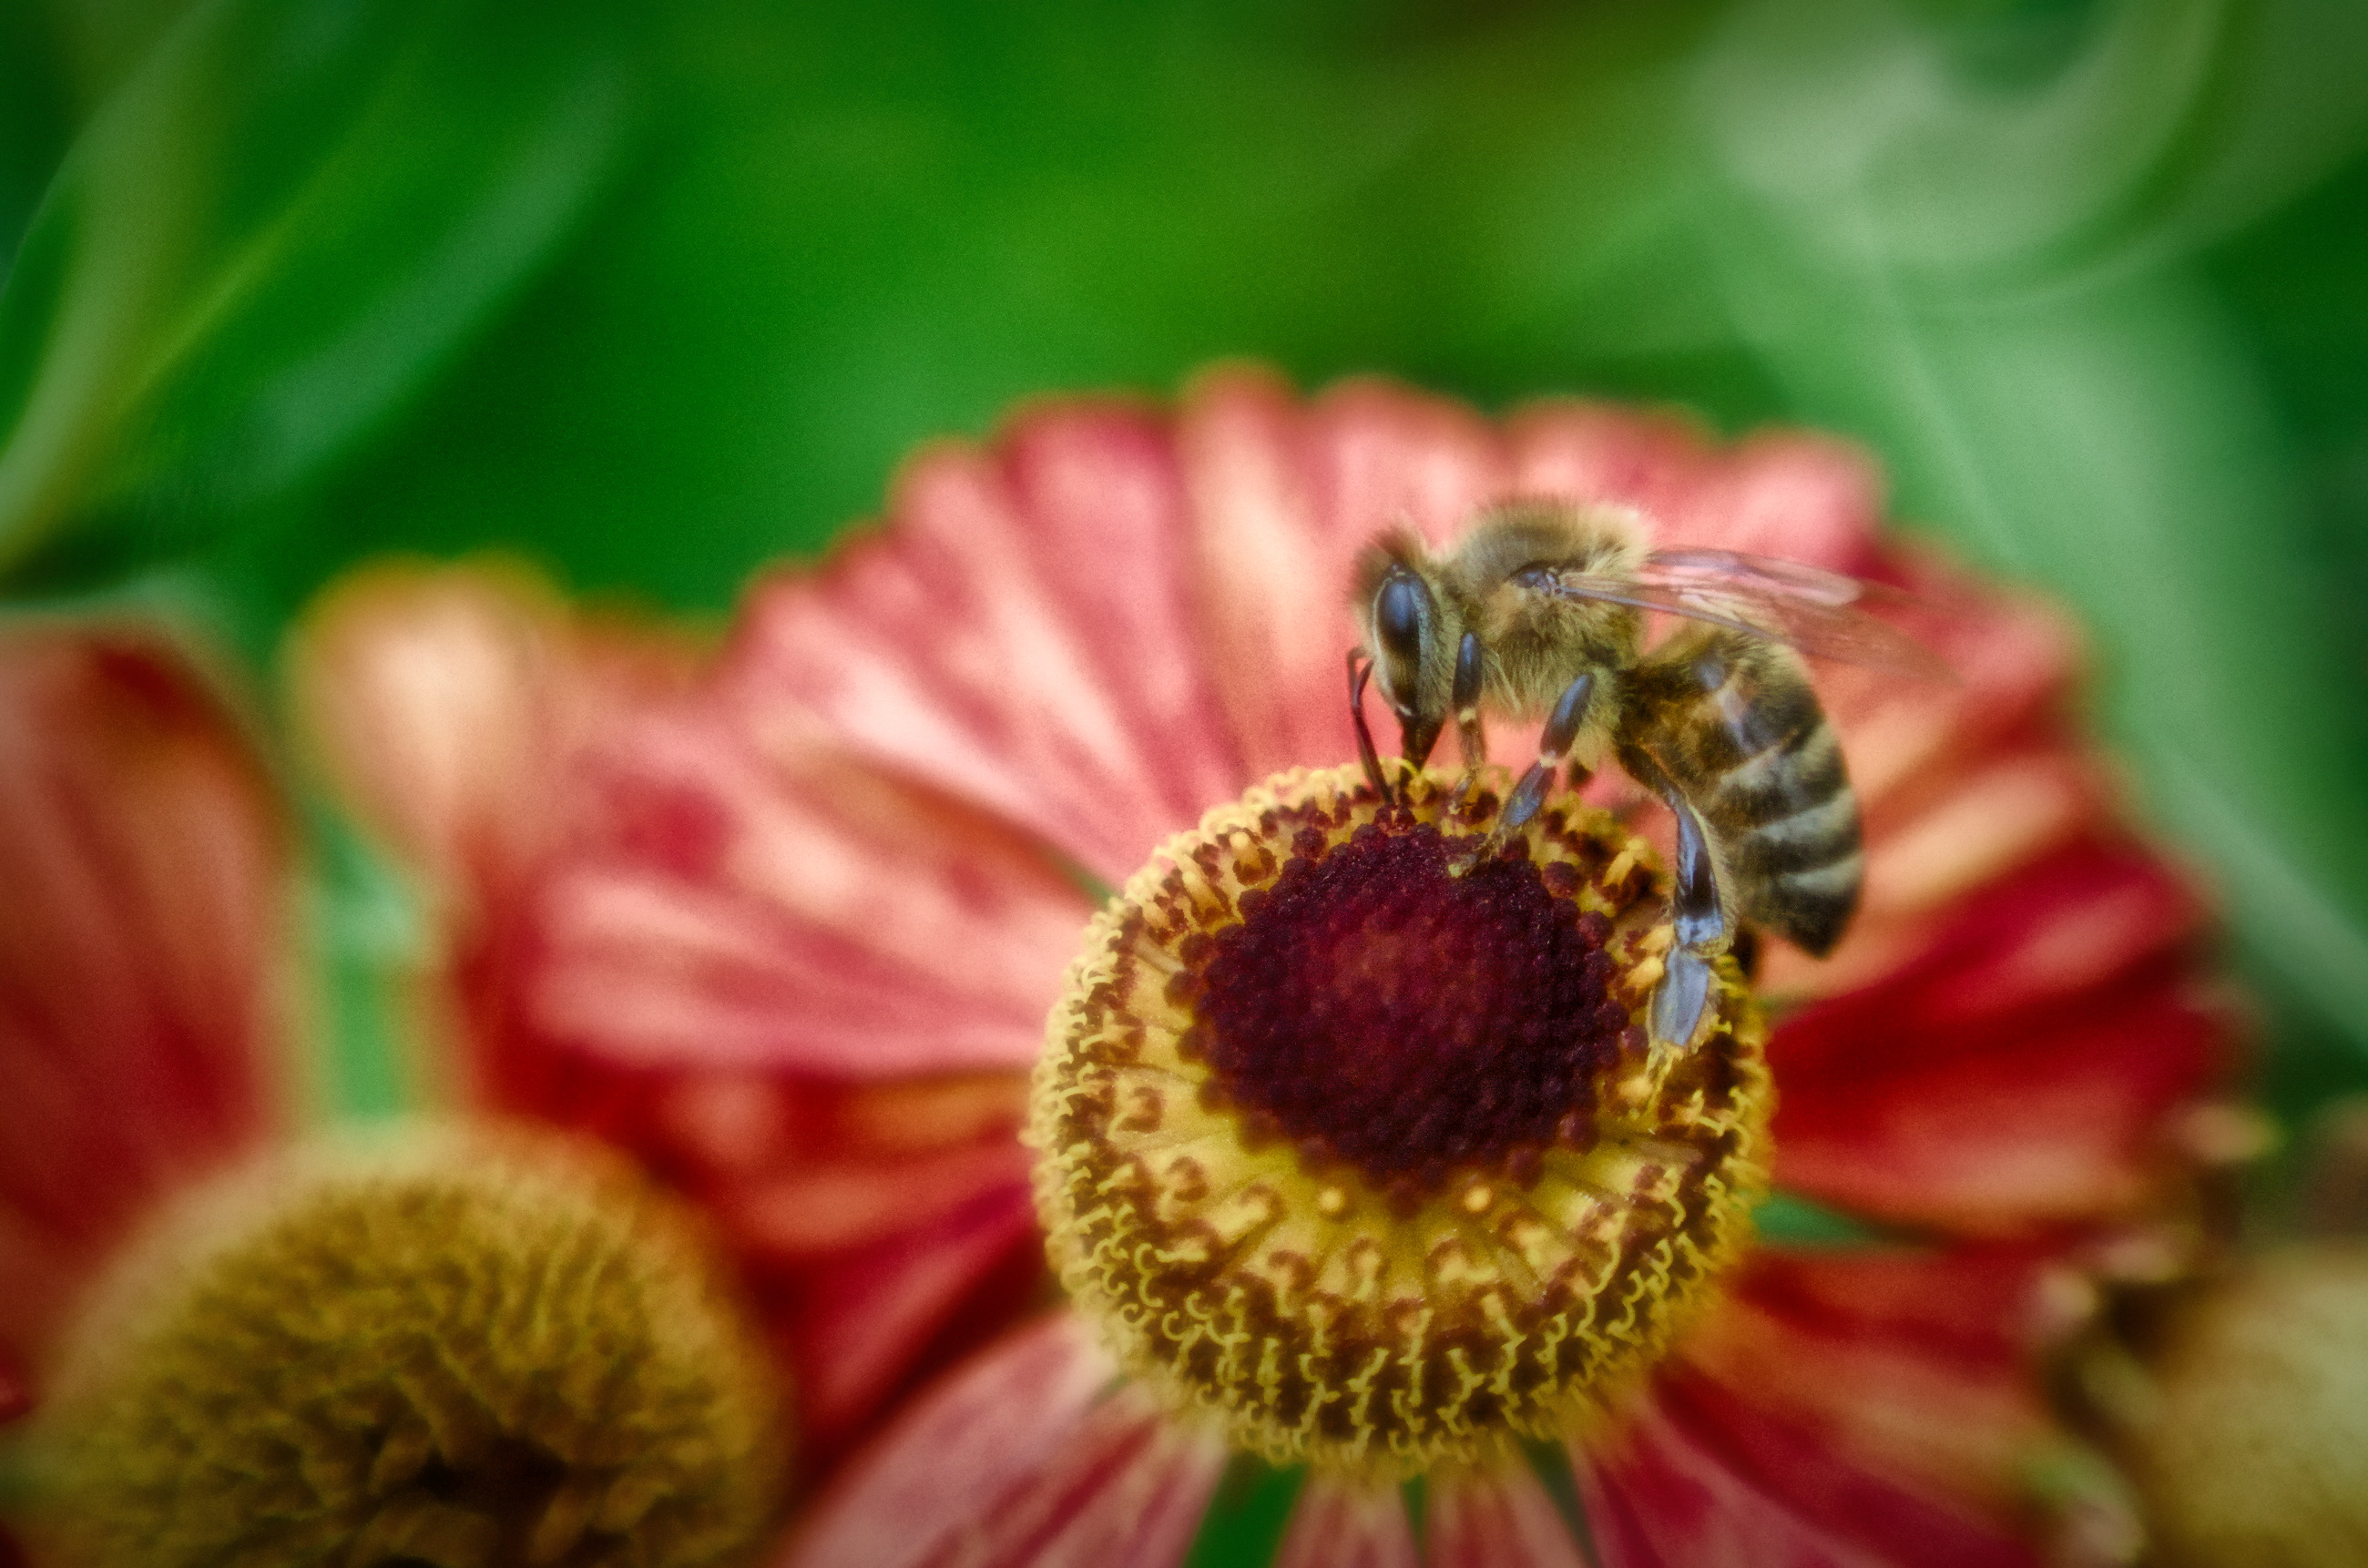
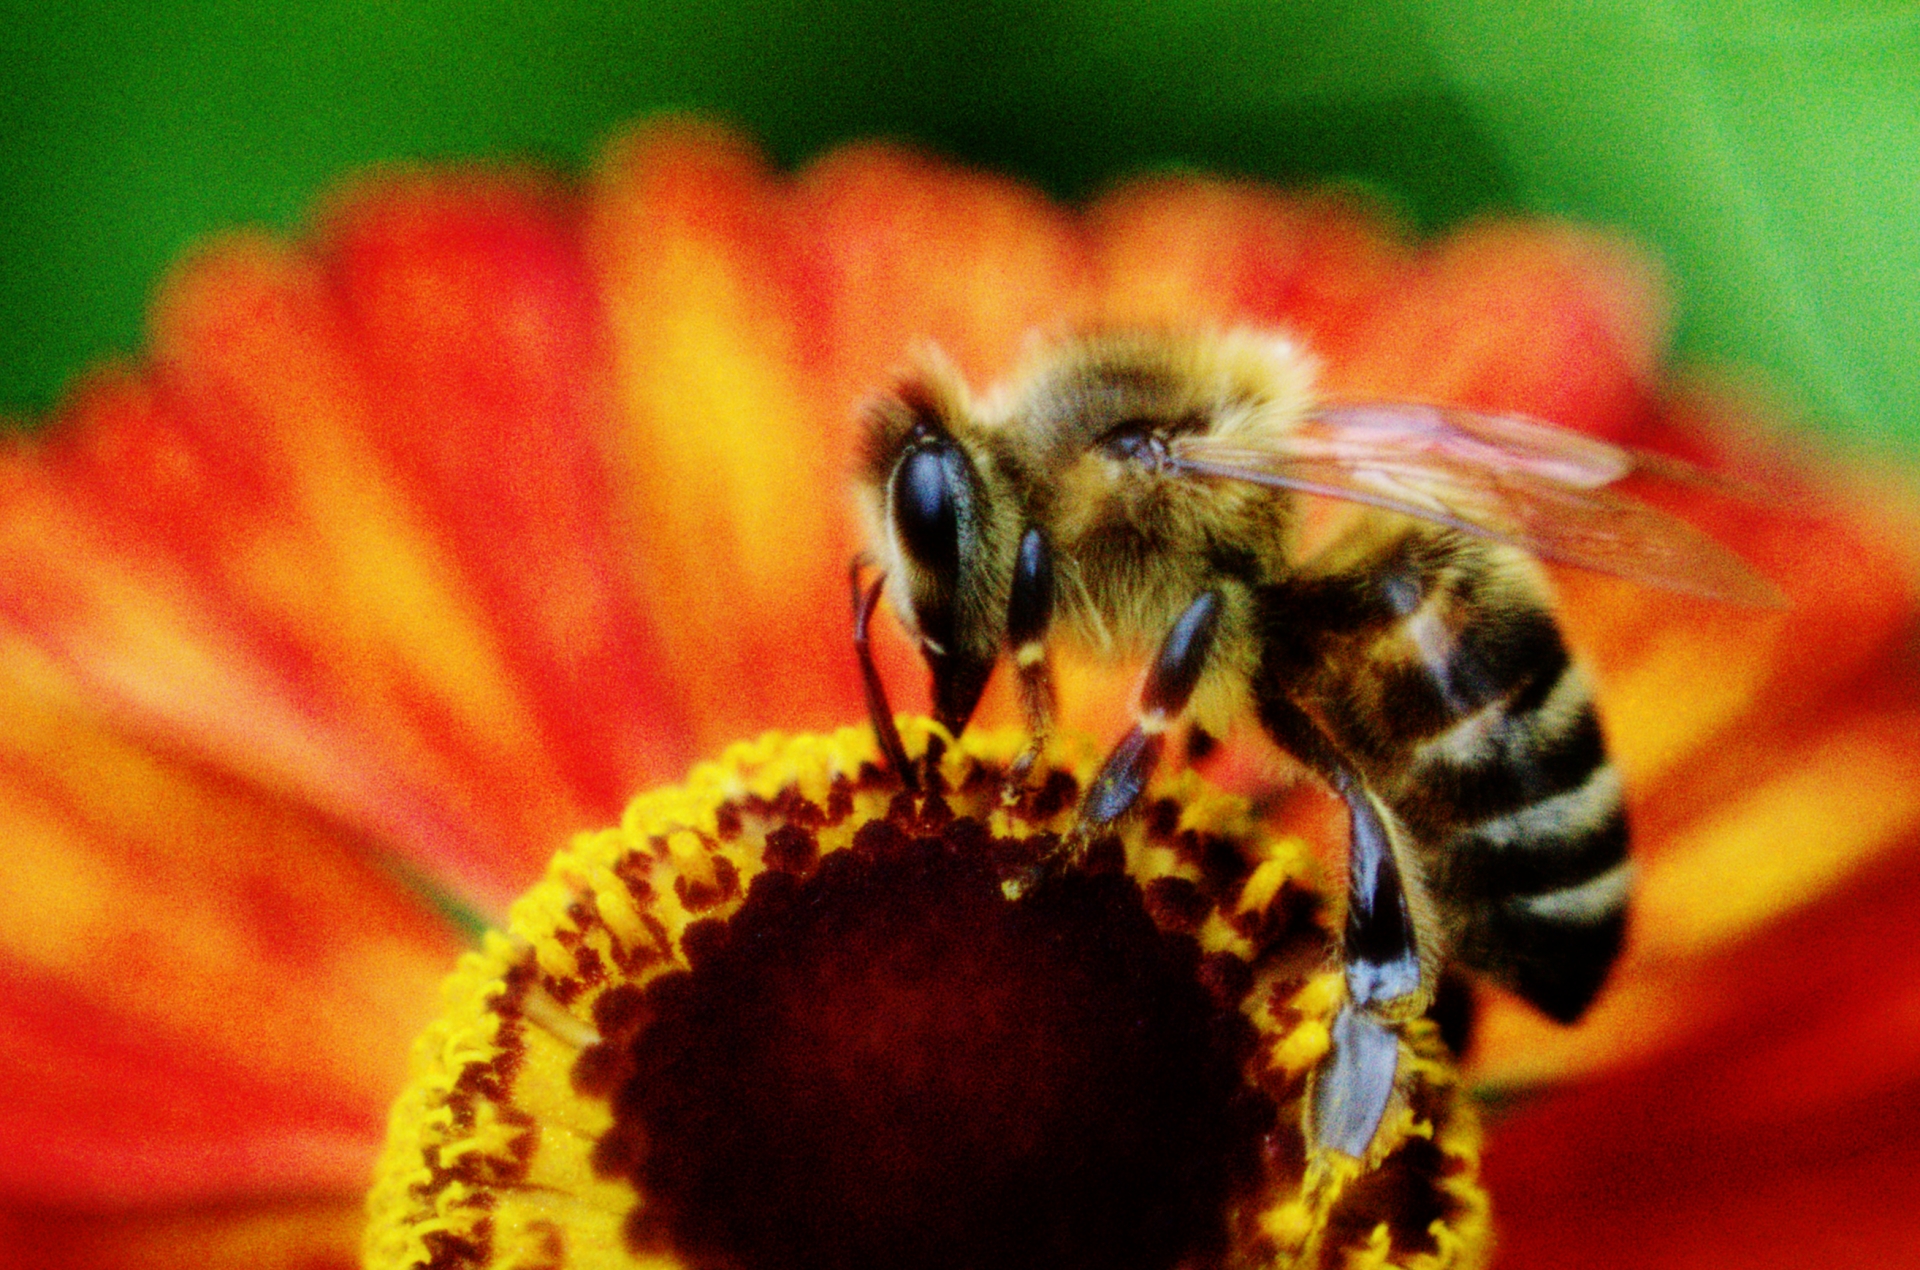
Was in the park trying out a reverse macro adapter. Was very difficult to handle since I had no focus at all and a fixed view with my prime lens. Depth of field only was a few millimeters and those insects did not stand still.
Took more than 50 shots and only a few were somewhat in focus.
Nice edit, I just wanted to open the XMP file in Darktable (2.6.2. from PPA, Ubuntu 18.04) but see an empty history.
Same happened to your XMPs from the Laveno PlayRaw
Which operating system are you on?
Edit: opened it with a text editor, history is empty
I have no idea. My OS is Ubuntu 19.10. I will invesitgate it tomorrow. Unfortunately I don’t have access to my PC at the moment. Meanwhile I think you can load the jpg file as a sidecar from the lighttable.
Edit: It seems that darktable doesn’t save the changes in sidecar until you either switch to another photo or quit the software. I uploaded the sidecar again and hopefully it is OK now.
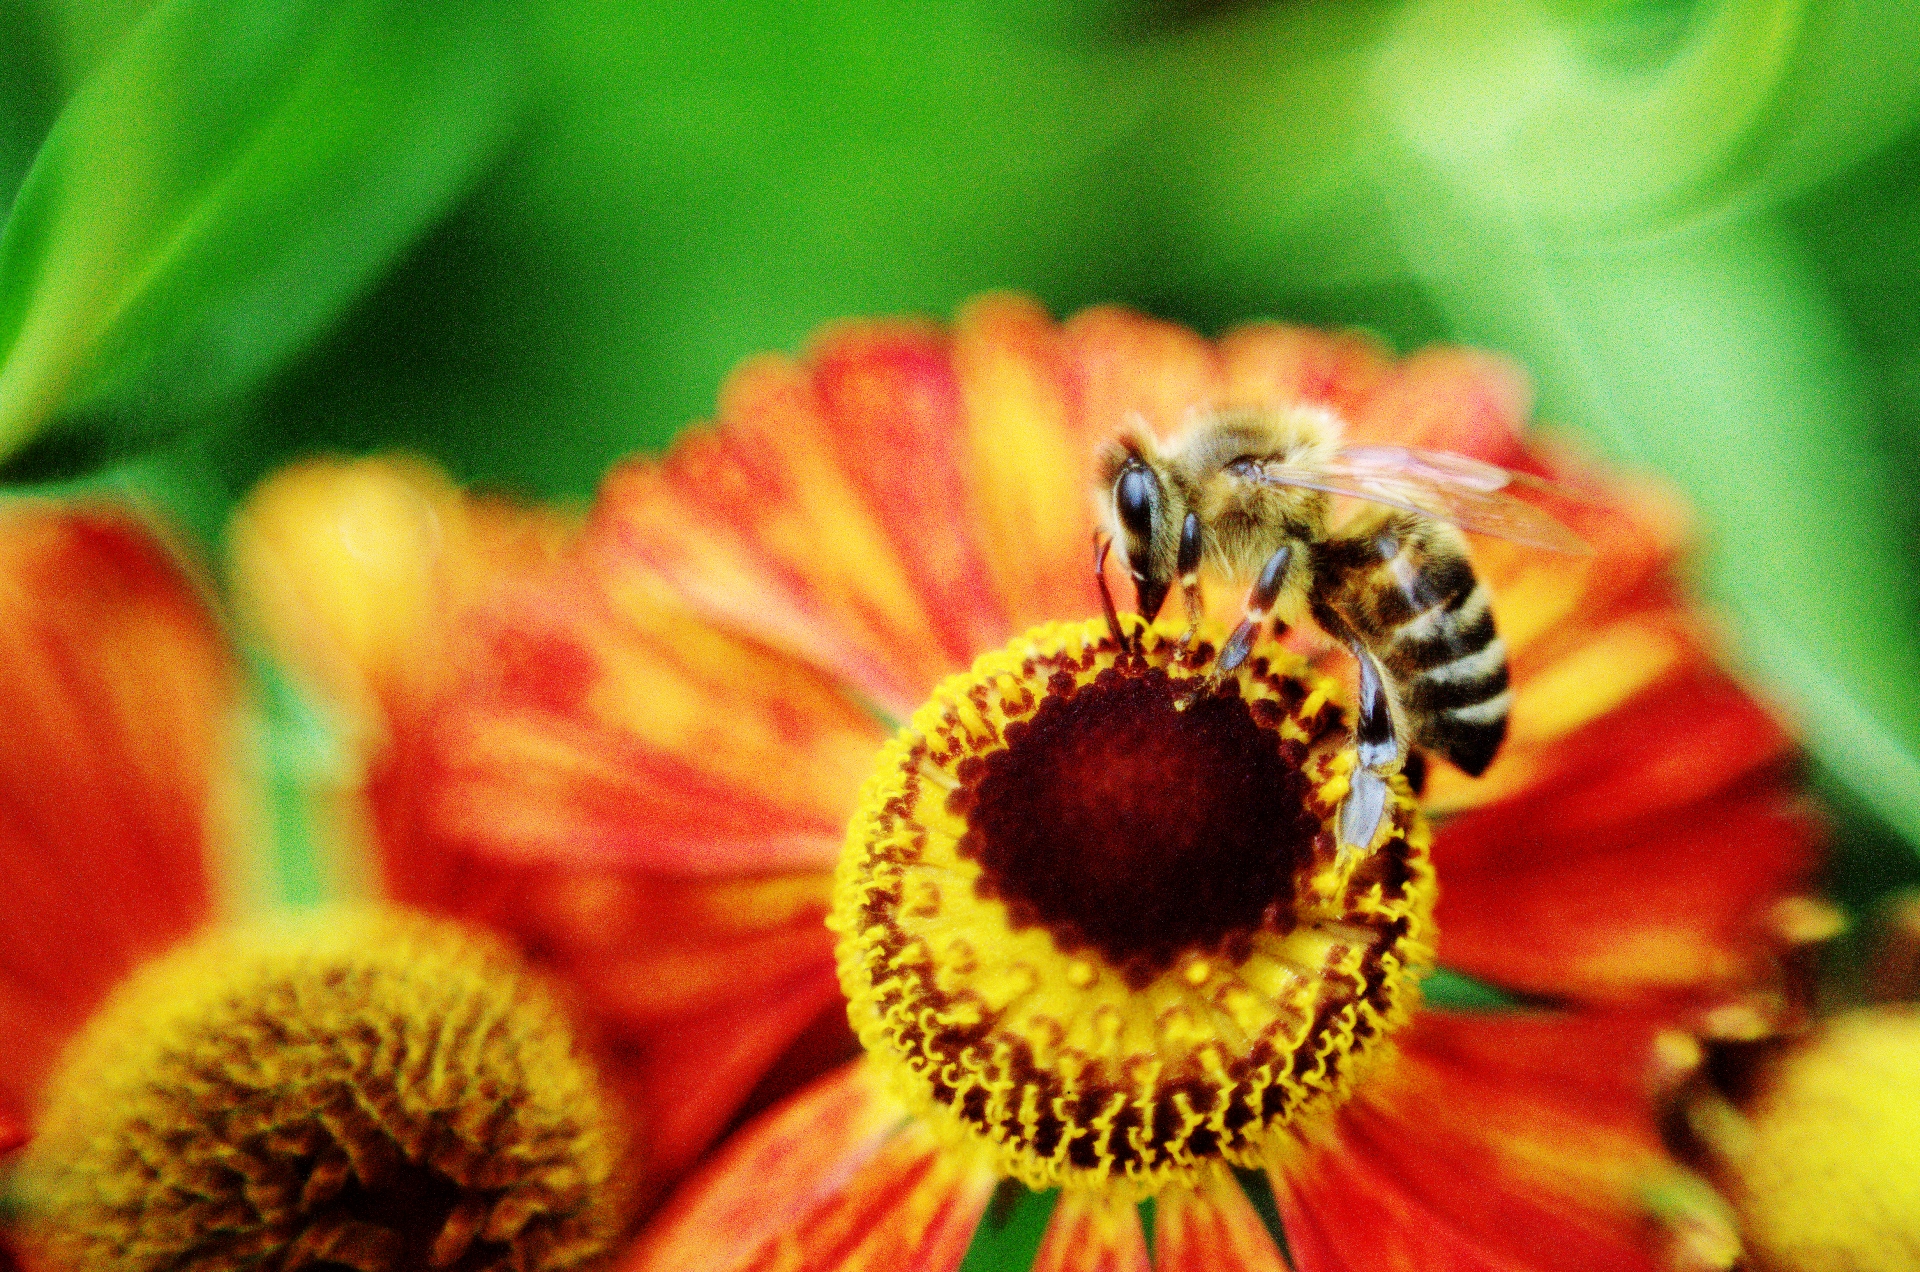
@msd: thanks, now it works. Was curious how you did get that nice contrast and colors and found it in the black level correction within the exposure module.
Zoom in to 100% and search for an area with noise and with details.
Create a snapshot for before/after comparison
Now I search for the ‘best’ denoising setting, where ‘best’ means: Denoising reduces microcontrasts and therefore reduces details and sharpness. Therefore I search for the best-looking compromise between noise reduction and loosing details ans sharpness.
You can see this in these videos:
b) Sharpening
After that I sharpen the image. Sharpening increases microcontrasts and therefore increases noise. If I see noise coming up again I do another round with the denoising module.
Notes:
In one video I use 200% zoom and different denoising methods. This was long time ago.
Meanwhile I found the best combination of denoising and sharpening for my camera. When I shoot with ISO 100 (which most of my shots are) I can denoise with just two clicks.
Only reason for not using automated presets darktable is that I want faster processing times and denoising is one of the last parts in my workflow.
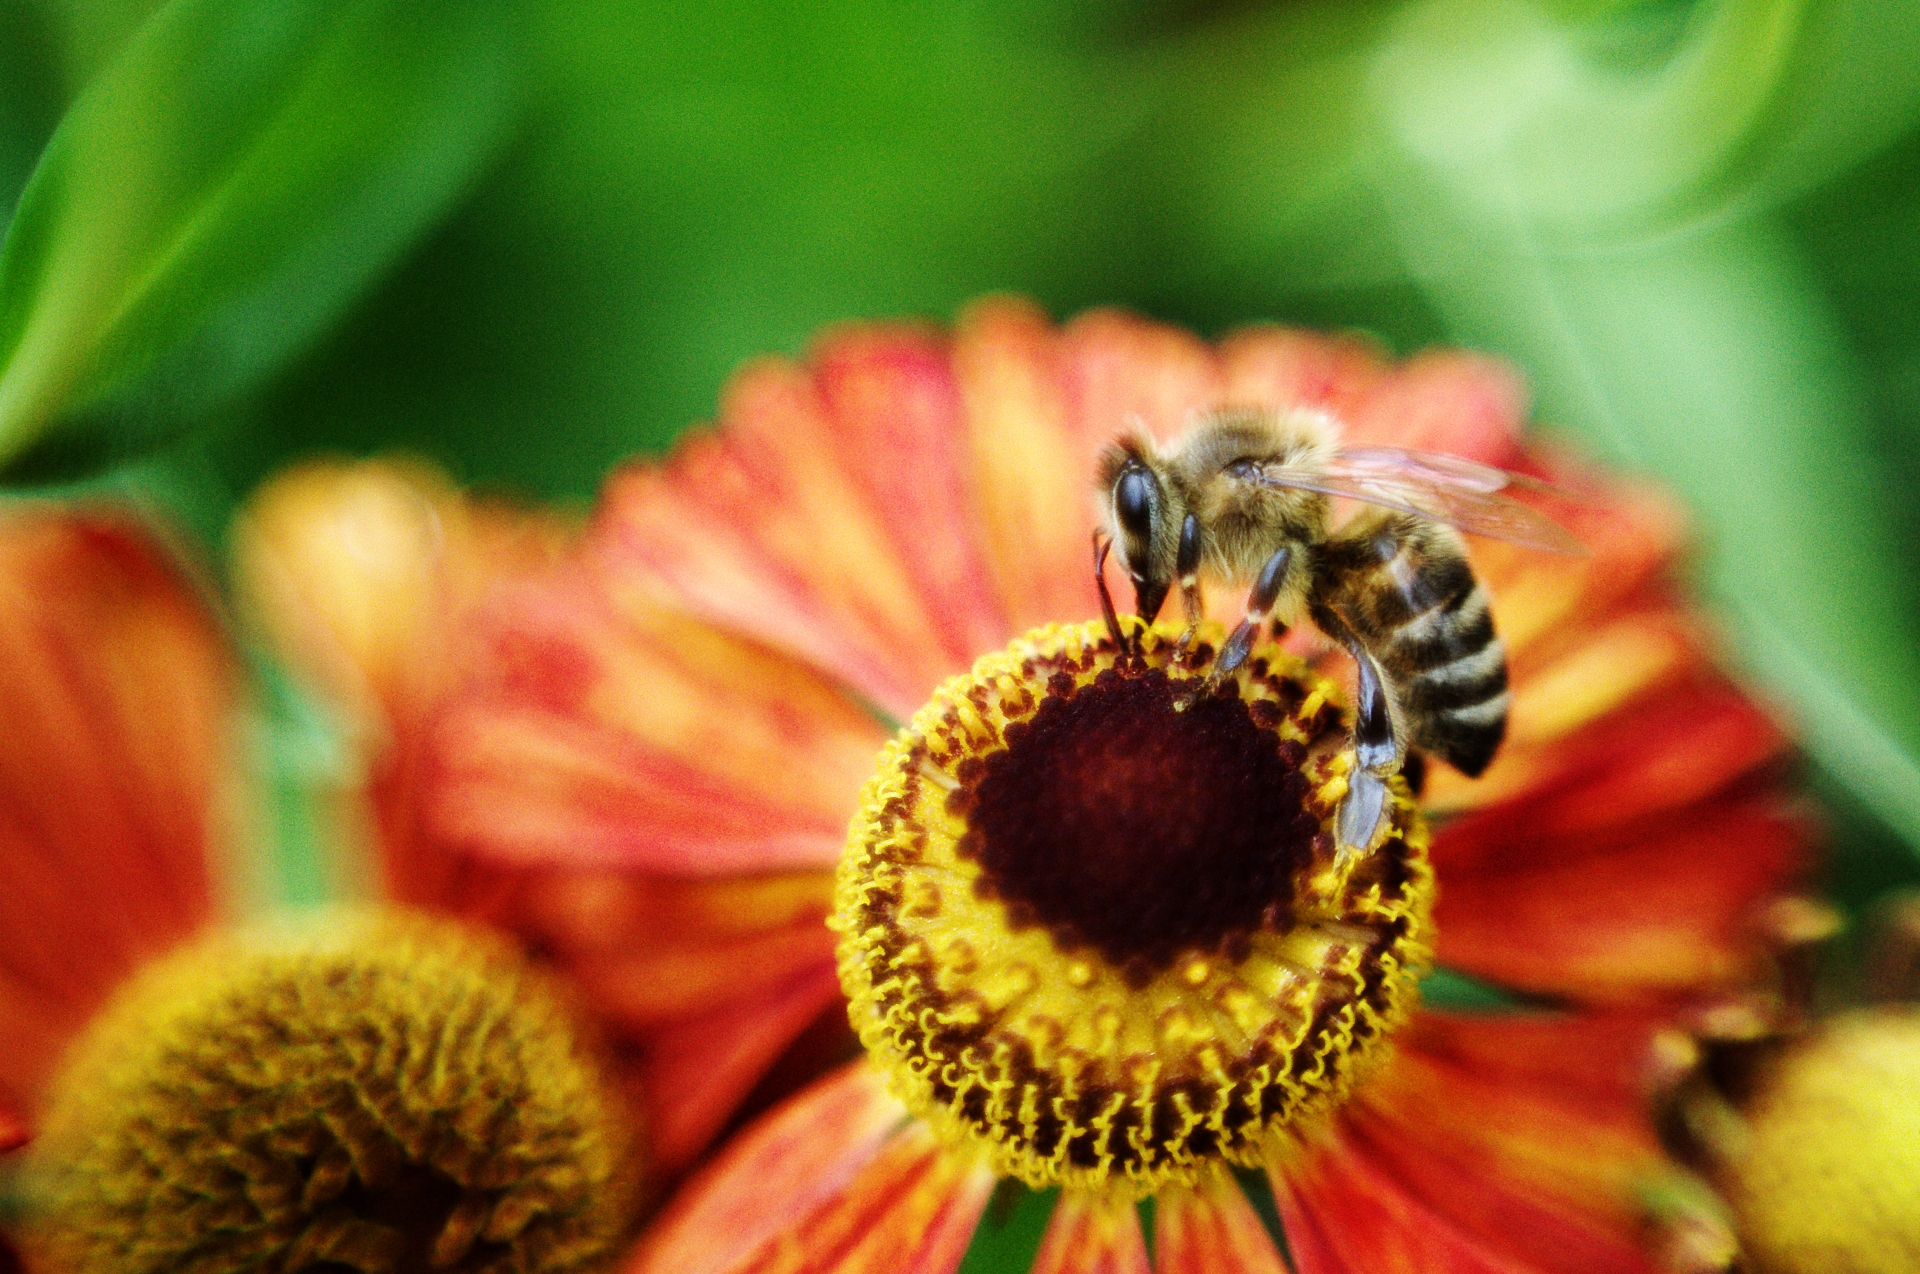
This particular image was shot with ISO 1600 (when I remember correctly) and could have spent much more time with denoising. Maybe more denoising with a mask excluding bee and the blossom it’s standing on, but I only wanted a preview image for PlayRaw.
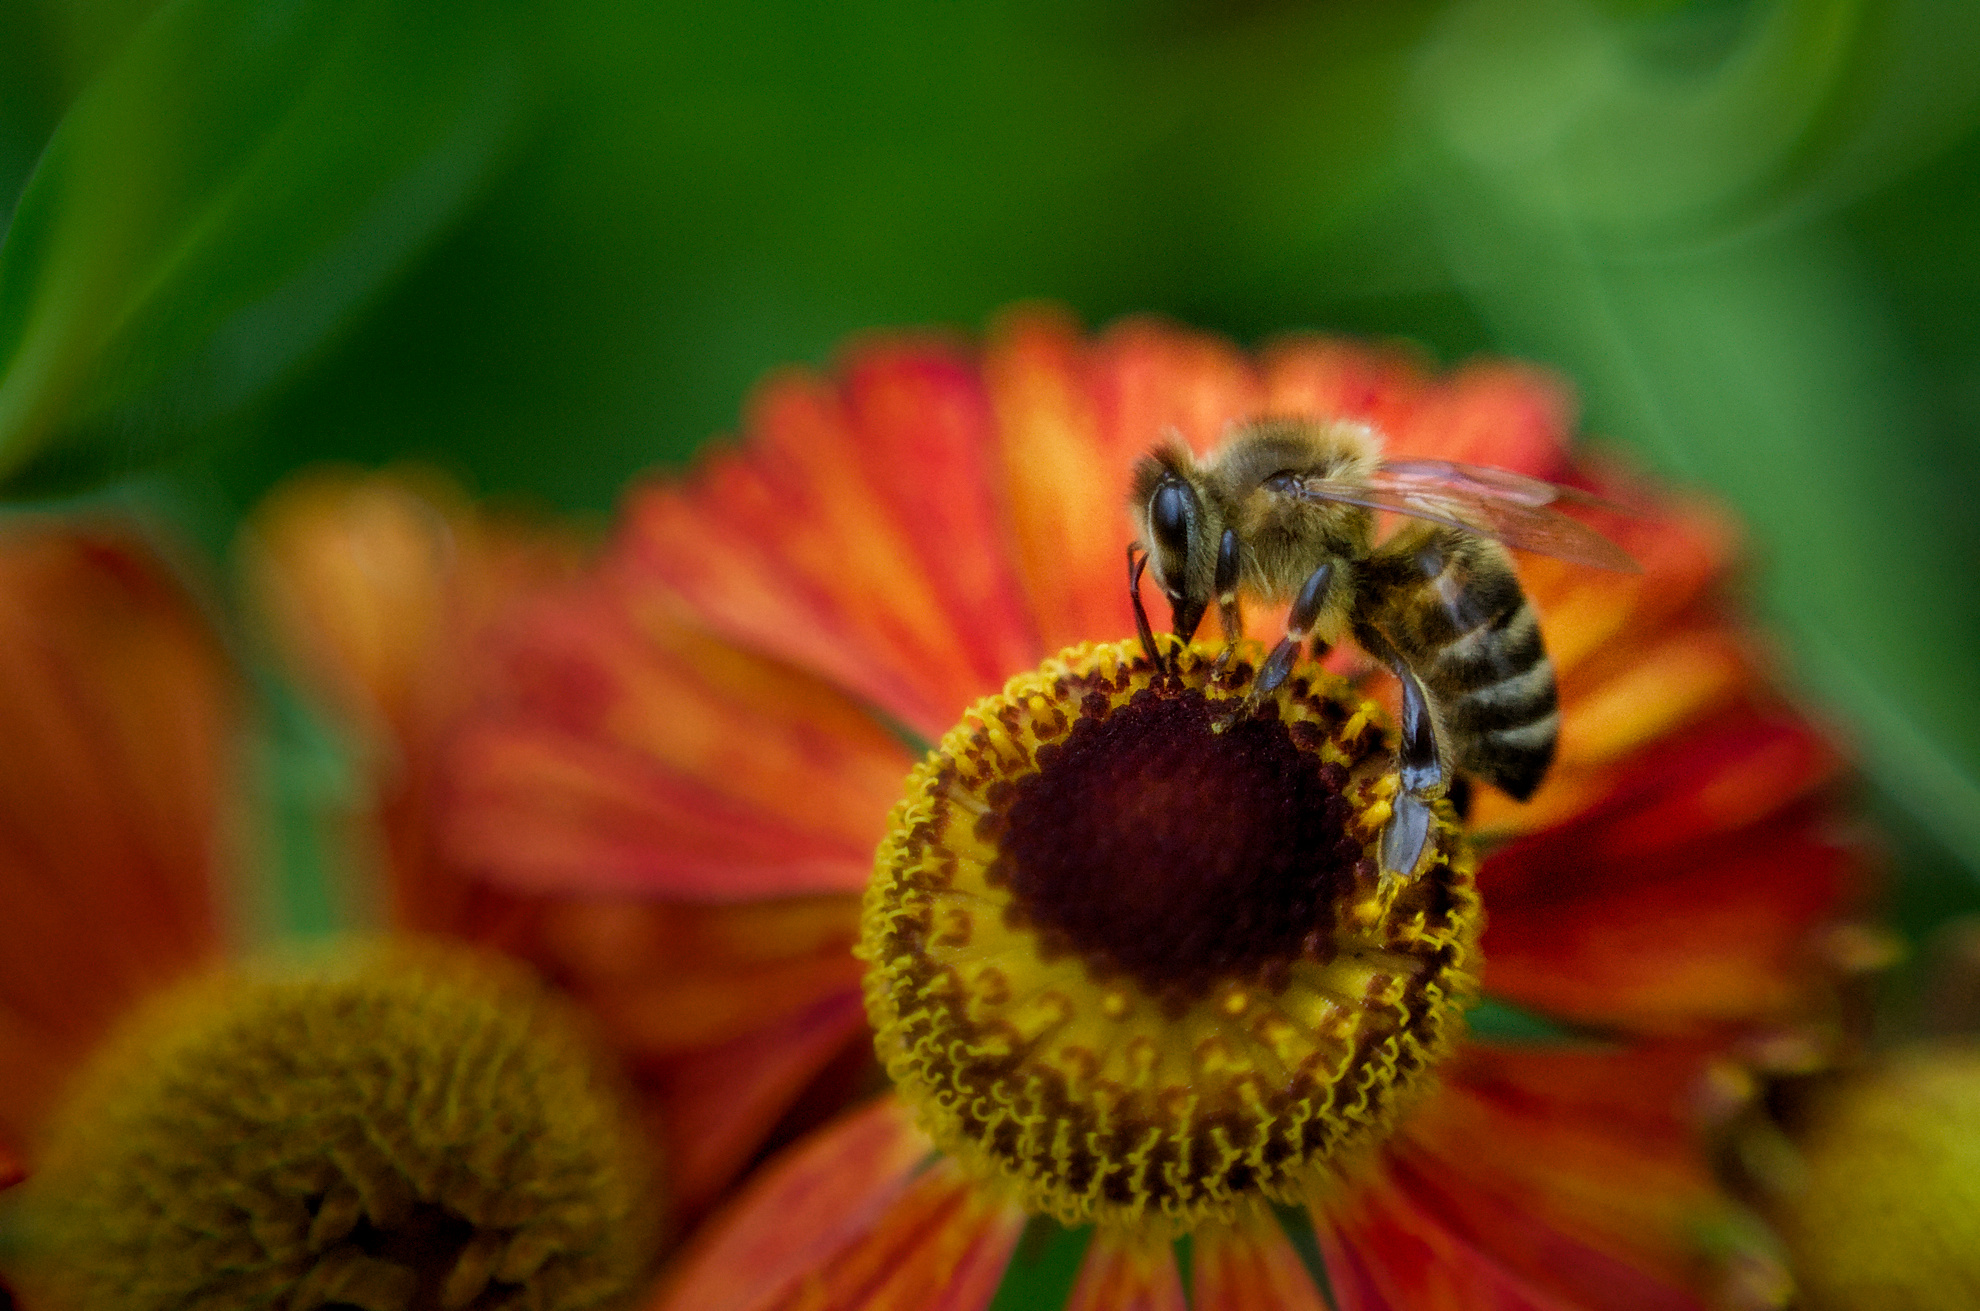
Took me quite a while to familiarize myself with the image. Remember, I am doing everything in G’MIC command line using handcrafted commands save for raw processing, crazy right? Part of the challenge.
1PhotoFlow no-clip linear float 2gmic filter negatives, weighted smooth, local contrast, brightness-contrast, weighted sharpen, sharpen-resize
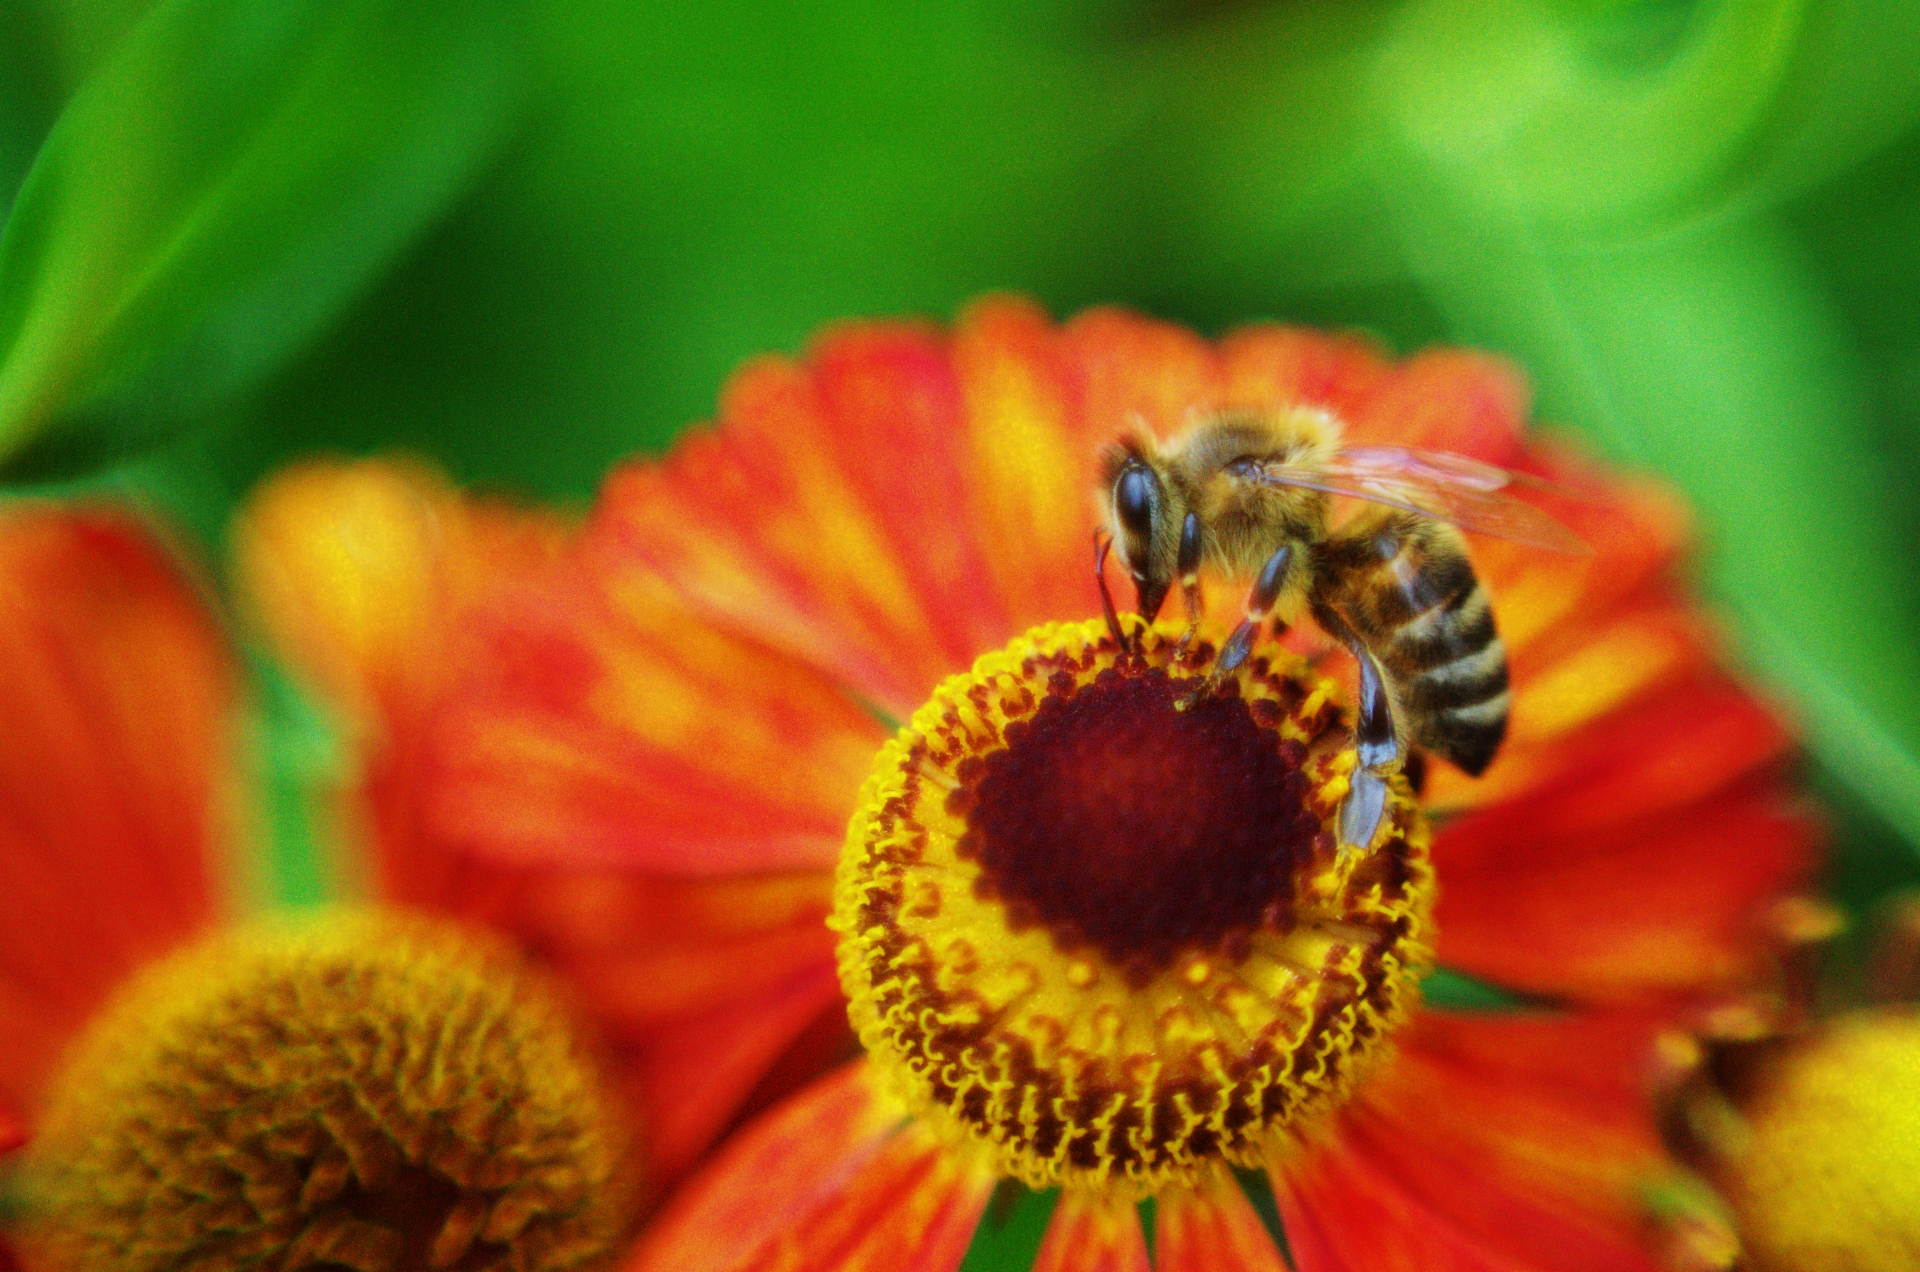
One of the reasons I like doing PlayRaws is that it stress-tests rawproc. The filename here presented vexation; for some reason the umlat characters confound my filename parsing. I bullet-proofed some of my functions as a result, so the filename now results in “Unknown Image” rather than abject crash. Progress…
With a renamed copy of the .DNG, I proceeded with processing, here’s the resuit:
colorspace:ClayRGB-elle-V4-g22.icc,assign - Neither dcraw.c or camconst.json contained a specific Pentax K-50 set of primaries, so I messed around a bit with finding some. I got the Adobe DCP for the camera, but got tired of trying to figure out how to get a ForwardMatrix from the duai-illuminant matrices so I just went poking through @Elle’s profiles until I found one that gave a nice result when converted to sRGB. That happened to be ClayRGB, her Adobe1998 equivalent, with a 2.2 gamma TRC. So, gotta ask, what’d you do to the raw data converting to the DNG? Anyway…
whitebalance:camera - As-shot, no further modification.
demosaic:lmmse - @heckflosse recommends this or IGV for noisy images. I usually defer to smart folk…
blackwhitepoint:rgb,data - stretch the data to the container limit, 0.0 - 1.0.
denoise:wavelet,0.032000 - I tried my NLmeans algorithm, but got tired of waiting for it to complete (need to optimize it, laziness…). A light touch of dcraw-derived wavelet.
tone:filmic,6.20,0.02,1.50,0.90,1.00,norm - Been having fun figuring out the Duiker ABCD parameters of the original filmic curve. This image was low-DR, so the manipulations were a departure from my recent messing-around. The B-coeff (0.02) is similar though, I like the treatment of the toe it renders. The rest was just sliding stuff back and forth until I liked the result. Someday, this’ll have cogent heuristics, at least in my head…
resize:1080 - PlayRaw resizing.
sharpen:2 - More output sharpening than I usually do, no good explanation…
I liked this image a lot; IMHO its composition is really nice. Interesting processing challenge, makes me think more about rawproc2…
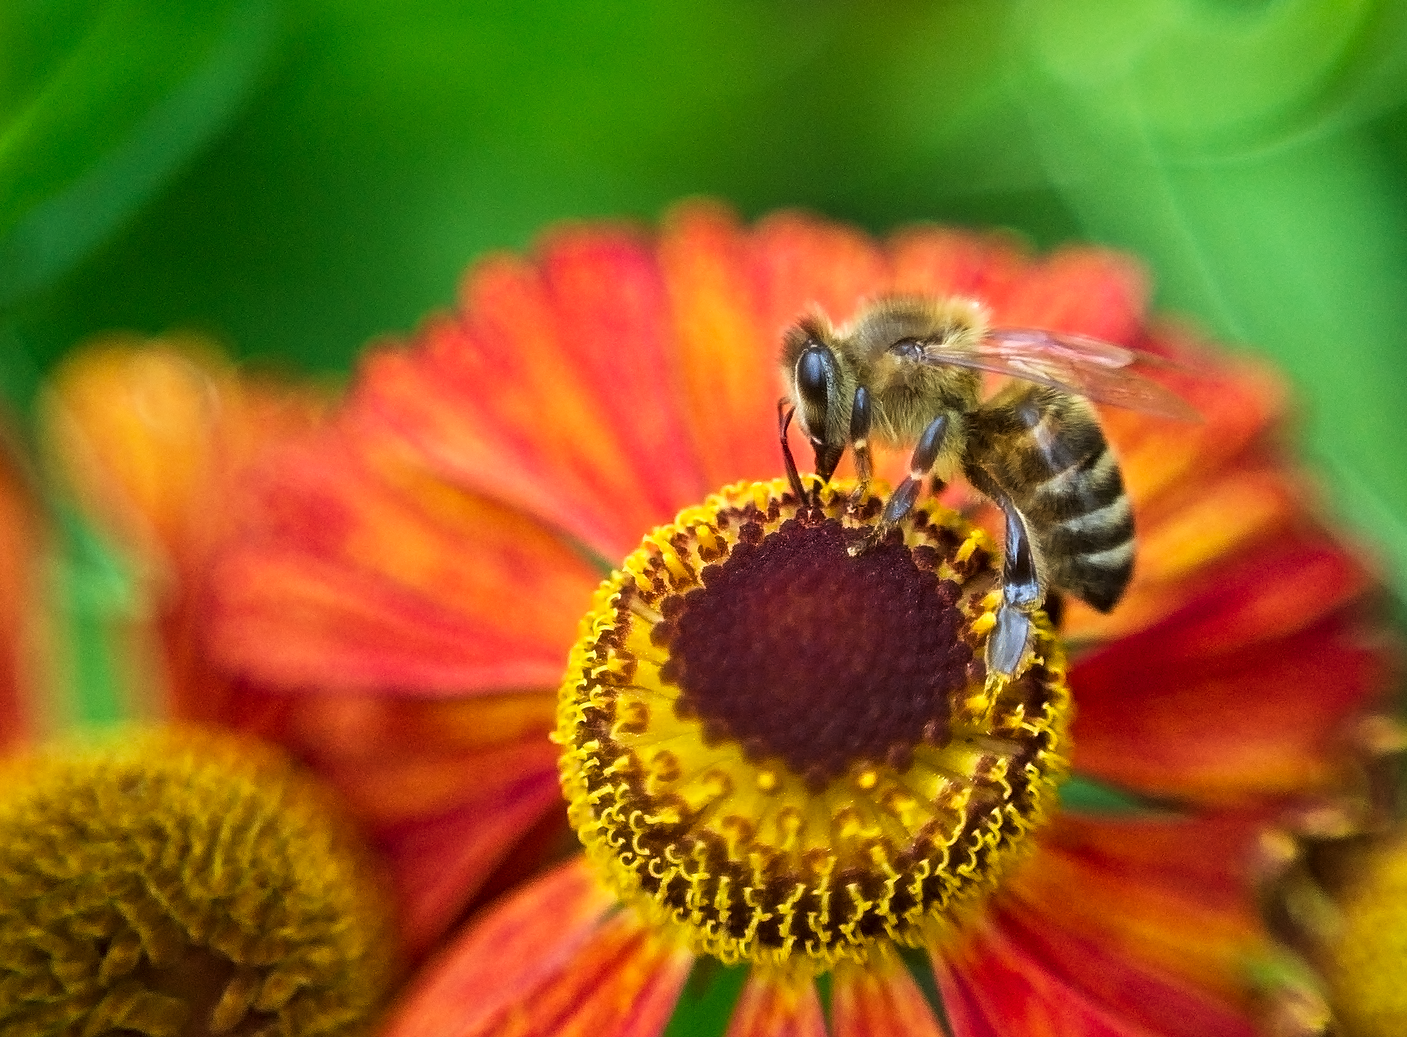
One last try: this time with RT capture sharpening, and tweaked the gmic workflow some more. Should result in a cleaner image. Thanks @pphoto for sharing this lovely raw image for us to play with!
1RawTherapee neutral, unclipped, linear sRGB, raw tab (RCD+VNG4, ca, filter pixels, capture sharpening) 2gmic filter pixels, weighted smooth, local contrast, weighted smooth, L*50 softlight, brightness-contrast (avg), Gaussian blend (S), brightness-contrast, LoG sharpen, resize, LoG sharpen