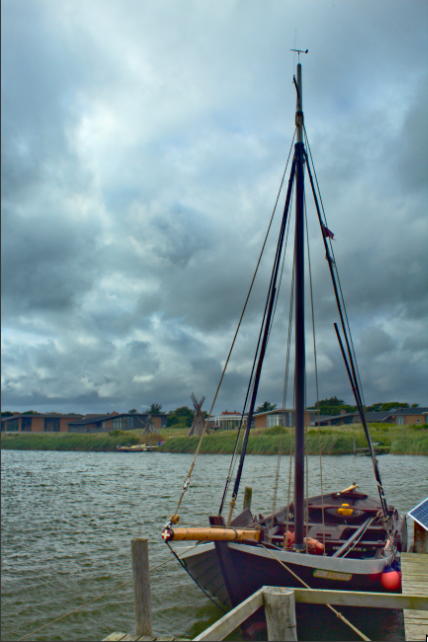
I did a few adjustment 
2 Likes
Just using RT
A bit soft so crisped up in various ways. Resize and final sharpen done in Fotoxx. I like to see the whole reduced shot when I do that.
20170809_0119.CR2.pp3 (9.9 KB)
While in Fotoxx I did a B&W version. Just straight desaturate and steep curve contrast increase plus brightness. Same could be done in RT.

John
@DxO-user I liked that. Could you upload also the sidecar file?
EDIT: There are only three minor issues (again, to my taste), but I’d like to see your settings first.
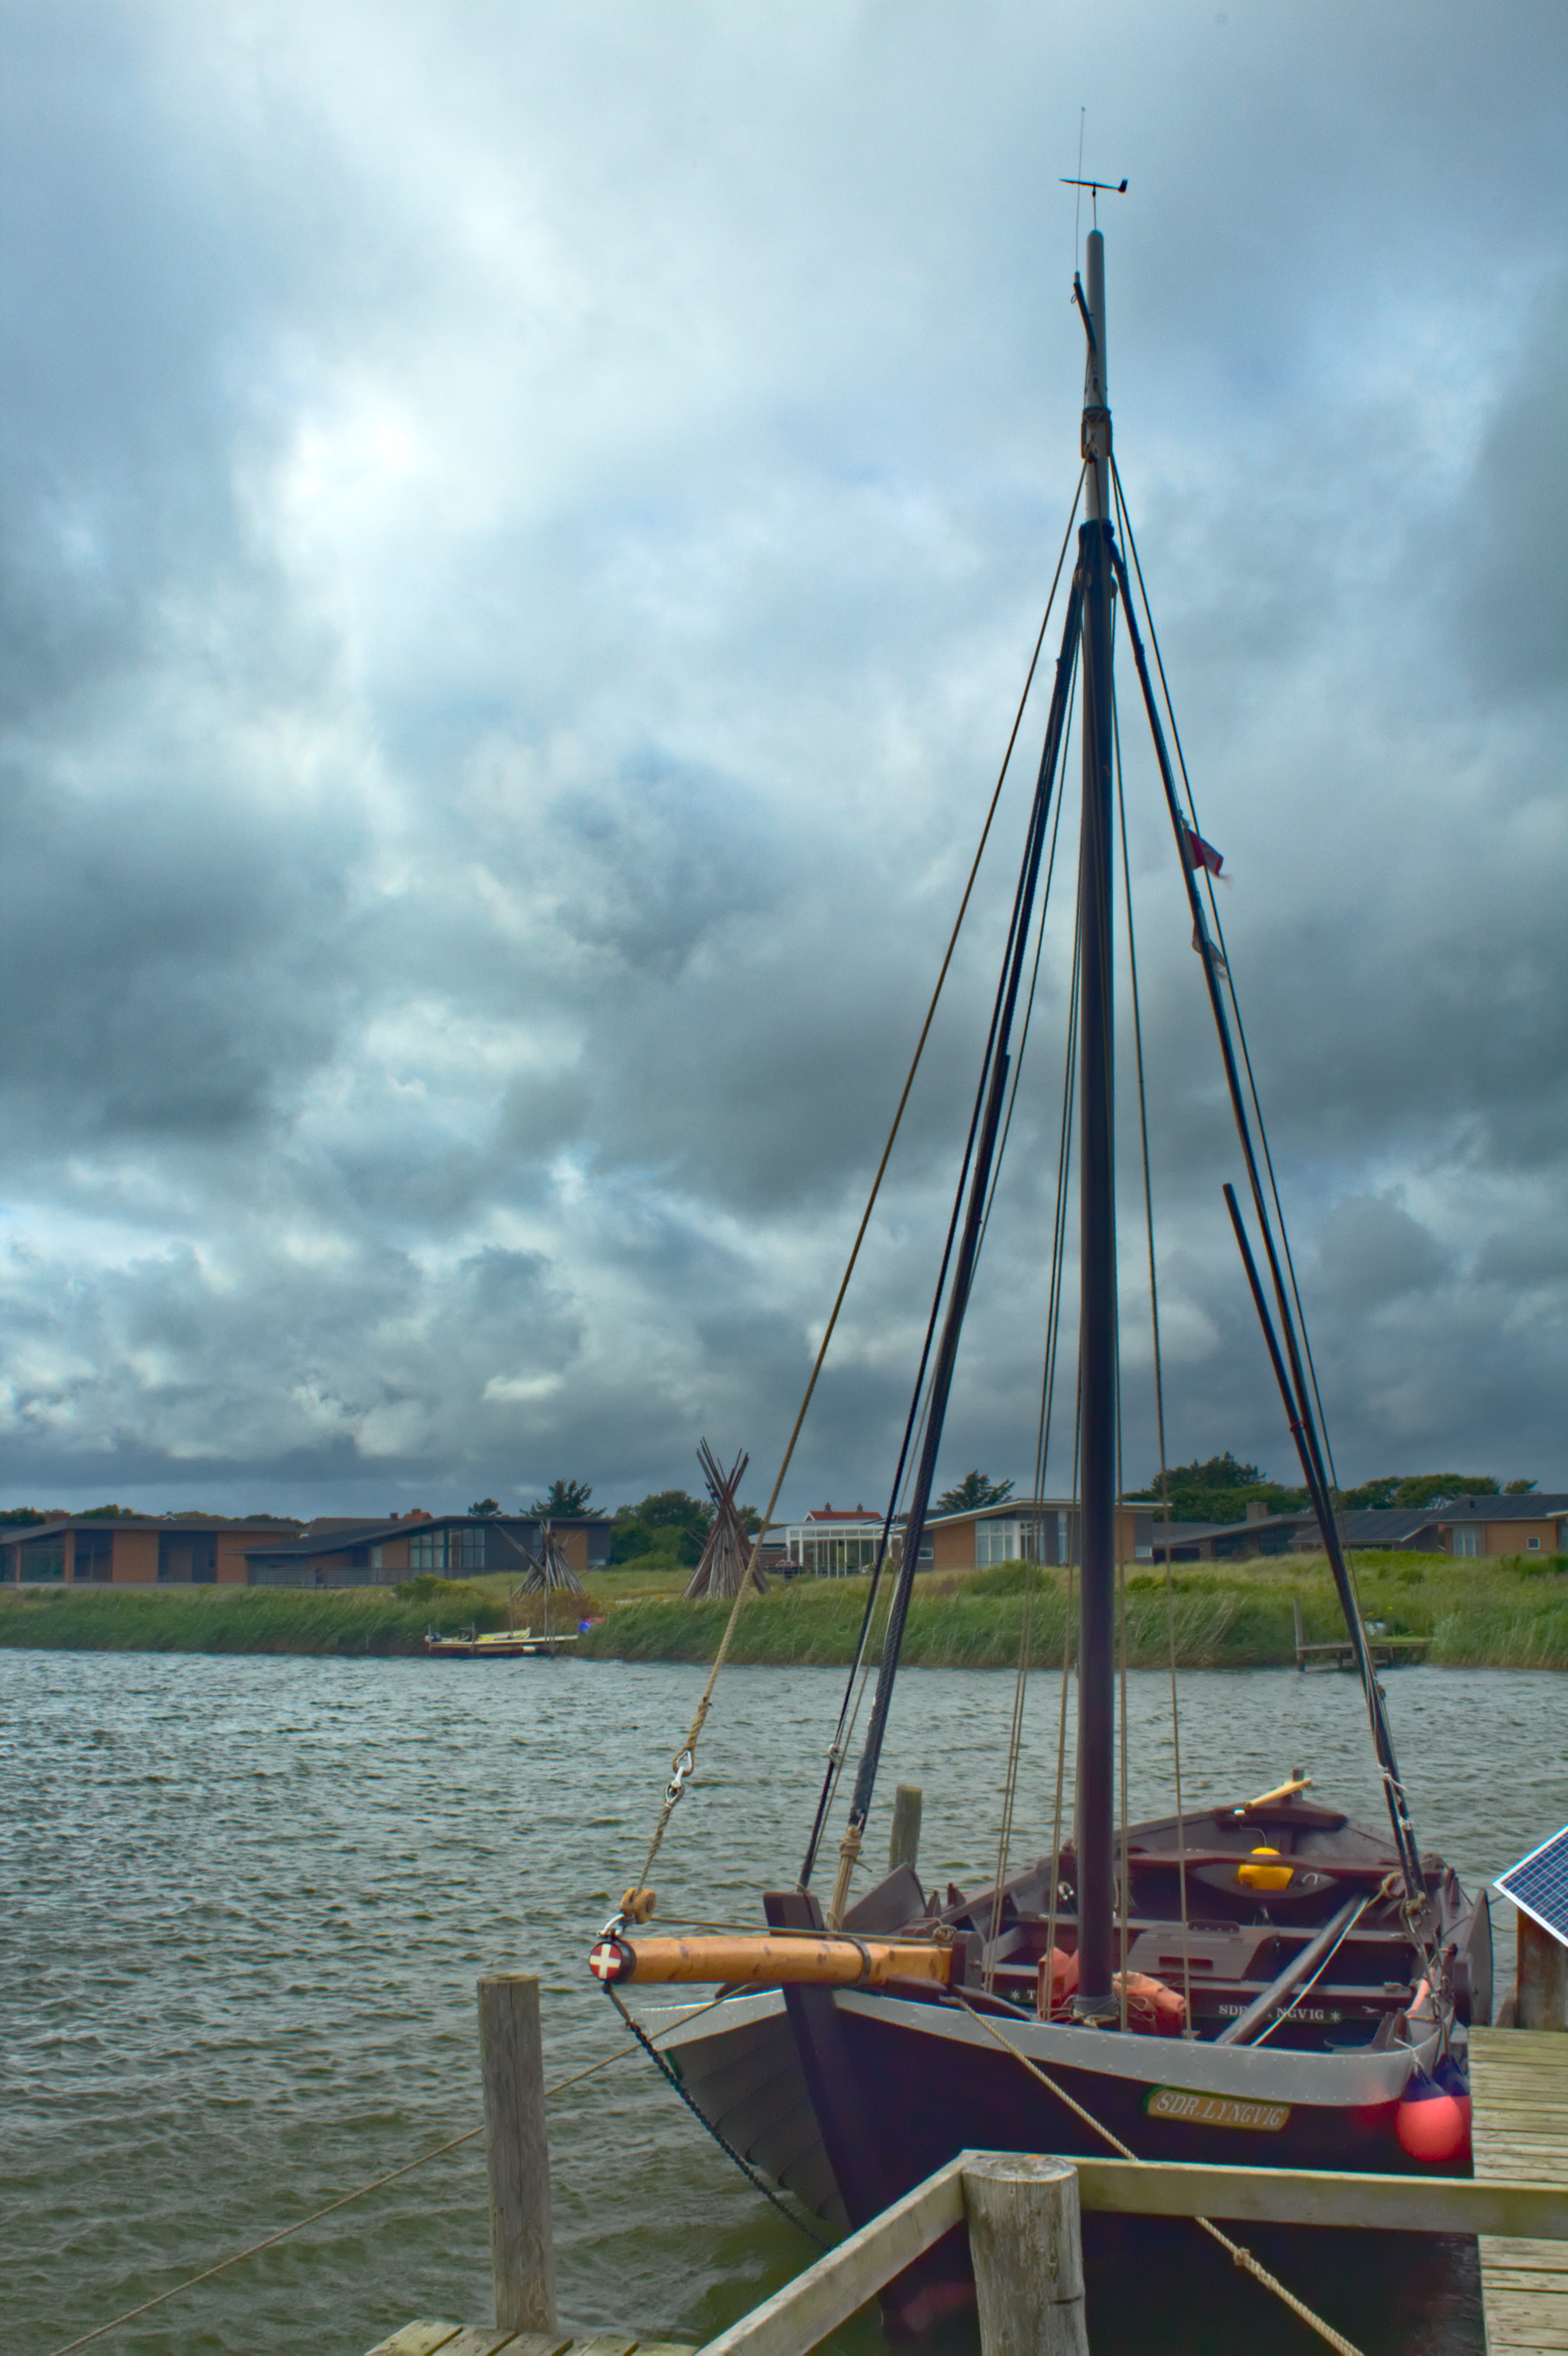
I’d try to get rid of that blown spot in the clouds.
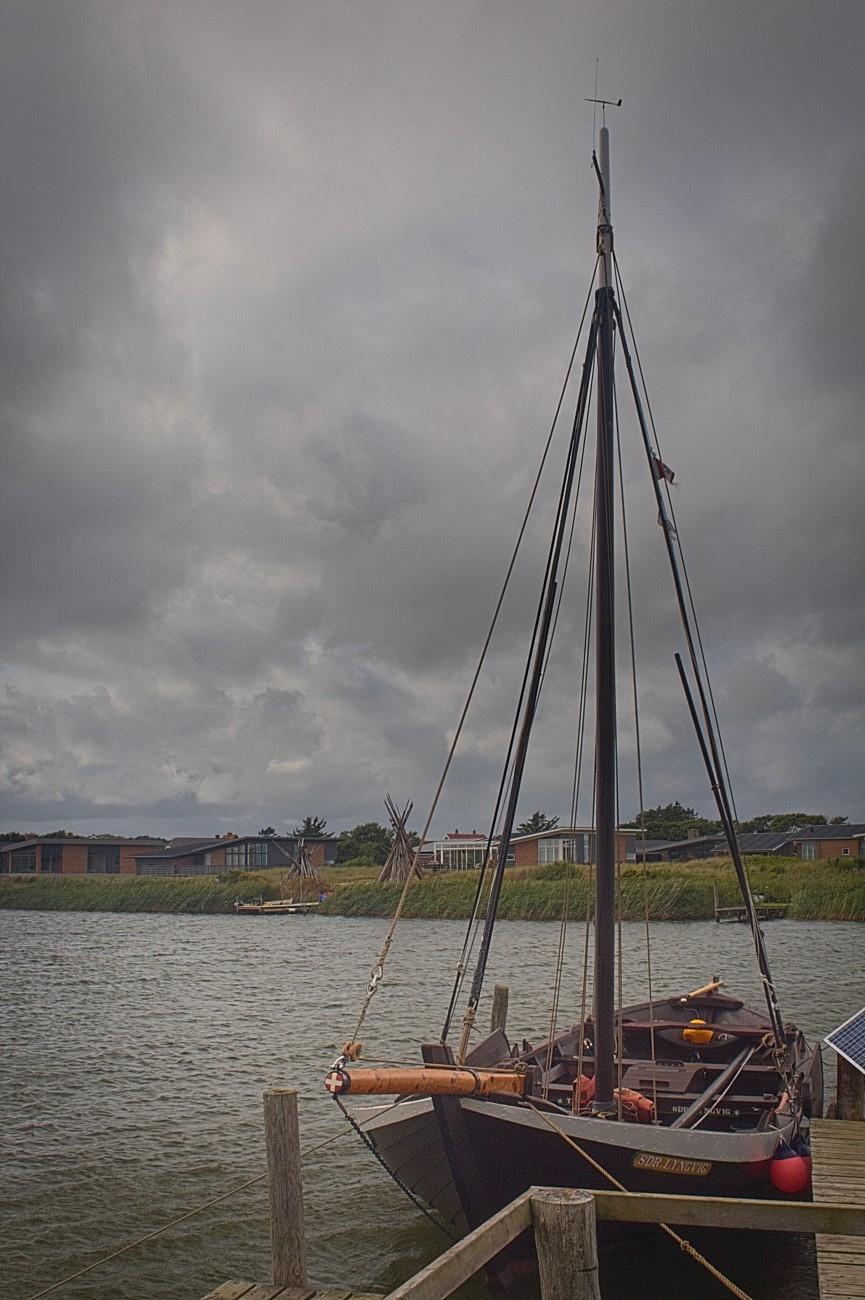
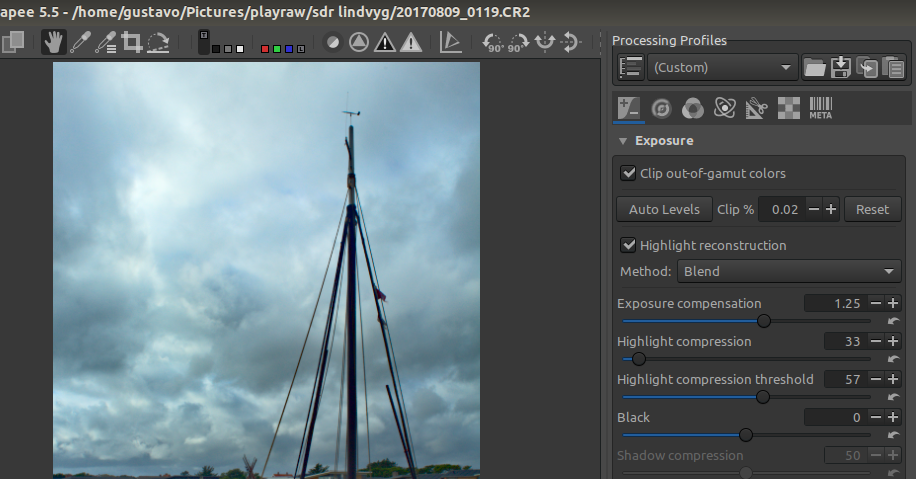
I first increased highlight compression, but then noticed it affected the overall contrast of the image. I was able to restrain its effect only to the clouds by increasing also the highlight compression threshold. This way, this change had minimal impact on the overall tonality and it eliminated the blown area in the cloud.
Another thing is the dark regions of the bow, that I find a little blotchy (I don’t know how to describe exactly… I think this is not the right word for it…)
I reduced that effect with a second tone curve by lowering the shadows and raising the highlights to restrain the effect, but I guess this had a noticeable impact to the overall contrast, which wasn’t what I had planed at first.
I’m not used to RT and I miss the history showing your steps, to try to find where you first introduced that effect I’m trying to get rid of.

EDIT: Here’s the pp3 with these two tweakings: 20170809_0119.CR2.pp3 (11.2 KB)
Thanks , I will have a look at it.
Another thing is the water , I want a more bluish color. It’s difficult in RT since almost all adjustment is globally , and local lab is way too limited. Since I don’t use darktable or Gimp , I have to resort to Affinity or Aurora to do that…
See if this video helps: Introducing a new color balance mode in darktable - #68 by agriggio (Please disregard the title, the video I’m referring to is RT)
I found it very powerful
That’s advanced stuff !
I guess for a newbie like me , it will take lots of time mastering it , not to talk about only affecting the water …
Don’t give up, I’m newbie too.
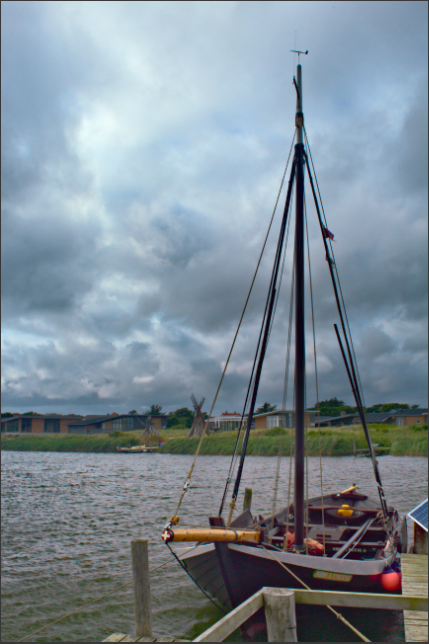
Before:
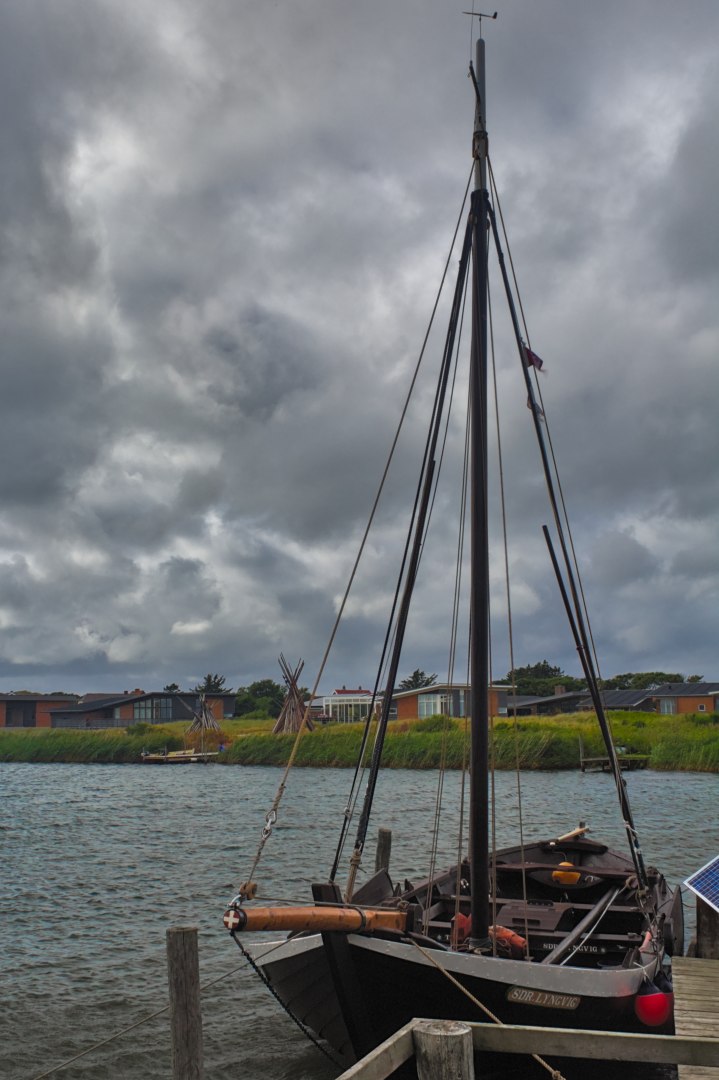
After:
The mask:

Mask strategy:
- Look for the greenishes:
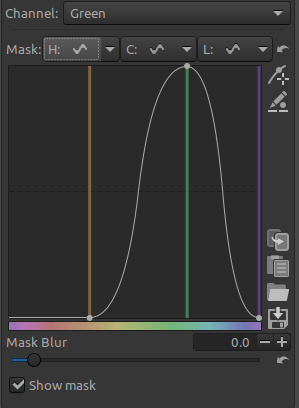
- Look for not so saturated greens:

- Look for not so bright greens:

Correction;
- Select the green channel
- Drag the whit point in the colors square to correct the green channel. I dragged it to fucsia
- Increase saturation slider to make the effect more visible.
I’m not saying that this is IT. But at least it’s a starting point.
A simpler way to change the colors may be tweaking the white balance.
EDIT: i’m thinking of why I couldn’t isolate just the water in the mask. Maybe because what’s “wrong” with the water is something that affects all the image, that is, a greenish hue all over it. Which reinforces what I said above: white balance is probably the way to go.
1 Like
RT 5.5 and another prog with proper local adjustment. It took me 1 min to get the more bluish color.
Hopefully the develop team will make more focus on local adjustment in the future …

Here’s my part on that image:
I recorded the editing process on video and added explanations in subtitles
Darktable XMP: 20170809_0119.CR2.xmp (13.3 KB)