Has anybody tried this neat, old and probably unknown feature to deal with colour casts? https://www.kenrockwell.com/tech/ps.htm#casts Image > adjustments > Match color > Neutralize
It does not require a new version of PS. I think it was there even in the days of PS7…
But having been busy scanning my own color film since only a few years ago, I knew nothing about colour casts until recently.
I encourage you to try it.
Back to the reason I’m posting this:
is there anything that remotely looks like this tool in RawTherapee?
does anyone have an idea how it actually works?
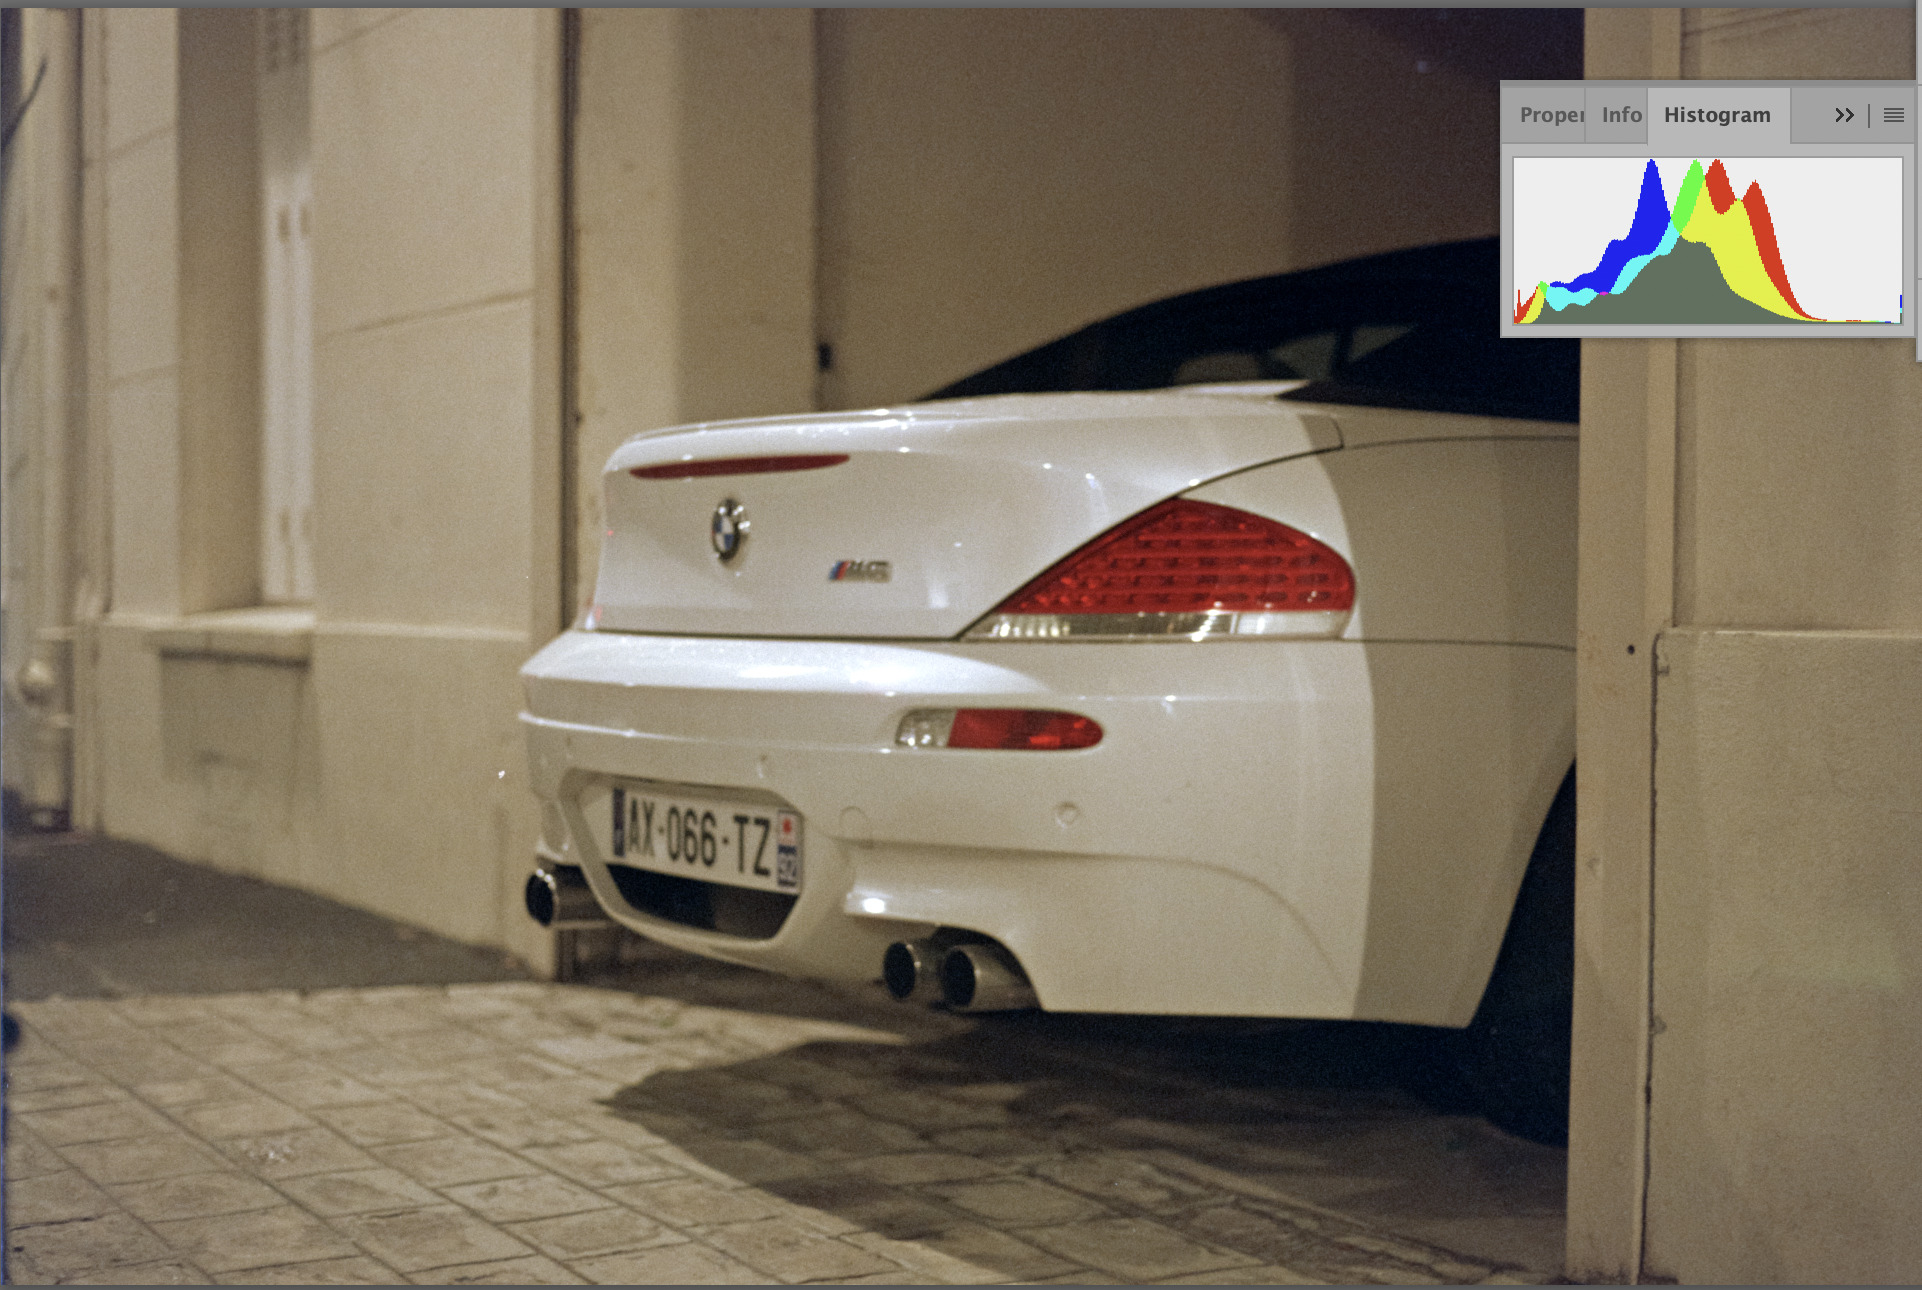
a. if you do, then please, share your opinion on this, I’d love to be able to replicate its behaviour. (I’m currently looking at the histogram, the vectorscopes, and then playing with temperature and tint)
b. do you know how difficult it would be to add an “auto” shift/stretch option to the RGB curves tool in RT?
(I doubt it’s only R,G,B histogram shifting and stretching at its core; the results it gives are different from the other “auto color”, “auto tone” tools)
Sample “neutralisation” on an obvious case of color cast (car lit by LED lamp posts).
It does look more natural under that ugly greenish LED light. I’m all for yellow sodium vapour lamps
I see your point; mine is a purely utilitarian approach.
At some point, when doing my colour adjustments (keep in mind I mostly deal with several casts at a time, due to the nature of most of my work in RT: colour negative inversion), my eyes are just too exhausted to do everything manually - I need something to rough it out.
An auto RGB curves would do immense help; so would this clinical “correct” white balance.
Here’s another example where I would not see a green cast (mostly) in the highlights.
I know you ask about RT but in Darktable we have been given two new features that are great. The first is spot exposure mapping in the exposure module and the second is spot color matching in the color calibration module. My only issue with this new feature is that I can not store the target color values as a preset and have to enter them manually. Hopefully programs like RT and Art can add a similar feature to their programs if one doesn’t already exist.
I’m not sure if I’m missing something… but couldn’t one just use the picker/eyedropper in the white balance module in RT? Or dt or ART for that matter.
I suppose maybe the point I’m missing is that this needs a neutral i.e. gray or white patch to work…
I haven’t mentioned it before indeed: the " Match Color > Neutralize " feature in photoshop is automatic. I don’t need to feed it a neutral target.
And in RT, the white balance module and the RGB curves module are in two very different places in the toolchain pipeline:
(source: Toolchain Pipeline - RawPedia)
I’m not really sure what it does; need to carry out some tests, but the WB tool sits too early in the pipeline for my case, so it won’t really help.