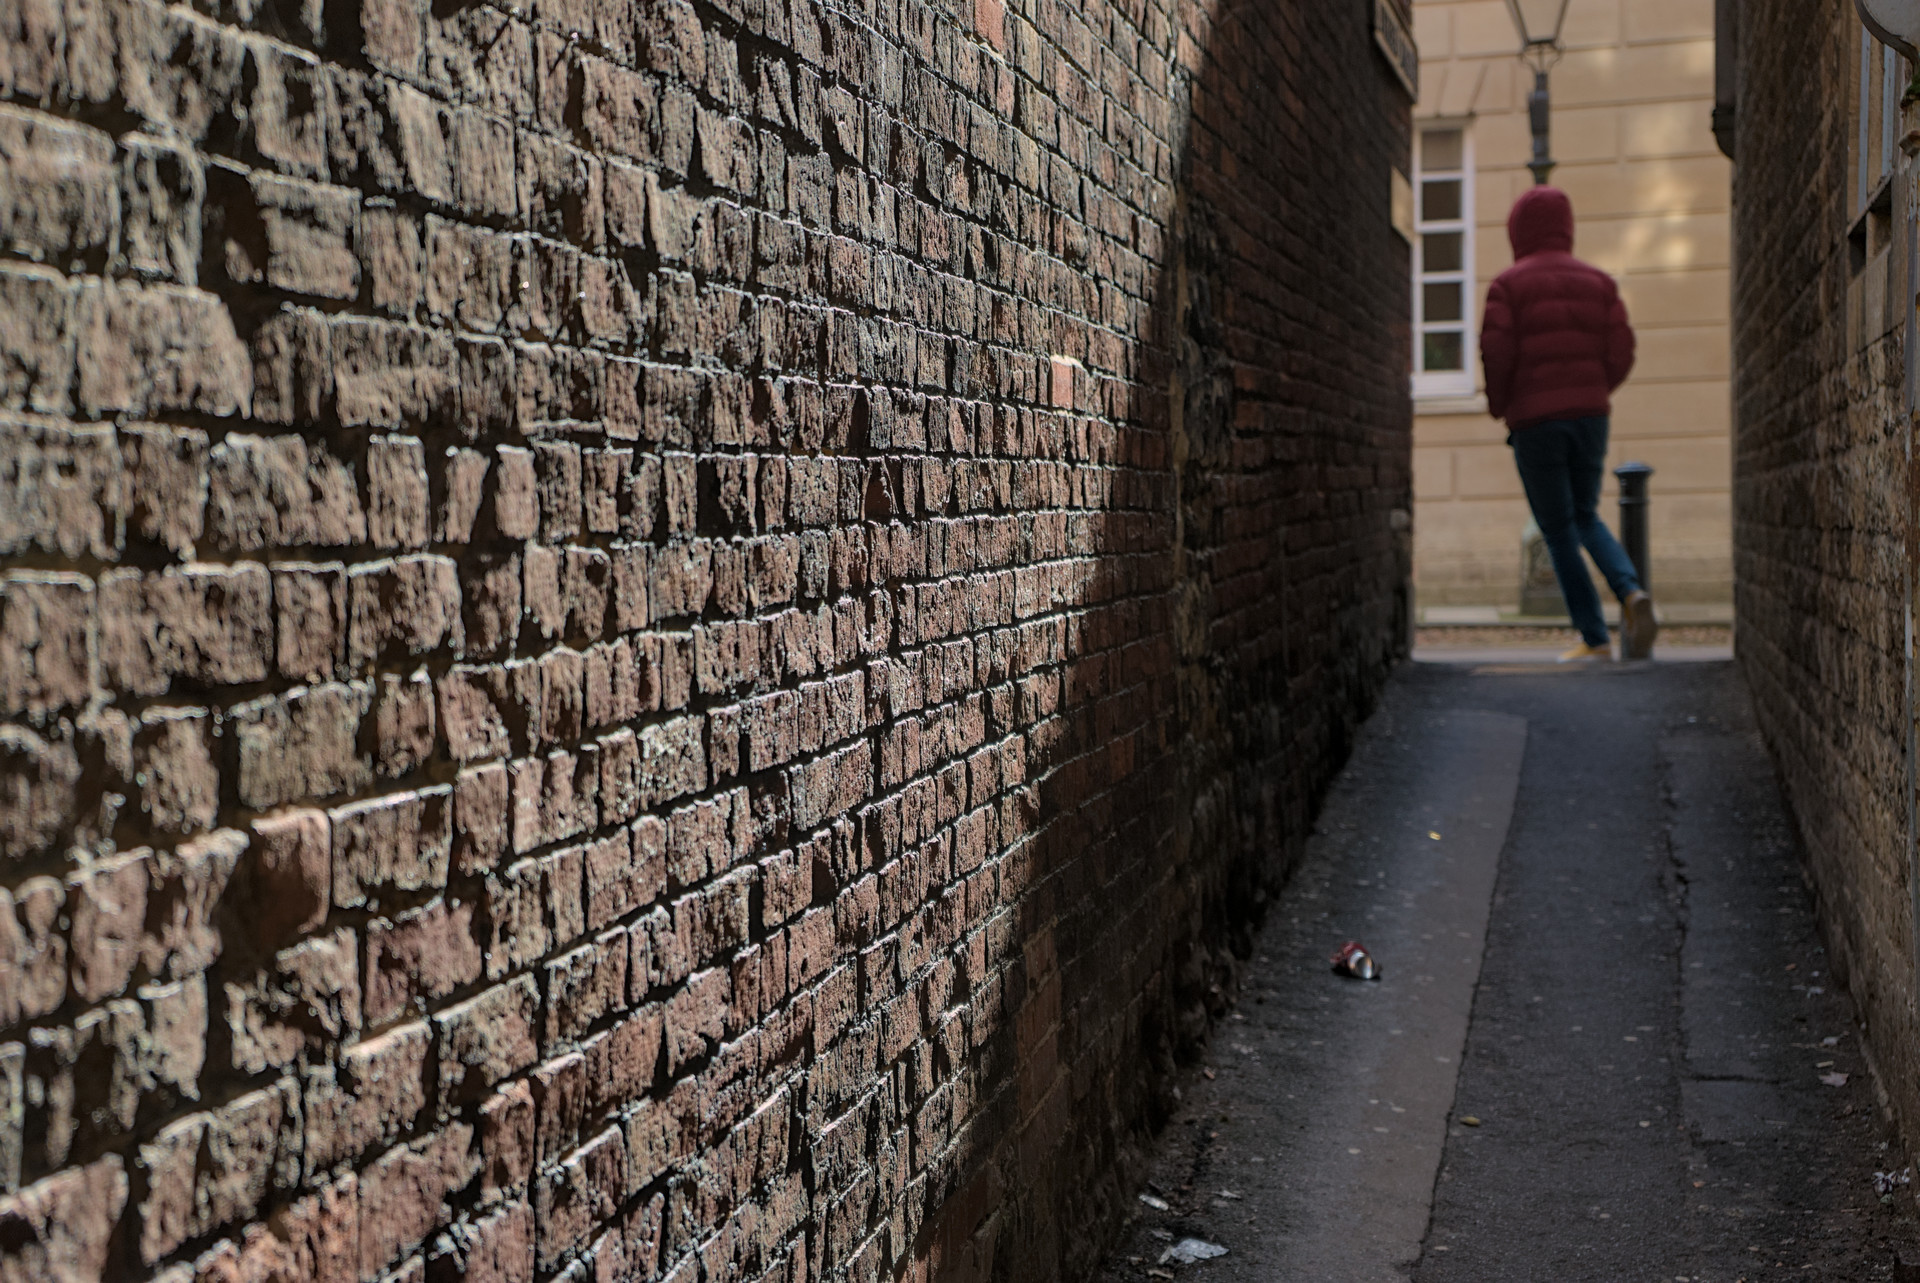
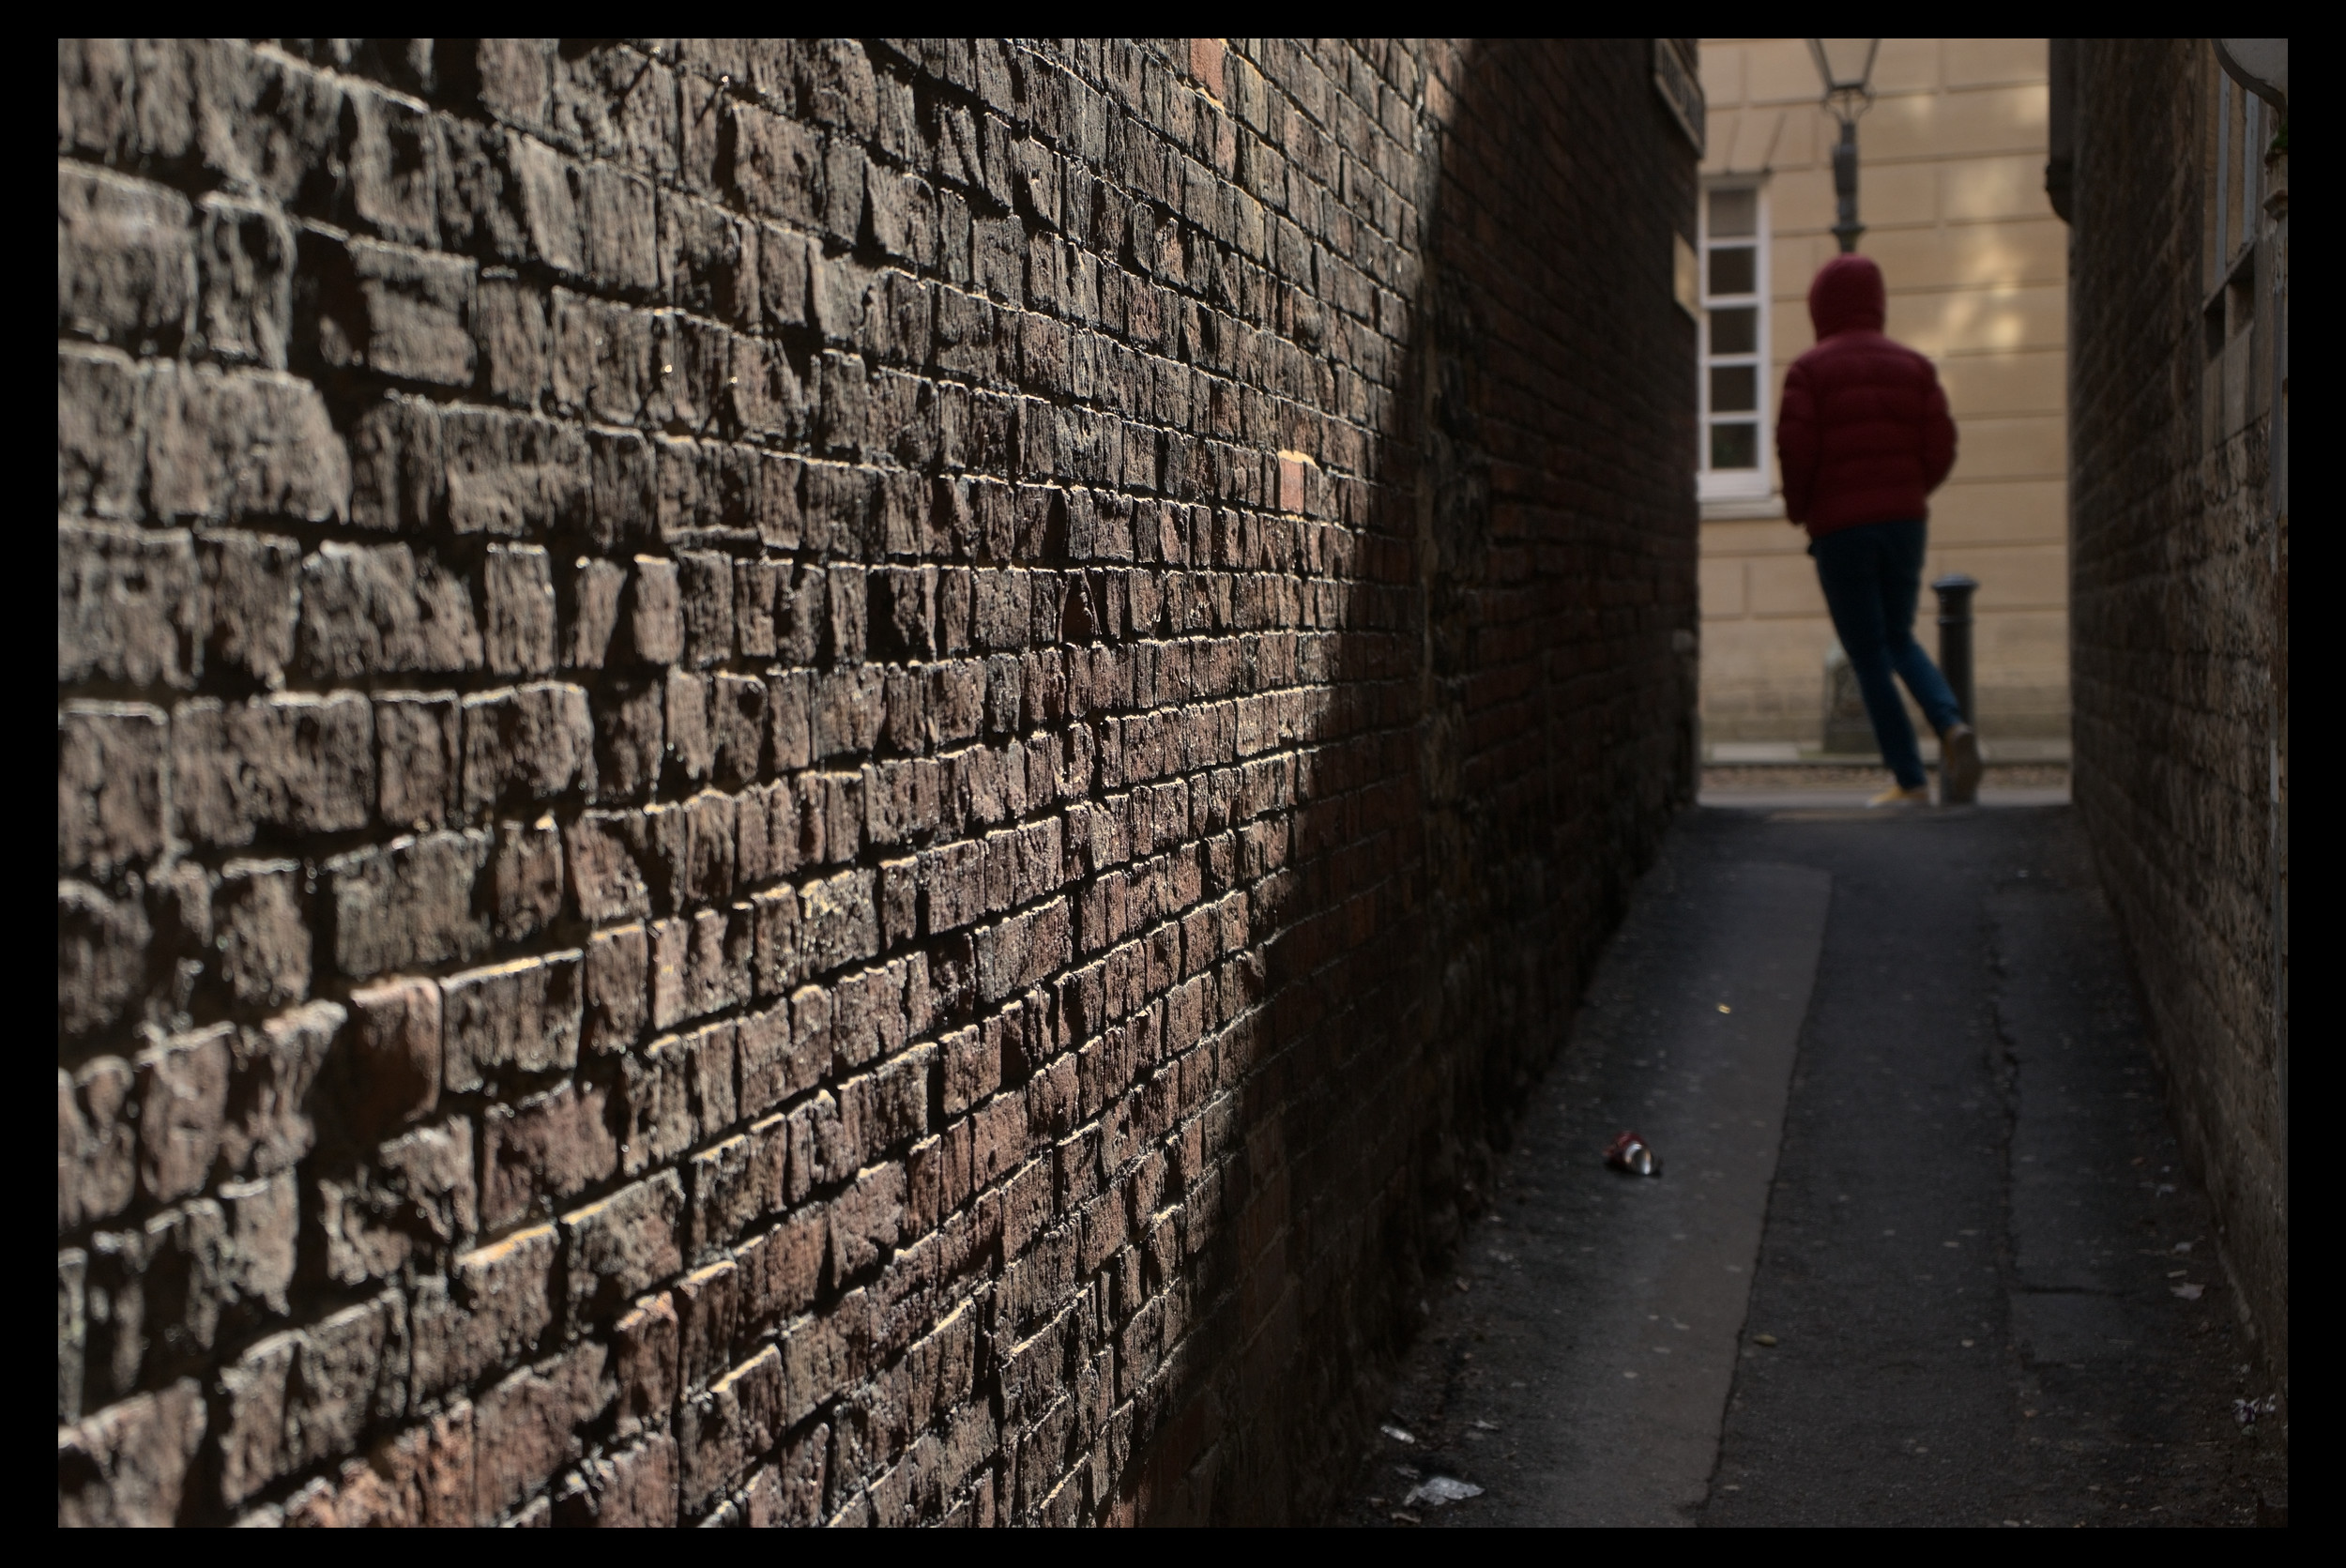
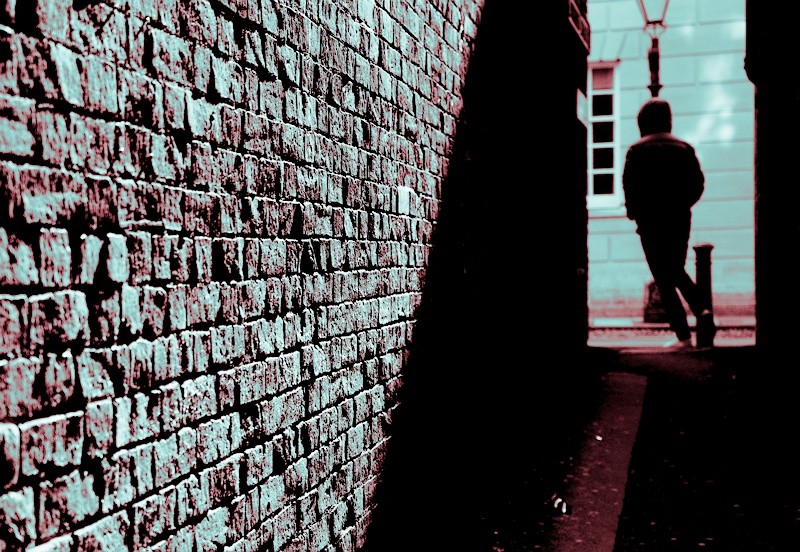
Here is an image for you to play with, and I would also like some advice about reconstructing highlights.
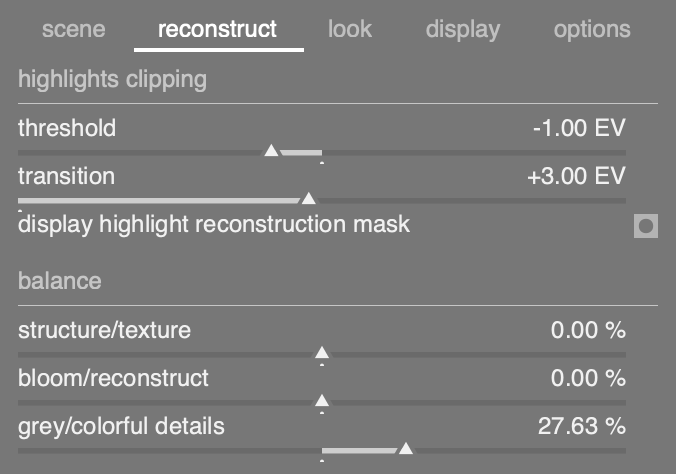
There are some very small details on the right wall that are blown out. The best option in the “highlight reconstruction” module seems to be “reconstruct color”, but I would like to smooth the effect a bit. I tried to use the “reconstruct” tab on filmic, but I got some artefacts and could not get rid of them. I would like to inpaint some colour on those highlights, but with less saturation than the results produced by the “reconstruct highlights” module.
Any ideas?
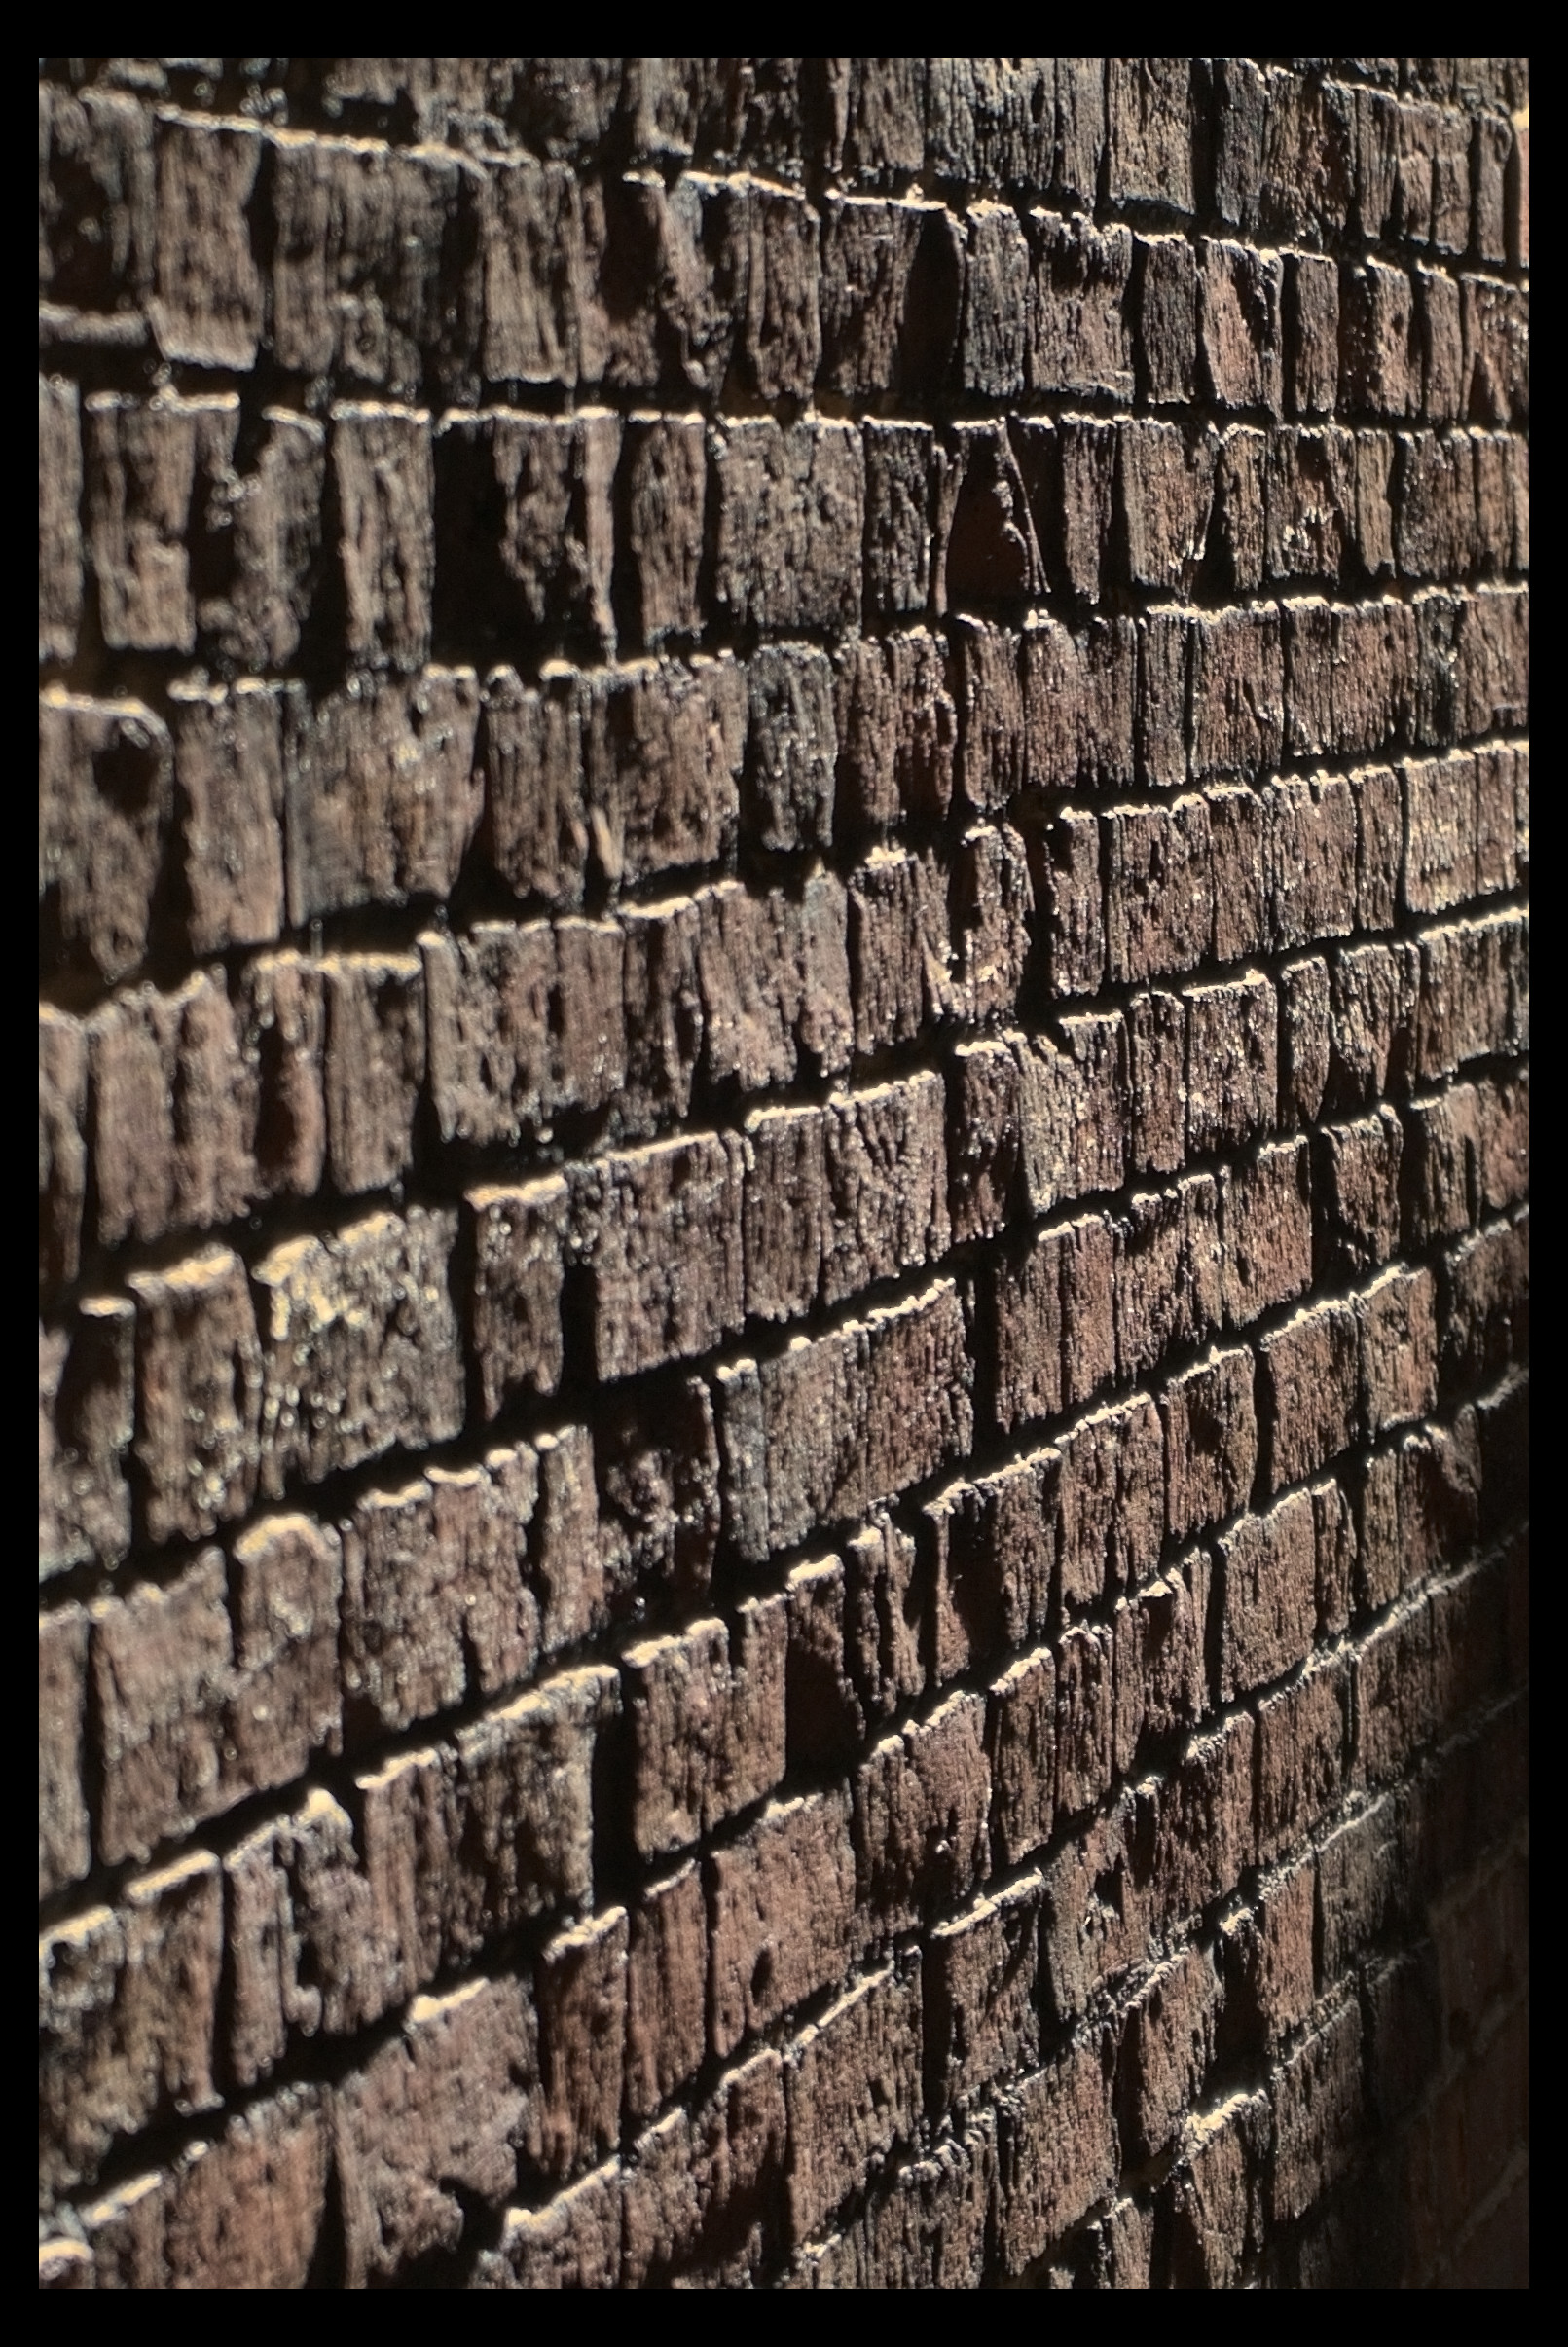
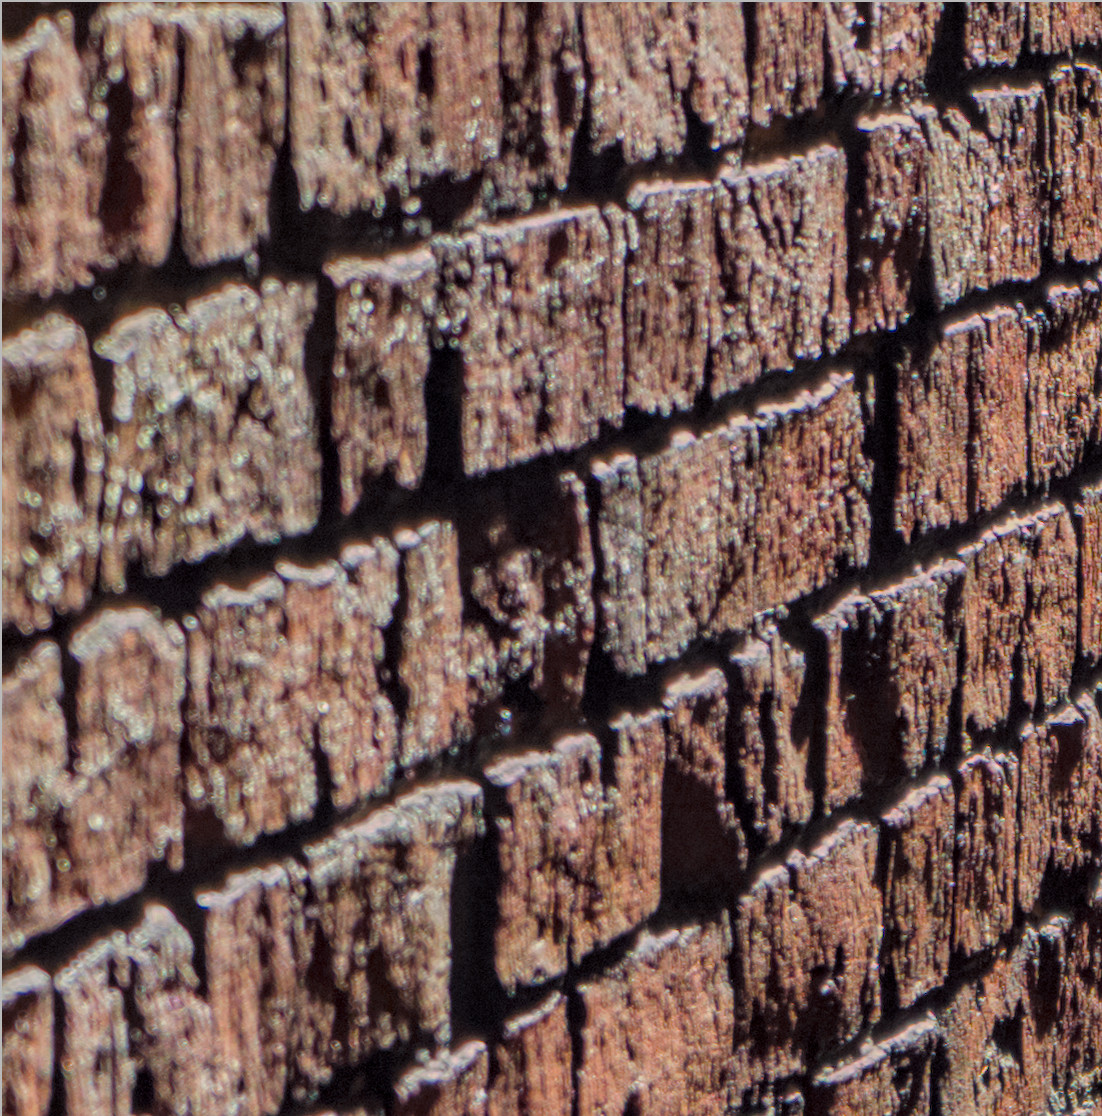
Here are some details:
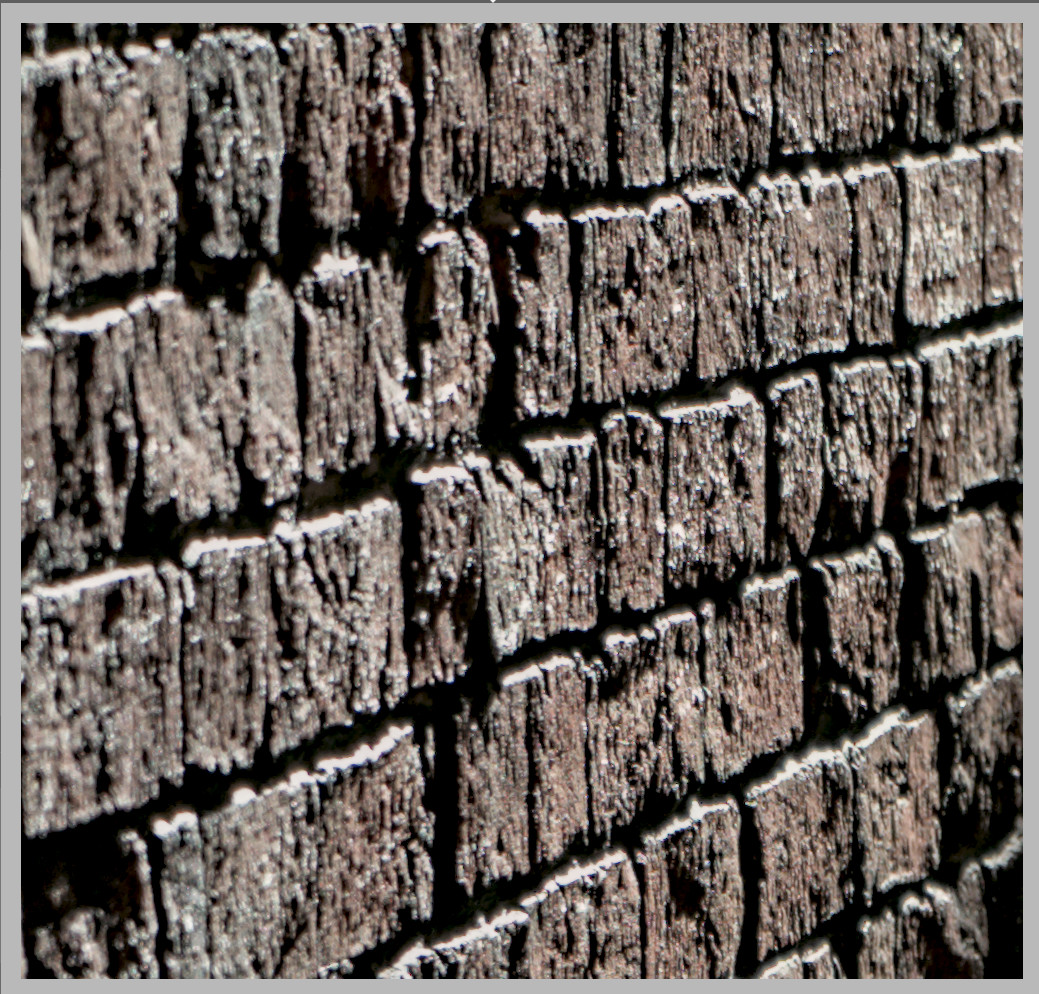
Using just “reconstruct color” on “reconstruct highlights” module:
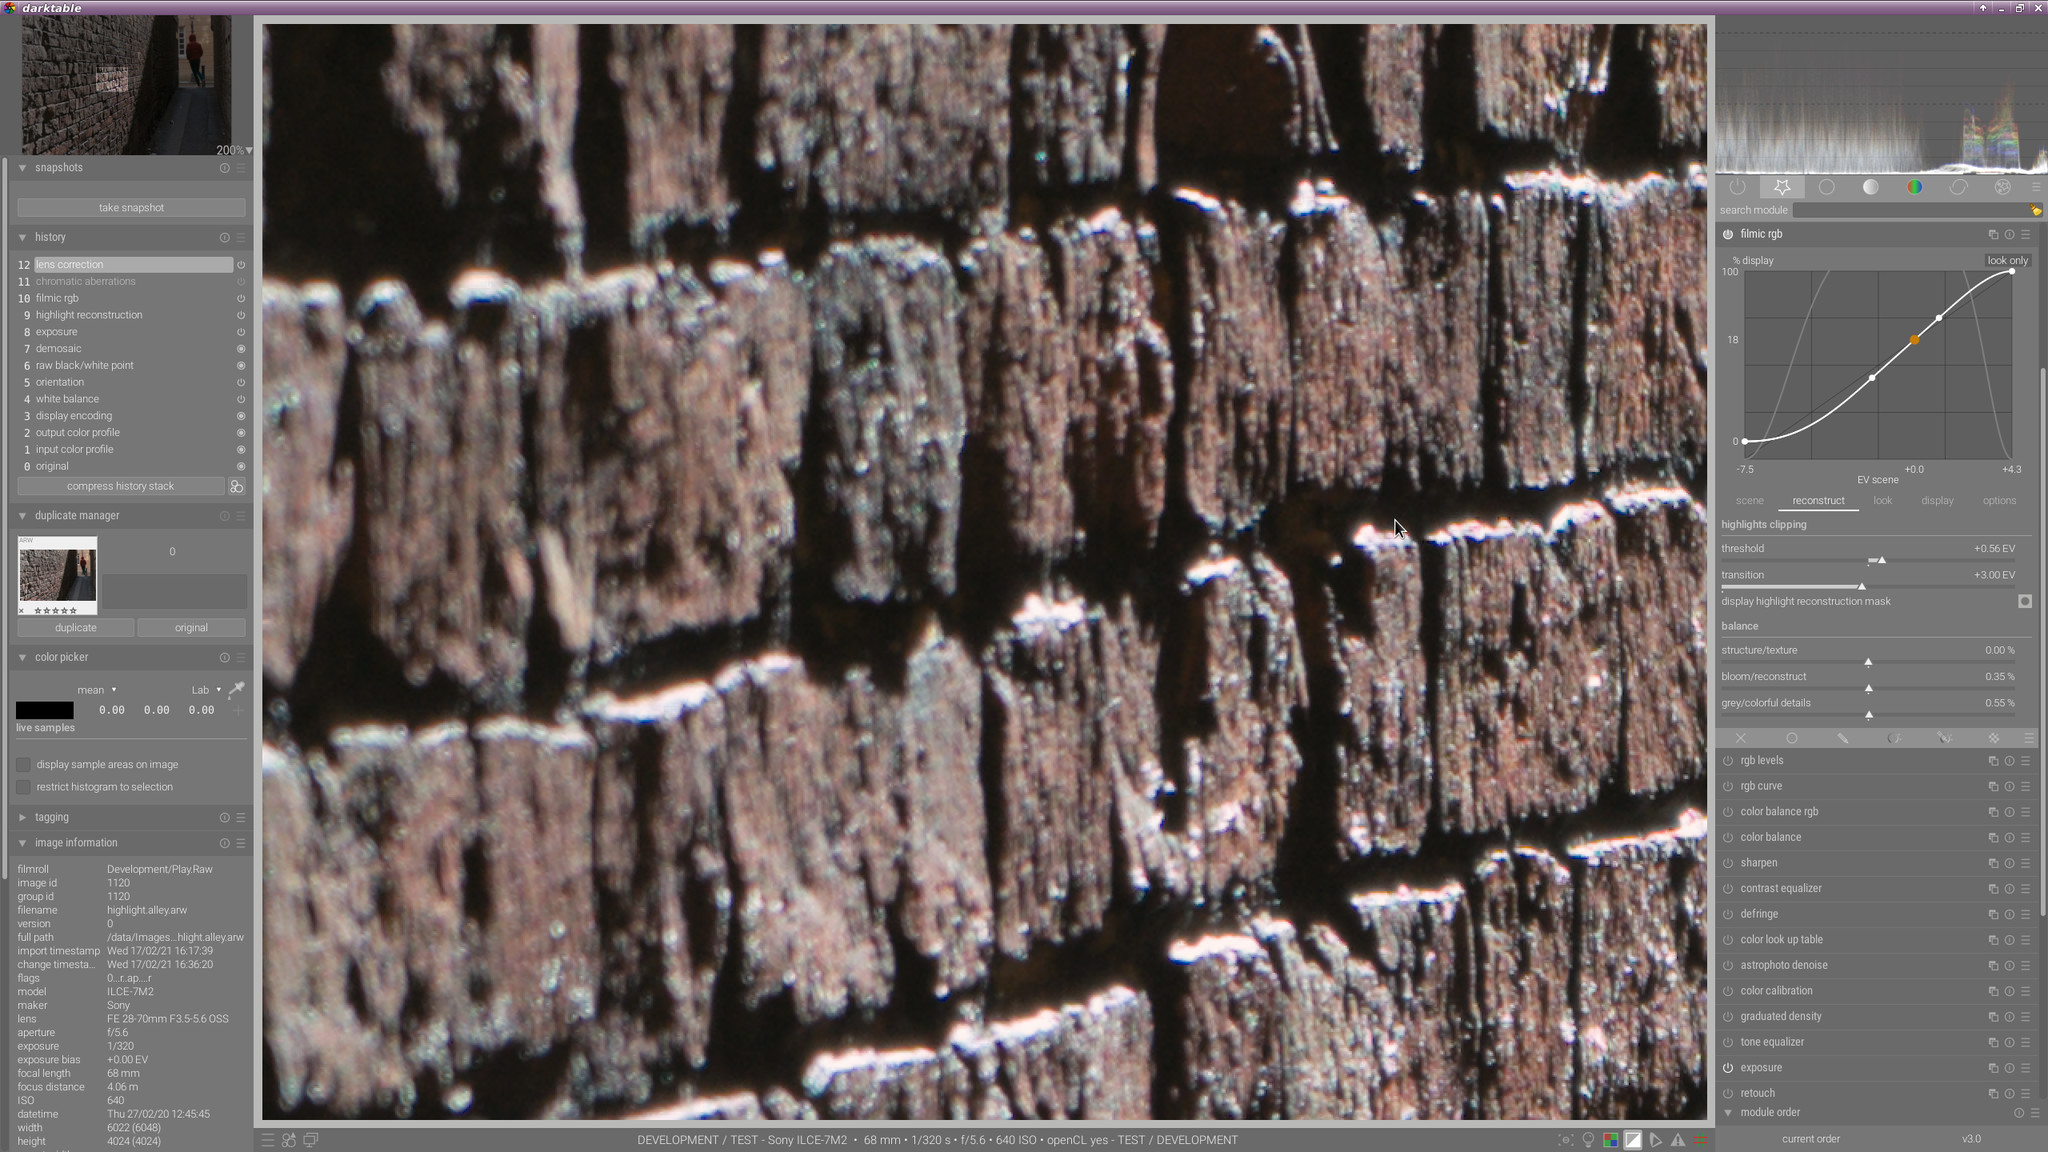
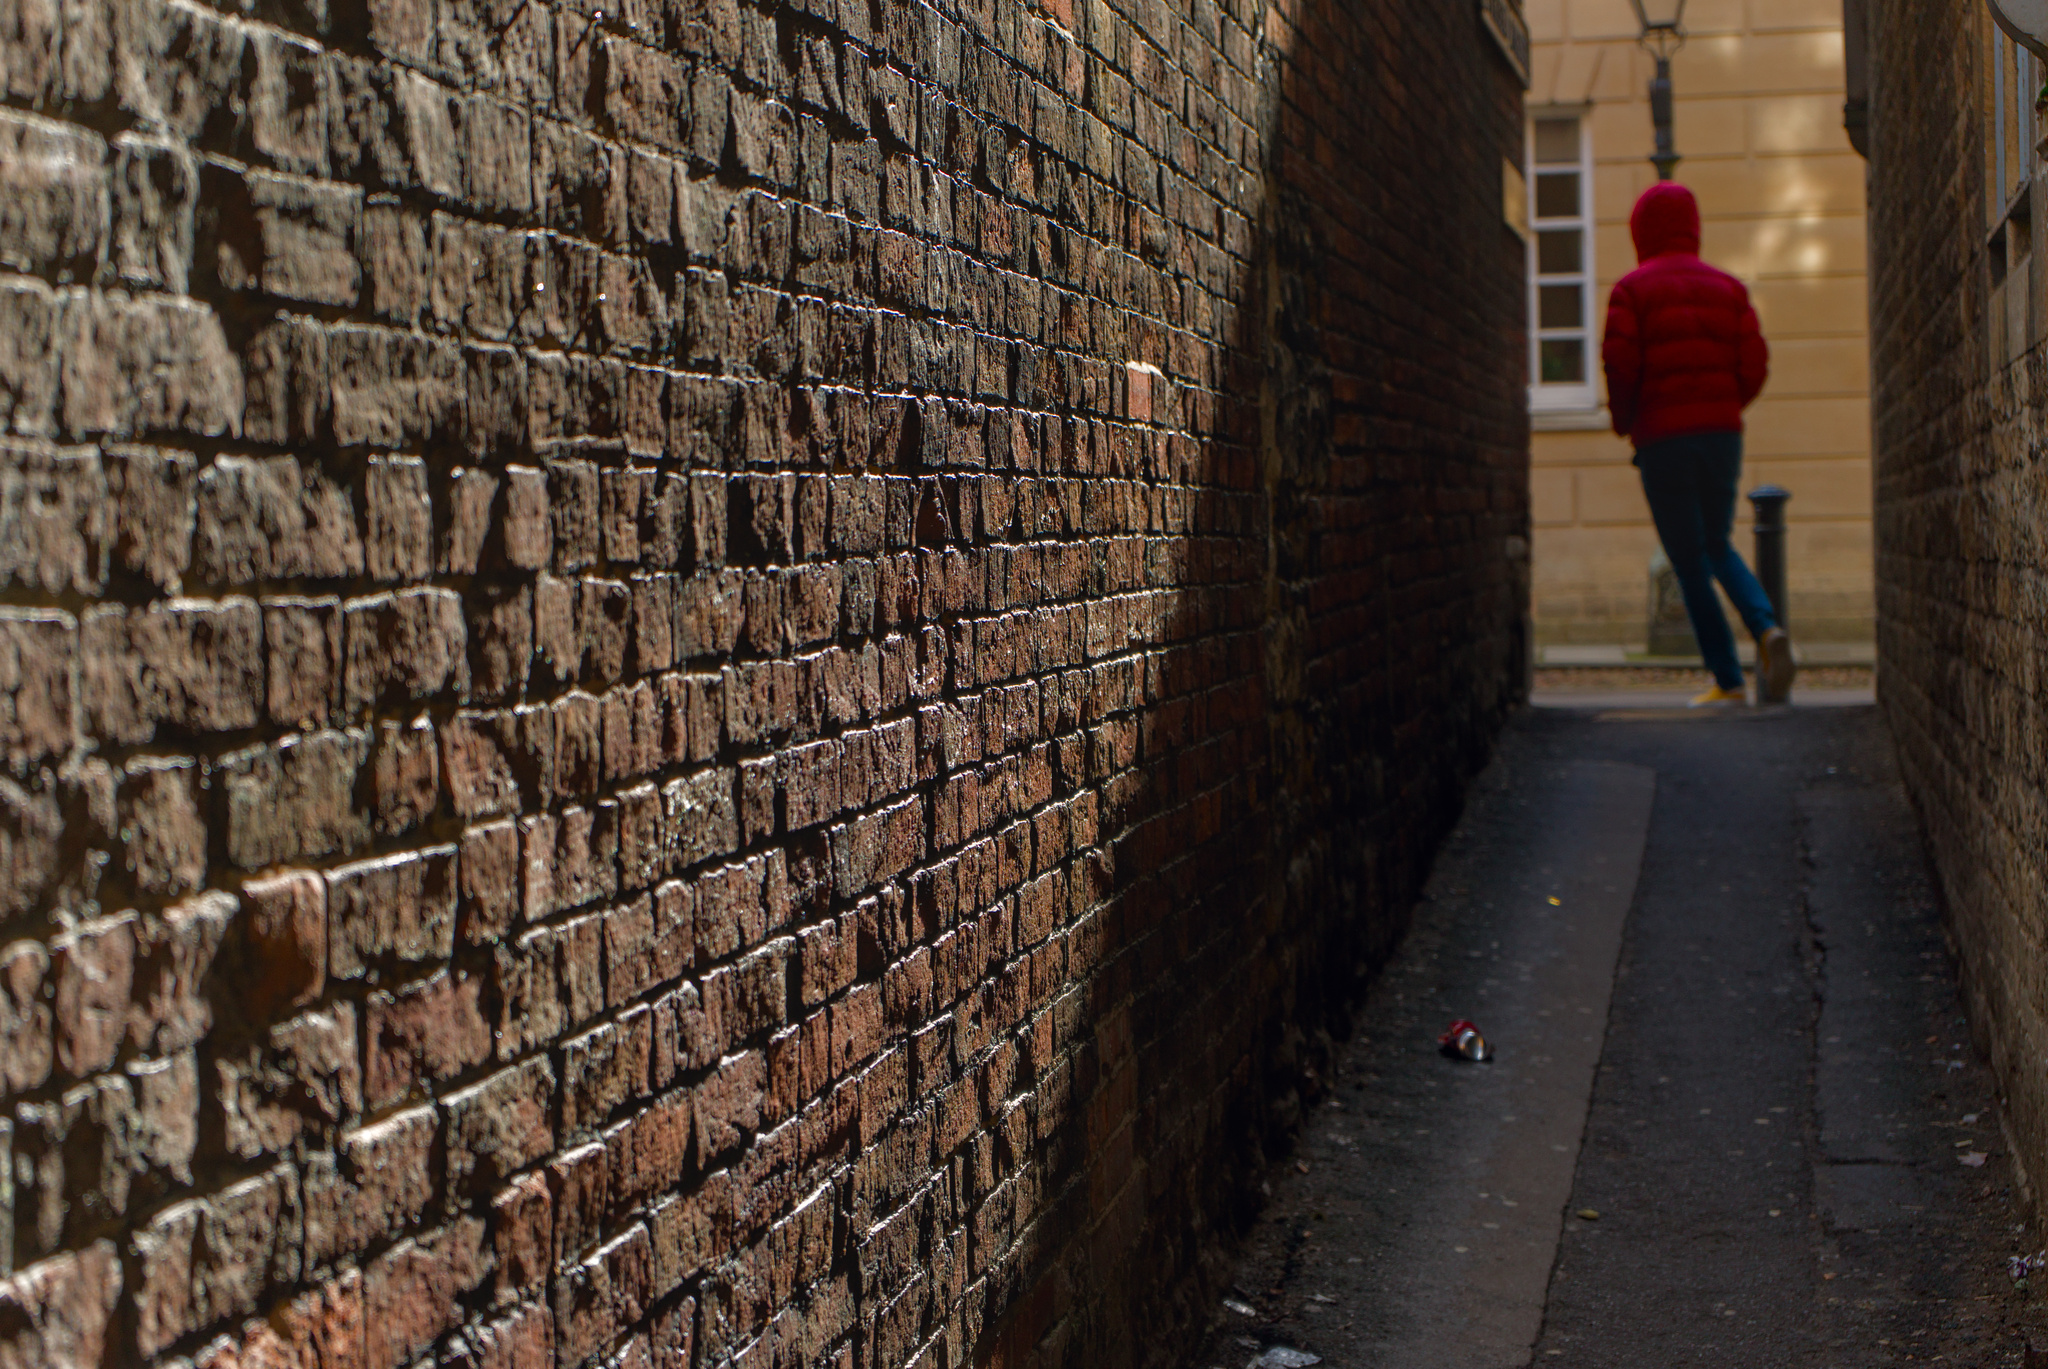
This is a combination of filmic (settings can be seen in the shot + 5 itterations), highlight reconstruction->reconstruct colour (0.970), lens correction (distortion+vignetting) and chromatic aberrations turned off.
I think that the lens/aberration settings also play a roll in this one.
Off topic: @heckflosse: You might want to have a look at how your ‘poor man’s haze’ addition handles this on. I’ve been looking at the results by using what is shown in the terminal. Just about every time it is good (enough), but this one misses the mark. I know that this image might not be all that suitable, but just wanted to let you know.
Nice image, thanks for sharing.
Harsh light, harsh contrast.
My take.
Basic scene-referred/modern workflow, but I confess I didn’t care too much about those highlight details, and focused more on the overall mood.
Using the rgb curves does seem a nice trick to deal with that. I tried it myself, but I also put an instance of color balance after it to desaturate the highlights a bit. The results look very decent, those little highlights seem more “tamed”:
Sooo… I downloaded the image to see what the librtprocess highlight recovery would do. It just de-magenta’d them, still sharp and white.
I just decided to go abstract, grayscaling the image then applying a red-channel curve that lifted red to start, but went negative at a convenient place to turn the highlights cyan. Now, what highlights?