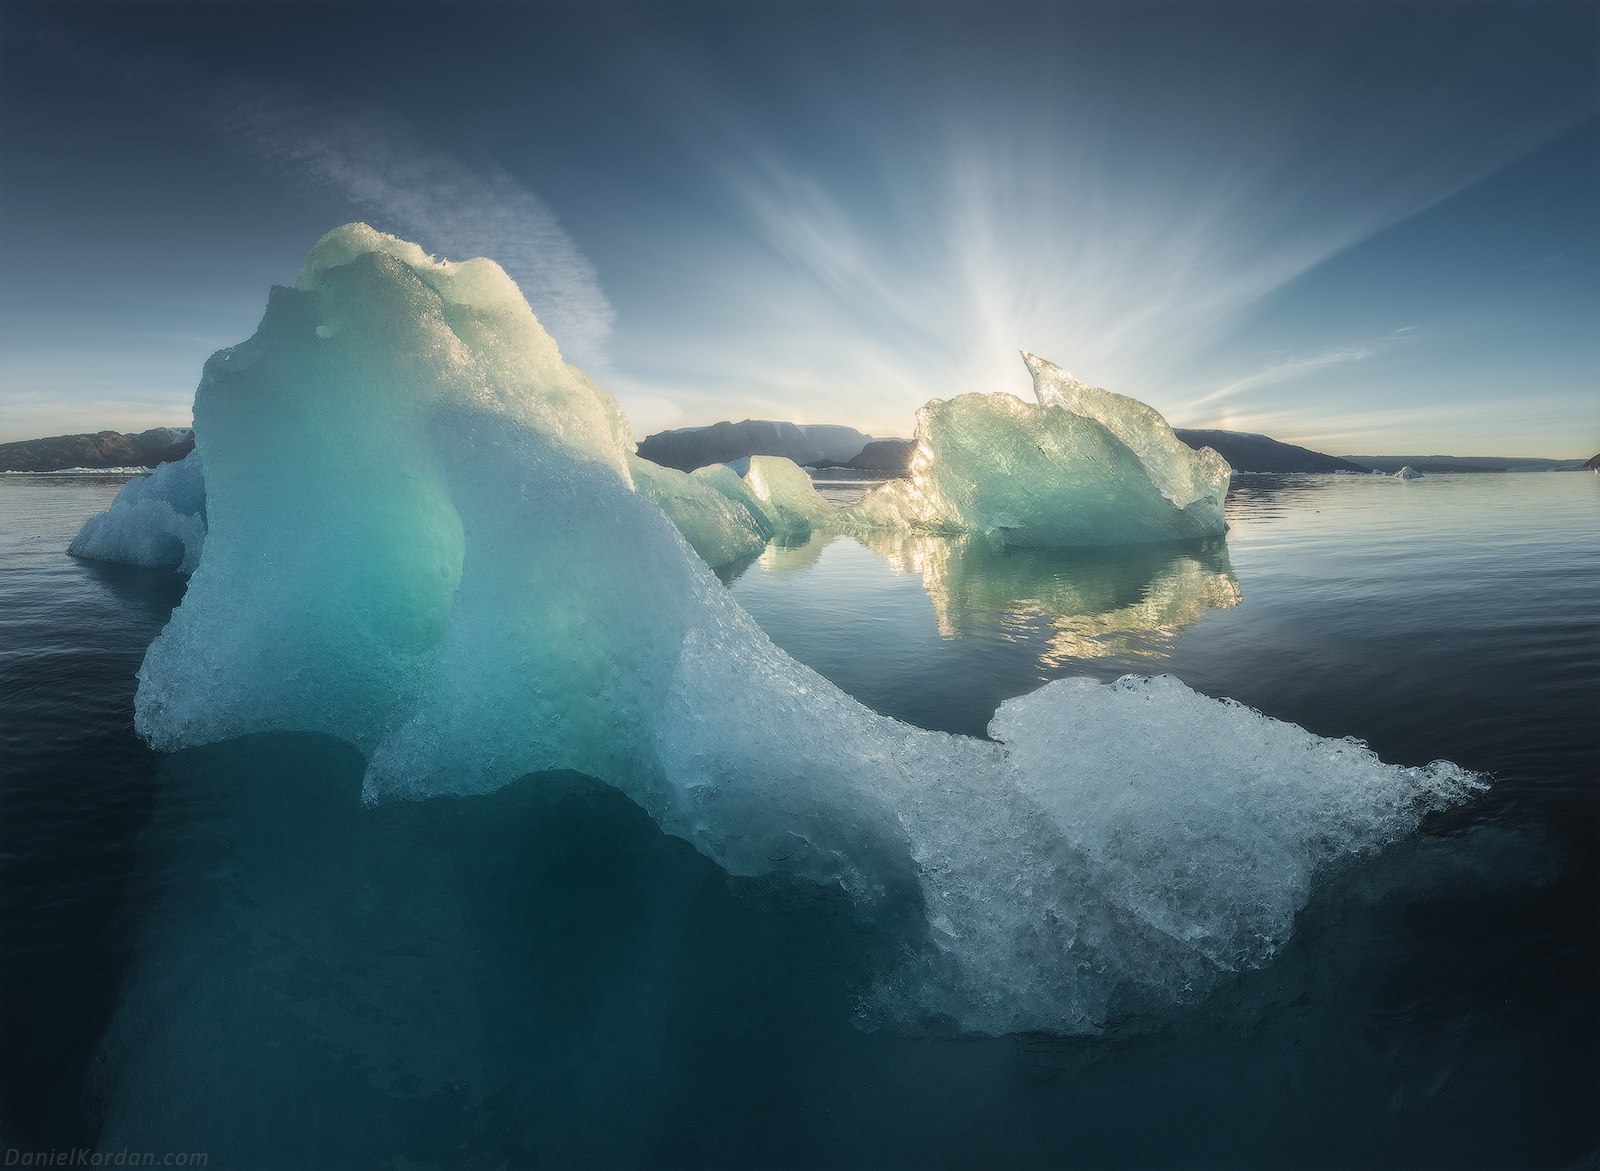
by Danel Korzhonov (Redirecting...).
Look how shadows on these photos smoothly transition into mid-tones.
AFAIK These pics were made with Nikon D810e known for its high dynamic range and some soft on-lens filter. Of course the amount of the tonal information, that might be further manipulated, is provided by your camera sensor, however, you cannot just take a top sensor gear and have all the tones smooth. This is something to be developed in post-processing.
So, guys, How one would get such smooth transition from shadows to mid-tones with open–source software?
Both shots show some signs of selective work on the skies. It’s often possible to tell by looking at the transition between areas.
I don’t think that the 2nd shot has a high dynamic range. It looks to have been shot under diffuse lighting conditions. Golden hour etc. The first one too but more dynamic range due to the sky lighting and probably shot rather dark.
So adjustment in the area that interests you will have been mostly with curves or levels with the skies adjusted separately. There are several ways of doing that. When things like shadow and highlight adjustments sliders are being use the underlying software is making some form of selection based on light levels. The selection can be done manually and all tone levels changed at the same time with the tools I mentioned. The original shot of the 2nd one may have hardly shown any shadow at all. They are often enhanced in situation like this to get more contrast. Some hand brush work may have been done as well. Even a gradient used on the near foreground.
The other way is layers and masks. Rough idea, 2 layers one for the sky as wanted and other for the foreground. A mask is then applied to the top layer so that it only blocks the area it’s intended too. Another way is to paint the unwanted area transparent. This method can also include selection to generate the masks.
Then there are things like soft light layers and many others especially in say PhotoShop but the GIMP can do all of the same things one way or the other but as it’s 8 bit initial raw conversion needs more care.
Actually I suspect that even a reasonably decent compact could make a more than reasonable job of the 2nd shot all down to the conditions the photo was taken in. Maybe not on the first one but again to me there doesn’t seem to be much in the line of dynamic range. The important thing there would be not to clip the bright end and leave room for manoeuvre. It’s generally always best to avoid clipping the bright end.
There is a video here showing how to even out exposures - very similar task. From memory it mostly uses selection but it worth remembering the layer methods as well. Also that selections can be saved to channels for if they are needed again. She is a pretty skilled user.
Just remembered a vaguely related one that makes more use of masks. They are just hand painted in the other one
Hey, many of you might find this useful. I know, this is a bit ridiculous that I’ve posted two questions on this forum and then solved them myself. However, those topics might be practical reference for those with similar issues.
In this case, as always, the solution was RTFM )
Solution: This effect can be easily achieved with the equalizer in Darktable. Drag up/down “coarse” band of “luma” tab.
@mosaster hope you don’t mind but I’ve given it a shot - cannot but see like a miniature and expect a little train to brake through the landscape wrapped in its own smoke - used luminosity masks instead and not too much glue, meant glow or like my cousin calls it diffusion with shaved balls Thanks for sharing the NEF
You’ve got me there, have a tendency 4 magenta tones… I was messin’ around w the image and trying not to look flat; besmearing it with the chicken’s brush and a bit of glow but keepin’ some sharp. I myself also like IR pollution like glow on the HL, in the shadows not so much, a bit milky yes, 'cause there are too many shadows already
This landscape looks as if twisted by a giantic hand, traces of ice, compressed mountains, emerald waters, green lime on a grey soil and millions of sprinkled rocks; there’s no scapping, good for a fantasy or sci-fi flick, a Stalker without plants, without Tarkovsky… I close mouth now =)
long time ago, when almighty google was still building the death search star, I used nik’s colour efex for these kind of looks (and many others), there were plenty powerful tools in the effects box like the glamour glow, colour contrast, detail extractor, cross processing, etc., etc. And these together with the shadows and highlights protector sliders and specially the (groundbreaking) U-point system made the post image grade quite fun. Today nik is FREE and it also runs with the GIMP.

 Skill
Skill

 )
)

 Thanks for sharing the NEF

