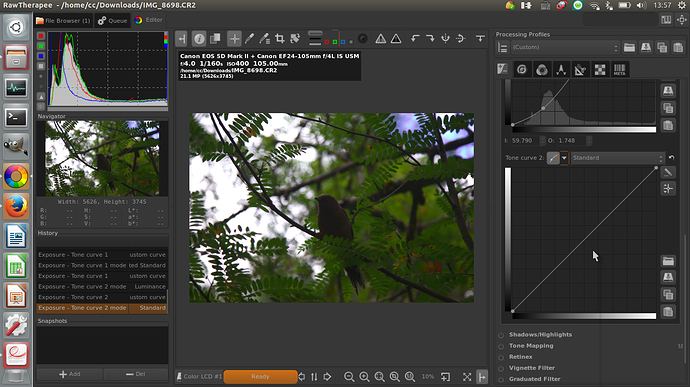
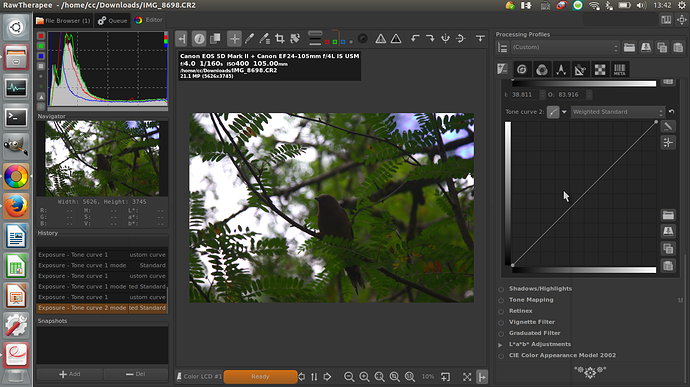
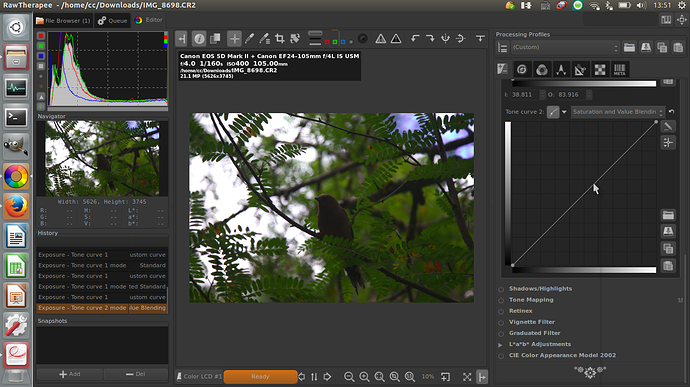
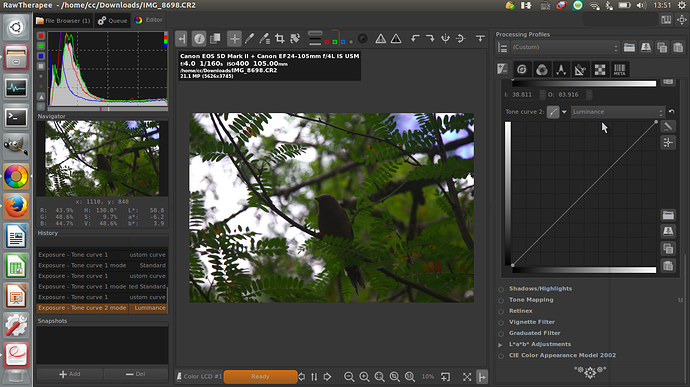
Next to each curve type, you’ll find a Curve Mode combobox
selector. This will let you choose the algorithm that will be used for
the corresponding curve. The curve mode will have a strong effect on the
appearance of colors, especially if you use a contrast-enhancing curve
(S-curve). This can be used for creative effect, but can for some
purposes or styles cause undesired color changes depending which mode
you choose. Choose a mode that suits your specific taste and needs for
the photo at hand. By combining two different curves in tone curve 1 and
2 you can further fine-tune the look.
Standard
This is the most basic mode (and the only one available in older
versions of RawTherapee and is found in some shape or form in most
image-related software): the values of each RGB channel are modified by
the curve in a basic “correspondence” method, that is the same curve is
applied to all channels.
The drawback of this mode is that e.g. considering an S-curve
shape to get more contrast, an orange color with a high value of red and
green and a low value of blue will tend to shift toward yellow, because
the red and green component will be raised, while the blue one will be
lowered.
In general an S-curve will increase separation of the channels
and thus increase saturation, which is a similar behavior to how color
film reacts to contrast. This together with the simplicity of
implementation has made the curve type popular in raw converters in
general and is often the only alternative available in less flexible
software.
Weighted Standard
You can use this method to limit the color shift of the standard
curve, even if it won’t suppress it entirely. Keeping the previous
example, this method will raise the first component (red), and will also
linearly alter the green and blue component by raising them too. We end
up with 3 values (R, g and b) while we have only processed the red
component.
This process is then done for the green and blue component, so at
the end of the process, we end up with 9 values (R,g,b / r,G,b /
r,g,B). Values of the same component are then mixed together, which will
produce the resulting color with a smaller color shift.
Film-Like
The film-like curve provides a result highly similar to the standard
type (that is strong saturation increase with increased contrast), but
the RGB-HSV hue is kept constant - that is, there are less color-shift
problems. This curve type was designed by Adobe as a part of DNG and is
thus the one used by Adobe Camera Raw and Lightroom.
Saturation and Value Blending
This mode is typically better suited for high-key shots, but can be
used for creative effect in other photos as well. The average value of
the three component is computed, and then the curve is applied to this
value, giving a positive or negative gain.
The color is converted to its Hue, Saturation and Value representation,
then if the gain is positive, the pixel is linearly targeting Value = 1
and Saturation = 0, the Hue is preserved. If the gain is negative, the
pixel is linearly targeting Value = 0, Saturation and Hue are preserved.
The result is highly similar to a luminance curve in Lab space
(that is change contrast without affecting hue or saturation). For
contrast-increasing curves the look will typically be slightly
desaturated. This is not really because the curve desaturates the colors
but because that in human vision contrast and saturation is tightly
coupled, so the same image with higher contrast requires higher
saturation to appear to have the same.
Luminance
Each component of the pixel is boosted by the same factor so color
and saturation is kept stable, that is the result is very true to the
original color. However contrast-increasing curves can still lead to a
slightly desaturated look for the same reason as described for the
Saturation and Value Blending curve mode. If you want to manually
counter-act the desaturation, using the Lab* Chromaticity slider is a
more neutral way of compensating for it than using the RGB-based
saturation slider.
Despite showing the R, G and B histogram (merged) in the background of the curve, the curve operates on luminance values, where Relative Luminance
Y = R0.2126729 + G0.7151521 + B*0.0721750
First the relative luminance value of a pixel is obtained, then the
curve is applied to that value, the multiplication factor between before
and after luminance is calculated, and then this factor is applied to
each R, G and B component. This is in contrast to the other methods
where the curve is applied to each R, G and B component separately.
Perceptual
This mode will keep the original color appearance concerning hue and
saturation, that is if you for example apply an S-curve the image will
indeed get increased contrast, but the hues will stay the same and the
image doesn’t look more or less saturated than the original. It’s
specifically useful to establish a pleasing baseline contrast without
distorting the colors provided by a camera profile that doesn’t apply a
curve itself (if you use a third-party profile that does apply a curve
it’s typically already perceptually mapped with similar techniques as
described here).
The algorithm works the following way: it analyses the curve to
get a contrast value, which is used as base to scale chroma (saturation)
such that more contrast leads to more saturation and the other way
around. As contrast and saturation is tightly coupled in human vision
this scaling is necessary to make saturation appear constant.
There are further fine-tunings such as increase saturation more in the
shadows, and less for colors that are already highly saturated, also
this corresponds to human vision phenomena so the net effect it that the
colors appear constant. In the extreme highlights close to the white
point the algorithm blends over to white (like the standard curves)
which is less true to color but more practical for real output as the
brightest color of the output media (screen or paper) is white.
However do keep in mind that the perceptual model is not perfect
and cannot be perfect. This is only a curve, image content is not
analyzed and no localized changes are made. This means for example that
for an S-curve a large flat blue sky (low local contrast) may appear
slightly more saturated than the original. If you want to make A/B
comparisons don’t compare side by side as the eye will then be confused
by the two contrast levels viewed simultaneously and then saturation
will not appear the same, but instead swap and let the eye adapt for a
few seconds.
If you want to further fine-tune the saturation manually it’s generally best to use the Lab chroma slider (and chroma curves).
Due to the many components in the algorithm it’s considerably slower than the other curve modes so refresh rate may suffer.
these things seems too professional i am not a programming engineer so could u explain that easily
what’s the difference between the modes
btw i am a photographer , and i am a chinese guy so in some ways i cant get it correctly , so i hope u can help me to understand the difference , thx!


