Colors out of gamut with no extra processing

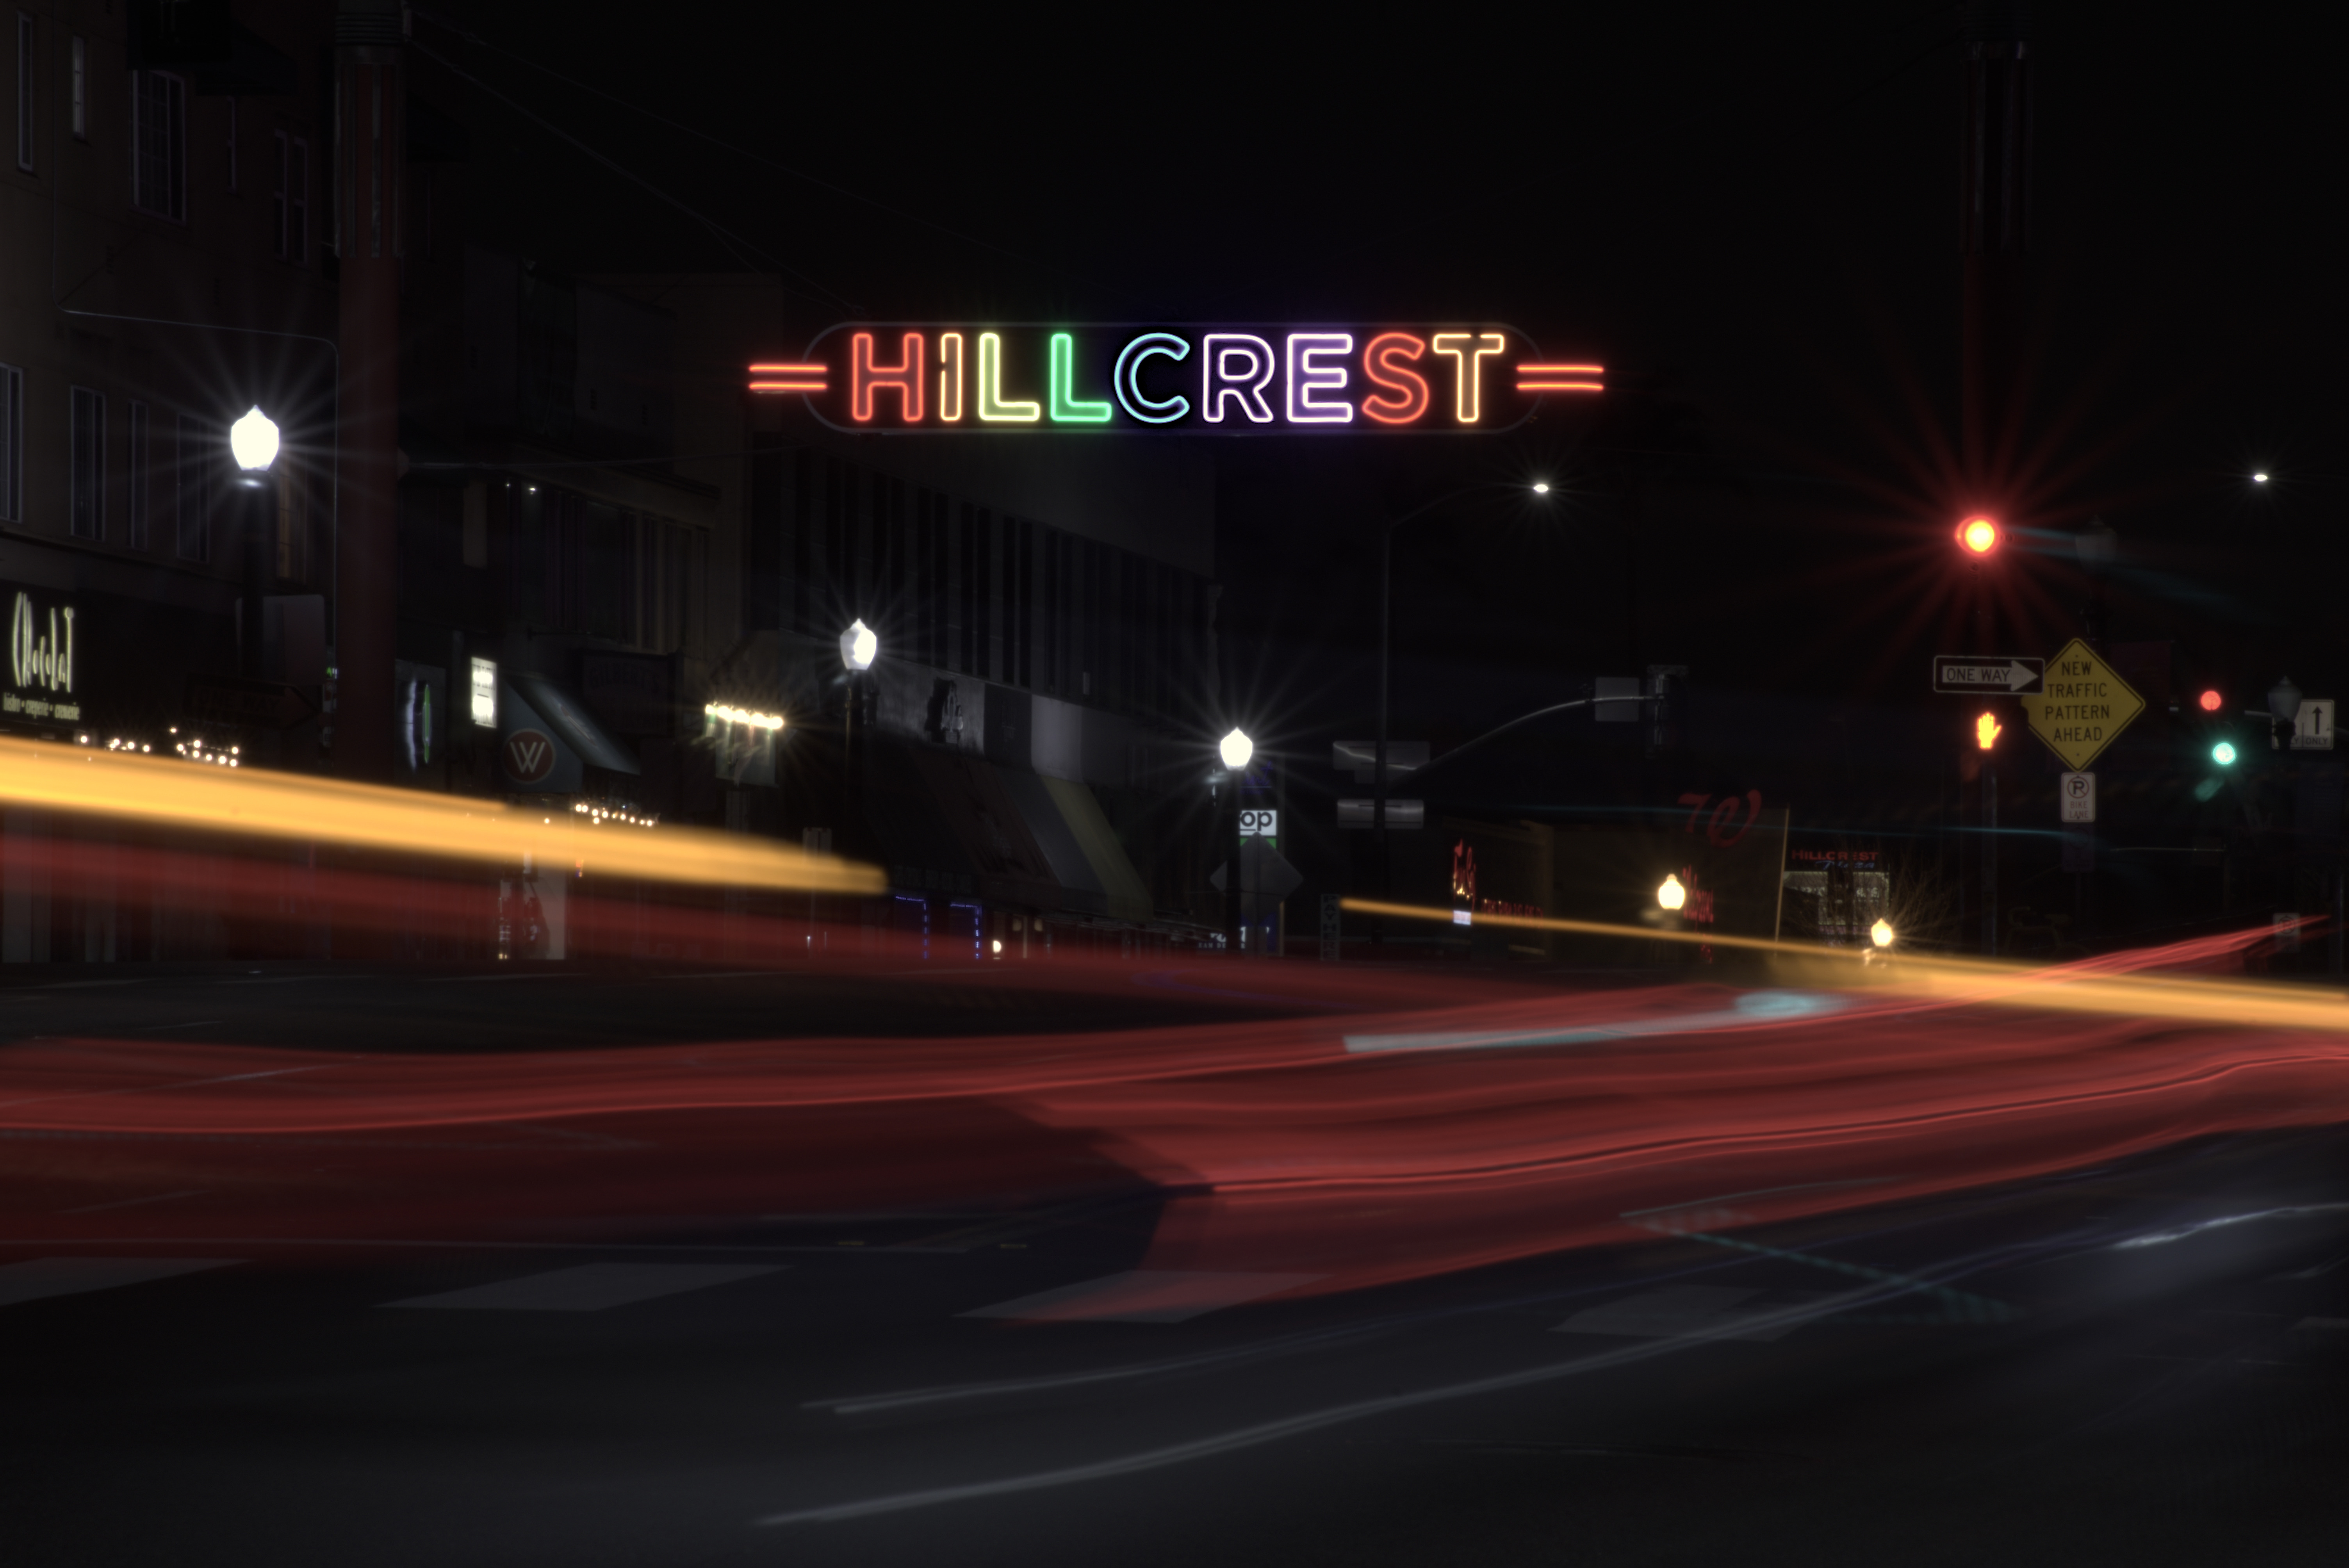
I agree with @xpatUSA that the camera may have some sensitivity to infrared, but I suspect the sensitivity is small, and that the photographed scene had very little IR.

The implication here is that the fix for the imaginary color problem is to get a better input color matrix that is optimized for more saturated colors (and for my specific camera, for that matter).

Yes. Ideally, we need a better transformation than a simple matrix.

Would calibrating with a color card do the trick you think?

A colour card, placed in that scene, illuminated by those saturated lights, might give useful information. Failing that, a simple gadget could be built with red, green and blue LEDs. Photograph that, then figure out what input matrix puts the results inside the horseshoe at least, and preferably inside the Rec2020 gamut.

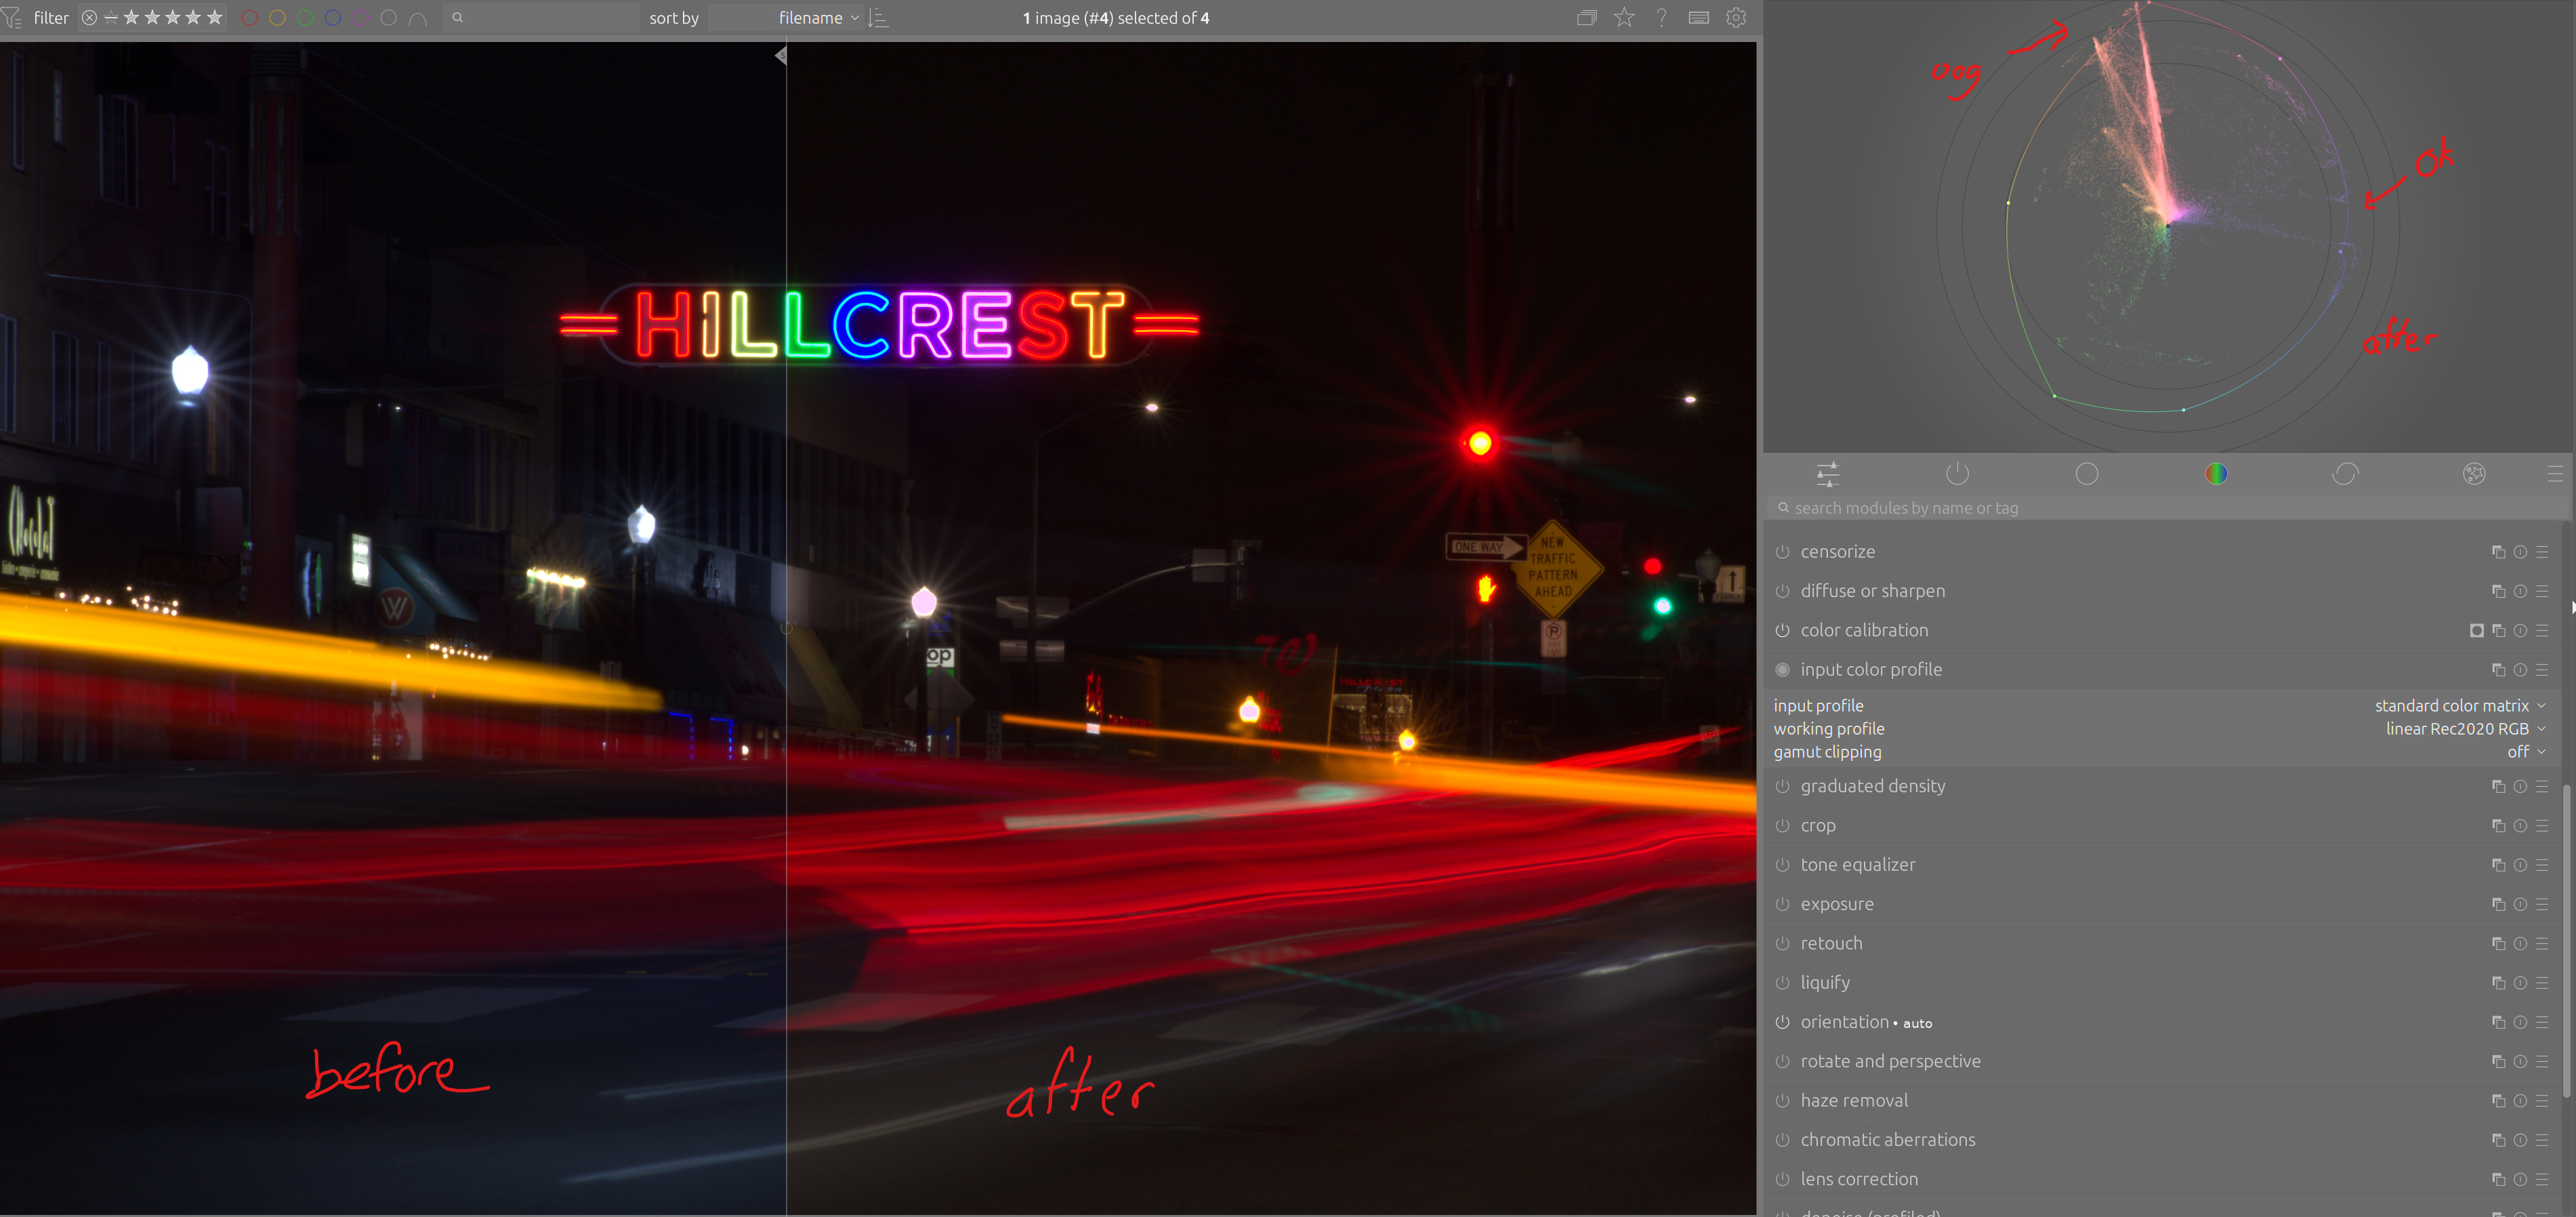
snibgo, what did you use to make that plot, out of curiosity?

First, I developed with dcraw into a file encoded in XYZ, then used ImageMagick to convert that to xyY:

set SRCRAW=C:\web\im\_DSC0017.NEF

%DCRAW% -v -4 -w -W -o 5 -T -O sxs_src.tiff %SRCRAW%

%IMG7%magick ^
  sxs_src.tiff ^
  -set colorspace XYZ ^
  -colorspace xyY ^
  -depth 32 ^
  -define quantum:format=floating-point ^
  sxs_xyy.miff

Then the Windows BAT script xyyHorse.bat, shown on Squishing xyY into shape
plots the pixels on a x-y scattergram. When any pixel falls in an output bucket, the bucket is made white. So this doesn’t tell us what proportion of pixels are in each bucket. That’s the diagram I showed upthread.

call %PICTBAT%xyyHorse ^
  sxs_xyy.miff ^
  sxs_xyy.png

Over that diagram, we can superimpose a grid, and triangles showing the gamuts of AdobeRGB1998 (smaller triangle) and Rec2020 (larger triangle):

call %PICTBAT%profNums %ICCPROF%\AdobeRGB1998.icc pref a.png 512x512 None
call %PICTBAT%profNums %ICCPROF%\Rec2020-elle-V2-g10.icc pref t.png 512x512 None

%IMG7%magick ^
  qwe\sxs_xyy.png a.png t.png ^
  -compose Over -layers Flatten ^
  c.png

The result, c.png, is:

c

We can see that the image is outside the Rec2020 gamut both near blue and near orange (between the red and green primaries).

Yes, I must agree that particular scene had very little IR. I was responding to the general statement about what was inside or outside the chromaticity boundary.

Brilliant, Alan! Serious analysis indeed … I’m impressed …

Wow thanks so much for the in-depth explanation, @snibgo! I will definitely give this a try next chance I’m able.

@xpatUSA, yeah that’s right. I thought that the other profiles they provided worked, but I just checked again and it looks like I get the same warning for all of them, but sometimes the histogram appears and sometimes not. I’m not sure how I would open it as RGB though, would it be a change-the-extension type thing? DT does import it correctly, if that’s what you mean. It works fine as a softproof profile, the histogram seems to be the only thing choking on it.

earlier I posted your raw opened in Raw/Digger and saved as RGB albeit as a 1/4 size JPEG. You could open that in DT and go from there …

Or I could give a link to a full-size PNG or TIFF.

Not sure that “open as” applies in this case. More like opening the raw in one app. then “exporting as” in a different format e.g. JPEG, PNG, etc.

The indicators I see with this image are first the raw overexposure

I loaded the image and it only has legacy as-shot wb applied to keep it clean of edits. HLR is off.

Raw overexposure

Full gamut indicator (using blue/green) Hist profile linear rec2020 My calibrated display profile

Histogram profile set to sRGB and my display profile

Changing display profile to linear rec2020 to check for display clipping and re-test gamut

and

So clearly my display profile is introducing some clipping in the colorspace conversion. Its a shaper matrix profile. Maybe I should just try a matrix profile…

Nevertheless I think the indicators show the blown areas in the lights and also the out of gamut stuff fairly well for this image.

For color you can get a pretty good idea from the vectorscope as well… linear rec2020 histogram profile with a couple of flagged areas selected.

sRGB histogram profile

Here’s a 69 MB TIFF exported from RawDigger (LibRaw) unadjusted:

http://kronometric.org/phot/temp/_DSC0017-RGB.tif

Here’s it’s chromaticity vs sRGB, showing that any attempt to save as sRGB will incur considerable gamut-clipping blue-green department:

P.S. Here’s the ICC profile applied by RawDigger to the TIFF:

http://kronometric.org/phot/temp/sRGB.icc

Above, I showed that in the xyY colorspace, some colours are outside the Rec2020 gamut, and even outside the CIE horseshoe. Those colours are too far away from the white point.

We can transform the image by pushing colours closer to the WP, thus reducing chroma (“saturation”). Moving a colour along a radius centred at the WP doesn’t change the hue by much. We move colours by a factor of 0.55, so their distances from the WP are almost halved. I chose 0.55 because this just pushes colours into the sRGB gamut. Windows BAT script:

set fact=0.55

%IMG7%magick ^
  sxs_xyy.miff ^
  -channel 0 -function Polynomial %fact%,%%[fx:%pref_wp_x_n%*(1-%fact%)] ^
  -channel 1 -function Polynomial %fact%,%%[fx:%pref_wp_y_n%*(1-%fact%)] ^
  +channel ^
  +write sxs_xyy_adj.miff ^
  -colorspace sRGB ^
  sxs_xyy_adj.jpg

call %PICTBAT%xyyHorse ^
  sxs_xyy_adj.miff ^
  sxs_xyy_adj.png

%IMG7%magick ^
  sxs_xyy_adj.png a.png t.png r.png ^
  -compose Over -layers Flatten ^
  c_adj.png

c_adj.png shows the colours, and includes the sRGB triangle:

c_adj

The result, sxs_xyy_adj.jpg, is:

A prettier result could be made by varying the factor at different angles around the WP, to retain the high chroma at blue and red. Or we might use a constant but less severe factor that gives high chroma at blue and red, and accept OOG colours at blueish-green. Or we could move low-chroma colours by a smaller factor than high-chroma factors. There are many possibilities.

1 Like

Interesting that such an apparently drastic move is almost un-necessary when converted by RawDigger which generates an ICC profile via DCraw. The output from RT looked much the same; I would have uploaded it too but my bandwidth is running low on my cellular connection.

I can’t help but feel that something odd is forcing such large adjustments, Alan.

P.S. The implied primaries do look a bit odd:

Perhaps LibRaw is doing something?

Well spotted, thanks. My error: I was using a D50 XYZ profile to get the primaries, but should have used D65. After correcting the error, a factor of 0.60 is sufficient to push colours into the sRGB gamut.

In my posts above, I use very low-level methods to de-chroma an xyY image, so it converts easily into sRGB. This is crude, but we can easily see exactly what is happening. Instead, we can simply use dcraw to directly write an sRGB image. I don’t understand exactly what dcraw is doing but, to my eyes, the result is acceptable. I use IM to convert to JPG for internet reasons.

%DCRAW% -v -4 -w -W -T -O d.tiff %SRCRAW%

%IMG7%magick d.tiff -quality 40 d.jpg

Just to be clear, I was referring to the implied primaries in the TIFF converted by RawDigger and viewed in ColorThink on my computer, not your own good works.

I did post the ICC profile earlier … maybe the primaries in it match what I sketched in ColorThink but the ColorThink xyY diagram isn’t scaled.

I just compared the posted profile with the common standard IEC sRGB … the illuminant and the primaries are the same.

I will come back and spend some time with this analysis soon. For now, I wanted to add an update from my side: I was able to get a calibration profile done for my camera, and it does seem to more or less fix the blues in DT. The reds do get pushed out of the rec2020 gamut, but that’s not entirely surprising. I’ve attached the post-cal sidecar for the NEF we’ve all been working on, along with the cal photo used.

Cal photo was taken ~11AM on a clear day, on blacktop with black walls around the color card. I created a color calibration preset from it, which was applied to the main photo, then I tweaked the white balance so the white point was correct visually and in the scope. Final color temp: 5136K with 0.957 tint.

Out-of-Gamut Blues in original raw photo:

Blues are brought in-gamut after applying calibration, but Reds pushed out:

calibrated side-car
_DSC0017_03.NEF.xmp (13.8 KB)

calibration photo
color_cal_d7200-06_15_2024-059-_DSC0178.NEF.xmp (12.7 KB)
color_cal_d7200-06_15_2024-059-_DSC0178.NEF (27.2 MB)

Correction: highlight reconstruction got turned off because a mask got deleted accidentally. It was making the white streetlights tinted pink, which was not a color cal/white balance problem. Here is a fixed version of the calibrated sidecar:

_DSC0017_03.NEF.xmp (16.3 KB)