Well… different. Moreover, they (almost?) all made using Lab-based “old” pixelpipe.
I also noticed that many of my old edits got spoiled in the database/xmp: the photos are looking different now comparing to 2.6. I believe that’s probably because the module order has changed. So I doubt they are of any use now.
1 Like
Aurelien,
Thank you for posting your workflow here. I tried to reproduce it but looks like I don’t quite understand everything.
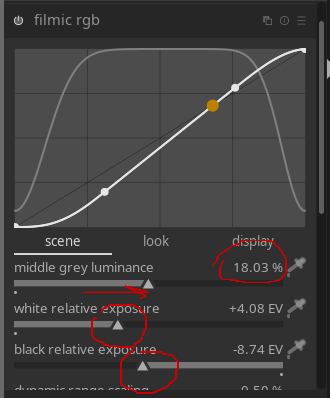
I understand I just move this slider:

I moved the middle grey slider to the right and then played with the white and black sliders to make a picture look better to my taste.
I did this:

and then got lost at this:
I did not do this one either:
I am wondering if there is a different way to describe the workflow for those of us who aren’t that tech savvy. Any details would be greatly appreciated.
Hi Andrius,
if you download the XMP @anon41087856 posted above and load it into your history stack (lightroom->history stack-> load sidecar file…) you can click through the history stack and watch what he changed in the modules he described in his workflow.
Greets
Jürgen
I made a quick video to show my minimal edits:

(Note: @ 01:04 I’m showing the drop-down menu from filmic, where I select a preset I made for myself, but somehow it wasn’t captured by obs video recorder)
DSC_0667.NEF.xmp (5.5 KB)
Hi Andrius,
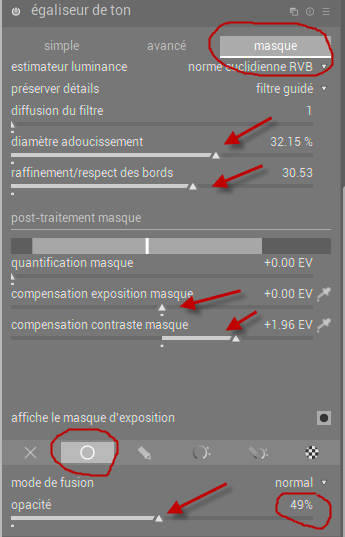
What he meant is something like that (sorry my UI is in French). In the Advanced or Simple tab build a sinus (as you did). The histogram in the advanced tab may initially not be that nicely spread as in my screenshot below

Then go to the masking tab and adjust the mask with the various sliders until the histogram is well spread over the nodes (advanced tab). He did not adjust the amplitude of the curve (he went to +1.5/-1.5 on the y-axis) but instead created a general mask with an opacity of 50% (see bottom of screenshots).
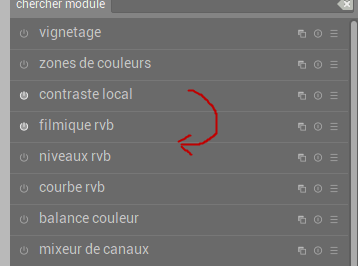
Then, once he activated and adjusted the local contrast module, he moved it by Ctrl+Shift+left mouse down in the pixel pipe under filmic rgb, meaning that local contrast is first applied on the pixels of the image, before filmic rgb. Note that the order in which the modules are applied to the image (the pixel pipe, from bottom to top on the right hand side of your screen) has nothing to do with the History (left), i.e. how and when you use a module.
6 Likes
Thank you for the explanation.
The tone equalizer seems to be very powerful but also complicated. The combination of tone equalizer and filmic rgb requires a lot of effort to understand and master – no complaints about that, but is it worthwhile?
@anon41087856 has made a huge effort to explain the theory and why the filmic approach is superior to the old methods and it all sounds very, very convincing. I really appreciate a theoretical “healthy” way of doing things.
We have several suggestions on how to edit the image in this thread. Many edits look fine to me no matter which method is used. Where and how can I see that the filmic result is superior to the old methods?
I have tried to follow your instructions. It seems to me that you are skipping some important adjustments to the filmic module.
Most important is the “dynamic range scaling” which is critical to get good colors on the green patch close to the window. The latitude and the contrast are also adjusted in your xmp.
Yes I started only where Andrius “got lost” (after filmic).
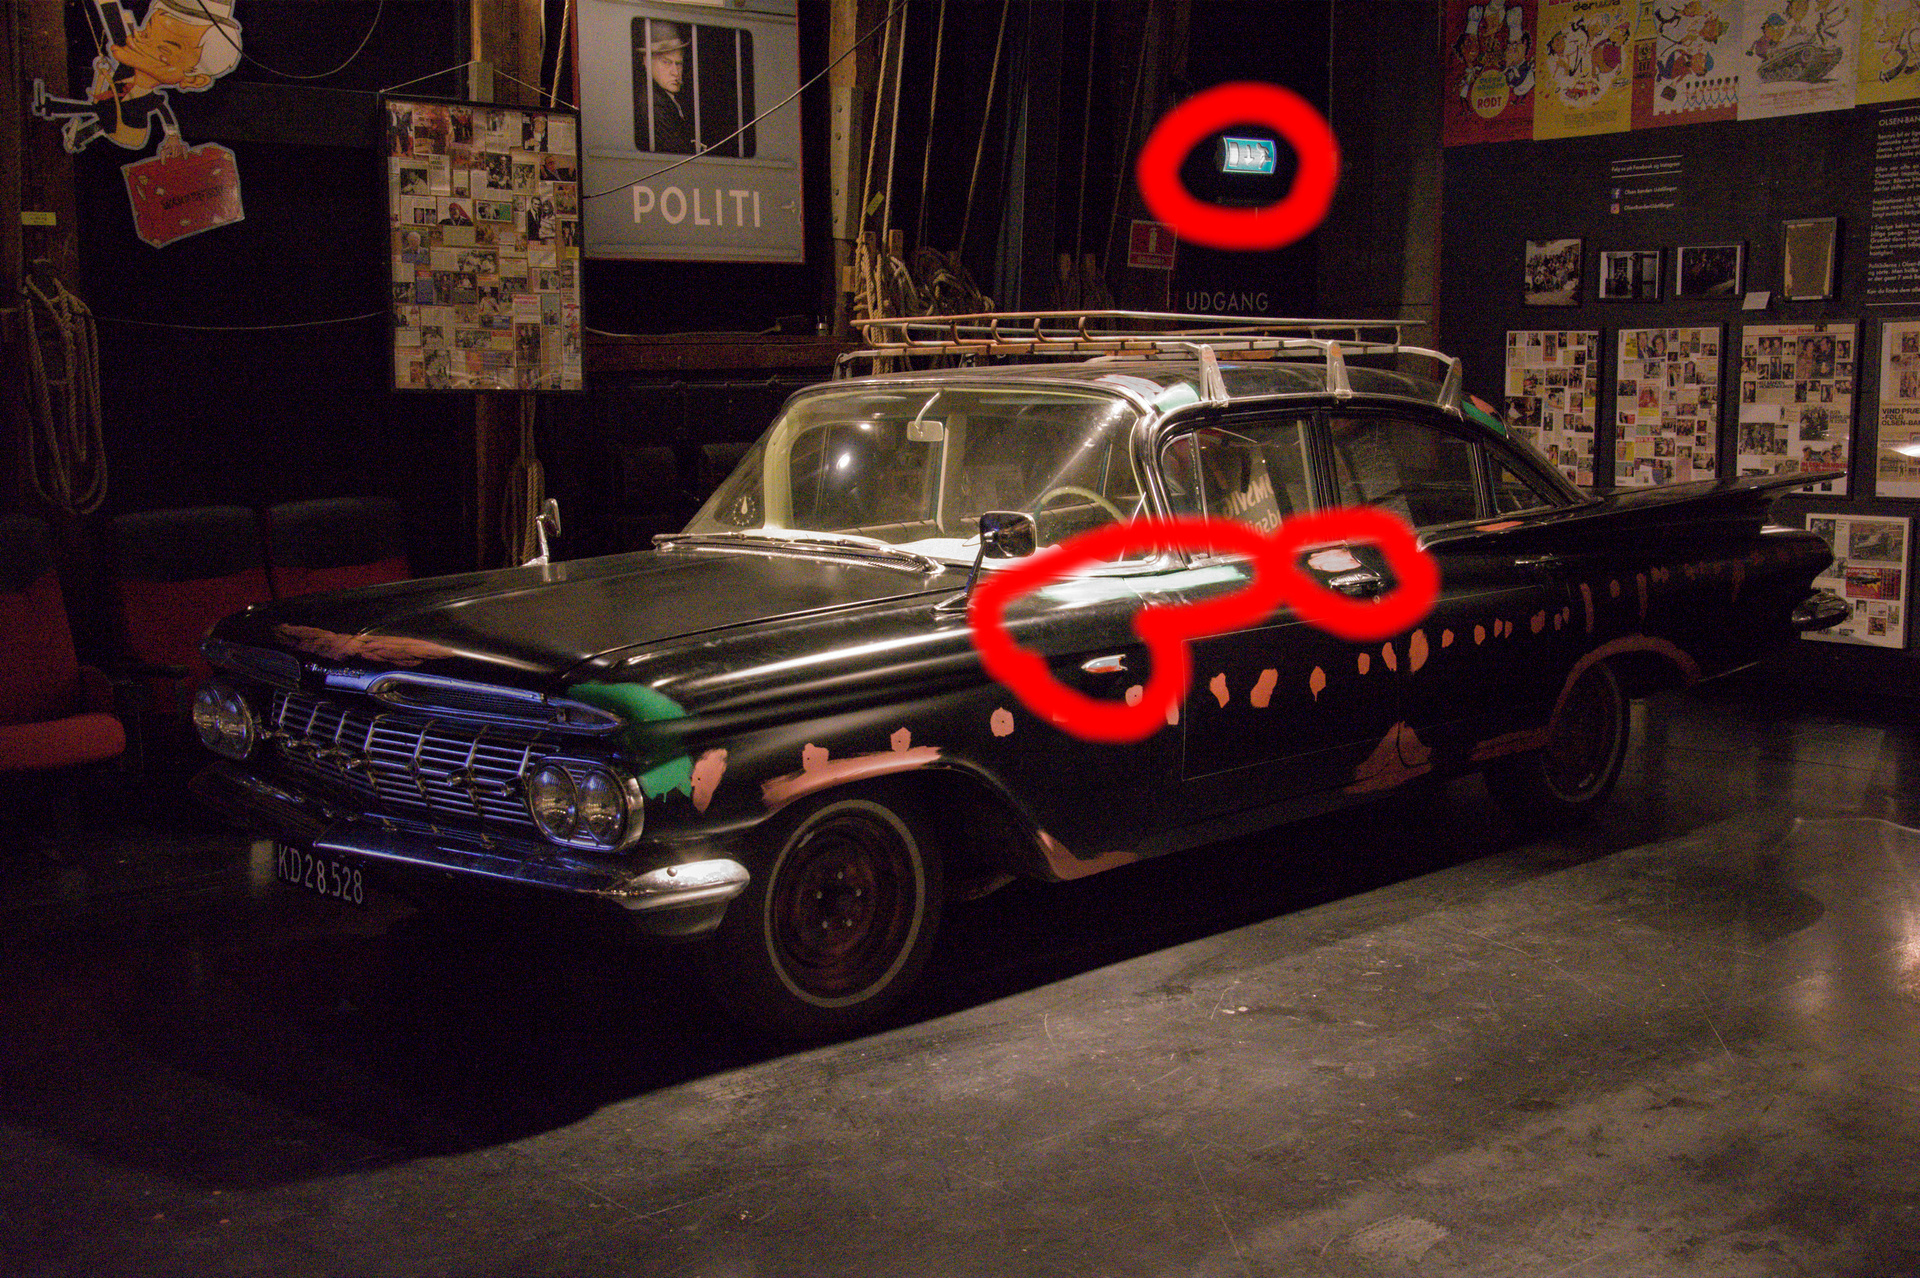
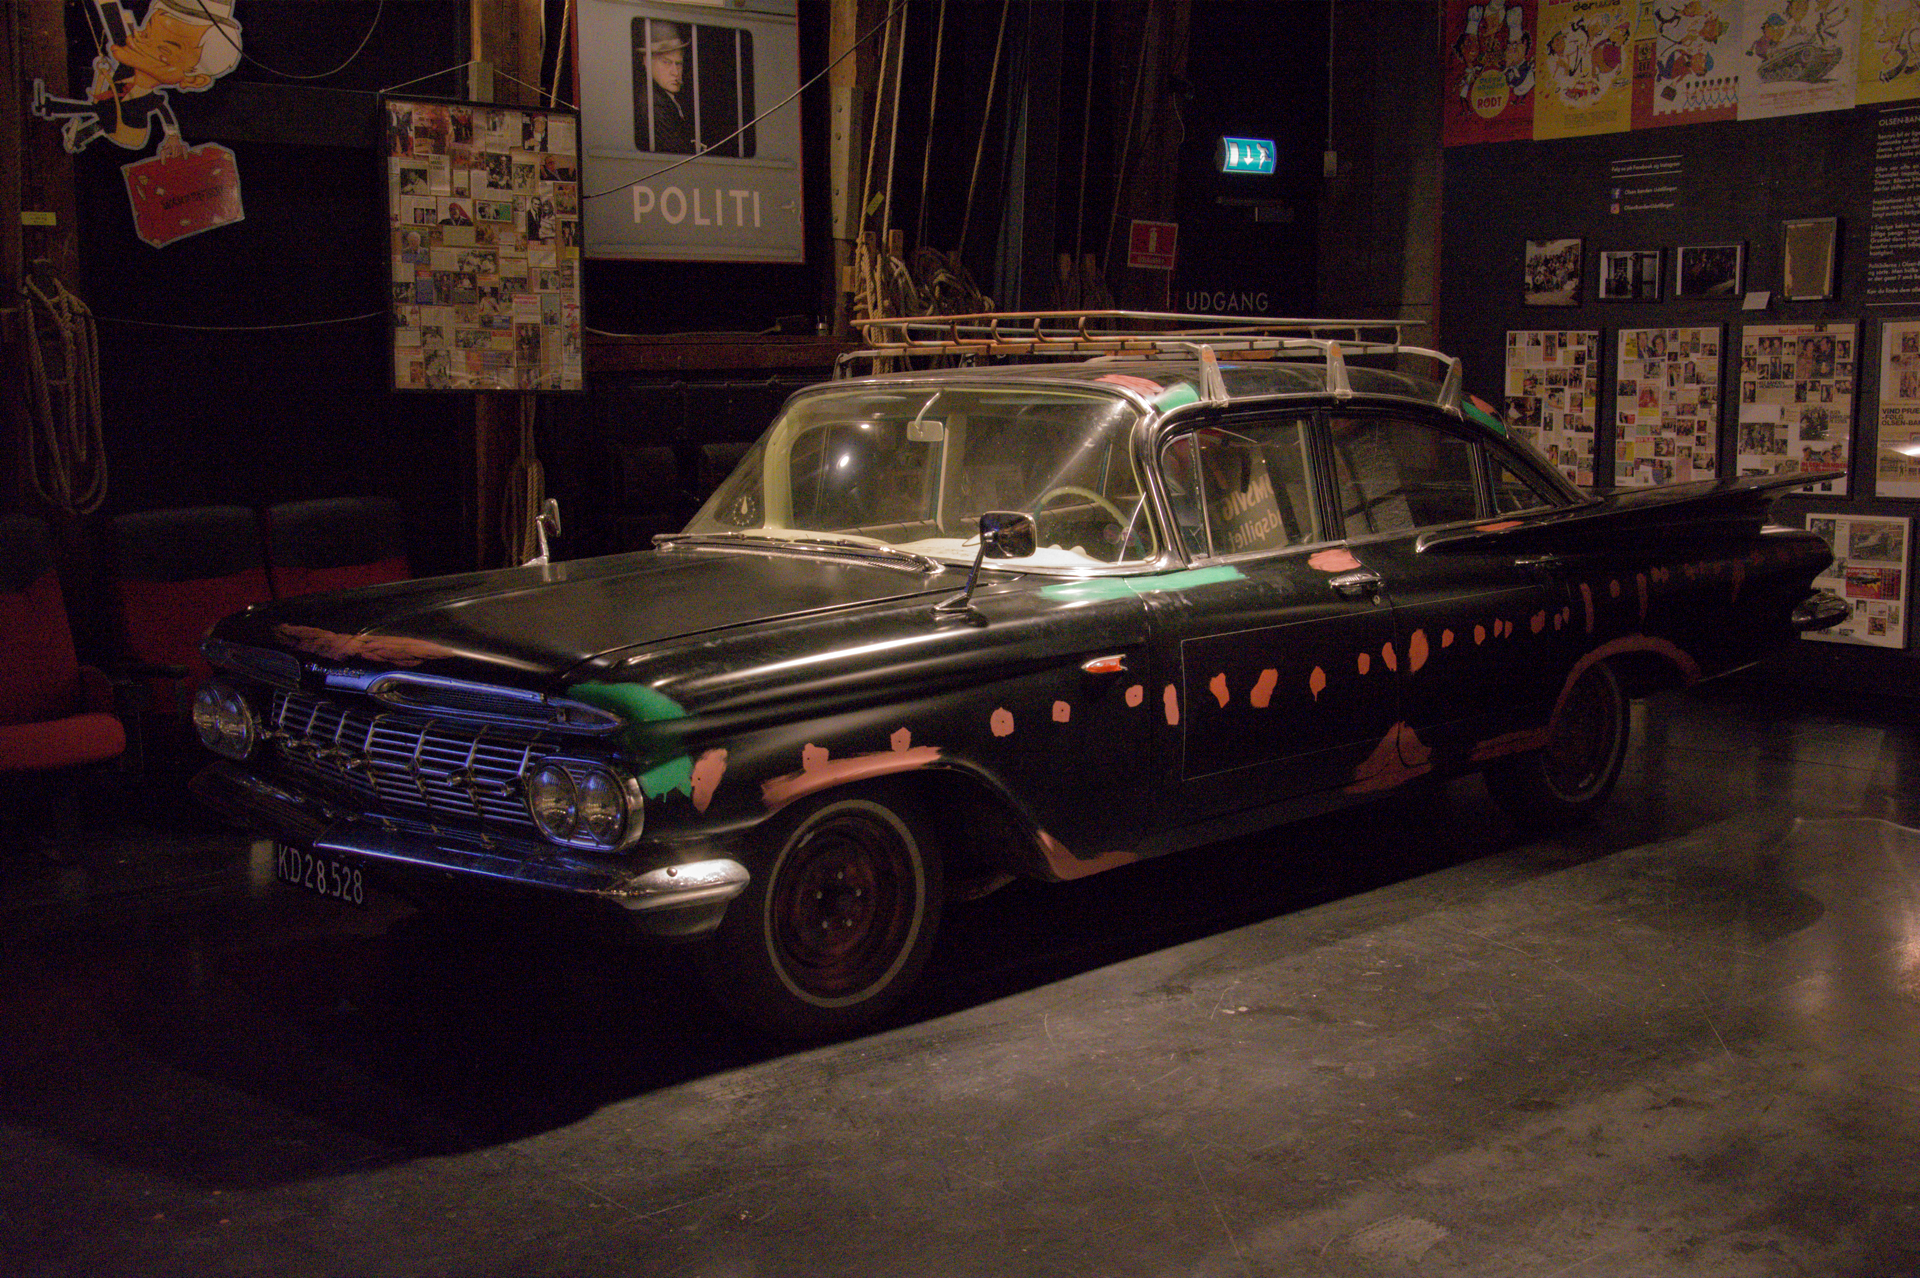
Yes you can get good looking results with many edits. But as I understand it, filmic rgb is mainly useful in high dynamic range images. It allows to “decompress” (show more details in) the dark areas and it compresses the highlights. Much like film reacted to light and this is also closer to human perception. Humans are more sensitive to details in dark areas but less so to those in bright light. The base curve often compresses dark areas.
Filmic can also be used in low dynamic range pictures “without harm”. But sometimes I can do without it, just exposure, color balance, tone equalizer, local contrast etc.
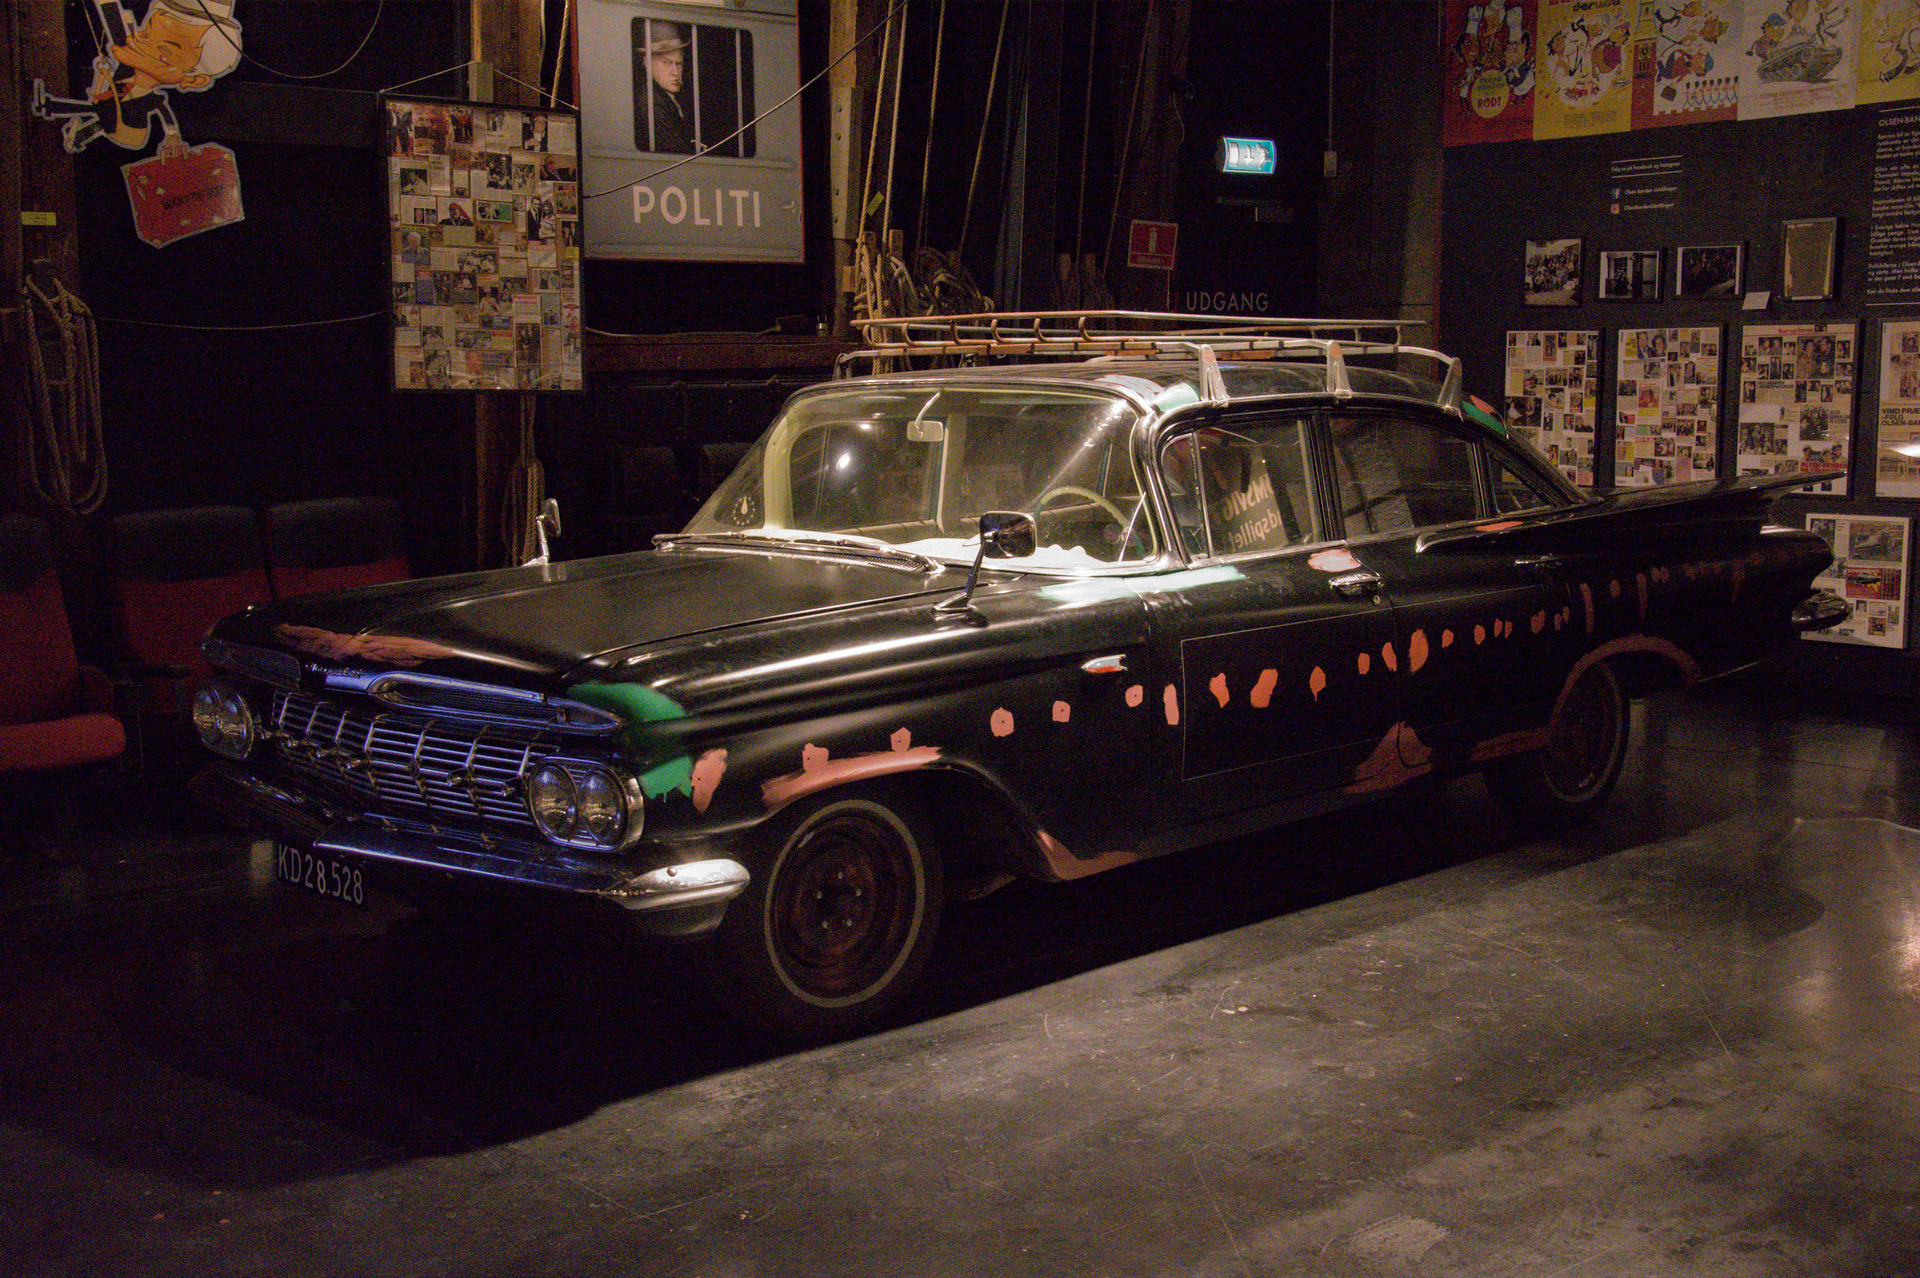
The picture of the car is a HDR situation, very dark areas and speculars. I think it also needs some noise reduction which for example kanyck did.
Filmic does basically tone mapping, from your sensor which may record 10-14 EVs to what your screen can display (around 8 EVs). Aurelien explains this very well in one of his videos. I usually do not expect a very good looking picture coming out of filmic (which I use early in my History), but, in the scene tab, I adjust the middle grey to my liking (usually a correctly lit subject), then the black and white or dynamic range scaling so that the histogram lies within the limits. Then I check whether I can tweak a bit the parameters in the Look tab without clipping (orange curve) but I don’t spend too much time there.
Yes it is worthwhile, definitely! No halos like we had with the shadows and highlights module anymore.
That also struggled me, but I just turned preserve chrominace in look filmicRGB off and I’m there ![]()
Overall good edit but there are some little artifacts.
Based on your .xmp I’ve raised the white relative exposure slider and added the color balance module where I’ve restored the intended brightness with the power slider
DSC_0667.NEF.xmp (5.8 KB)
1 Like
Could you illustrate this with an example…….![]() ?
?
Convincing……… !
!
You have certainly proved your point. Thank you very much….
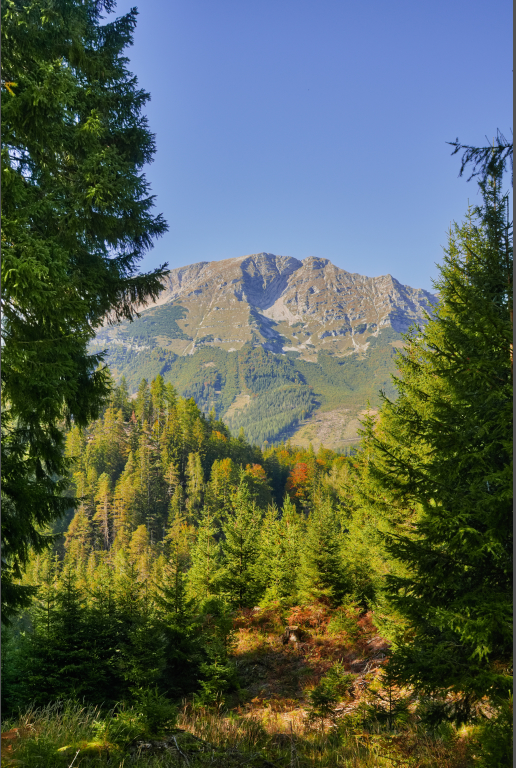
Just to show what a good job ART does too. Very quick edit using tone equalizer and dynamic range compression.
Forest scene.DNG.arp (9.8 KB)
(I renamed the file)
Interesting…… I had just thought of doing this test myself in RT. Since ART is very close to RT I assume that RT will do similar good job.
I have never heard of any (big) problem with colorspaces, pixelline etc. in the RT-world. Why? There must be some “hidden” fundamental differences between DT and RT……
2 Likes
I don’t want to p** on your parade or anything like that, so please take this in the right way, i.e. just providing some context. But if your goal is to show that you can get halos, then the tone equalizer alone is sufficient:
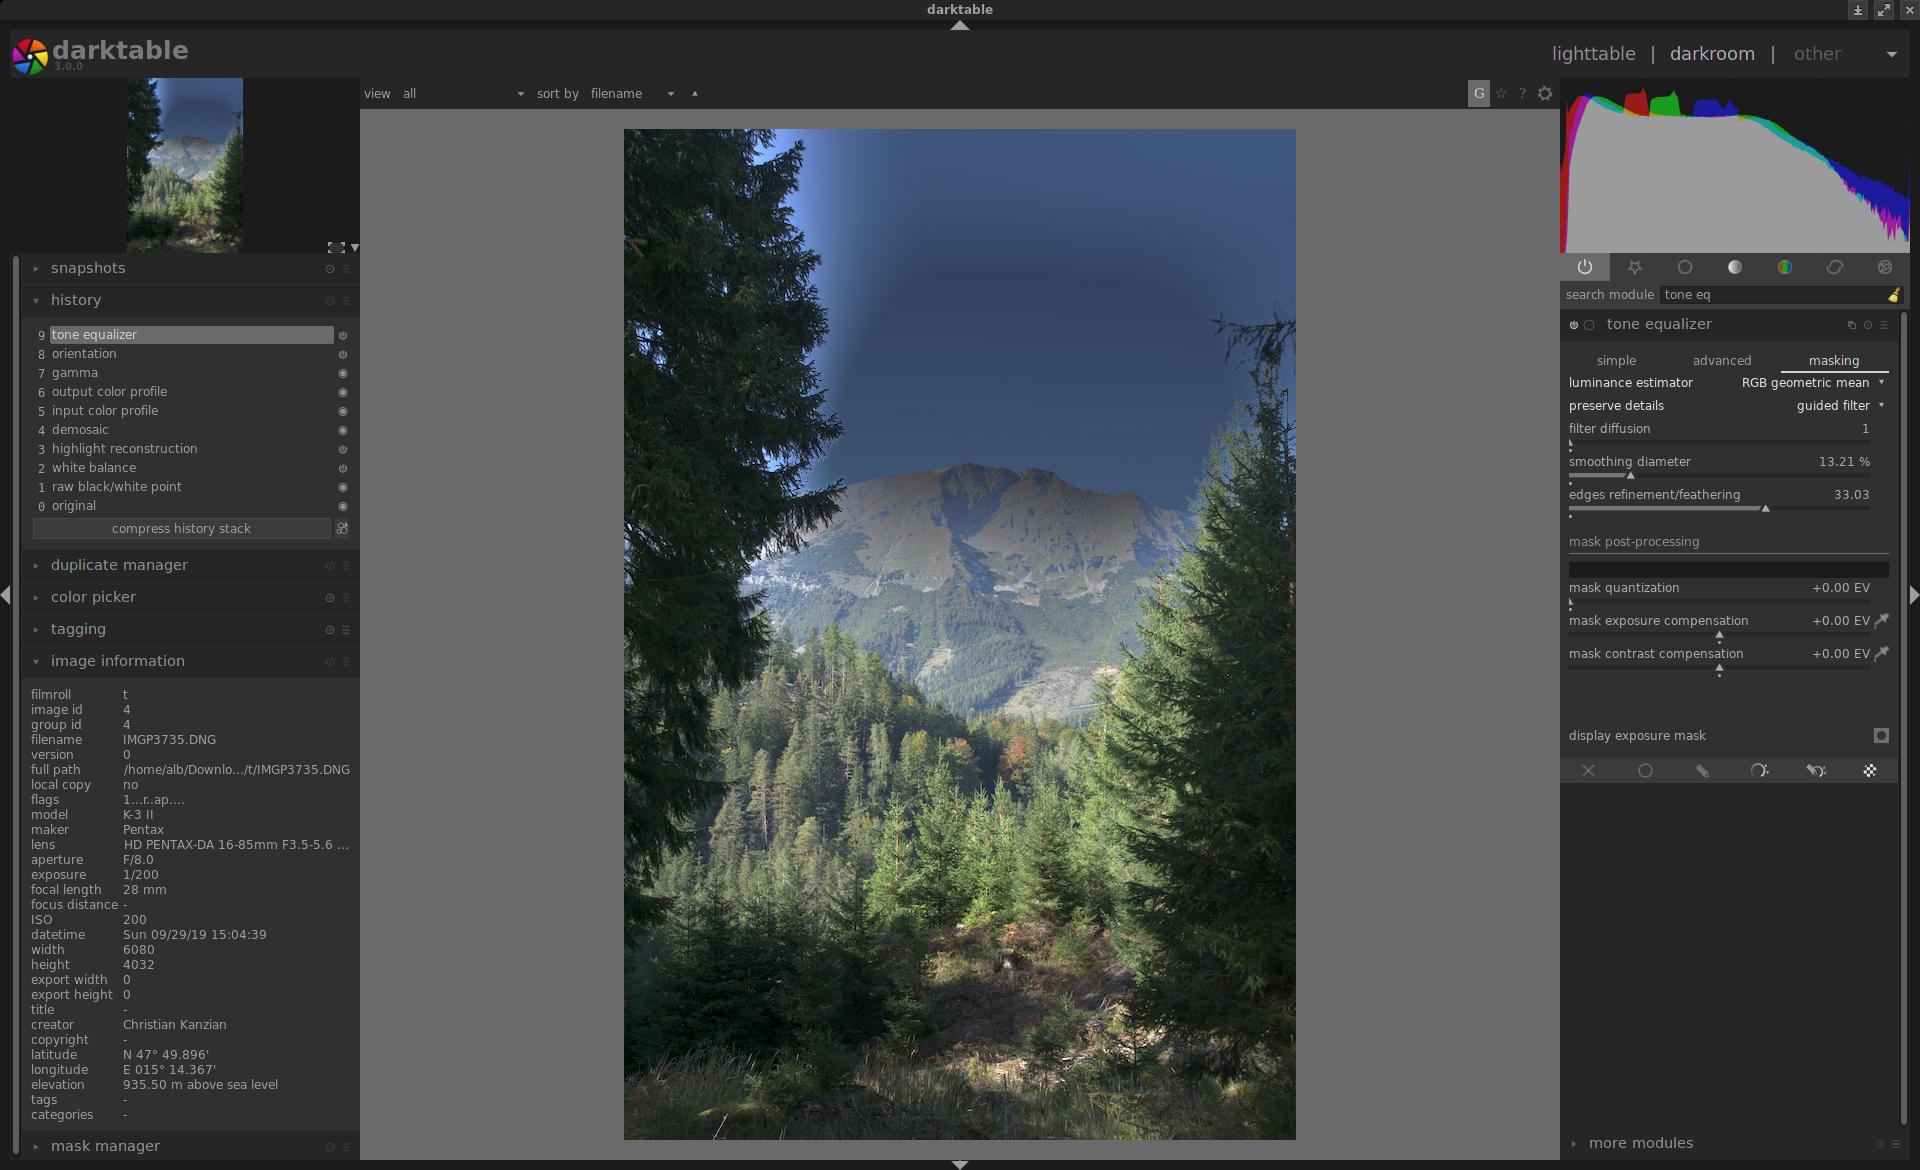
IMGP3735.DNG.xmp (4.9 KB)
This is just to say that dynamic range manipulation is not trivial, and there are always some compromises to make…
(Yes, I did this on purpose, and just to prove my point. No, I don’t think this is a problem in everyday use)
1 Like
Sorry for the miss understanding. I will remove my posts.
that was not my intention at all!
These are not really halos, the kind of halos that have been mentioned would have affected the whole sky contour the same way. Here, you have it only on the left side, so it’s probably just bad settings.
So it is generally recommended to adjust the global brightness with the exposure module and use filmic with grey at 18 %? I just wonder, why the grey level can be adjusted in filmic extensively at all.
And what about highlights which are clipped in the raw file? I was used to bring them back with highlight construction, but than of course the global brightness with filmic at 18 % is much to low.