My sincere thanks to everybody who has contributed to this thread. Your collective input has proved extremely helpful and it is greatly appreciated. I apologise for not being able to respond sooner.
I take on-board the discussion regarding the local contrast module, which I have always had a mixed relationship with. Since I commenced using sigmoid, I find that I am using it more, and I suspect this relates to a desire to emphasise the facial highlights in order to add some 3D pop. I can produce a similar outcome to local contrast with diffuse and sharpen, but even though my PC is no slouch, D&F does tend to slow things down.
Getting that facial 3D pop looking the way I want, probably consumes far more of my processing time than anything else, not least because filmic offered so many ways of producing and mitigating it. I would so often get it just right with one slider, only to then undo it with another. To my mind, faces without such highlights are flat as pancakes, which is how I describe the phenomena.
I feared this constant see-sawing with the highlights would drive me mad, which is why I eventually experimented with sigmoid. That in turn, eventually made me realise that filmic’s ability to preserve highlight detail was in fact also its downfall for my type of photography. Whenever I emphasised the facial highlight, I was also emphasising flaws in the skin, and these often reminded me of corned beef, to continue with my food analogies.
Whenever I mitigated the corned beef I would end-up with a pancake, and vice versa!
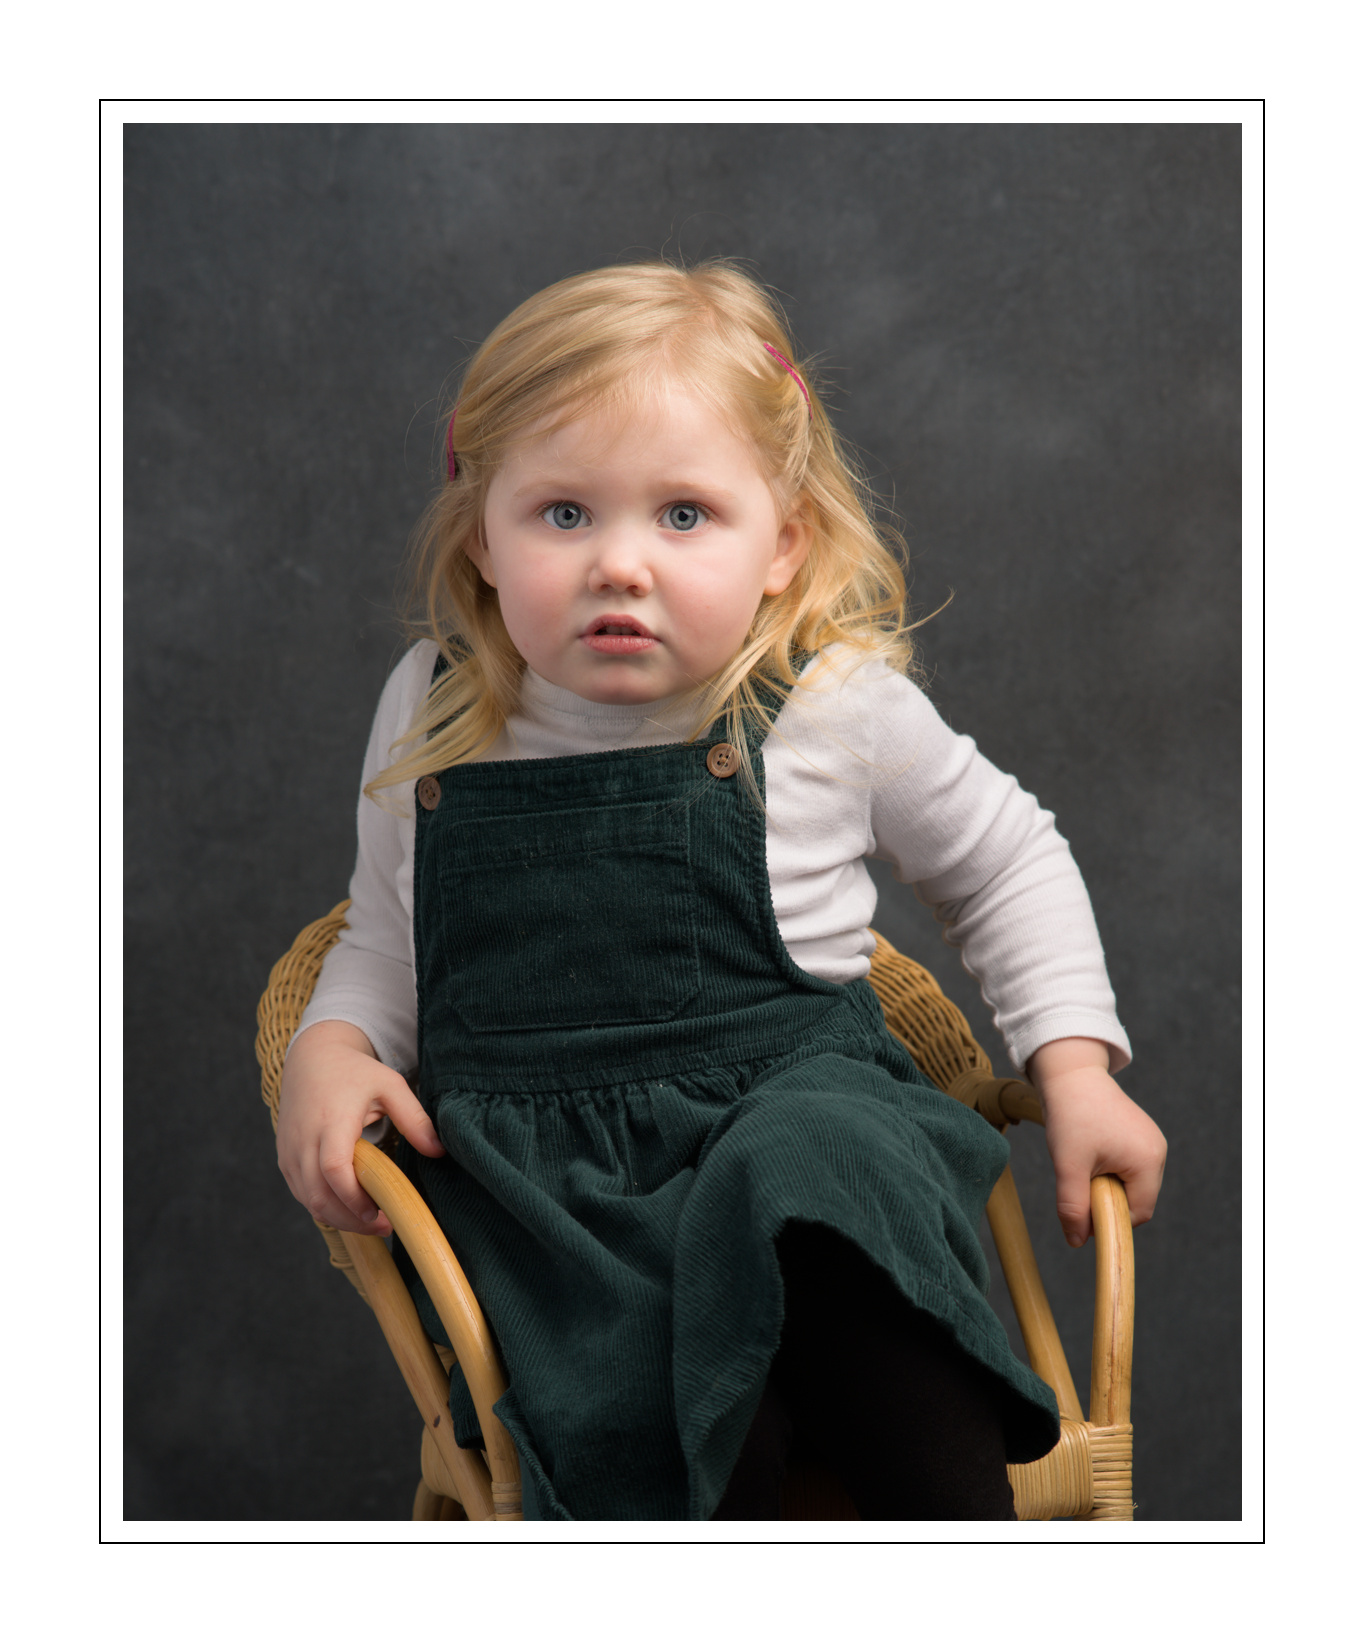
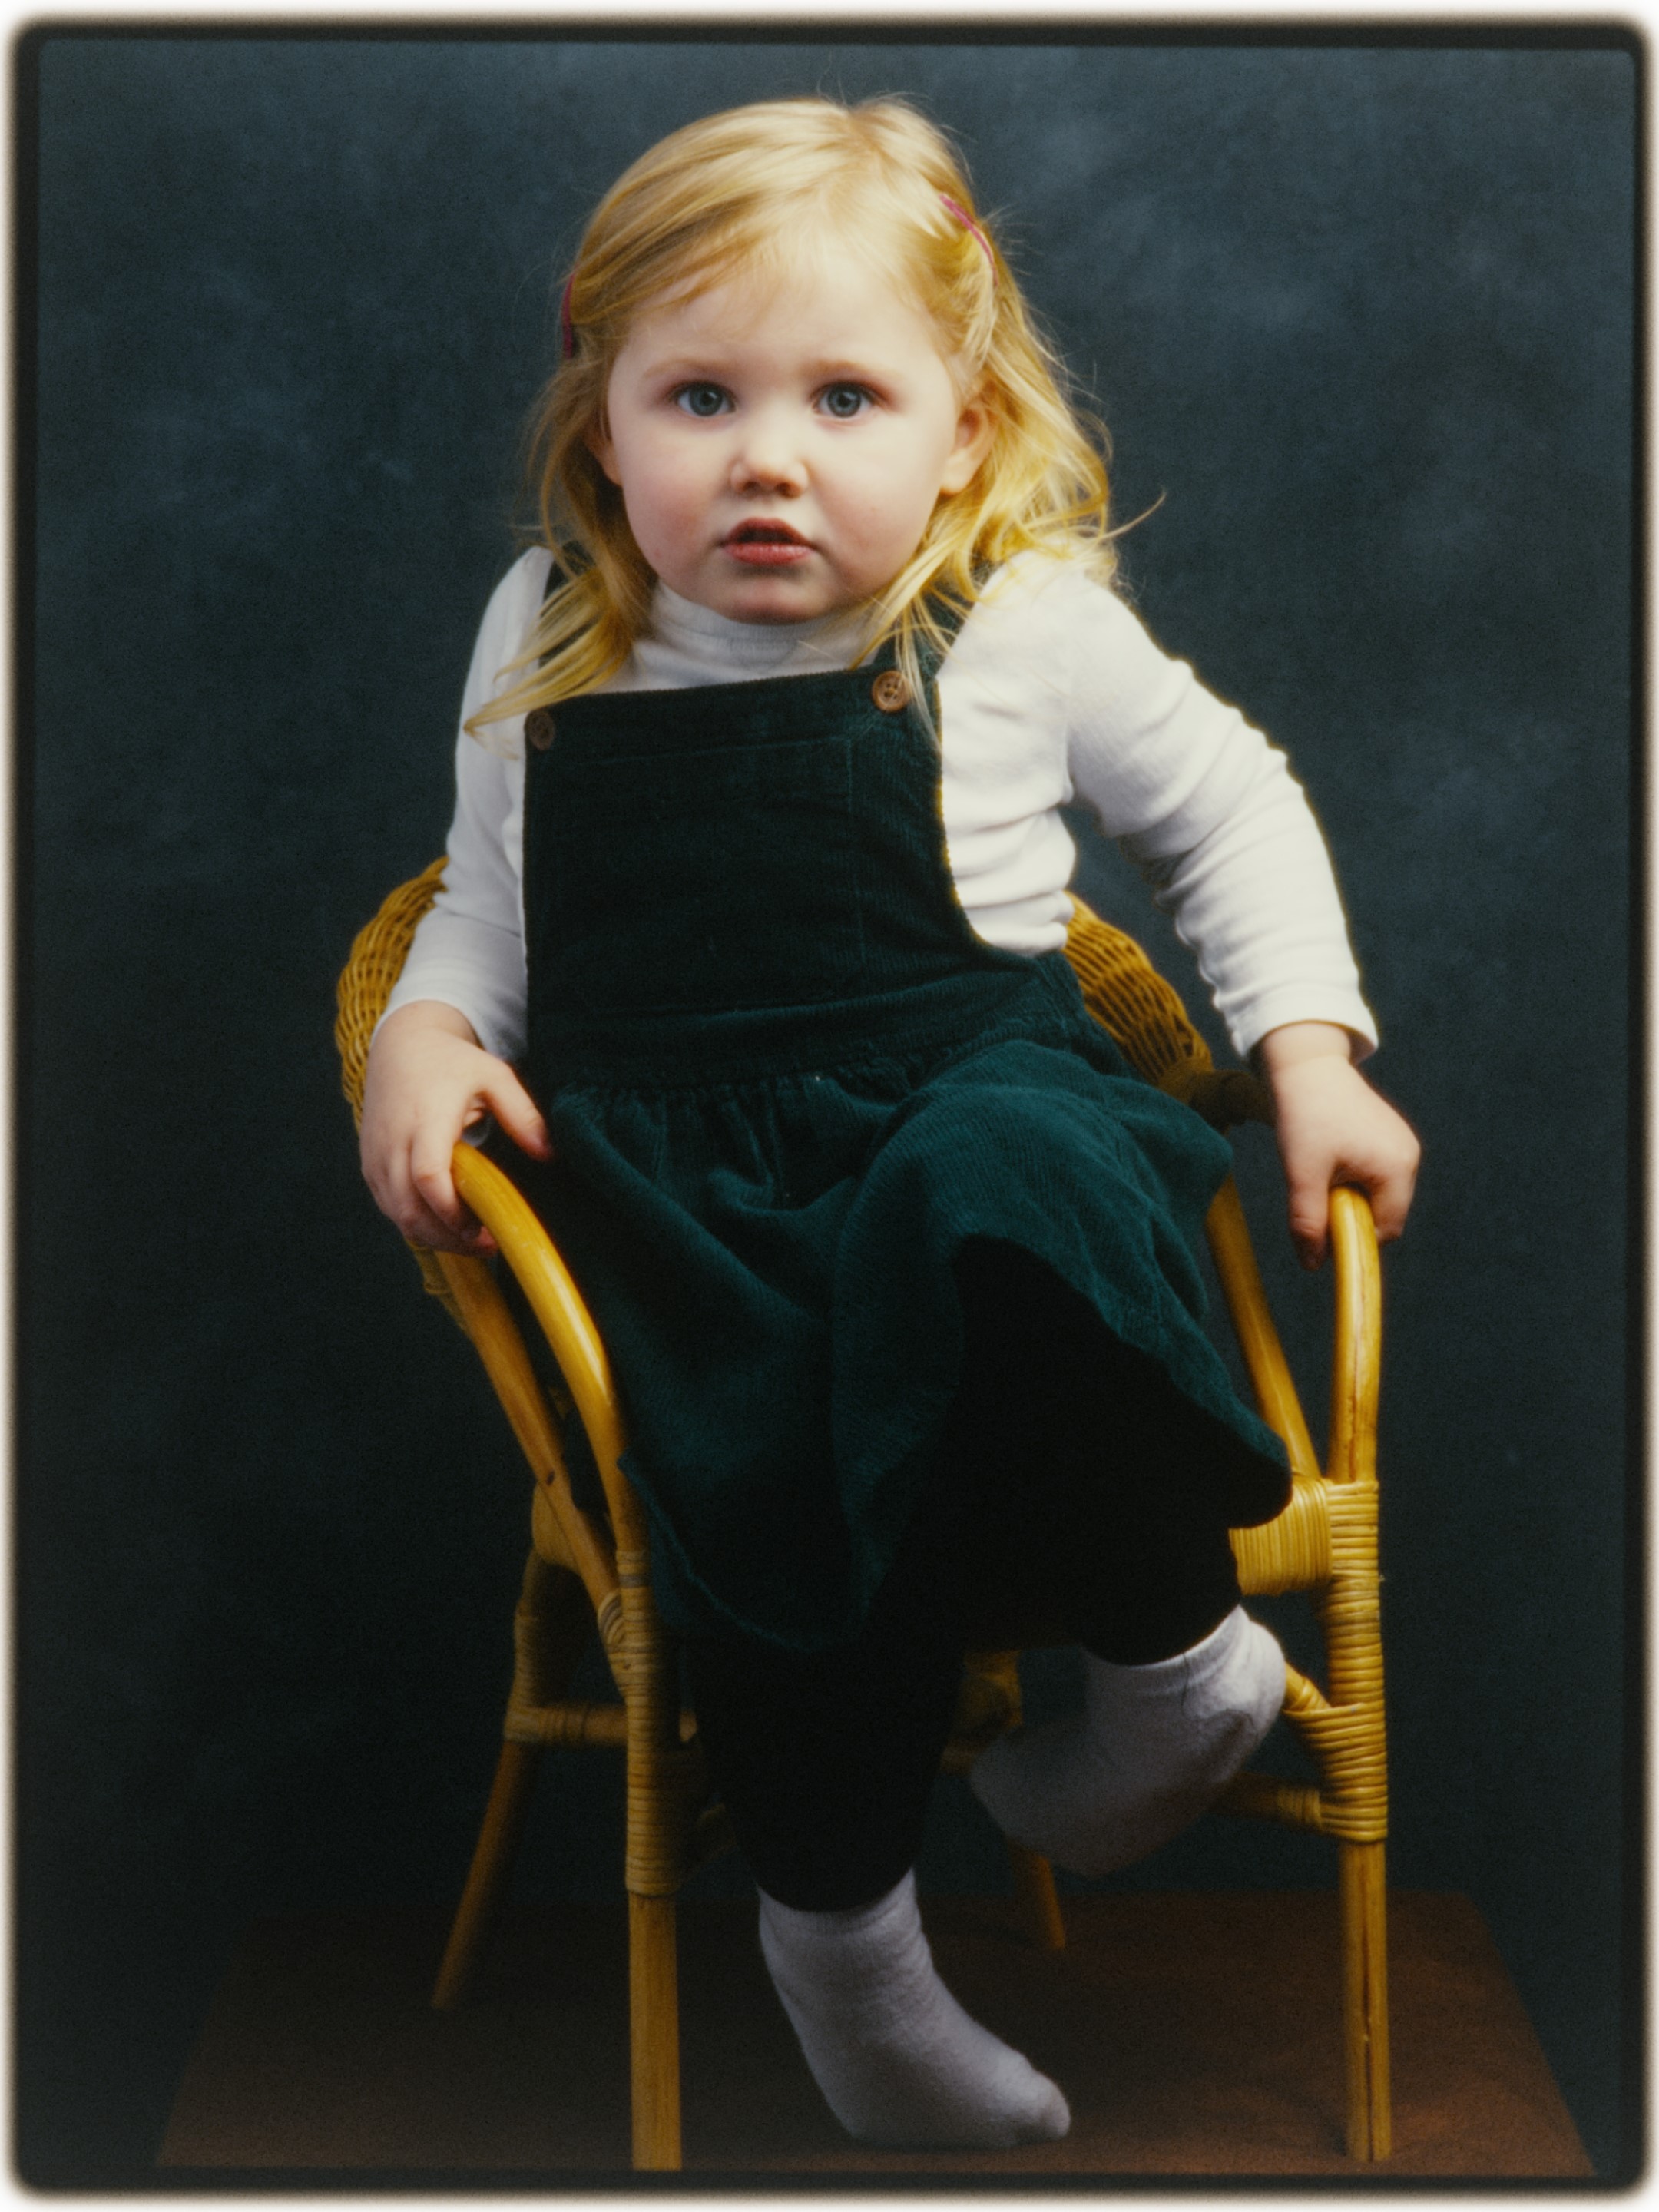
The picture above does not provide the best example for demonstrating how sigmoid handles this highlight more smoothly, but the screen grab below hopefully provides some indication of what I am referring to. The difference may look more obvious when viewed from further back.
I really look forward to experimenting with LUTs. Back in the day I used Kodak Vericolour 120 roll film, which was beloved by wedding photographers for its low contrast and ability to preserve details in whites.
This is not my experience. I find the local contrast modules effect is very different to the DorS modules local contrast effect. I don’t have to see one as superior but just both as different and choose the best for the image at hand. There is a new preset for local contrast fine in V4.7 which I really love for adding clarity to images, but it has little effect on contrast. On the other hand, despite the name the local contrast module has a global impact on contrast which I also often like for the right image.
The skew slider can be very important in Sigmoid. Make sure you are familiar with it and understand how it works. Moving it to the right increases contrast in the highlights and lowers contrast in the shadows which helps preserve shadow details. Moving the slider to the left reverses the effect and increases the contrast in the shadows and preserves the details in the highlights by lowering the contrast. What is best depends on the image and often left alone in the middle is also fine.
Frankly, I love the default settings that AP has in Ansel. I just opened it in Ansel and thought it looked lovely. I did not touch a single thing except to export.
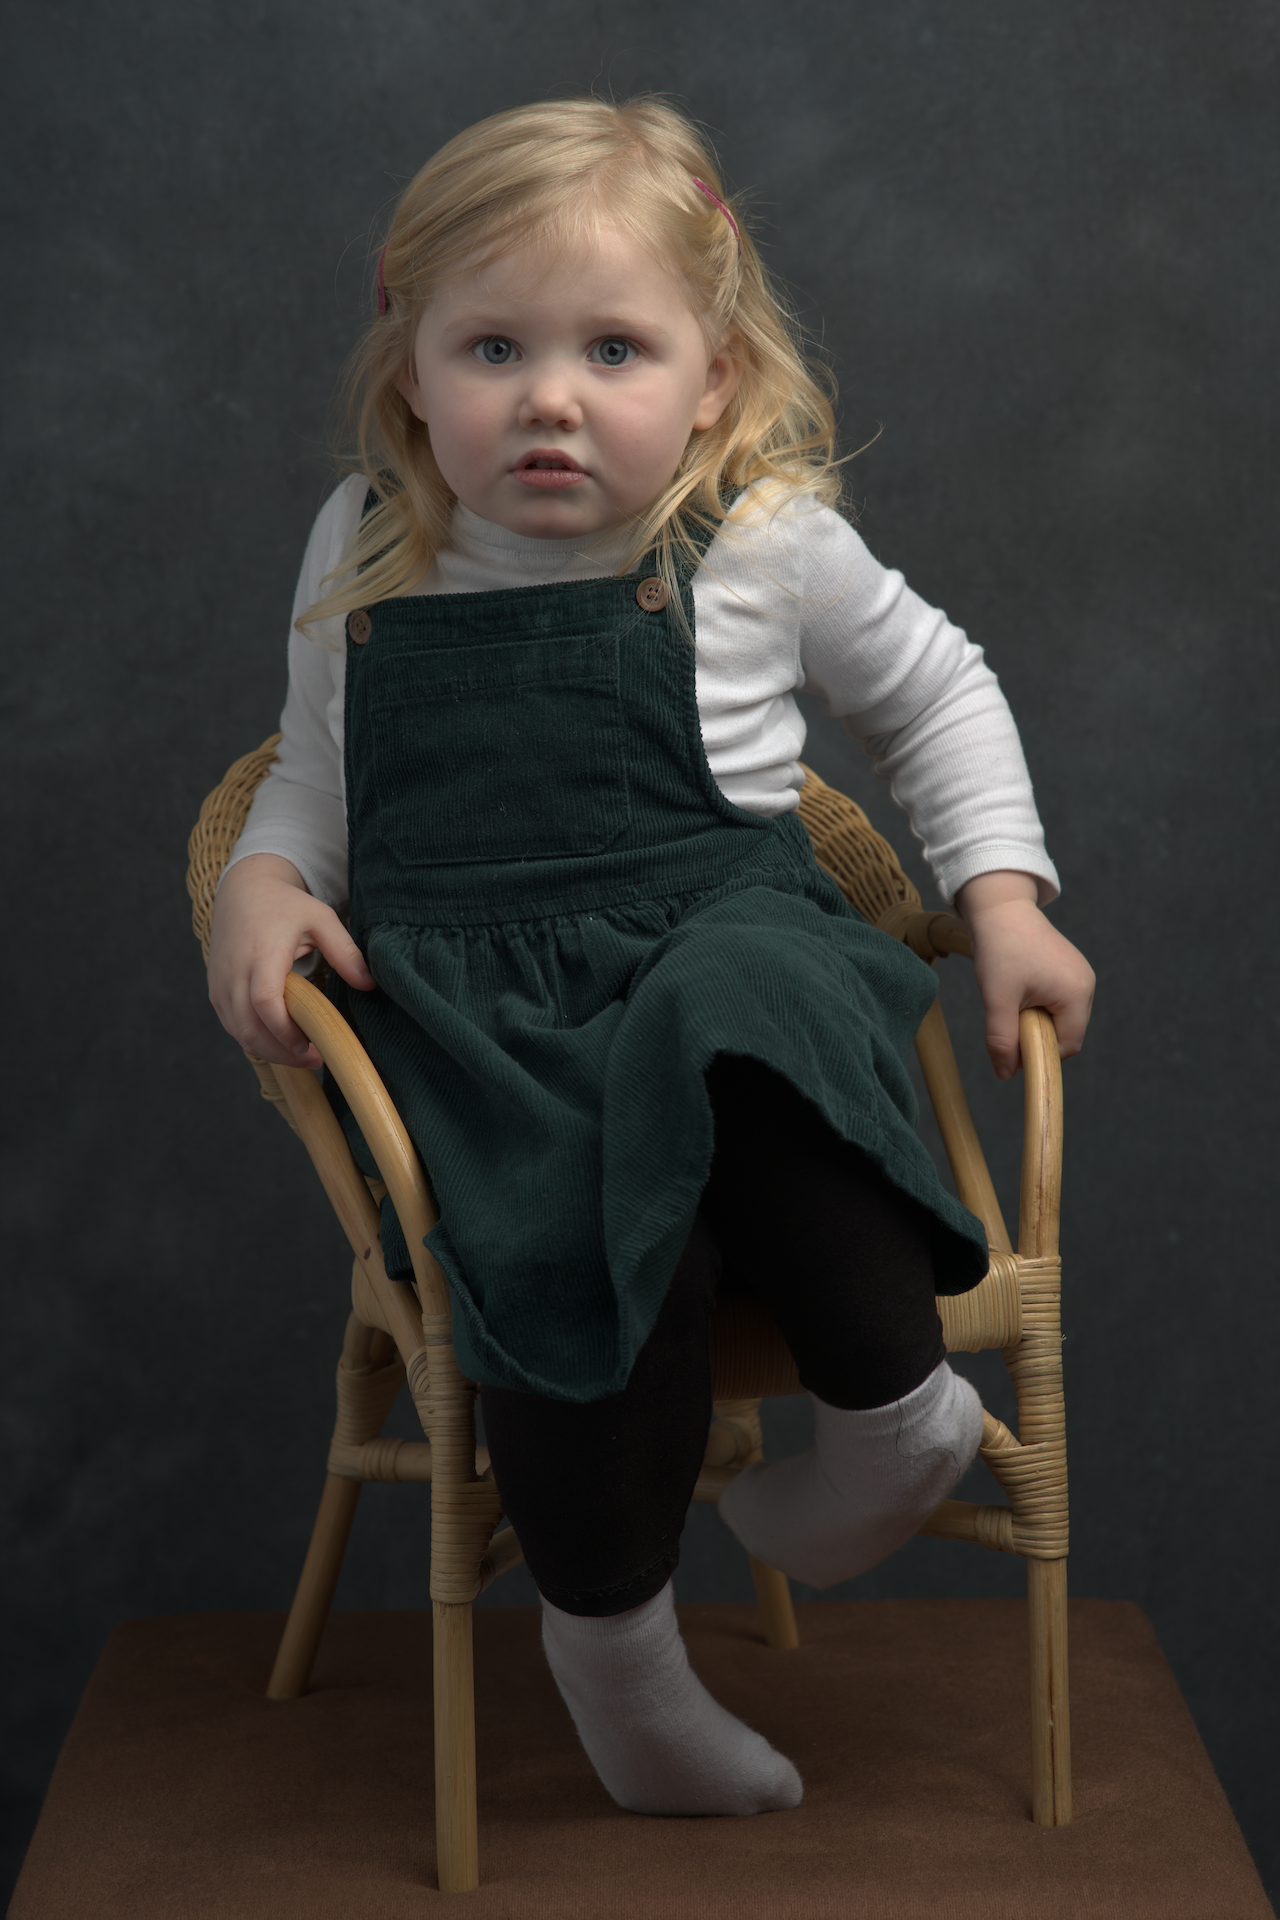
If there is any change I would make, it is to capture the image with an 8X10 crop in mind (i hate tall portraits). Perhaps lift the shadows a bit.
For fun I just compiled the latest Ansel… I found no real magic settings… I went to DT and used filmic scene workflow and Ansel default… all I could see was a small difference in the starting black and white points of filmic otherwise it seems to have the same settings in CC… Ansel doesn’t have the same default highlight reconstruction but that really doesn’t come in to play… But maybe there have been tweaks to the pipeline… I think this image was pretty great out of the gate and not much a of test for any raw editor…
I guess I will look at more images and see how differently the filmic settings very…
My sloppy expression “I can produce a similar outcome” was doing a lot of heavy lifting there, and I concur that local contrast does not replicate the D&S preset that shares its name.
I originally thought that it was interchangeable with filmic’s shadows/highlights control, but have since realised that whilst skew does a similar thing, its purpose seems to be more related to contrast. As with local contrast, I tend to use it to emphasise the upper cheek and inner nose, on the highlight side of the face, to create some 3D pop.
I very much admire what AP has achieved over recent years and his initial motive to make digital images look like film (a.k.a. filmic) persuaded me to take up digital photography and brought me to darktable. I have no knowledge of the differences that arose between AP and other developers, but I am sorry that he’s no longer around and miss his input.
I was avoiding ansel primarily because I feared that it would stamp all over my darktable settings, but I downloaded and installed it this morning. Unfortunately, I struggled to get it to do anything, which may relate to the fact that I am running Windows. I did however have a poke around the settings, and couldn’t find anything very different going on. I was however surprised to see that it defaulted on ‘as shot’ in white balance, colour calibration was bypassed, and it utilised filmic 6.
It didn’t for me…I wonder if it read something from your DT xmp?? What do you get if you make an original duplicate or simply compress back to original in the history stack… I think it would use modern workflow and up to date filmic…
Edit it was a bit “glitchy” opening for me… I got this…
I couldn’t figure out how to make a duplicate image (nothing to click under Duplicates) but after deleting the image’s history, Ansel then had WB as camera reference, and CC was no longer set at bypass. I then added another raw file into my new Ansel folder, and that also used those settings. In other words, Ansel seems to set off wrong, but then fix itself. I noticed that filmic 6 prevailed in both of the above cases. No darktable XMPs were involved.
I then effectively reset Ansel by deleting its appdata folder. When I re-opened it and imported 2 clean raw files (from a new folder), the pipeline initially showed WB as shot, CC as bypass, and fimic 6.
However, when I opened the second file, the above became WB as camera ref, CC as 4621K Daylight. Moreover, the film roll and top left images, which were previously blacked out, came to life. Once again filmic 6 prevailed.
At some point I turned off lens correction, which led to me seeing the same diagonally split display that you depict above.
I’ve noticed that I cannot scroll Ansel’s sliders with my mouse wheel unless I click on them first, but that may be by design.
I too very much appreciate the contributions AP made to the world of editing. I briefly tried Ansel, but AP decided to exclude many modules which he didn’t like but I did like. My understanding is that the work of AP will be included in future versions of DT, but that will be for the developers to decide. I am a huge fan of sigmoid in preference to filmic, but when I do use filmic it is often V5 with no chrominance preservation.
I’m afraid that I still find myself astride a fence in some respects, although sigmoid is becoming my tool of choice.
I have previously noted your fondness for filmic V5 with no chrominance preservation, but can never understand where you then get your colour from?
I personally found filmic especially trying following V5, because I continued to use my established V5 numbers, not having realised that filmic’s fundamentals had changed. As a consequence I had WRE and BRE arguing with latitude and shadows/highlights balance. I spent so much time going around in circles, and switching between chrominance options, that it’s a wonder that any JPGs were produced.
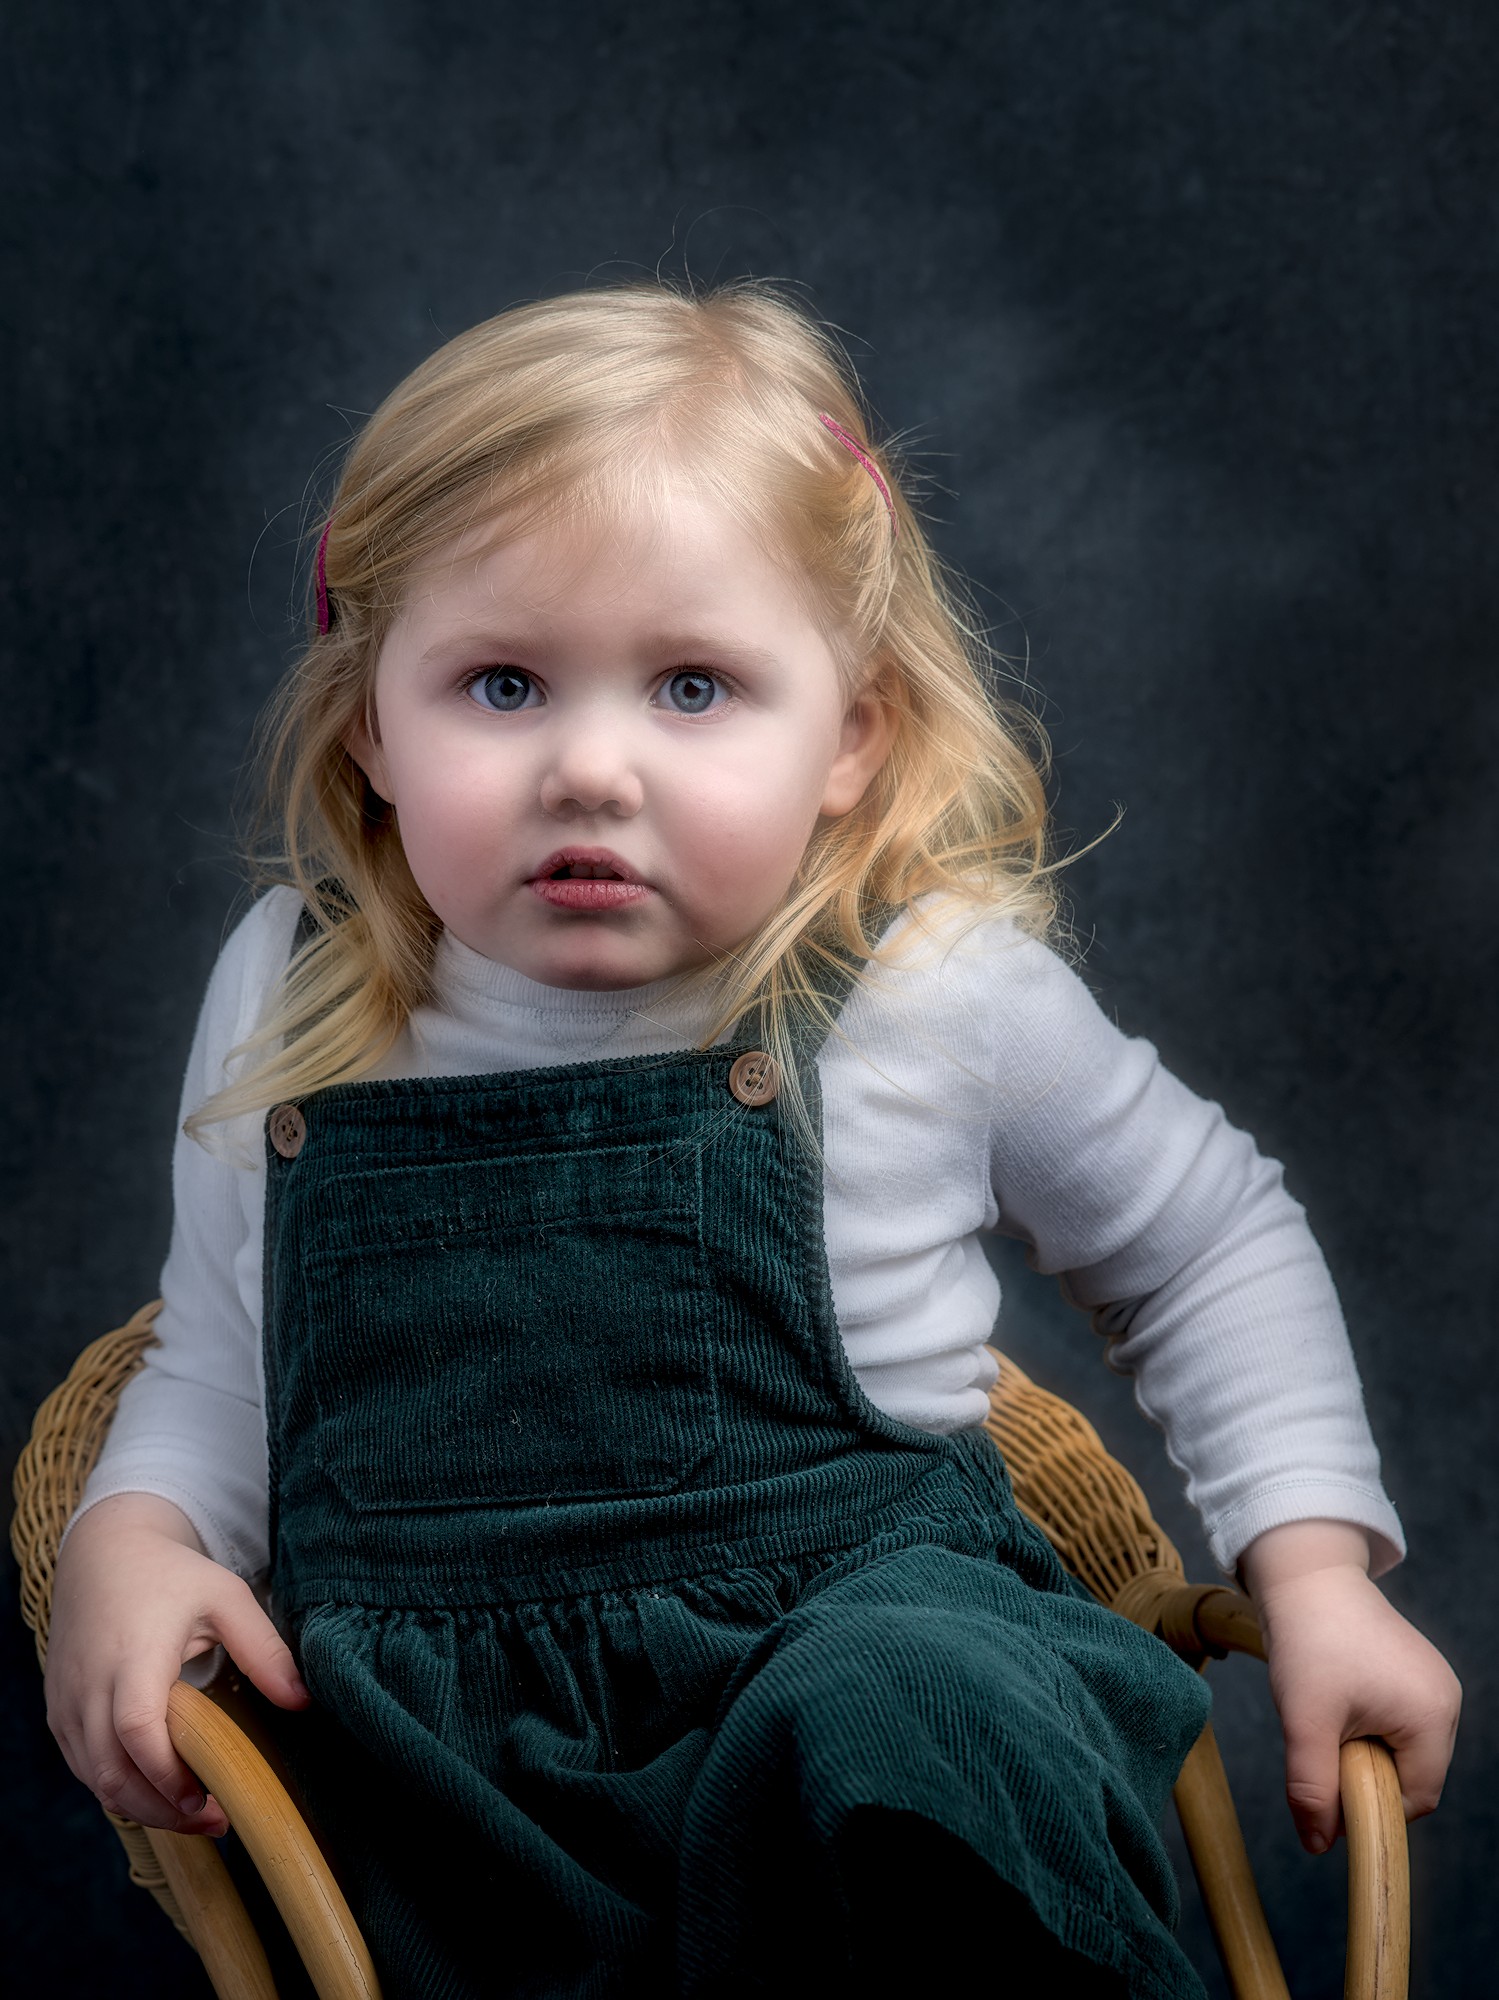
The images below are identical in every respect, other than filmic vs sigmoid. I prefer the eyes in filmic and I feel it gives more shape the the highlighted cheek. I also prefer filmic’s whites and colours. However, these benefits come with the cost of harder-edged nose and forehead shadows and a hint of corned beef skin.
Conversely, I prefer sigmoid’s overall smoothness if that makes sense, and whilst I can soften off the filmic image by selecting safe highlight contrast, that leads to pancaking.
Ultimately, with portrait photography, the sitters usually don’t want too much reality and the viewers are typically more focussed upon the expression than the photographic subtleties that we tend to ache over.
Thank you for the candid portrait.
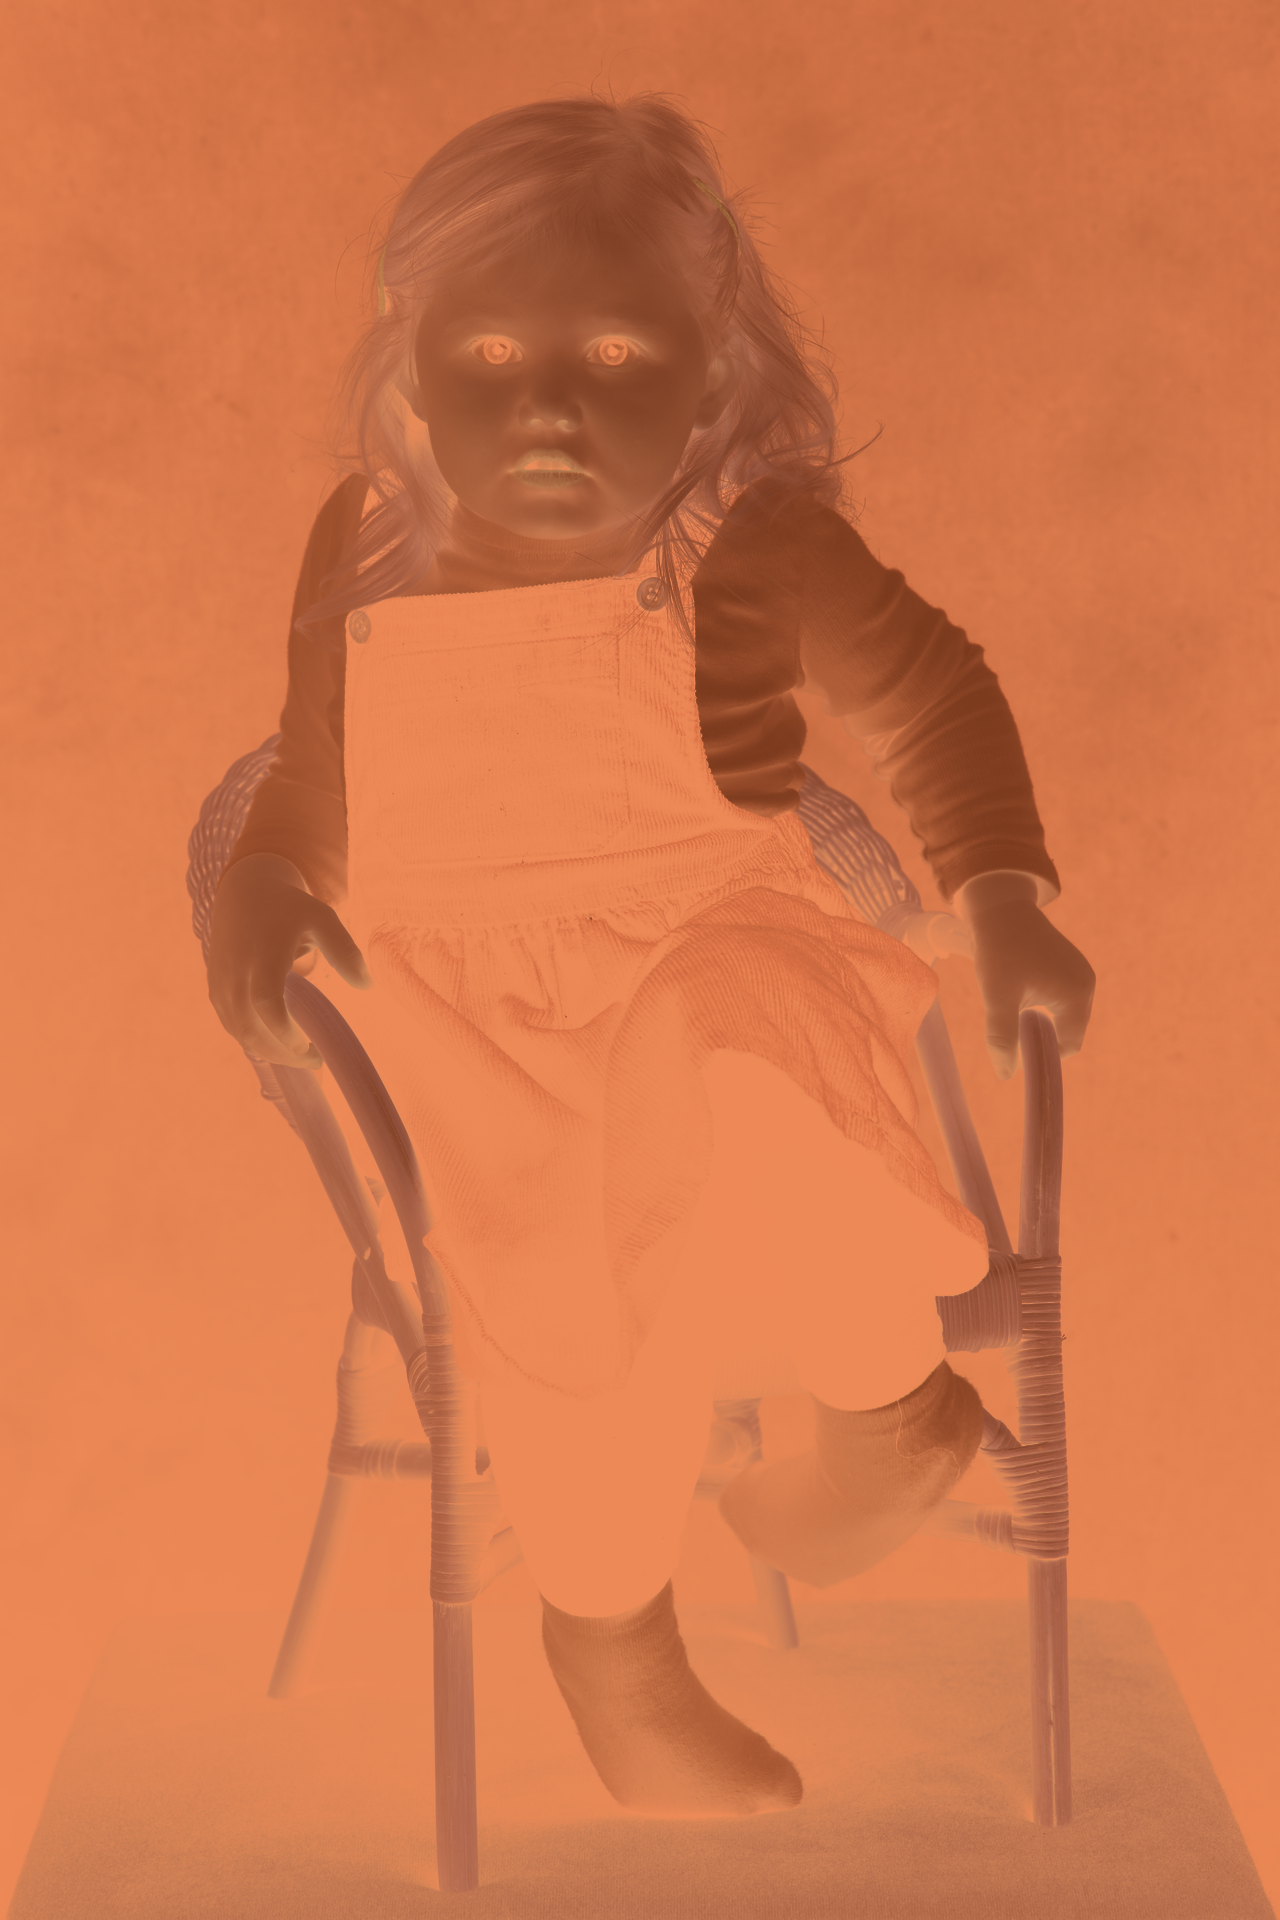
You said that, back in the day, you liked to have everything figured out from film and lab prints. Here is a version that simulates going through a color negative and back to a virtual scan. Not exactly the same but maybe closer than other workflows.
Everything very experimental.
First step was a linear export, and then the creation of the virtual negative with data from Kodak Vision50D, maybe not the best portrait film stock, but the one I extracted the data for now.
Latitude is an important part of v5 as it specifies the area of impact of the midtones slider and you can see where the curves cross for the zone where it applies the saturation…and you can expand that region and shift it back and forth…its less important in v7 which you have discovered…
If using v5 just leave it on no for color preservation and then adjust the color yourself as needed to taste… I know all those modes are supposed to save us from ourselves but honestly one or the other often works for one photo but not another and in some way shape or form they were always altering color that needed corrected anyway so I really never saw the utility in them. I think like yourself people fumbled around between them to the point of frustration and between versions the default mode changed which impacted the look so likely why v7 removed them and simplified that portion… but it still has the underlying gamut handcuffs that I really never cared for. I would rather fix the color myself…
Filmic gives a lot of control. Possibly more control than we need for most images. I prefer V5 over V7 because there are more sliders that I have control over to achieve what I want to achieve. The saturation sliders in the look tab are a huge difference between V5 and V7 and that could impact a users preference as well.
The designer of filmic intended that that you would ‘get’ the color from using adjustments in the color balance rgb module. He made some presets for that module to help you achieve that easily. Filmic on its own produces dull colors. So when using filmic I would always feel compelled to add one of the basic colorfulness presets available in the color balance rgb module.
However, if I use sigmoid I get more color straight out of the box. For many images I don’t even need to expand the sigmoid module to touch any of the sliders. It can just look good straight out of the box. Of course sigmoid has controls such as skew which can be worth exploring for certain images. Preserve hue slider becomes very important with sunset images. I have found the options in the primaries section of Sigmoid very useful with strong colored stage lighting. I am sure in time I will find even more uses for these controls.
I do a lot of my grading for contrast, saturation and brightness of shadows and mid-tones in the color balance rgb module regardless of using sigmoid or filmic.
Very interesting. I am currently seriously short of time, but I did briefly dabble with a couple of film emulation LUTs and suspect that part of my problem is that I want digital to look like film. Hopefully I will be able to find more such LUTs, but if anybody can point me in the right direction then I’d be pleased to hear from them.
I agree. Although I tended to use RGB Power Norm, all of the modes had their own peculiarities. With V7 I am using 35% saturation, which vaguely equates to Sigmoid in RGB mode. This then facilitates switching between modules for comparison purposes…
My recollection is that color balance RGB came along at a later date, which is why I was using alternative ways of adding colour. This has always been my filmic problem, because I didn’t evolve as the module did
I now find the CB presets useful when setting white balance, which I always struggle with. For instance, in some situations I would crank up CB’s colour whilst turning down CC’s chroma, and end up way off piste without realizing it. Locking myself down with a CB preset helps prevent this.
Lots of options which is nice as people can find their own “secret sauce” I still stick to v5 as I don’t like the gamut control or “hand-cuffs” as they have been referred to in v6/v7.
My own personal picture formation, sadly It wasn’t developed in DT, I use Davinci Resolve(pretty weird, I know, but I have my reasons) but it should be easy to port the code, I am just not the very familiar with DT. The “math” I use its most similar to what the Sigmoid module does, just with extra stuff.
It’s pretty inspired by C-Prints but not emulating anything in particular, I really like how pure those can be. Seems to be really good endeavor to have good memories of your family so I couldn’t resist sharing my attempt.
Learning to use Davinci Resolve is my new project as I want a hopefully free program for video editing my 4K videos form my Canon R7. My perpetual CS6 licence for Adobe Premier Pro I believe doesn’t support 4K. Anyway you use for this portrait looks nice.
I only crank down CC’s chroma if the color correction is too strong and overshoots the mark. It is not a way of cranking down saturation.
I do use the color balance RGB module as one of my most used modules. It allows me to set the saturation levels based on shadows, mid-tones, and highlights. I also find the brilliance grading sliders for shadows and mis-tones great to play with. I leave the highlights brilliance grading alone for my use. I also often do my contrast adjustments in the color balance rgb module because these can be achieved by a combination of brilliance sliders and the contrast sliders. For sunsets you can also crank up the saturation in the highlights but leave the shadows alone if that suits the image.