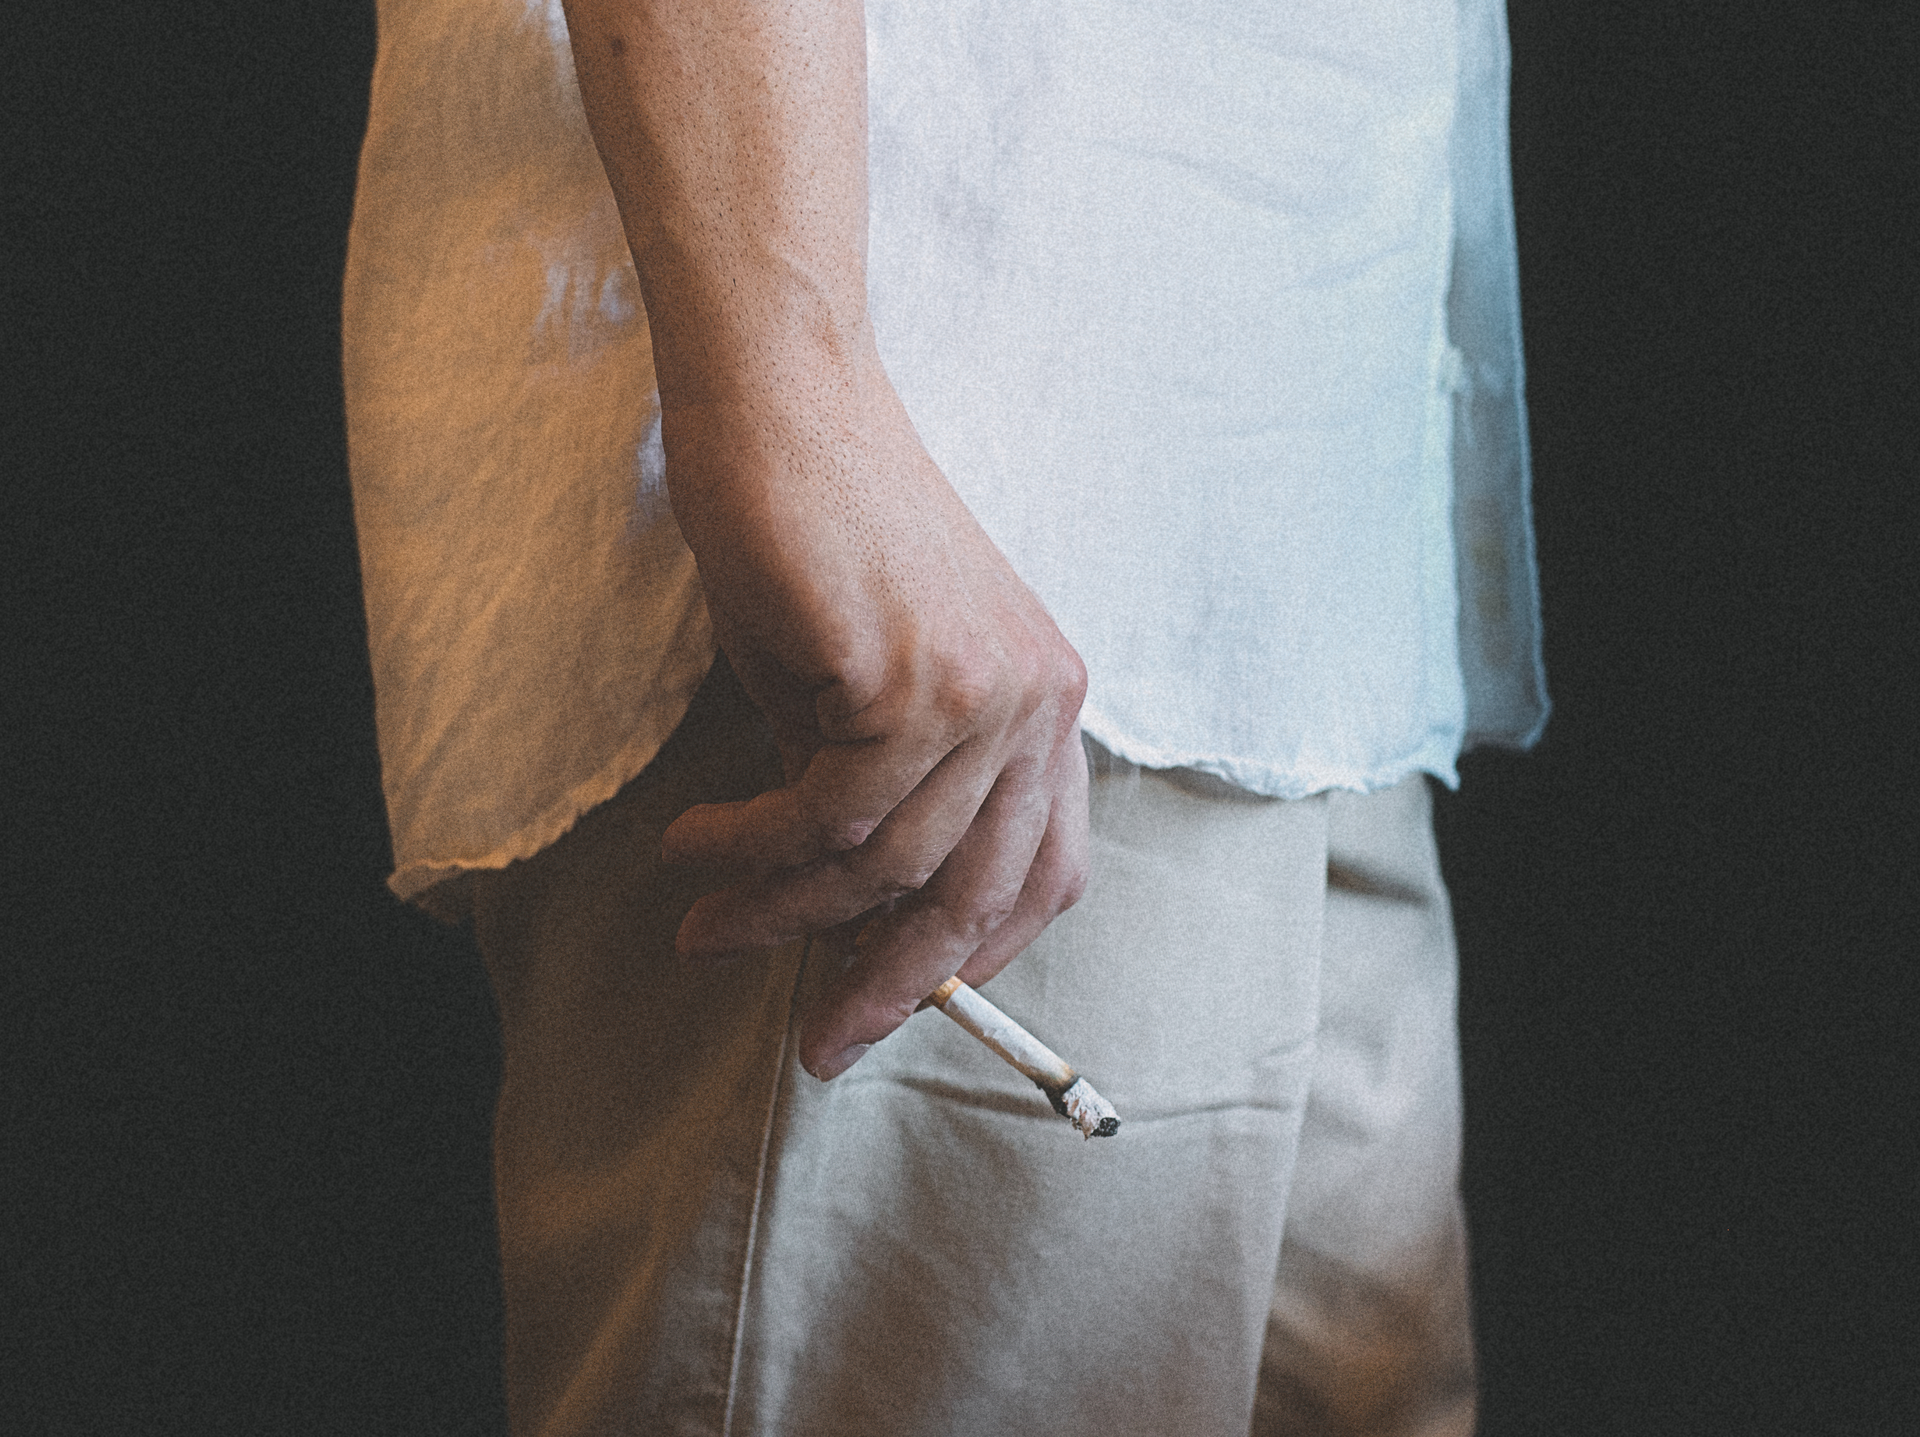
As you can see, I just want to recover just a bit of detail in the shirt, I don’t need to recover all the details.


First set highlight reconstruction mode to „Reconstruct in LCh“
Further it might be a task for the new highlight reconstruction tab in filmicrgb v4.
1 Like

Thanks! I’ll take a look at your history stack.
1 Like
So in these I’ve dropped the exposure in the “exposure 1” module and used a gradient mask to just drop the EV value of the from of the of the shirt.
But the more proper way would be to use “tone equalizer” so I just turned off the “exposure 1” and here you can look at the tone equalizer module. Caution, the curve is weird, I could have done a better job with the settings but the look is the same so it’s fine.

test_01.ORF.xmp (45.1 KB)
i now extracted the xmp from the jpeg and there’s the basecurve used in addition to filmicrgb. that doesnt make sense. to brighten up the image you ca add 1.5 EV in exposure module. In the fimlic module yo can give a bit more room to the highlights by increasing white relative exposure to abou +5.5 EV.
in fimlimicrgbs reconstruction tab you cand ecrease the threshold to -0.55 EV to enable this.
And then you can decide if you want to enable hightlight reconstruction with “Reconstruct in LCh” or disable it - that controls the brightness of the highlights on the shirt

1 Like
Thanks!
Shadow/Highlight recovery is a weak link in DT (my opinion/may be ignorance) there is no easy way, the shadow/Highlight module in DT is for a very minor corrections. Corrected using Capture one, even the blue tint is not there in a white shirt!

1 Like
If by “recovery” you mean reconstruction, then yes, but otherwise you should filmic.
1 Like
But that’s not the look applied by the LUT. The LUT brings up the blacks and darkens the shadows. If you don’t want to have this behaviour then you‘d better don’t apply this LUT
That’s a very nice LUT. Where does it come from? Is it freely licensed?
Hi @anon98727765 and welcome!
would it be possible to make this change permanent?
At least semi-permanent ![]()
If you’d like, I can talk (please read write) you through the procedure on how to do it…
Have fun!
Claes in Lund, Sweden
there was a discussion on this when the module was introduced - the decision was made as implemented …
I use LUTs for the same reason as you (film emulation). I use RawTherapee’s LUT collection, and they are in the sRGB colour space. Therefore I move my LUT module after DarkTable downgrades the working colour profile to the output colour profile (which is sRGB as well). That way I avoid unnecessary conversions between colour profiles.
There’s a working solution using styles.
you can activate the modules you frequently use an then bring the LUT module to the desired position in the pixel pipe.
Then create a style for this (in darkroom you can use the icon aside of the „compress history stack“ button or the create … button in lighttable style dropdown)
You can deselect all modules except LUt3d and keep „module order“ selected. Then this style keeps the new relative position of LUT 3D module order.
Note: this does not work for any DT version below 3.2.x
Seems to be same behaviour.
I prefer lu3d beeing between the last module dealing with colors (for me thats colorzones) and output profile - so, if i add a vignette this isnt affected by the LUT and the result of the LUT is properly pressed into the output profile.
Quick 5min edit. No LUT used. Probably skin tone needs some fiddling. Also, the shirt at the front has blue tint, I assumed that it’s natural light color. No idea what the scene’s lighting looked like…
test.ORF.xmp (7.6 KB)

