Auto-illumination of 2d shapes

Wow!

Game (height)map designers may find this very useful.

I like this!

Neat!!!

  1. Is the light source’s position fixed?

  2. There’s some indication of back-reflection; is that it, or do you specify some sort of ‘fill’ light?

Again, Neat! Neat!

No, light position (in 3D) is a setting of the filter, so you can place it anywhere.

No, I’ve just implemented the formulas from Phong reflection model - Wikipedia and got that rendering. I haven’t checked if this was correct as the results already looked cool to me :slight_smile:

Well, I’d assert “looks cool” is a fundamental test of ‘correctness’ in imaging!

Neat!
(I am the Knight who says ‘Neat!’ And so I say, ‘Illuminate a Shrubbery!!!’ )

:thinking: Makings of a good filter. First impressions:
– Illumination currently makes it look like it is over- or unevenly inflated. Something between this and the render in Gmic for animation - #13 by David_Tschumperle might be an improvement.
– The sharp edges and their illumination break the illusion of 3d-ness.

Source: Wikipedia

Source: My Little Day


When this is done, could we have I chocolate filter?
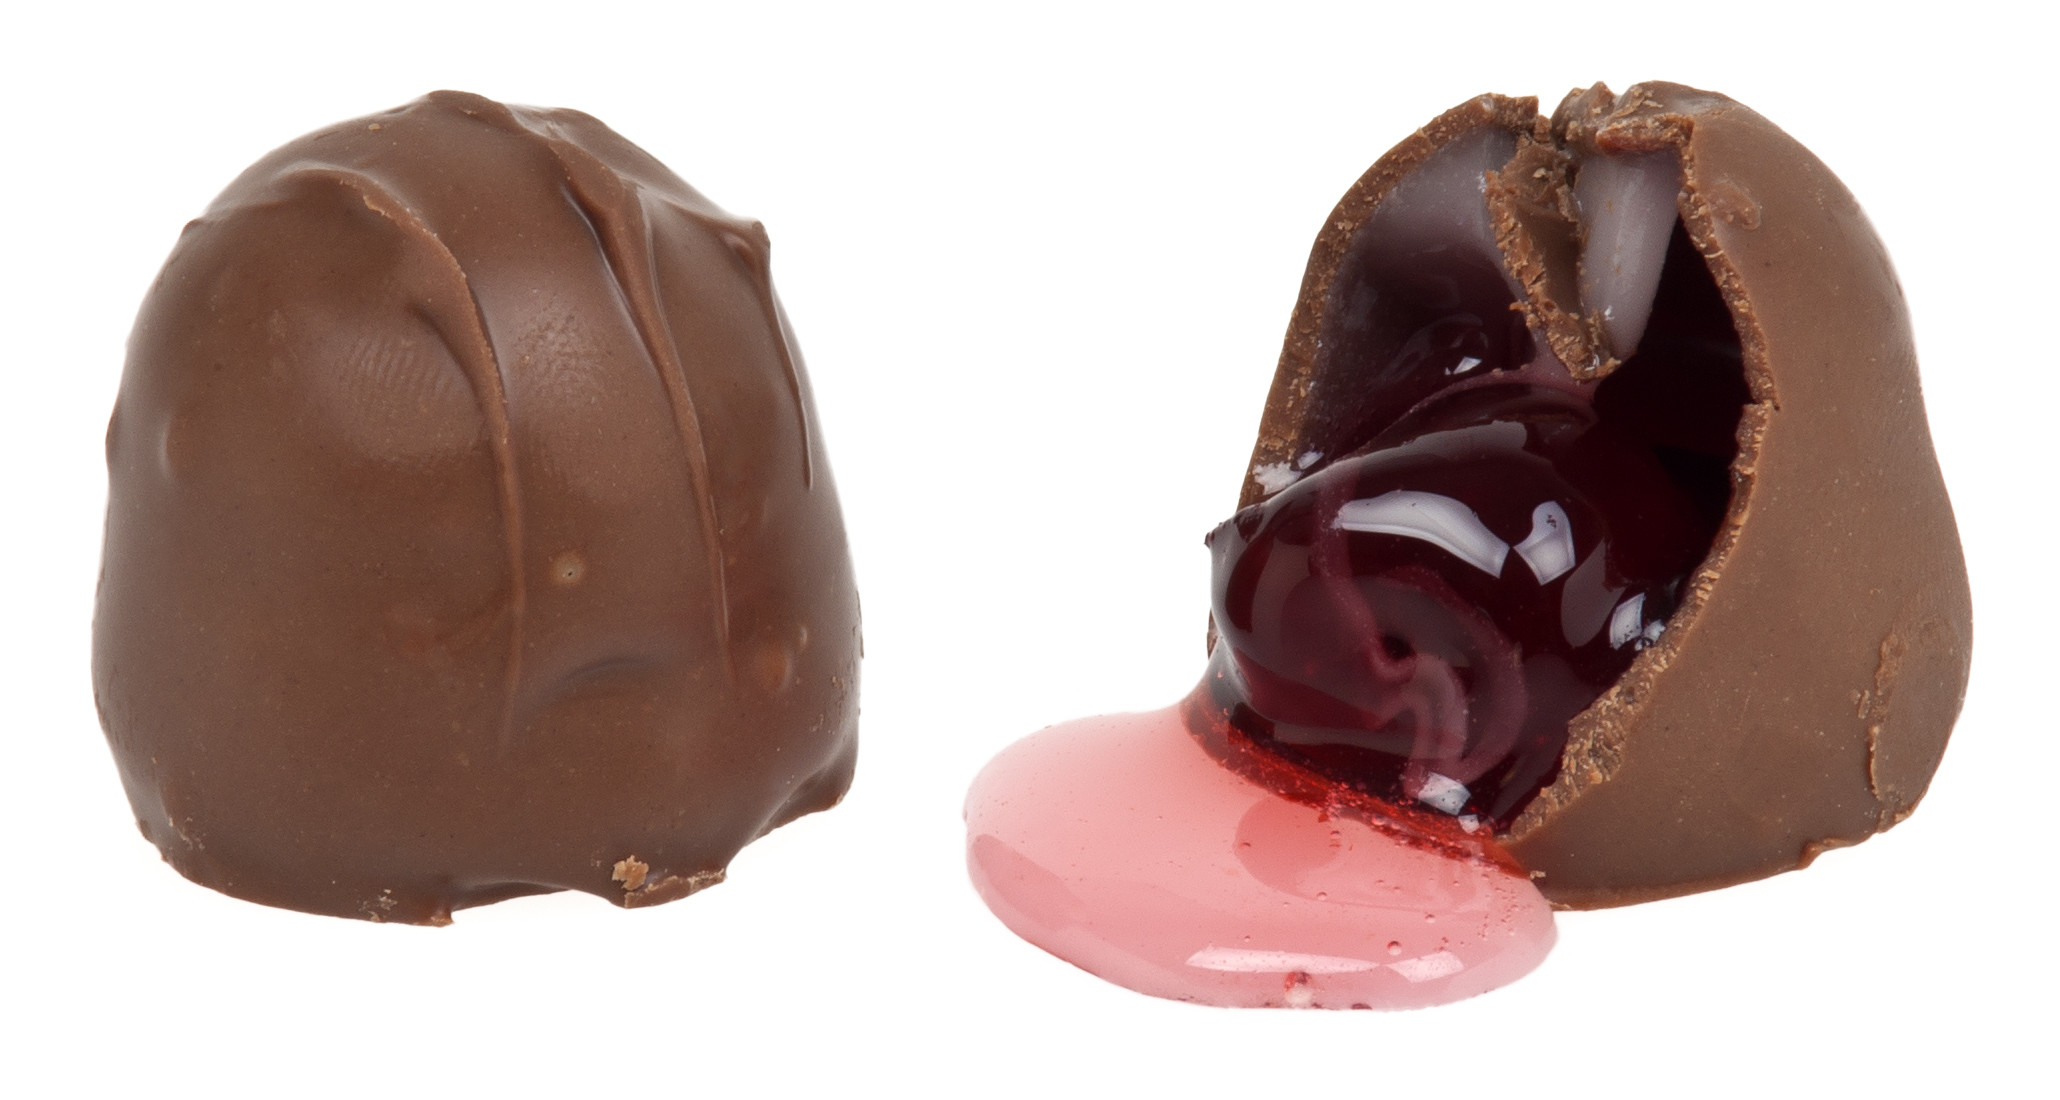
 :wink:

Source: Wikipedia

(This might be a joke. Secretly, I am hoping for the illumination of not just empty shapes but ones with relief as well, like the ridges on the chocolate piece.)


http://dcgi.felk.cvut.cz/home/sykorad/ink-and-ray.html

It would like me that it was multilayer. Putting each inflammation in different “Z” levels

Looks impressive David; sort of like Bevel Reflect Logo. Maybe give option to add different types of textures to would be cool. :slight_smile:

So, here it is !
A first version of the filter Light & Shadows / Illuminate 2d shape has been published today, and should be available for users of the G’MIC plug-in for GIMP and Krita (requires version 2.2.2+).
Here is a video that shows what it can do.

https://www.youtube.com/watch?v=AUVTbrdGznw

Right now, I admit I’m quite enthusiastic by this filter, as it really allows shading complex shapes with a few clicks.
Remind also that this is a first version, so subject to changes.

Please let me know what you think about it !

Some before/after comparisons :

example1
example2
example3

4 Likes

I love this! <3

The Effect could separate by layers and attain something like this:

2018-05-18-125012_546x431_scrot

Just select Output modes -> New layers and you will get the illumination layer alone, blended with your original image.
Then you can re-work on this illumination layer to create various effects or correct light locally if you want.

1 Like

I what thought was in slight variations for each level and something similar to colorize [interactive] for the levels.

2018-05-18-131534_1600x900_scrot

Not planed like this sorry :slight_smile:

I will have to automate it in a script :stuck_out_tongue:

Melts from the cuteness of the lion. Awesome wizardry you have there, @David_Tschumperle!

3 Likes

I like it, thanks…

Processing each colour separately

The effect is less a globe and similar to the animations of 2.5D

2 Likes

That’s interesting.
Have you used the exact same parameters of the filter for all colors ?

yes. But no it apply it to him to line (black)

You can get the same effect by playing with blending modes and opacity…

I like mine better though.