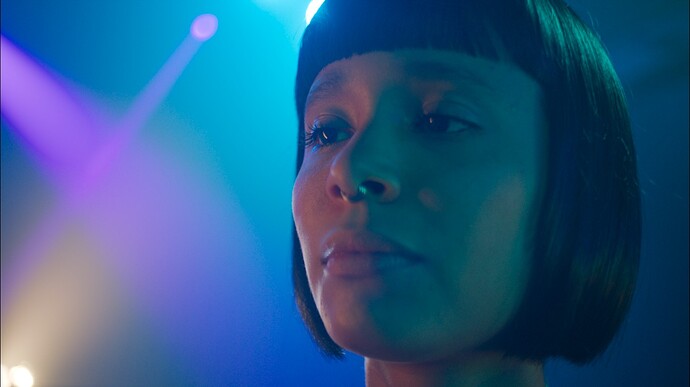
I knew it had to have been something inept - my apologies.
@kofa
Awesome, I can confirm the red hue shift is no longer there with my Windows 813 build and display profile.
AgX default settings:
Yes! the color shift is no longer there for me either. the “clipping”, as in my previous post, has also disappeared”
GREAT, GREAT,GREAT,…
(i hope the slider for “vibrancy” returns. ![]() )
)
Did you notice much difference between it and the vibrancy slider in color balance rgb? In my tests they produced similar results. I guess the main difference is color balance rgb works on linear data before the curve, whereas that in agx on non-linear data post curve.
i found vibrancy more pleasant and more radiant for landscape shots.
for architecture and portraits i usually found the saturation slider more pleasing
But while useful in itself, that doesn’t answer the question…
If there’s no difference between the vibrancy effects in AgX or color balance rgb, there’s no reason to keep the one in AgX, other than perhaps ease of use.
Different tools that have different effects is one (good) thing, having the same tool in different places is something else (not so good). It might also indicate that one of the modules is trying to do too many jobs (i.e. more than one).
oh, I must have read something wrong. ![]()
i didn’t really make a comparison between “color balance rgb” and the “vibrancy” slider.
I did, however, use “color balance rgb” in some cases.
i can’t say whether these two things reacted differently ![]()
but while we’re at it, let’s try something different if you’re already doing something new.
maybe this is missing the point and doesn’t belong here,
but maybe this would be a simplification and in my opinion a “nicer” way to lighten shadows.
couldn’t you use the “RGB Curve” (see screenshots… I love the RGB Curve for this) as a basis for a slider that simply
and almost artifact-free to lighten shadows.
yes, i know, the module is already there, but you wouldn’t have to save a preset in an extra module and then scroll through the module.
maybe an idea for simplification and yes…another slider and possibly a lot of work ![]()
Translated with DeepL.com (free version)
preset: rgbcurve_0.dtpreset (1.1 KB)
yes and no
the difference is that the RGB Curve in my preset only processes the shadows and has a greater effect when the exposure is lower or a smaller effect when the exposure is higher.
and in my experience, a lower exposure protects the highlights much better.
the Power slider has an effect on the whole image and also disturbs the highlights from a certain point.
Moving “Toe power” to the left brightens shadows while leaving highlights alone. Have you tried that slider?
yes, i have tried the ‘toe slider’.
but this doesn’t have the same effect and quickly becomes a ‘grey mass’
i always try to adjust the exposure first to get the maximum amount of detail in the highlights (i don’t really like the ‘tone eq’)
only then do i use an agx or filmic. and then the ‘rgb curve’ helps a lot for the shadows. (you can also use this several times with different ‘colour preserves’ i usually use ‘basic power and/or “none” )
it’s just an idea on my part and shouldn’t make the whole thing too complicated ![]()
I have the feeling you may be using those tone mappers as ‘creative’ tools, expecting them to do things they were not designed to do.
Try these two tone equalizer presets, based on @s7habo 's videos. Using the autopickers and the opacity slider to quickly reduce the effect, I’ve been happy with them.
lift shadows (1 EV).dtpreset (1.2 KB)
lift shadows (2 EV).dtpreset (1.2 KB)
Thanks.
My naïve idea was to use the final ‘export’ (destination) space to make gamut compression easier. We don’t have the display (destination)-specific transforms that you added to AgX.
Maybe it’d be a good idea to split that out, put it right before darktable’s output color profile module. Until then, the pipeline runs in the working space, Rec 2020 by default (darktable’s pipeline is based on a D50 illuminant, though).
What do you think, could a good compromise by found for users who do not want to deal with yet another module? I could provide it for advanced users; others could work with agx (I’m kind of scared now to (ab)use that name) settings that are reasonable for typical (sRGB and maybe AdobeRGB) output.
BTW, the difference of the two (in Gimp) looks like:
I believe the pre-formation one is much more important than the post formation one. The one post-formation is actually mostly fine just using a hard clamp, as long as there is no gradients that is supposed to be smooth but is getting artifacts, it’s all acceptable.
Currently I think the implementation is broken somehow:
With it turned off:
With it turned on:
Blender result for reference:
EXR here:
Sometimes using a wider set of primaries for formation can actually make things easier, like Camera-AgX DCTL default using ARRI Wide Gamut 3 with just hard clamping:
I played with the compression settings a bit, it seems changing the magenta settings fixes the issue. So maybe the implementation is fine, it’s just the default settings being weird?
Maybe you just need to find a better default settings…
Okay I think I am talking too much. This is your project, I should probably shut my mouth unless you need me.
Your input is very much appreciated. Unlike me, you know about colour processing.
When testing in darktable, enable full-quality processing (otherwise the darkroom pipeline takes some shortcuts to speed things up):
vs
It may have made it worse, in fact…
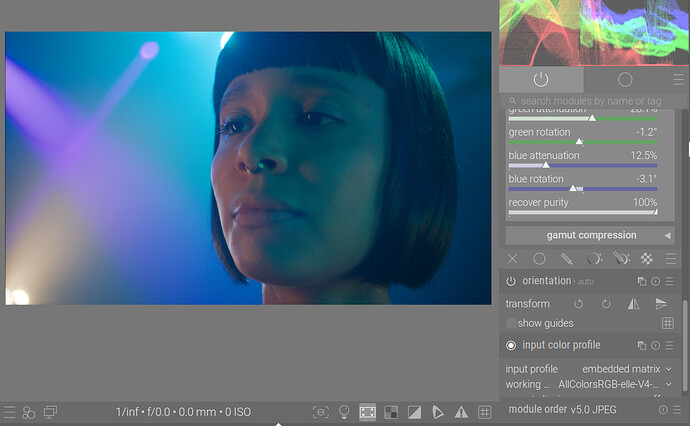
I’ve tried your advice regarding the wider space, using https://github.com/ellelstone/elles_icc_profiles/blob/master/profiles/AllColorsRGB-elle-V2-g10.icc:


