If you run into “something” let us know! For me personally I like that the same code works so good for xtrans and bayers.
2 Likes
Actually I’m using the RGB variant… (because in ART – inherited from RT – highlight recovery happens after demosaic, and I didn’t want to make a big change just to test out the new method.) So far, the RGB mode seems to work fine. There are some minor differences when I compare with dt, but overall they are quite similar.

No highlight recovery algorithms just colour adjustments and masks. Primarily using RGB levels.
2017-10-15_13-50-59-DSC_0026_05.NEF.xmp (21.3 KB)
5 Likes
I notice highlight recovery module is one of the few modules that multiple instances is greyed out. I presume there is good reason for this omission that can not be overcome because of HLR’s position in the pipeline. It sounds like different localized HLR techniques being applied in a single image may have advantages at times if multiple instances was practical.
@hannoschwalm I just downloaded this image and used the segmentation based HLR method. All I needed to do was lower the clipping threshold until the magenta sky turned a beautiful blue. There is also another shot which I use to test HLR problems with and the segmentation based HLR method did a fantastic job once I lowered the clipping threshold on that image too. Great work making this method. It looks really promising and simple to use. Thanks for your hard work, it is appreciated.
Dus you check with the raw clipping indicator , that all blown parts are recognized / marked as blown ?
Might have an impact somewhere , or may require less tweaking of the threshold .
Best for this task is the mask button in the HLR module itself …
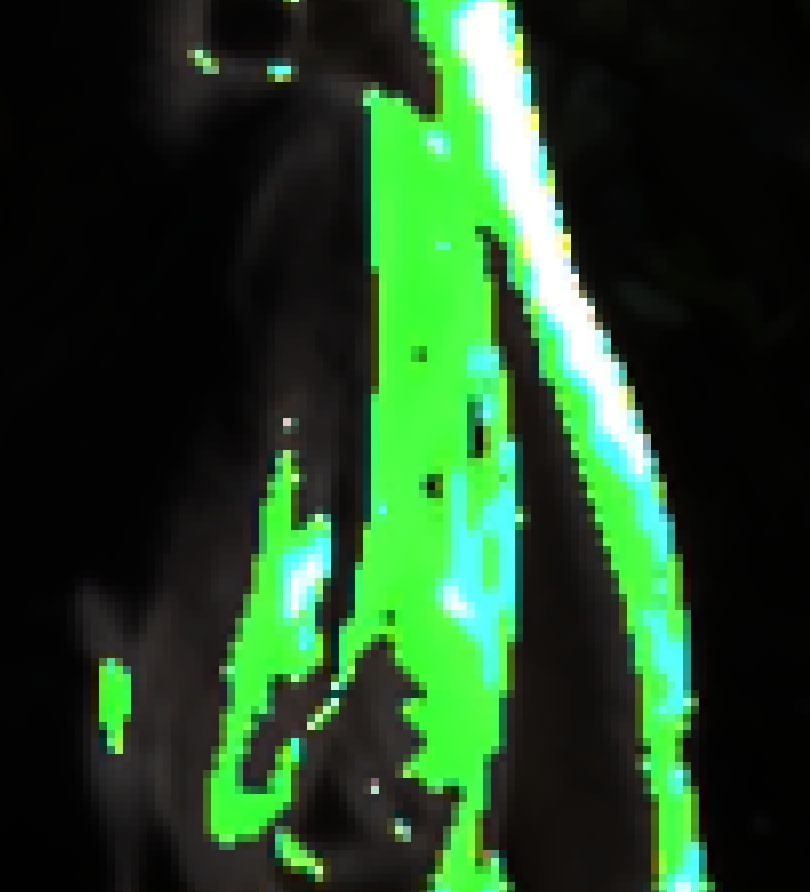
What are the colors displayed when altering candidates… what data is found or what will be recovered…in the mask view
It’s a false color representation of segments concidered to have a good candidate.
There are plenty of areas that the raw clipping indicator does not mark, but show up magenta:

Yet, clip highlights and reconstruct in LCh remove almost all of the magenta. I’m not sure if what remains is CA or not:


Both of them, plus guided laplacians, show the following mask:

With guided laplacians, some blotches of magenta remain:

With the raw white level of 15700, as suggested by @g-man, I get the following mask for clip highlights and reconstruct in LCh:

For guided laplacians, the mask is a bit different (just a few pixels):

The raw overexposure indicator:

Output from guided laplacians:

Turning HLR off and zooming in, there are still magenta areas:

But even those are fixed by guided laplacians:

The areas that still have some magenta:

Raw overexposure indicator:

HLR mask from guided laplacians:
1 Like
Okay thanks…
Is there a draft documentation? I’ve read some of the PRs, but they are too technical for me at this point (even though I remember some of the basics of segmentation / morphological operations from university). I also remember reading bits of advice on the forum, but can’t find them right now.
In preparation  @Iain has already done most of it including some general info how highlights reconstruction can be understood and what the problems are.
1 Like
Here is the draft documentation
4 Likes
Interesting… sometimes when I look at these sorts of images and I like the colors overall and its just seems dark I try edits without filmic and now without sigmoid… using only the tone eq and few other modules…it may not really be a good edit in the end but what was interesting is at least with this combination of modules a nice demonstration of inpaint vs segmentation results showed up. Here in the first image is my edit and inpaint at the default threshold and that has left a gradient at the blown area in the upper right of the sky. It runs along the dust spot or artifact… Simply switching to segmentation and dropping the threshold one click to 0.99 or leaving it at 1 and increasing the candidates fills and blends that area…
In many images it can appear that the result is the same but clearly the segmentation method will be quite useful…
Inpaint

Segementation

2017-10-15_13-50-59-DSC_0026.NEF.xmp (10.0 KB)
2 Likes
Exactly. That’s what the segmentation and finding candidates is for 
1 Like
I just noticed that in the segmentation based example the sky has gone a bit pink in the lower right corner (of sky), whereas the inpaint one doesn’t. I expect a bit of tweaking would sort it though.
Yes, I’ve noticed that, too. If you use inpaint opposed, you’ll see a boundary where the top left is pinkish, the bottom right is blue. It seems that pink is somehow propagated, perhaps.
If you brighten the image and apply sigmoid or filmic with chroma preservation = Luminance Y, some desaturation happens and the tint is reduced.
Hi Alberto,
I checked the algorithm on Darktable, very impressive ! this could be a very suitable tool for ART
SM
Good, because it’s been in master for the last 10 days 
You don’t see changes in the UI because it replaced the previous “Balanced” method.
1 Like