When I examined the two RW2 files w/ ExifTool, I noticed a suspicious difference in the Panasonic Makernote tag 0x00E8 (ExifTool unfortunately doesn’t know what that tag means, and neither does exiv2):
It’s 100 for the regular shot, and 640 for the V-Log profile one, so it could be some internally hidden away “ISO compensation”? (100/640 = -2.68 EV)
Btw, colour-science is an excellent resource for reference implementations (and docs) of various color spaces, curves, and transforms, they have almost every imaginable, and more… One could even play with a complete workflow in Python: e.g. get a linear RGB from RW2 using rawpy, and then do the rest w/ colour-science…
I love these sort of investigations; it’s a powerful thing, multiple sets of eyes on a problem…
So, it appears Panasonic does something significant to the raw image data before delivery if a V-Log profile is invoked. 2.68 EV difference in exposure would seem to mitigate the highlight pileup when the log curve is applied, but that surely abrogates any consideration of ETTR. And, let me emphasize, this does show up in the actual raw data from the file; the channel maxes of the log raw are far lower than the up-to-the-14bit-max values of the other file. I’m not at my desktop computer right now, but I’ll post them when I get a chance.
Anyway, I’ve found this exercise to be quite useful for my selfish purposes. I’ve been looking for a way to use various log curves in my hack software, rawproc, without having to code each one and shoehorn it into the GUI; now, I think I’m just going to replace loggamma with a 1DLUT option, use the simple .cube format to start. Then, I can start a “zoo” of .cube files for the various transforms. Won’t address color yet, but I’ll work toward a full 3DLUT tool.
Not sure what the Panasonic terminology is, but the colorspace is the gamut - V-Log is a transfer function (TRCs and gamut/colorspace are two different things, but they do interact which is why ICC color profiles allow both TRC and colorspace to be specified)
I’m a bit rusty on RT working colorspace code, but in the event that you can’t load in a userdefined color space that matches Panasonic’s gamut exactly, RT will convert to an internal “working” space - in general you don’t have to deal much with this unless doing certain processing operations that really shouldn’t be done here (where you’re trying to convert raw data to V-Log + whatever panasonic calls the gamut), or the colorspace is too “narrow” leading to gamut clipping (the latter should be easily avoidable).
That’s kind of the opposite of what I’d expect, unless I missed something last night (as I mentioned, I’m kind of time-crunched until next week) - That tag sounds kind of like the “Sony ISO” tag on Sony cameras, which basically translates to “The raw sensor gain configuration is such that it matches a “normal” JPEG at this ISO setting”.
For example:
Sony S-Log2 - at minimum ISO for most Sonys, ISO 800, “Sony ISO” is set to 100.
Sony without picture profiles enabled, ISO 100, “Sony ISO” is set to 100.
Of note, the A7S3 drops minimum “Normal” ISO to 80 - guess what, the minimum S-Log ISO dropped to 640 from 800.
e.g. raw data for a given scene will be the same, or nearly the same, for a “Sony ISO” of 100. (TBD - I thought I saw a small delta, but it may have been variation in scene luminance. I need to retest sometime next week.)
The reason for this, again, is because the CIPA standard for camera ISO ratings derives the ISO rating from what luminance leads to a JPEG code value of 128. Since that code value corresponds to a much lower luminance in a log profile than it does in sRGB/rec709, the end result is the ISO rating gets bumped up even if the sensor’s gain configuration and clip point are the same.
Also to note, sometimes what’s not covered in the technical documents is when a manufacturer decides not to map the sensor’s maximum linear value to the maximum possible code value, but an arbitrary lower code value. aka why no user of a Sony camera that records 8 bit video should ever use S-Log3 - Sony mapped sensor clip to a code value of around 225, not 255, throwing away code values (At least on an A7III). This scaling throws away 30 precious code values! (And also explains how S-Log3 and S-Log2 have the same minimum ISO for pretty much all Sony ILCE models, they’re all crippled unlike the PMW/PXW families)
Next week I’ll dig up some plots I have poking at these, it has some good examples of why the ISO values are different for a given sensor configuration.
Well, here’s the fun thing - based on that LinearizationTable, the DNG data that you got out of the Atomos is NOT linear - that tag says how to linearize the data. Given that it was recorded by an Atomos, I suspect that what happened is rather than linearize the data, Atomos just saved it, and popped in the LinearizationTable and a ColorMatrix that corresponds to V-Gamut’s primaries, so that DNG-compliant software would properly linearize and colorspace convert it.
So the challenge here may (I need to run some experiments in Resolve, as I said - I’ve literally had it for one day.) be that for this particular DNG, Resolve is actually the software behaving improperly - by passing through the data in the DNG and ignoring the LinearizationTable and possibly also the ColorMatrix. DNG-compliant software linearizes the data, and then will typically convert that linearized data on export to data that is not linearly encoded, TYPICALLY the sRGB transfer function and gamut, but configurable.
In the case of RawTherapee, it’s linearizing and color-converting the data. To get it BACK to V-Log/V-Gamut (or to that colorspace/gamut in the first place for raw files that are linear such as your S1H files), you’ll need an ICC profile that defines V-Log and select it as the output profile. RT’s ICC profile generator can’t do this, it doesn’t support those TRCs. It IS possible to generate an appropriate ICC profile though, the code to do this is exactly what I was talking about earlier - I’m going to try and clean it up and push it next week (and will also try generating a V-Log/V-Gamut ICC profile).
This can also be done with ICC profiles, although in your case you’re using it for internal data conversions, so .cube format probably works better. .cube as you’ve probably seen supports both 3D and 1D LUTs. It also, at least for Resolve, supposedly supports 3D LUTs with an “input shaper” 1D LUT. (For example, if you want to have linear in, a 33x33x33 cube LUT isn’t going to work well unless you preshape it into a more perceptually even colorspace. I’m planning on doing something like this to try and allow highly complex HALD CLUTs such as the 256x256x256 ones I’ve been playing with to be represented with a preshaped cube LUT that Resolve won’t choke on.)
That looks really strange. Is there a possibility that you made a legal-vs-full luma range mixup in the V-Log transfer function implementation? legal vs. full luma with log profiles can be a gigantic mess - for example, Sony uses “pseudo-full” for S-Log2 video, being that everything is scaled as if it’s “legal range” in the formulas, but code values over 235 are permitted (e.g. instead of going from 0.0 to 1.0 where 0.0 = code value 16 and 1.0 = 235, it’s 0.0 → 16 and 1.09 → 255. Shoot a JPEG though, and it’s proper full range, so 0.0->0 and 1.0->255, and thus that pesky 0.03 offset in S-Log2 lands at a code value just above 7 instead of just above 22.
Kmilos, Yeah, I looked at the exifdata page with tons of maker notes for Panasonic, but it doesn’t seem to list 0x00E8 DNG Tags
Thanks for the links, I will have to check out, when I get a chance.
age, your transforms look really close. Very cool. However, I can’t seem to open Photoflow in OSX, It tells me the app doesn’t work with my version of OSX (10.14.6). Is there a way around this? and ART doesn’t seem to be for OSX at all, so can’t try myself. Can the .arp be changed to .pp3? Also, I’m concerned that mathematically it’s not a perfect match, so it may look close with this image, but what happens over the course of 1000 images with different lighting, white balance, contrast, etc. There has to be a more elegant way than this, right?
My other thought, is that this camera has a design flaw and the .RW2 file coming out, when the camera is in V-Log mode is in fact incorrect. I previously contacted Panasonic about this issue and they did get back to me, but it was mostly “we will forward this to the correct departments, but can’t guarantee anything”. They also, just came out with a new firmware on the 31st and it doesn’t appear to address any of the issues I had. One reason why I believe this, is that it is so far off in exposure. Or am I off in my thinking haha? The Varicam DNG, for instance, doesn’t have this problem, regardless of what gamma and color space it’s in. But, maybe the file is correct and just needs some sort of metadata alteration and/or an input transform lut to put it into the correct V-Log/V-Gamut space. The Varicam might have some sort of processing in camera to transform it into their V-Raw space (the same one that their Varicam Pure / Codex solution employs), then Davinci Resolve can further transform into V-Log. Whereas, perhaps, the S1H doesn’t convert it into V-Raw and instead just spits out the darker image. Might be something like that. Again, this is all really new to me.
This sounds like the way to transform it. But, I don’t know how complex something like that is or what is involved. Andy, when you get a chance, if you know how and want to take stab, that would mean the world to me. Again, no rush here, totally grateful for all of this help. What a great community!
Just to clarify again, ideally I’m aiming for two things in my workflow. 1. Simplicity and Efficiency (ideally the transform would happen in a single step at the beginning of the process (an ICC / Cube with the ability to work in different apps), no separate render or multiple app process to transform into V-Log/V-Gamut. 2. Mathematically Accurate. I’m looking for a true version of V-Log, not really a chimped through multiple processes and apps type of thing, because that sort of defeats my first thing. This is basically how I work with my DNGs in Davinci Resolve. Import-Raw Transform-Grade-LUT-Output. Very simple workflow. All in one app with only one render step. Ideally the photos would function in a similar manner in a respective photo app. Obviously, if it has to be performed in a more complex manner, then it does, but those goals are the ideal.
Thank you for the .pp3! Also, a side question are dcRAW programs, like RawTherapee really slow on Mac OSX? It runs at like 2 frames a second on my 2019 iMac 27". Just wanted to know if there were any ways to speed up the UI. It has some interesting tools, but it’s so slow as to be almost unusable for everyday work.
Thanks for looking, those are LUTs used for transforming from v-log / v-gamut into rec709 with different looks. What I’m trying to achieve is transforming the s1h raw file into v-log / v-gamut. Then one could use a lut like those after that transform.
I’m aware of the vRaw to vgamut LUT as well. It’s used for changing the color space while recording raw video externally with an Atomos Ninja V. There’s a similar LUT that Atomos developed for the Shogun, when externally recording prores with the Varicam LT. But I’m pretty sure there’s a sort of chimping approach to it, because the colors don’t quite match the internally recorded video. Where as the Raw DNG files, converted in resolve’s raw tab have a mathematically correct match. So whoever programmed the metadata exif tags, made resolve aware and their raw tab has the correct conversion. This is the kind of thing that would be amazing for the s1h’s .rw2 files and many other cameras. All a software developer needs to do is program a raw functionality that allows the user to transform their file into a log and wide color space proprietary to that camera / manufacturer. Vlog for Panasonic, slog for Sony, etc. But it probably requires cooperation / licensing with the camera manufacturer and this might be too expensive. Not sure really. Also, video and stills markets are kind of still separate and maybe engineered by different teams. Who knows? Would be cool to have this feature though.
When you shoot raw still photos using the V-Log setting at ISO 640 it’s actually using the same in-camera signal gain as IS0 100 and just recording 640 in the metadata. My Sony cameras do the same thing when you shoot with the S-Log3 picture profile. So if you were to shoot a standard profile image at ISO 100 and a V-Log image at ISO 640 using the exact same manual exposure settings the actual raw data should be exactly the same. This isn’t a bug and has to do with the different methods for determining the nominal ISO speed in still photography vs video. Basically, still camera ISO is derived by counting down to 18% exposure from 100% sensor saturation (i.e., about 2 2/3 stops from clipping) while video nominal ISO is approximately based on the actual middle of the camera’s logarithmic dynamic range. So with a still camera “correct” exposure at base sensor gain will yield about 2 2/3 stops above middle gray and 9 stops below, while “correct” exposure using the same gain value with a video camera will give 6 2/3 stops above middle gray and 5 stops below.
[edit: removed paragraph. Was late when I typed it and it didn’t make much sense, haha]
if you want to capture more highlight information but you’re already at your lowest amplification level, the only option is to reduce your exposure and brighten the result using a more dramatic tone curve. This is essentially what’s happening in Log modes
This is why, for instance, the Panasonic S1H’s minimum ISO changes dramatically when you change into one of its Log modes
The change in the available ISO settings purely reflects that their tone curves accommodate an extra 1, 2 and 2.67EV of additional highlights, respectively, compared to Standard mode
Those are all good points. It definitely makes sense. I’m guessing some cameras like the s1h have to gain stages, one for 640 and the other for 4000, but others have many gain stages and it’s less clear what the native iso is, correct? It’s kind of sad really. ARRI does it best, when they show you that iso is basically just rating the camera’s grey point differently, allowing you to say where you want the dynamic range. But the other manufacturers don’t really explain it so simply (and with my above comment, probably not very transparently either), because consumers are obsessed with low light photography and how high the number goes.
Either way, is there a way to take the .rw2 file and change it to v-log/v-gamut or not? Because being able to shoot raw stills, while looking through a LUT is a unique and powerful feature. The s1h is one of only a few cameras that can do this, and most are made by Panasonic or have Panasonic tech (Leica). Panasonic should be shouting about this and make it possible, they could sell film LUTS and stuff too. Not sure why?
This isn’t what I saw with the SH1 raw data delivered by libraw to rawproc. The V-Log raw data was definitely under-exposed, even though captured with the same shutter speed and ISO (reported in the metadata) as the still image (aperture is only known by @modernhuman’s report that he did not change it between shots)
I’ll have to dig through libraw code to make sure it’s not doing anything, but my history with it makes me want me to believe it isn’t…
I’ve attached 7 files below with, hopefully this time, appropriate names. All settings are the same in regards to f-stop, shutter, white balance, etc. Only changes are noted. There are 3 .rw2 files one captured with Vlog at 640, one Standard profile at 640, and one Standard profile at 100. There are 3 simultaneously captured jpgs with the exact same settings as above. The 16-bit tiff still exported from Davinci Resolve is taken from a video clip shot in Vlog at 640 iso, as another reference. There is a slight color difference between the jpg and the tiff in Vlog, but I think this has to do with color profile tags assigned to the images and/or the way I have my color management setup in Davinci Resolve. The point is they are nearly identical. It does appear that the 100 iso file is the same as the Vlog at 640, but haven’t done any extensive testing. Thought these might help everyone. Oh, one last thing, the files coming out of the camera have a “P” instead of an “_” when shot in Vlog, not sure why? Don’t know if this means anything, just something I noticed. Thanks again everyone for all the searching and support!
I just checked the 100 and 640 vlog raw files and they do indeed look to be identical as far as exposure. So this would tell me that the vlog is recording at 100, but rating the camera for 640 middle grey or something like that, but the software isn’t correctly interpreting that, correct me if I’m wrong.
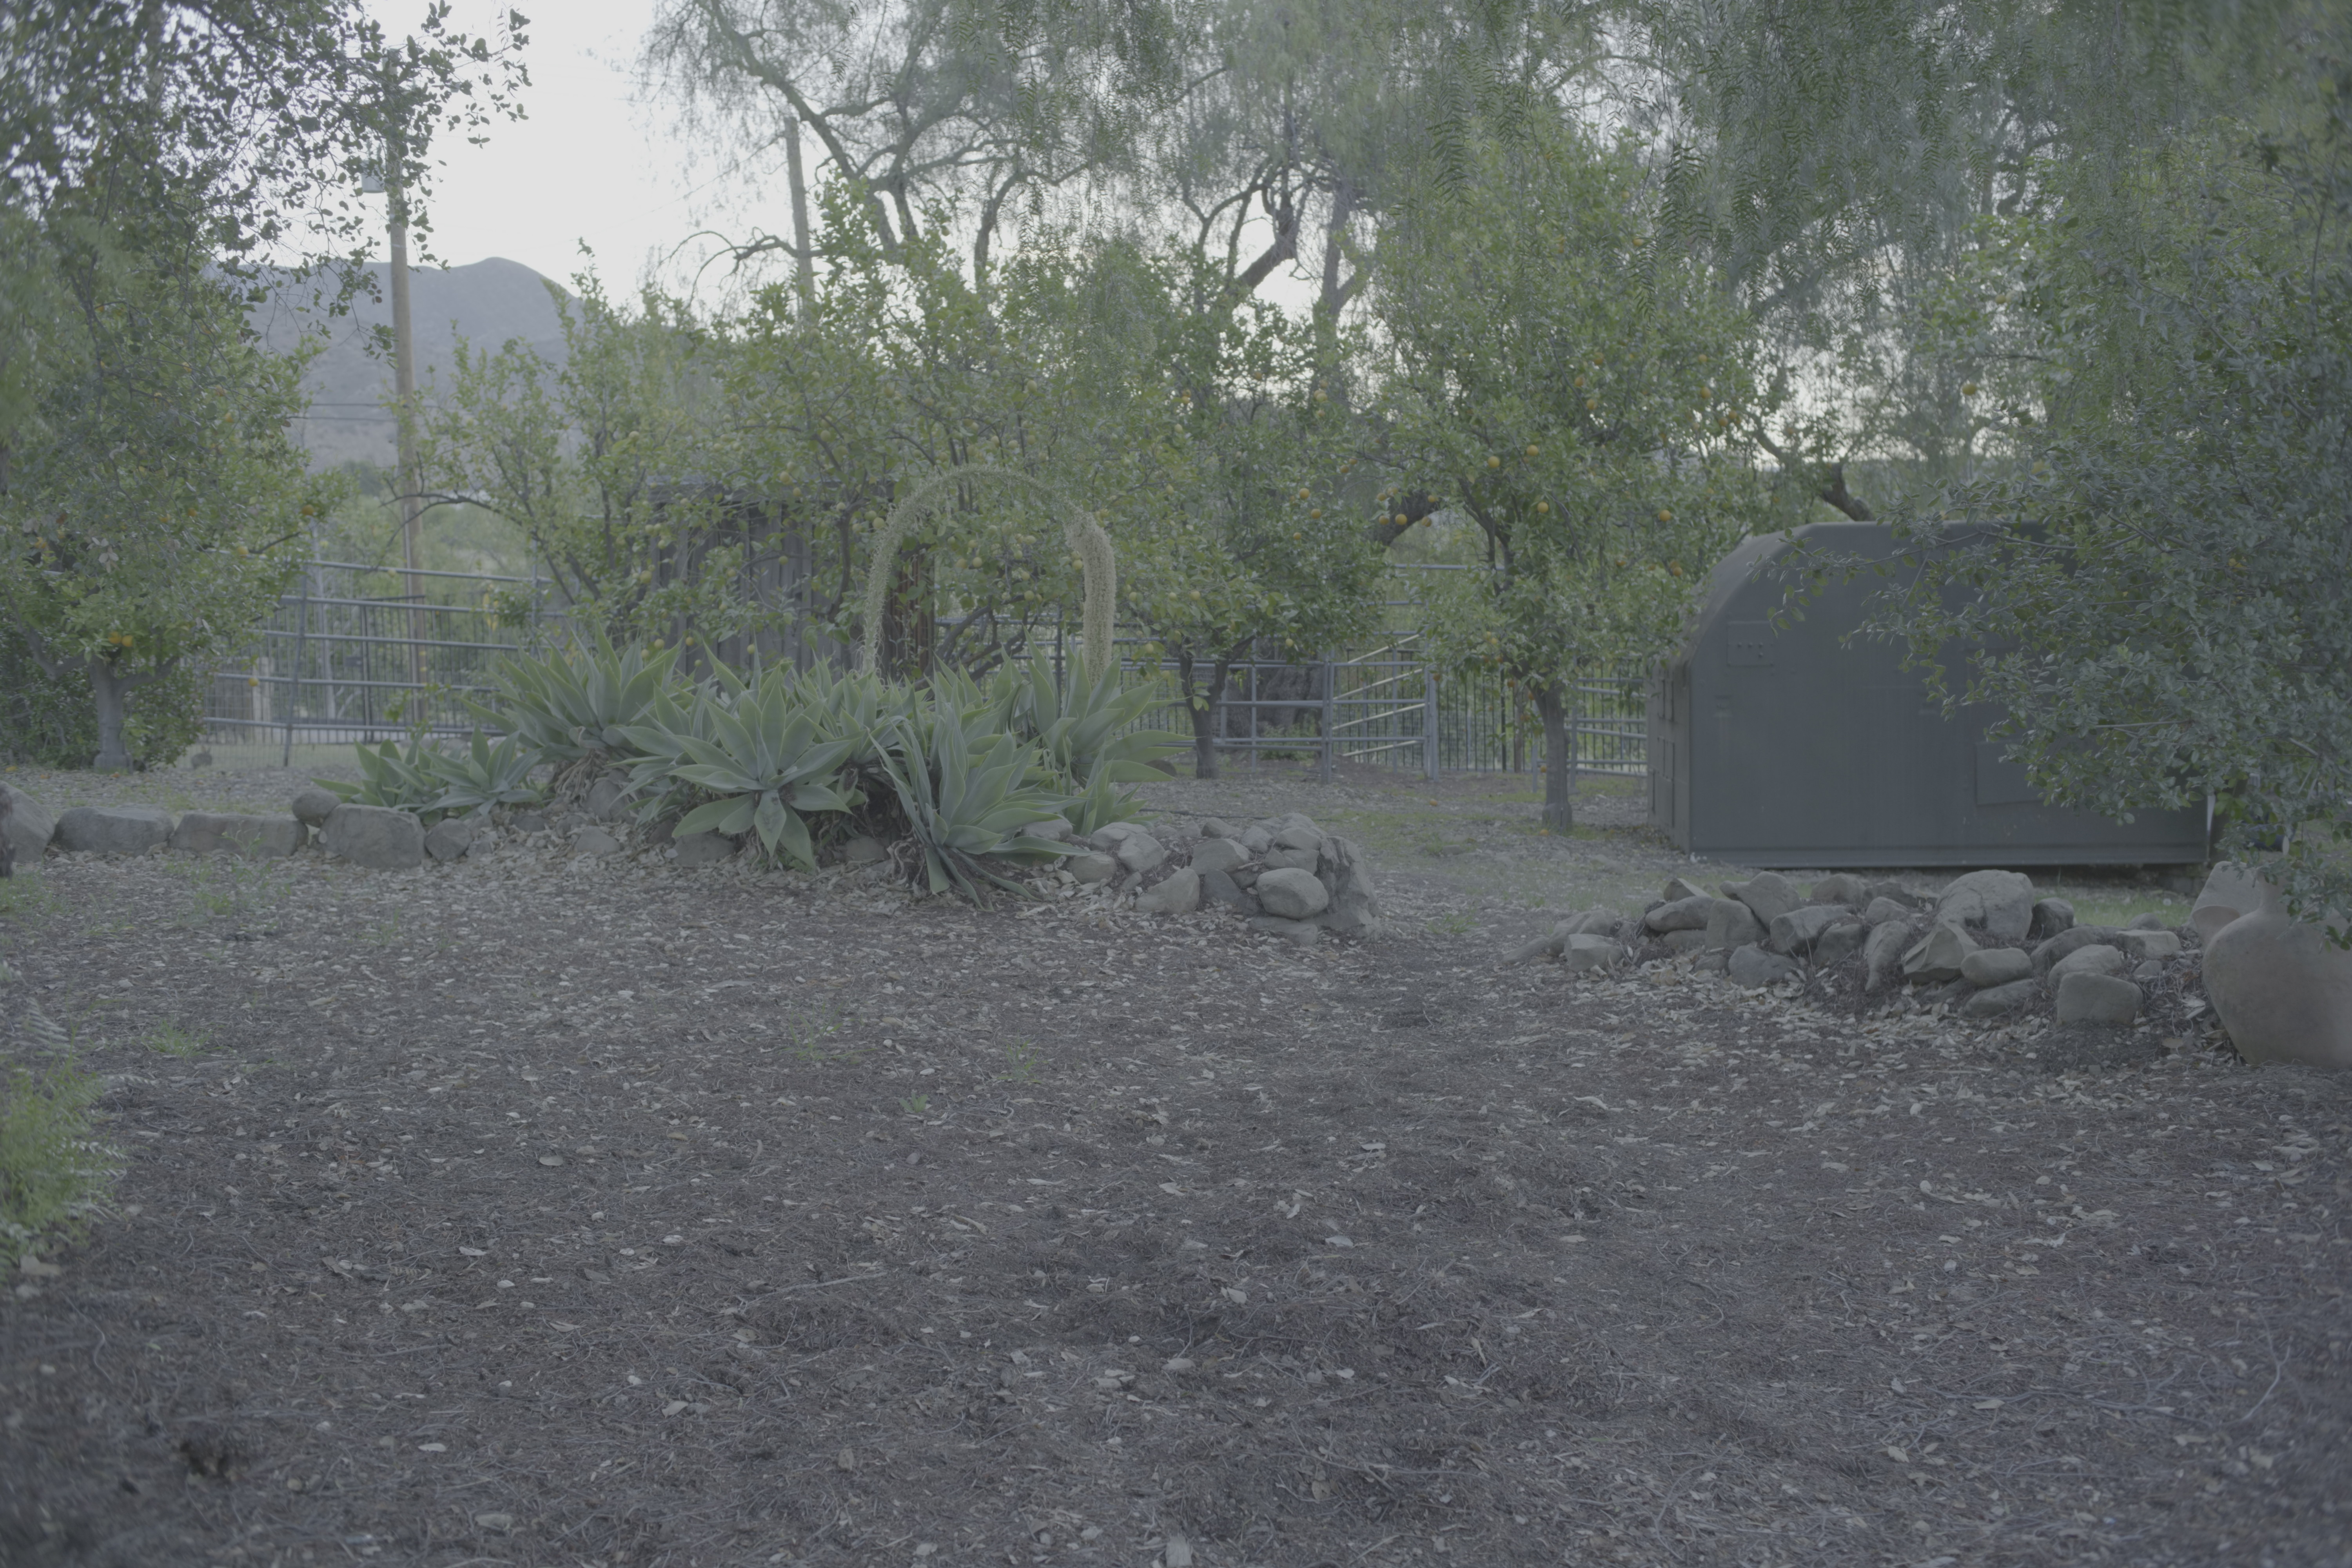
However, I did find that if you look at the green foliage on the right side of the image or the ground covering (crank the exposure up), the 100 iso image is definitely sharper, or rather has some added artificial sharpening. Which tells me that sharpening is happening somehow in the raw file, before it hits software. I didn’t know this was possible, but perhaps someone here can explain why this might be. FYI, I double checked that all settings were identical in the software, including sharpening and they are. So an interesting finding. I’ve attached what I’m talking about.