But darkening is not a colour shift.
1 Like
Sure. Just saw the same difference on images you provided.
Okay. Will do this and let you know. But the results look really unnatural without correction. I may post it here for evaluation. Also I may provide a RAW to play with. Altitudes were up to 5000m, so the sky in reality is very dark and has violet/magenta shift. And I expect to see it after development.
…is always a challenge because the color of sky is always different. I saw sky to be yellow, orange, green… I’d agree with @anon41087856 that it’s a matter of taste and natural look instead of “right” color representation. However, there are always cases that we may say for sure that color is wrong. I’m talking about such a case.
1 Like
Well I’m gonna play with this, too.
Regarding the non-Luther-Ives property of sensors, this might interest you: Perceptual Color Characterization of Cameras - PMC
Especially this graph:

Left is the spectral sensitivity of the CIE 2° observer, right is the spectral sensitivity of the typical camera. That huge overlapping of sensitivity means your “green” camera channel is pretty much a full-spectrum/panchromatic channel instead. Hoping you can match this RGB to XYZ by only a 3×3 matrice is delusional, you clearly see that it’s not a linearly independent (orthogonal) vector base, so your dot product means bogus. Ain’t no linear algebra in non-orthogonal vector bases, unless you extract eigenvector and make them orthogonal.
Solving this pack of knots properly will need @hanatos magic (https://jo.dreggn.org/home/2019_moment_spectra.pdf) with a database of spectral sensors calibration (What is the Space of Spectral Sensitivity Functions for Digital Color Cameras).
6 Likes
Please let us keep all things dt away from the commercial sites such as FB.
Where people can help others is good. I don’t have a Facebook account either and I generally try to inform people why it’s a bad place, but people still have their own free choice to use it or not. Let us not infringe upon the rights of others to do as they wish.
2 Likes
Hi’ @Andrius
Winter scenes are always difficult in my opinion. I’m going skiing tomorrow, so I’m looking forward to see the response to your post.
In the meantime, have a look at the magic of filmic:
Raw file:

Result after having applied filmic as follows:
• Turning on filmic
• Setting the middle grey luminance to 18.5%
• Clicking the white relative eyedropper
• Clicking the black relative eyedropper
• Adjusting the middle grey luminance to 12,4%

5 Likes
That worked for darker sky, thank you!
Here is my development with the .xmp. The WB is set by the snow and corrected one click toward margenta. I did not try to fix the tint on purpose – to see how the color is rendered. As you can see, there is green tint on the sky as well as on the far moutnains. It should have proved my point, but frankly, I’m quite sure it’s a camera input profile to blame. The coefs were probably set in a wrong way for DNG…
20190228_114736.dng.xmp (8.7 KB)
UPD: Here goes my “final” version:
20190228_114736.dng.xmp (10.1 KB)
1 Like
@anon41087856
I have played a bit with highland shots. My current impression is that
- Probably something has changed in the latest GIT version since I cannot see anymore the greenish shift I was mentioning
- I’m still not happy with how the sky is rendered colorwise, but starting to think that most probably the input color profile or the camera itself may be involved, because it was Nikon J1 with quite small sensor and therefore the color rendering is far from perfect. And I had to push the Color Balance 110% in 150% out to have brown tones pop, so the sky becomes oversaturated. With more regular 100% in 125% out the sky are more natural but other colors are washed out. So it’s probably some inconsistency in input color profile coefs, not an erroneous color transformations.
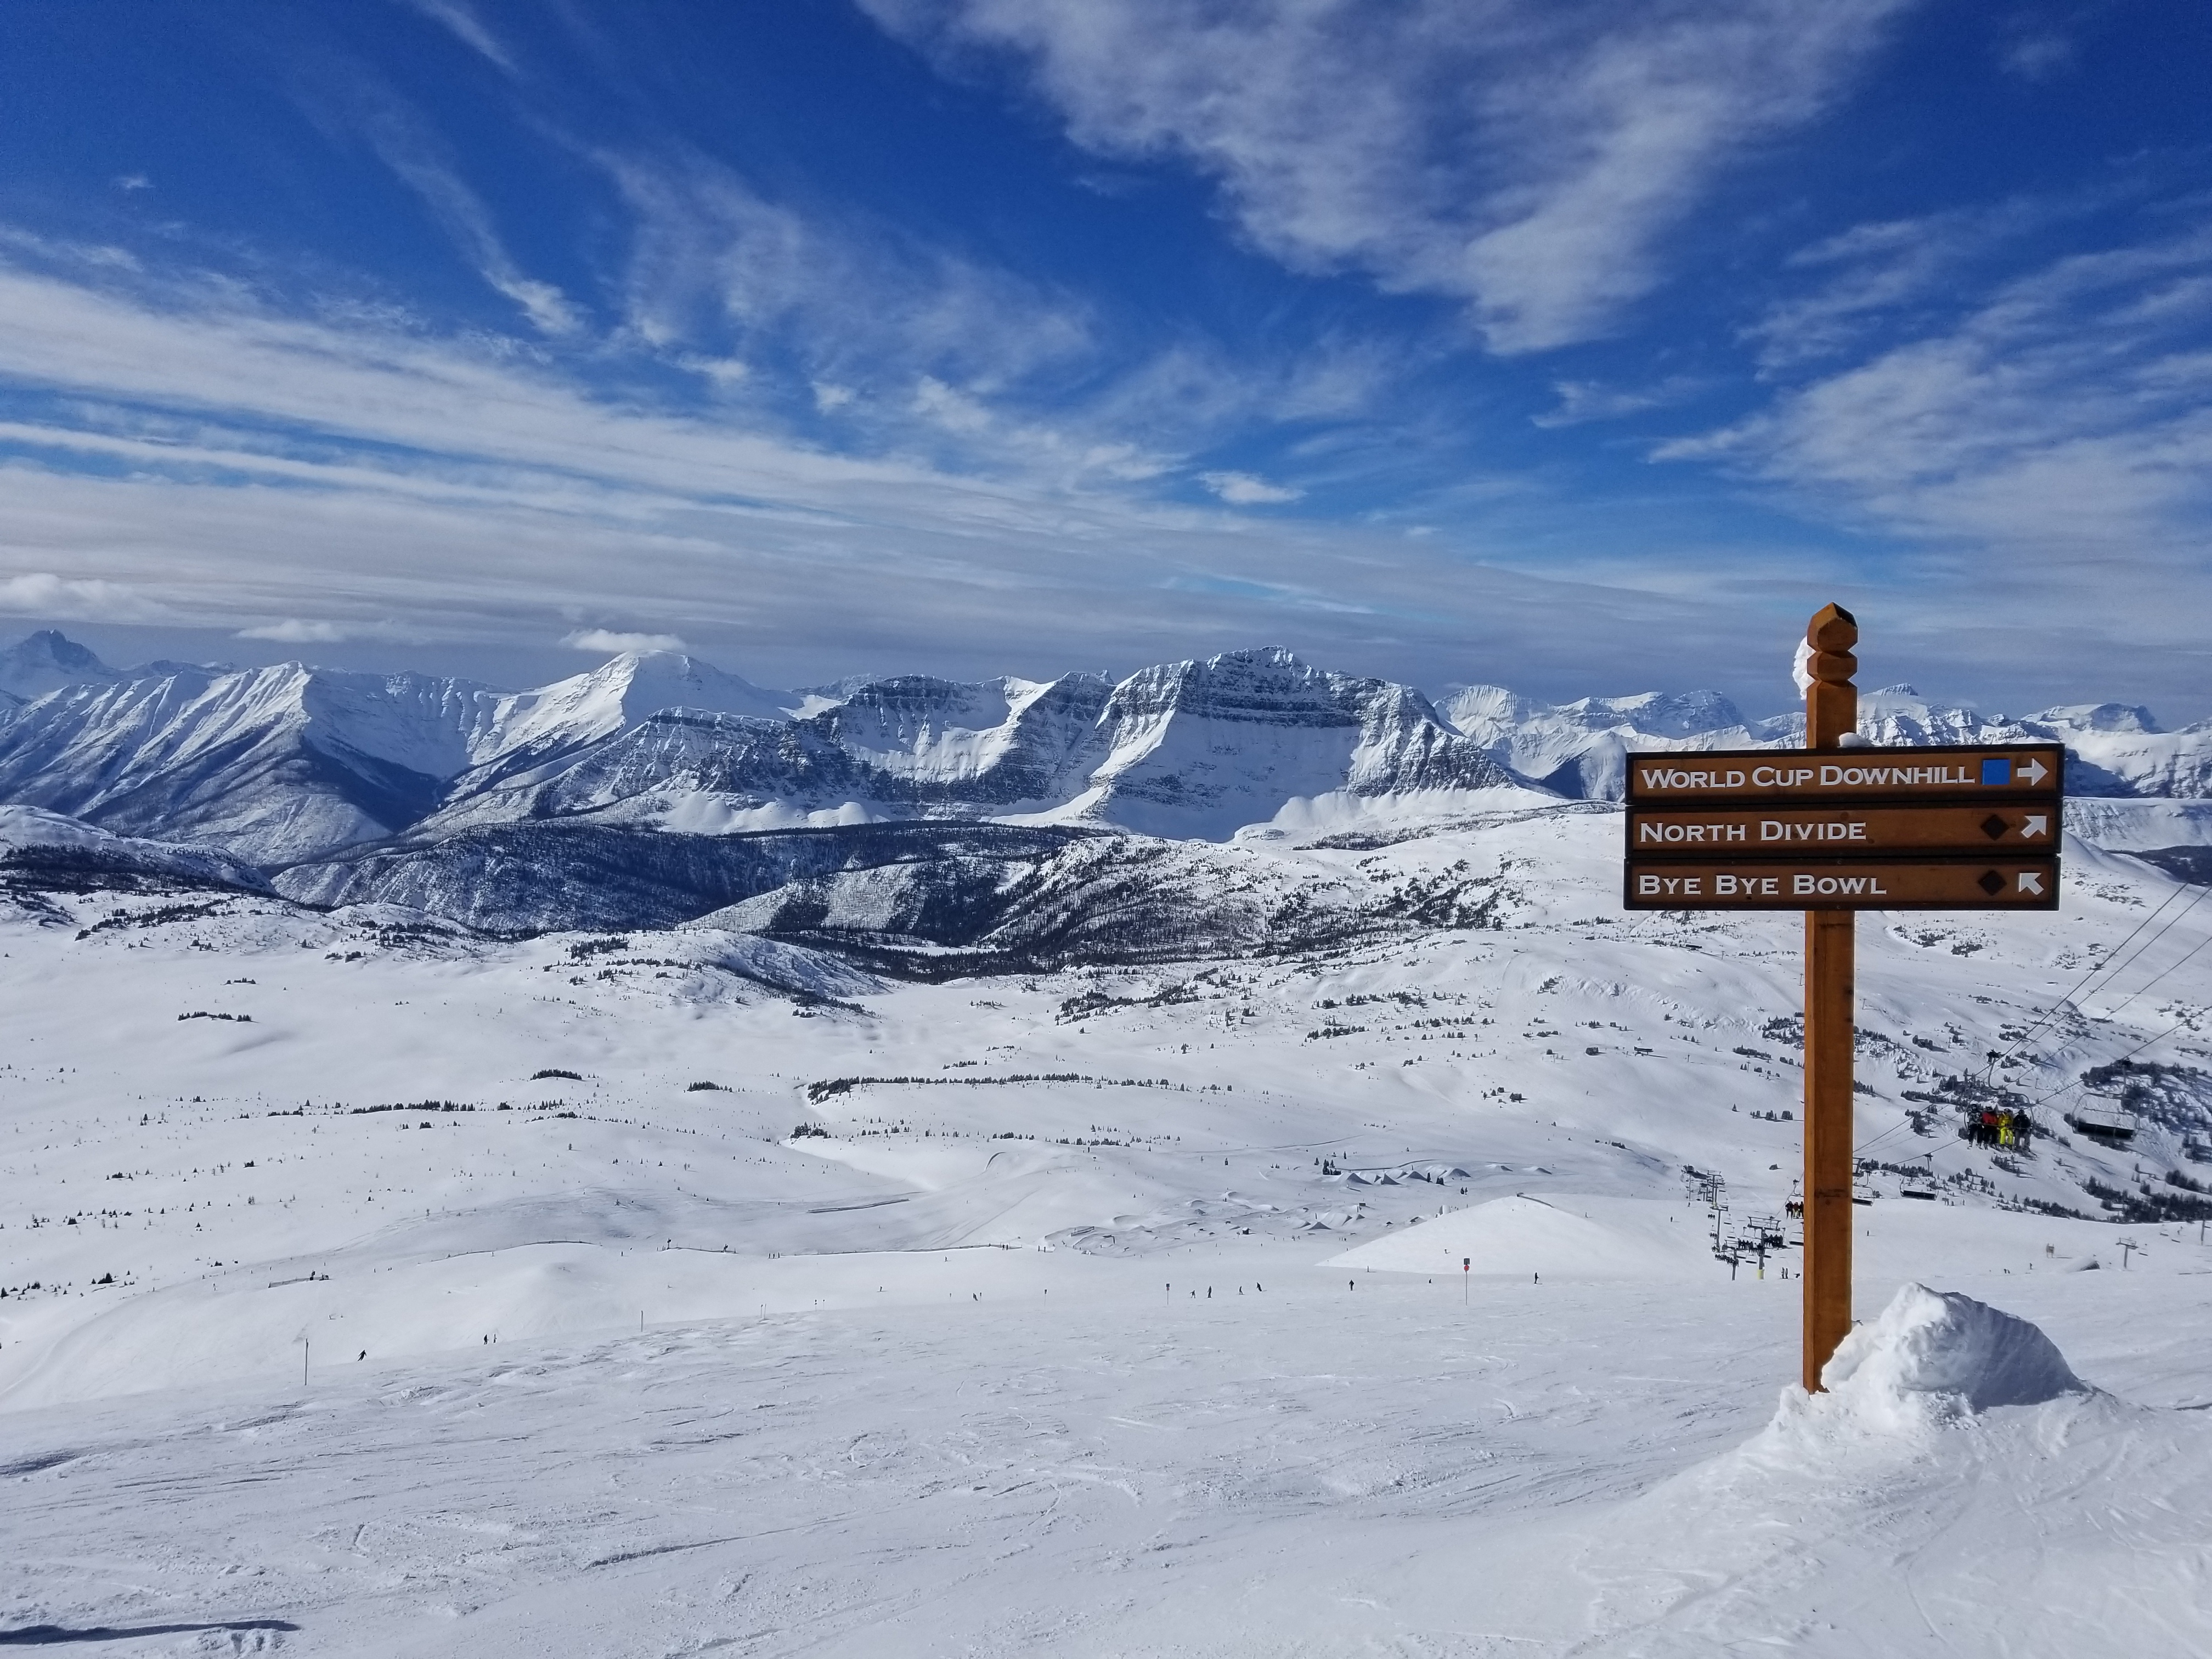
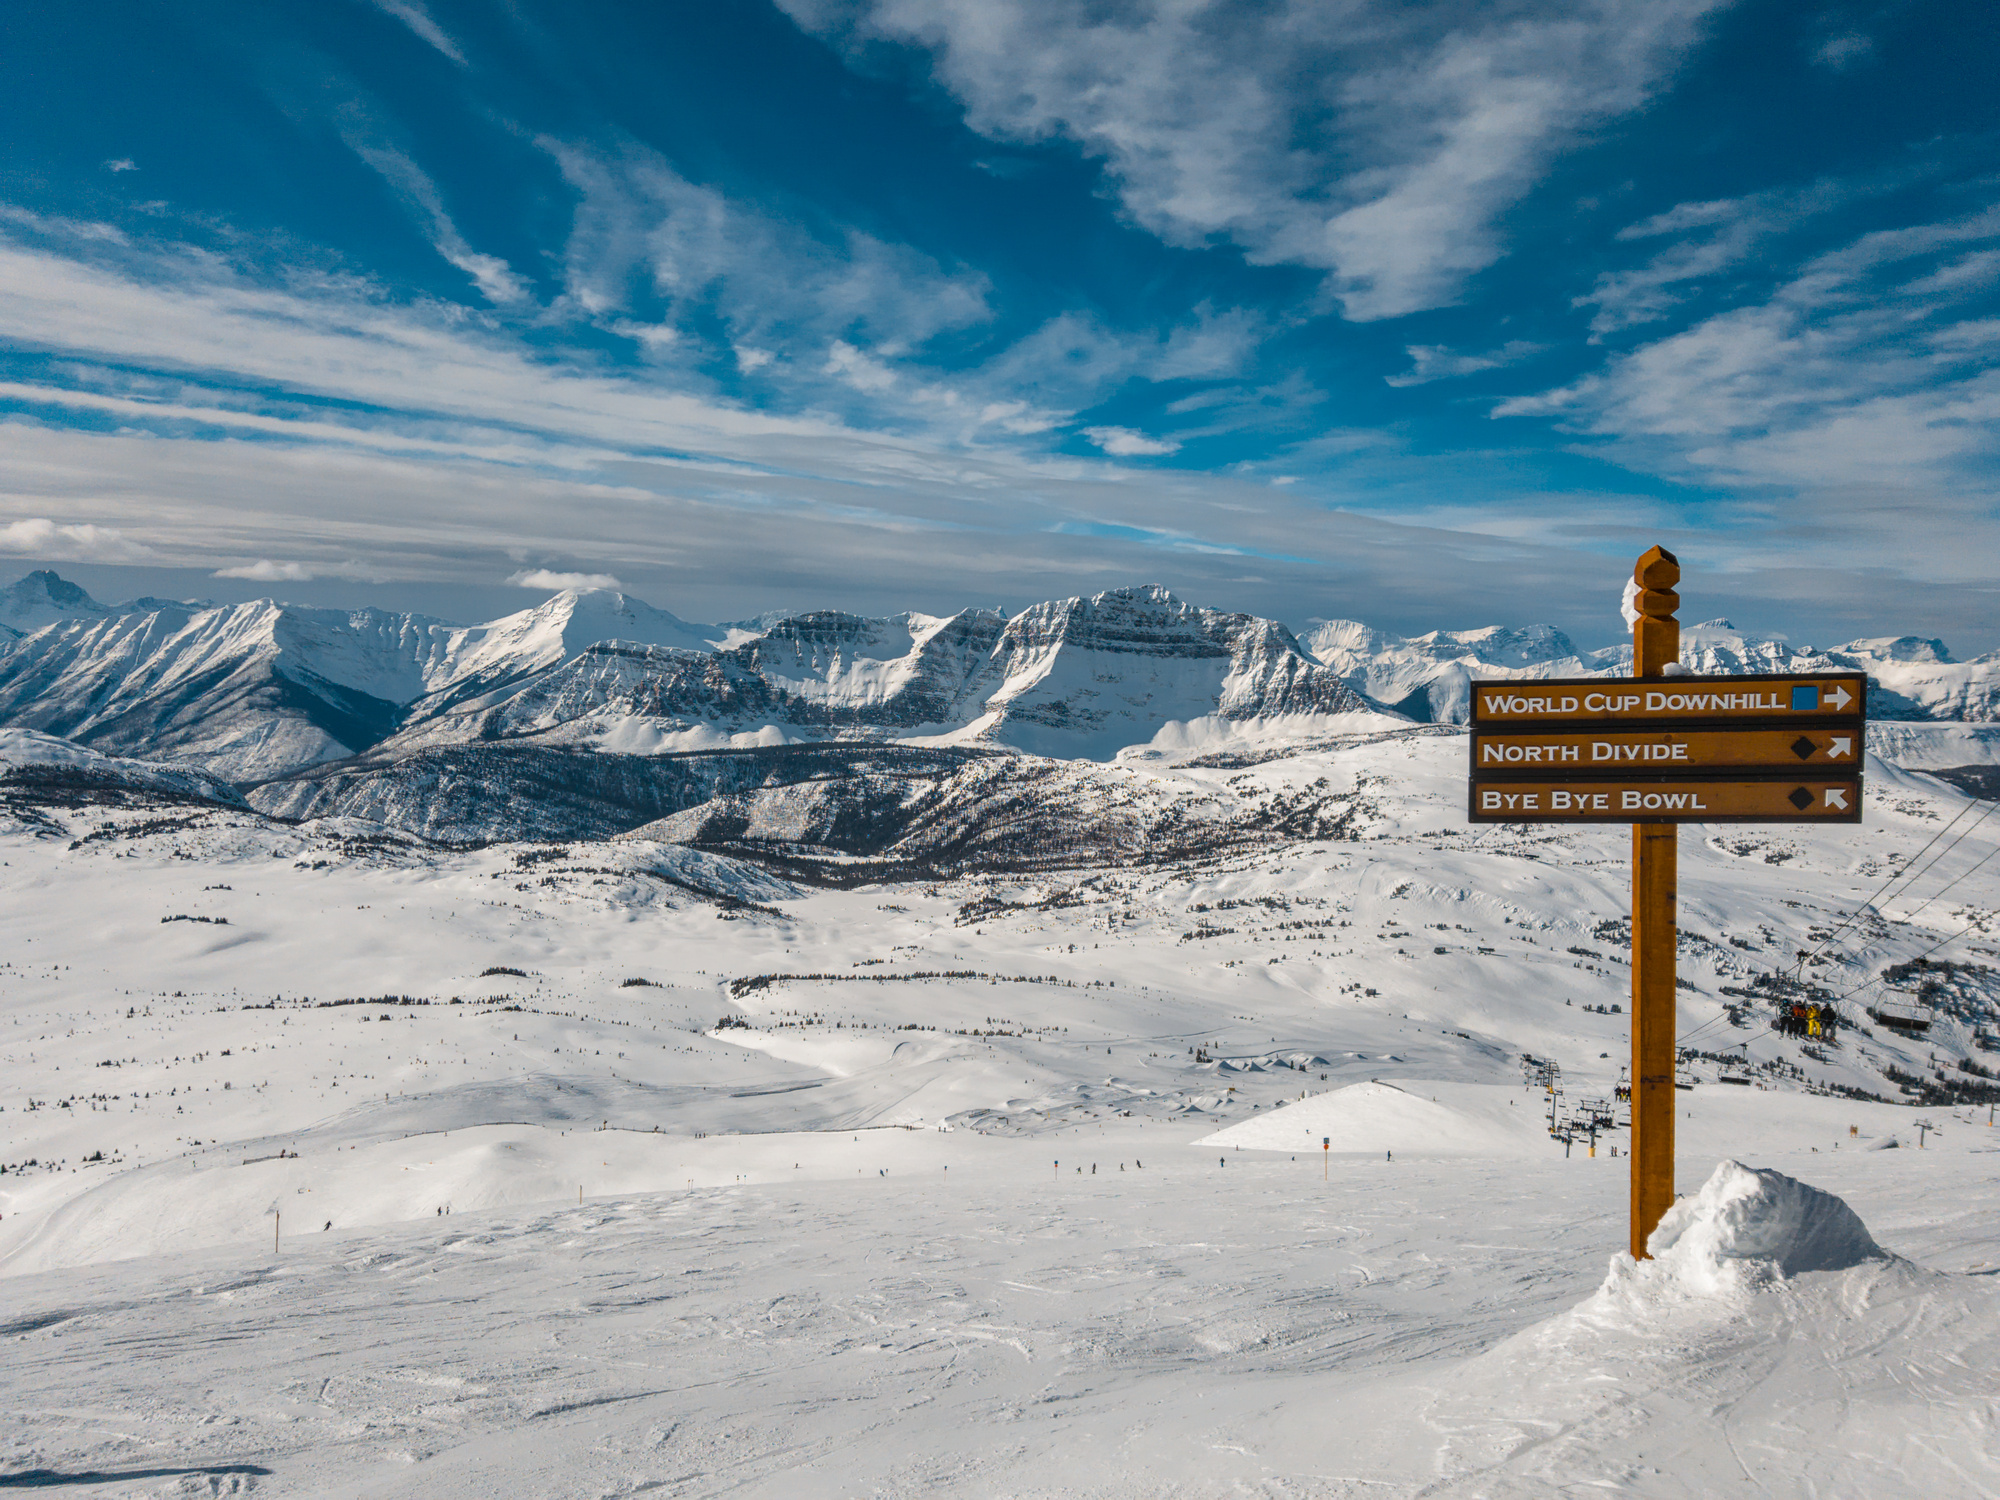
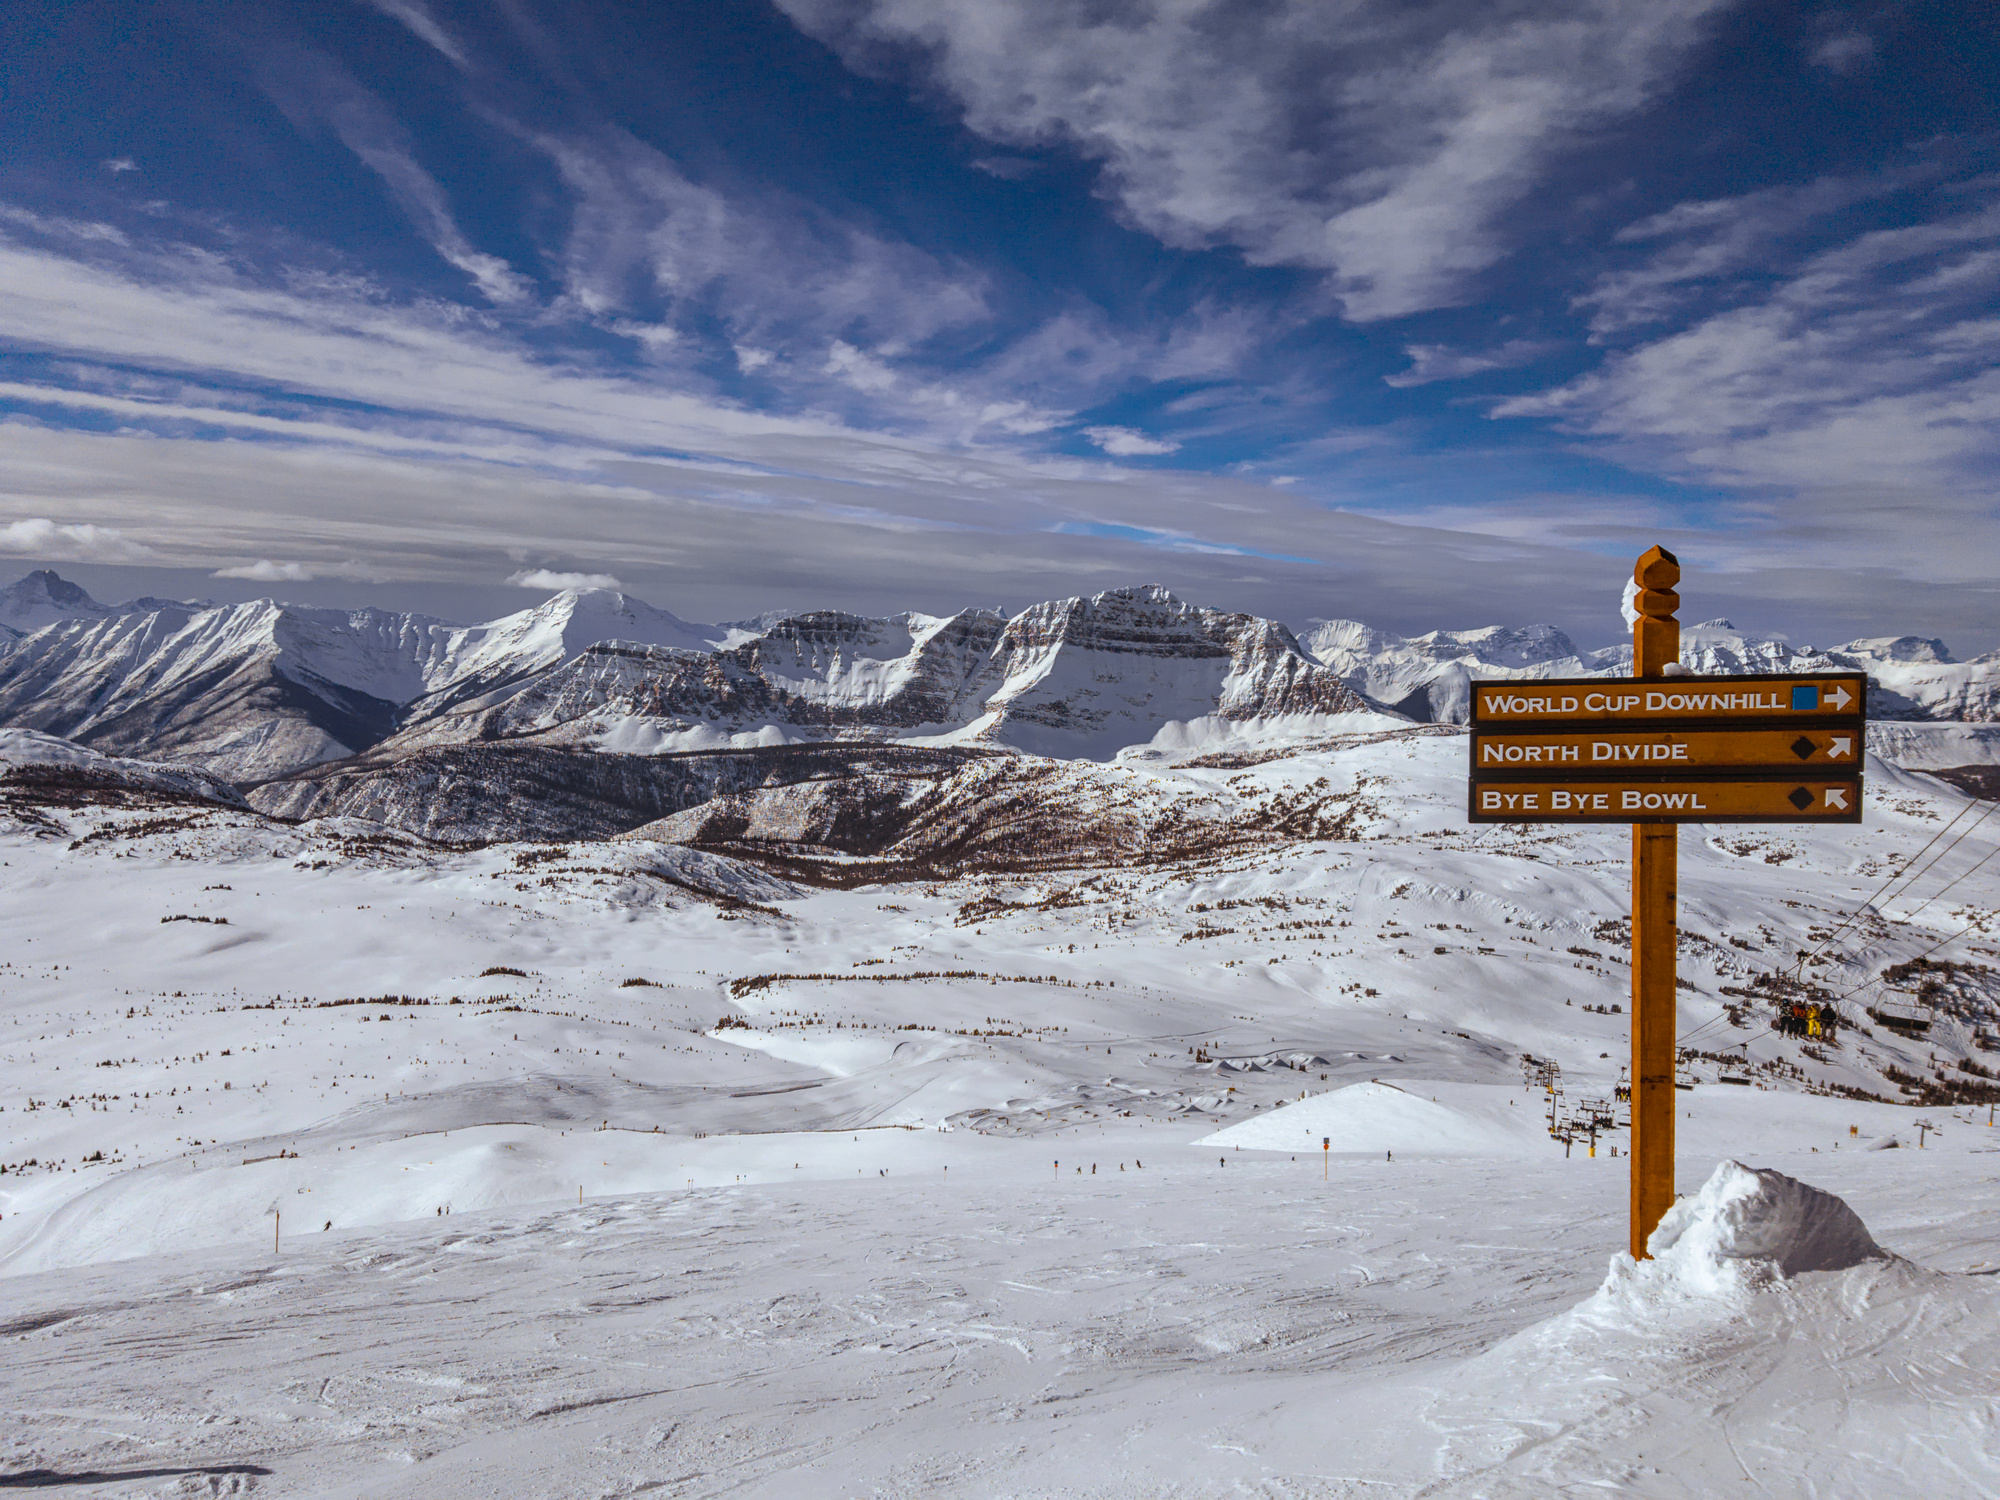
- And I think that without extra correction the sky is rendered lighter than it’s supposed to be on such altitudes.
- On some such shots RGB (max) works better for the sky, on others Luminance Y. The latter makes sky a little bit oversaturated, though.
Here are couple of shots. No additional color correction was made beyond standard filmicRGB + Color Balance → output saturation. I think that color is more or less fine on both of them but I feel the tone should be darker.

The result is incredible. It would have been better if you edit the same picture on a different module of Dark table and also upload it here so that we can see the difference. Great effort and the picture came out nice.
Great stuff. Being a new DT user, I have been reading, watching, and tinkering myself silly in the past month.
These 3 articles:
- This article, 3.0 for dummies,
- this one PIXLS.US - Darktable 3:RGB or Lab? Which Modules? Help! ,
- and this one Filmic, darktable and the quest of the HDR tone mapping - Aurélien PIERRE Engineering
replace almost everything I read about DT last month, except maybe articles about specialized modules.
This should be the first read for new DT users in 2020, at least the first 2 articles.
Thanx again!
4 Likes

Thanks a lot. The achievements in 3.0 are indeed impressive and very helpful to see it all in one well referenced place; my apologies for the oversight.
This is a great post - it would be nice to have a “Darktable 3.2 for dummies” with the filmic v4 flow. Just sayin’
In terms of this specific simple guide I don’t think there’s really much different in filmic v4. The middle-grey slider in filmic is now disabled by default but the guide already references the new recommended way to do it (use the exposure module).
The saturation can now be tweaked in the filmic module itself but the color balance method is still a reasonable way to do it (and I’ve still found it better to use color balance on some images).
2 Likes
I am also new user and have been watching Youtube tutorials. These articles are indeed very informative. Thanks.
@anon41087856 Great tutorial! But always helpful to define acronyms “for dummies.” Many times you referenced the acronym OOC. I could figure out the context, but hadn’t seen the acronym without an internet search.
For anyone else unsure, OOC JPEG = Out Of Camera JPEG
Thanks, I like written, step-by-step tutorials like this more than videos, so this is greatly appreciated.
The download link as expired, can you re-post the raw file somewhere, along with the final XMP file (and jpg)?
Is there a resource anywhere of final photos along with the raw and sidecar files used to create it? Sometimes that’s a helpful way to learn, by seeing what others have done.
Is there a resource anywhere of final photos along with the raw and sidecar files used to create it? Sometimes that’s a helpful way to learn, by seeing what others have done.
Have you see the play_raw tag where people post a RAW file and invite others to show their edits ?
https://discuss.pixls.us/tag/play_raw
Not all of the edits use darktable.
1 Like