Thank you so much for taking the time to explain the workflow, Pierre. Much appreciated.
All in all, it seems I can keep my current approach which is, doing the first adjustments with Filmic and then take care of the saturation with other modules, and I usually resort to Color Balance for this.
I’m still learning how to use Filmic and, although I’m not there yet, I’m more happy with the results than with my previous workflow.
One thing I’m still struggling with and having a hard time understanding is why, after I applied Filmic, the local contrast looks more aggressive than if I use the Base Curve.
When I use the latter, I can push the local contrast (usually Detail and a little of Midtone) quite a bit. With Filmic, even if I balanced the image in order to get a flat profile (or sort of), a touch of local contrast usually ends up darkening the shadows quite significantly. In fact, I need to go back and tweak the settings in Filmic again in order to avoid pure blacks (which I’m not a big fan of).
Anyway, thanks again for this great module, I feel I have a lot to learn but also a lot to experiment with and have fun!
I am still inexperienced with dt and its filmic and color balance modules. I rarely use dt and, when I use a raw processor, I do the bare minimal. So, take my thoughts with a grain of paprika.
Base curve is a simple curve that brightens up the overall image, including the shadows. That is why you would have more latitude there, comparatively. When using filmic, you should leave some headroom and foot room in the highlights and shadows so that you can manipulate the image further afterwards. I suggest that you play with black relative exposure and contrast to give more room for local contrast.
Saving enough room by using the black relative for later tweaking it’s what I’m doing, the contrast, on the other hand, doesn’t seem to help much.
I forgot to mention one thing I do when I use the Base Curve, which is, most of the time I switched to the logarithmic curve and recovered the shadows from there.
By the way, trying to preserve the contrast with Filmic by pushing the black relative often results in extra noise.
That said, the confusing part is that even if I tweak the image with Filmic and create sort of a flat curve, I can’t still push the local contrast as much as I would do with the Base Curve. I get they are two different things and the nature of Filmic is meant for a different workflow. I guess I probably need to read more about it
Anyway, here’s an example.
Filmic before local contrast:
Filmic after local contrast (shadows on the door gate are gone):
Base Curve before local contrast:
Base Curve after local contrast:
Now, that’s just a random example.
In some cases, I’m not too worried if I lose information in the shadows. To me, it really depends on whether it’s an important part of the image I need to save or not. This is just to give a context of what I’m trying to figure out.
Thanks
P.S. Local Contrast used in the examples above have the same settings in both cases.
When you say that, you’re thinking mainly about pale white skin tones that can easily reach extreme luminances, like on a studio setting where you get plenty of light, correct?
I’m a bit confused about when to use chroma preservation, since I always have to go to another tool to compensate its over-saturation. I mean, if I have to do that, why simply not unchecking chroma saturation, and then raise a bit global and extreme saturation sliders? Also, chroma saturation seems to have a stronger effect on the reds.
So, if I’m going to use filmic, should I set exposure like this…
I too wonder at this point the use of the chroma preservation.
As for the exposure, my approach is similar to yours as I rarely touch it, in fact I think I did it only in one or two particular cases, other than that I leave it with its default values. It’s interesting what I’m noticing with the exposure module, though, as whether it’s on (with the default values) or off it doesn’t change the way the picture looks.
Oh, sorry, I didn’t mean to hijack your thread, you posed these questions before. I just wanted to reinforce them with some examples, and specifically address this red bias I notice in all my edits with filmic/chroma preservation. But maybe the bias is there already, and the saturation increase just turns it more visible. If that is the case, maybe the white balance holds the key to the bias, I don’t know for sure.
Oh, absolutely, all good.
Actually, thanks for adding your contribution, I’m glad I’m not the only one to feel confused
Sometimes I feel I need to study a lot more. The thing with DT is that I love the tools at my disposal as they give me much more control as opposed to commercial software, but the principles behind those tools feel more oriented to a technical user than to someone who doesn’t have that type of background.
I’m slowly finding my workflow with DT and to me, it’s paying off. I still struggle with some concepts, but it’s part of the process.
It really depends on the shape of the curve you are creating. I have noticed, in a hacked version of dt, that putting the local contrast after filmic in the pipe gives better result (something to do with log encoded vs. linear data). There is an open pull request on Github to allow users to reorder the modules in the pipe, so, hopefully you will be able to put local contrast at the end in dt 2.8. What happens if you just input more gentle settings for shadows in local contrast ?
Rule of thumbs: adjust the exposure if needed, don’t touch the black slider, unless you see clipping in blacks (meaning: negative RGB values). So the right answer seems the version 1 with black reset at 0.
That’s why you have an interface, that should guide you (and that’s not the case now). The thing is, with modern DSLR and their 15 EV of dynamic range, you have to do non-trivial things to tonemap and squeeze that into the 8 EV of JPEG, and trying to not destroy colors in the process.
Non-trivial means I either code something “user-friendly” to automatize it, and it will fail you at least 30 % of the time, or I let you make your own choices, but you will have to understand what’s going on first. I have choosen the middle-path of allowing you to choose, but you have color-pickers and auto-tuners to help you get a first aproximation of the good settings.
The idea of reordering the modules sounds great, I hope it will make it in the final release!
As for the contrast, even with less aggressive approaches in the shadows, the local contrast is still difficult to handle. With several back and forths, somehow I get it working. In a couple of occasions I had to resort to shadows/highlights, which I know is not the best solution as with the Filmic module I don’t think I’m supposed to use shadows/highlights. In the end though what’s important is the result
And I like that! I guess I need to find some resources to learn more about the theory, that’s all.
Perhaps, if I can’t find anything on google, I’ll ask people on a new thread to share where I can read more about these topics.
The thing is, I’ve been caught up with the local contrast thing and here I’m.
Apparently, no matter what I do, as soon as I turn on Local Contrast, blacks are gone and the noise becomes rather noticeable.
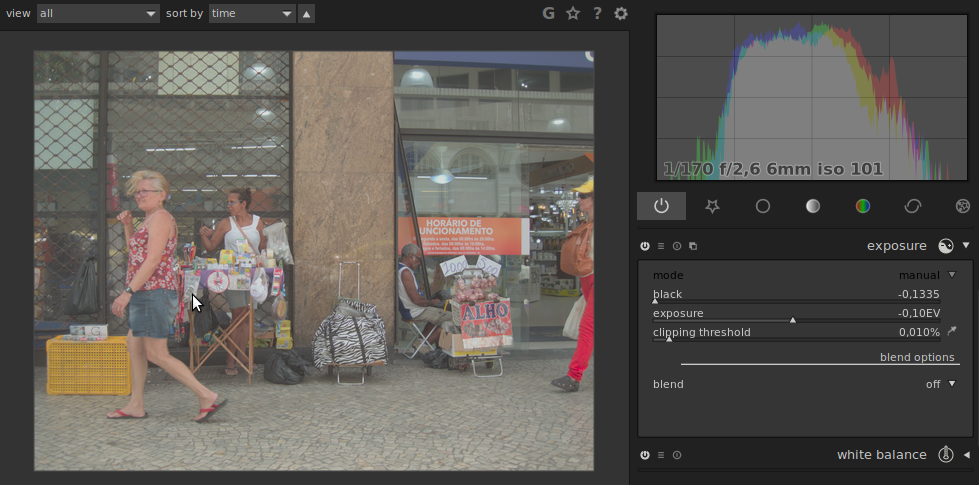
So, here’s a raw file. I tried a few things but then I thought to go back to the initial steps and post the raw file here and see how you people would tackle this.
@anon41087856 I’d really love to see your interpretation on this!
I have tried filmic on three occasions and found it particular difficult to obtain correct skin-tones. I sure am old-school and I still believe that every image should have pure black, pure white and everything in-between. There is definition in the shadows, there is definition in the white-shirt and a very complete scale of greys.
filmic isn’t really made for that. I guess I’m better off with my custom-D610-curve. When trying to adapt filmic to my needs, I end up with strange contrast on the skin.
But I will keep on trying when I shoot objects next time.
Having experience with another raw processor where You have to order your operations, I’ll tell you this is important to fully comprehend. You need to understand both the effects and possible side-effects of the operations, or what you see as the result will not make sense, and you’ll end up making iterative arbitrary changes attempting to “fix” it. Abstracted tools like filmic will vex you in that regard, as there’s a lot going on under the hood to account for in establishing its order in the processing pipe.
@anon41087856 is to be commended here, he’s doing yeoman’s work in bringing filmic to a place where it can be effectively applied in this particular regard. Just be careful in thinking that being able to specify its order in the processing chain will just make things better. You will need to understand it first.
I can’t comment on how you are (mis)using it until you show me some cases, but filmic IS intended to have pure white, pure black, and a linear tonecurve where skintones lie. Have you read the manual ?