Mmmm, looks interesting.
Any idea when there will be a Mac build. as I’m still on 5.11 public release.
Here’s hoping it’ll be soon.
Mmmm, looks interesting.
Any idea when there will be a Mac build. as I’m still on 5.11 public release.
Here’s hoping it’ll be soon.
I’ve experimenting the Capture Sharpening denoise tool with 3 or 4 somewhat noisy images and when comparing with/without pre-sharpening denoising, I found myself just trading sharpness for fewer noise. I would expect some kind of “remove noise while retaining sharpness” magic. Is this a overly-high or unexpected expectation?
I do find high-frequency areas receive more sharpening with pre-sharpening denoising enabled (by looking at and comparing contrast masks), but the difference in real images are less significant than what contrast masks show.
Denoise is probably the most difficult problem to solve in image processing. I don’t think there are any miracle solutions.
As I’ve already said, this “Pull Request” is an opportunity to test new experimental processes, both for noise and sharpening.
If we examine the first module, “Capture Sharpening,” it generally works well; the algorithm is very efficient. However, on some noisy or very noisy images, it doesn’t work; the mask remains uniform. This is due to the noise present.
The “Presharpening Denoise” function aims to enable the use of Capture Sharpening; for this, I slightly denoise the image beforehand. Keen to improve, I added the ability to perform this denoise not just with a small median, but with Wavelet acting on all three RGB channels. The system is more progressive. In my opinion, with few exceptions, you should limit the slider to a value slightly higher than the one that allows the mask to work. Beyond that, though it’s a choice, we apply denoising to the entire image; this can be useful in rare cases.
The ‘postsharpening denoise’ function is not intended to replace the other Denoise functions present in Rawtherapee, but rather complements them, particularly since at this stage (Raw), the GUI is not sensitive to pipeline malfunctions (preview/output difference). This will allow us to differentiate the action between structures and the background (flat areas), and, for example, denoise the background without (too much) affecting the main subject.
I attach the 2 new tooltips - written in my bad English , for your comments and changes in form and substance
Presharpening denoise:
In order for Capture Sharpening to work on noisy or very noisy images, applies either : a) Gradually by successive iterations a light ‘3x3 soft’ to a fairly strong ‘5x5 strong’ median denoising filter before Capture Sharpening. b) Wavelet denoising which has a different, more progressive action, mainly on the first 4 levels of decomposition(high and medium frequency). This helps clarify the contrast mask and allows Contrast Threshold to work, and thus Capture Sharpening to work properly. This also helps to reduce noise in the output image. Be careful not to use values that are too high so as not to degrade the image. The value that allows the mask to appear (or a little more) is usually sufficient.
Postsharpening denoise:
Allows you in raw mode, to do an initial denoising after Capture Sharpening taking into account the mask information. Its main use is to separate the action between structures where the noise is barely visible and the often plain background (flat areas) where the noise is very visible. Be careful not to use values that are too high, you can fine-tune the noise reduction later.
New executables are available
Text captur-noise
Jacques
Thanks for the explanation Jacque, will try your new build in my spare time. Looks like I need to try this on some really noisy images that traditional capture sharpening doesn’t work well.
I call that a manual in a tooltip! ![]()
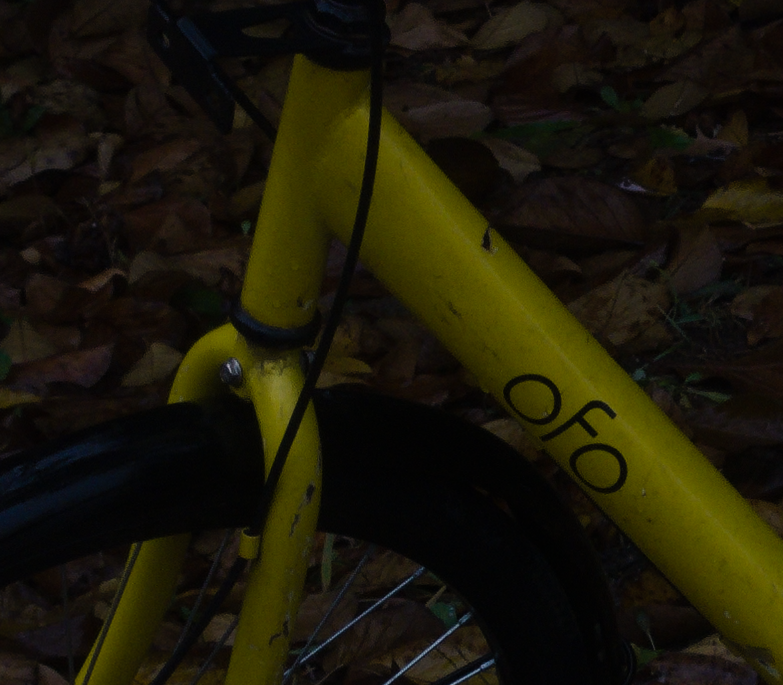
I think I found one image that works with it well ![]()
Capture Sharpening enabled, presharpening denoise set to 21 (things start to change at 22, so 21 is the biggest value before any effect appears and essentially the same as 0):
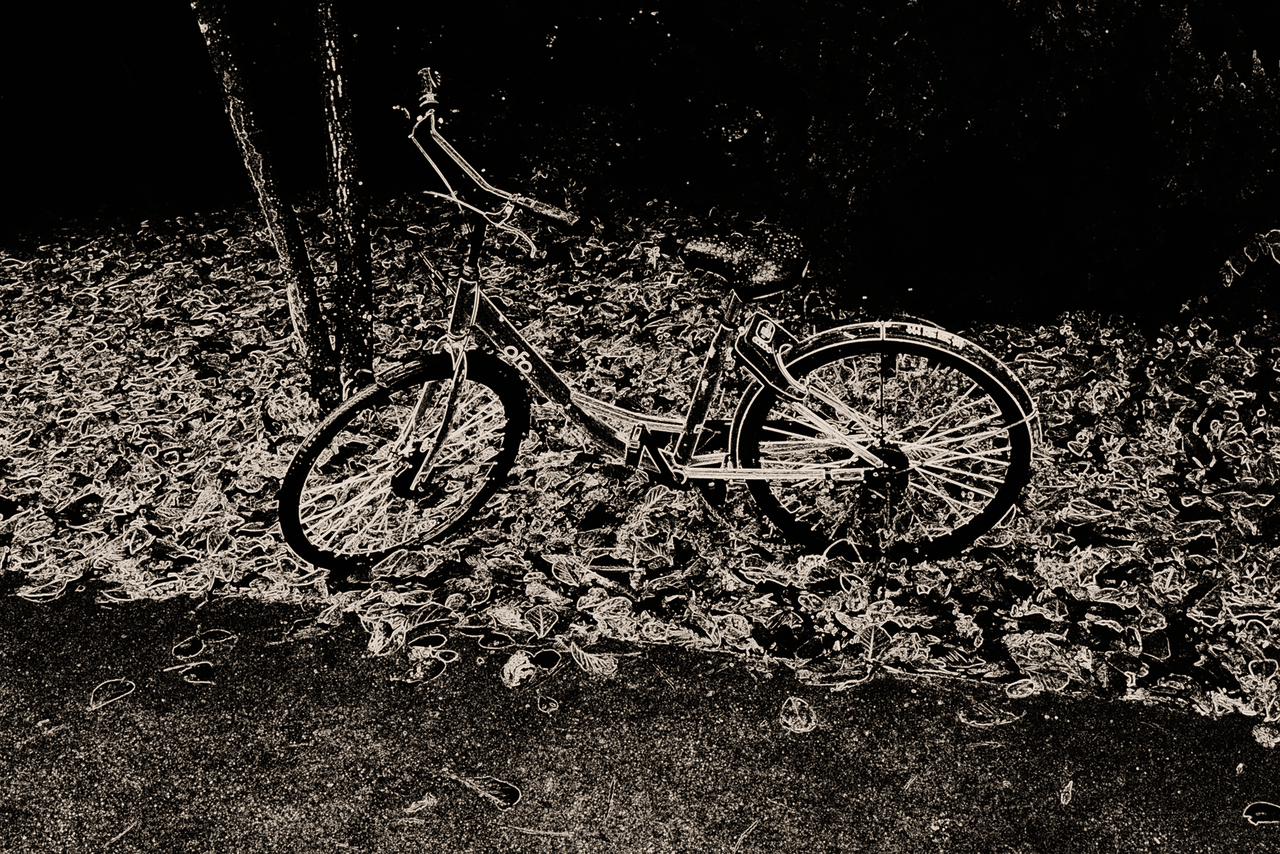
Compare it to presharpening denoise set to 22, the noises in low-frequency areas are removed, while the edges of bike receive proper sharpening (see below).
Take a look at the sharpening mask of the post-denoise image:
And the “before” version for your amusement:
This image has relatively evenly distributed luma noises and low level of chroma noises, and the tool works well.
I tested this tool with a fairly well-exposed night shot (with a flash) a few days ago, I didn’t see any real changes since the front of the scene is noise-free and the back is completely dark, so no room for denoising tool to show its effect.
I also tested on an underexposed image (by 5-stop), it doesn’t work since there are too many luma & chroma noises (to be expected, it doesn’t have details to begin with).
So this tool is indeed awesome on certain kind of images!
Edit: It’s bad not to do proofreading when you’re not a native English speaker and when it’s 12 am…
I just did various manipulations. The first one merges with 5.12, which brings the same functionality.
Even though it is not of direct interest to the user, I made some code improvements suggested by Copilot (Github), notably by replacing float** pointer variables with arrays or implementing std::unique_ptr for CurveEditorGroup in denoise. This makes the code more robust. Some parts of the code were (very) old.
I also made changes to the default values of vanishing moments used by the Daubechies wavelet decomposition (wavelet levels, Selective Editing, Denoise…).
They were defaulted to D4, I changed it to D6 which requires a bit more resources but gives a cleaner decomposition. In some places - for example PostSharpening Denoise, I even used D20 which gives a bit cleaner result on flat areas for denoise…Just a little more resources (minimal) and processing time (minimal).
I have also completed, due to the lack of documentation, more descriptive tooltips which are in fact a manual in a tooltip.
Executables
captur-noise
jacques
Quick question, when does b) wavelet denoising at first 4 levels kick in? Do I need to use a high “pre-sharpening denoise” value or it’s always in effect? And is it possible to let user to manually adjust denoising like how you do it in Wavelet’s “denoise and refinement” module (I was thinking of if doing it manually can help, since I think “denoise and refinement” is a powerful denoising/sharpening tool, but I just assumed it is a silly idea, so I didn’t bring it up weeks ago)?
As always, thanks Jacque for your development efforts and insights!
The presharpening denoise module is only intended to enable Capture Sharpening to work. I’m not saying it shouldn’t be used in other cases, but it acts on all three RGB components, i.e., on both luminance and chrominance noise.
It intervenes very early in the pipeline. It acts on the first 7 levels of decomposition from 2x2 to 64x64 with, as the action on the slider progresses, an effect first on levels 0 and 1 (2x2 pixels and 4x4 pixels) and little effect on the others, then on the higher levels.
Postsharpening denoise also acts very early on - just after Capture Sharpening. Its main purpose, as I said earlier, is to be able to use a mask that is identical between the preview and output, and therefore allow the plain background to be denoised from the rest of the image
It also acts on the first 7 levels of decomposition without differentiating between luminance and chrominance noise. Only the last level (64x64 pixels) is weakened in its action.
It is difficult to compare the action of these “Capture sharpening” modules with others, which separate luminance and chrominance noise.
Quietly repeat myself, these two modules do not remove or replace the other noise reduction modules but provide additional functions that were very difficult, if not impossible, to resolve without them.
But after examination, it’s not possible to do as in wavelet levels due to the position in the pipeline (we are before the assignment of a working profile), so we cannot - unless I am proven otherwise - adjust luminance noise and shapening in a differentiated manner. It can only be global.
In all cases, whether for presharpening or psotsharpening, you must use the minimum settings. In most cases, if Capture Sharpening works without it, you should not use presharpening denoise.
Thank you for testing
Jacques
Understood, I learnt something new regarding how the tool works. I should find spare time to really read through your previous posts.
Not surprised my proposal doesn’t work due to technical limit, but that’s worth a try.
Thanks for your reply!
I just updated this Pull Request with ‘dev’. So it contains all the new features, including the recent addition of GHS.
Pull Request
I also moved ‘Capture Sharpening’ in the Raw Tab to the beginning. Capture Sharpening is a major Rawtherapee tool that’s often overlooked because it’s ‘lost’ (at the GUI level).
I would like to merge this Pull Request into ‘dev’.
Can you please verify its functionality (there are no miracles), as well as the Labels, Tooltips, and History messages?
As a reminder, this Pull Request, which I started in November 2024:
Executables (still with the operating limitations for Windows, the compiled version works without DLL problems)
Text captur-noise
Thank you
Jacques
I tested the new Capture Sharpening on 3 images, so far so good. One image I used is used to suffer from slow processing speed with the old version of pre-Capture Sharpening denosing (takes 30s~ to generate preview), the new version apparently fixed this and is faster.
One silly case is that I can check the “Show contrast mask” checkbox and at the same time, press P to preview sharpening mask. Both functions do the same thing, so I think maybe it’s better to link these two together.
The tooltips may need some polishments, but I can understand them.
This would be a really nice addition to RT, and I look forward to it getting merged!
Thank you for this quick response regarding ‘Capture Sharpening (Raw tab)’, as well as your positive evaluation. ![]()
The contrast mask display issue is almost insoluble without losing compatibility.
As long as this mask was only used for the two sharpening functions in ‘main,’ there were no problems.
From the moment I extended it to other features, all in Selective Editing (Capture deconvolution, Denoise Settings, and I reserve the right to extend it elsewhere), I’m facing a squaring of the circle, because activating a mask that doesn’t have the same settings (sharpening, denoise,…) and effects on possibly multiple Spots will disrupt image rendering, and the user won’t know which mask refers to which…
So I chose to select the mask display for each possible use, whether in the ‘Capture Sharpening - Raw’ tab, or in Selective Editing (SE) ‘Capture Deconvolution’ or SE Denoise.
And I did not remove (for compatibility) the selection by shortcut ‘p’. Maybe we can improve (a little) the thing (with the tooltip), but not sure at all.
This should be stated in future documentation (if it exists) ![]()
Most of the tooltips were made with a translator because my English is bad. I would like, even if it is understandable, and if possible, a better translation (I don’t have a written French version) or even a better explanation of how it works, and this for all the added features.
But as you say these are major improvements to Rawtherapee ![]()
Thank you
Jacques
I changed the tooltip of the contrast mask activated by ‘shortcut p’.
He becomes:
Preview the sharpening contrast mask
Shortcut:p
Only works when sharpening is enabled and zoom >= 100%, or when capture sharpening is enabled.
For capture sharpening it is better to use the ‘Show contrast mask’ checkbox incorporated into the tool.
Do not use with the contrast masks incorporated into Selective Editing.
Executable running.
Of course I can change…
Jacques
I had this Pull Request checked (several times) by Copilot, who didn’t find any critical errors. These are often recommendations (my code is complex and long…). I also cleaned up the code and made small changes.
Hello
I just merge with ‘dev’ the Pull Request for ‘ghsimprov’.
I merge this commit in the pull Request relating to Captur-noise (major compatibility work)
Can you check that everything is working normally?
Executables
Text captur-noise
Just a recall
Thank you
Jacques
hello
The labels and tooltips have been updated to good English thanks to an English speaker who is fluent in French.
I’ll propose merging this PR this weekend.
Executables
Text captur-noise
Jacques
Hello
I just merged the “captur-noise” PR into Dev.
Significant changes have been made. As a reminder, I started working on this change in September 2024.
Can you please verify that everything is working properly, as unfortunately the automatic merge can (rarely) fail, or at least forget some things?
I’m also in the process of merging the “cam16slope” PR with Dev (so with the modifications induced by captur-noise)… A lot of work ahead… To make it compatible and at least ensure that everything works.
Thanks
Jacques
I tried the latest capture denoise build and things work fine in my limited testing with one only thing: tooltips has slight alignment issues. The beginning of a paragraph should not have a space. Below is the tooltip of Contrast Threshold as an example, seems like the same issue is also in the tooltips of Presharpening denoise, Radii and Postsharpening denoise.
There seems to be a lot of things in development so thanks for all your works!
Thank you for your test ![]()
I fully support this syntax, and I also admit that, depending on the location in Rawtherapee, there may be some Tooltips with an indent, others without, and others with an *.
I have nothing for it, nothing against it.
It’s simply easy to change for this case… (if necessary), but there are probably others in RT.
Other opinions…
Thank you
Jacques