Diapo000165.cr2.xmp (14.8 KB)

3 Likes
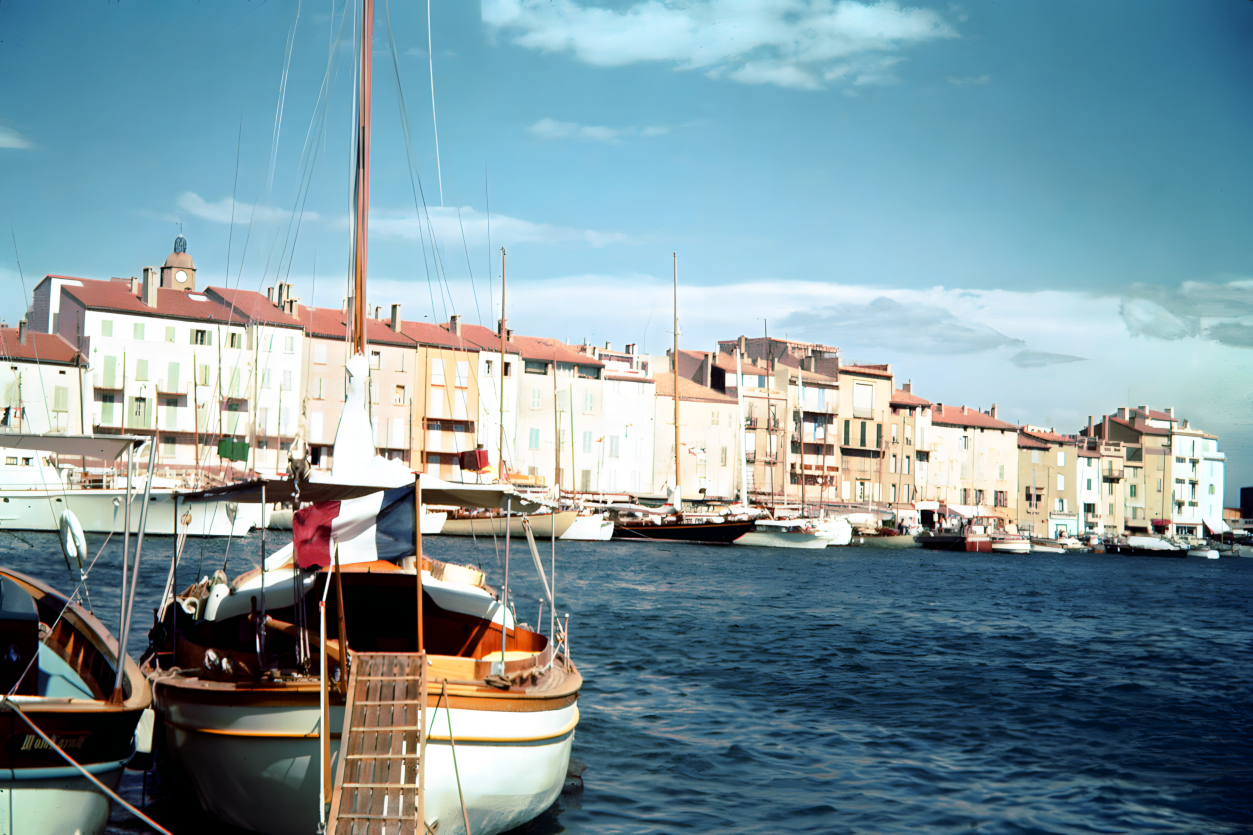
Picture description says 2019:

And this is more coherent with all the power yachts in the back, as well as the genoas/jibs on roller furling on the sail boats (late 60s inventions, became really popular in the 80s).
1 Like
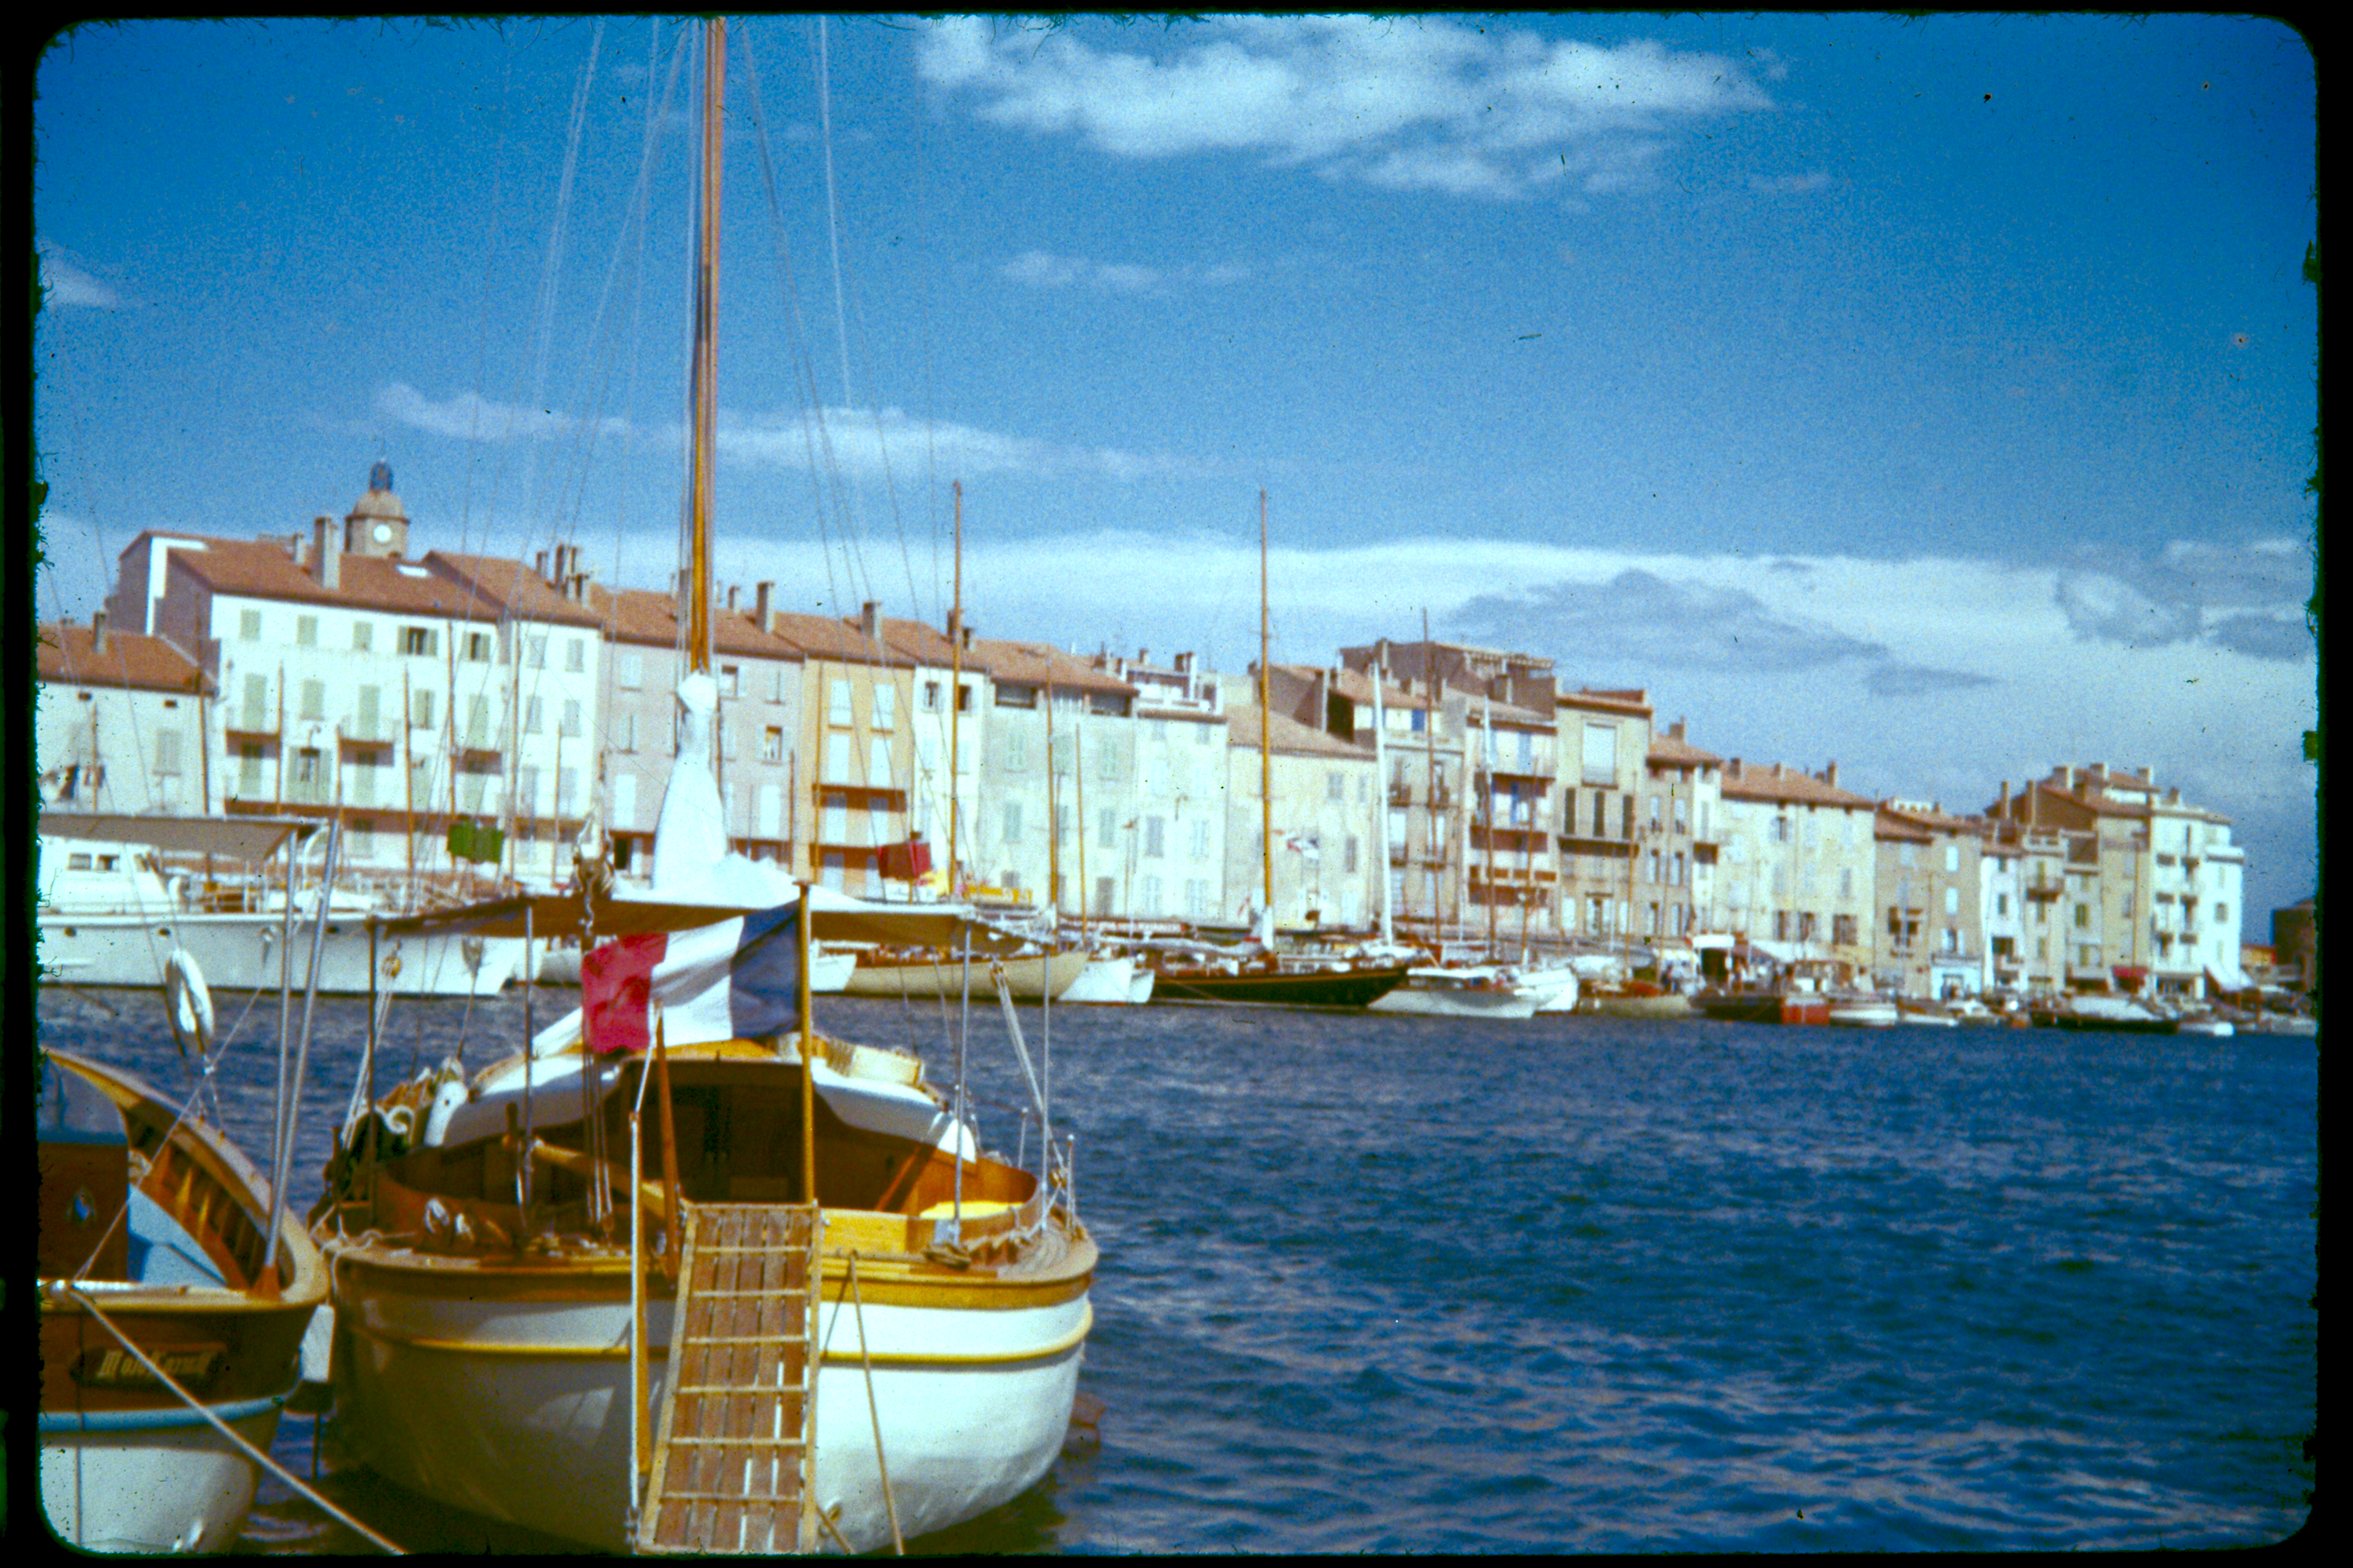
Plenty of good things above. Thanks to all. Funny how I was biased by the colors of the other slides I’m digitizing (those without a color cast). I will be a bit more aggressive in the correction from now on.
2 Likes

2 Likes

9 Likes
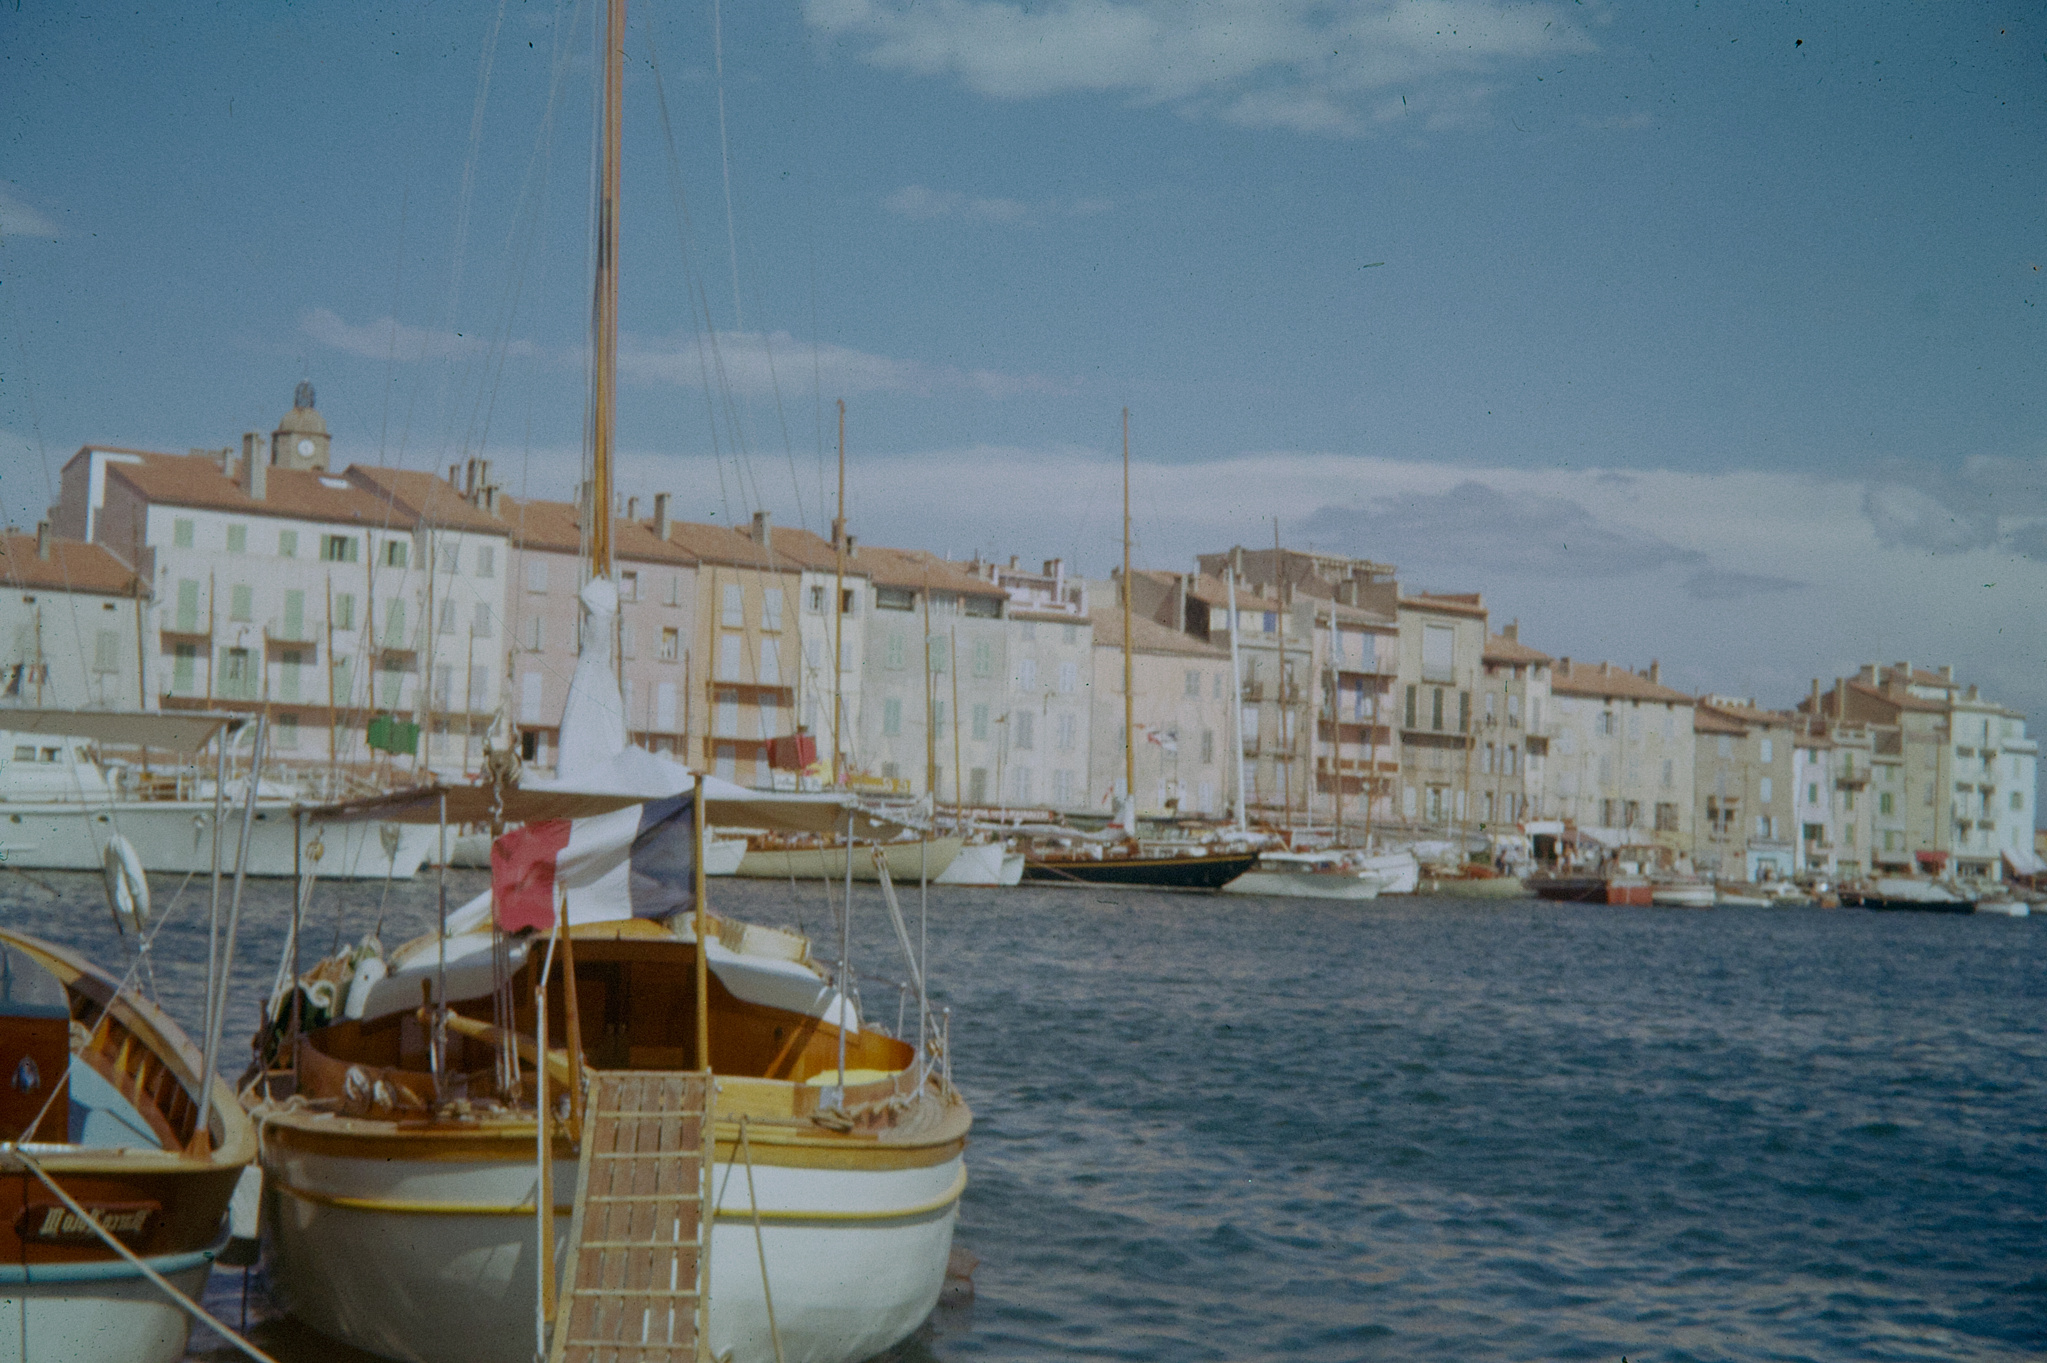
My vote for best color balance.
Detail on how this was done?
Thank you for the play. That was fun.
First a neutral with ART. Then GIMP and G’MIC.
I used (G’MIC, not in this order): CMYK-Tone, Specific Saturation, Curves (interactive curves doesn’t work as it should do), Tune HSV-Colors, Mixer PCA, LMS Adjustment, Details Equalizer, Tone Enhance, Denoise, MS Patch Chroma. In GIMP: Stress:

7 Likes
Thanks. There were a number of excellent attempts here. It is complex what I did. I first did the best I could with DT. I usually use Sigmoid but used Filmic V7 for finer controls of relative white exposure and black exposure. I then applied local contrast module at 150% before adjusting the exposure module. At some stage I used color calibration to do an initial correction targeting an average to neutral grey. I then used color balance RGB to work the saturation and vibrance of the image. I used a second instance of color balance rgb to focus on brilliance and contrast grading and used a mask to localise the adjustments to the row of buildings. I used the color zones module to increase the overall saturation of the image. I then used the color equalizer module to further increase the saturation of blues in the image. to bring out detail I used the diffuse or sharpen module. Finally I did something strange and arguably incorrect. I created a second instance of color calibration and dragged above all the other modules and again did a color color calibration after all my editing. I exported the image and opened it in GIMP. I used auto levels in GIMP to further improve the image and did some more tweaking in GIMP. Attached in my DT output and xmp file.


Diapo000165.cr2.xmp (26.9 KB)
2 Likes


Not easy to edit, am not so happy with it. At some point darktable did not want to edit the picture any further, I could not export it, only took a screenshot. I found it easier using the display-referred tools such as Levels and LAB-Curves to adjust the colours. I guess the mix of scene and display referred quite messed up the math.
3 Likes
Diapo000165.cr2.xmp (16.3 KB)
1 Like