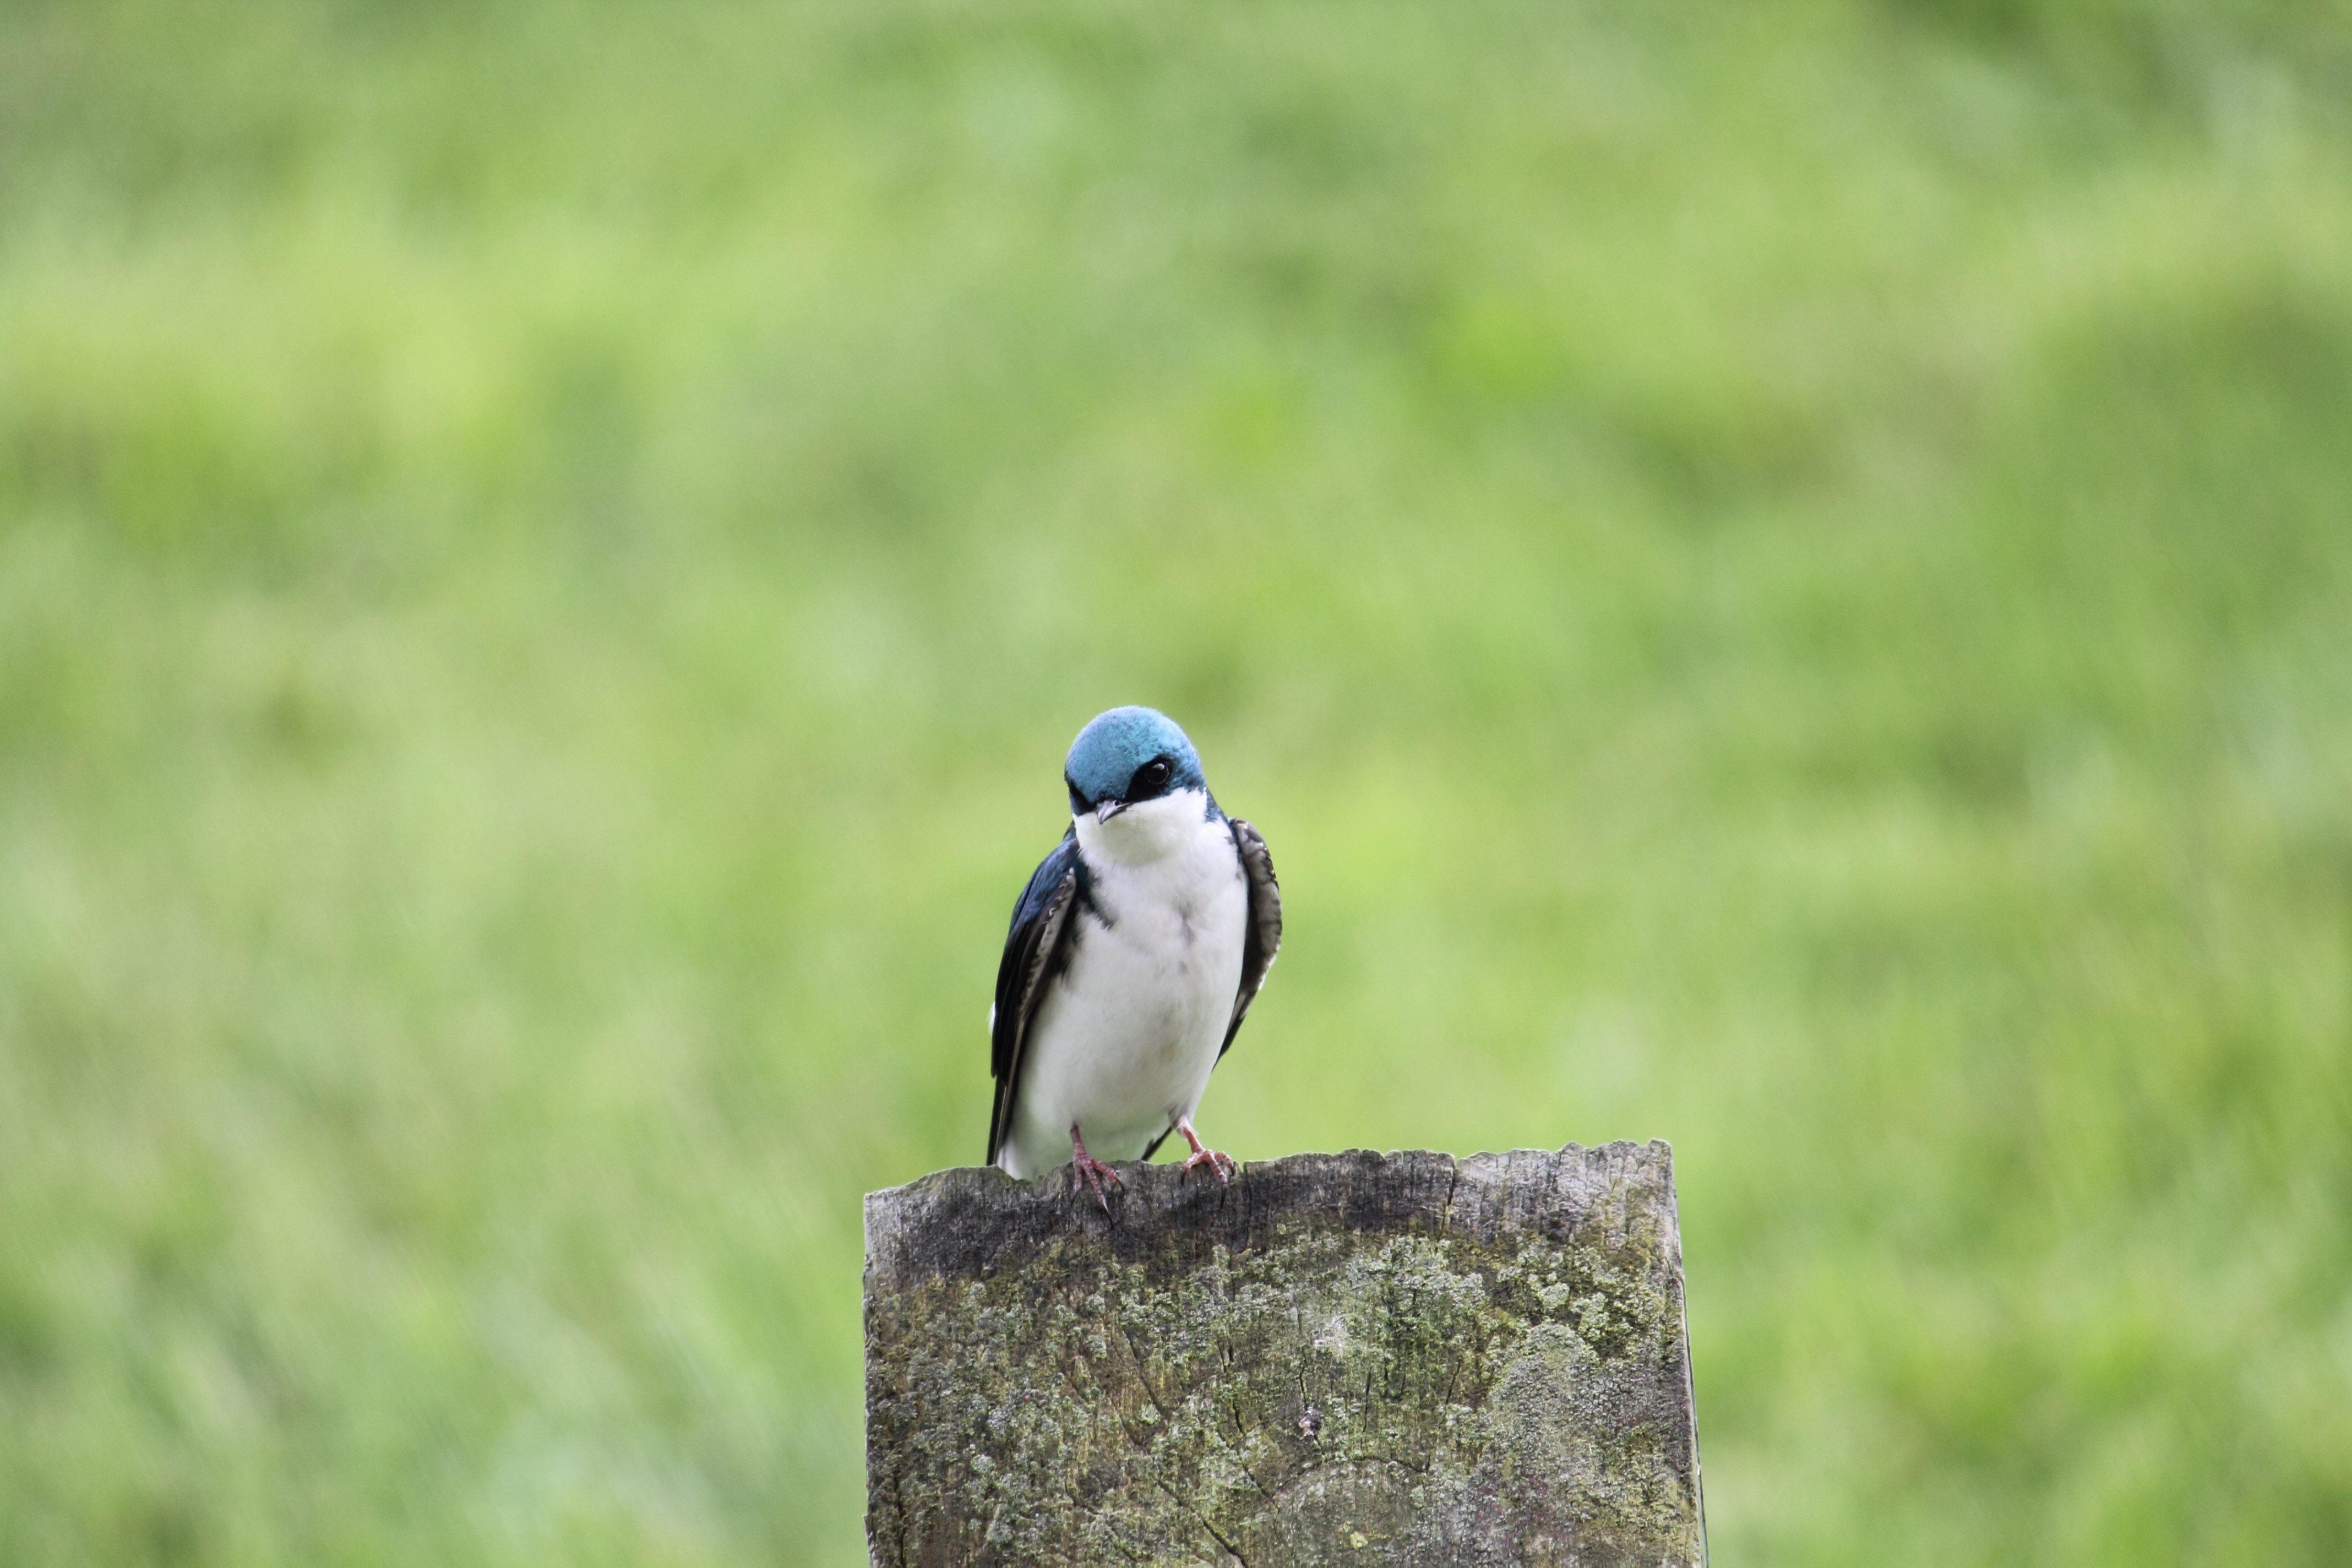
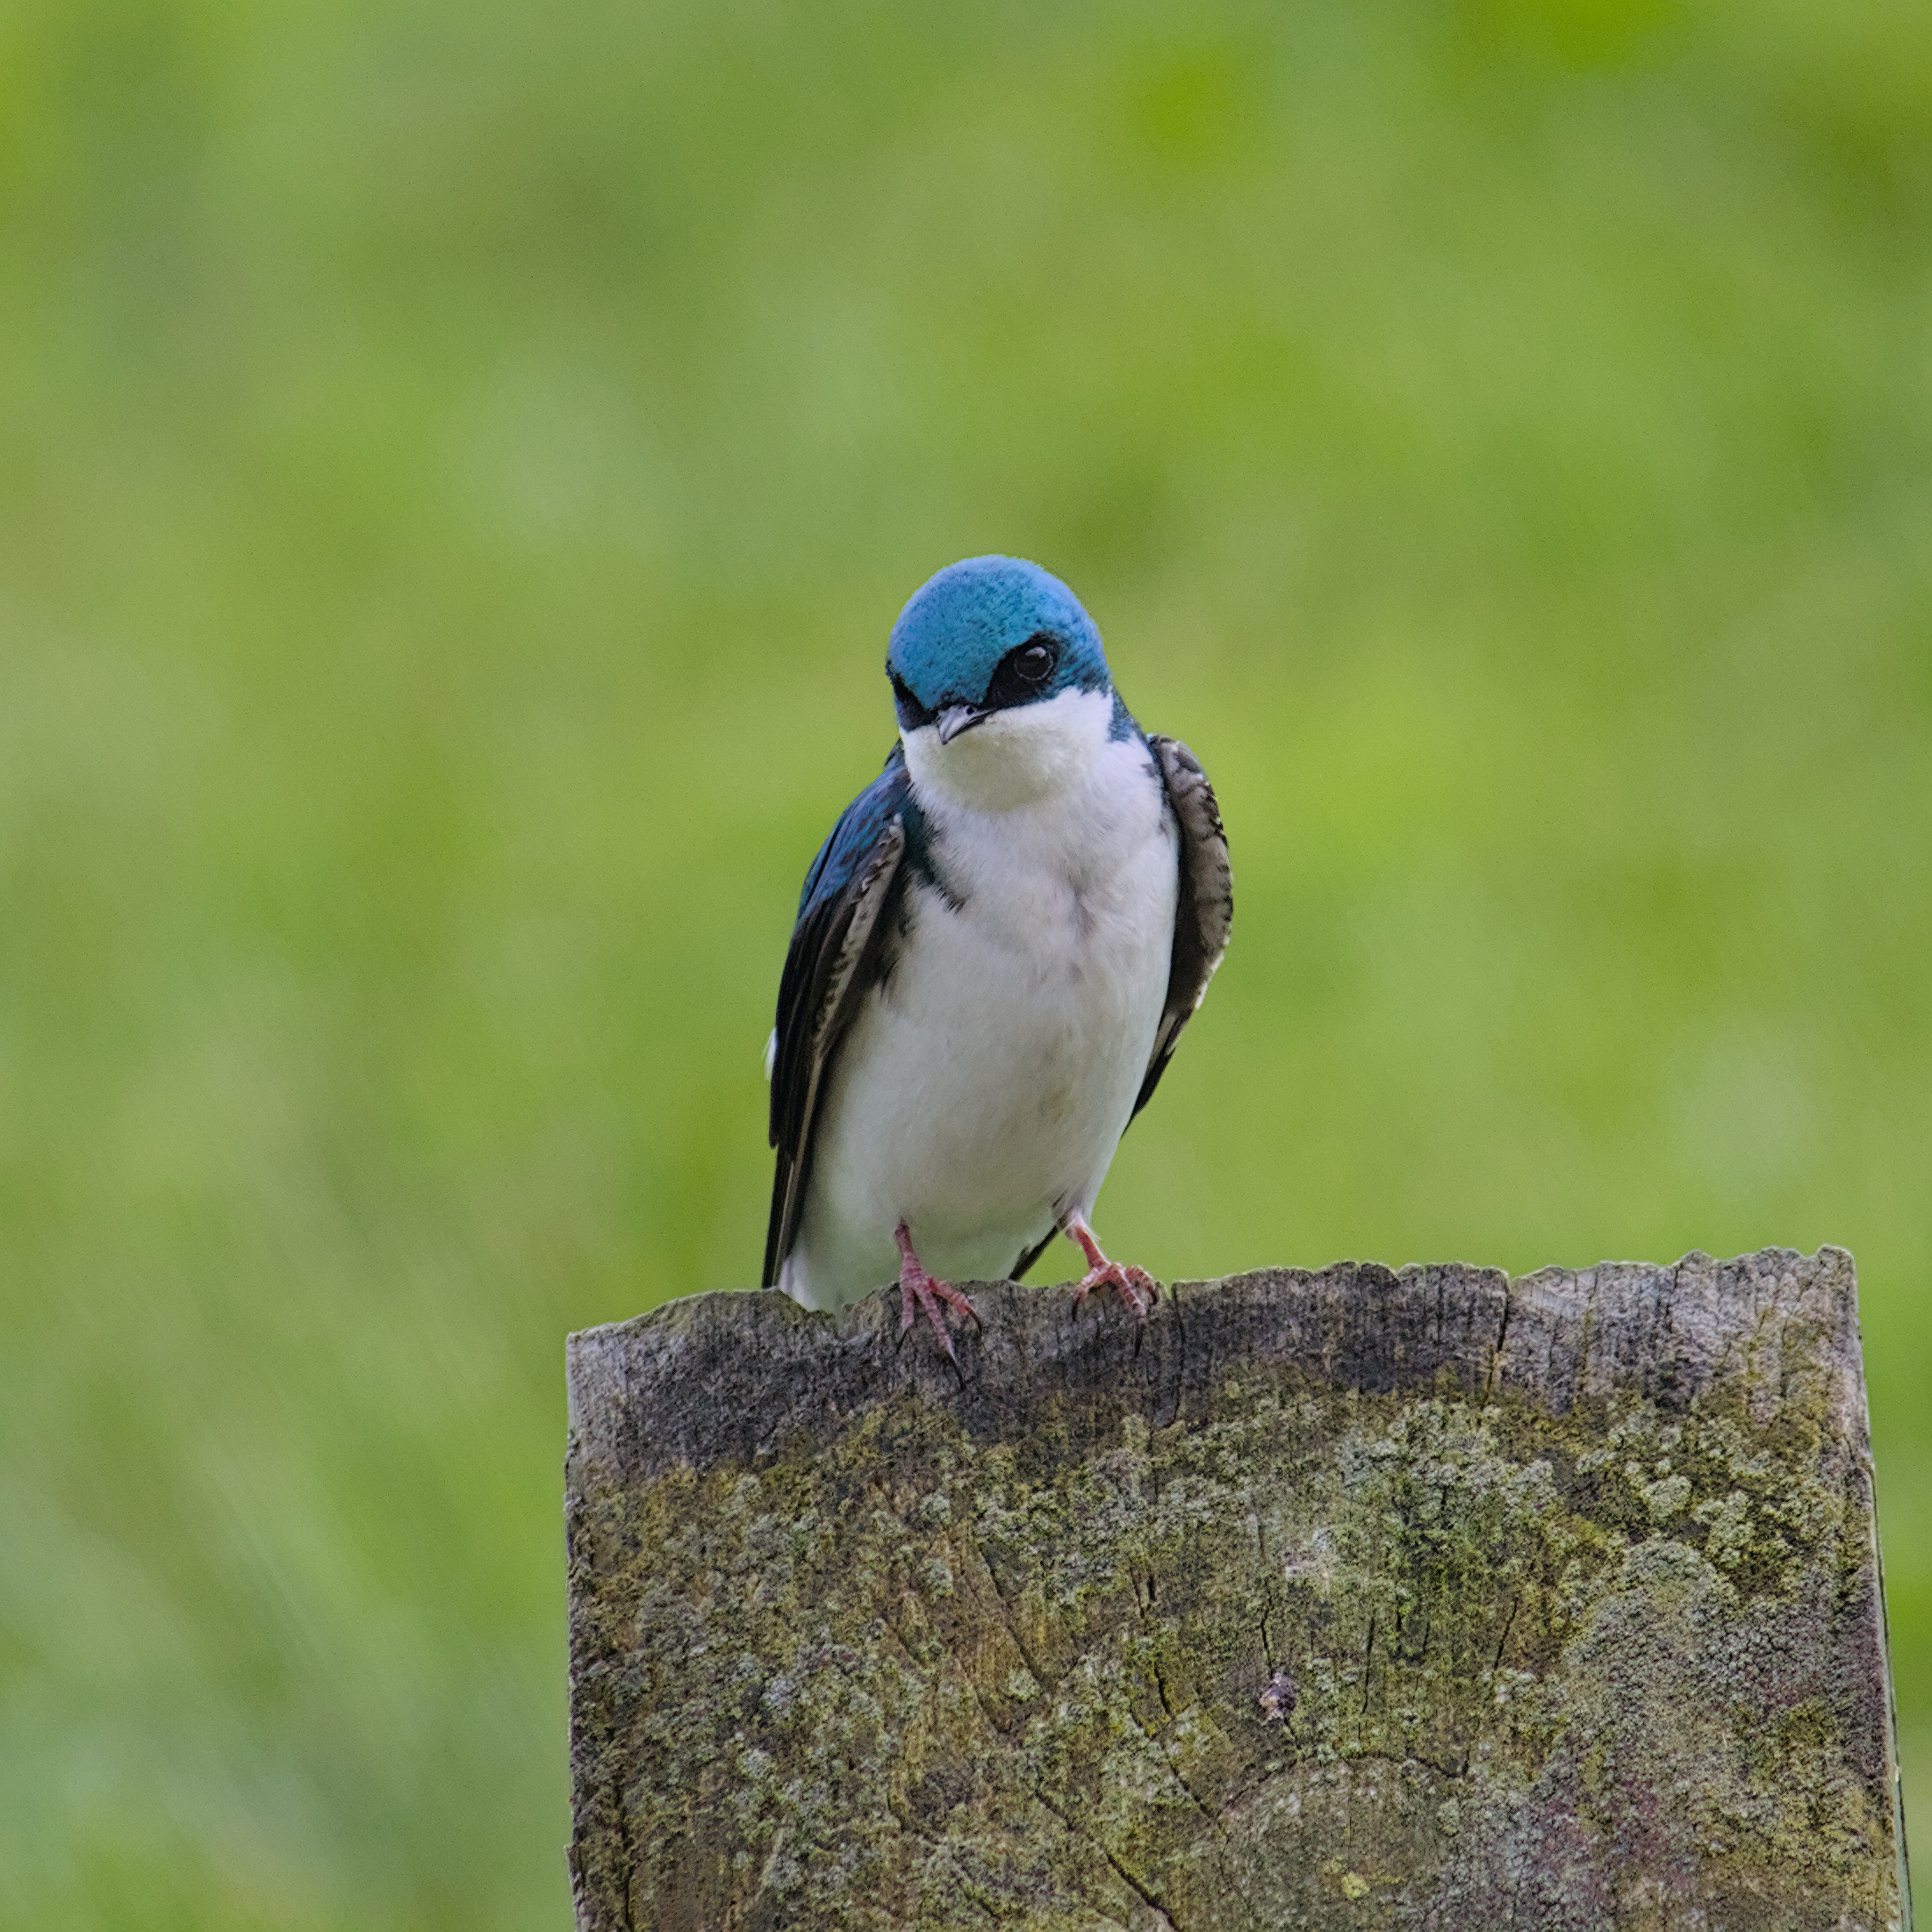
First time using DT to edit a RAW image and I’d love your input. Below is the original and my DT file with my edits. Please feel free to post up your version of the original photo. The photo is one I took.
I used around 12 modules only because the tutorial I followed used all of them. I can’t say I needed all of them. My goal was to make the colors of the bird and the post pop. I debated on keeping the background as a light green.
Welcome Chris…that’s a lovely little bird… I have to dash off to work but I am sure others will take a go and have a look at your editing steps for comments…
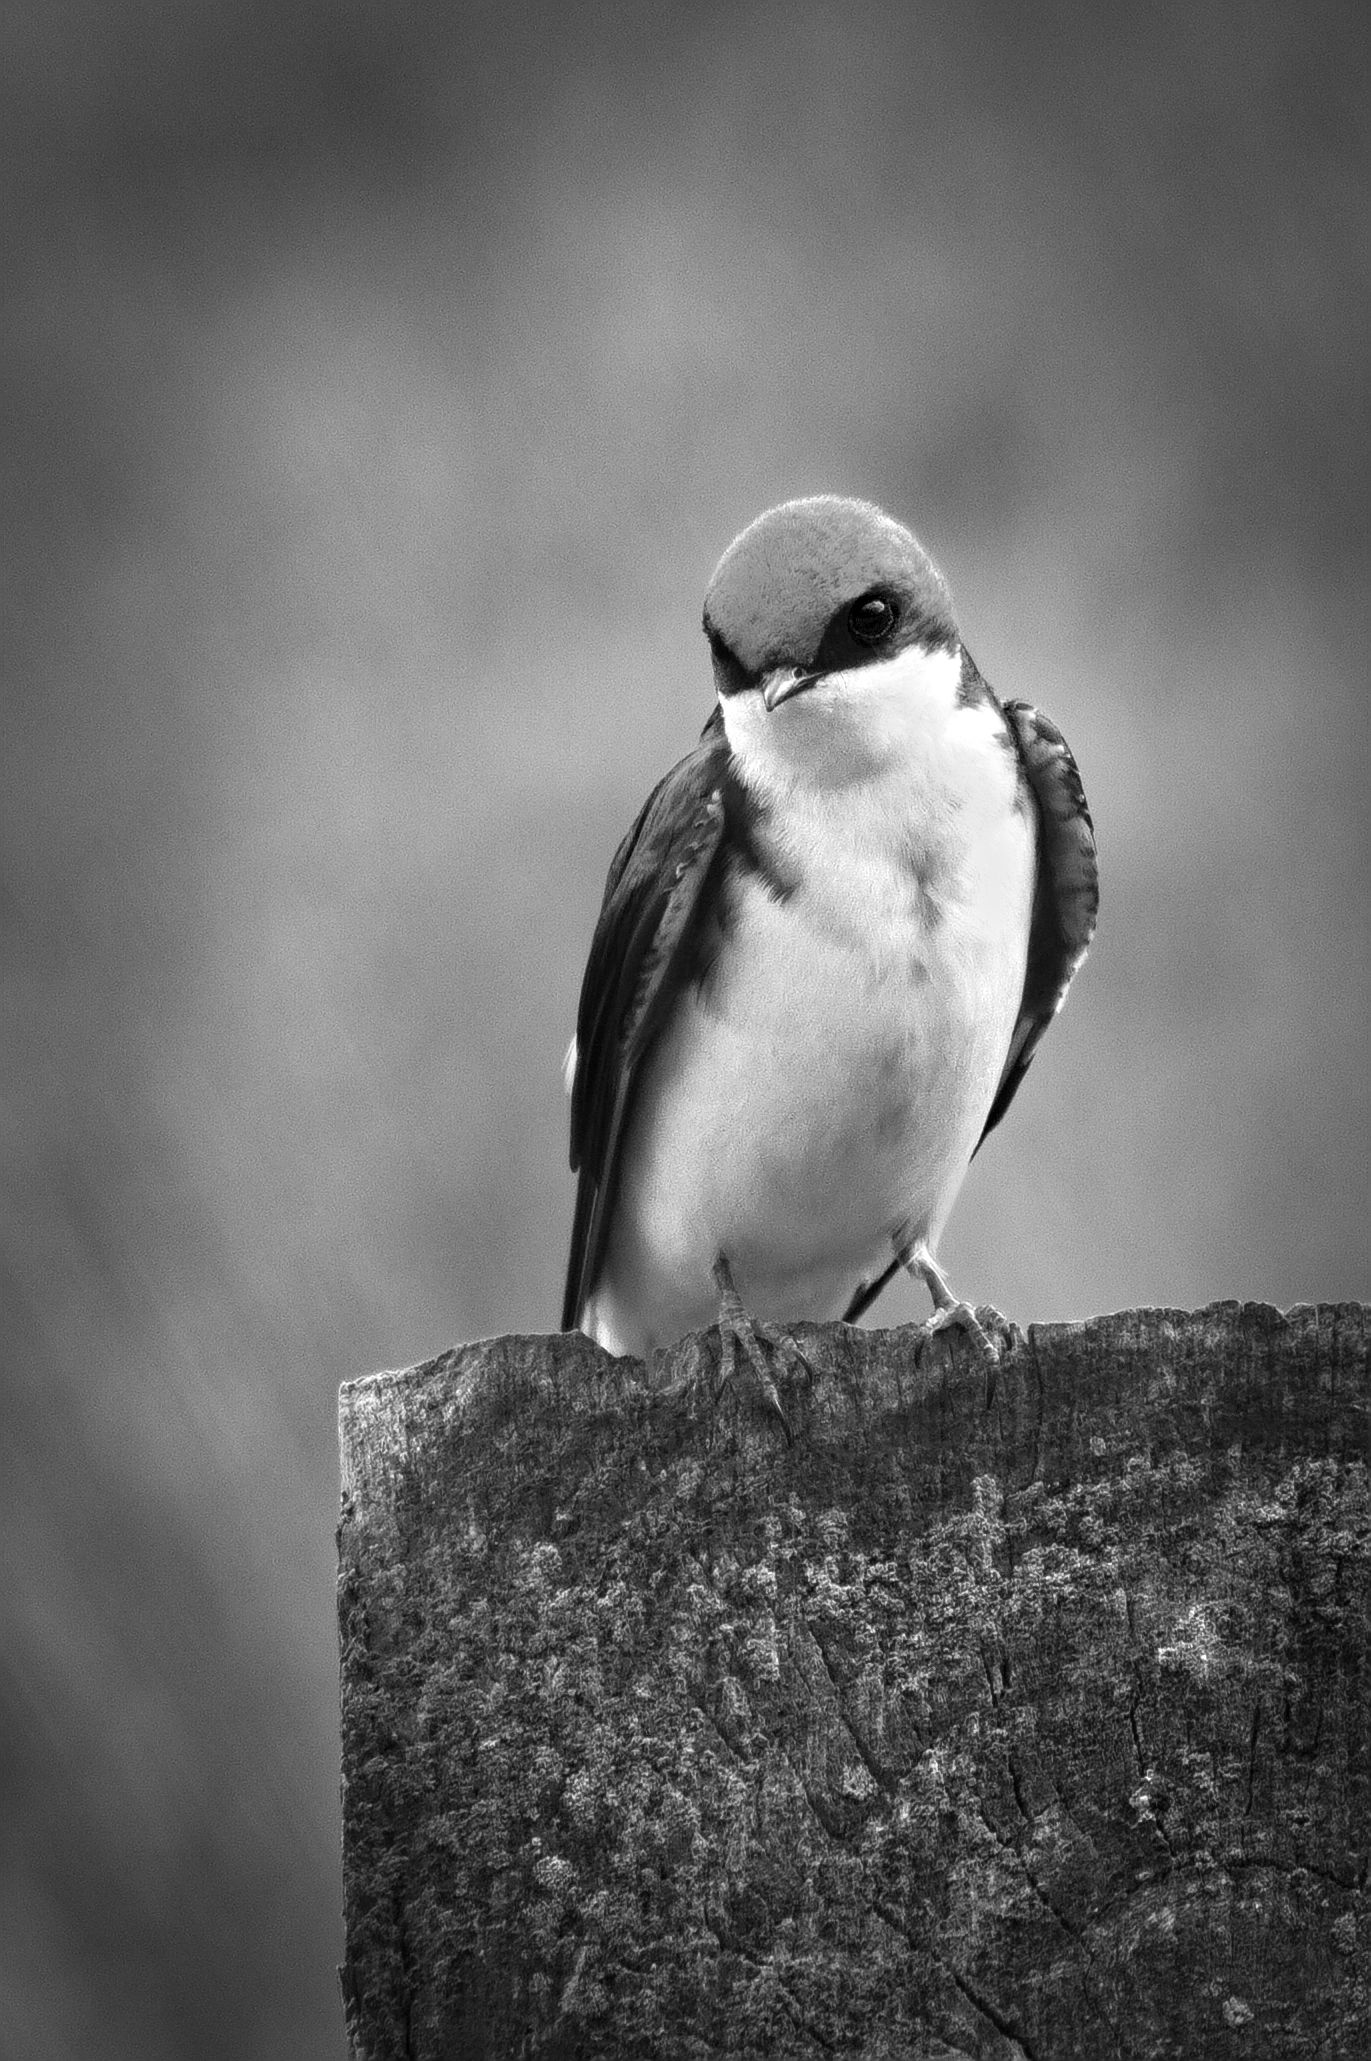
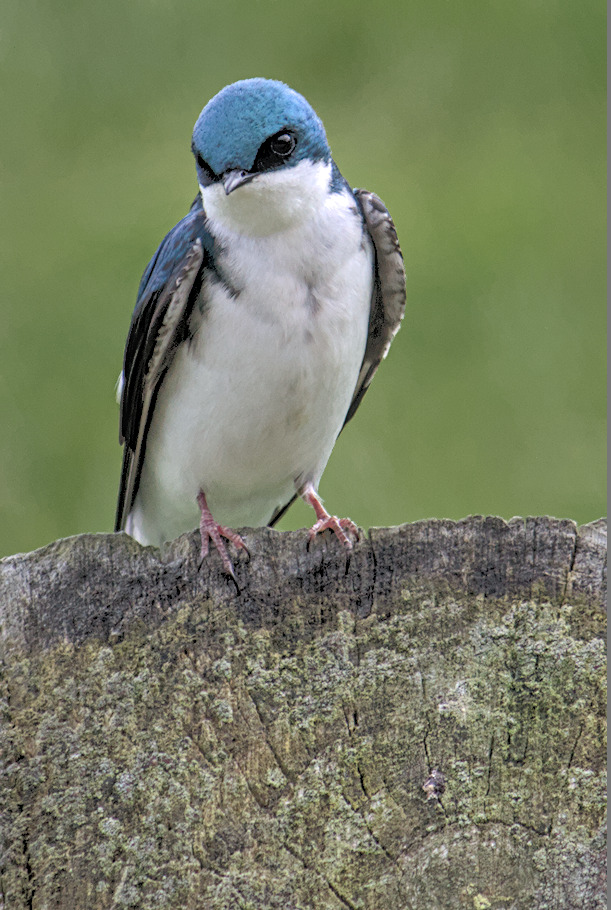
Having cropped the image into portrait (so the subject is looking into the center of the shot - rather than off to an edge), stretched the contrast, brought out catch-light in the eye, lightened the chest & stone highlights, I also offer a gentle vignette to make it feel a bit more “intimate.”
Thanks to everyone for the quick feedback and the xmp files. I’ve starting looking at these and taking notes. With so many modules on DT, it’s helpful to see which are core to my need and then build out from there.
Love the BW version with the vignette to give it that intimate feel. I’ve tried BW before but never feel like I capture the right feel. But you got it on this one. thanks!
Hi chrisman and welcome!
I haven’t looked at your edit in terms of modules, but I think the image looks great.
Re module order, I think most of the time the default order is the only one to use, i.e. basically ignore the order and dt will take care of it, but there are various more specific situations where the order should be changed. Just my 2c - I’m not really qualified to advise though!
Edit: fixed typos…
In which order you apply them doesn’t matter. DT will apply them in the order specified in the list you refer to anyway, and that is highly optimized to get the best output. You can add a module the last thing you do and even if it is supposed to be in the middle that’s something the Pixelpipe (the module flow) will sort out.
Yes, you can change the order that they actually are applied. Unless you’re a black wizard or extremely into the physics behind photography, you better keep your fingers away from that.
If you have a keen interest in modules and some examples of moving them one of the premiere editors is a gentleman named Boris Hadjukovic. @s7habo . Checkout his channel and video’s and you will be opened to so many possibilities and see the potential that can be unleashed with DT…
His early video’s had no commentary but more recent ones are given in English and they are fantastic…
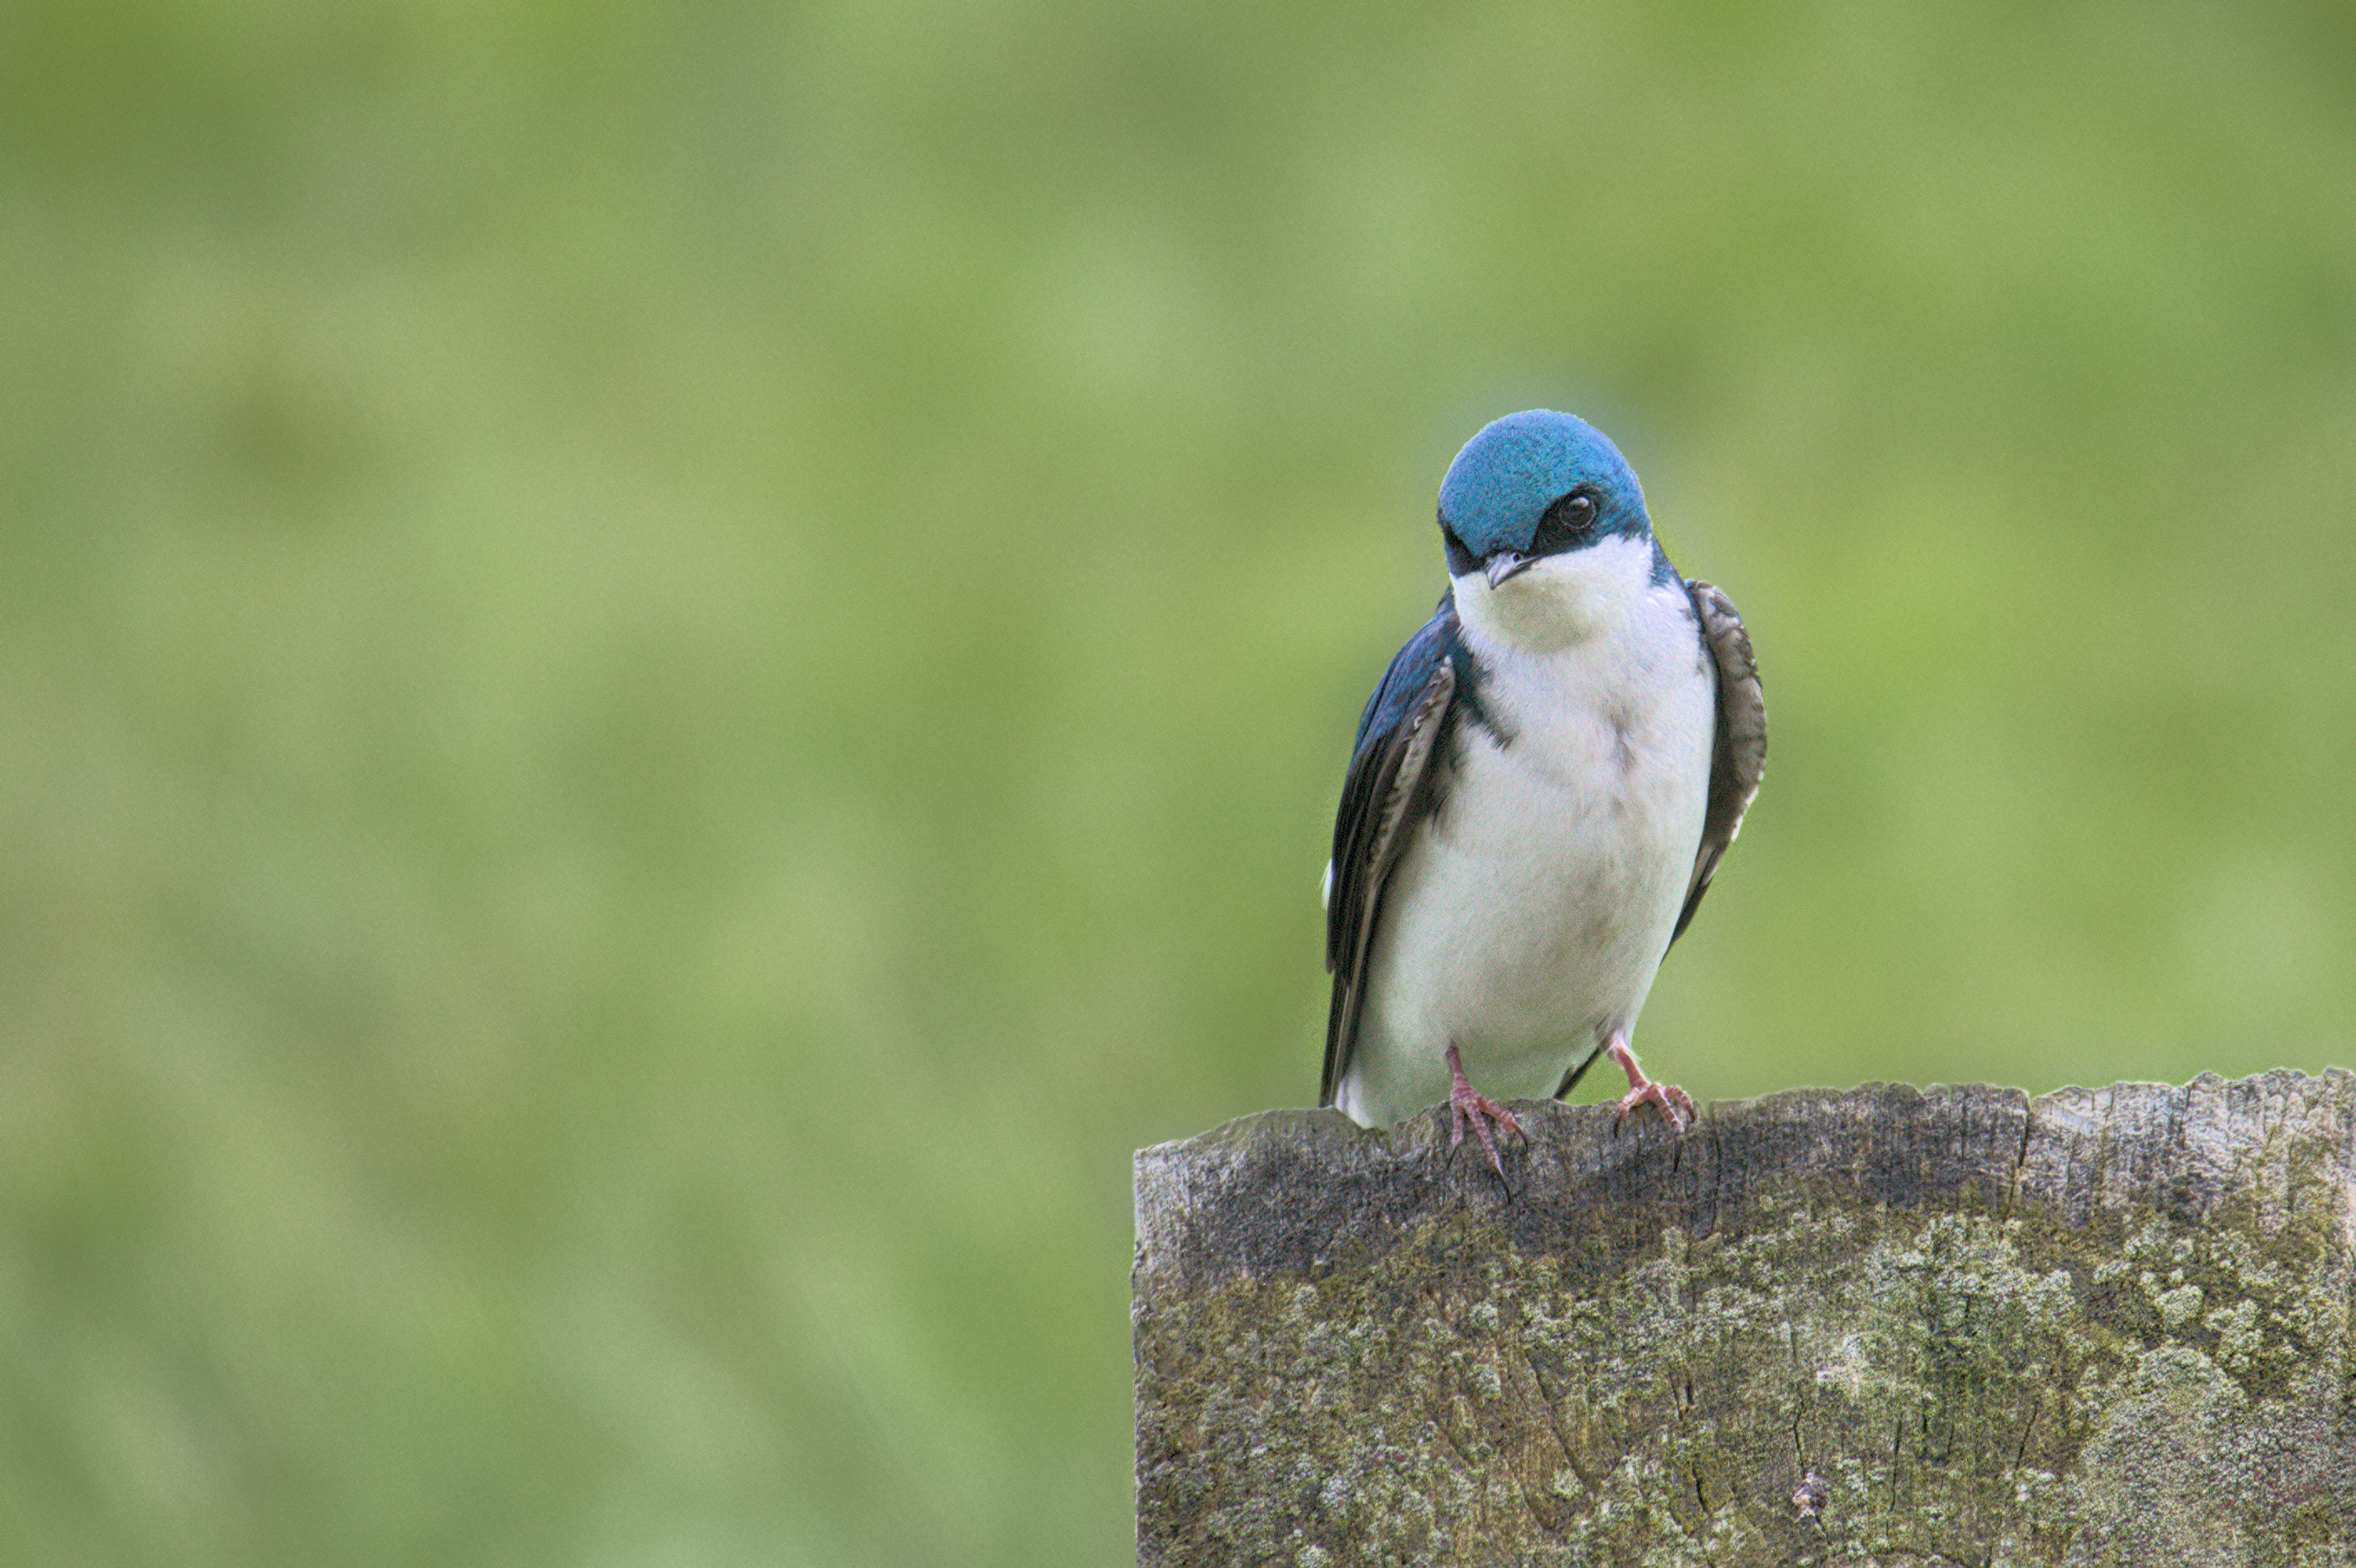
This image gave me an opportunity to use the Blurs module to attempt smooth out the background. The masking in this module is more tricky (I think someone posted it being a bug). It seems to use pixels outside the masked area and blend them. The blue from the top of the head was blending with the green as a function of the blur radius. I had to expand the masking to avoid it.
If the image contains a lot of noise, which this one doesn’t, noise can cause filmic to miscalculate the black relative exposure slider if auto tunes levels are used. Therefore I apply denoise (profile) as an initial editing step. If noise is not a problem then it can certainly be done last.
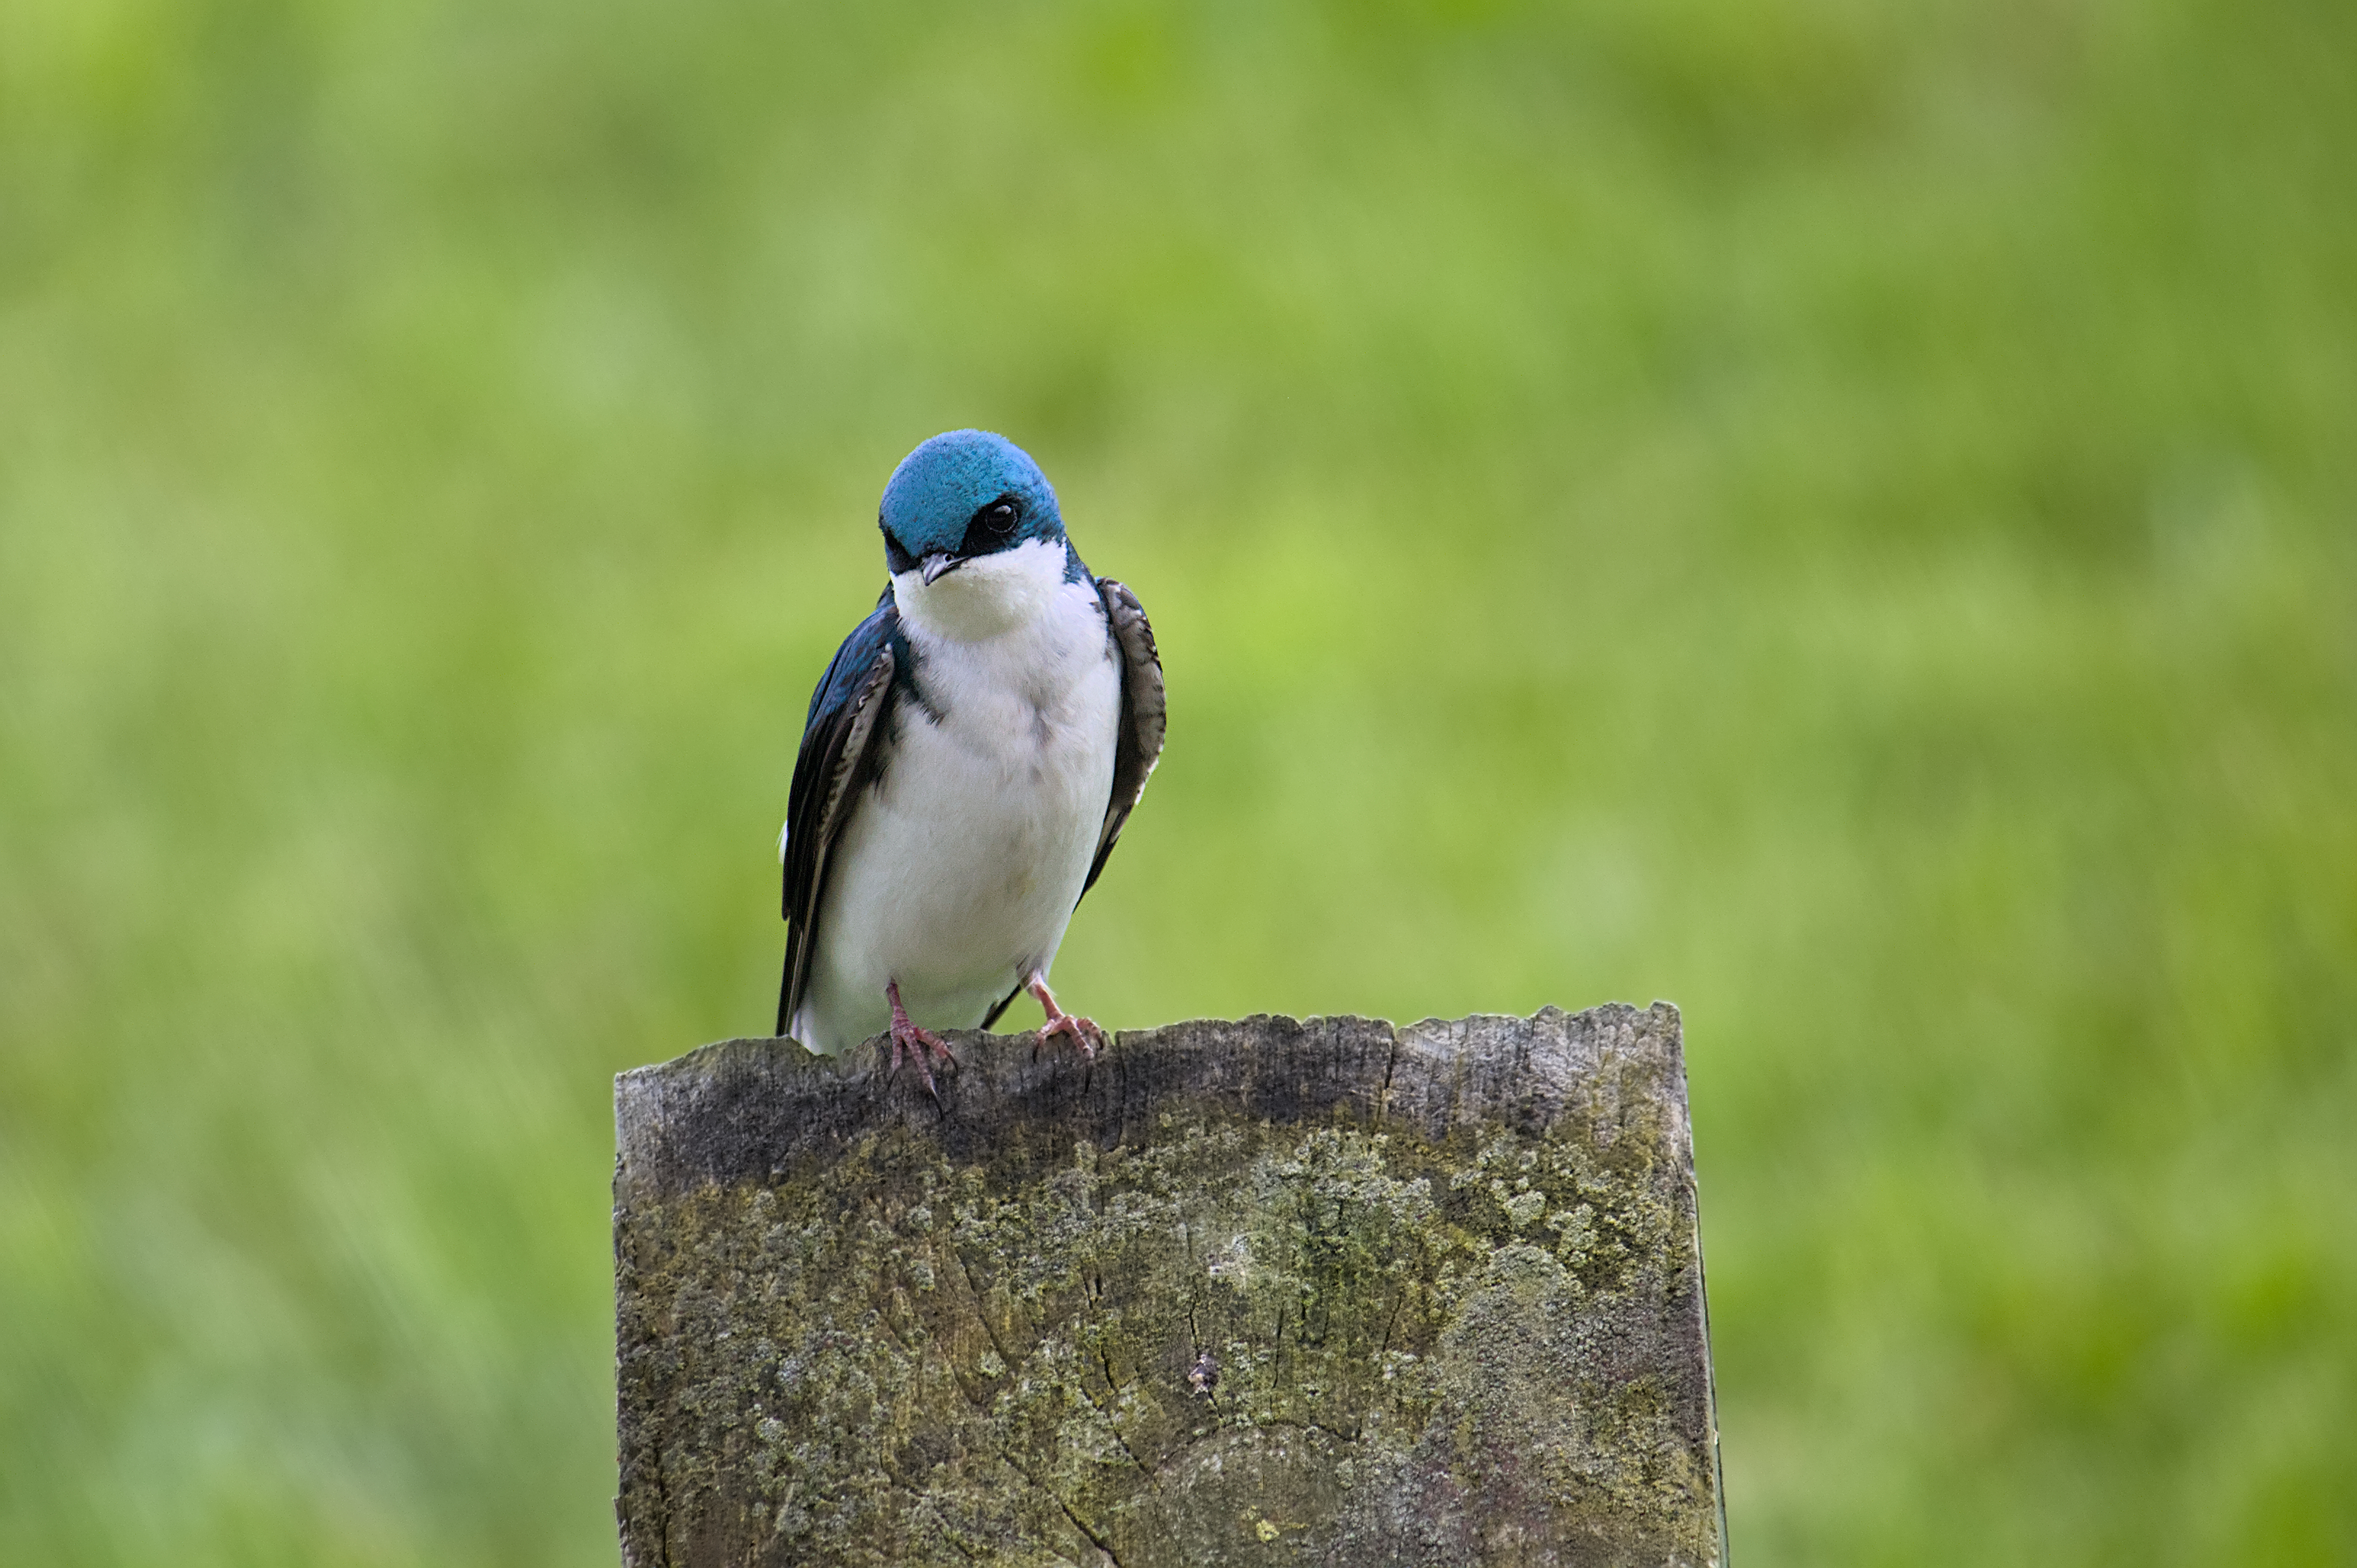
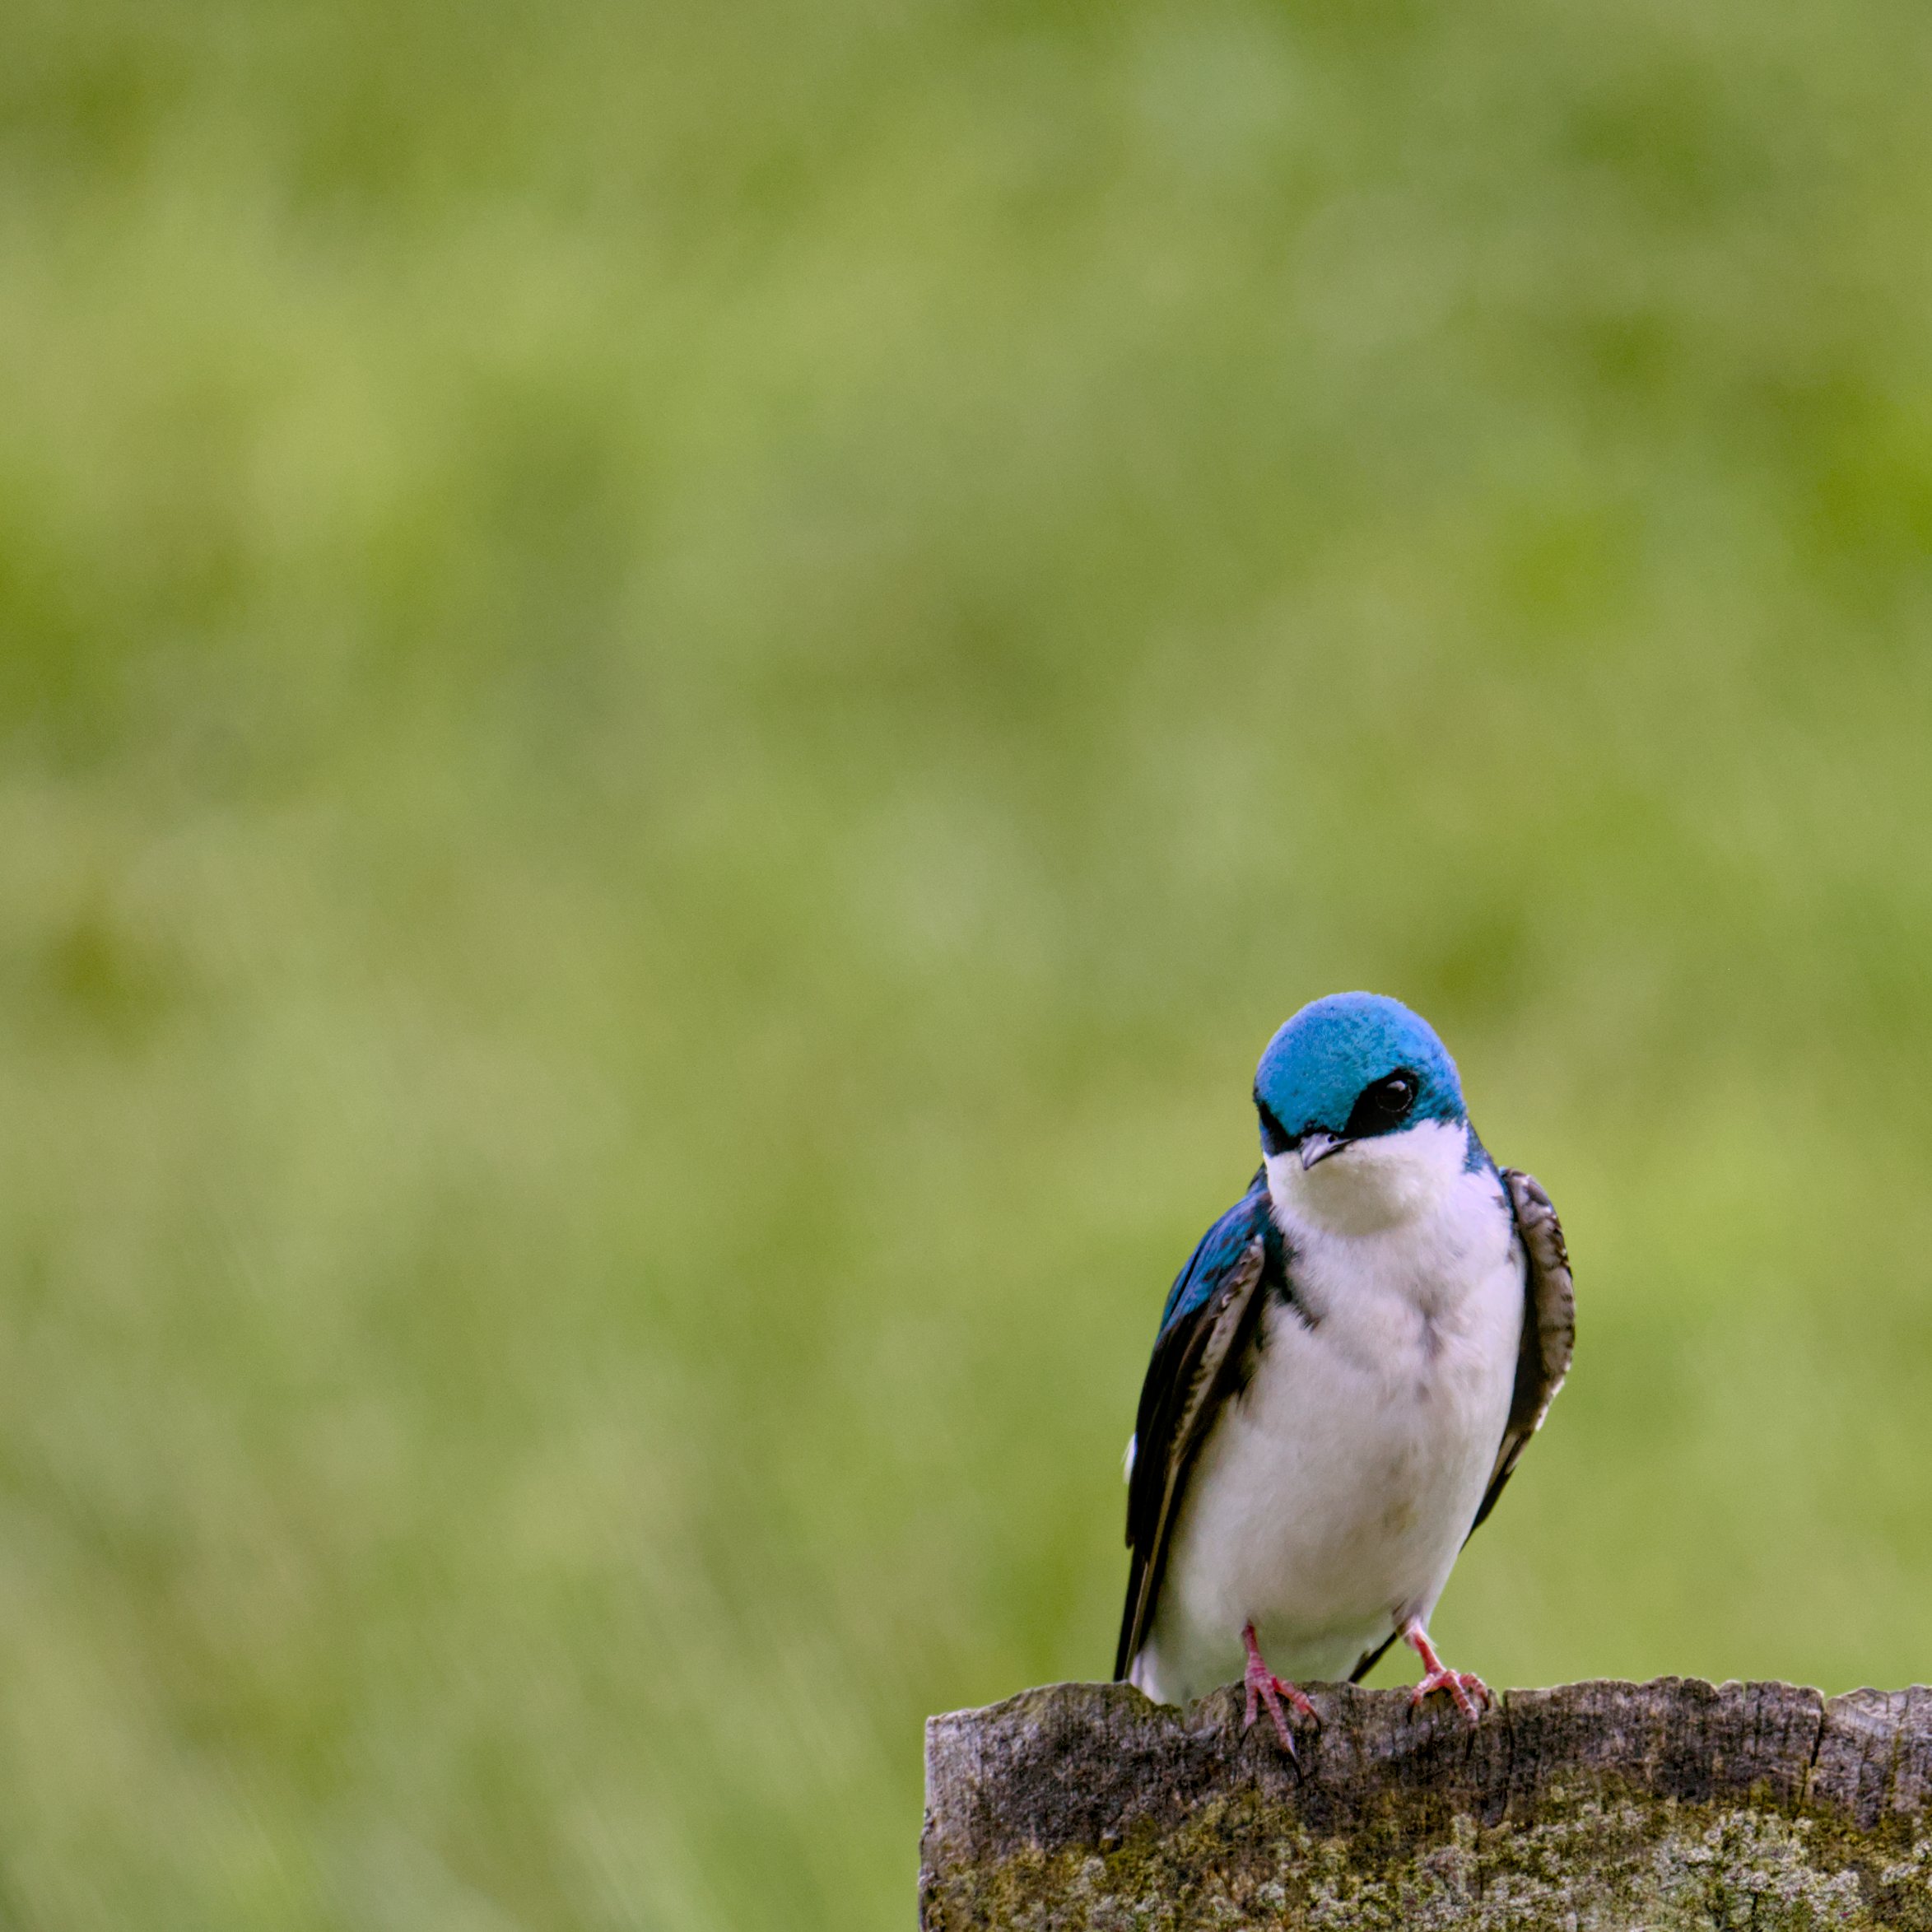
Thanks for the nice shot to play with. I chose to crop tight to the bird to remove most of the background green. I also used color zones module to darken and desaturate the green to drag the viewers eye to the brighter bird. I also did a second instance of exposure to brighten the bird itself a little bit more.