Your horizon halo is introduced by your strong settings in the tone eq. It is better to be more targeted and subtle with this module and use multiple instances if you need to rather than hitting your image with a big tone curve in the module…
Hi @NH_Rao and welcome to forum!
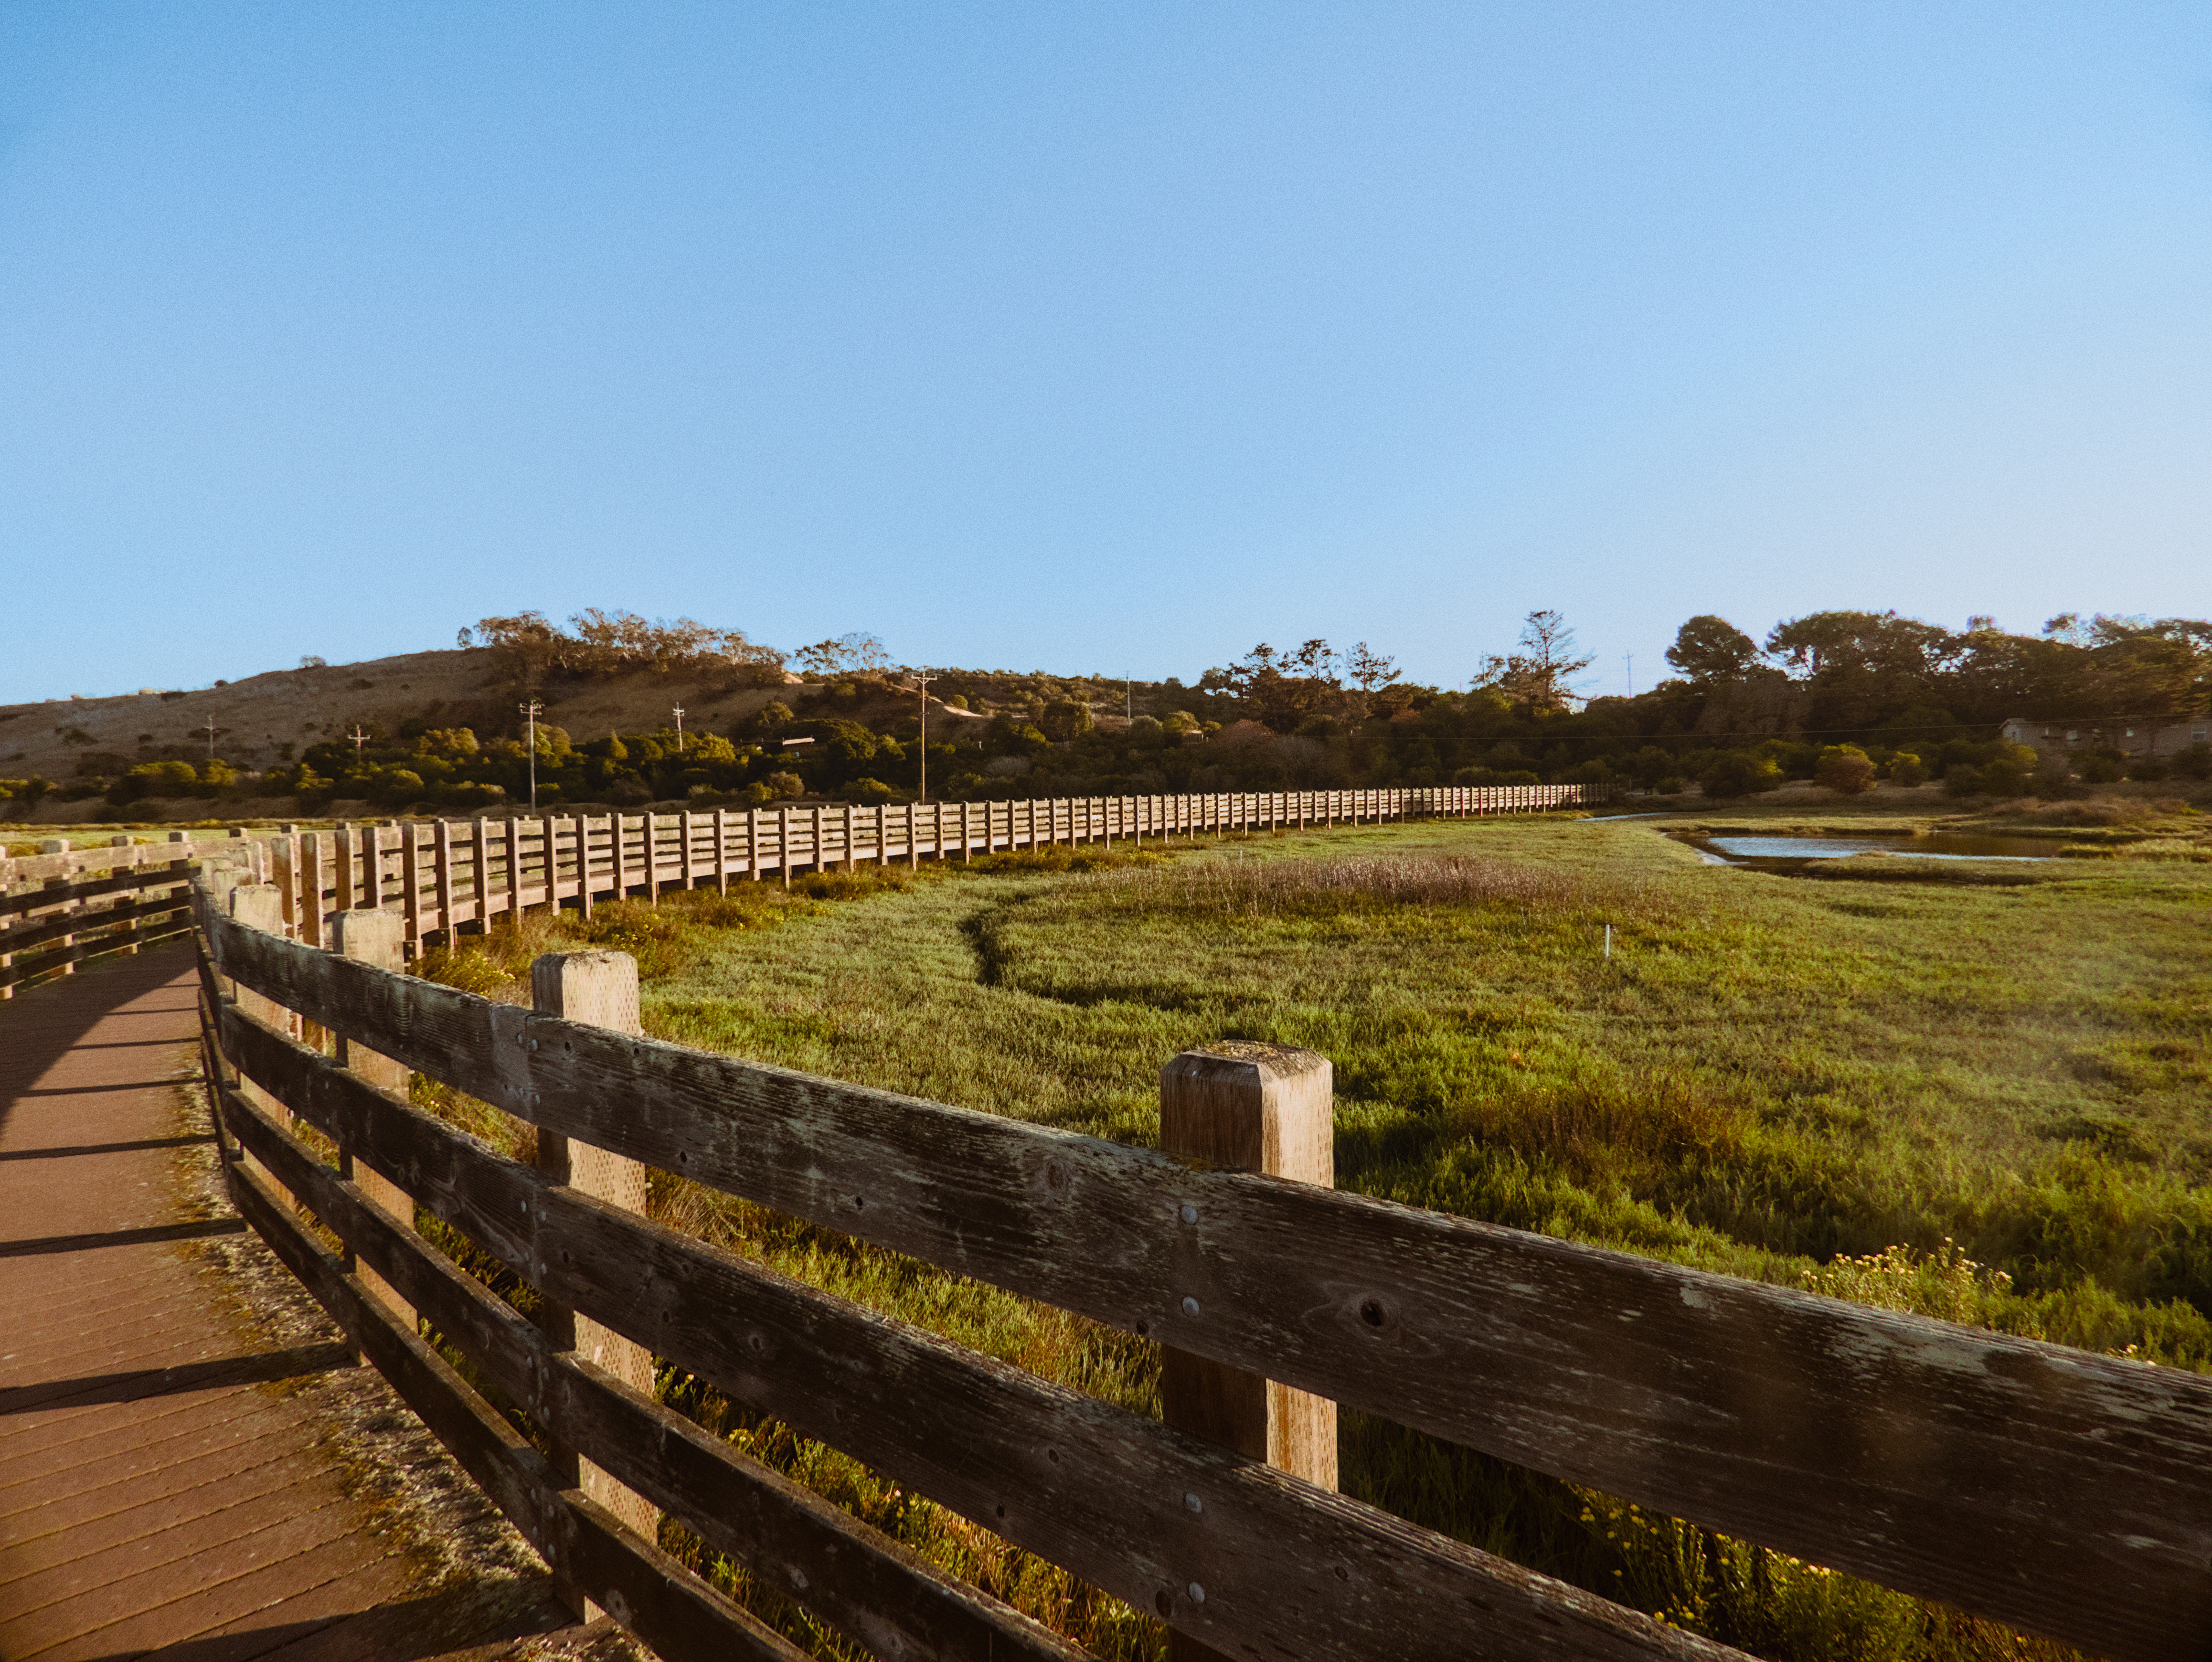
This is a very difficult task, because your raw file is very overexposed in that area and there the colors have to be “reconstructed”.
You can see this by turning on your raw file overexposure indicator:

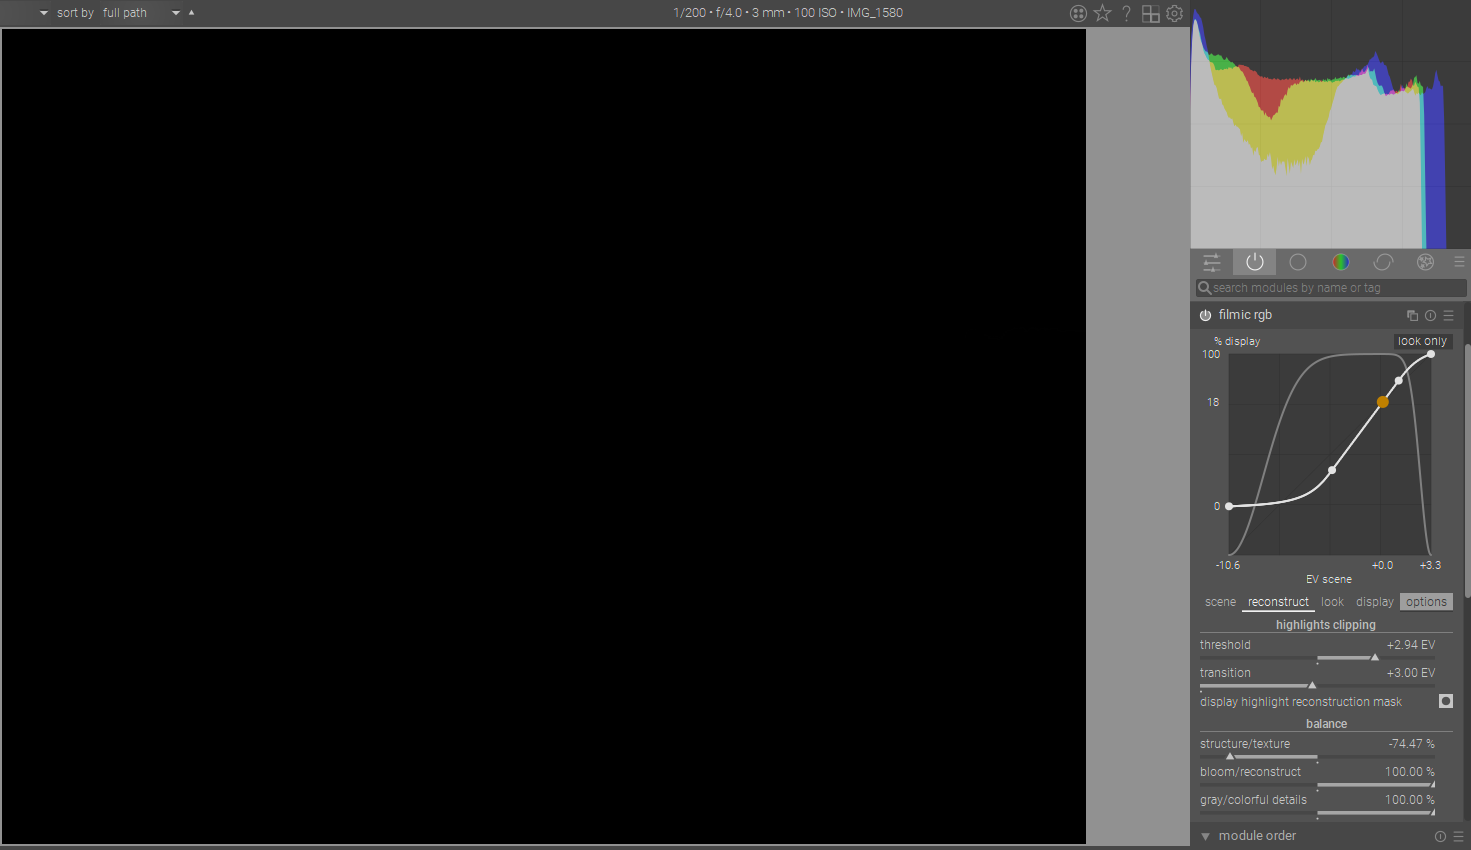
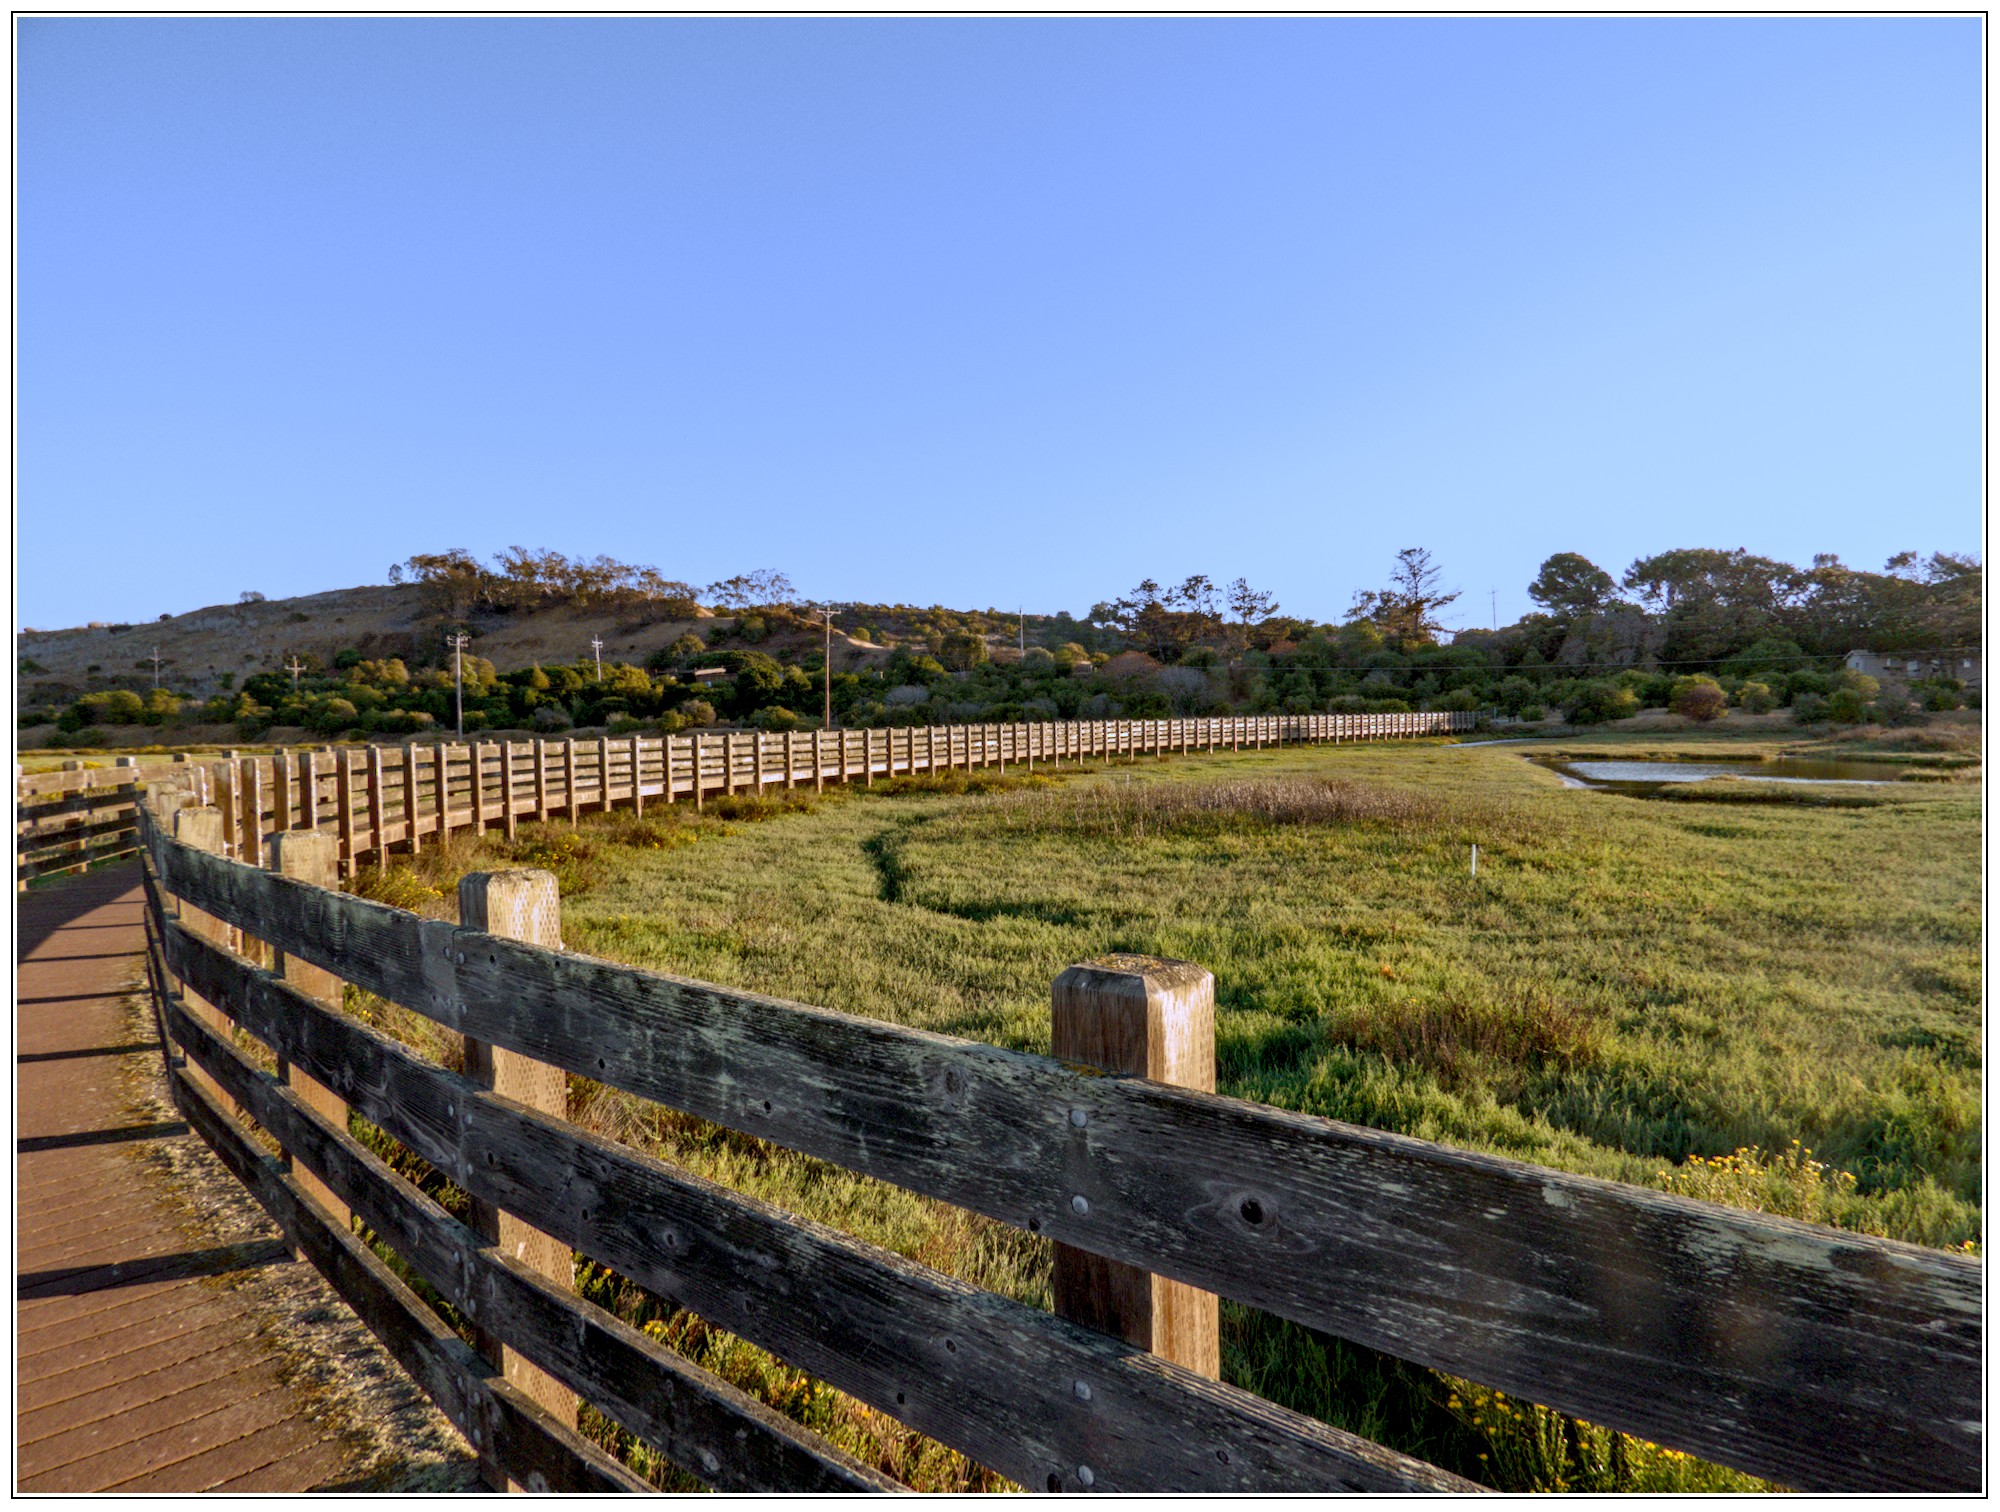
You can reconstruct it to some extent, but it’s very complex. I used the following modules for this:


Result:

IMG_1580_01.CR2.xmp (20,7 KB)
daktable 3.7.0~git686.e1c0db3b52-1
8 Likes
Set the highlight reconstruction module to reconstruct in LCh instead of clip highlights
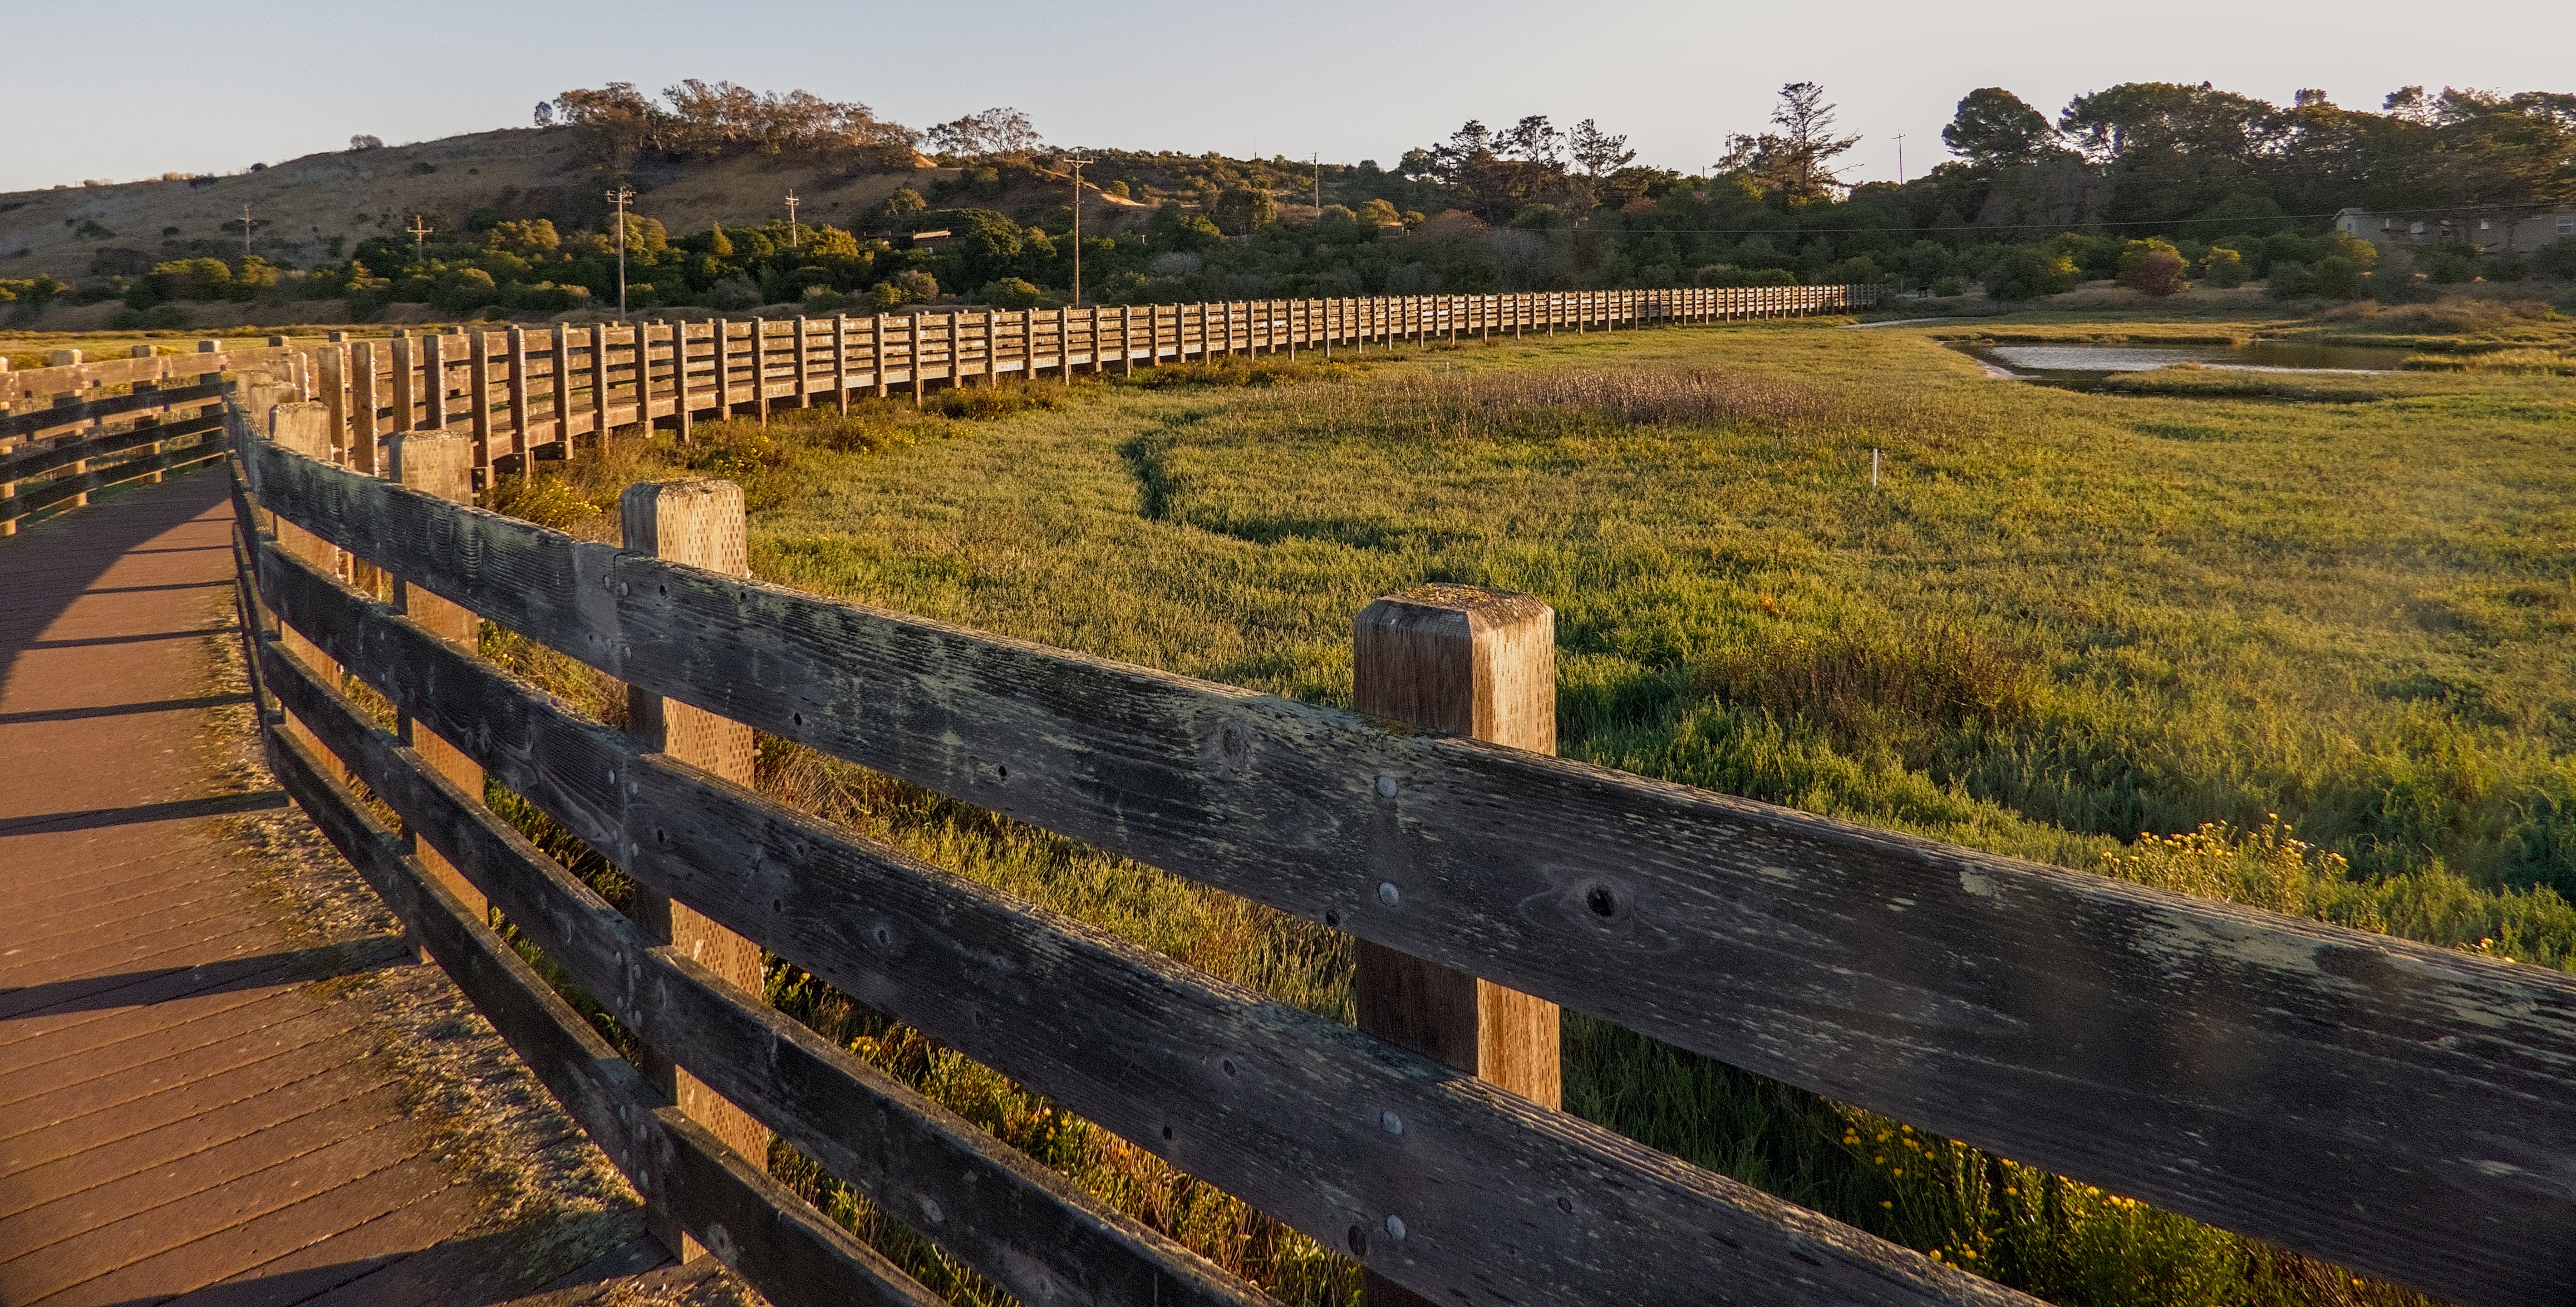
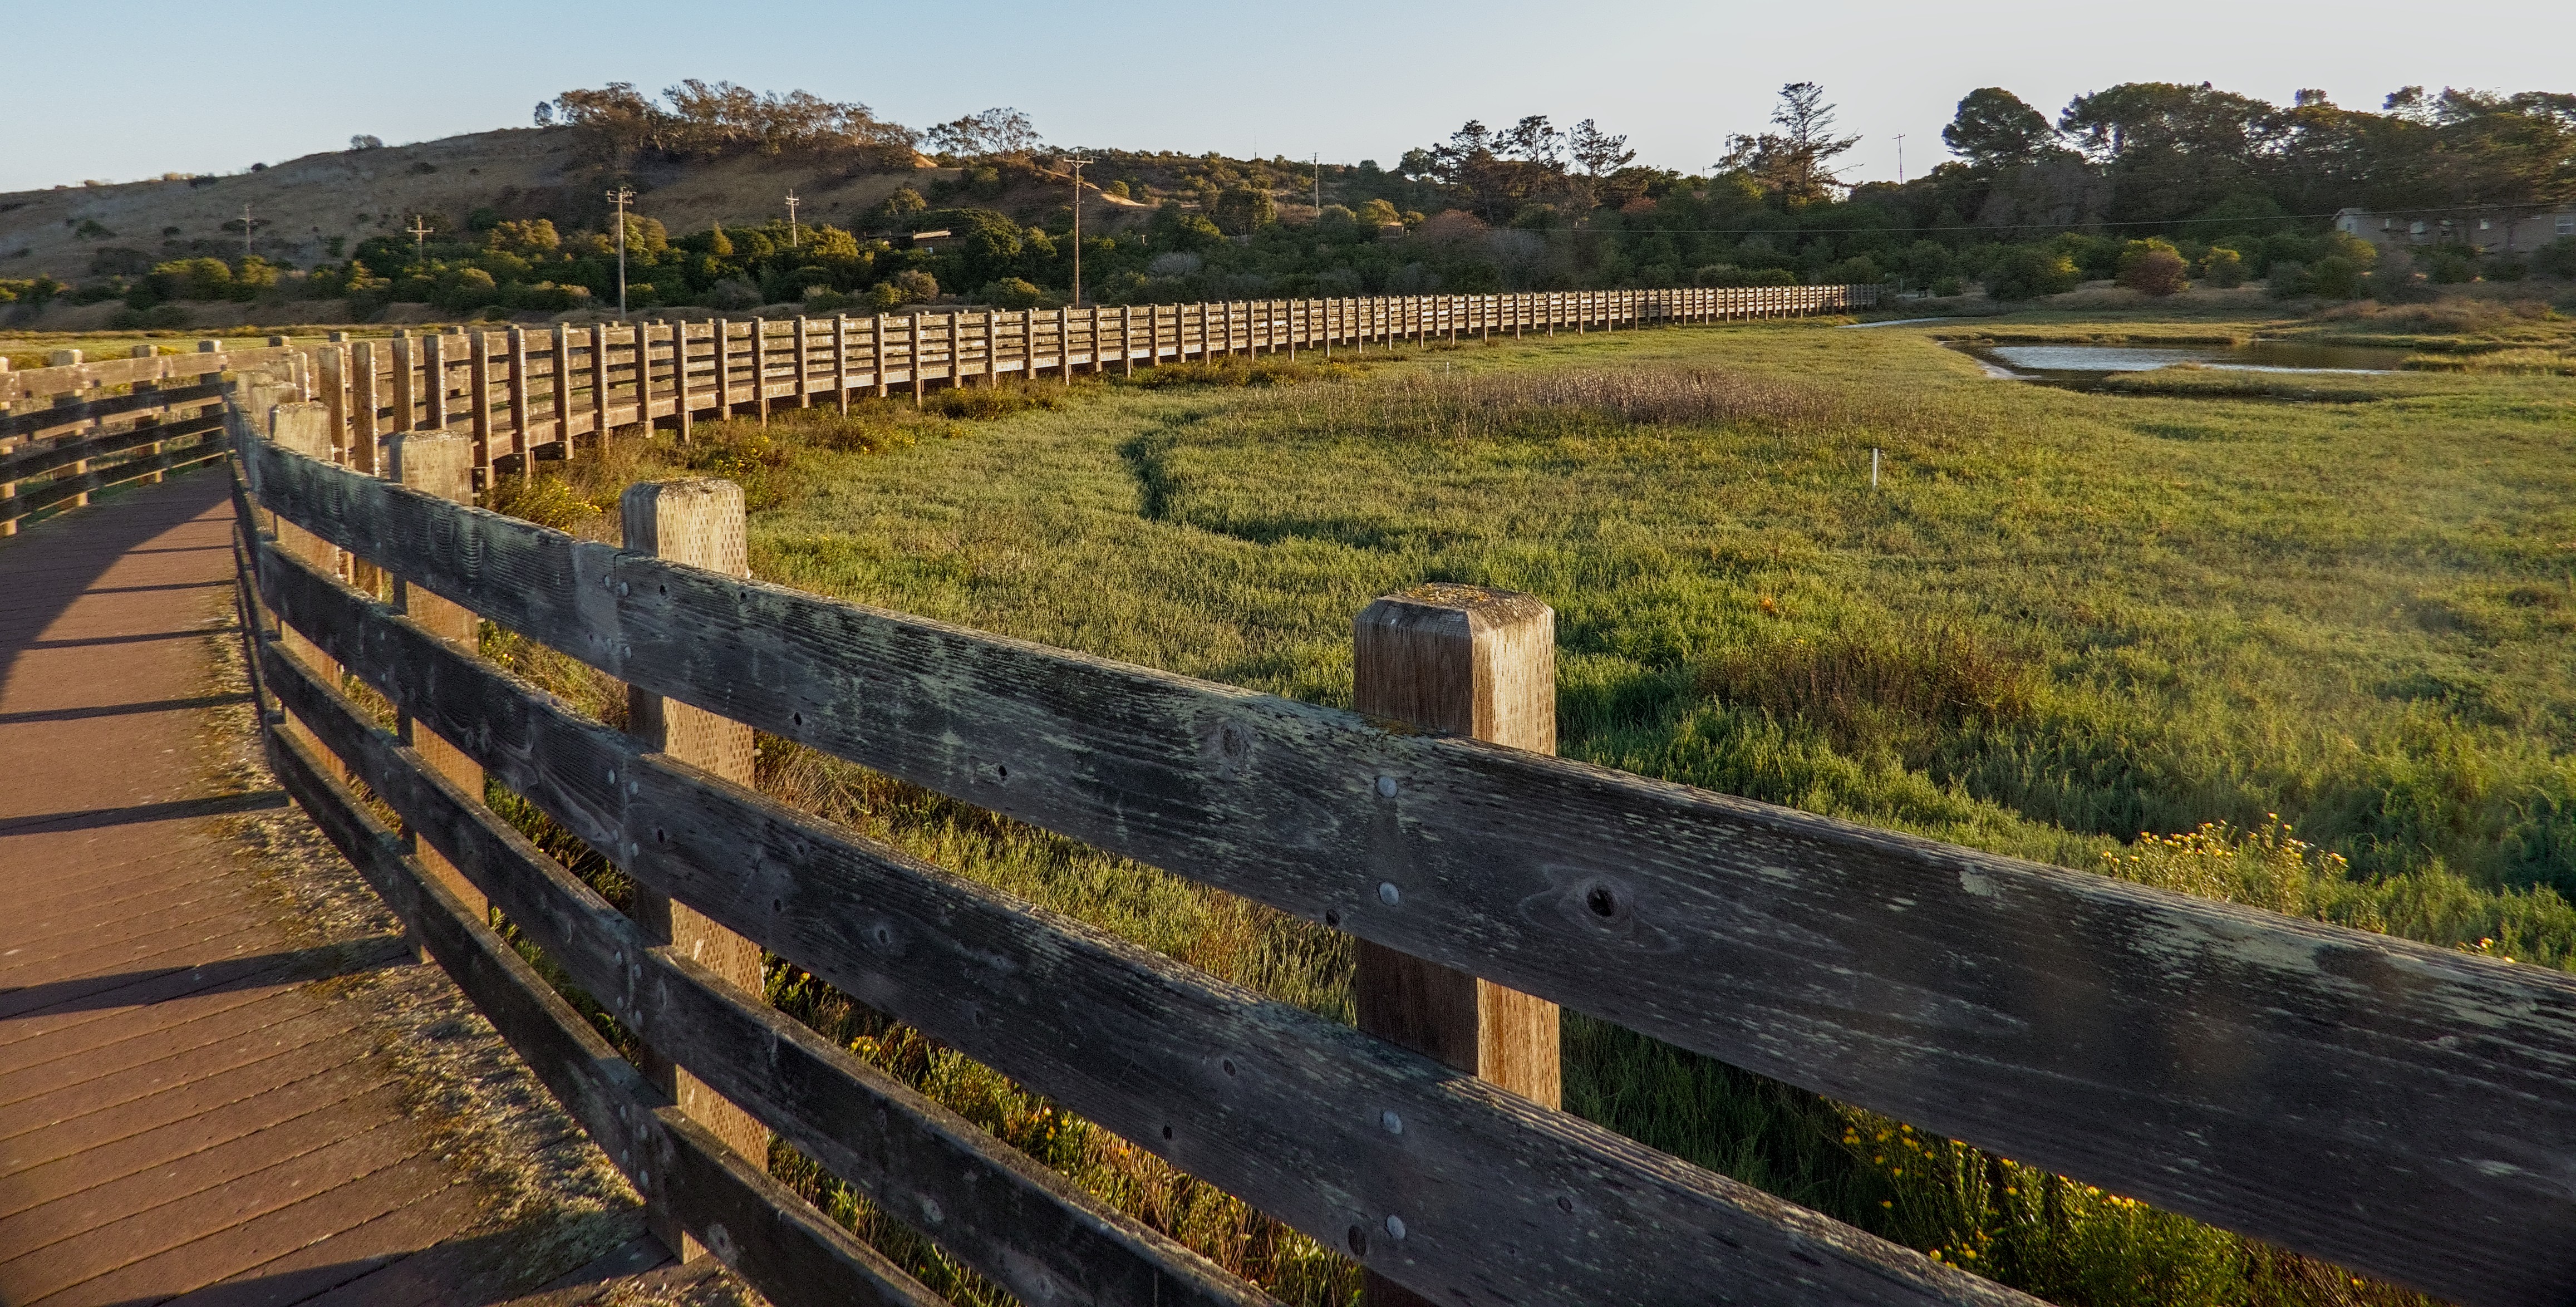
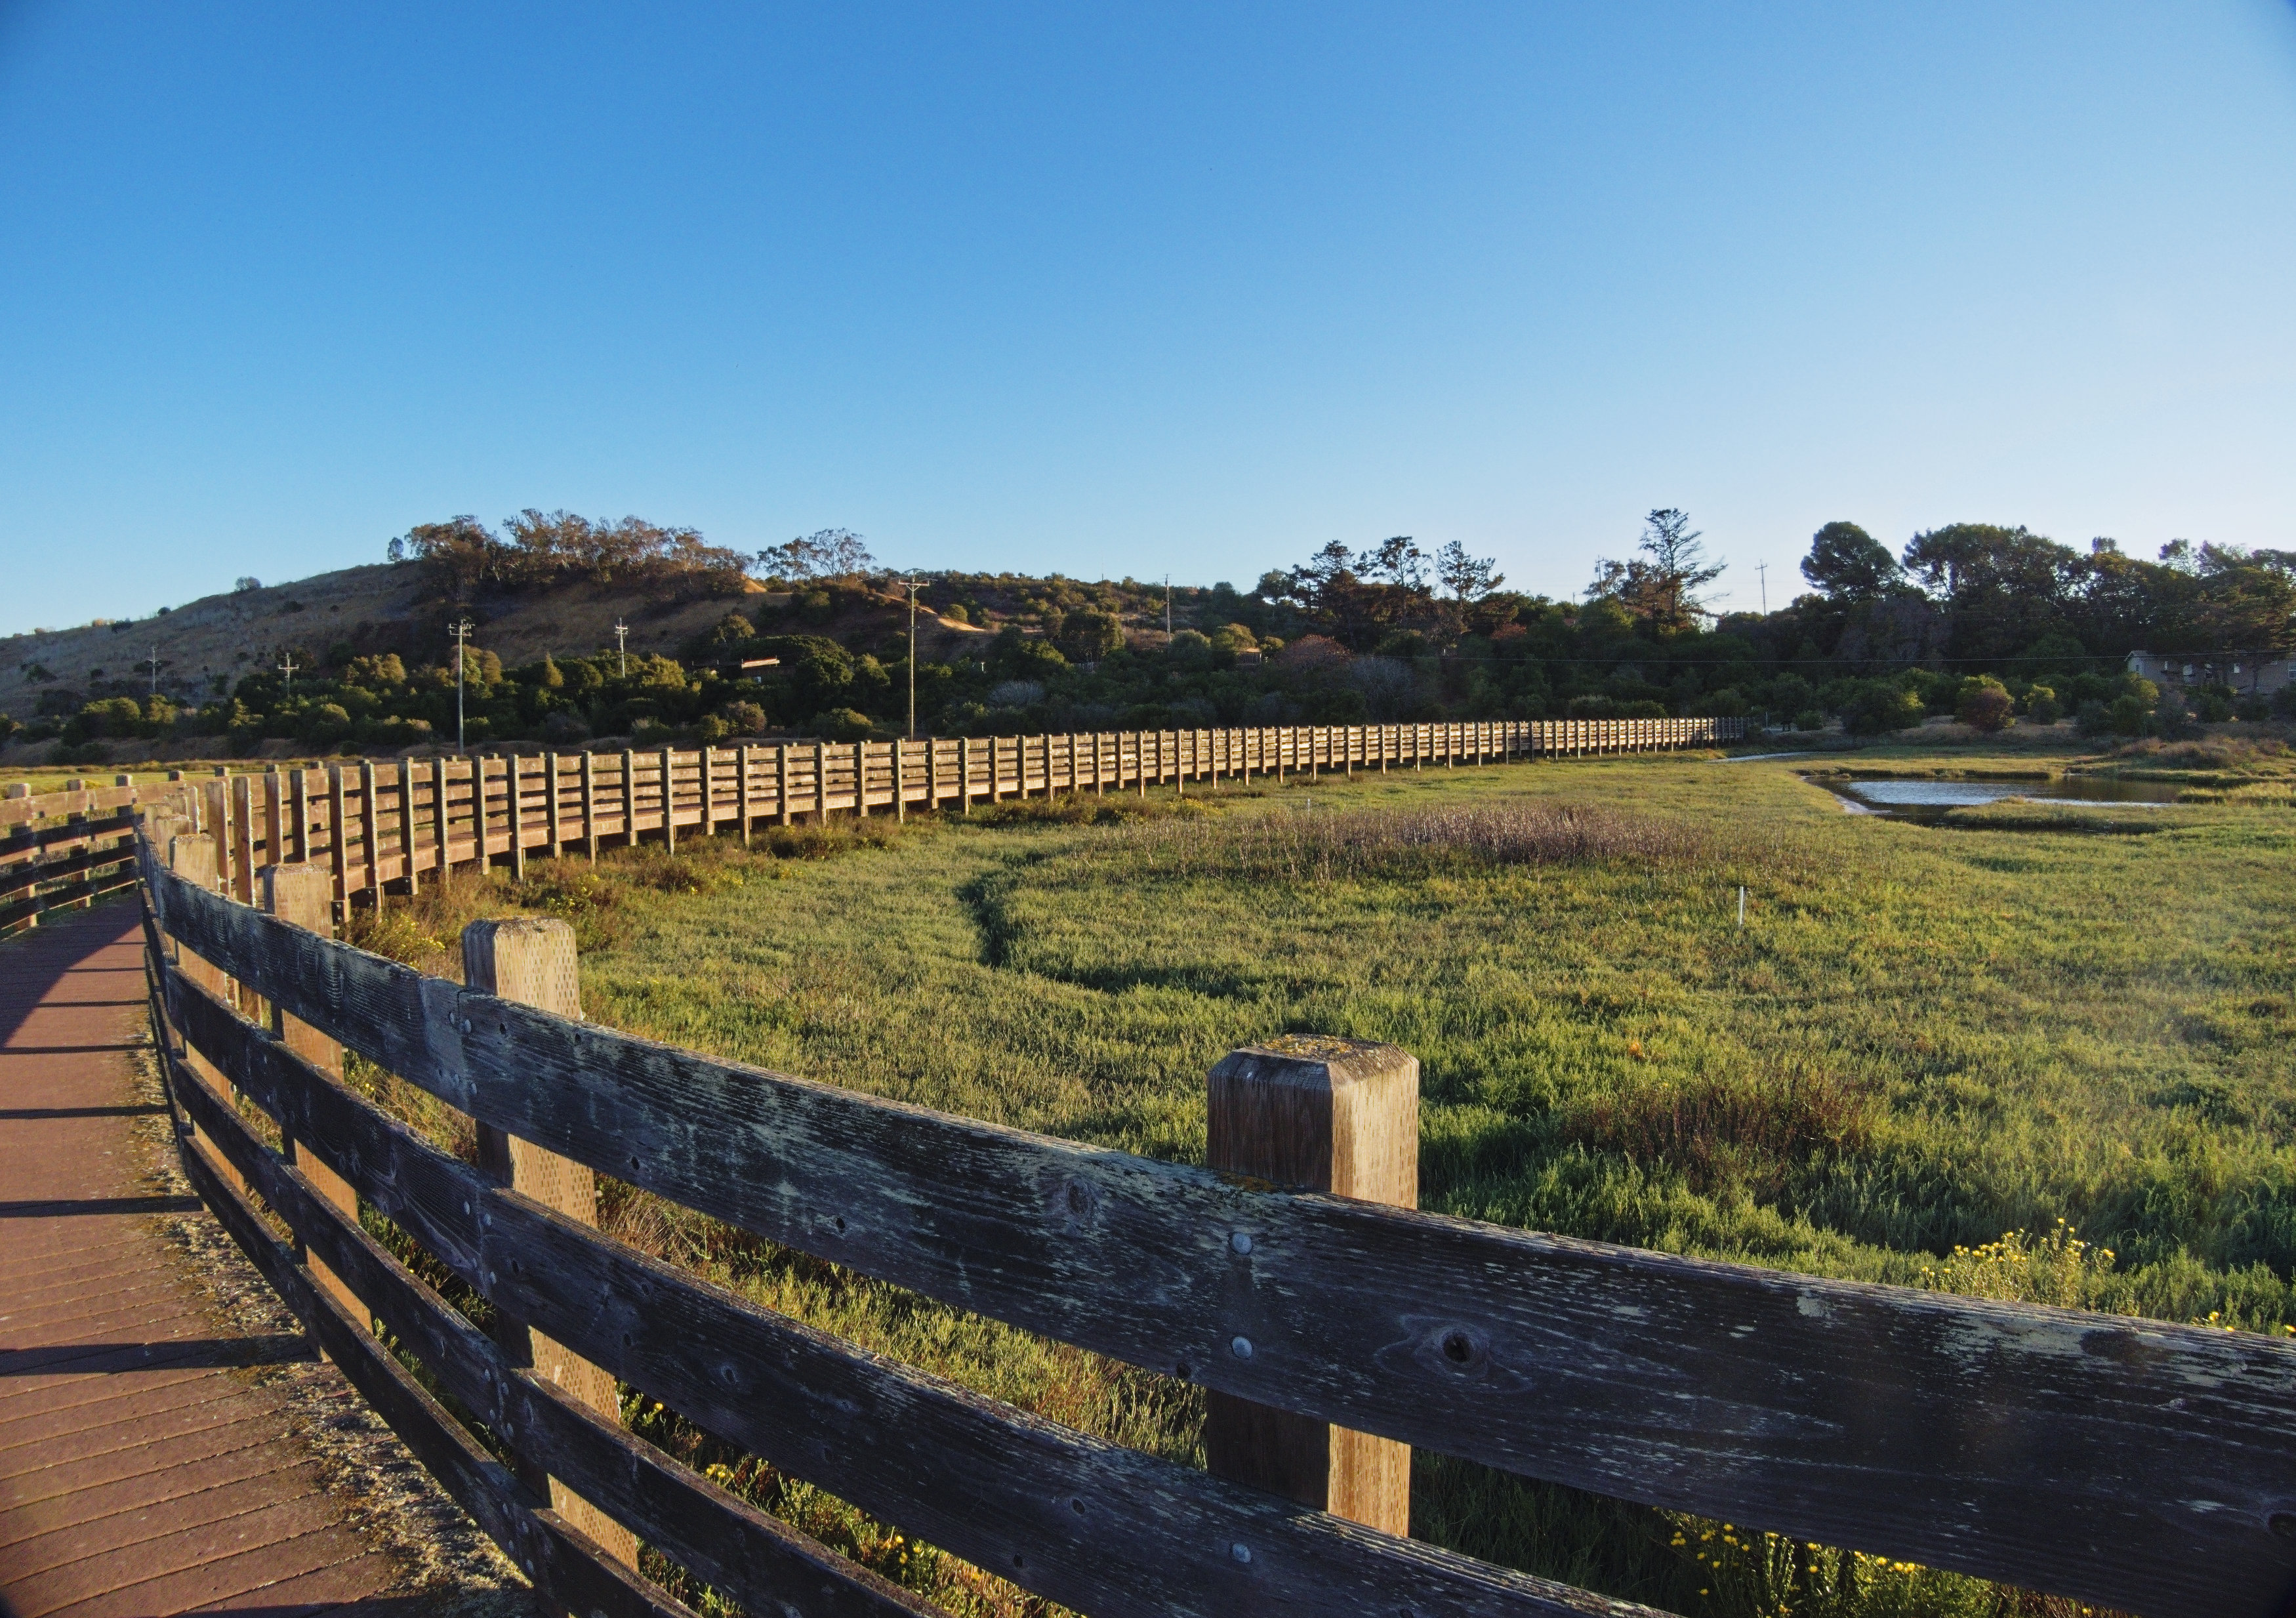
Taking an easier way out I would just in this one crop out the sky (esp since it is blown). Its a problem and doesn’t really add to the shot. For me the walkway and its extension in to the background is the main element so cropping out the sky might even add to this…its all perspective…here are a couple of edits I did just for an alternate look…one is a bit warmer
3 Likes
Boris at 2.95 ev I still see a black mask…is it different for you …just wondering why 2.95 as the threshold in FIlmic reconstruction…if the mask is black is it doing anything even when you up the iterations to 9??
What do you mean by “black mask”?
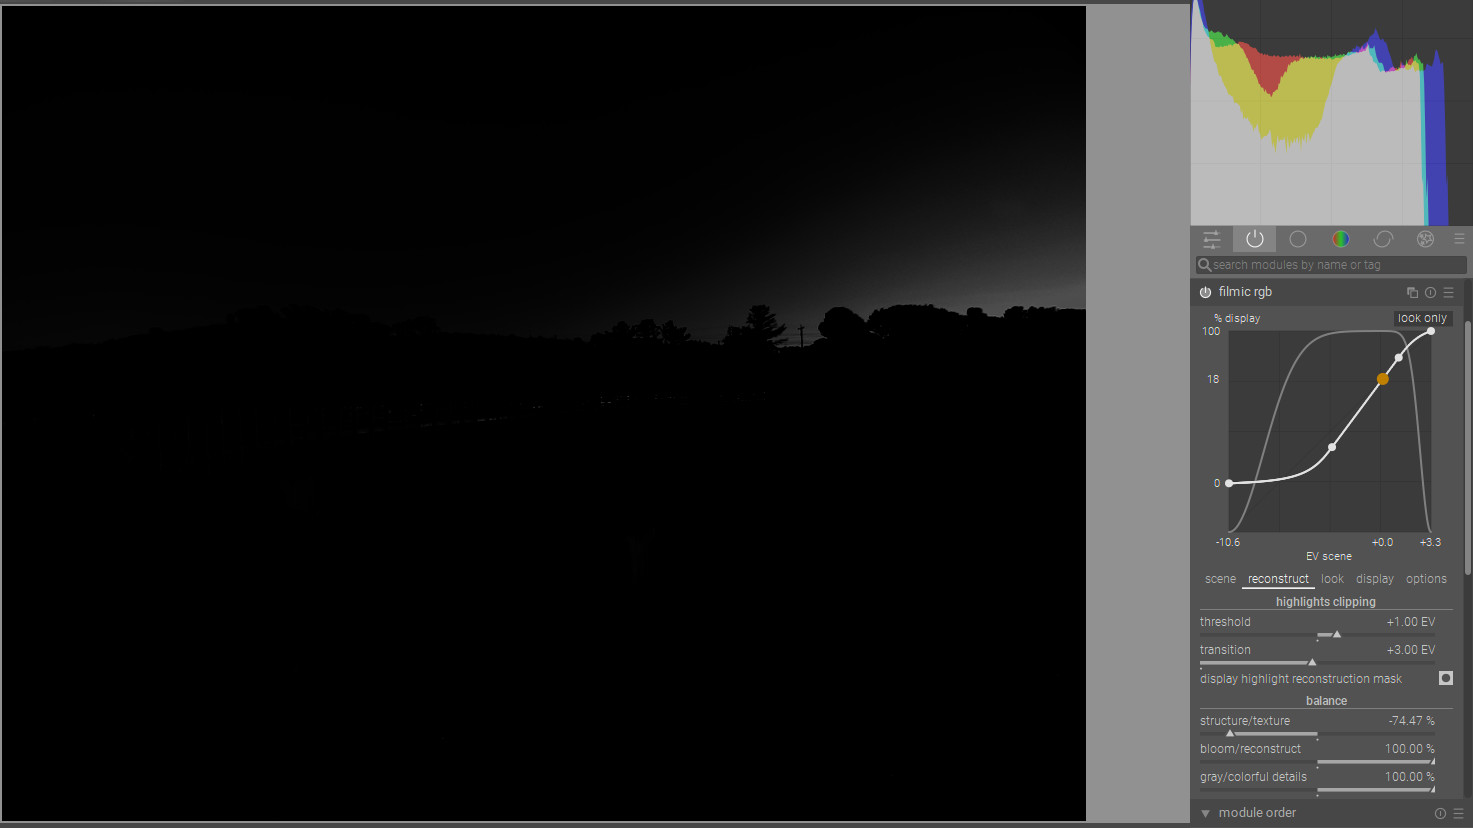
The reconstruction mask in filmic…I don’t see any effect on highlights until you drop the threshold to around 1ev??
2.95
1.0
I see. I screwed up. The iterations are from another attempt. In this attempt, the use of treshold was not necessary at all. 
1 Like
Got it…
1 Like
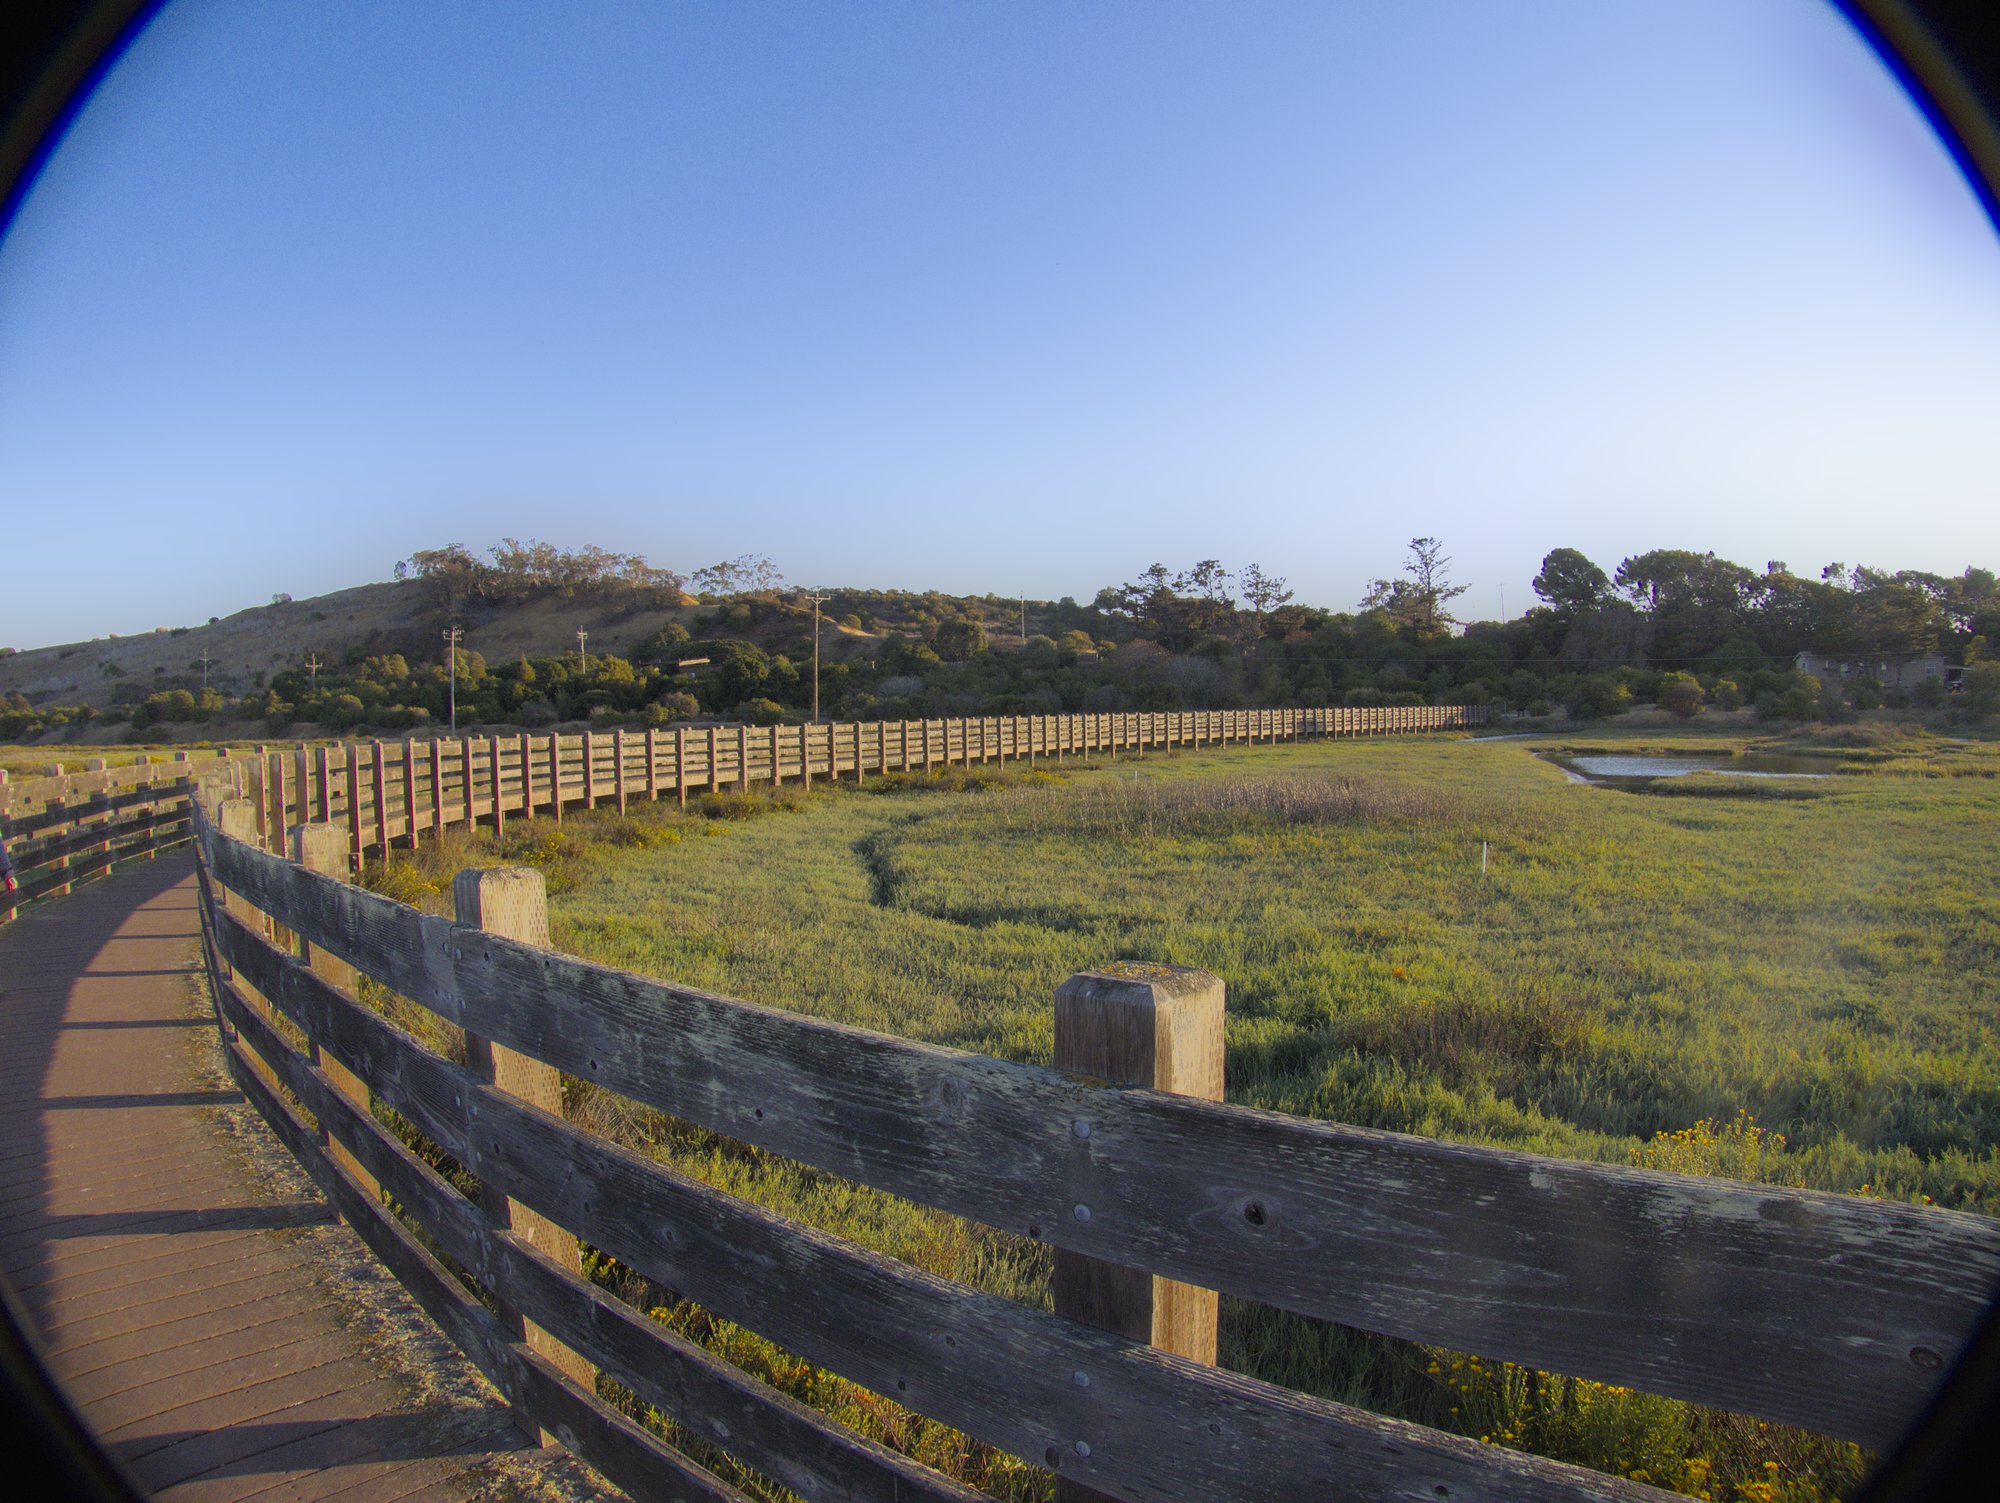
Just a dirty edit, basically LCh reconstruction + pulled down highlight + para mask on CB RGB to colourize the white a bit. Because filmic reconstruction doesn’t do much (colour bleeding from high iteration).
IMG_1580_01.CR2.xmp (37.9 KB)
dt 3.7
Thanks for this challenge , I tried many modules but at the end I colorized the sky highlighs zone (not perfect …)
darktable 3.6
IMG_1580_01.CR2.xmp (15.4 KB)
1 Like
Not sure if it’s appropriate for this forum. Some sites frown upon these kinds of messages to remove extra off topic conversation.
Thank you all for the help and efforts and pointers. I’m just a beginner who has discovered the dials on camera have purpose beyond setting in auto mode. For last few months, I’m in experiment/ask/learn phase and trying to understand the basics.
3 Likes
Don’t worry, we are a friendly bunch and appreciation and feedback is always welcomed as long as they are open and/or constructive.
If you have question please do ask them, there’s a lot of knowledge around here that you can tap into.
And: Welcome to Pixls!
You’re good. Unless you’re being uncivil (which you’re not), the worst thing that will happen is that we will move a post to a new thread if it is really that off topic. But we don’t really do that very often.
In your camera you see the histogram of the jpg that the camera shows.
I recomend you to set the profile of the jpg as flat as possible (depending of the camera you have: “flat”, “natural”…). The goal is to learn not to burn big areas of interest. The histogram can help you but you need to compare with the raw that you get.
Sometimes the jpg shows you that you have some burnt pixels and in Darktable you can check that there aren’t.
IMG_1580.CR2.xmp (7.7 KB)
Not sure my xmp is usable, so I will just mention that I find this works quite well with filmic reconstruction.

Are you same Boris Hajdukovic who has Youtube tutorials/videos? If so, I liked/commented on your video other day and tried to use few of the things I learned from your videos. Good videos and it shows power of darktable - feels like magic.
2 Likes
Yes I am. Thank you for your kind words!