How to emulate realistic lighting with Illuminate 2D Shape?

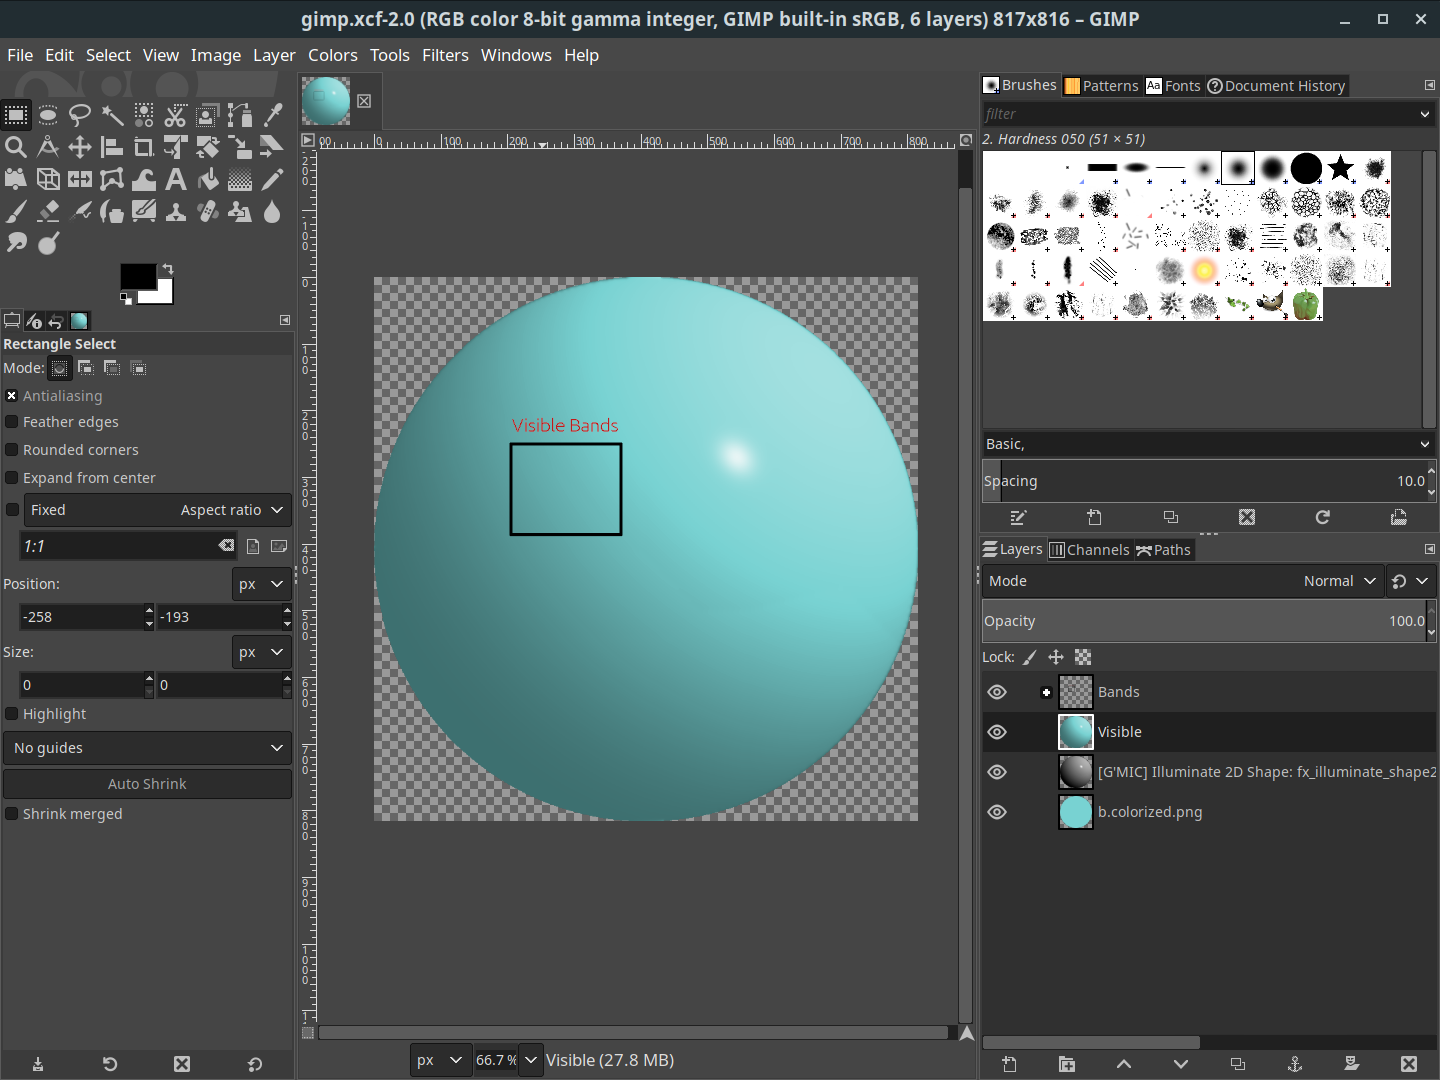
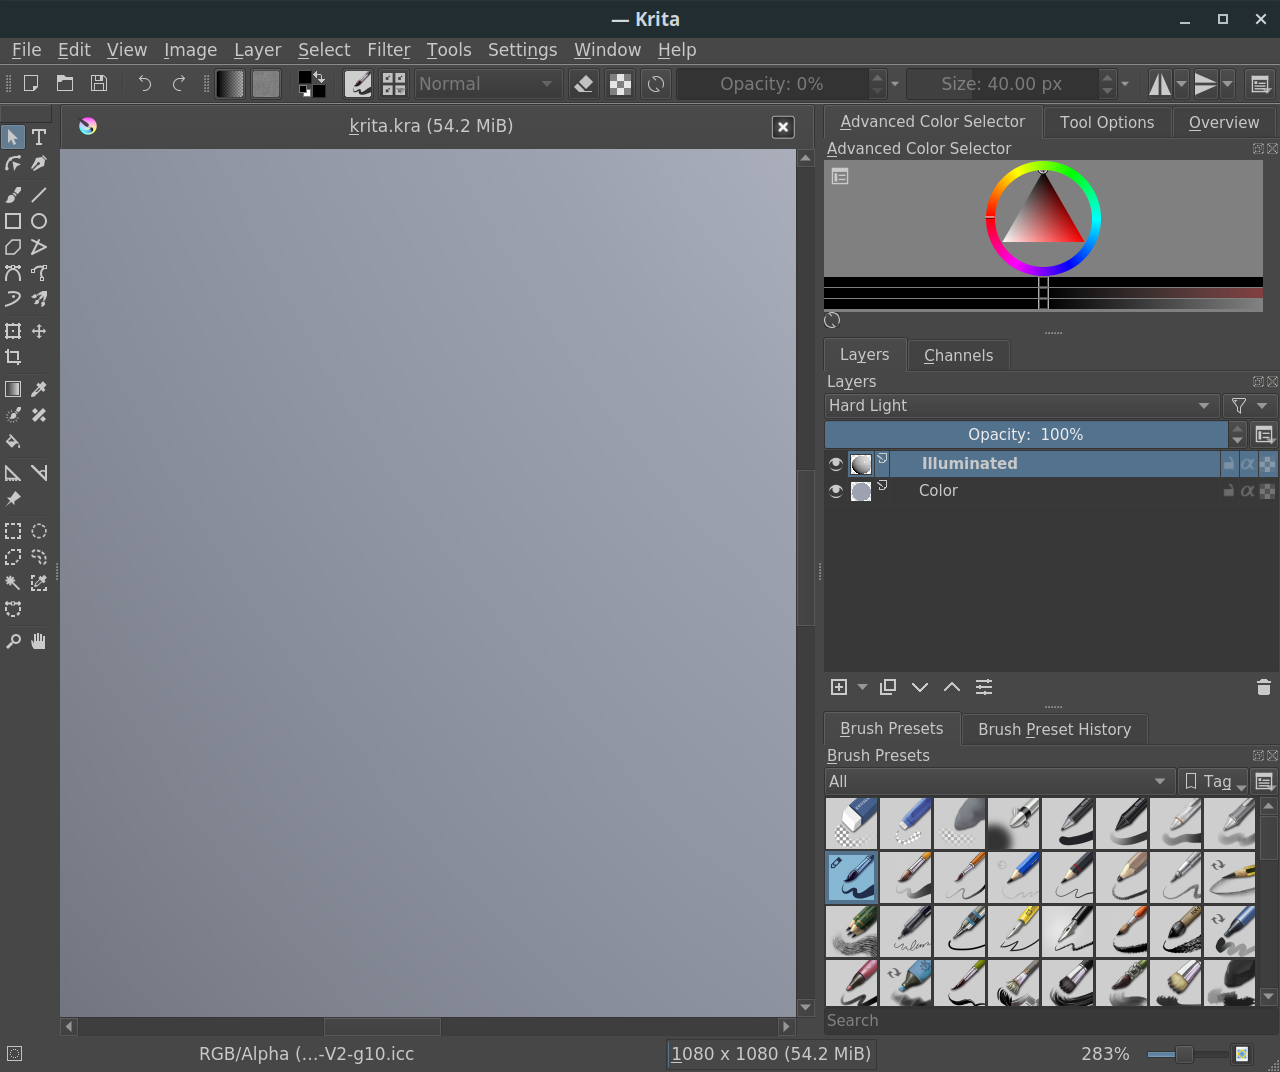
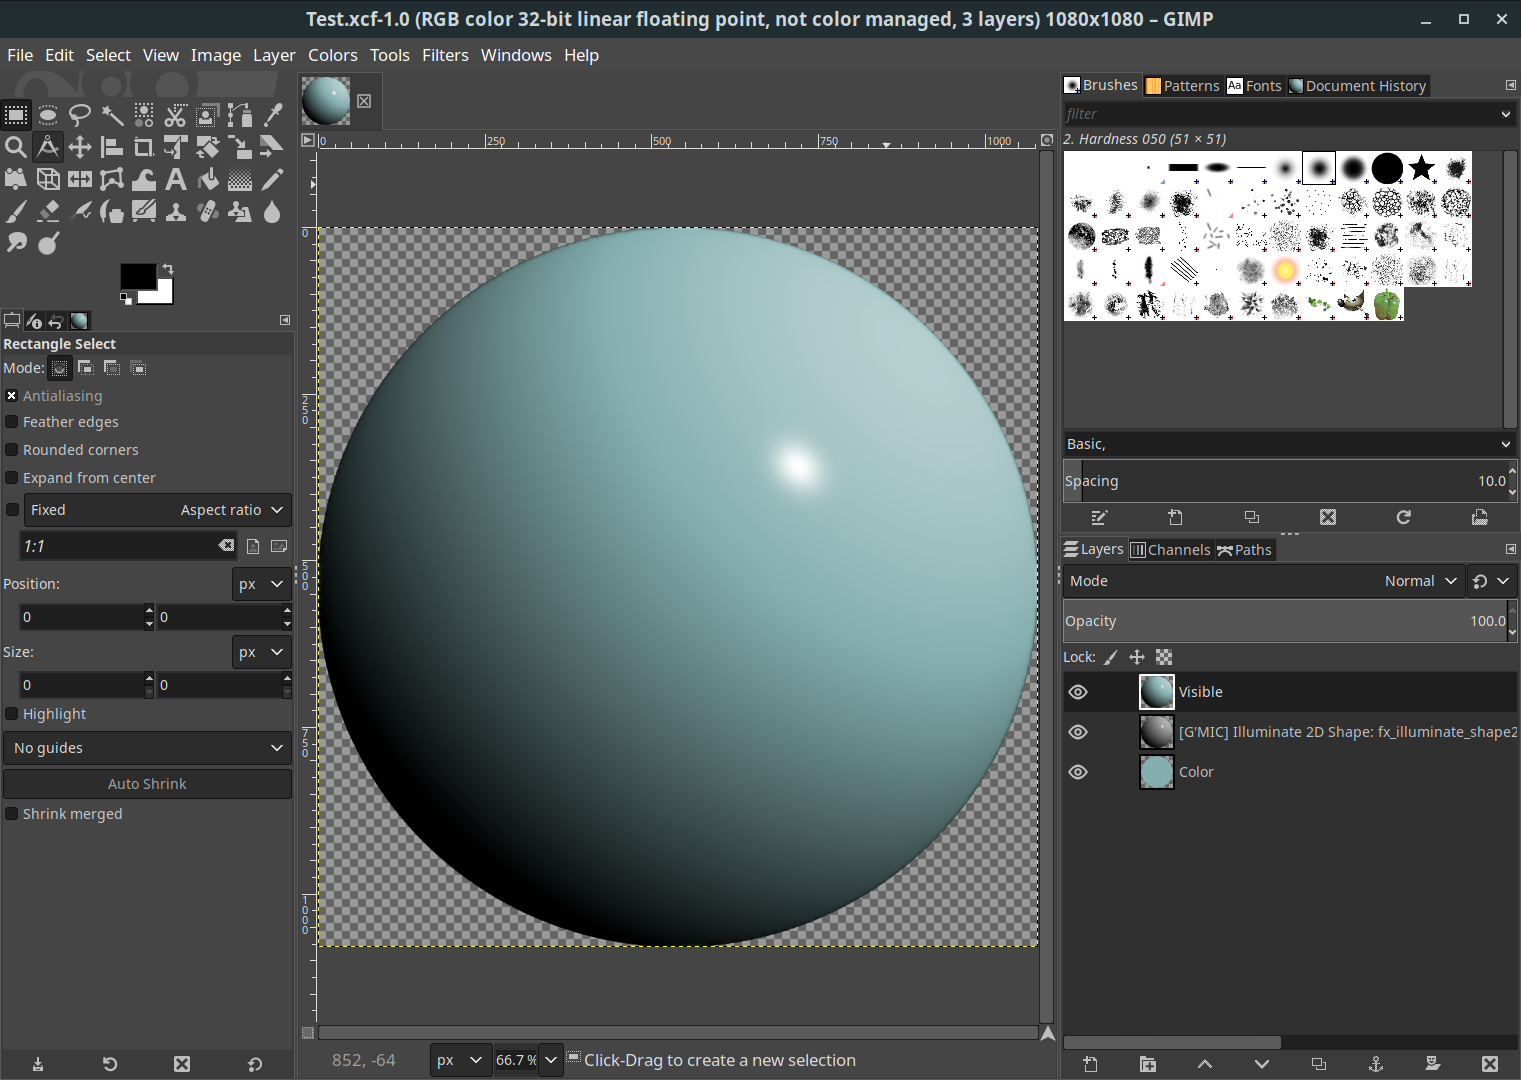
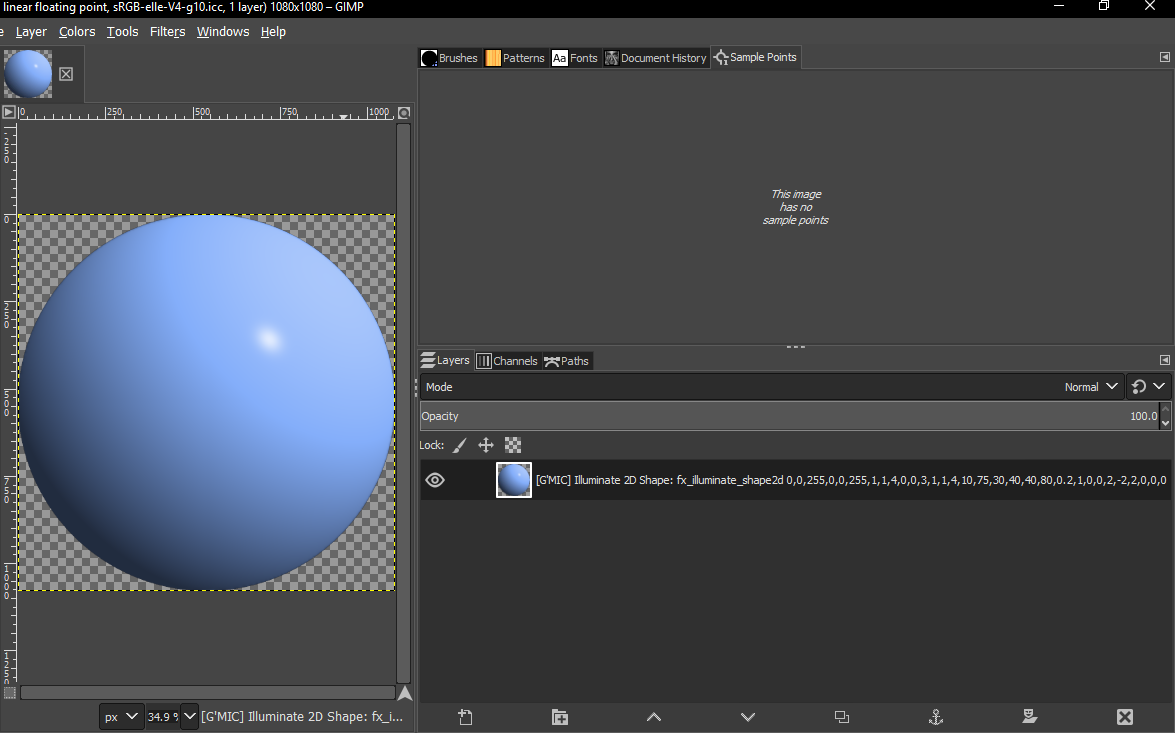
I tried the same process with Gimp+Gmic, Krita+Gmic, Gmic-qt standalone and the results were similar.
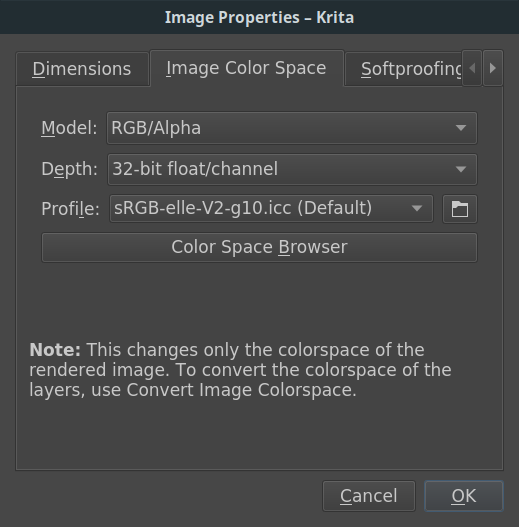
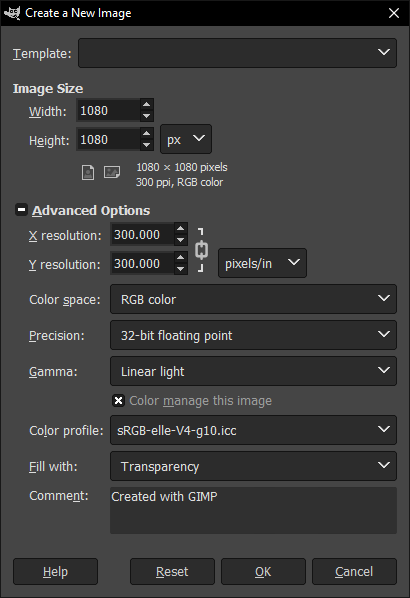
I also tried RGB 32-bit floating point with Linear Light, with and without color management.
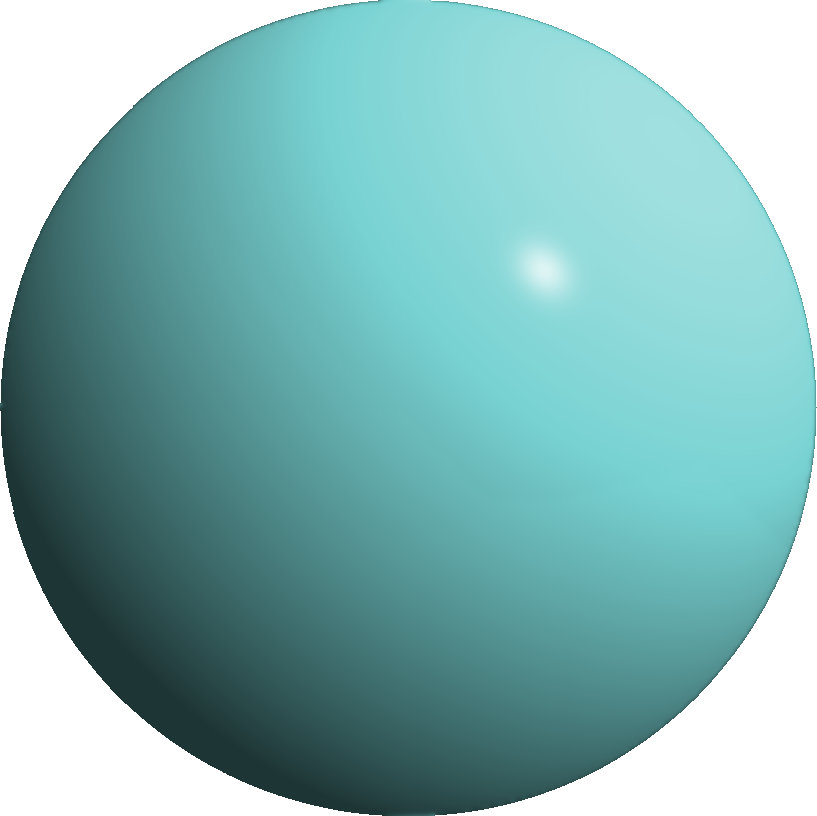
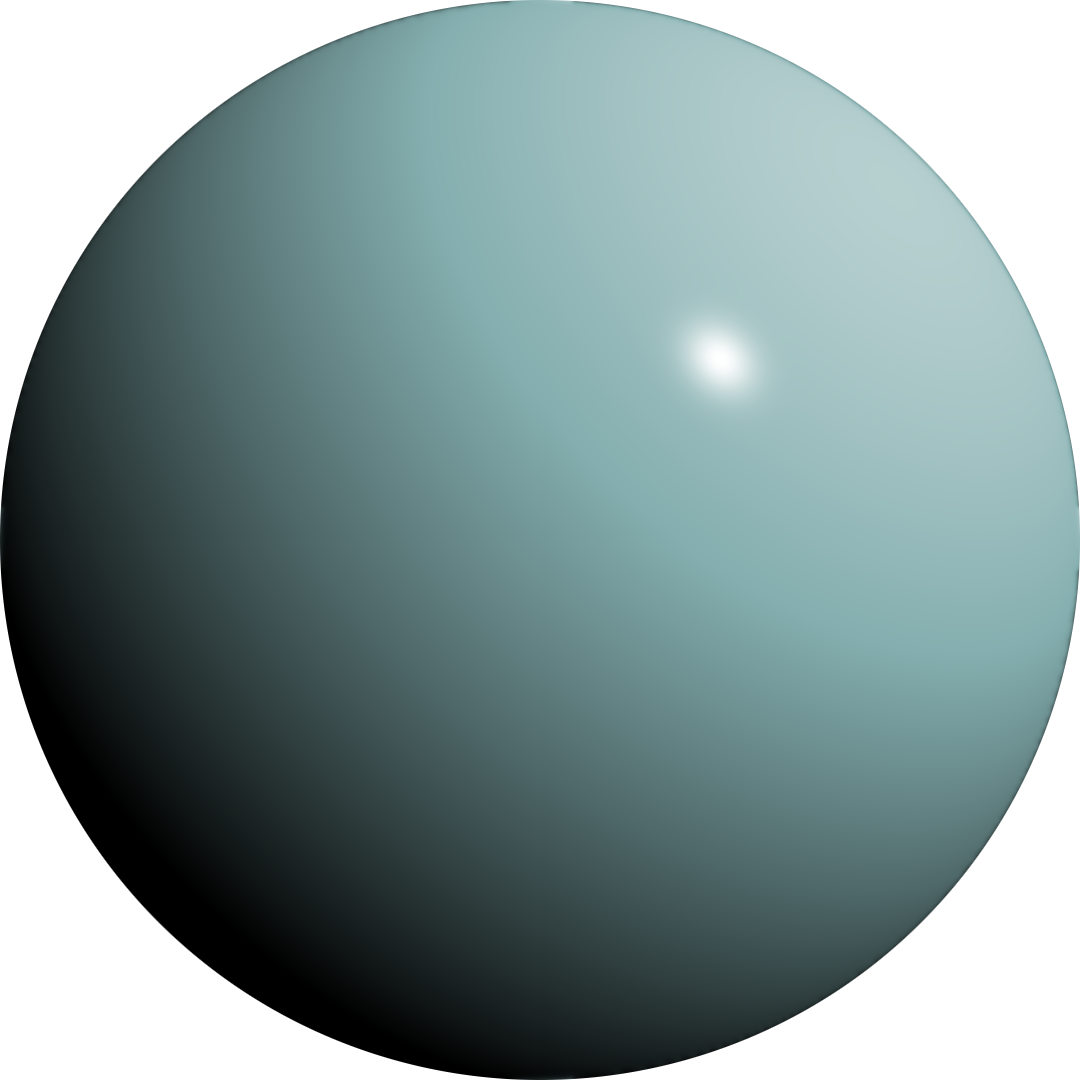
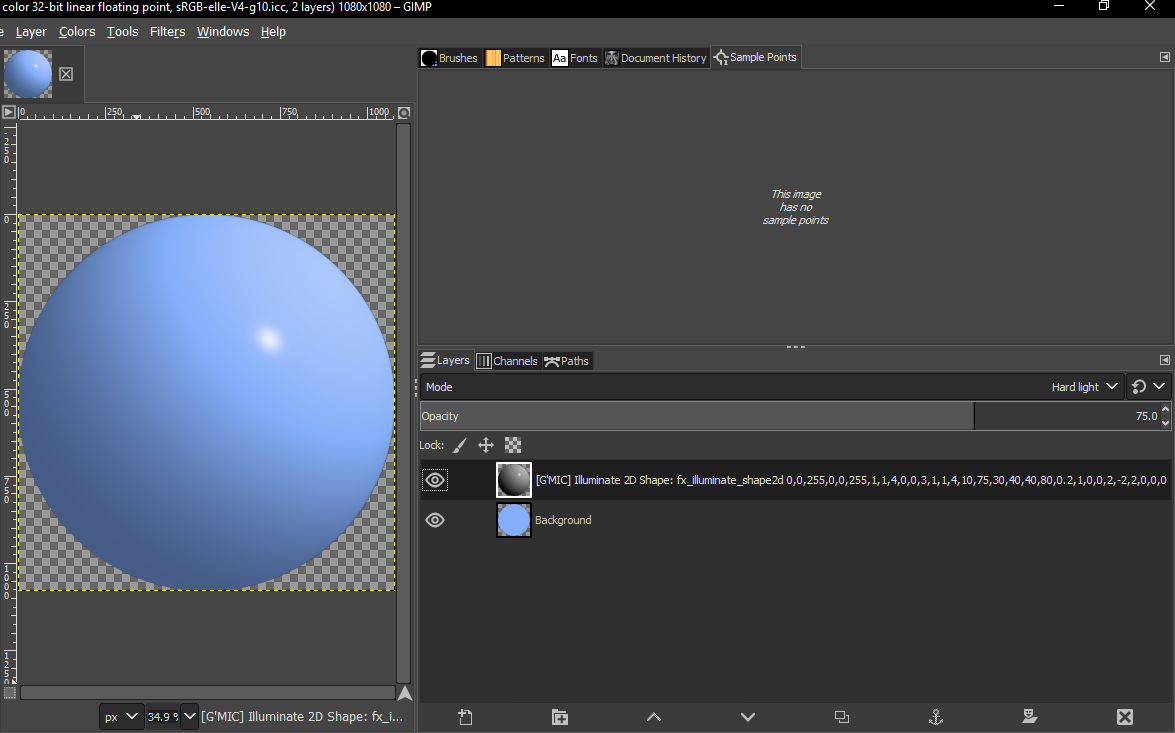
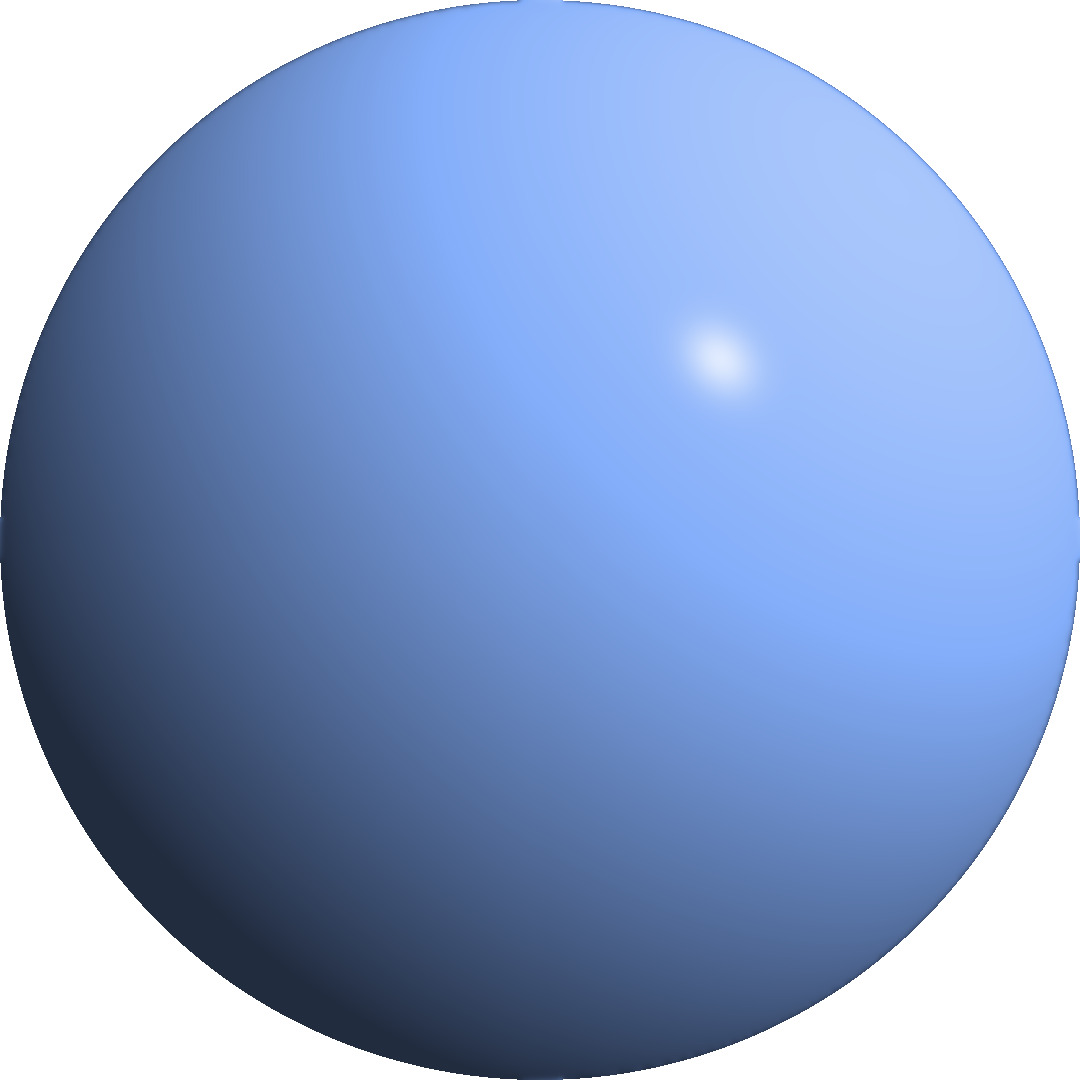
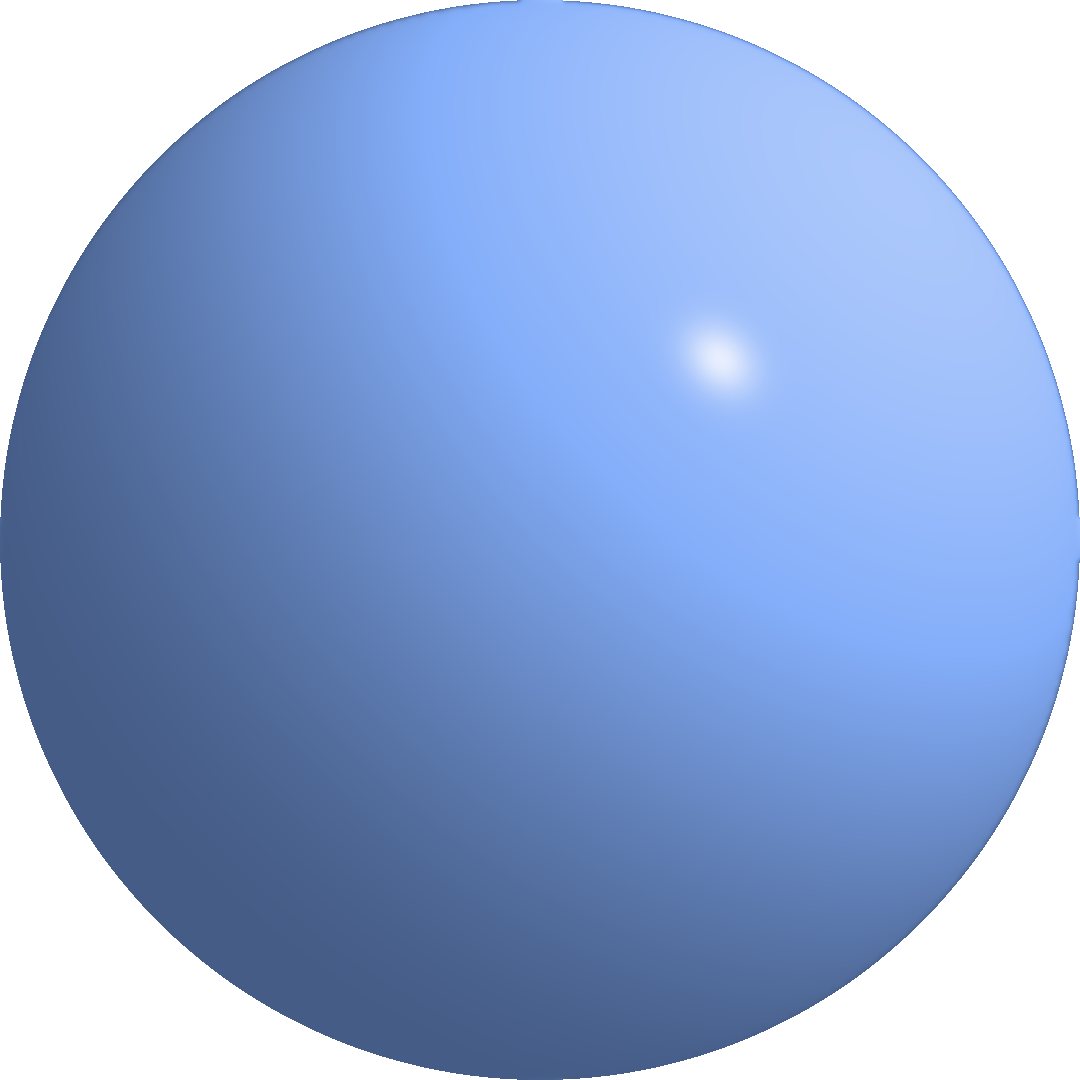
Posterization and fringes were there.

I think afre is right. Gmic Illuminate 2D Shape filter was never intended to generate realistic illumination, hence the posterization.
This is a great tool nonetheless.
I think with proper scene management, the posterization effects won’t be visible at all.

Hey, thank you for the guide.
Quite informative.

And I am hopeful that it will improve over time. :slightly_smiling_face:

I forgot to comment on this. When do you get it?

1 In the preview?

2 In GIMP, Krita, etc.?

3 In the exported file?

In order to find out what is wrong, we need to determine the point of failure. Also, could you give example images and circle where you find it.

Can confirm 2 and 3.
About 1, let me check again.
I think the posterization was present in the preview but I wish to check that again.

Sorry for the delay.

  1. The posterization effect is visible in Gmic preview.
    When I magnify the preview the effect seems less intense.
  2. Yes, the effect is present when the filter has been applied.
  3. Exported file has the same effect.

The preview doesn’t matter because it is completely inaccurate. Main reason that I use the CLI instead. Could you give me your parameters so that I could try in CLI? Go to settings and change verbosity to layer and copy the layer name.

Also, I am waiting for your annotated screenshot. Do one of GIMP, Krita, etc. (and not the preview since it is inaccurate as said above).

[G’MIC] Illuminate 2D Shape: fx_illuminate_shape2d 0,0,255,0,0,255,1,1,4,0,0,3,1,1,4,10,75,30,40,40,80,0.2,1,0,0,2,-2,2,0,0,0

GIMP

Color

Illuminate 2D


[G’MIC] Illuminate 2D Shape fx_illuminate_shape2d 0,0,255,0,0,255,1,1,4,0,0,3,1,1,4,10,75,30,40,40,80,0

Final results

GIMP

That probably has to do with sRGB mode. The banding would be far less noticeable within 16-bit integer float or 32-bit float. If I’m not mistaken, Krita and GIMP process g’mic within 32-bit float. Krita always do it with RGB(A-Inclusive) 32-bit float. Both would get the same output.

Result from the first command using your input image (rounded to 0,255 for jpg). The second command gives me an error: something wrong with the parameters?

From CLI. Still not satisfactory in my opinion, but remember this is shading on a 2d surface! A guided filter application on the circle-sphere might help. The edge is hard and artifact prone: is cut off in an aliased way. Could boundary conditions be applied on a curve or non-rectangle?

Absolute difference (normalized) from your output

PS I removed solved from the topic. It isn’t solved in my opinion and worth exploring further.

1 Like

@Reptorian
Krita, RGBA 32-bit floating channel
I’m not sure if the profile is correct.

Input


Output


Full view


Zoomed view


Image Properties

3

GIMP, RGB 32-bit linear floating point

Input


Output


Full view


Zoomed view

Values:
[G’MIC] Illuminate 2D Shape: fx_illuminate_shape2d 0,0,255,0,0,255,1,1,4,0,0,3,1,1,4,10,75,30,40,40,80,0.2,1,0,0,2,-2,2,0,0,0

Hey, I think the results are nearly similar in 32-bit vs 8-bit, RGB vs sRGB.
Let me know what you think and if I could try something else. :slightly_smiling_face:

@afre

Hmm, the absolute difference image shows helps with visualizing the artifacts.
And the difference is huge.
Seems like I am getting a lot more artifacts here.

Can you elaborate this?

My mistake.
[G’MIC] Illuminate 2D Shape: fx_illuminate_shape2d 0,0,255,0,0,255,1,1,4,0,0,3,1,1,4,10,75,30,40,40,80,0.2,1,0,0,2,-2,2,0,0,0

And you are correct. :slight_smile:

The blending mode isn’t the same. Krita is using Hard Light and GIMP is using Normal mode.

Hey, sorry for the confusion.
The blending mode for the Illuminated layer is same, that is Hard Light.
I have a habit of creating visible layers on top of my work, so GIMP has a visible layer with Mode=Normal.

For completion

I don’t know why the result looks different. I’m not a expert on this subject. Maybe if I had access to a high dynamic range monitor, I would be able to see it. By the way, you could look at Color Space Browser from convert image color space within Krita.

Hey, if you are getting better results with the values, please share them.
I think afre also got better results.

I looked into that, anything specific I should be using for better results?

Hey, can you try these?

Color: 84aefa

[G’MIC] Illuminate 2D Shape: fx_illuminate_shape2d 0,0,255,0,0,255,1,1,4,0,0,3,1,1,0,10,100,30,40,40,80,0.2,1,0,0,2,-2,2,0,0,0

My tests:

Color Input


Illuminate 2D

Final Image

GIMP Full view

Also, can you attach your commands/process so that I can follow it?
As evidenced by your difference-analysis image the lower-left section of our images is quite different.

Now, I realized why the results are seemingly different for Krita and GIMP. Krita files are color-managed by default. There’s no color management in that GIMP window.

Let’s start from the beginning. What versions of Krita, GIMP and G’MIC are you using? I ask because my GIMP looks different from yours; in particular, the info in the title bar. I mostly use G’MIC CLI because it taps directly into the G’MIC interpreter. Is it similar to Qt standalone? I have never used that. I assumed that it would be quite similar but you seemed surprised that my result was better than yours…

According to your title bar, you GIMP isn’t colour managed. Make sure you do. I tend to use the sRGB-elle-V4-g10.icc profile. I will assume that you handled mode and precision properly. Since you don’t use CLI, I will attempt to do it in GIMP, drawing a circle with your colour on top of a transparent background and then using the default filter and png export settings.

image

image

I noticed that the in-place and new layer application of the filter yield different results.

In place

New layer

Absolute difference (and PSNR of 25.95811 between the two!)

image

XCF
_circle-nl.xcf (4.3 MB)

I forgot to answer your question. In image processing, there is no data on the other side of the edge of an image. Boundary conditions deal with how the algorithm interpolates the data. The default condition is no condition, meaning everything beyond the edge is equal to 0, but that would mean the edges end up funny.

The other problem is aliasing. When we are working with pixels, the edge of a rounded shape will inevitably have a staircase. When you pass that through a filter, bad stuff is bound to happen, just as with the boundary condition problem.

Now, my open question has to do with the fact that we are talking about a curvy shape and not the edges of a rectangular image or region. It is directed at @David_Tschumperle who wrote the filter.

@David_Tschumperle, when you have the time, please take a look at the issues we have described here. Thanks!


In the meantime, I think a workaround would be to draw a smaller circle with the same centre coordinates to mask the edges of the larger circle.

Krita 4.2.8
GIMP 2.10.14
G’MIC-Qt for GIMP 2.10 - Linux 64 bits - 2.8.0 (Plug-in)
G’MIC-Qt - Linux 64 bits - 2.8.0 (Standalone)

G’MIC Qt works without any external image editor, it opens an image through a file-selector and then opens the G’MIC interface.
I’m not sure if it taps into the G’MIC interpreter directly.

Any idea how we are getting this difference?
In all my tests, I had the G’MIC output set to New Layer.

About that, I think I tested a few rectangular shapes few days back and fringes around the edges weren’t visible.

sub abs
Subtract image 2 from image 1, then take the absolute value of that. Normalize and round for web viewing.

Apparently, it differs from in-place application as shown in my post. In place has a darker bottom: they should be equal since the settings are the same, wouldn’t you agree?