Not a layer, but the mode of the brush tool.
I did a quick frequency separation in order to muck about with the color without affecting the texture.

I also recorded how to do it.
https://drive.google.com/file/d/0B0njznUQ8RjITnFUYmNJWERvTms/view?usp=sharing
3 Likes
yes, very helpful  (now to stop using that eraser myself
  )
)
1 Like
@Unhammer Ehh, whatever gets the job done. I’m guilty of it myself. However, in most instances, it really is far easier to lay down too much color and then mask it out after the fact. Glad it was helpful.
Staying in GIMP, I would sample color from the upper part of the arm and paint over the lower part using an appropriate brush color blend mode.
Hello!
I hope you guys don’t mind that I’m bringing back that old thread.
But it matches perfectly my issue on a current photo of mine and I’m searching for advices.
The starting point are harsh shadows on a subject that I’d like to remove or at least reduce as best as possible. Im working on GIMP in version 2.10.18

So far I made some progress by performing a Wavelet Decompose with 7 scales and evening out the hard edges on the last 3 scale layers under the residual layer.
That helped to get a smoother transition between the dark and the brighter areas.

Next i wanted to work (up)on the residual layer (I’m using a transparent layer over the residual) with a soft brush altering between LCh color and LCH Lightness Mode to even out the tonal transition. And this is the point where I’m having issues to get a smooth transition. So far the results are not very pleasing.
Any advice or help would be highly ppreciated.

Thank you @s7habo for taking the time and creating a screen record of your proposal. As usual your contributions are really helpful.
The result is actually pretty convincing for my purposes and the “Blend Blur Brush” is probably the tool i was looking for. However while trying to reproduce the steps i was struckling in the usage of the Blend Blur Brush and while I believe my issues are mostly caused due to my inexperience in GIMP i was wondering if there is any setting that I might have overlooked.
In your video the very first 3-4 brush strokes on the residual layer cause a significant better transition while in my attempts the same brush strokes (at least I believe so) create some kind of blur but not really the same transition and after a few brush strokes more the transition area becomes visibly “peachy”. Kinda difficult to explain. I should consider making a screen record as well. But maybe anyone got a hint.
Got to practice more in the meantime.
This can have various causes.
-
Starting at 1:16 you can see that I converted the image from 8 bit integer (perceptual) to 32 bit floating point (linear light).
8 bit is not good for fine transitions, because the gradations can be very expressive. At the end of the processing I converted it back to the original 8 bit jpg image. -
The settings of brush itself. I used a MyPaint brush that is good for mixing the colors. Have a look at the exact settings I used.
Yes, maybe this is a good idea. Then we can see what you’ve done.
I guess your blue channel is still selected (not the copy).
Is this how it looks by you?:

Blue channel should not be grey but like this:

2 Likes
Indeed that was the reason.
Gave it a try and it’s working way better now.
Thank you so much @s7habo.
If you like to showcase the procedure on your Youtube Channel, I’d be glad to provide you the full portrait. Feel free to contact me. I’m certain, this is gonna be helpful for a lot of people out there.
1 Like
Any idea how to bring back some of the natural skin redness after this procedure?
On a large scale the skin becomes look a bit fake…
Among other things, you can use channel mixer for that:

There are also countless other possibilities (color balance, curves, levels, color temperature etc.)
You have to know exactly what you want to achieve. I need to know what would be a good skin color for you to know what is best to use.
I agree that channel Mixer is probably helpful to bring back some overall reddish tengue to the skin.
However i feel that due to the tone evening the slightest imperfections of the skin do not become visible anymore even though the structure is still there.
For example in the upper part of the arm you can see a red dot. While this is probably something I’d remove, I’d like to preserve the red on the smaller pores and imperfections that make the skin look natural. That is probably what i would call a good skin.
Currently experimenting with a combination of Channel Mixer and a Mask created by desaturating the base layer with Mono Mixer by pushing reds to maximum and greens and blue to a value so that only the pores of the skin remain.
Not convinced yet but probably a solution…
Maybe you should show the whole photo so that it is easier to see the difficulties you are facing. In my opinion, the cut-out of the Photo with the hand is too blurred to be able to see fine details of the skin.
Moreover, the logic of the lighting has been broken by smearing the transition at the hand (this can be seen in the clothing, which shows sharp separation between light and dark), which can also lead to a distorted impression.
Maybe you should just even out the color between these two areas and leave the differences in brightness as they are with a sharp border and coarse details of the skin.
I agree it’s probably easier.
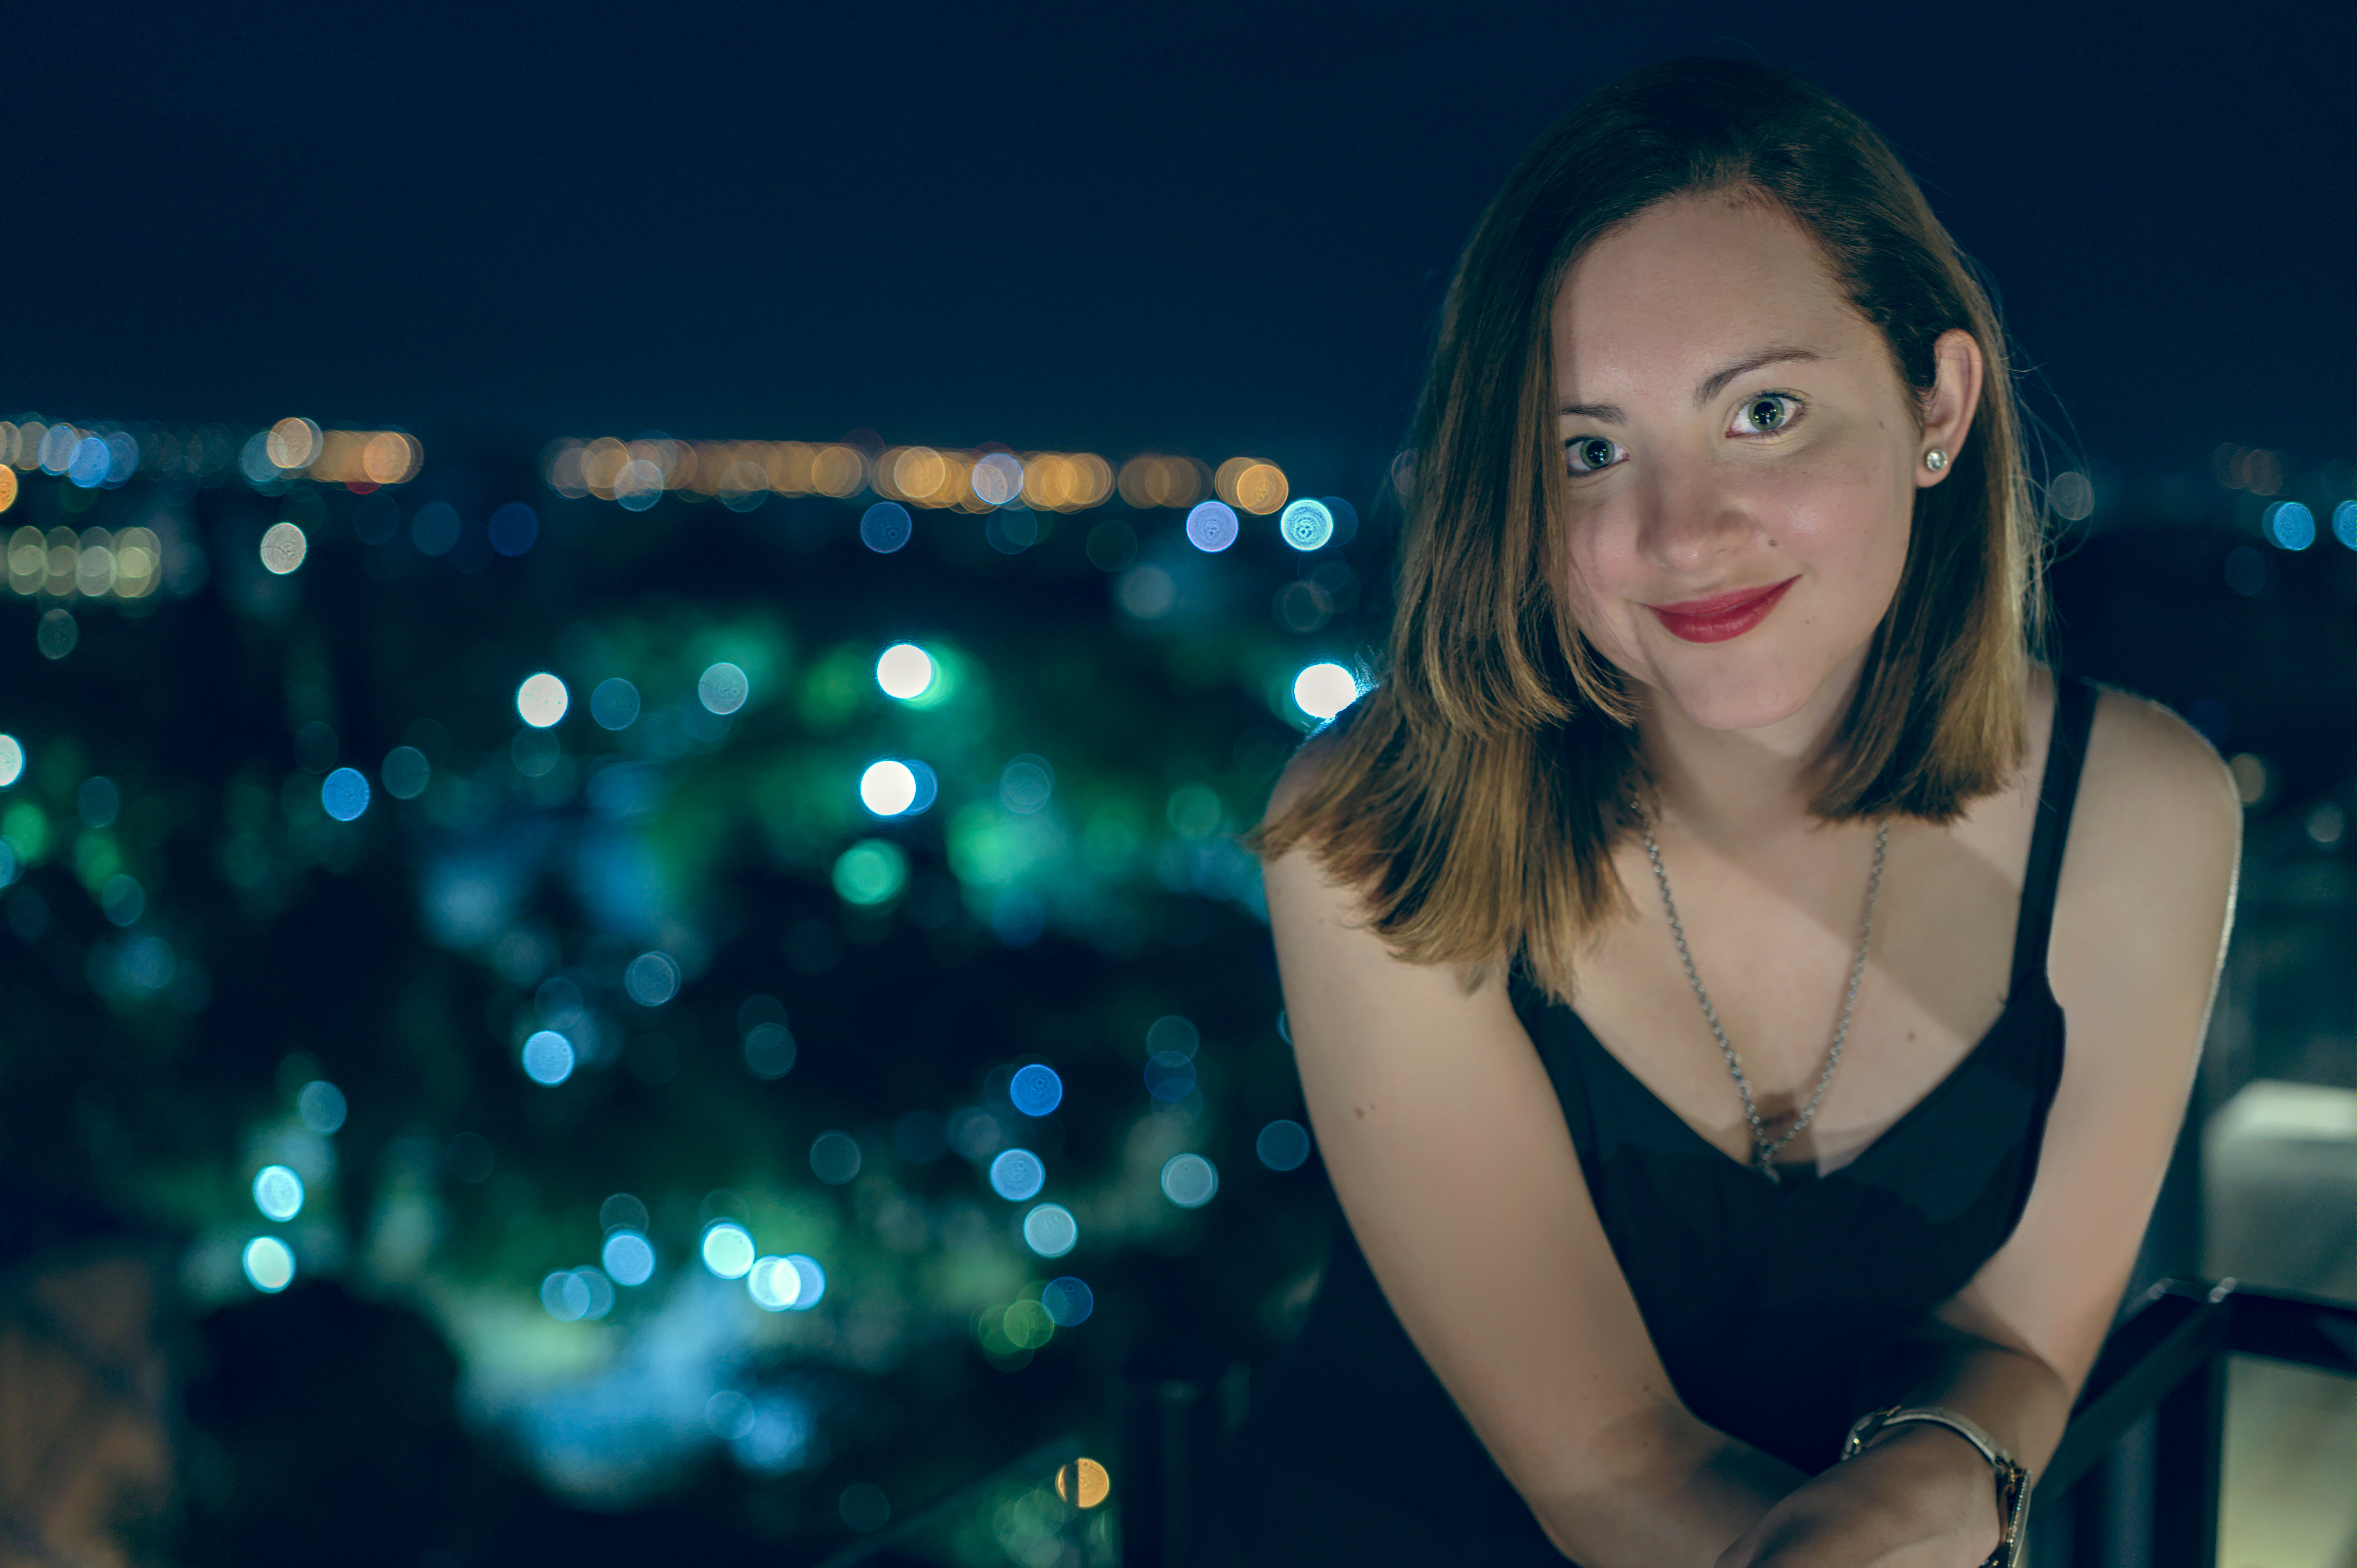
Find the base photo attached.

This is the interim result of my attempts to remove/balance the harsh shadows on both arms:

And here a quick and dirty attempt to bring back the redness with the help of the color mixer and a mask based on the reds in the base layer
If we rethink this image from capture, using a fill flash equal to your exposure or just under it would eliminate those shadows. Not helpful here, but food for thought for the future.
1 Like
A very nice portrait by the way!
I did a quick test to get the whole impression and didn’t put much effort into the retouching. I just quickly removed the shadow from the skin without paying much attention to the details.
And I think that if you want to remove the shadows, you have to remove the shadow from the whole skin to get a uniform look:

For me is far more important that her beautiful smile is well expressed. This is the central element where the eye of the beholder should be directed (lighten the skin, enhance the contrast and a subtle vignette).
As for the details of the skin, the biggest work should actually be on the residual layer. There you should try to balance the colors and make as few changes as possible on the scale layers (only the sharp transition to shadows).
What can also be very helpful is to create a transparent layer over residual layer, to use an airbrush tool with very low opacity, take the paint from the residual layer at the appropriate places and on the transparent layer paint over the areas of the skin that need to be improved:

2 Likes
Lovely portrait @micharambou. With a bit of work, it could be even better. Not sure what your goal is but your result is too cartoony for my taste.