Thanks for the examples. Right now there are so many unknown variables in how those examples came to be it is nearly impossible to bring the discussion any further.
Please do me/us a favour: post the raw picture and the subsequent .xmp file in the play-raw category!
He already posted the RAW. He just needs to state the licence.
Thank you for your example @Damian_J !
I think the main problem is the expectation of @Damian_J. He wants to have the JPG look as a starting point for his RAW. And if you want this, RT is for me as well the better option over darktable.
Anyway, I think it’s hard to tell which picture is the sharpest. A darker and more contrasty picture will always look sharper than a brighter, less contrasty picture. And I think this one of the reasons why the sharpness of the shown example seem to be better on the RAW Therappe output.
On top, I think in darktable the best way to get the most pleasant sharpness is by combining different modules, which makes it as well a bit harder to get the sharpness you want. On the other hand you can easily create your own styles which makes it possible to get the sharpness you want with just one (or wven less) clicks.
This is not about contrasty photos, because even if I increase the exposure and brighten the shadows in RT, the sharpness of details is still better because there are no artifacts, as is the case with DT.
The RT picture is darker and has more saturation, that by itself will make it appear sharper since there’s more midtones. Overall processing should be similar before comparing sharpness
Hi Damian,
thanks for sharing the image. I have no motivation to try and say DT or RT is best. Sharpening is very subjective. However, I noticed your DT images where brighter than RT, this may be because DT counter balanced the EV compensation in your camera so I unticked that in the exposure module and the RT and DT looked closer in terms of exposure.
My first image is using capture sharpening in DT 5.3. I believe it is adapted from RT. The tone mapping is done by AgX which will be available in DT5.4. It is my preferred tone mapper in DT. Here is my very quick starting point for your CR2 file using a generic style for cameras that are unknown to myself. By default I apply the local contrast module in DT and this adds both contrast and perceived sharpness. The bottom image I have disabled local contrast module but left the rest of the edit the same. The diffuse or sharpen module has not been used in these edits. The only sharpening is capture sharpening which is new to DT5.3.
I would suggest using whichever software suits your needs, but there is no benefit in bagging out alternative software. I found RT very good when I first tried it years ago, but DT won me over because of the localised adjustments through drawn and parametric masks. Both programs give excellent results.
Also I noticed that you state you used a Canon 6D style in DT. If this is one of the preloaded styles they are the work of a single contributor. I believed they also use filmic as the tone mapper. I personally never had great results with my camera from these styles, but was inspired by the work to create my own for my Canon R7. My latest style is based on AgX and capture sharpness, both of which are new to DT 5.3.
I fully agree. It took me about 2 years (asking questions, reading the code) to have a superficial understanding of what is going on in DoS.
This is what happens, roughly (I think):
central radius and radius span select a range of frequencies, \mathrm{central} \pm \mathrm{span}. Call the edges (maybe?) “low” and “high”.
the channels are decomposed into wavelets, the operation only affects the range above.
directions for anisotropy are defined using the “low” and “high” frequency layers. Each layer has anisotropies defined in two directions, so you have two sliders for each, eg “2nd order” direction affects what happens to “low” but takes the direction from the “high”. The "speed"s then control the direction of each.
Intermediate frequency wavelet diffusion parameters seem to be interpolated from the “high” and “low”.
“Edge management” protects edges as described, using local gradients (I think).
The 1st, 2nd, etc labels are not informative at all. I mix them up even after understanding the process (which was the low of the high again?). The “laplacian of the laplacian” kind of explanations in the manual are hard to connect to what’s happening in the code.
I opened an issue about this, first I was told that it is too complex and would only confuse the users, then to just read the code, then came to the conclusion that the module is not documented well because the dev who did it left the project and no one understands all the details. This is what prevents me from making a docs PR: I don’t understand all the details either. There was a lengthy discussion which uncovers a lot of details though.
I only wrote that, in my opinion, I definitely prefer photos sharpened in RT, despite many attempts at sharpening in DT.
This photo is one of many examples. Even if the photos show a similar explosion, RT always gives me better results. In DT, I can’t find that golden mean.
Of course, everyone is entitled to their own opinion, because we all perceive things slightly differently.
However, I prefer the sharpness of photos from RT, Lr, and even jpg files straight from the camera, to DT, which in my opinion most often sharpens photos artificially.
Unless I missed it I still feel we are moving in circles here @Damian_J . I’ve seen a raw file - nice - but still no .xmp of how you achieve the - for you dissatisfying - results in dt. This makes it impossible to advice and progress.
Yes, it has been ported basically from RT code, some adaptations because of the dt pixelpipe working differently with ROIs, some definite improvements about noise-resistance and the special gaussian kernels. BUT: results regarding the sharpen-effect should be almost identical.
To my eyes, that looks way oversharpened, which I guess proves a lot of the discussion here that a) sharpness is subjective, and b) it’s not a question of whether software X can sharpen enough, it’s just finding the right recipe for your individual tastes.
Thanks. Very good sharpening. I like it. I can’t achieve such results. Perhaps this is because I don’t know much about this technology and use basic settings.
It easy to do, just make a duplicate of your photo in dt, import and connect my xmp to your photo and you’ll exactly see which modules are being used and with what settings. I used f.i. two moments of enhancing local contrast which might be a bit much…
Probably I will learn and still improve on this as I am by no means an expert here. See this:
Still am of the opinion you would do well sharing your .xmp file here.
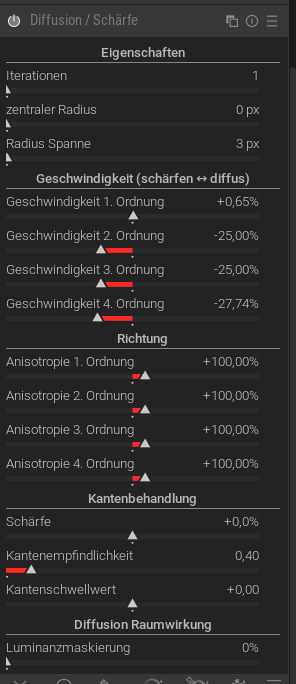
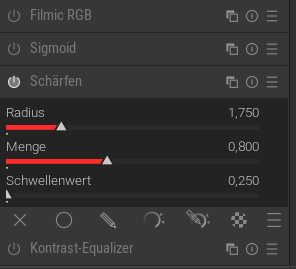
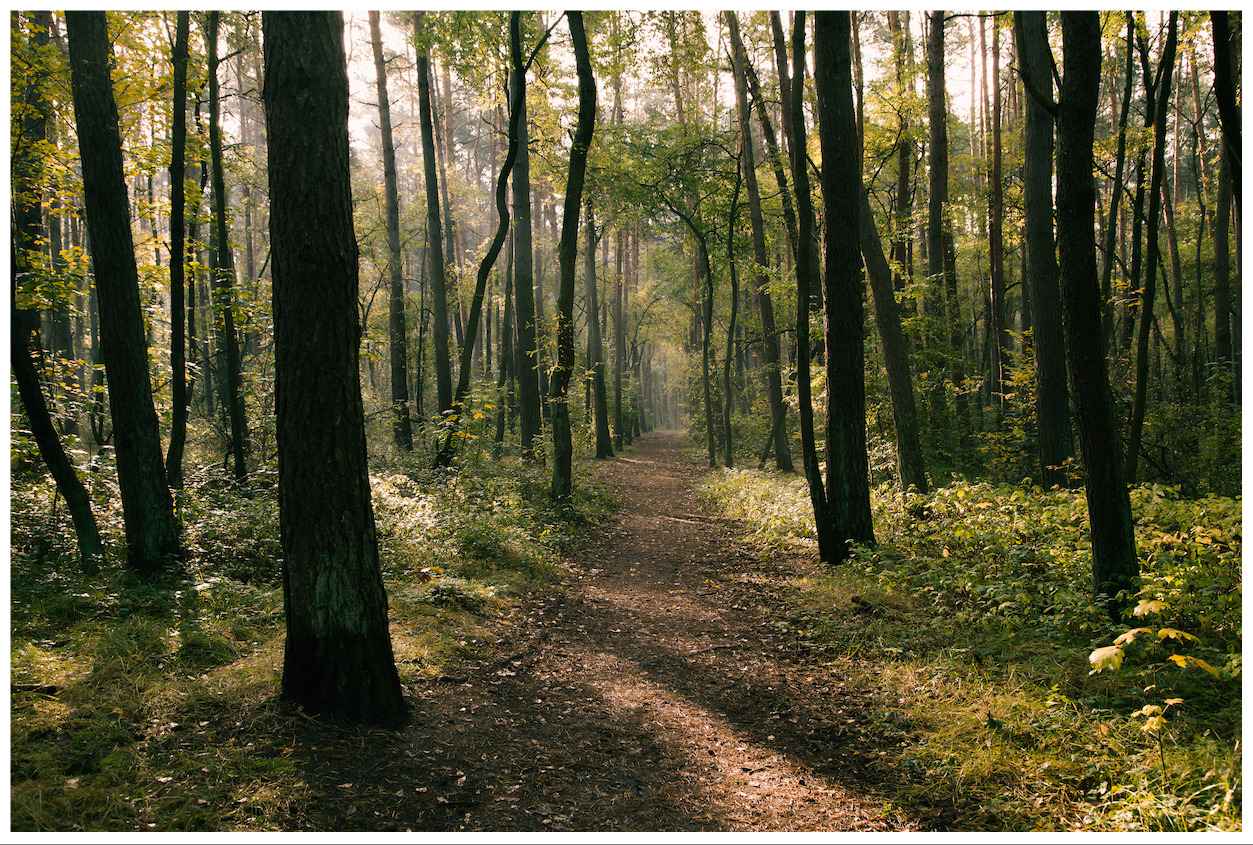
While this is not an edit I would usually do like that, I tried to get an at somewhat similar output to your RT output for better comparison. There are two ways to achieve the sharpness:
a combination of the classic sharpen module together with an instance of D&S
a combination of the classic sharpen module together with the new capture sharpening module of @hannoschwalm
Both give nearly the same result. But using capture sharpening is so much easier. Thanx @hannoschwalm
I used the master branch, which includes capture sharpening and AgX.
Anyway I wouldn’t care too much about a perfect sharpening on 100% view but on the overall impression. If this is breathtaking, you have won. Then, nobody really cares, if the picture is a bit more or less sharp on 100%.
No problem, it’s good to have a healthy discussion about these things!
It’s obviously hard to put into words, but for me, sharpening is best when it’s confined to outer edges and more selective than every single detail. When something is oversharpened, the whole pictures looks chaotic and somehow “uncomfortable”.
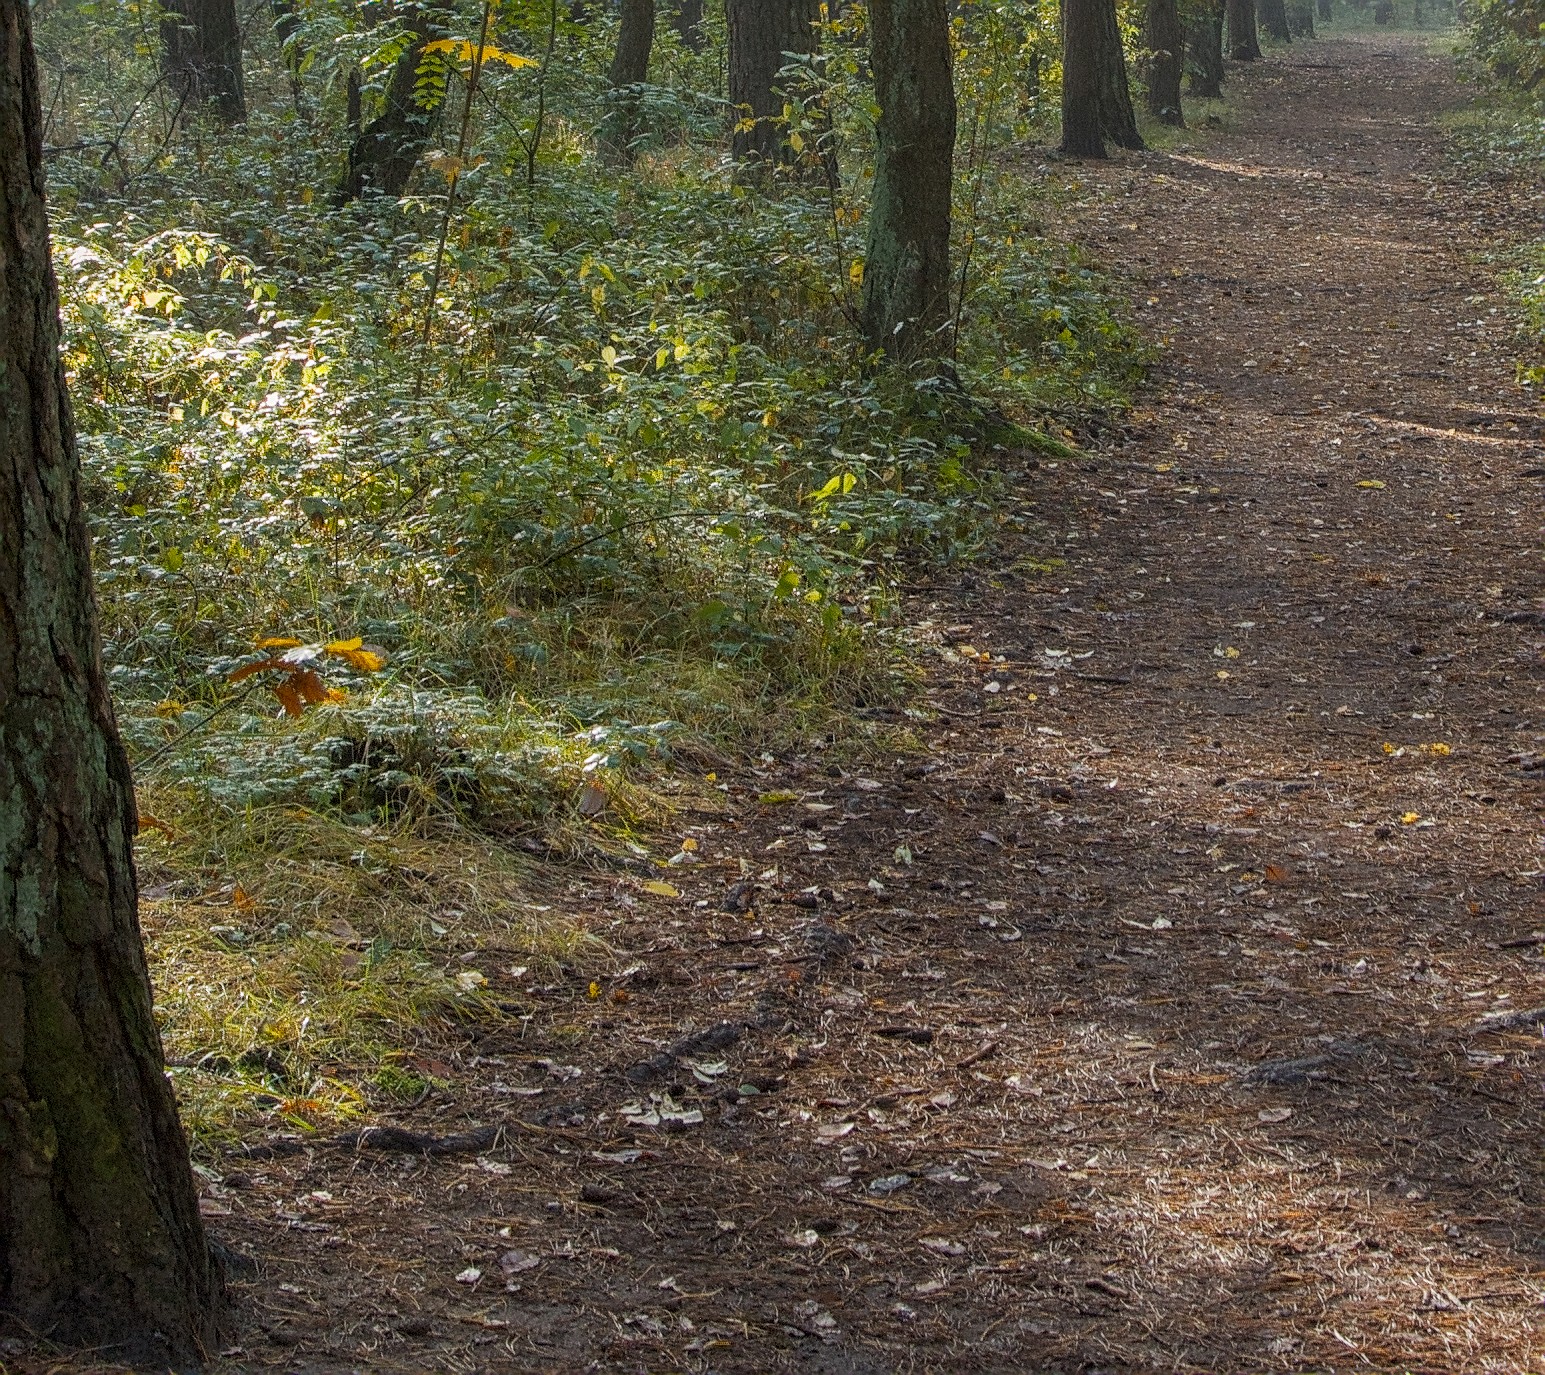
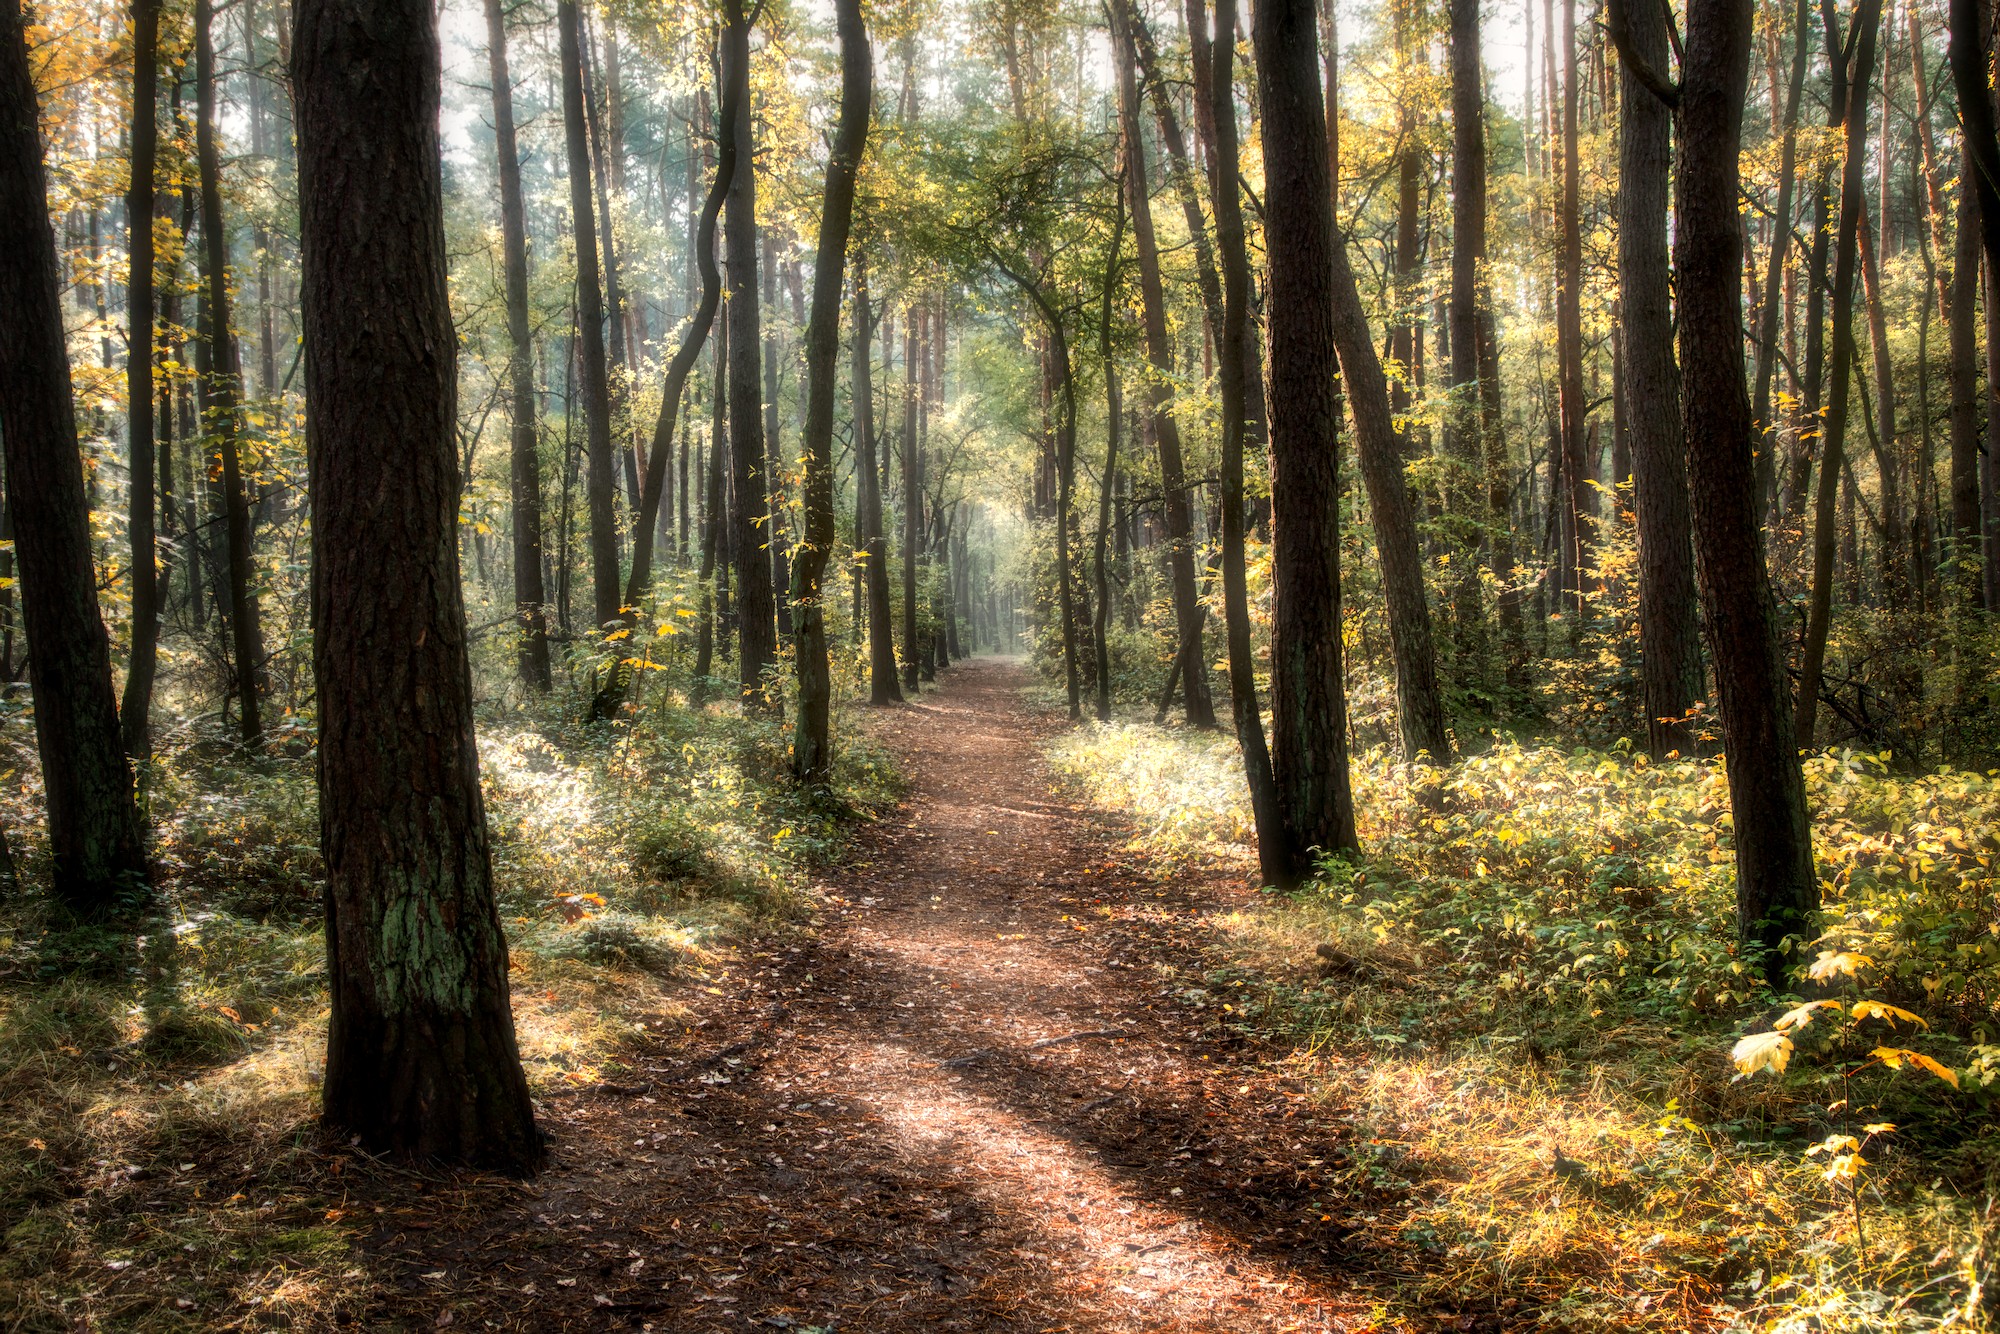
In the picture you posted, I would want the outer edge of the tree trunk sharp, as well as the edges of the leaves on the ground. But every single needle, twig, bark detail, blade, etc. looks too crunchy for me.
This is why I ALWAYS use sharpening with a mask (either the “Details threshold” slider in Contrast Equalizer, or “contrast sensitivity” in Capture Sharpening).
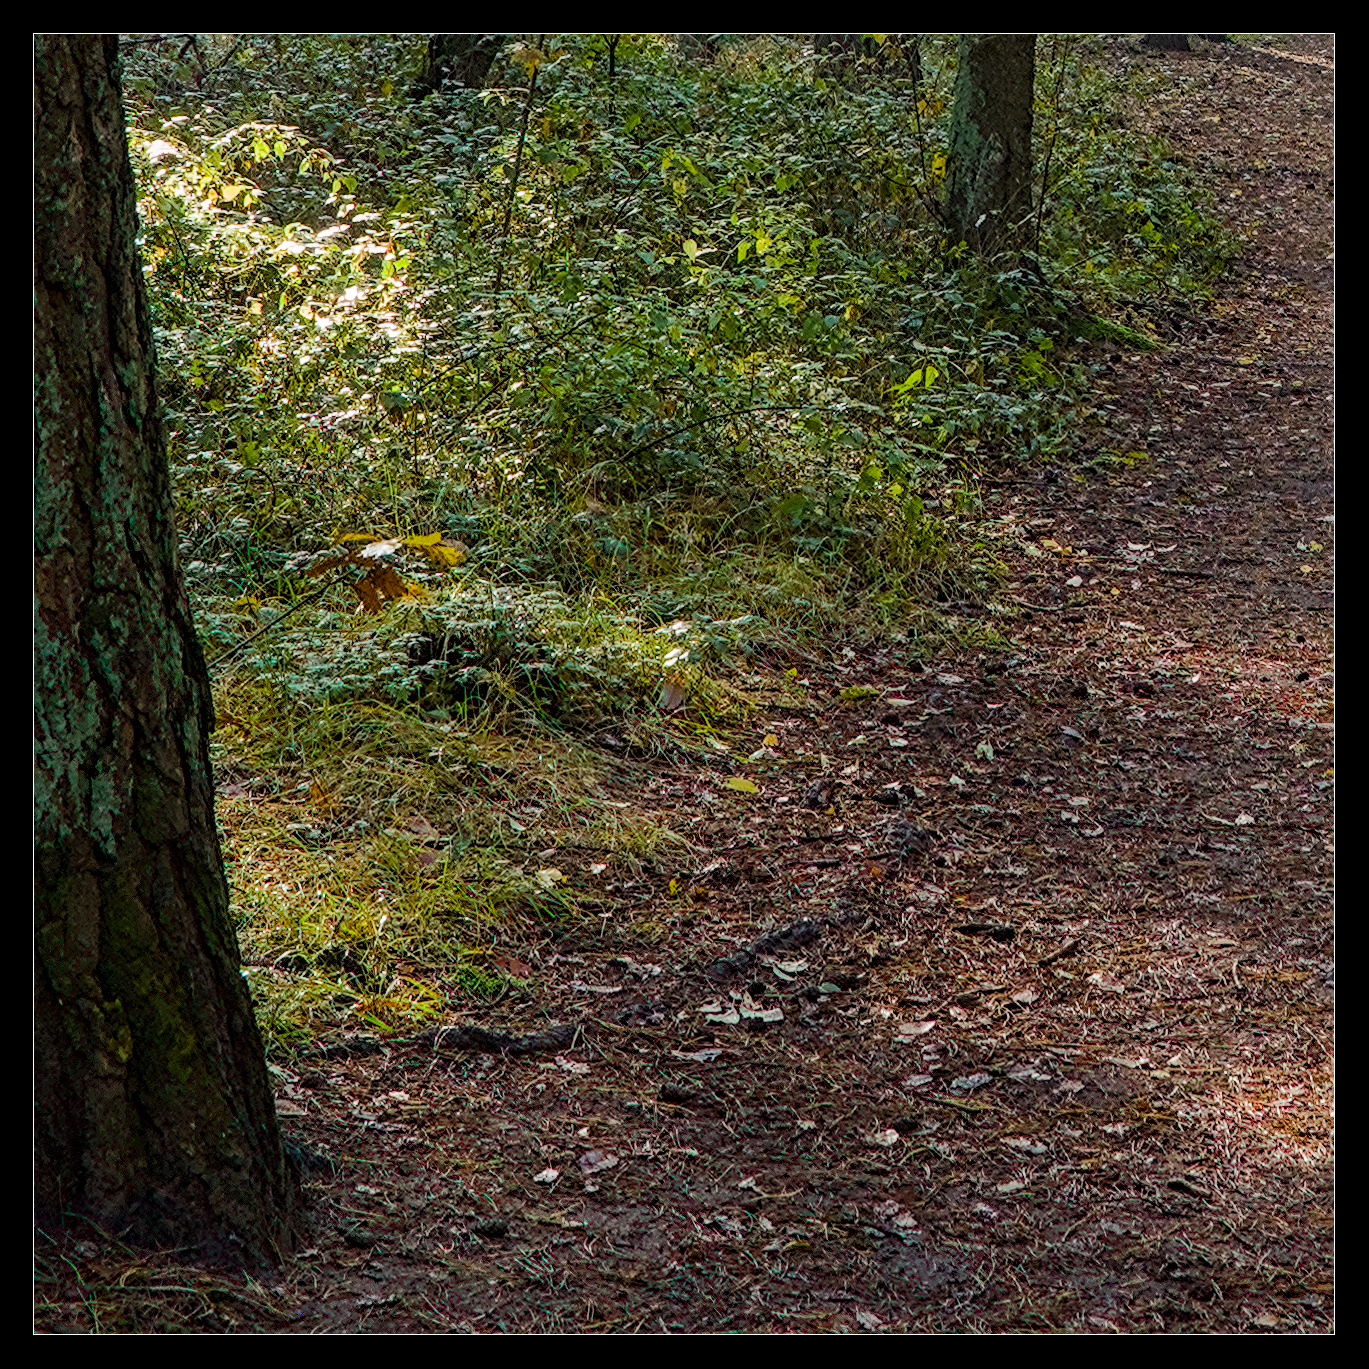
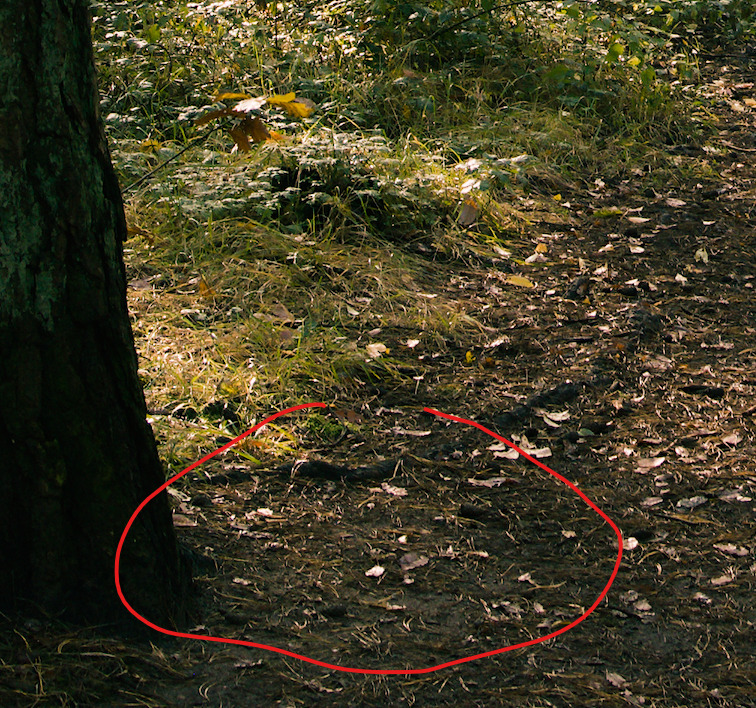
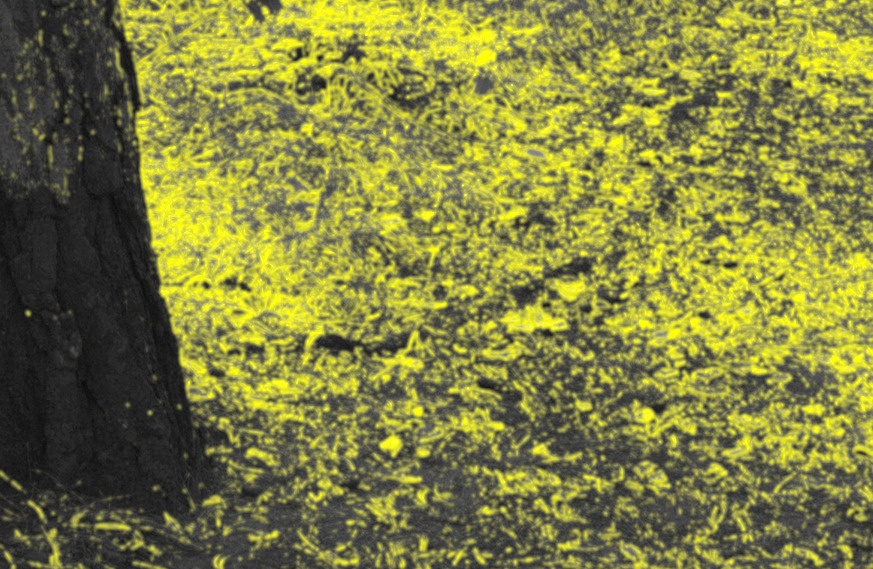
I just spent 2 minutes doing a very quick process of the OP’s RAW. Notice how much less detail there is in the red circled area compared to yours. This to me looks more natural.