I think my photos are not clear enough

@zerone I did a little research and found two online DOF calculators giving hyperfocal distances of 19m and 19.96m for 55mm at f/8. I also found there is a hyperfocal distance given in pyexiftool from your raw file. That one reads 26.8m.


Your focus distance is 3.35m, so it’s not surprising that the branch at the top left is the clearest. That’s the closest to the 3~4m DOF listed. Before you spend money on new lenses, learn how to get the most from what you have now. :wink:

4 Likes

Hello, I suggest to change the first one to Auto-Servo AF. From the manual:

Auto-Servo AF: Camera automatically selects single-servo autofocus if subject is stationary, continuous-servo autofocus if subject is moving.

Be aware that in the Single Point AF mode, the user must select a focus point. It is easy to make a fault here and set the focus point with the cursors to the upper left without that one is aware of that. Check in the info display where your focus point is. See the red area in the screenshot.

info_display

Try to change the AF mode to Auto-Area AF, where the camera automatically detects subject and selects focus point.

A question: are all your photos “not clear enough” or just some?

Another suggestion. You say that this is your first digital reflex. That’s not the same as using a compact camera, it’s a bit more complex because you have more possibilities to adjust things. But a very beginner-friendly mode is the Program mode (that’s the P on the PSAM dial). In that mode the camera takes many decisions for you, you only have to frame and hold the camera tight when you take a photo.

Good luck!

2 Likes

Hi Dimitris, and welcome!

I’ve just had a look at your file. In my opinion, there’s nothing major wrong with it. I think the softness is a combination of lens blur (it is a basic lens) and also some subject movement. Have a look at my jpg. Any better? :grinning: I’ve applied a preset I have for the diffuse or sharpen module, which gives a fairly aggressive sharpening, and I think it helps. You can download the .xmp file and load it as sidecar in dt’s lighttable view if you want to see what I’ve done.
I’d suggest trying a few experiments, with a stationary subject, as has been suggested already. Try different apertures, VR on and off and anything else you want to try.
Oh, and a better lens, especially a prime, would be better…
Good luck!
Edit: I’ve just looked again, and I think I may have misused diffuse and sharpen a bit. I do think that there’s definitely motion blur there - maybe there was some camera shake?


_DSC0731(1).NEF.xmp (8.0 KB)

1 Like

I am willing to stand corrected if I am wrong, but my experience with the 18-55mm kit lens is that f5.6 at 55mm is wide open. I was really shocked at the drop off in sharpness from this lens in the supplied image. I am use to Nikon kit lenses producing surprising sharp results for what they are. But this lens needs replacing if the poster wants to get better images. The equipment is letting him down. The drop off was more pronounced near the edges suggesting this was not a focus problem or camera shake problem, but just a disappointing lens.

1 Like

Kit lens is (often) worse at the zoom end, and is (often) worse wide open. So both are at play here :).
As someone else said, his focus was pretty close (if the recorded focus distance is correct, I can’t find it?), so only things closer to the camera are properly in focus.

I’ve opened the picture now and I’m clicking around in it.

  • The green trees at the very bottom, and at like 1/3rd on the left, are pretty sharp. If you then go up, the leaves are pretty sharp and the darker tree in the middle is pretty clear.
  • Pretty much everything on the right side is not sharp and pretty blurry. But it’s also closer to the camera! The trees on the bottom left are still pretty good. They are in the distance.
  • Now, I expect the branch that is ‘in front’ on the far left, about top 1/3rd in height to be also blurry. Because it’s pretty close. And it seems less blurry than the top right, for example. But the top right seems closer to the focusing distance, so I expected it to be sharper, not blurrier.

So, I come to another conclusion to be added to all the tips and things mentioned here (which all seem very correct and true!)

  • Your lens seems sharper on the left half compared to the right half. I think this is what they call ‘decentering’? (Correct me if this is not correct, I never understood the term).
  • Basically, it’s just a defect of your lens. Happens in older lenses (older designs) and cheaper lenses. So the kit lens from on old D3100 can have this, for sure. The kit lens on my very first Sony A100 was also notoriously bad for this. And I have a 80s Minolta AF 16-35 2.8 A-mount lens that is just hilariously bad in this example (but that lens is now 40+ years old and cost me less than 100,- EUR on eBay at some point :P).

Stopping down can (and will) help with this, so that means be more at >= f8 and <= f16 with your lens when using the end of your zoom range.


I notice that your shot is pretty much at the limit of clipping a bit. Nicely shot! (Or does this Nikon have a fancy working highlight-priority mode? :wink: ). What I mean is that you shouldn’t have taken the shot by exposing more (not shooting it brighter). If you want it brighter, do it in software later, but you shot it so bright, that it’s pretty much right against the limits of your sensor. That’s a very good thing! Overexposing makes the sky a hassle, while AFAIK any Nikon old or new can handle a bit of pushing later in software without issues.

1 Like

Not Darktable, but quickly loaded in DxO and loaded it’s Velvia emulation, boosted exposure a bit and reduced highlights to not clip (the Velvia emulation darkens things quite a bit).
Then boosted it’s ‘micro’ and ‘fine’ contrast (kind of local contrast enhancements AFAIK).

Render out, resize it to 2000x2000 and apply some sharpening at that step. You see that lots of areas ‘are not bad’, but when looking at the unsized 100% of the original image, you’ll see that DxO tries to over sharpen things where it knows the lens will produce blur. The leaves on the left don’t look that great, but they try to make it sharp.

But the right side, is still soft. Maybe the wind was blowing there, or your right side is softer than your left.

Indeed @Terry. At 55mm the widest aperture is f5.6 for this lens.

Yesterday I went for a walk with my camera with the goal to take the sharpest pictures. I put the camera in Aperture mode and took the shots at f9 - f11, shutter speeds over 1/800, to be sure that it is enough (and the corresponding ISO for good exposure). I thought that this is all it takes to have focused pictures from foreground to background. However I was surprised when I saw these two pictures on my computer (again jpegs are from the camera, without any overcooked processing by myself :slight_smile: ):


1/1000, f/11.0, 55mm, ISO 800, focus distance: 1m
The first was focused on top of the metal rail, right at the slit, a distance of about 1 m away from the point I was standing. Some time ago I was reading on the hyperfocal distance, and I read somewhere about the technique of focusing a few meters in front of me, like a rough guide without calculating anything. And that it enough. Apparently is not!


1/800, f/11.0, 55mm, ISO 800, , focus distance: 200+m
The second one was focused at the rocks of the sea wall and is much more clearer.

At 55mm, f/11.0 the hyperfocal distance is 14.23m! while the near limit is 7.12m! So my focusing at 1-1.5m was way wrong for a focused and sharp picture.

Regarding DoF while focusing in 1.5m distance, at 55mm, f/11 is 0.31m in total, from 1.36 to 1.67! I would never thought that this was possible with f/11!!!

By the way, the exif data regarding the focus distance is not accurate.

So now I understand why some or many photos I take are looking somewhat blurry.

Apparently my technique is the main culprit (perhaps the only one given the limits of my equipment), or more precisely my lack of good understanding of the camera. I’m not complaining though, the fact that needs more work and studying to capture what you want was the main reason I bought this one over a point and shoot camera.

2 Likes

Hey, you’re already making progress ! :wink:

Well, I think your camera is okay and the kit lens as well. The D3100 is a very good camera to start your DSLR journey, so have fun!

@zerone

Please perform this test, as outlined by @paulmatthijsse, above:

Put your camera on a tripod or table, choose a static scene (so without leaves moving in the wind), use the 17mm position, set self timer to 5 or 10 seconds, use the A position (Aperture priority), set aperture to 8 and take the photo. Any better or you’re still dissatisfied?

Have fun!
Claes in Lund, Sweden

Enter your camera and focal length (camera to determine crop factor / sensor size), enter the distance you are focusing at, and it will tell you what range is roughly in focus.

I say roughly, because these rules still come from the film era as far as I know, so for modern photography you might have to be a bit stricter.

But for every distance you focus at, you have an area in front that is ‘suitable’ in focus, and a distance behind that is ‘suitable’ in focus. The distance behind is often larger than the distance in front.

When you focus far enough away, you can see it as ‘you focus between this and infinity…’. The hyperfocus distance.

This all changes with the chosen F stop and focal length, of course.

(These calculators are also available on phone apps… and older lenses (from the film era?) had an indicator to tell you the focus scale right on the lens!)

It tells you that when using 55mm and focusing at 1m in front of you, even at f11, you have an area that is in focus between 94cm and 107cm. So only a 13cm range!

The further away you focus, this range increases faster and faster.

So, close focusing always produces more depth of field compared to focusing far away. This is the annoying thing of making macro photos :wink: . But also why you get a bit of natural, real bokeh on modern mobile phone cameras, when you get closer with your phone / camera.

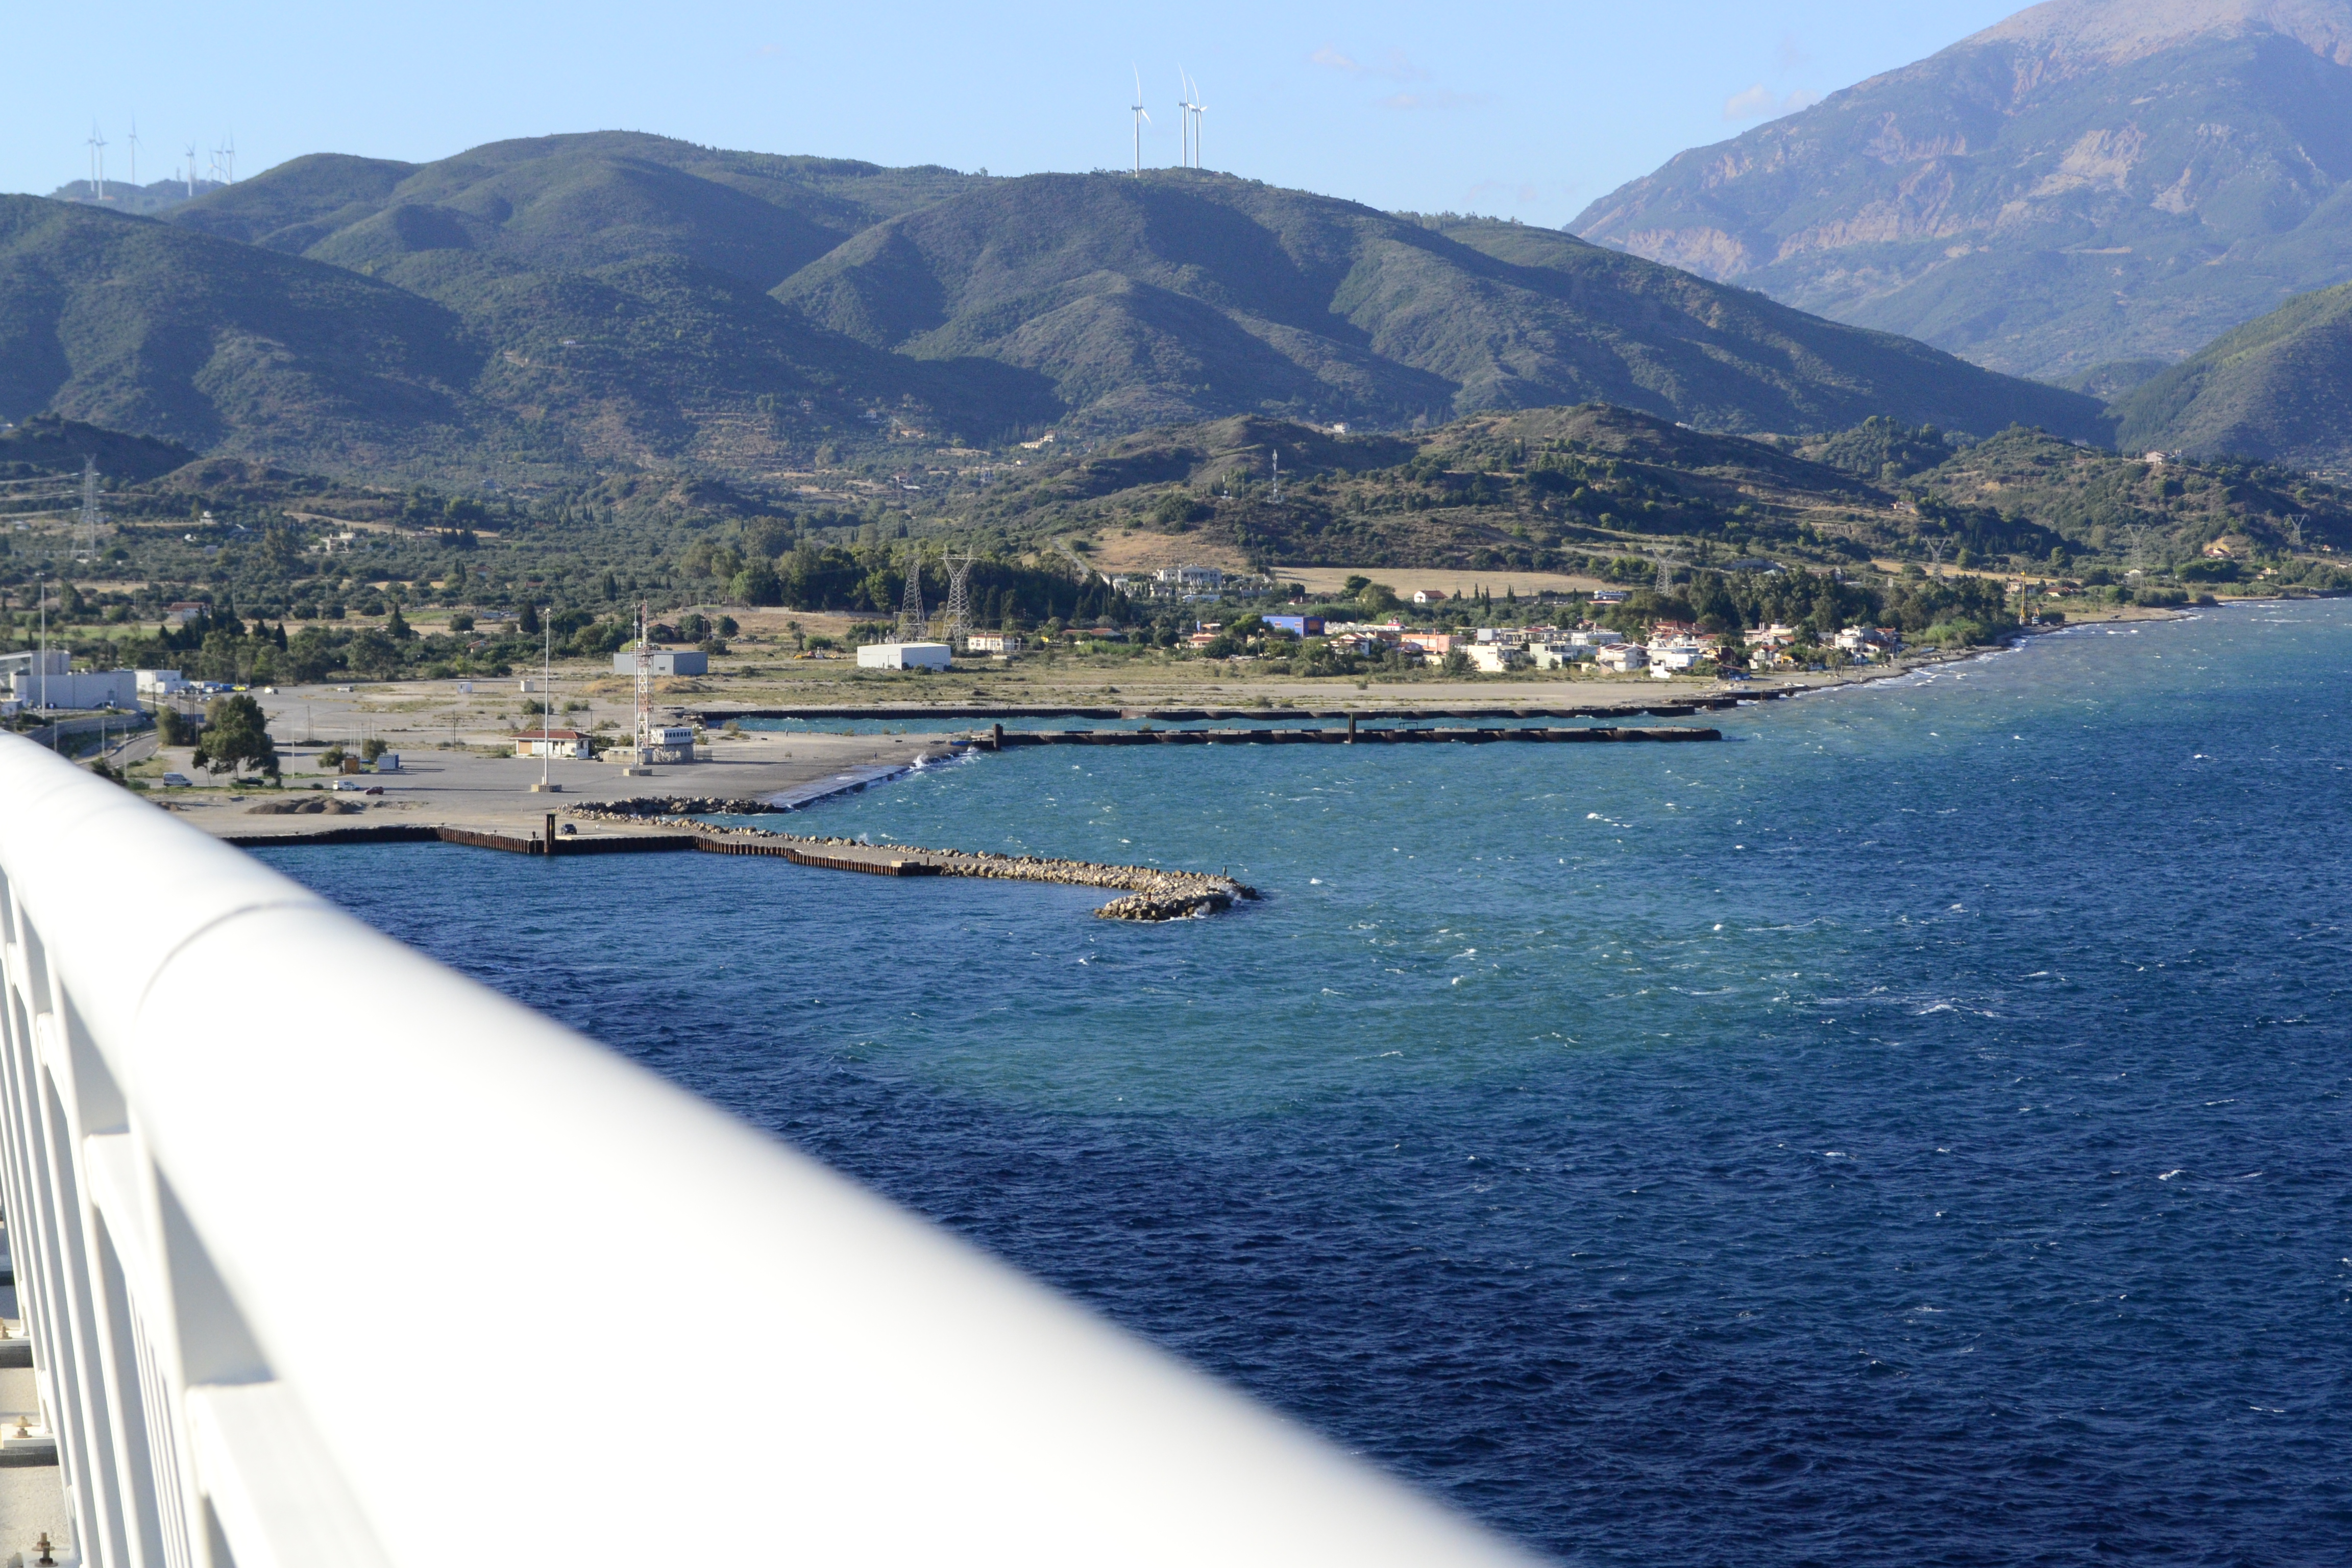
This is also the reason (well, one of / sort of) why APS-C cameras for example have less ‘bokeh’ compared to full frame.

The lens can be the same. So imagine having a 55mm lens on a full-frame camera, set at f8. You want to take a picture of a person with the face and shoulders in the frame. So you take a certain amount of distance, and take the shot.

Now, if you have an APC-S body with the same 55mm lens set at f8, you would imagine it would take the same shot with the same bokeh. This is true. But because of the crop factor, you have ‘zoomed in’.
So you take a few steps back to once again have the face + shoulders in the frame, and take the shot. But… the few steps back altered the perspective (slightly), but also changed the focus distance you were using. And this has the effect of giving (quite a bit) less bokeh, even when shot with the same lens.
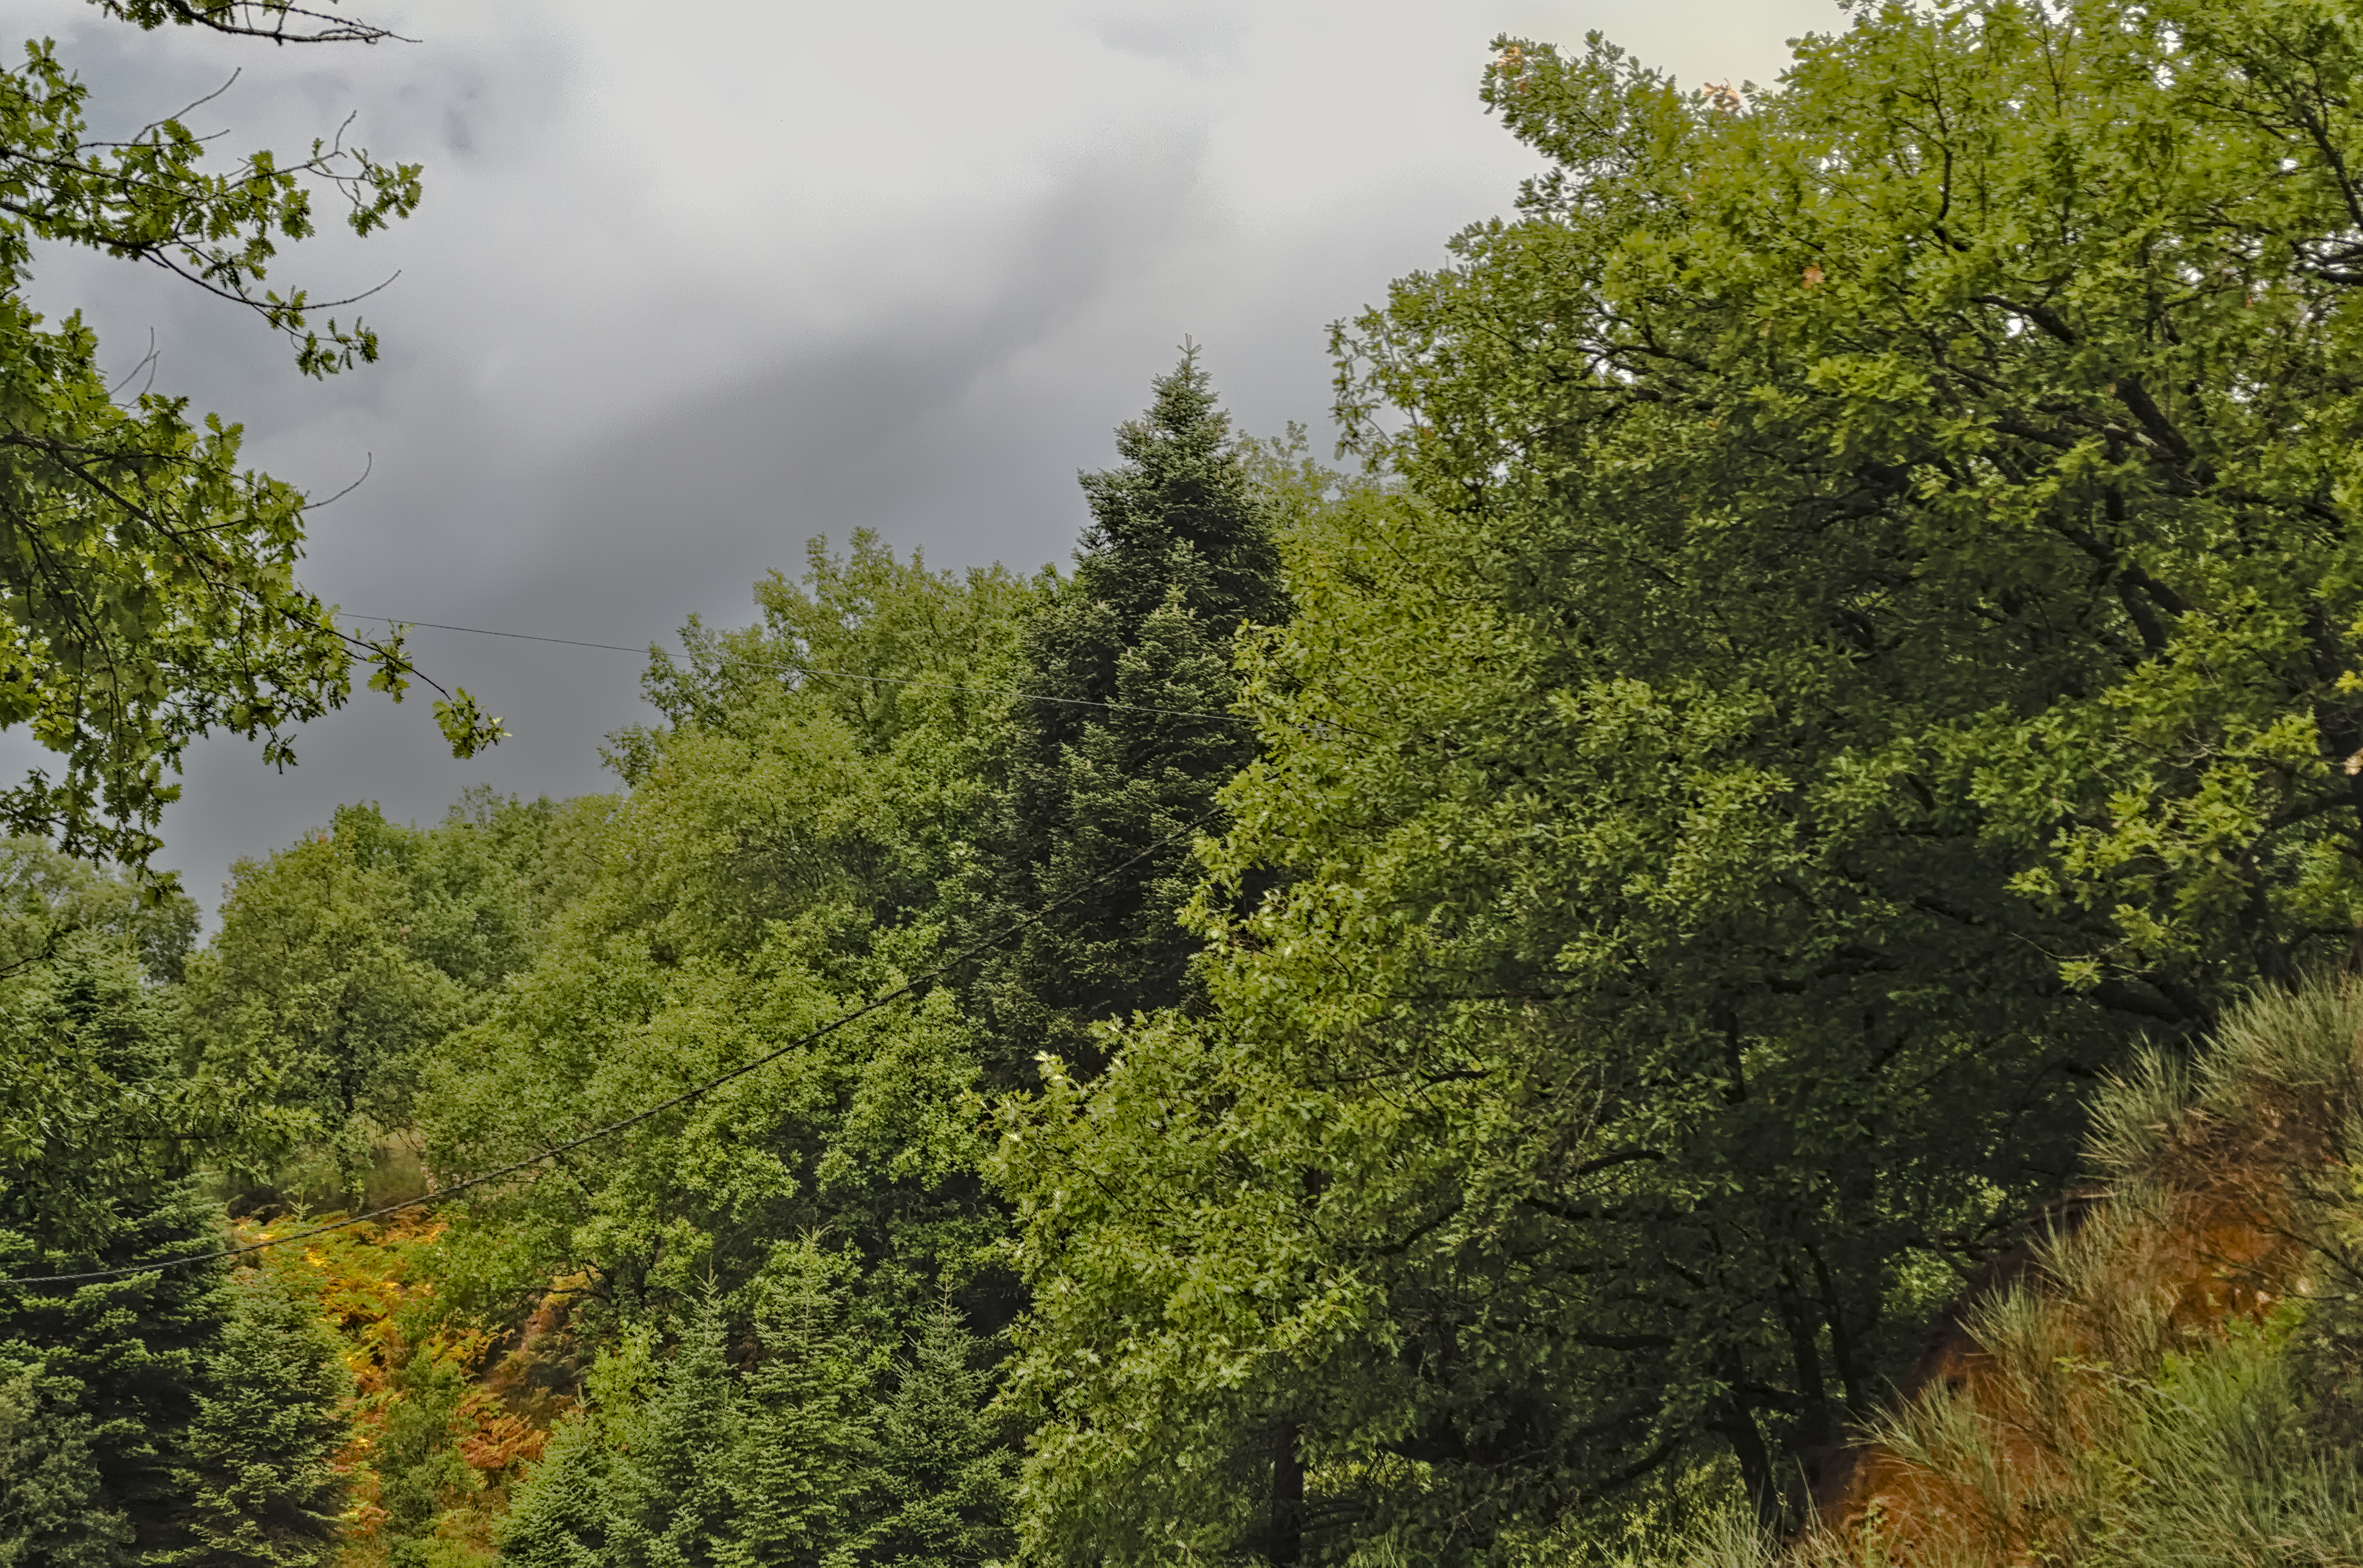
1 Like

As for feeling old, try to grasp this :wink: .
This is an old manual-focus lens:
https://images.app.goo.gl/jkAsrRNuTeSGcCiX6

When you focus it at a certain distance (for example, the 8 feet the lens is focused at in this image), you’ll see another set of numbers (the 22 - 16 - 8 - 4 - 4 - 8 - 16 - 22).
That is to indicate to you that when you are focused at this distance, at f4 the indicated distance is in focus, at f8 that indicated distance is in focus, etc…
So, when you focus at 8ft, at f16 you’ll have something in focus between +/- 5ft and 15ft according to this image.

It’s used in street photography (but can be used for everything of course) to just keep your camera and F stop set at a certain setting, and then remember that everything between ‘1m and 4m is sort of in focus’. And if you then just remember to be at give or take 2.5m distance, you can just point your camera quickly and take the shot and keep walking.

Once again, the tolerances for ‘in focus’ this way have become stricter in the modern era, but the principle still stays :wink: .

2 Likes

Spencer Cox at Photography Life has a simple landscape focus technique. “double the distance”. Google it, on my phone with little bandwidth…

2 Likes

exiftool says:

Focus Distance                  : 3.35 m
Depth Of Field                  : 0.84 m (2.98 - 3.82 m)

Looking closely at the image (developed simply, by dcraw), I would say the major problem is focus. There is also perhaps some horizontal movement, either from wind or Vibration Reduction or (more likely, I think) camera movement.

Why is the image out of focus? Perhaps the camera mis-focused. This sometimes happens on my D800. Auto-focus is a tool that (like auto-anything) can be useful but also discourages the photographer from thinking. What part of the image do I want to be in best focus? How far in front of or behind that distance do I want to be reasonably in focus?

In your image, the “best focus” should probably be the tree in the centre, which is virtually at infinity, certainly much further than 4 metres away. Or perhaps the trees upper-right should be at best focus. Twiddling the focus ring helps me make such decisions.

Hi @zerone
I will not add to the above sound advices.
I bought this lens with a D80 and I quickly noticed that it was not sharp and had front focus.

and unfortunately, I did not draw the right number!

I am not really able to see on your photo where the lens is focused on. It could be somewhere in the center of the photo.

Meta data shows a 3,35m focus distance. At f/5.6, the DOF is rather small, about 1m, which insufficient for landscape, unless you want isolate some foreground subject.
Perhaps the blur is also due to the wind or movement, but I doubt considering the 1/160 shutter speed and focal length. But using f/5.5 at 55mm on this kit lens will not give you sharp images.

ART

detail

1 Like

This is worth a read. Also I have a couple of tricks (tips) I teach my photography students. When using a crop sensor D-SLR such as a Nikon 3100, if the zoom is set to 18mm and the aperture to f8 focus on an object at least 2.5 meters away from the camera and everything from half way back to the camera and the mountains would be in focus. Use f11 if you want a safety margin. With a full frame you get the same effect using a 28mm lens but need f11 or f16 if you want a safety margin. Now once you start using telephoto lens and 55 mm is a short telephoto lens on your Nikon 3100 you can’t get objects close to the camera and mountains razor sharp. A DOF guide on your smartphone can help with understanding this.

Good luck continuing to learn and improve your photography. We all still do even after many years. But avoid wide open apertures for landscapes. Wide open apertures are great with portraits but not so good with landscapes in my experience.

3 Likes

Here’s another trick for lenses that focus by twisting a ring: focus on the nearest point you want in focus, then twist the ring on the furthest point you want in focus, then twist back to half way between the two. Then the near and far points will be equally out-of-focus.

The trick works on any camera where the focusing is by racking the lens in and out, and the mechanism for doing that is linear.

Where the focusing mechanism changes relative positions of lens elements, the trick may be less accurate.

2 Likes

Some great advice from my good friend @Claes, there. My images look very different to most, and I take a very different (and somewhat unconventional) approach to my workflow overall — thanks to such wonderful tools as RawTherapee, Darktable, GIMP, Krita and the like, we can pretty much achieve anything we desire as far as processing and editing is concerned.

I cut my teeth by diving straight in and just playing around — sometimes, it’s the best way to learn. When I first started, I knew next to nothing about anything, let alone how to go about getting the results I wanted; now, I know every square millimetre of my favourite RAW processor.

I suppose the point I’m trying to make is this: there’s nothing ‘wrong’ with your images; it’s likely that you’re comparing them along side others that have been processed differently. Trust me; with a bit of practice, you’ll be able to make your images ‘look’ exactly the way you want them to.

And on a final note, it’s completely normal to think that everyone else’s photos look better than yours. We ALL do. :smile:

I can’t improve on any of the rather excellent advice already given about actually taking photos, but thought I’d chip in with a bit of encouragement with regards to the processing and editing side of things.

1 Like