Sweet I’ll keep these suggestions in mind when I create my new topic. Thanks @Vente
1 Like
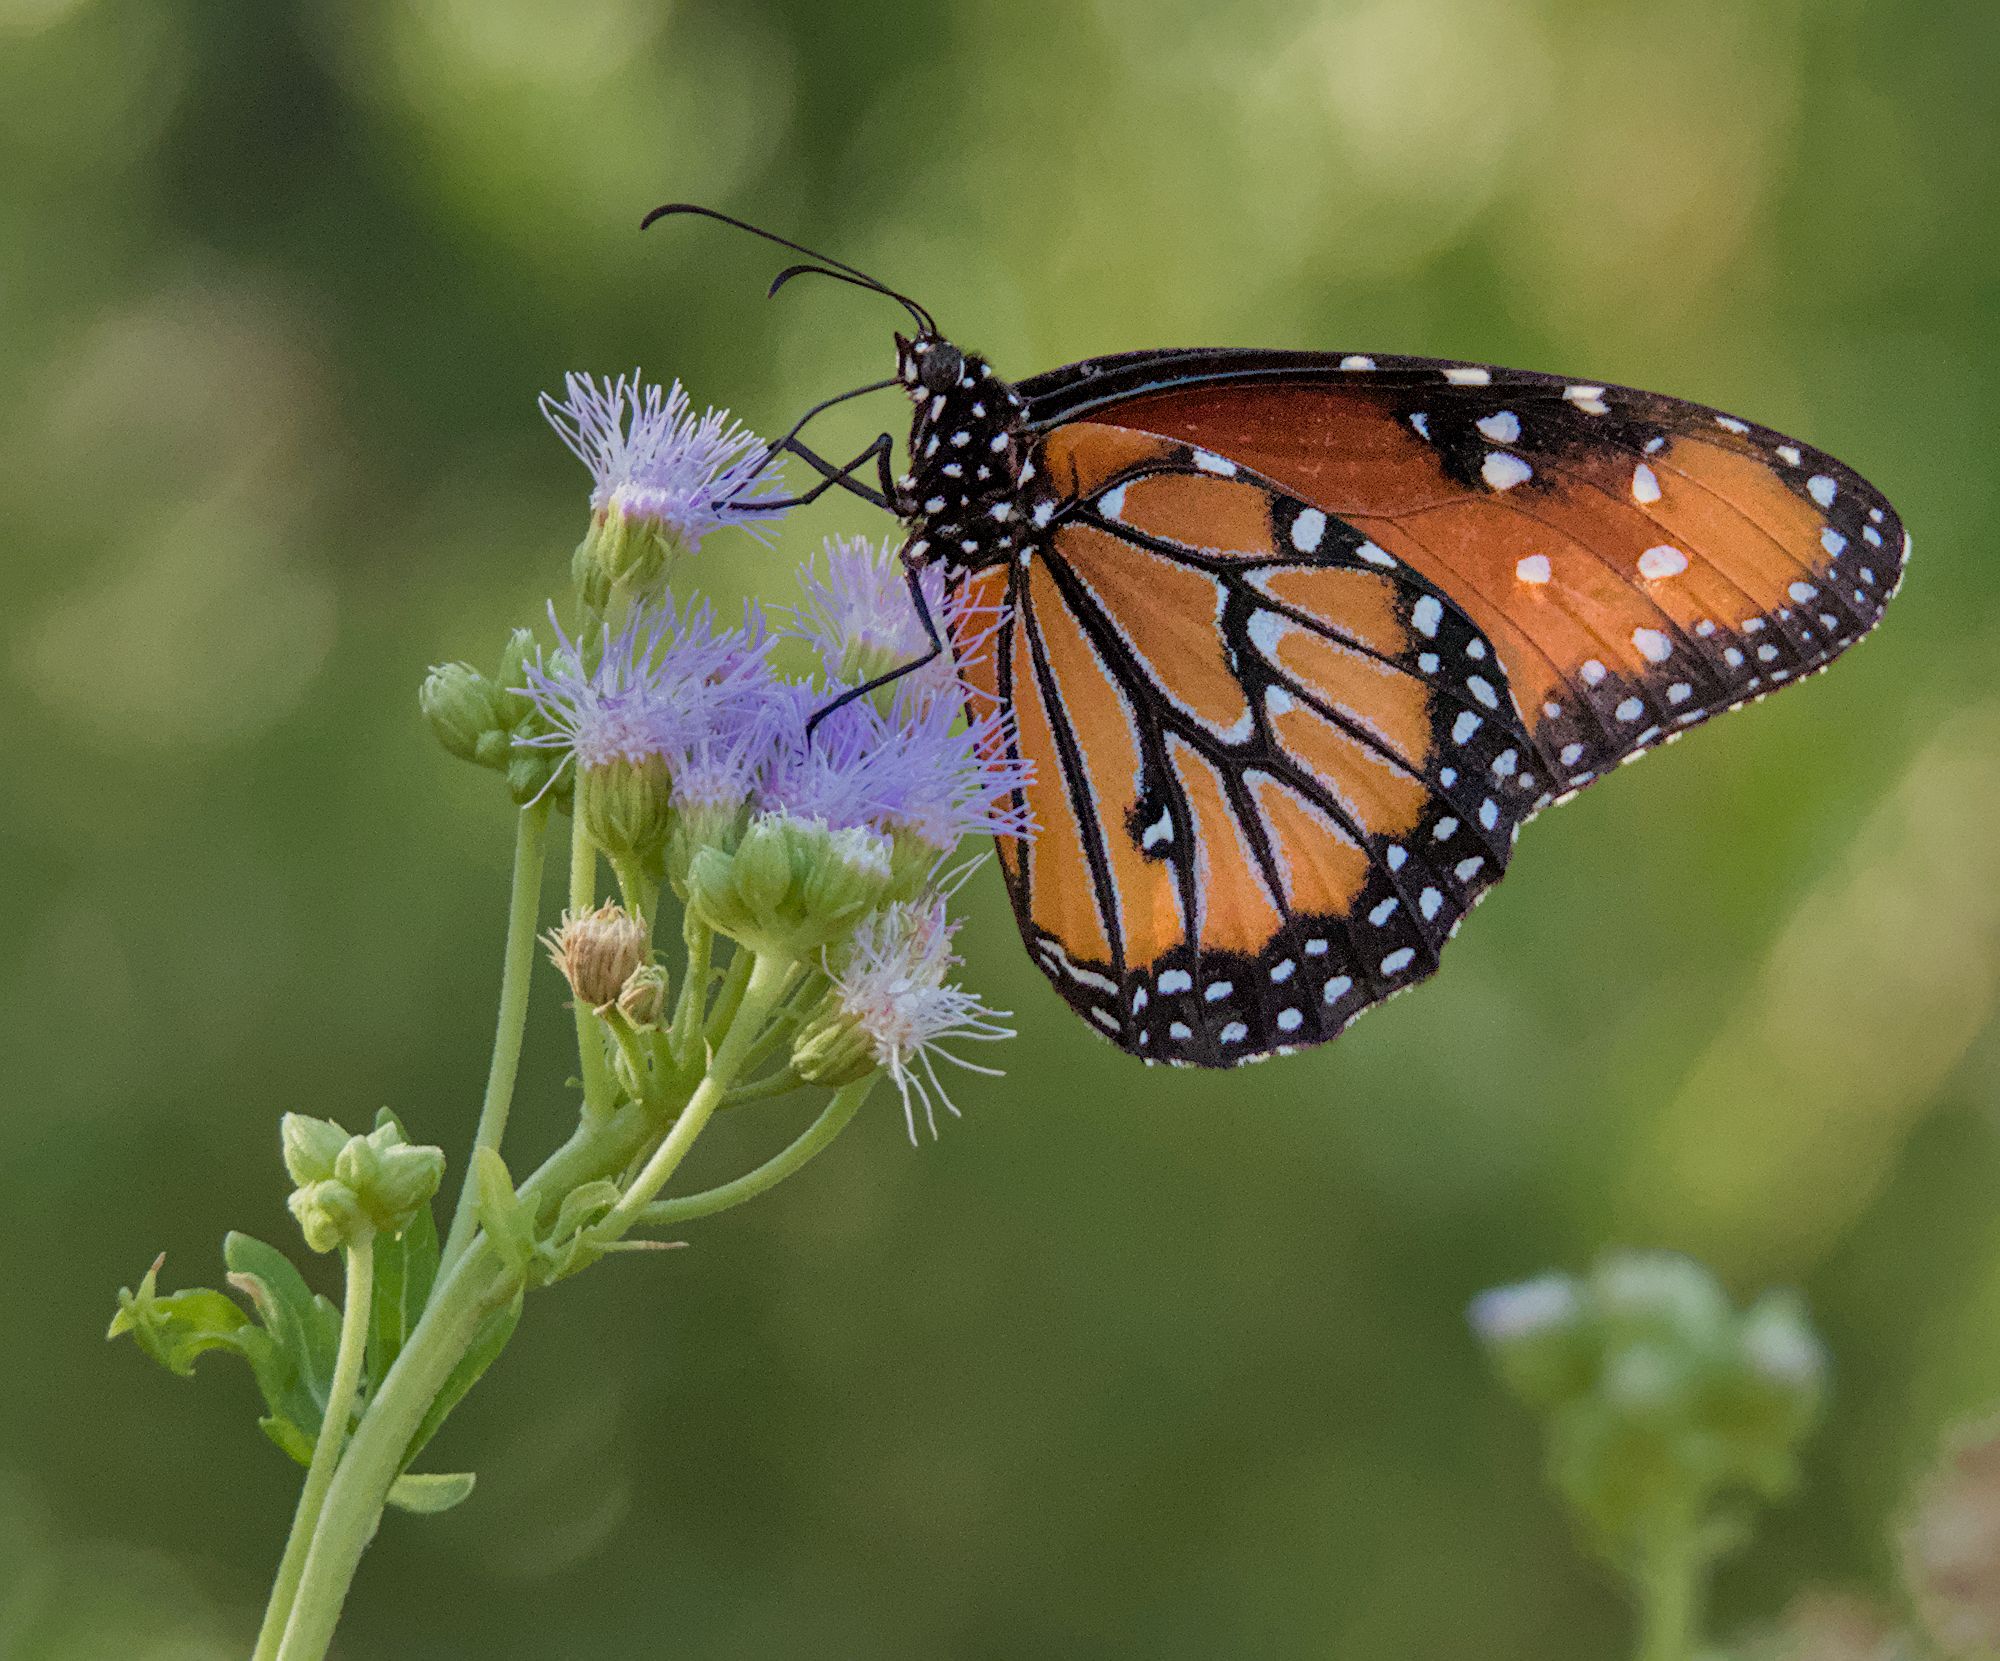
Quickly done
DSCN3506.NRW.xmp (18.9 KB)
In the .xmp file are my edits… but you probably do not yet know how to get them into darktable. If you want me to and are ready I can explain the process.
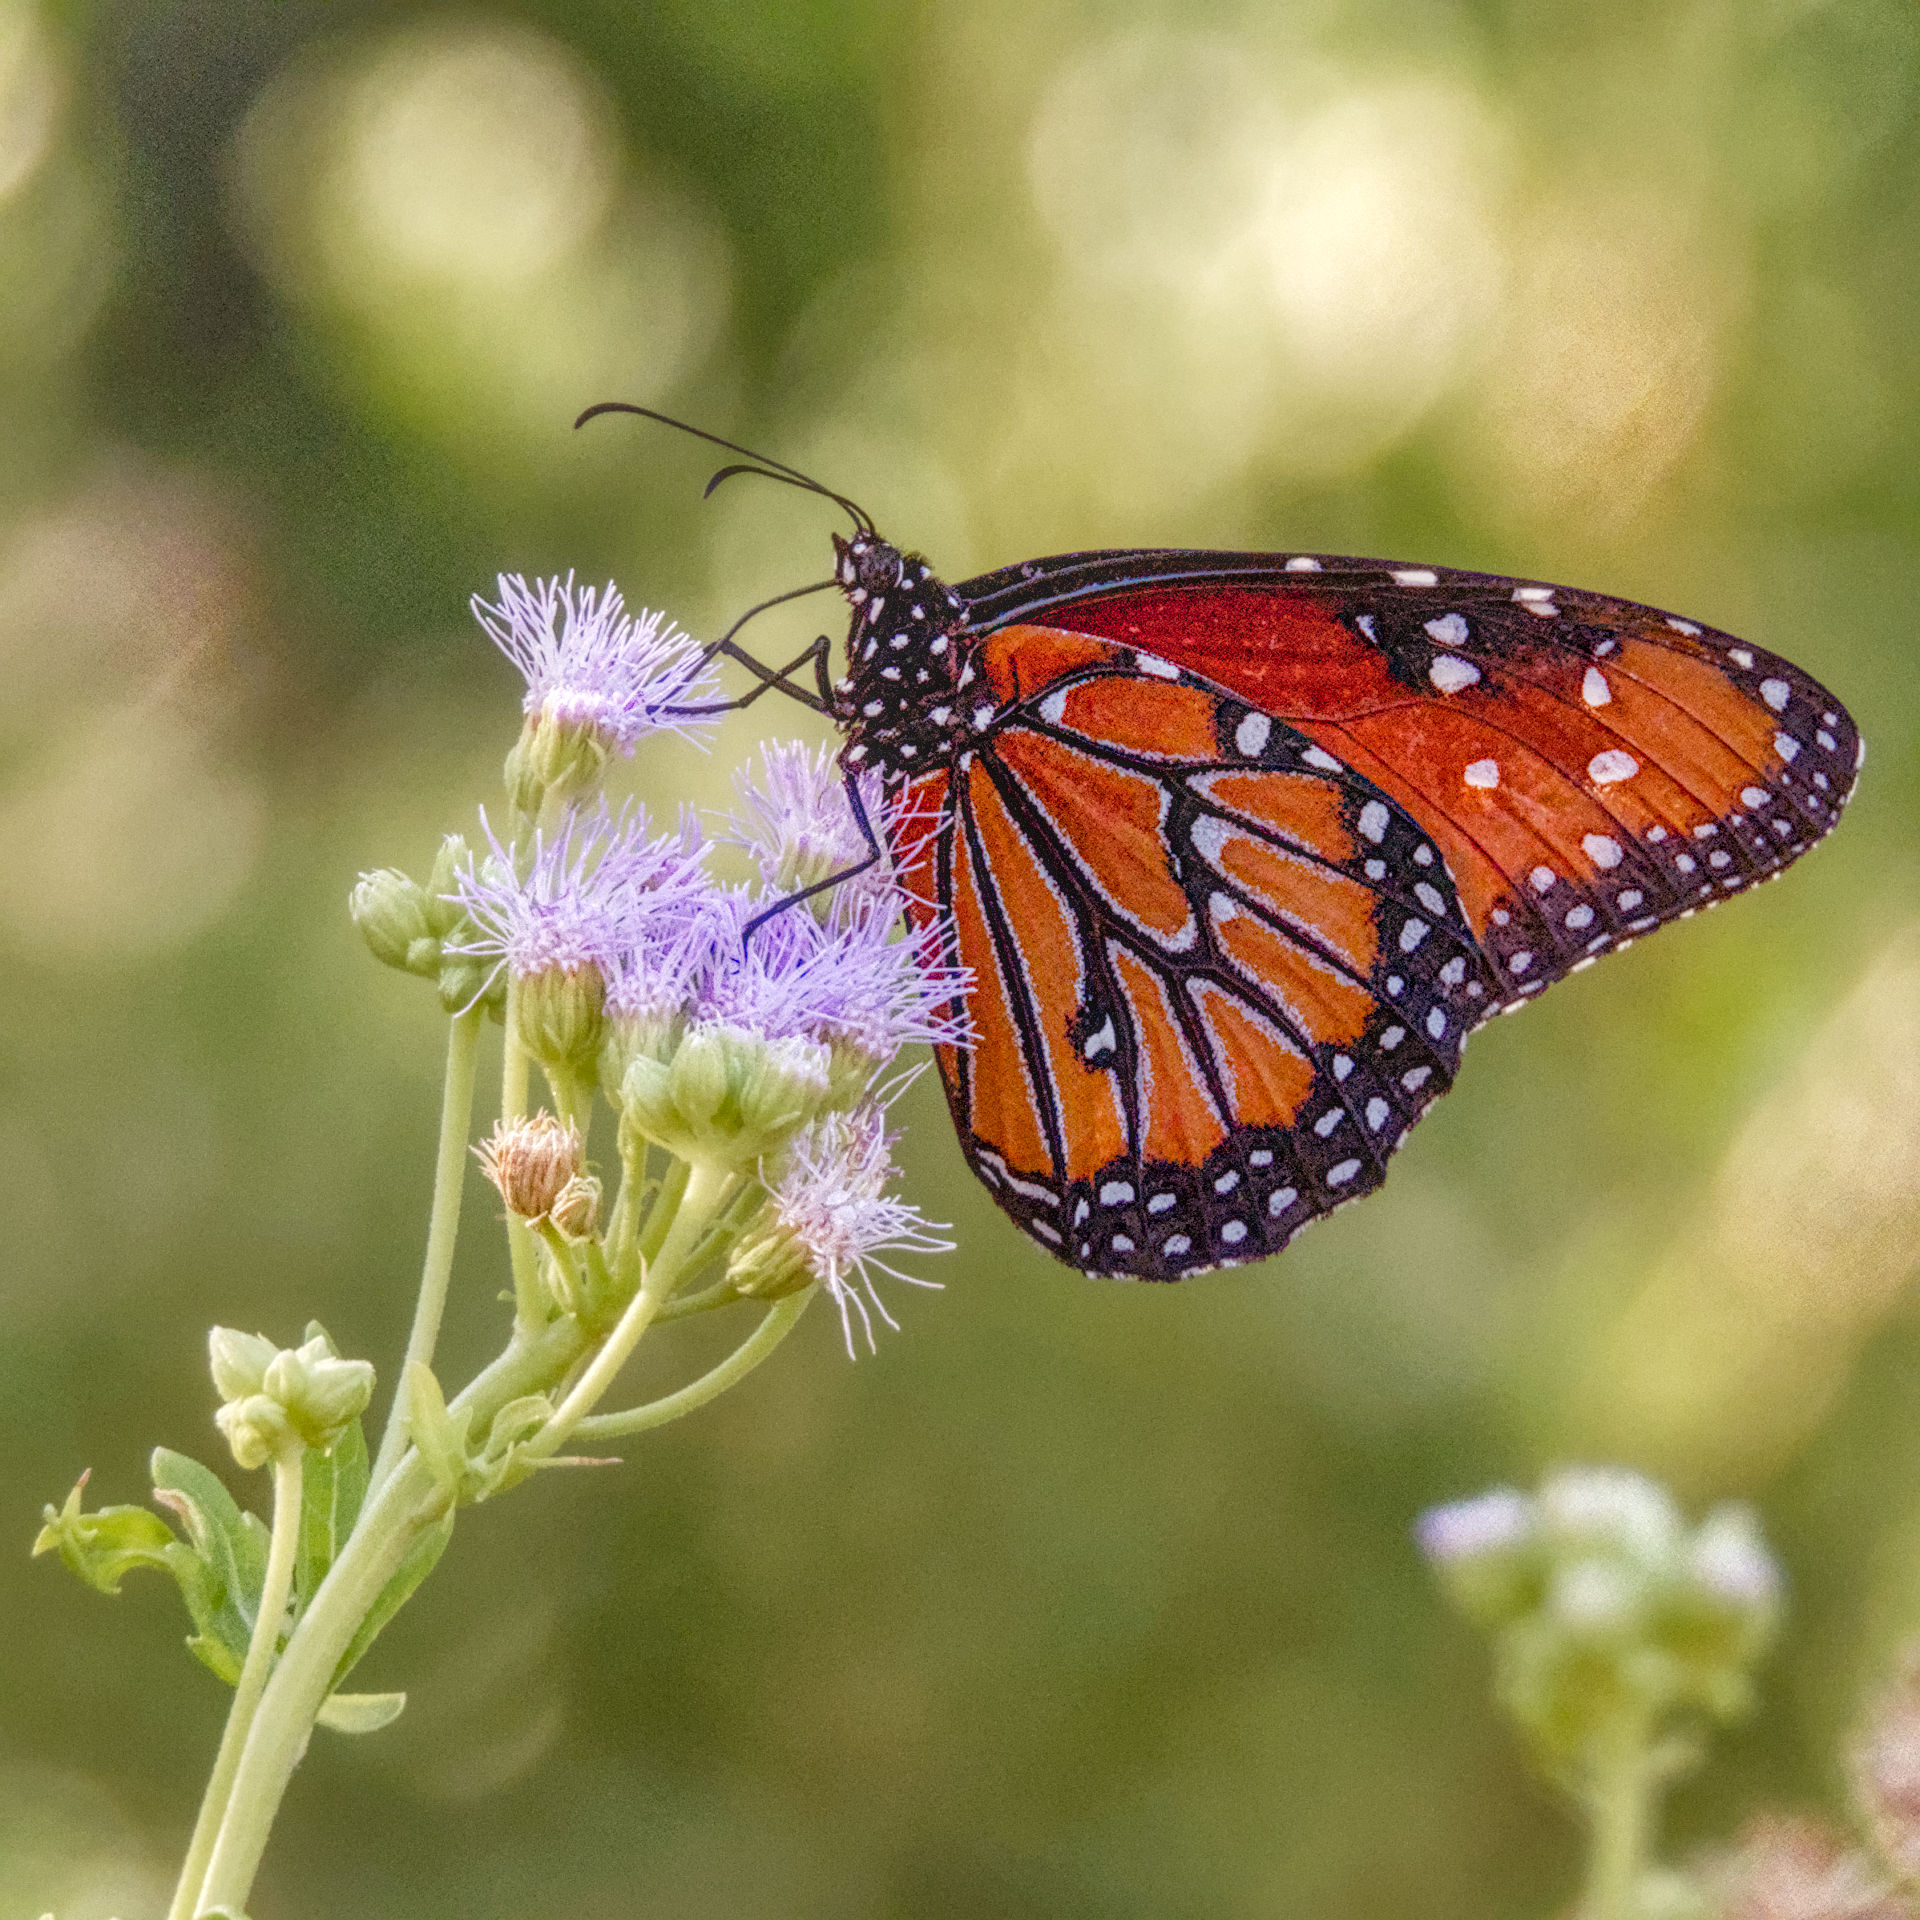
What have I done:
- ‘denoise (profiled)’
- would have done ‘lens corrections’ but your camera/lens was unknown in my dt installation
- ‘exposure’ to taste
- ‘exposure’ to taste - make vignette
- ‘tone equalizer’ to taste to focus attention on butterfly
- ‘crop’ to taste
- ‘color calibration’ to taste make picture a bit warmer in color
- 3x ‘diffuse or sharpen’ to sharpen and enhance local contrast
- ‘color lookup table’ to taste - darken the flowers a bit
- ‘color balance rgb’ to taste improve vibrance/saturation
- disabled ‘sigmoid’ and ‘filmic rgb’ as I do not see need for them in this fine picture.
- ‘local contrast’ to taste at 50% opacity to make the effect less strong.
This may look like a lot but after a while - for me around 6 month now - with darktable it comes much easier.
2 Likes
Or to be more precise, we limit the short side of the exported photo to 1080 pixels, for example 1645×1080 – which produces large enough image to view full-screen and if someone wants to make a full resolution file, they’ll use the provided .xmp file to export it themselves. Posting such smaller JPEGs dramatically lowers data usage (files almost always end up under 1MB).
I hope I didn’t confuse you, ask away if anything’s unclear ![]()
2 Likes
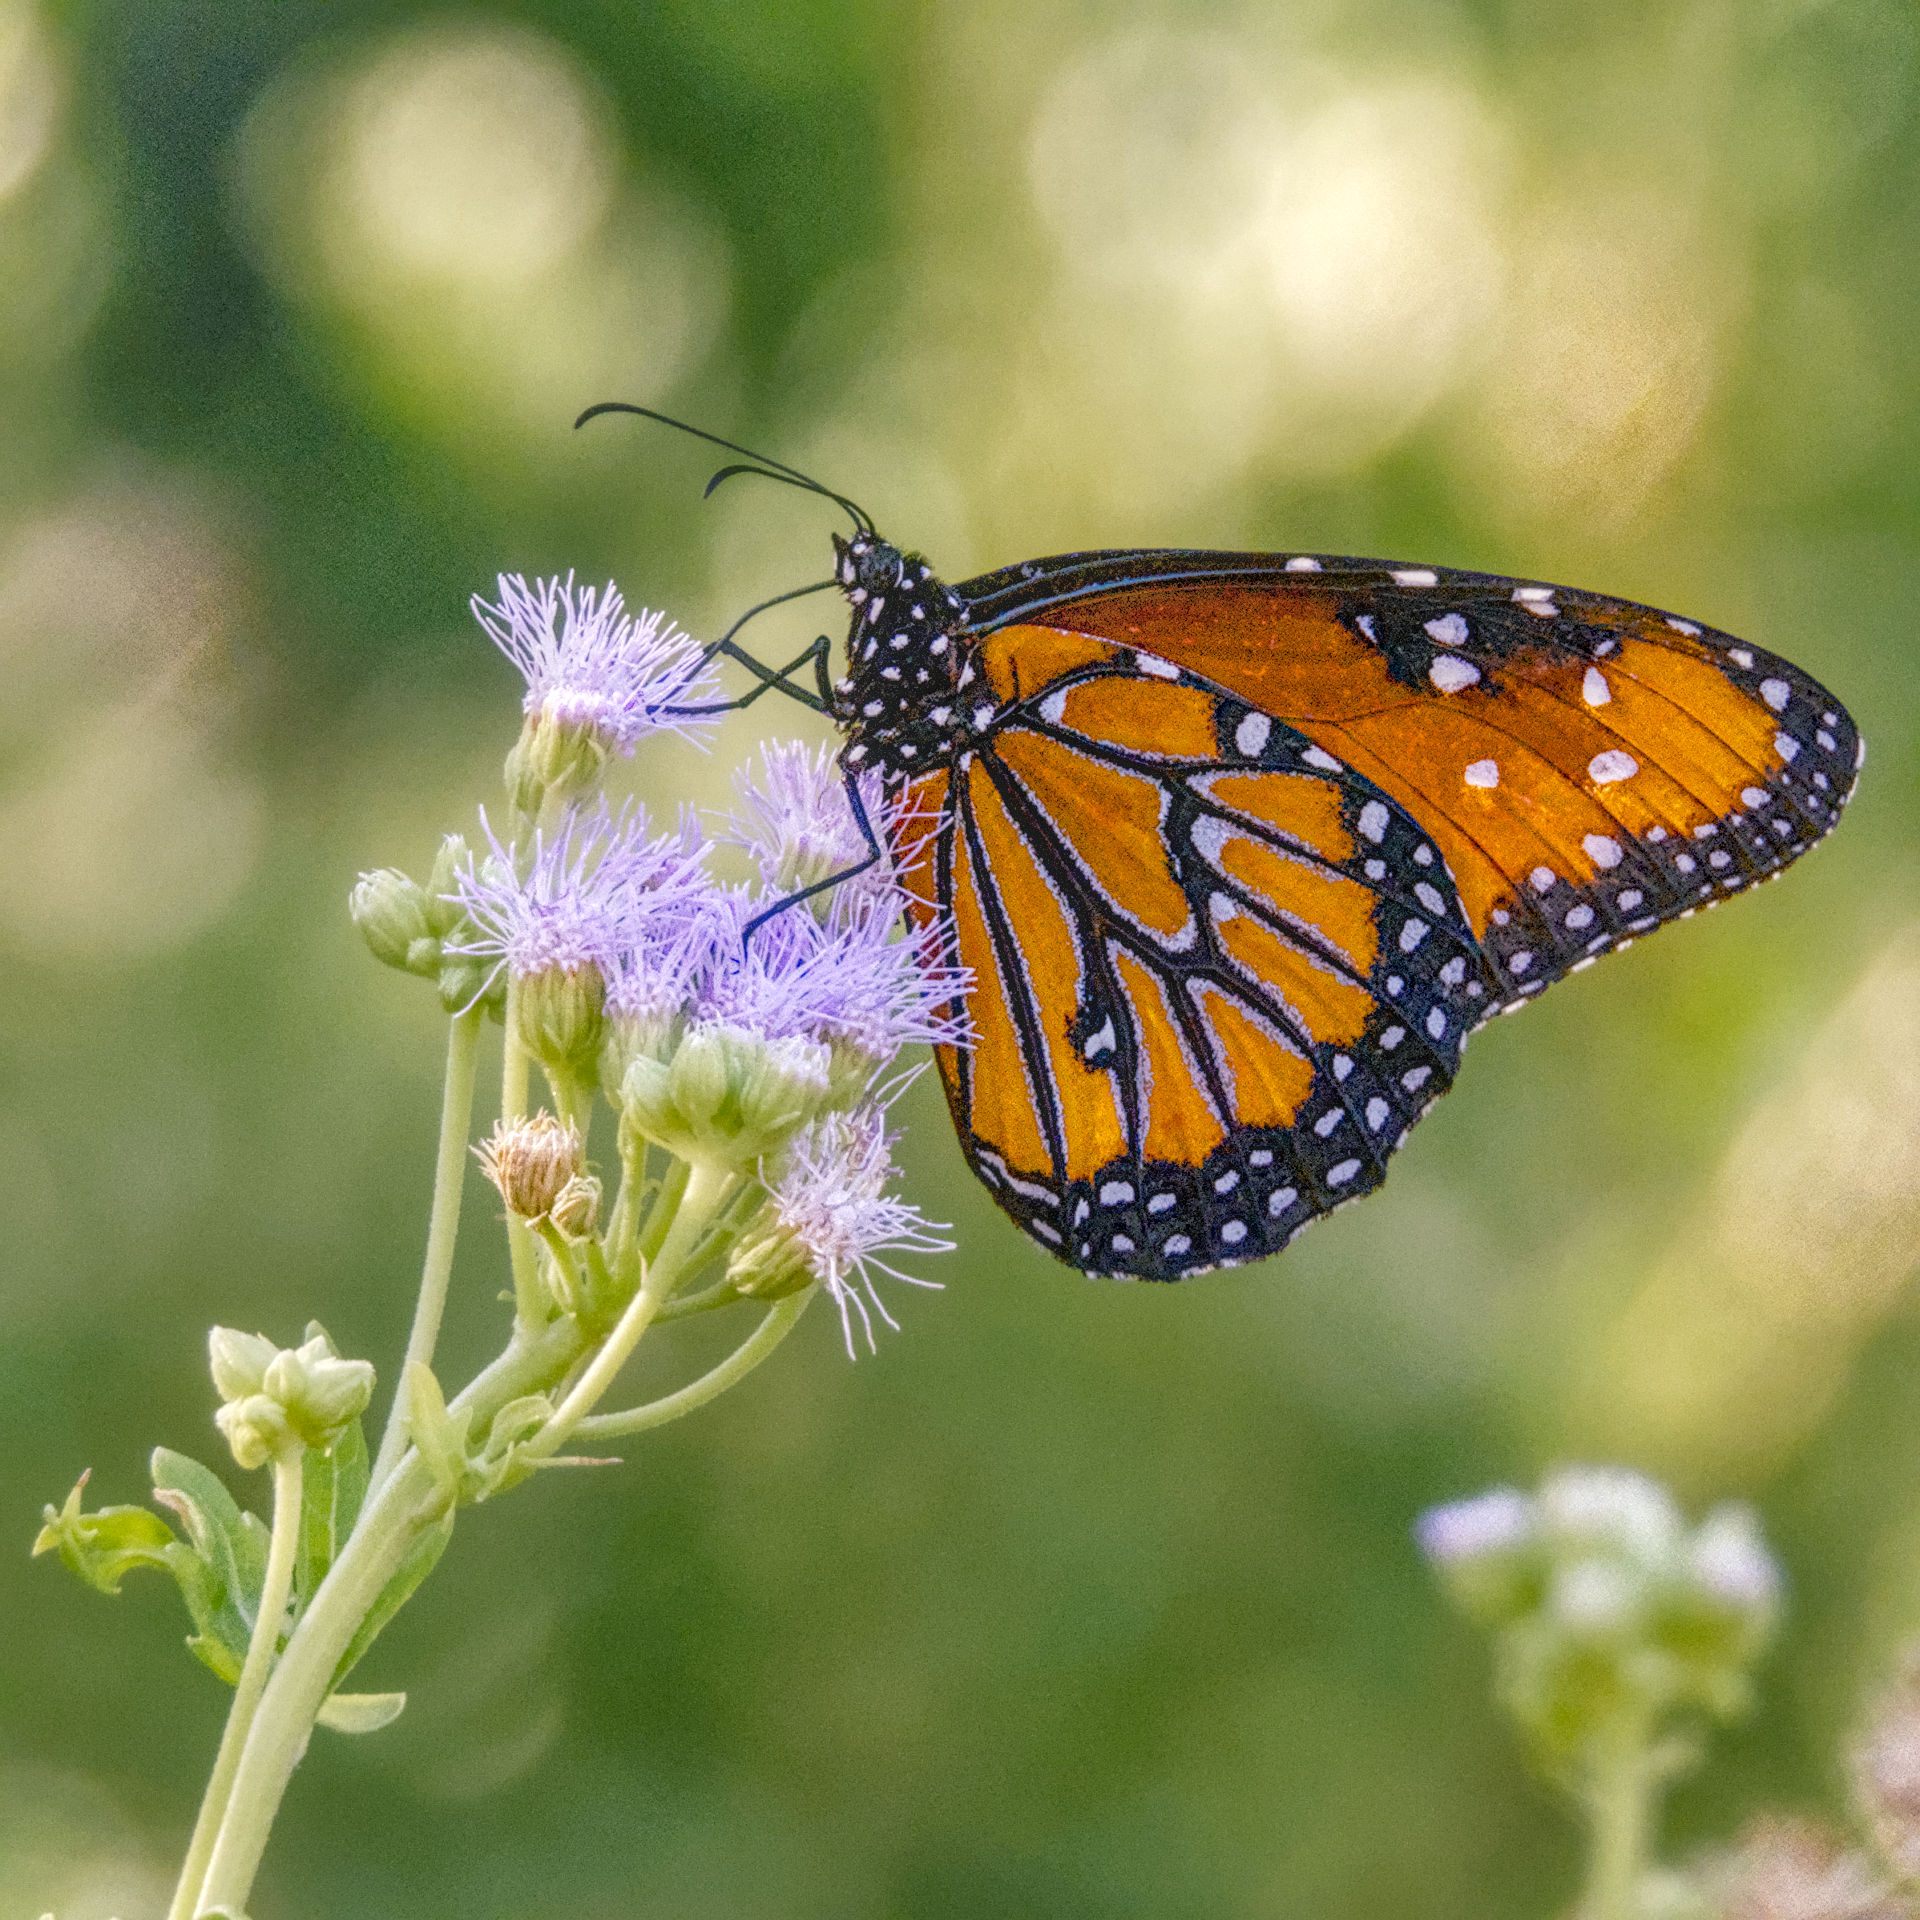
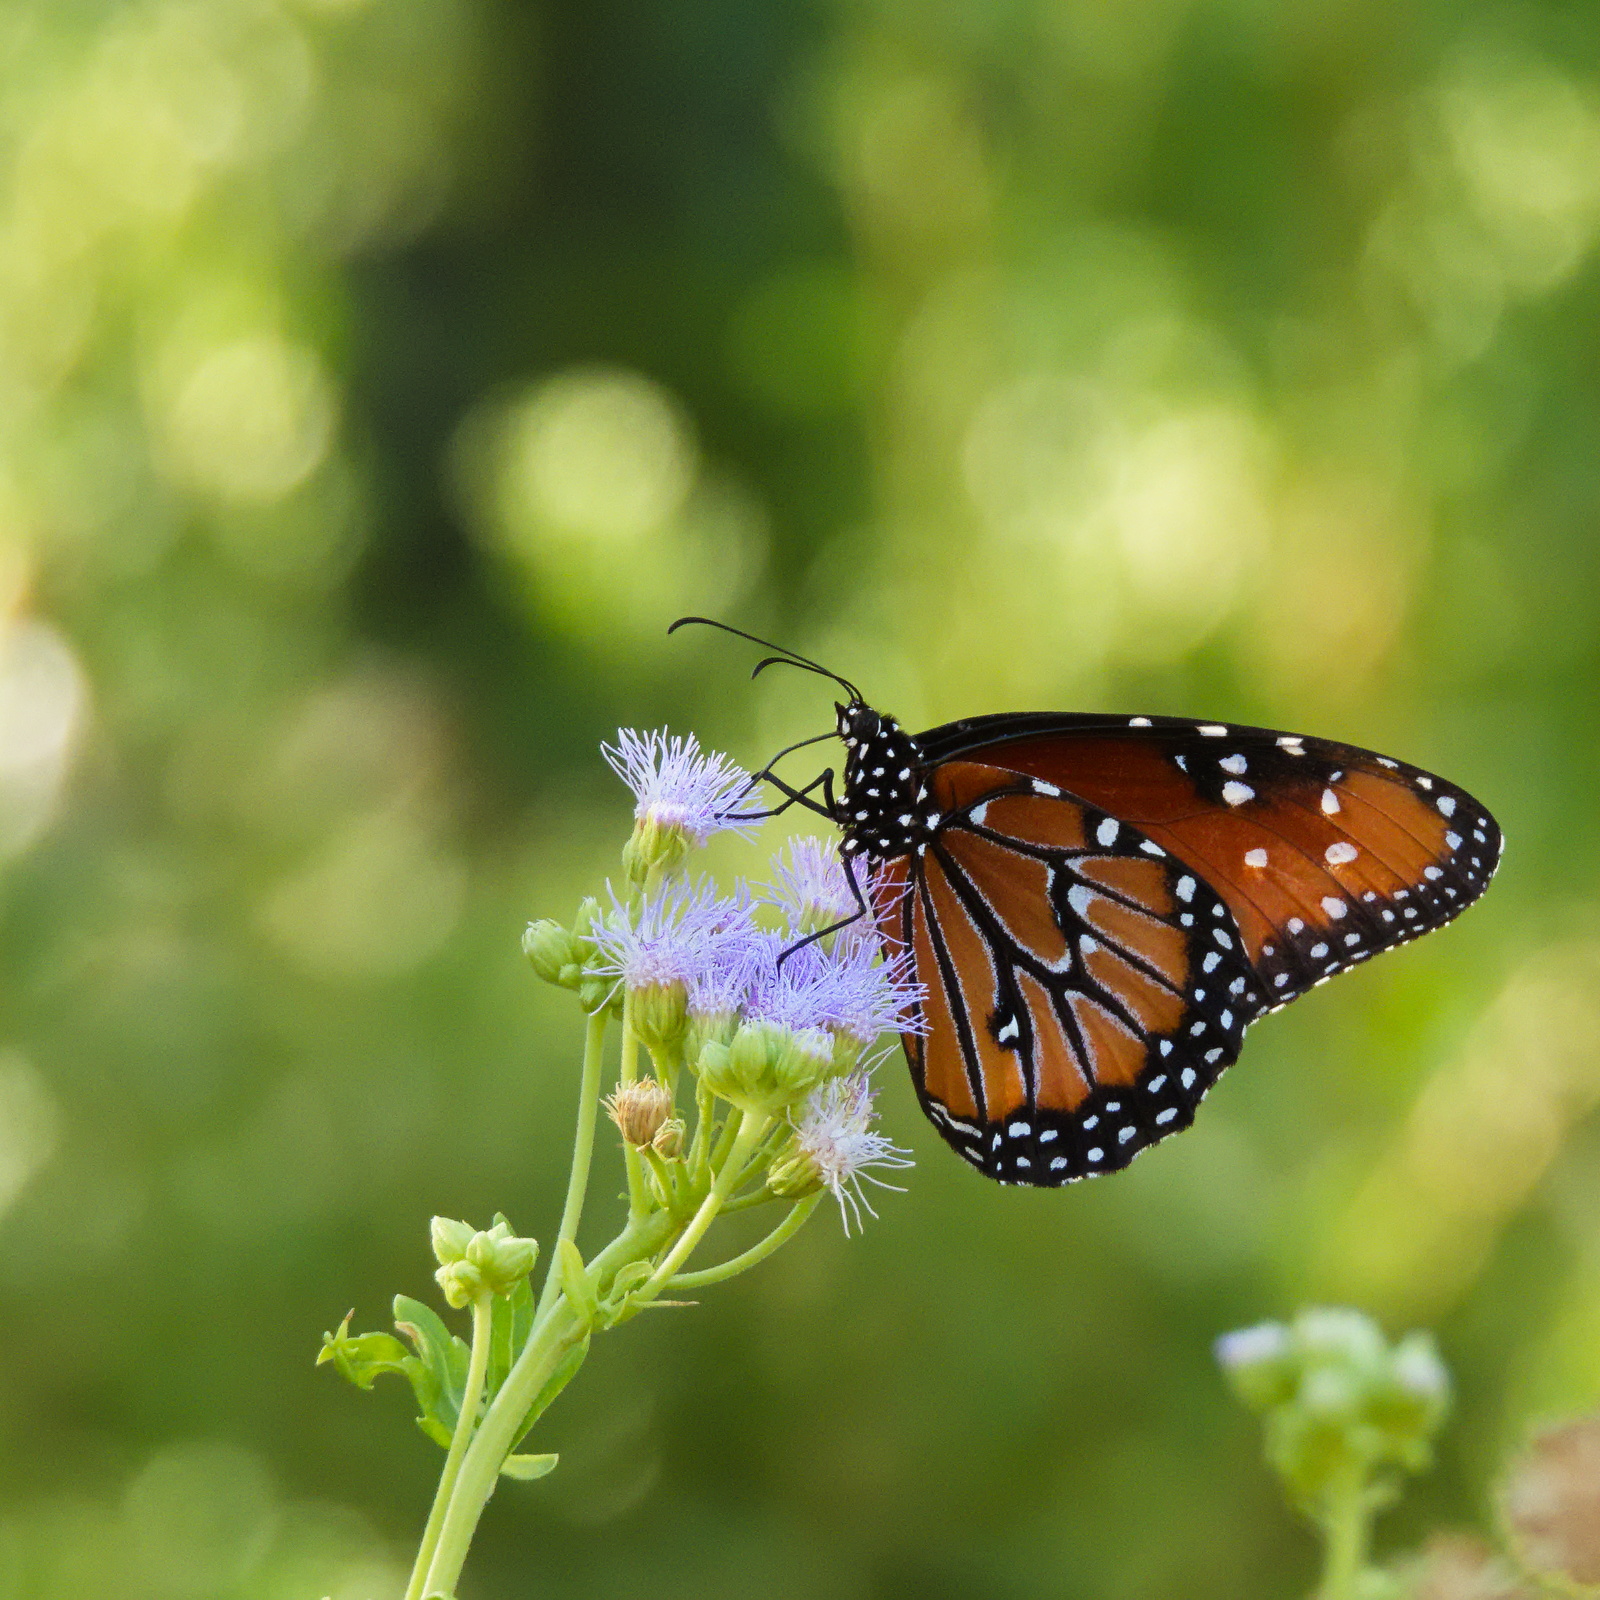
Bit punchy but a quick one and you can see not like what you initally were seeing…
DSCN3506.NRW.xmp (14.2 KB)
Another version just playing with the orange in the CEq
DSCN3506.NRW.xmp (17.3 KB)
3 Likes
Absolutely. I’m getting to a point where I am beginning to wonder if I even need the camera jpeg! … I do: There’s this thing called social media and people love to have pics quickly.
And I currently use jpegs for first-level keep-or-bin culling. But I could change that.
If you really like your camera jpegs, you may well want to end up with something like them only better. Sometimes they can be a sanity check. But you will soon be processing for what you want.
And I’m seriously considering deleting camera jpegs once I have dt-processed copies. I’m wasting a lot of disc!
2 Likes
When we first start learning to edit photos the first challenge is to get our pictures looking as good as the camera’s JPG. Nikon have invested a lot of time and effort into getting appealing JPGs out of their cameras to make people like their cameras.
When we get more experienced we realise we can get so much more out of our RAWs that the camera’s JPG has lost.
I recently bought a Canon R7 and ended up making my processing so much easier by shooting a RAW and a JPG. I opened the JPG and took a snapshot. I then opened the RAW. It looked dull flat and unsharp. First I set the exposure module to closely match the JPG. Then I applied denoise (profiled) at default settings. I also applied demosaicing sharpen preset from the diffuse or sharpen module. I now had a better image for detail than the JPG. I applied local contrast module and shadow and highlights module while comparing the JPG. I needed to increase contrast so I moved the contrast slider in Sigmoid to 1.7. I next did some tweaks to fine tune contrast, saturation and vibrance in the color balance RGB module. While I was happy with the white balance as determined by DT because it closely matched the camera’s jpg I felt I needed a little more oomph in the warm tones only. So I used color zones module to lift the chroma for the warm tones. Now when I compared the JPG it was not as good as my RAW edit.
My RAW edit had more shadow detail and more fine texture detail. But the result bore a close resemblance to the cameras JPG. So I saved these settings as a style. Now when I edit my Canon R7 pictures often a single click of the style and the job is done if my camera settings were good or at least I have a great starting point to do further edits.
Yes, it can be worth chasing the JPG look but realise you can do better and the JPG is not the ultimate bench mark but at least it is a bench mark while you are becoming more experienced. Good luck with DT. PlayRaw category is a great way to learn.
DSCN3506.NRW.xmp (22.1 KB)
5 Likes
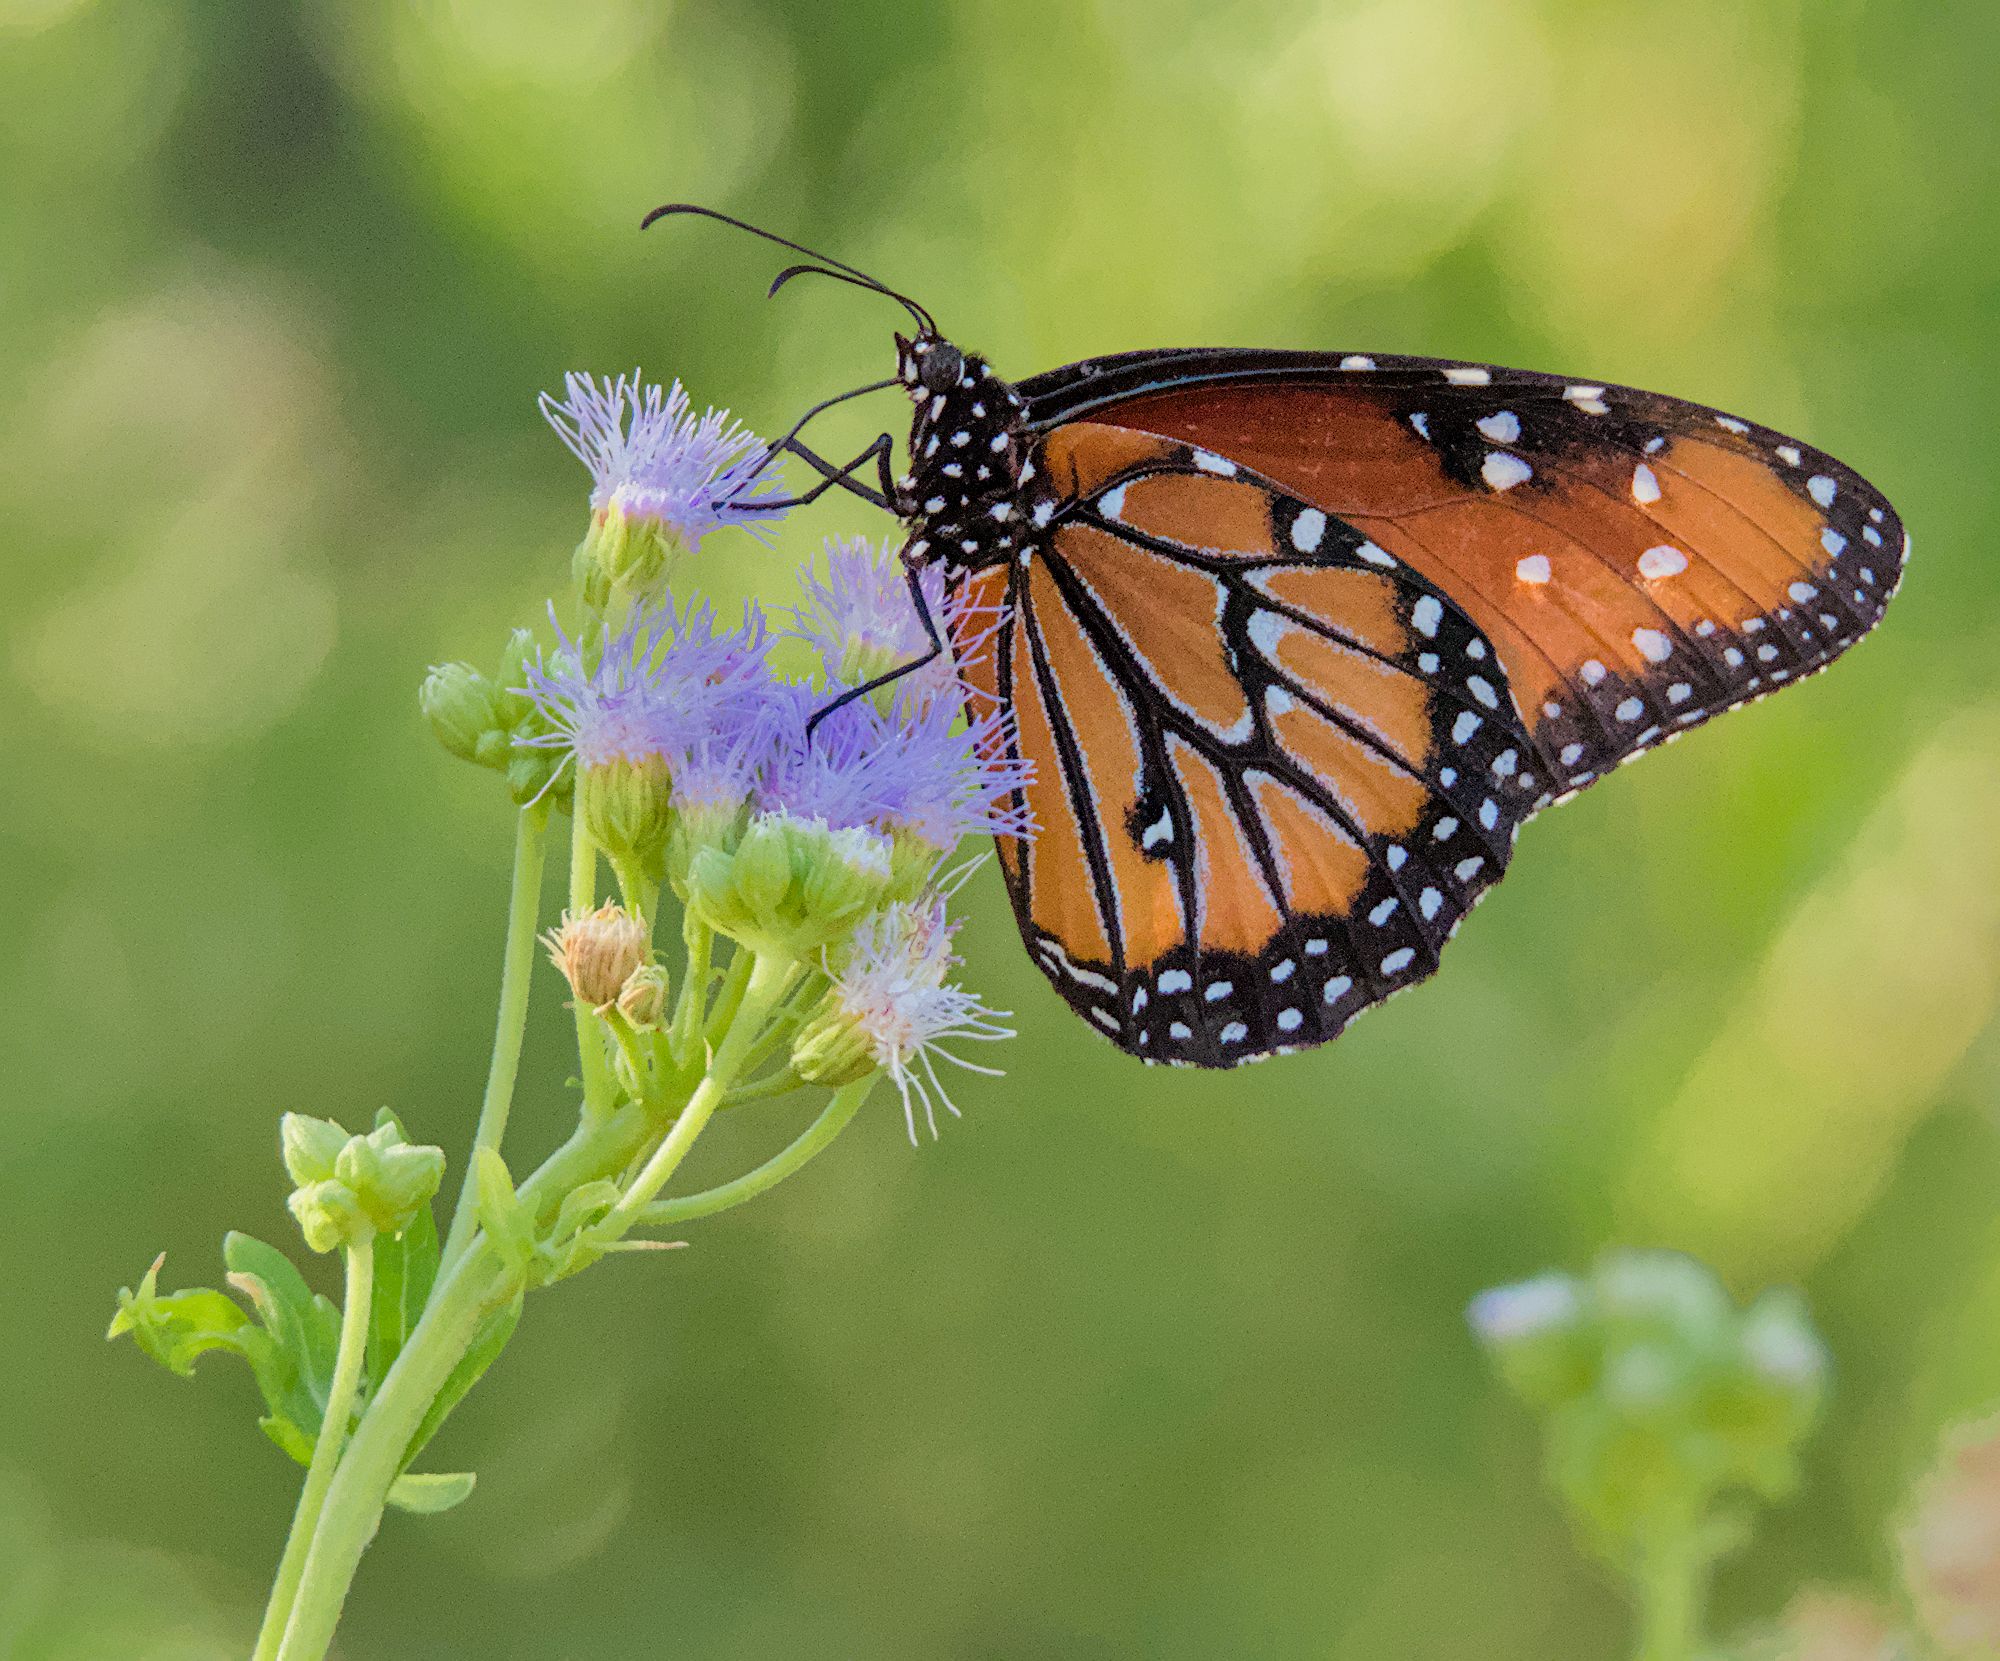
Another tweak to my edit. A localised mask to brighten the butterfly and protect the flowers
DSCN3506.NRW.xmp (22.2 KB)
3 Likes
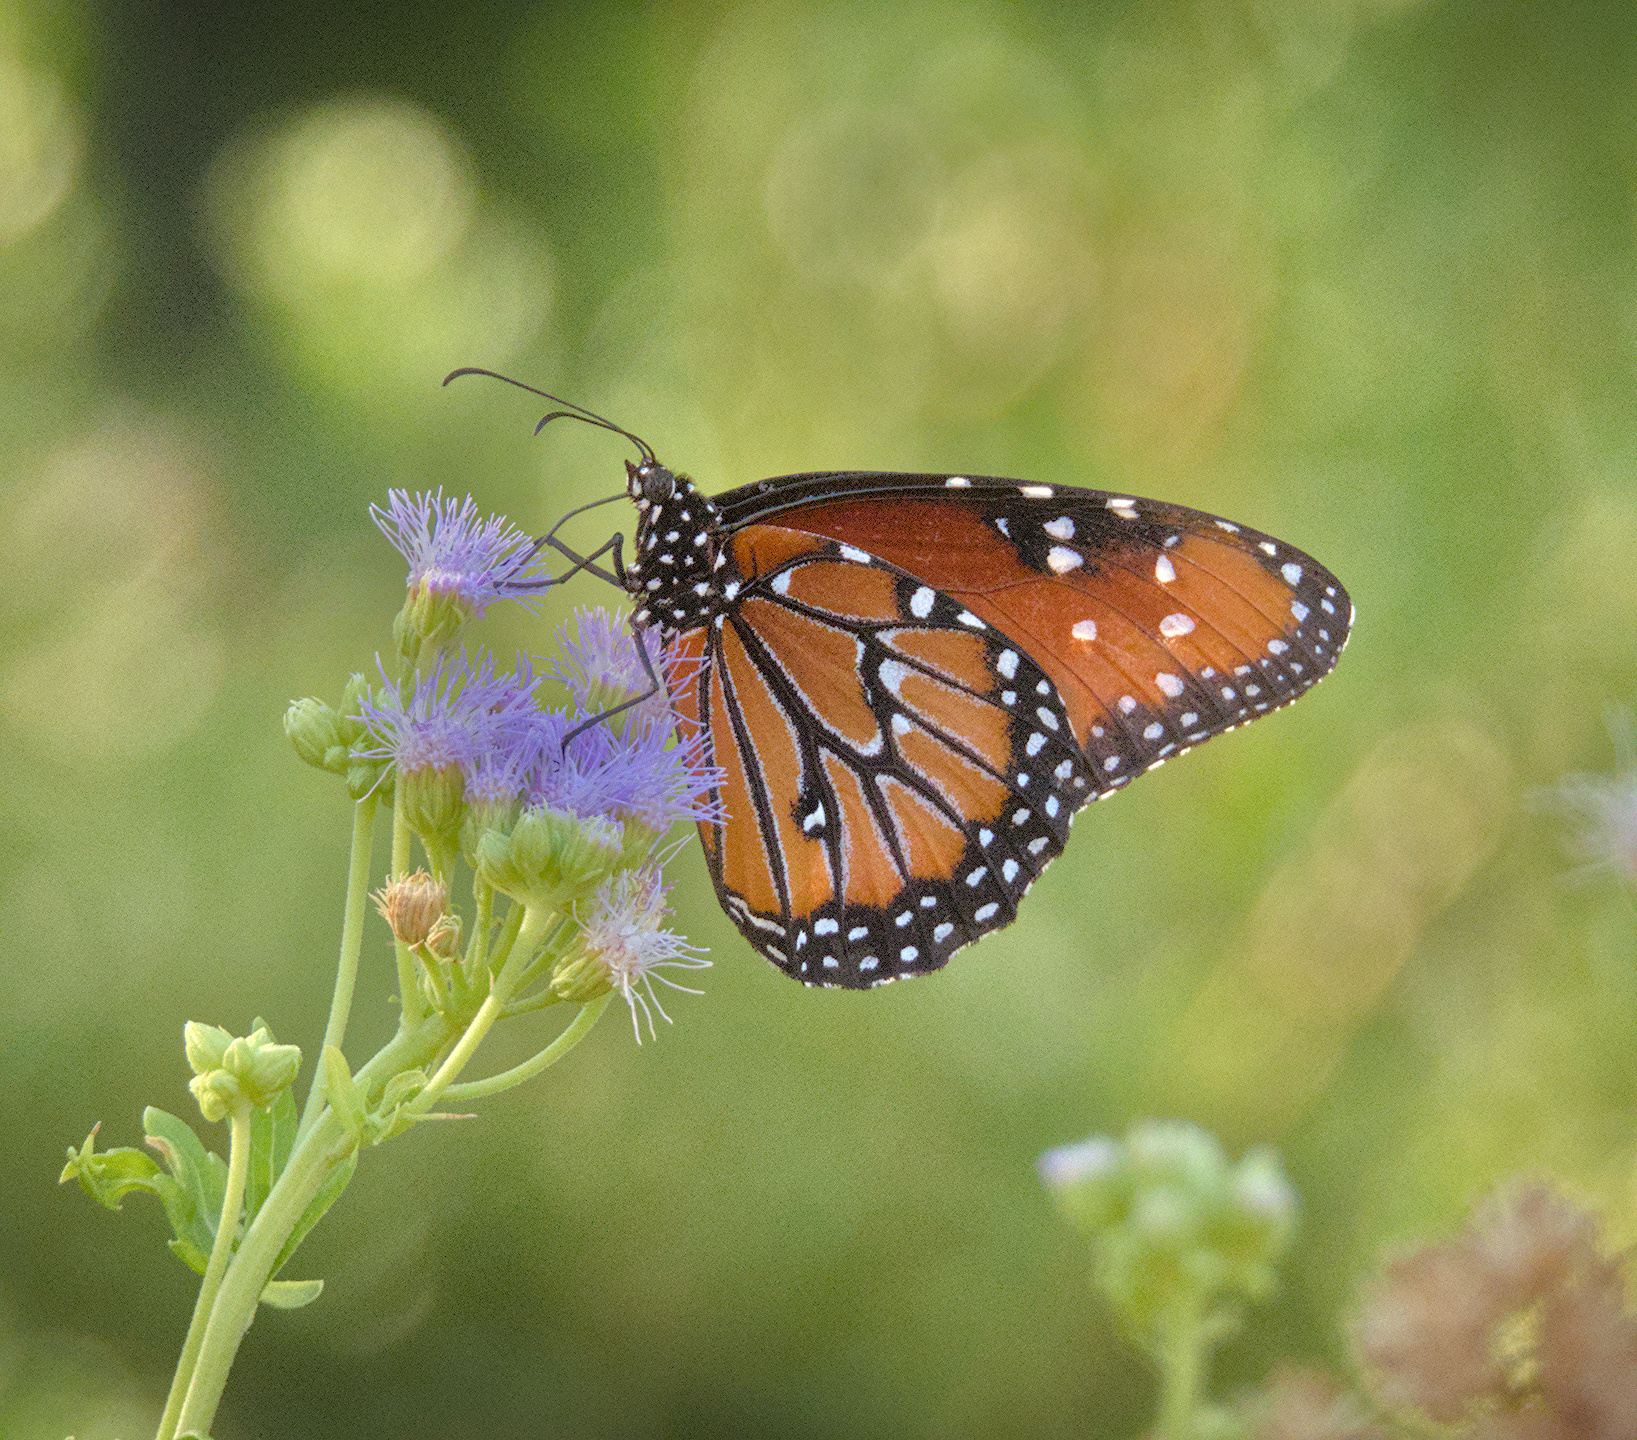
Out of interest here is your raw data processed as raw without conversion, posted as a cropped PNG.
It is neither blurry nor out-of-focus.
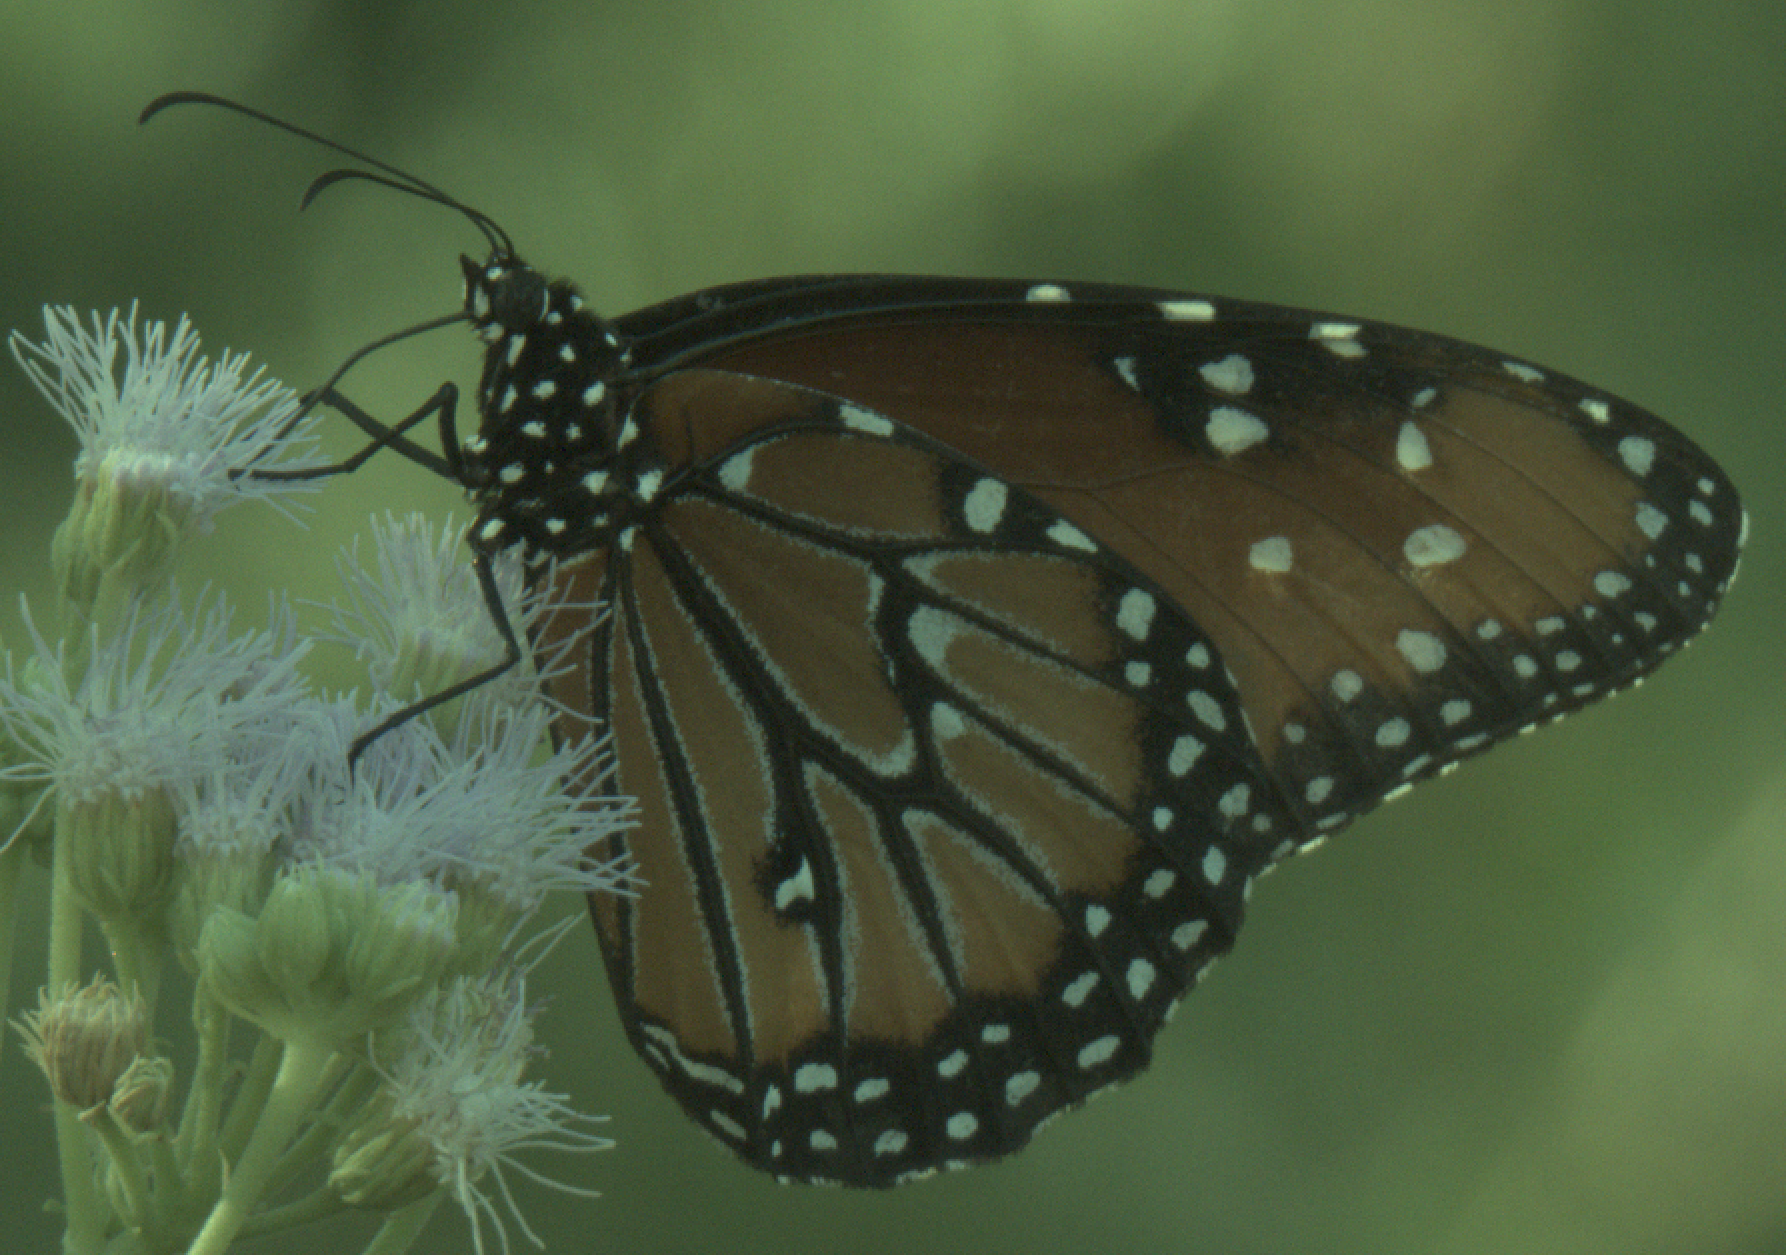
3 Likes
Yeah, that’s true.
In fact even when you only photograph in RAW you still get a jpeg embedded within the RAW file. The first little picture your software shows is mostly based on this.
I stopped storing separate jpeg’s altogether and never missed them a bit to be honest. Technically a RAW file gives you so much more leeway to change and adapt than a JPEG will ever be able to do. That is because one pixel in a RAW file contains much more information then one pixel in a JPEG. You’ll always be able to bring out finer nuances in RAW.
And one more thing, RAW developers like darktable and all the others do not change the original picture. They store the set of instructions telling how you want this photo to be developed and mostly a separate little file calculated according to these instructions for fast showing what the picture will look like.
This also enables you to store multiple versions of a photo all based on the same original RAW information. For instance a very colorful version together with a black and white version. or store the different stages of development so that you may experiment and easily return to a certain stage.
What a lot of people do is save the final result of the development as a JPEG or TIFF so it can be shown on a pc, smartphone, tablet, website or handled whatever way the owner wants.
Have fun, darktable is a magic box to play with.
Kind regards Jetze
3 Likes
Wow! Looks so much better already. I plan on trying to recreate your steps with my own “taste” and see what I can do. I’m also curious to learn how to load in your .xmp file. Mind sharing those steps along whenever you have a spare moment?
Okay so going forward I should keep this in mind whenever I post JPEGS? Just make sure it’s [y]x1080 where [y] = to larger dimension.
Thanks for sharing these along. They already look way better! I do have a comment however, any reason why these still come across as a bit noisy/grainy?
Thank you for the insight and lovely example too. I’ll take a peak at that .xmp file and see what tricks I can learn.
I’m starting to really like this magic box. Thanks for explaining and sharing your insight.
And for a little more bit of learning:
You don’t need to create a separate post for each post you respond to. You can just mark a section of the text in the various posts while you are editing one common response, and use the quote command that gets displayed on top of the highlight area to create a @-reference to the author of the relevant post.
4 Likes
Yes, that’s the general consensus here. It’s preferred to post JPEGs that are around 1MB or lower and 1080 px for the short edge usually achieves that for quality below 95 I think.
Hello, I couldn’t help but participate, but I used Art, I hope you don’t mind.
DSCN3506.NRW.arp (12.6 KB)
3 Likes
Hello @Kland,
Those are the steps. Please test if I’ve written it down correctly.
1) Download the sidecar file(s) you want to inspect and place them in a folder of choise
2) Select in darktable’s lighttable the subsequent picture you want to attach this .xml to
3) On the right under ‘actions on selection’ choose ‘duplicate’, select which of the duplicates you want de .xmp to be attached to
4) Then under ‘history stack’ choose ‘load sidecar file. Navigate to the downloaded .xmp file(s) and choose the right one.
5) Repeat as often as you like
6) It is possible with this picture selected to go to the ‘darkroom’ and on the left open ‘duplicate manager’ and apply a name to each duplicate. For instance with the username of the creator in it.
Well it can be if you are referring to the one that I shared that I didn’t take the time to check it but also remember nobody looks at a picture at 100% and often grain that might look bad pixel peeping actually enhances the photo…but for sure there are tools to dumb it down until it is smooth as a babies bottom and lacking all detail or the reverse…just tweak it to taste…
1 Like
Yes, I’ve found some charm in noisy photos and while I often prefer to avoid noise with low ISO to begin with, I often don’t mind it as much as I used to.
AI-based denoisers seem to do an excellent job at reducing noise while preserving details, but that already starts to feel a bit unnatural and depending on the quality of the trained model it may start to look AI-generated rather than AI-edited and completely ruins the image for me (especially one AI-sharpening tool that I tried, the name of which I forgot).
1 Like