2 Likes
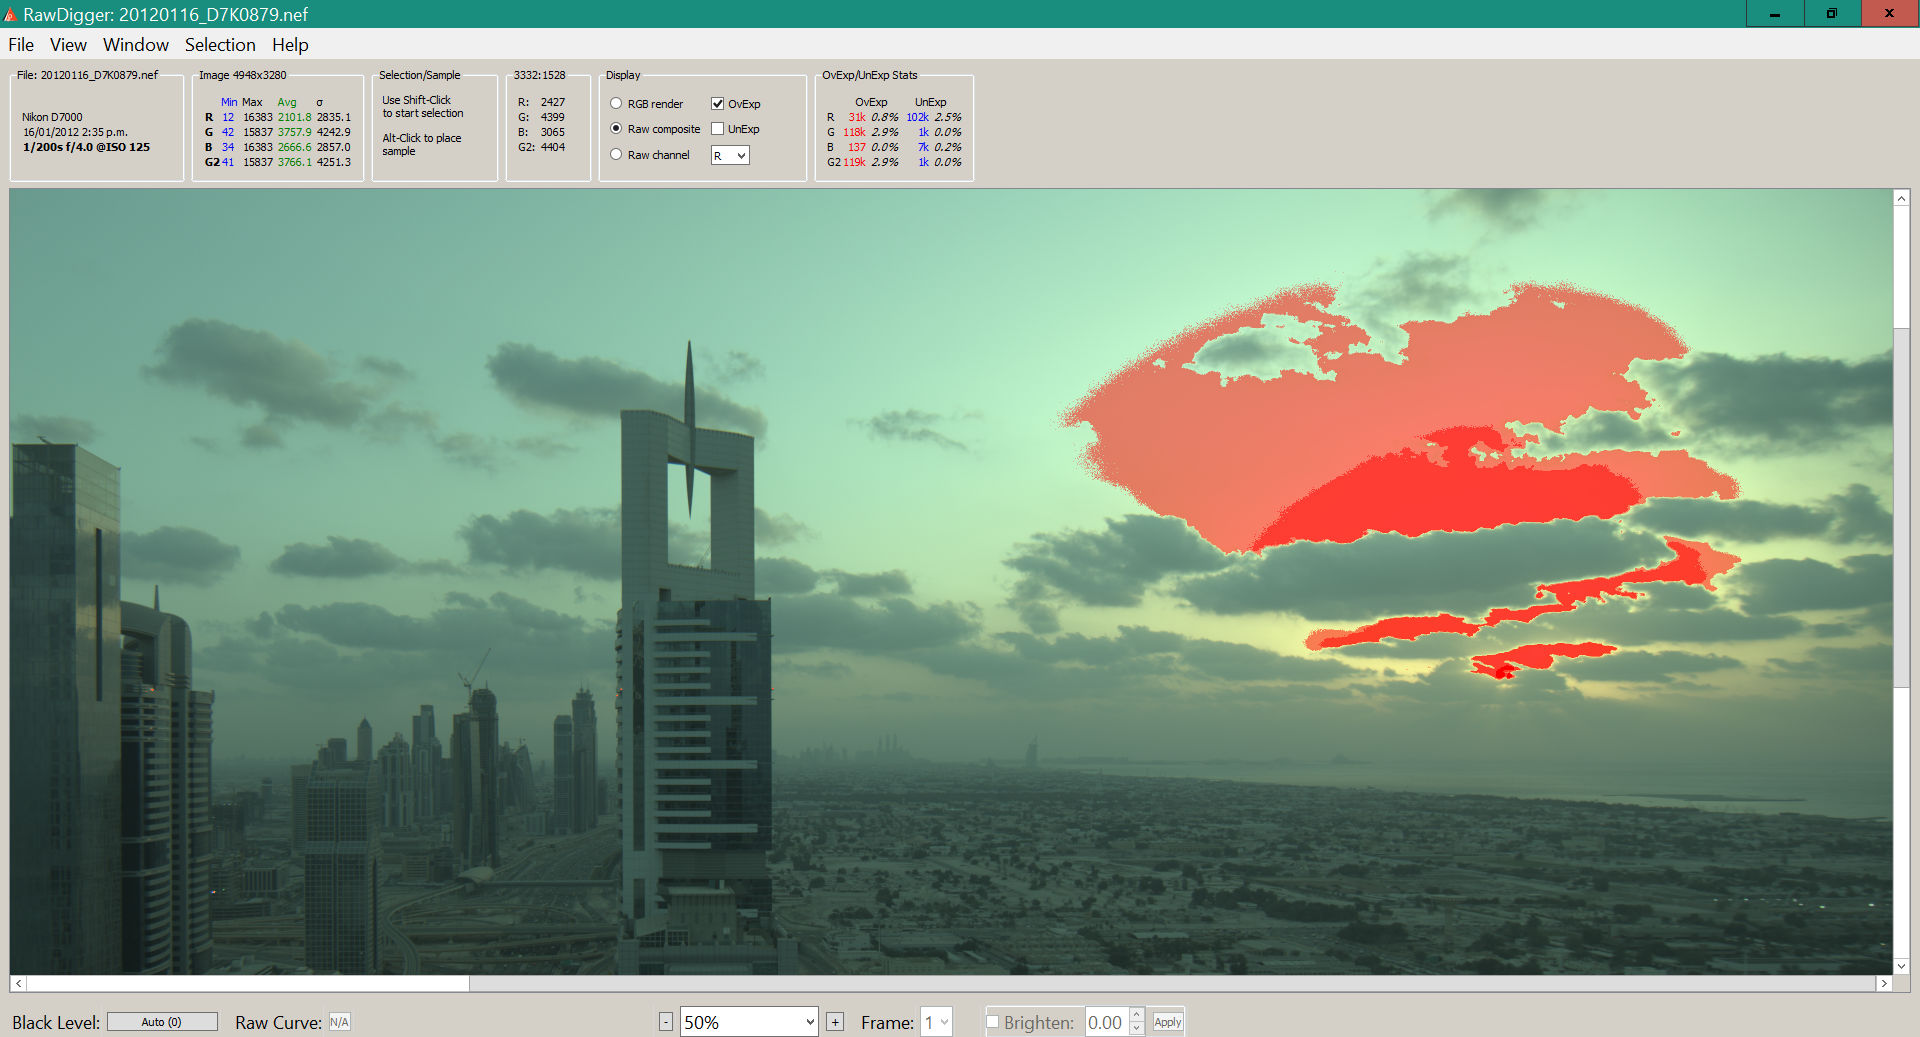
Turning off white balance (so no multipliers are applied to raw values) shows there’s clipping in only a small portion of the image:

Even with the WB module on, much of the sky shows no raw-level clipping; I don’t think there’s any reason for the sky to have false colours in the non-clipped region:

2 Likes

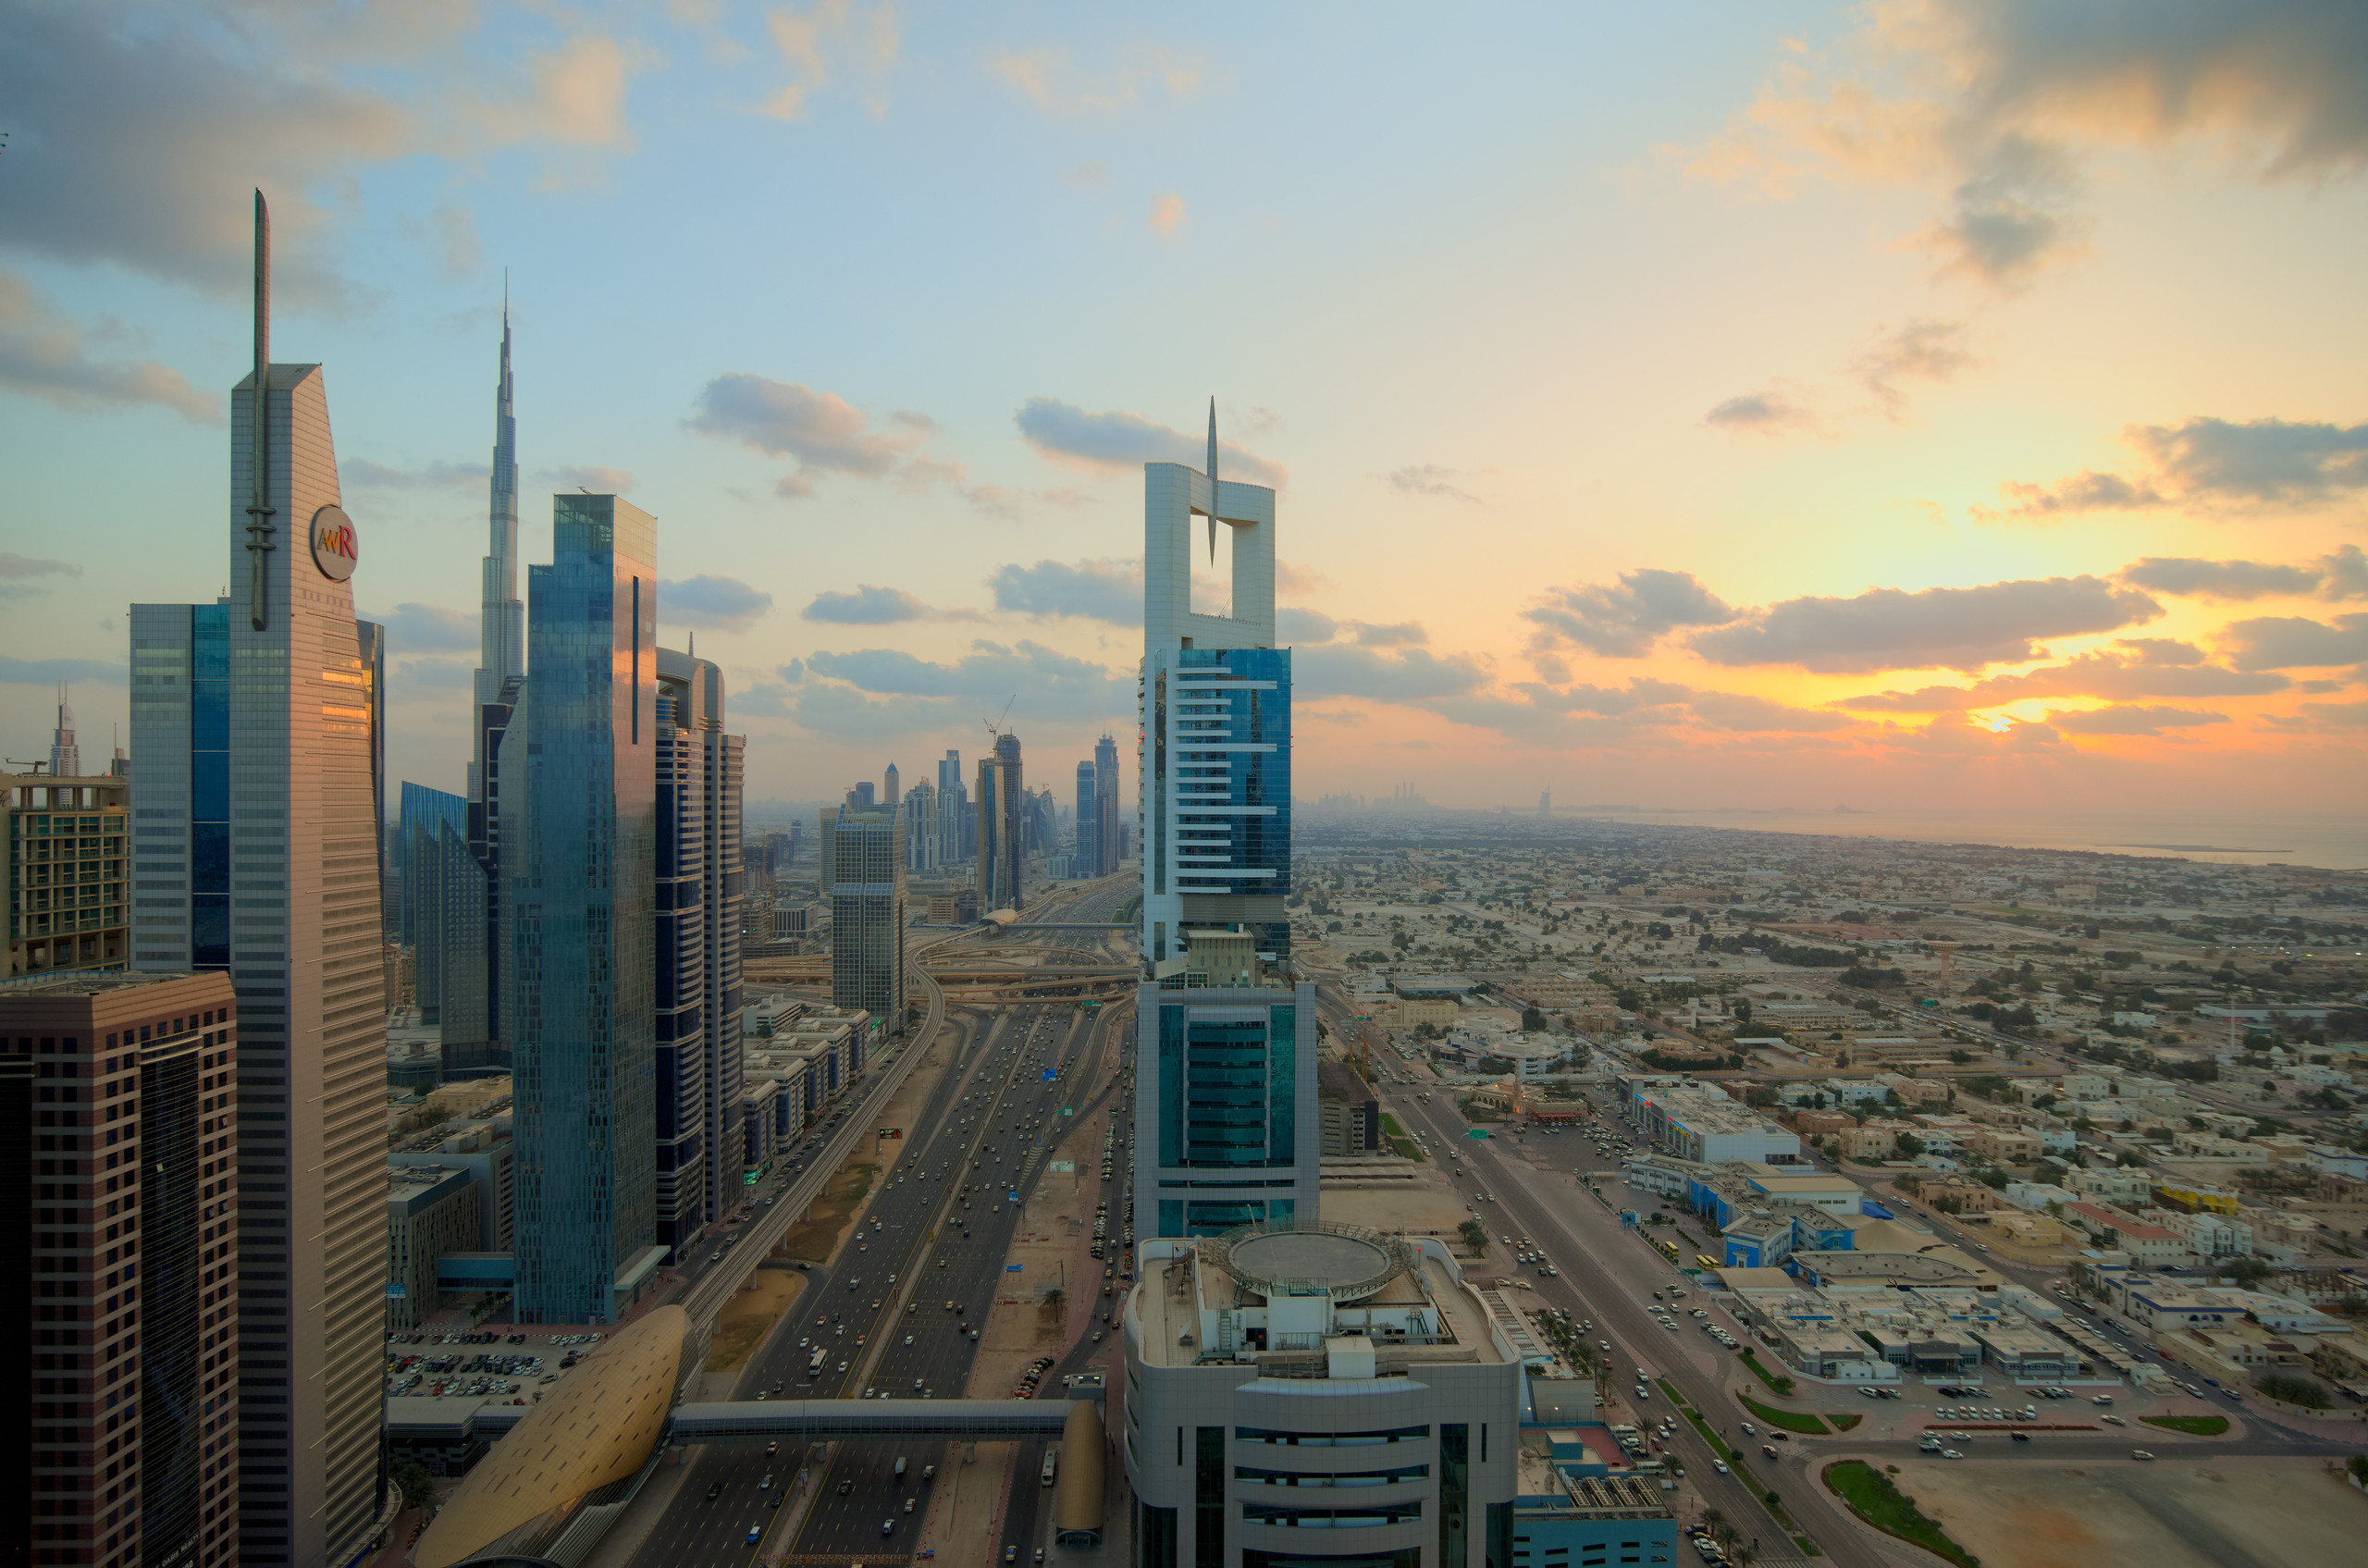
My effort …thanks for sharing…my take is the end results will depend on how the sky is handled adn how warm you go with the WB and how much shadow you leave…ie how bright was it actually when the picture was shot…I went with what pleased my eye rather that what might be the real look since I have no idea what that might be…

…xmp in jpg…
1 Like
Hey Istvan this analysis you did is interesting! Never thought of using the raw-clipping indicators to give me some idea about how “correct” a certain color or shade is.
thanks for sharing this tidbit!
Todd I agree, I took this photo 9 years ago but I also have no recollection of what was “real”… I’ll also add that even if I had taken this photo 9 minutes ago I would still be confused and forgetful about what my eyes saw
(but then if I put on my biking Oakley shades, the world looks shinier so I tend to not pay attention to what my memory tells me)
1 Like
Well, it’s not really correctness; it just means that darktable has valid data from the start of the pipeline. The operations of the pipeline can, of course, ‘distort’ it in various ways (white balance, hue and saturation controls, non-scene-referred modules that clip values, filmic black and white points and their desaturated surroundings etc.). But unless you do something drastic, unclipped raw should end up as something resembling reality. 
I also really need to get my monitors calibrated. I am looking at my post on my PC upstairs and it looks dark and dull compared to what I remember I did last night on the PC in my office… different lighting I guess etc but it sure is a good reminder not to judge anyones edits as it could be the same trying to compare what they saw on the screen when they exported vs how it looks on my screen…

Without reading the full thread…
… I feel this is another case where somebody thinks ‘oh, highlights are blown. Reconstruction in filmic looks like the tool to fix it’.
Highlight Reconstruction in filmic is just that, reconstruction. It is more intended to fix blown out parts with something looking a bit nicer if you have no other choice, as a last resort.
I think - looking from pictures others posted - that your raw contains data there, at least something. Just setting the white slider lower in filmic will ‘access’ that data. Maybe up the latitude to lower the desaturation in the highlights.I don’t think filmic highlight reconstruction is needed here or even does something.
The trick is that filmic might look a bit flat when you want a large part of your highlights in there, which requires fixing local contrast.
As for weird colors in the highlights, try messing with different settings of the highlight recovery module to see if one of them is better, and also try it off.
1 Like

that’s exactly what I thought!
thanks for the tips, I will have another look at my process!
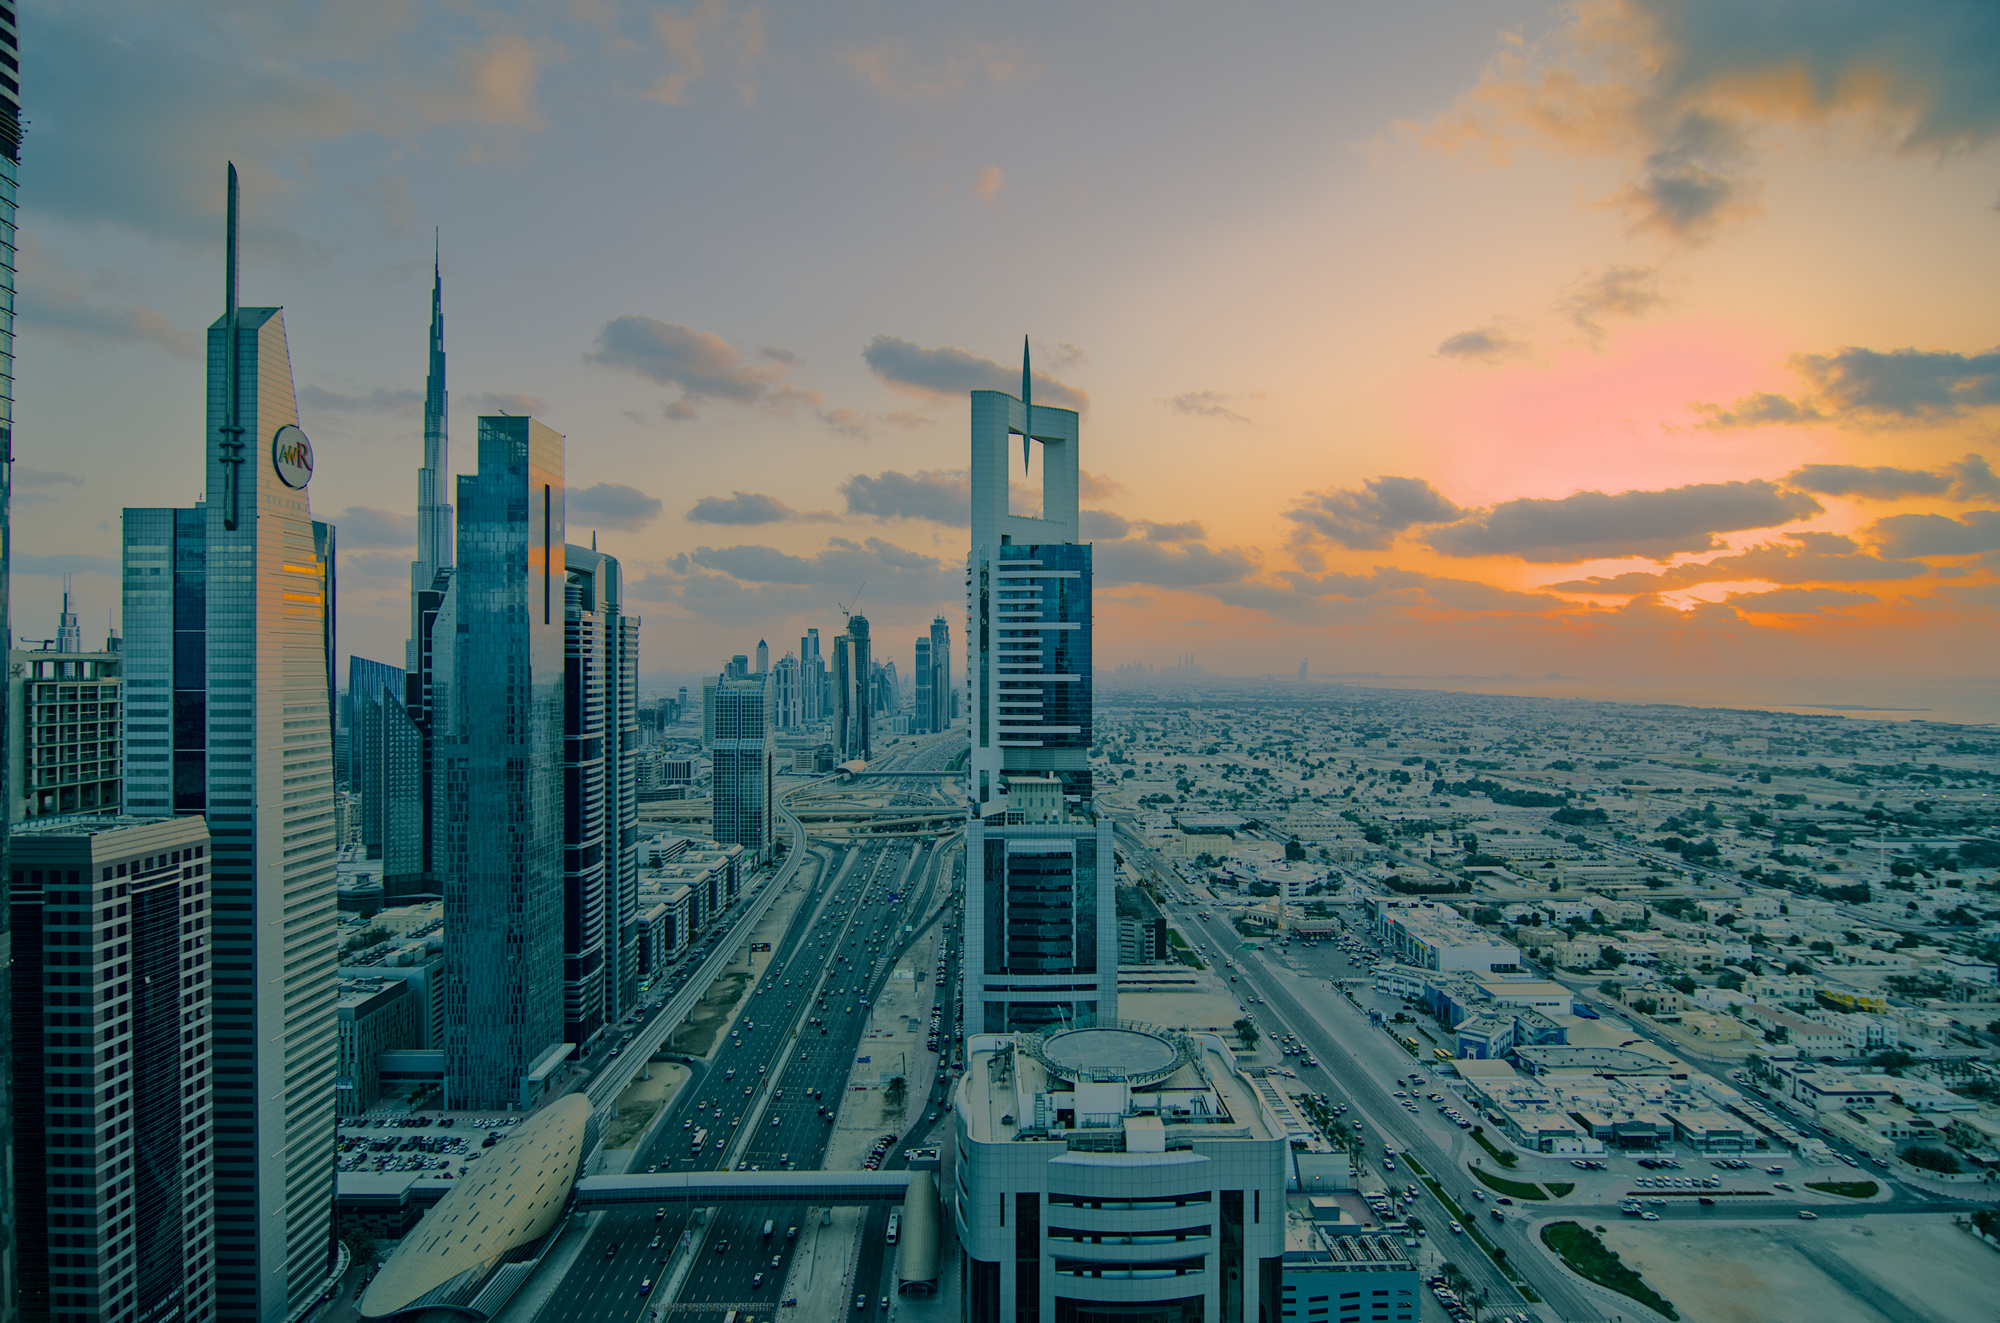
Didn’t go ‘creative’, just an example of what ‘exposure + filmic, + local contrast + color-balance’ can do.
dt 3.7.0+1090
20120116_D7K0879_1.tif (12.2 MB)

I did do my ‘cheat’ again. I loaded the raw file into DxO Photolab to get optical corrections. In this case I did a tiny bit of straightening (took a window from the building right in the center, and wanted it to go straight up), and added ‘auto’ perspective correction which did a very, very tiny amount somewhere.
Other DxO auto tools are chroma-denoising (luma I turned off) with it’s old-skool mode (ISO 125, no need to go fancy here), vignetting and lens distortion, lens-sharpening and maybe a little cheat: ‘micro contrast’ at it’s default detection.
Exposure was off, white-balance was off, tonal adjustments were off, color rendering was off. So you get as much of the pure RAW in the demosaiced DNG. It’s just ‘fixing things’, all the tonal changes I do in Filmulator or in this case, Darktable.
20120116_D7K0879.dng.xmp (17.4 KB)
20120116_D7K0879.dng (60.0 MB)
Darktable loads per default with filmic off and highlight construction on, but the color-workflow is modern (so white balance to ‘reference’ and ‘color calibration’ is enabled with the stock camera-detection. I do turn off the ‘highlight reconstruction’ module because I do not think it’s needed (yet). It looks like you did a good job for exposing for the highlights.
With filmic still off, I increase exposure till I think it sits somewhere nice. I enable filmic, raise the lattitude and then hit the ‘auto’. It works (yayfor denoising) but I still lower (‘to the right’ at least) the white slider in filmic till I get color back in the sun. The only thing clipped in your RAW was the very small sun-disc. The surrounding parts are only clipped in one channel, or are ‘almost’ clipped.
It now looks very flat, so I try the tone-equalizer with the preset ‘contrast curve medium’. I move the 0ev point back to 0, and I do think the shadows where a bit too dark so I make the ‘darkening’ parts of the curve a bit less.

Still needs a bit of local contrast for my taste, so I grab contrast-equalizer. I do not want to touch the very fine parts there, because then it becomes more of a sharpening effect. I also don’t want to push the very coarse side because I’m looking for the details in between the very global contrast and the micro contrast. So I push the middle parts up a bunch:

It can look quite overdone, that’s where the ‘mix’ slider is for underneath the curve to lower the effect to your liking.
As a bit of advanced thing: I still felt it crushes the shadows too much, so I enabled the parametric-mask and pushed the sliders up on the ‘L’ section (The L from LAB, so luminance) to reduce the effect in the very dark parts.
I still like more details / clarity in the highlights, so I do my bilateral trick there. Enable local contrast, bilateral, very low contrast, very high detail, use parametric mask to only select the clouds. Tweak the ‘blend mode opacity’ to taste after to lessen the effect. In this case, I left it at 1.0.

In the end (maybe it was sooner, I don’t know) I enable ‘color balance rgb’ with the ‘add basic colorfulness’ preset and start moving things where I think they need it on the master tab. In this case, I felt like I still wanted more color, so I increased the global vibrance and global saturation. I like the effect of increasing the global brilliance (or only in the mid + highlights) a bit, so I did that as well. I still felt it wasn’t doing that much… maybe just not a lot of color in the image. Anyway, I just left it there.
Nothing fancy, just a way to show that if you set exposure first, then filmic to ‘pull in highlights’, then local contrast to taste you’ll get a lot of the way there without (much) fighting. Creative edits are up to you, of course.
4 Likes
wow thanks joris, so much information here! I love when somebody details his approach – lots to learn!


