Hi @7osema, I thought you did a reasonably nice job with the retouch tool in Darktable. It is only personal taste, but I found your skin tone choice a little warmer than I like. Feel free to disagree.
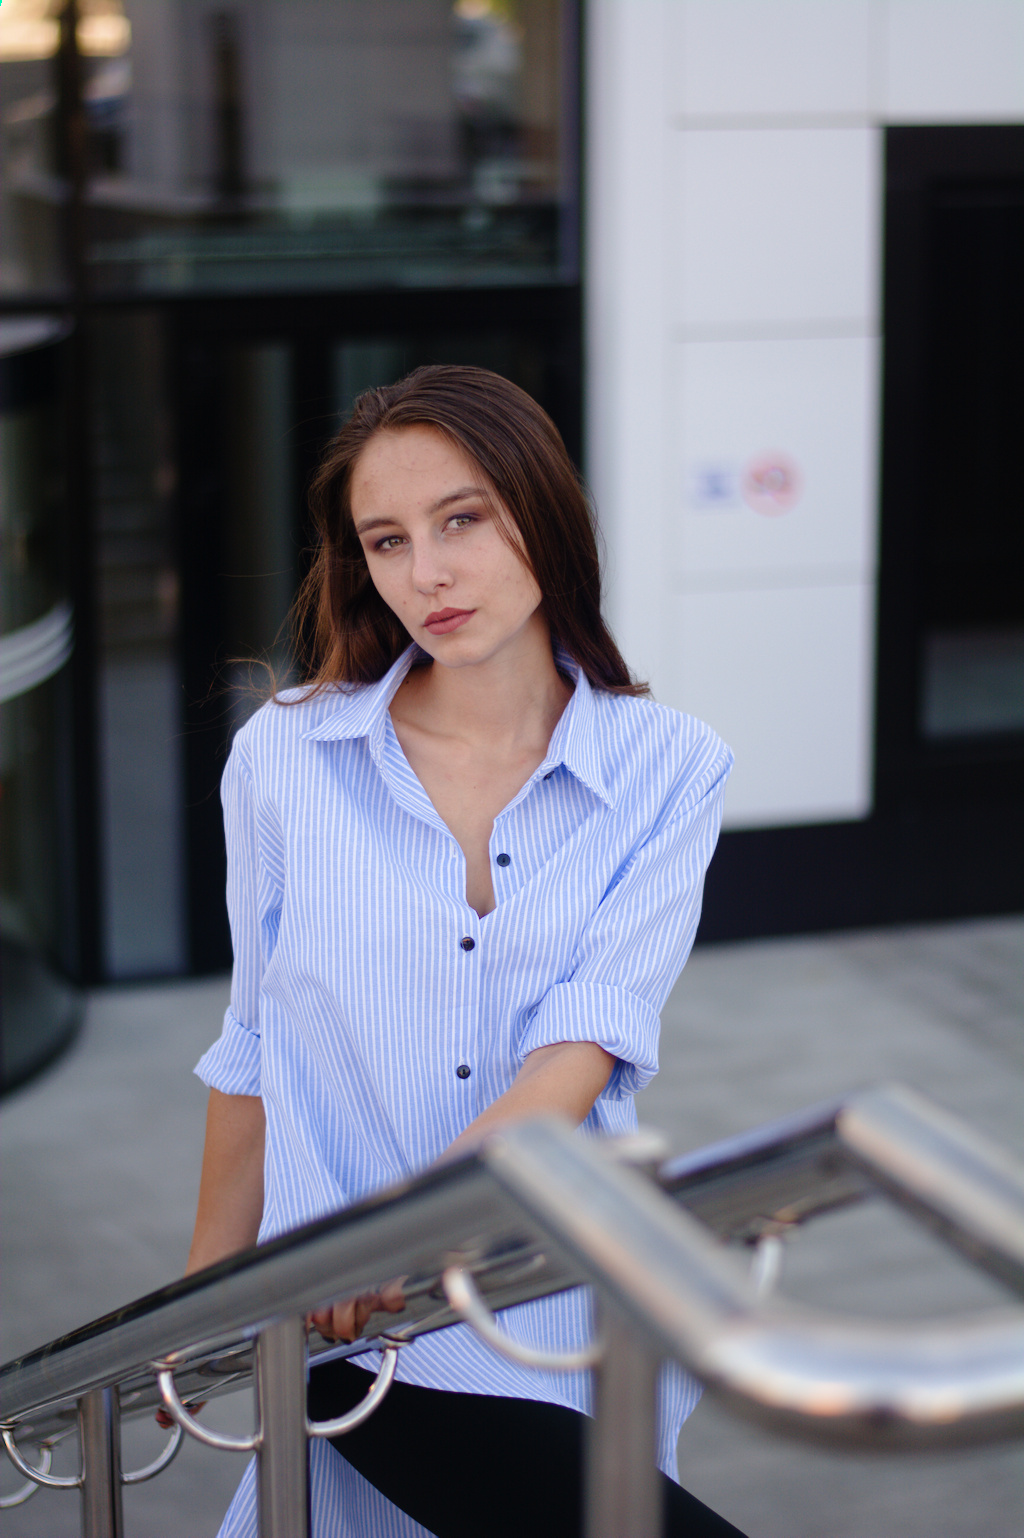
I have done an edit myself. I opened the image in Darktable and set the exposure module to +2.0 EV. I then went to filmic an in the scene tab clicked on auto tune levels. I then created a second instance of exposure and drew a path mask around the face, hair and part of the shirt. I inverted the mask and darkened the background by -0.8 EV to alter the lighting of the scene so it looked like skylight was falling on the girl. I then lifted the colors by selecting the ‘basic colorfullness: natural skin’ preset in the color balance rgb module. I applied sharpening by selecting the sharpen demosaicing (AA filter) in the diffuse or sharpen module. I forgot to apply the default values of denoise (profiled) which I do with most of my images. Luckily this image is not noisy. Since, I personally do not like using the retouch module in Darktable I exported the image as a 16bit Tiff file.
I then opened the tiff file in Gimp. I used the healing tool in GIMP to remove unwanted blemishes on the skin. I find the healing tool in GIMP is very quick for this sort of work and photo restoration. I then duplicated the layer and applied some sharpening to the new layer using the unsharp mask. This makes the hair, lips, eyes, eyebrows etc look sharper. However, I masked over the skin to keep the softer look for the skin. I flattened the layers of the image and cropped out distracting background elements to focus the viewers attention to the girl. However, some stickers on the wall in the background were distracting so I used the clone and healing tool to remove them. I hope you like my edit, but I welcome constructive criticism and alternative viewpoints.
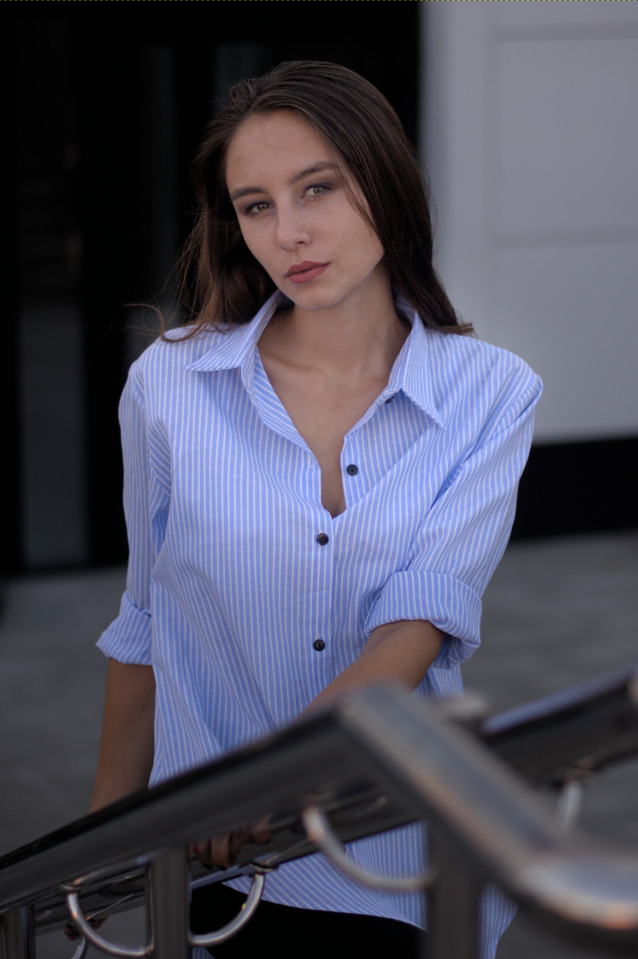
Thanks for your feedback. The shirt is dominant in all version of this picture. How would you tackle subduing it? I could desaturate the shirt maybe? BTW, the image has rendered a little darker and tiny bit bluer when posted than on my editing screen. So I will try and add another screen grab, but I don’t feel I will get the real colors and brightness that I get on my calibrated screen for editing.
Is this the screen grab or a new take? It looks good. As in, it feels retouched, not reinterpreted, if that makes sense.
Yeah, I think a little desaturation would do. I would have to break it apart to see what I would do. Right now, I am just an armchair critic, but hopefully got you all thinking some more. Ha ha.
Thanks for your feedback! It’s really appreciated. For me is difficult to improve my photography skills by myself without any feedback from someone. So I’m really happy that this forum exists.
@Terry , @s7habo You are right. After looking at your edits I noticed that my edit seems very flat and skin tone was not very realistic.
@afre Thanks for your support and the very interesting article that you linked!
I still had the image opened in GIMP and I used curves to raise the brightness and remove a little of the blue to better match what is posted to the web to what I saw on my editing screen. It is still not a perfect match, but I hope my editing approach gives food for thought.
I try to do most of my editing in Darktable but sometimes I finish off in GIMP because tools like its healing tool are very fast and easy to use. I know the retouch tool in Darktable is a very clever module, but it can be very resource intensive and slow to work with when there are a lot of spots to work on.
I also love the masking options in Darktable and it can allow you to relight the scene like I have done here. I wanted to darken the background to draw the viewer to the face. But I agree that the shirt is distracting. As a photographer I might want the model to wear different clothes to really focus on her face. Dark clothing can be very effective for this. However, this post was about editing and so I gave it a shot. I did lighten the top of her shirt to match the lighting on the face. Maybe I should have left the shirt dark?
Where I live, half the professional photographers, especially in the event/wedding department, are women. Pretty much all of them are great at retouching. In fact, one of the best books on retouching with Photoshop was written by an actual woman, her name is Katrin Eismann. You can look her up. She educated millions of women on retouching photos.
Personally, I expect the model in question to be perfectly capable making her own call on the photographer retouching her photo. I’m not sure if you got the memo, but all this damsel in distress business tends to be frowned upon these days.
@Thomas_Do I am using dt 4.1 — my first attempt was to whitebalance the girl, using one of the white (?) stripes of her blouse. The result was terrible!!! (Hm. wonder why?)
Next attempt, using the white of her left eye, became more plausible…
Editing an image like this I would normally do the basics in RawTherapee and continue with the rest, mainly the retouching, in Krita. So I was curious what I would be able to do using just RawTherapee.
This was a fun exercise.
EDIT: Noticed and fixed an issue with the blue/white shirt.
Interesting! What kind of retouch do yo do in Krita? Now that I’m confident using darktable, I want to learn other editing tools like Gimp. But I don’t know if it’s necessary at all. Darktable is very powerful and almost everything can be done there. What would you like to have in darktable, so that you wouldn’t need to use Krita?
The above edit was done using RawTherapee, nothing else! RawTherapee only has a very basic spot removal tool, which made this a nice challenge I used that to get rid of some of the skin irritations/blemishes and I used a few Local Adjustments instances to deal with some of the other issues.
I normally have a different workflow that starts with RawTherapee and, often times, ends with Krita. Even though darktable has a rather nice set of retouching tools I still think that software like GIMP, Krita or Photoshop, to name just these three, are better suited to do serious retouching.
What I normally do in Krita? This is an old topic of mine, from over a year ago when I started using Krita: Krita: A worthy image retouching and compositing editor? It mentions some of the things I do. Not much different from what one would do in GIMP or PS. I feel a lot more comfortable using Krita nowadays, I’m certainly more proficient and learned some stuff. The exact workflow depends on the image and its often unique challenges.
Hm, I think it’s because of whitening additives in washing agents. These are more on the blue side of white or even convert uv light such that the white appears brighter. You can observe this with washing powder glowing under uv light. This will mess up any reasonable colour calibration as the usual models tend to fail here.


 .
.