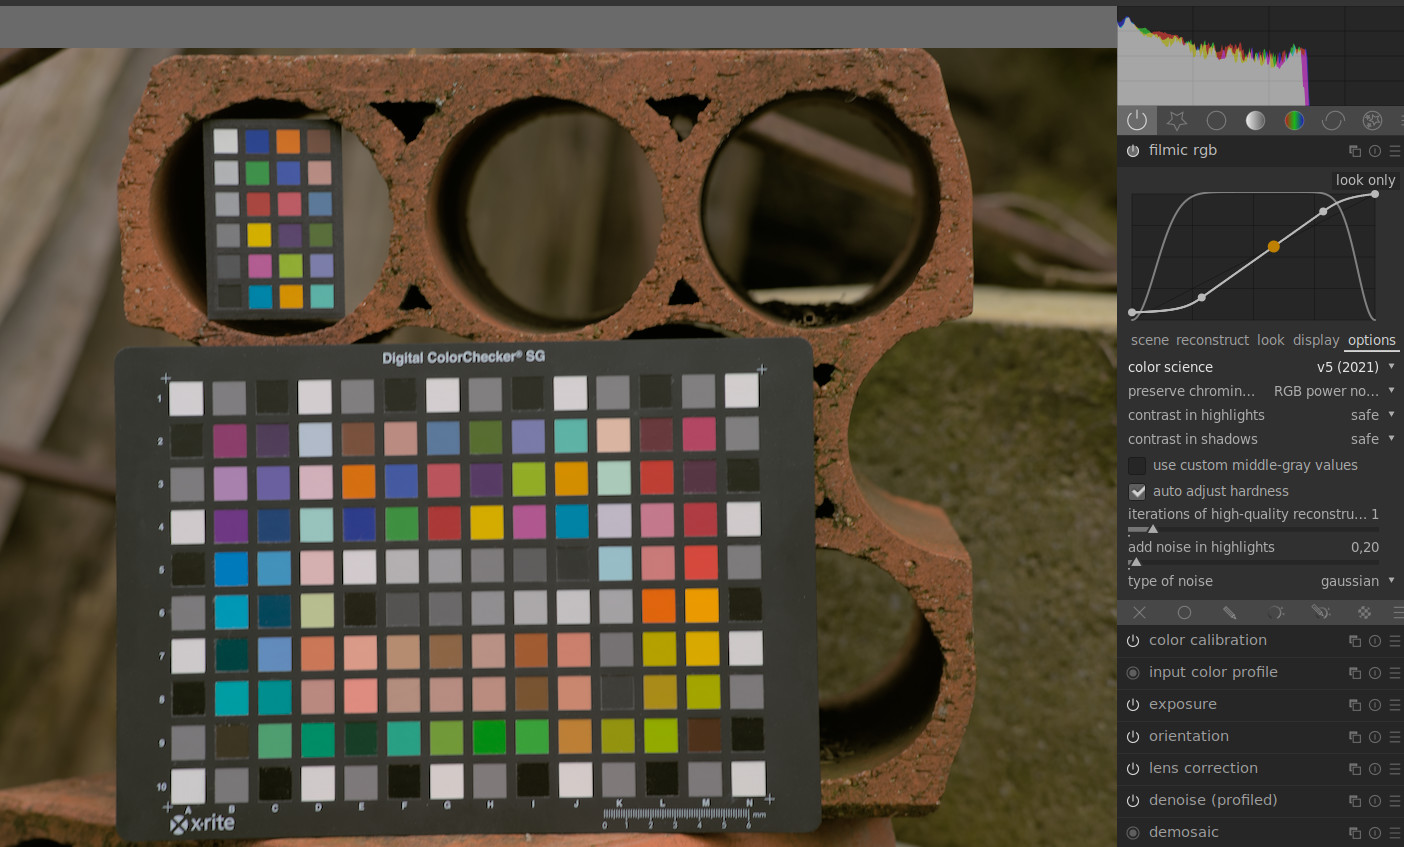
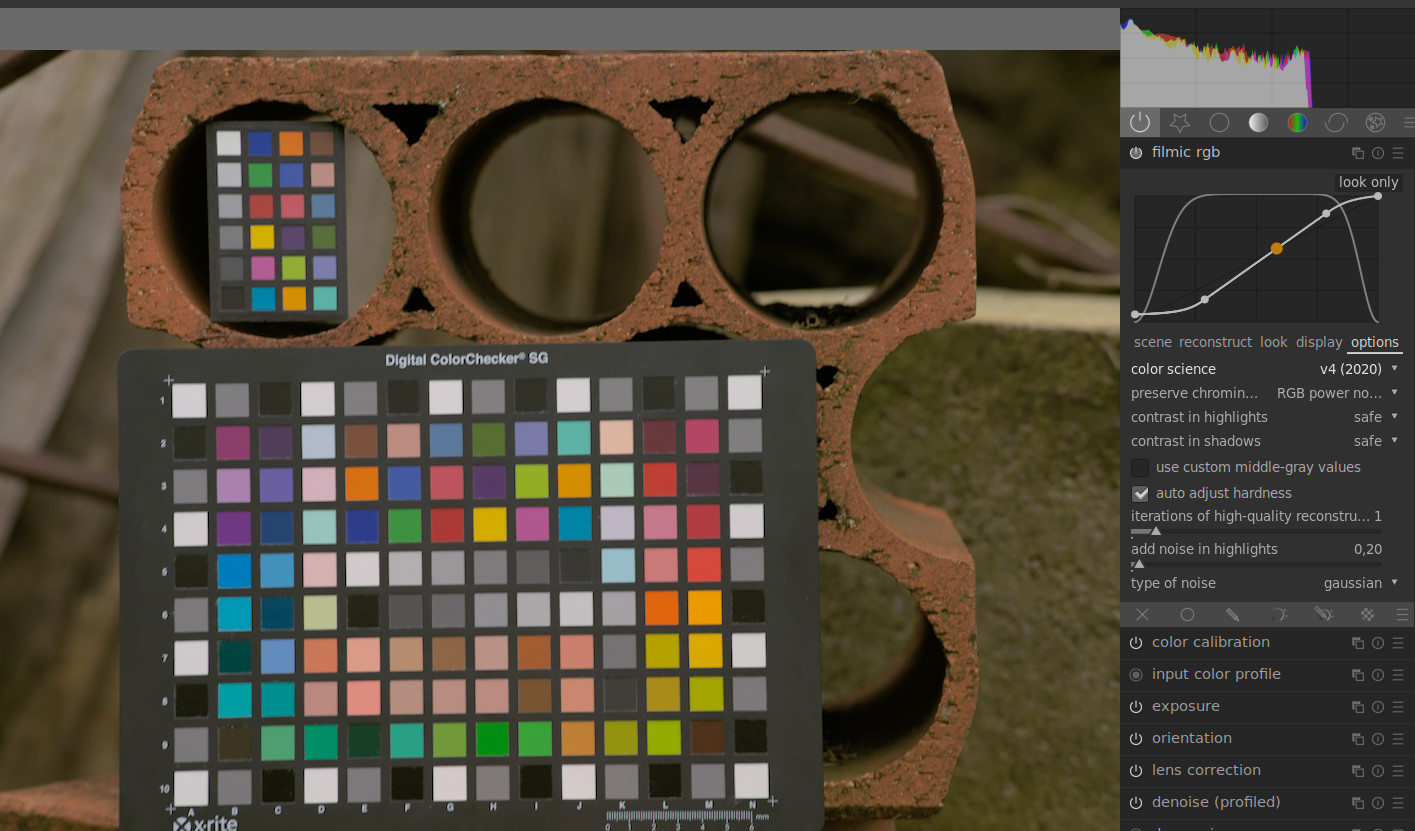
Just to clarify, v4 → v5 is unrelated to the change to the toe and shoulder - that is selectable in the individual menus for shadows and highlights. Choices are hard, soft and safe where safe is the new one introduced here.
Yes, but this new settings (safe) doesn’t really matter that much. Switching from v5 to v4 shows a difference in saturation (colourfulness, muteness or whatever it needs/wants to be called) for all three of the possible settings, the safe setting seems to be the least noticeable.
I find the new situation rather agreeable, so I’m just stating what I see, and not complaining
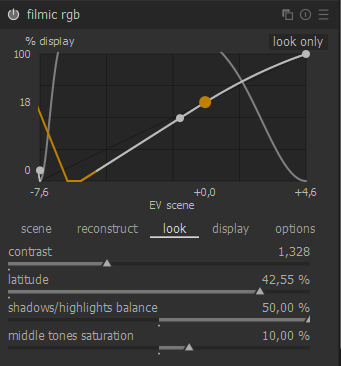
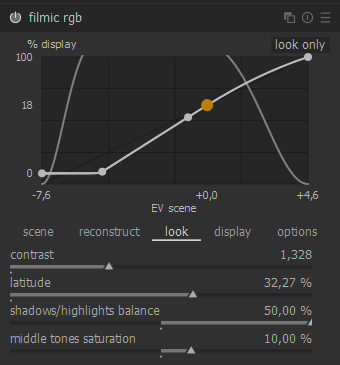
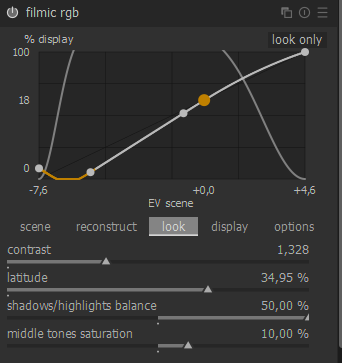
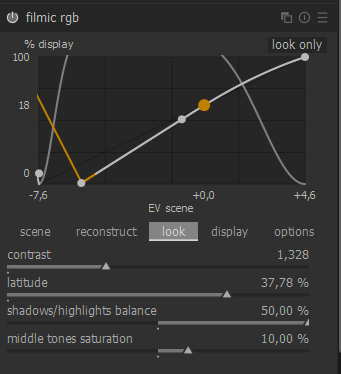
if you force the algo to overshoot it will overshoot - there’s no magic. If you expect the curve to begin at zero you simply need to bring back the settings into valid ranges
Hmm… my original mock-up had the linear range limited such that it could never extend to values smaller than zero or bigger than one.
If it does go beyond zero, you might actually get division by zero at some point during the calculations.
Is there maybe a way to map all settings which put the point in the negative range to zero? It makes no sense to specify something like this, so there’s no need for the GUI to provide a way to do that.
Or, better yet: instead of specifying “latitude” in terms of the proportion of the dynamic input range which is mapped linearly (in log space), why not specify the proportion of the output space which is mapped linearly?
And while we’re at it: instead of latitude + bias, I think it’d be more comfortable to specify the upper and lower end of that range directly, because that allows you to move one end without moving the other as well. Anyone who had to use the colour settings in graphics drivers around 2000 will understand why the old “brightness” (i.e.: add/subtract some number from all values) and “contrast” (i.e. slope of the curve, pivoting around 50%) is a pain to use compared to white and black point, although it’s mathematically equivalent.
1: Thanks for implementing the new curves!
2: I’d love to test-drive them but I’ve never compiled DT before. Is there a compiled binary I could try, or could someone let me know what I need to compile it? I’m running openSUSE Tumbleweed and have all the compilers but I know from previous experience with other software that there may or may not be particular tweaks/dependencies which may not be trivial to deal with … I won’t have time before Sunday, though, rather busy in RL these days.
Actually, I made an example thingy for this in Desmos some time ago, as I just remember:
(dragging the endpoints of the linear part does not work as it should, but the sliders for m_low and m_hi do exactly what I was trying to suggest: They specify the linear part of the curve just as latitude/bias do, but
1: you can change each end independently
2: you cannot move out of the [0; 1] interval on the y axis
And since this bit is just plain linear equations, it’s way easier than rational asymptotic whatsits.
I did just compile the development version myself the other night for the first time, after a false start a couple of weeks ago. I’m not using SUSE, but I didn’t do anything special (other than to make sure the build dependencies were all installed from my repo) to make it work.
All of the dependencies are here, and from the instructions just below that it looks like sudo zypper si -d darktable
would take care of that on openSUSE. After that I followed the instructions on this page near the bottom under the heading “git version” with the difference that I used ./build.sh --prefix /opt/darktable-test --build-type Release --install --sudo
as suggested on that first github page so it installed in a special place (this uses their included build script, so hopefully that takes care of the needed tweaks). I start it each time as suggested lower on the page with /opt/darktable-test/bin/darktable --configdir "~/.config/darktable-test"
so that it uses its own config directory. (I eventually aliased that command to make it easy) I also turned off writing to xmp sidecars so that it leaves my files from the stable version completely alone.
I hope that helps. I’m just a user, so I can’t really help too much beyond that.




 :
: