In the GIMP, after opening the image as a Layer, there is a ‘Move’ tool to position it over the “border” Layer wherever you want
Yes, the printer driver will know the resolution for the driven printer. But then you let the printer driver decide on how to scale the image. Not everyone wants that, especially when you have particular requirements.
And if you need to convert pixels to inches, or vice versa, in order to get a specific size, you will need to know how many pixels correspond to one inch.
I understood that OP needed to prepare a file for printing by an external print shop with a given image size in inches and a given border size (also in inches) added to that. So OP needs to do the calculations before sending the file to be printed…
OP also needs to be very sure what happens when his file does not correspond to the paper size (aspect ratio), as is the case in his original specification. The shop can do several things if the aspect ratio or pixel size differ between image and paper: do nothing, just print; scale the image to fully fit within the selected paper size (with possibly white bars to make up the space), or scale so that the image fully covers the paper (and crop what falls outside the paper).
If you really want to get as close to possible to exactly specified dimensions, I’d guess the best bet is to prepare a file with the exact dimensions in pixels that the printer expects, and tell the printer that you do not want any scaling performed. But that does imply that you have to do any conversions between pixels and inches yourself.
Yep - realized that awhile back… One reason I decided to just add an inch to everything and let the people who are going to frame them - make the cuts.
Ahaa, now it is clear … the OP’s needs are a special case.
I find the border requirement bothersome, possibly leading to misunderstanding between the OP and the shop because, in this case, the oft-mentioned borders are part of the image and must be handled by the OP himself with no need for any mention of them to the shop.
Or is the OP actually asking the shop to firstly print the image and then to literally “add” i.e. print his border around the outside … do printer companies do that?
This is for my work and I was told by the administrative assistant that the boss wanted the pictures (except for one pano) to be the same as others in the office.
I took this to mean EXACTLY including the size of the other shots and instead of 1 shot - he wanted a couple more, as he liked a number of them. So he picked out the pano and I get to do the others.
I sent him an email Friday to see if he was more concerned about the matting and framing than the picture size - as I have several that will not fit the bill that I wanted included.
I still need to order this one correctly and asked the printers about the border as well. They have a “Border” checkbox on their ordering form. Not sure what that does and if it adds a border to the print - what is the size of the border.
I do have to say the printer has been patient and they DO check if the print size will work with what I need. IF it does not - then they cancel the order for me.
It would be easier to print them myself but not sure how many I will be printing and if it would be worthwhile at all. Right now - I am not really selling anything - even though I uploaded to a site for selling - but I use it to share pictures in general with family/friends/people we met on our Alaska trip last year, where these shots came from. It made it easy to point them to a website to see the pictures instead of trying to share other ways.
Tackling this again since I was freed from the specific sizing…
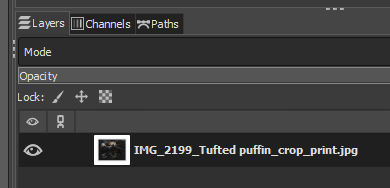
Looking at one of my other pictures in Gimp - it looks like GIMP is adding a border:
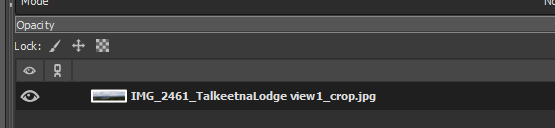
As seen in the image above.
If I click on the eye:
I believe this is the layer.
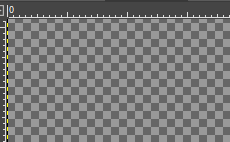
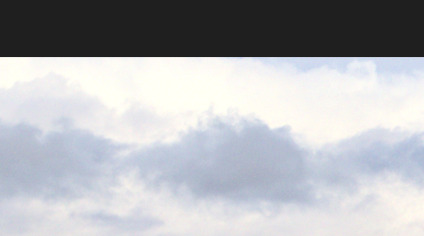
If I click on the eye again I see the image but I noted that additionally - I do NOT see the border here:
As I do see in the other image NOR do I see it in the image as a whole:

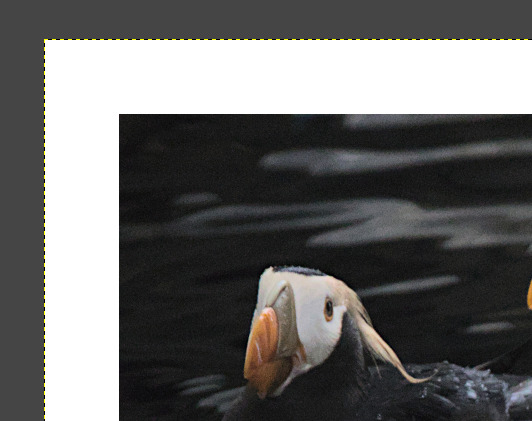
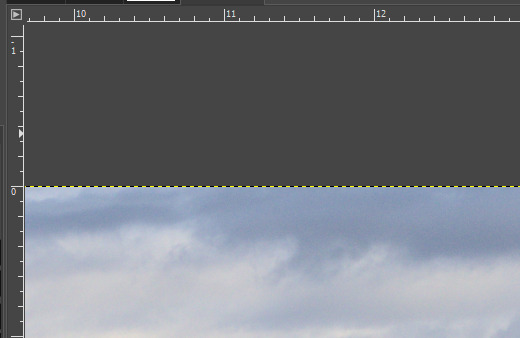
This is the top corner where I would love to see the border, with the image, to make sure it is correct.
It just seems to me that I would be able to see the entire image - WITH the added border layer - and compare against the ruler to make sure it is the correct size.
Really seems to be a super basic thing to do…
I do see it in this picture:
I don’t get why I can’t see it in the other (previous post) picture.
I added in another layer - it is white:

But not in the exported image:
Not in GIMP main screen:
or here:
A bit late to the game but it’s easier done without messing with layers, IMHO.
For example:
880 x 1120 px to be printed framed at 11 x 14in
so frame size (at say 100 ppi) = 1100 x 1400 px. 1" border = 100px, therefore content size 200 px less = 900 x 1200 px.
Open GIMP; make two images (not layers) one for Frame, one for Content. First create New (ctrl-N) sized at 1100 x 1400 px and filled with whatever you like.
Then open the Content image, crop and scale to 900 x 1200 px. Copy it and go to the Frame tab.
It auto-centers - so Paste and you’re done …
Voila:
“After scaling the image, instead of creating a new layer, change the canvas size (Image → Canvas Size…). Turn off proportional resizing, add twice the frame width to the length and width of the quotecanvas, click the center button, set the fill to white and click ok.”
This was the trick and I should have looked thru the entire thread … ![]()
Basically the same thing as Ted suggested. And I then reloaded the picture.
And for uneven margins tools>transform tools>move lets you position it wherever you want on the canvas!
… or struggle with figuring out the Offset values … more accurate though …
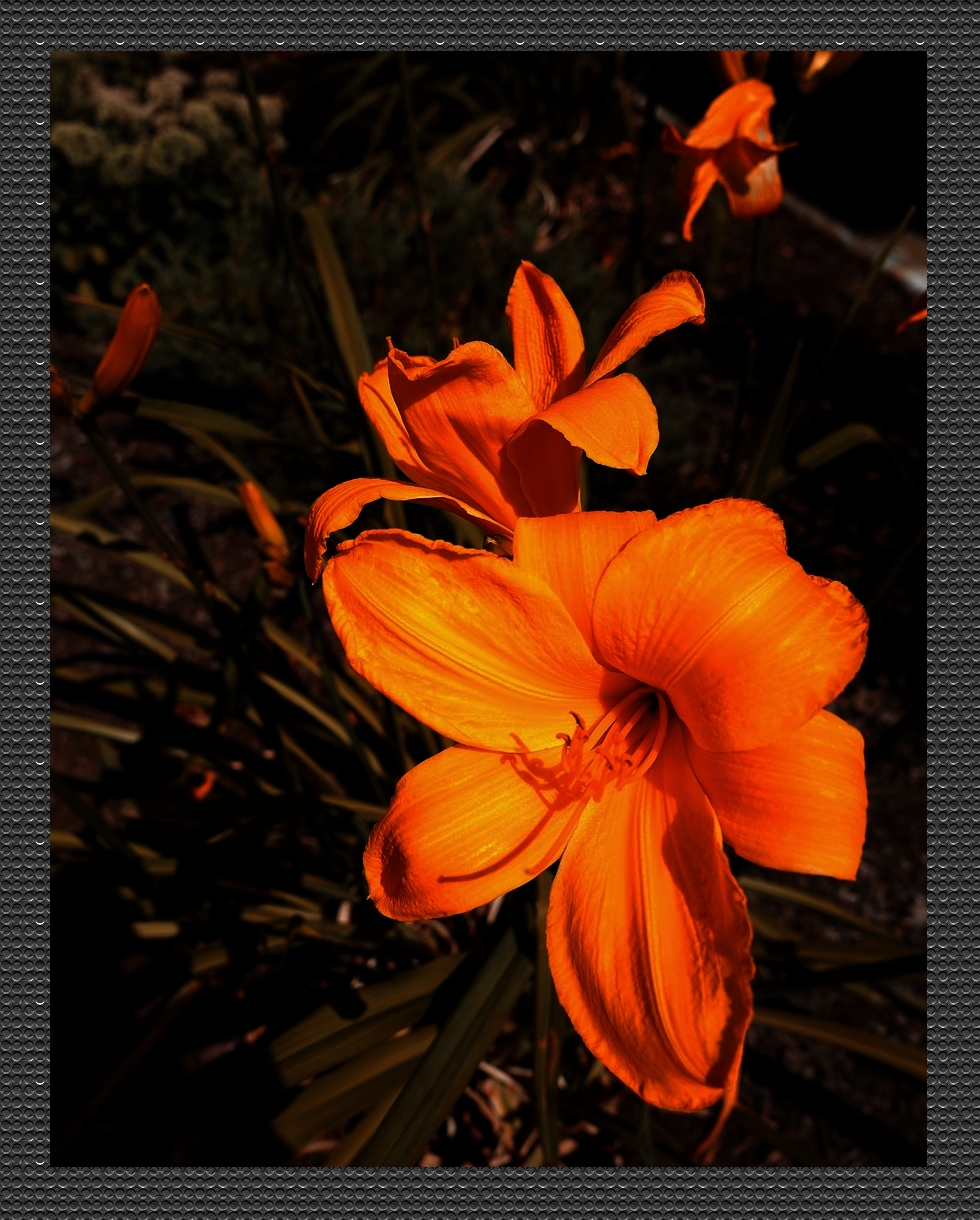
For a photo book project I needed to set image size to a height of 2610 px and to keep the ratio. Then I had to add a border. I wrote a small script using ffmpeg that converted all PNG and WEBP images in a directory in this way.
Example:
Input
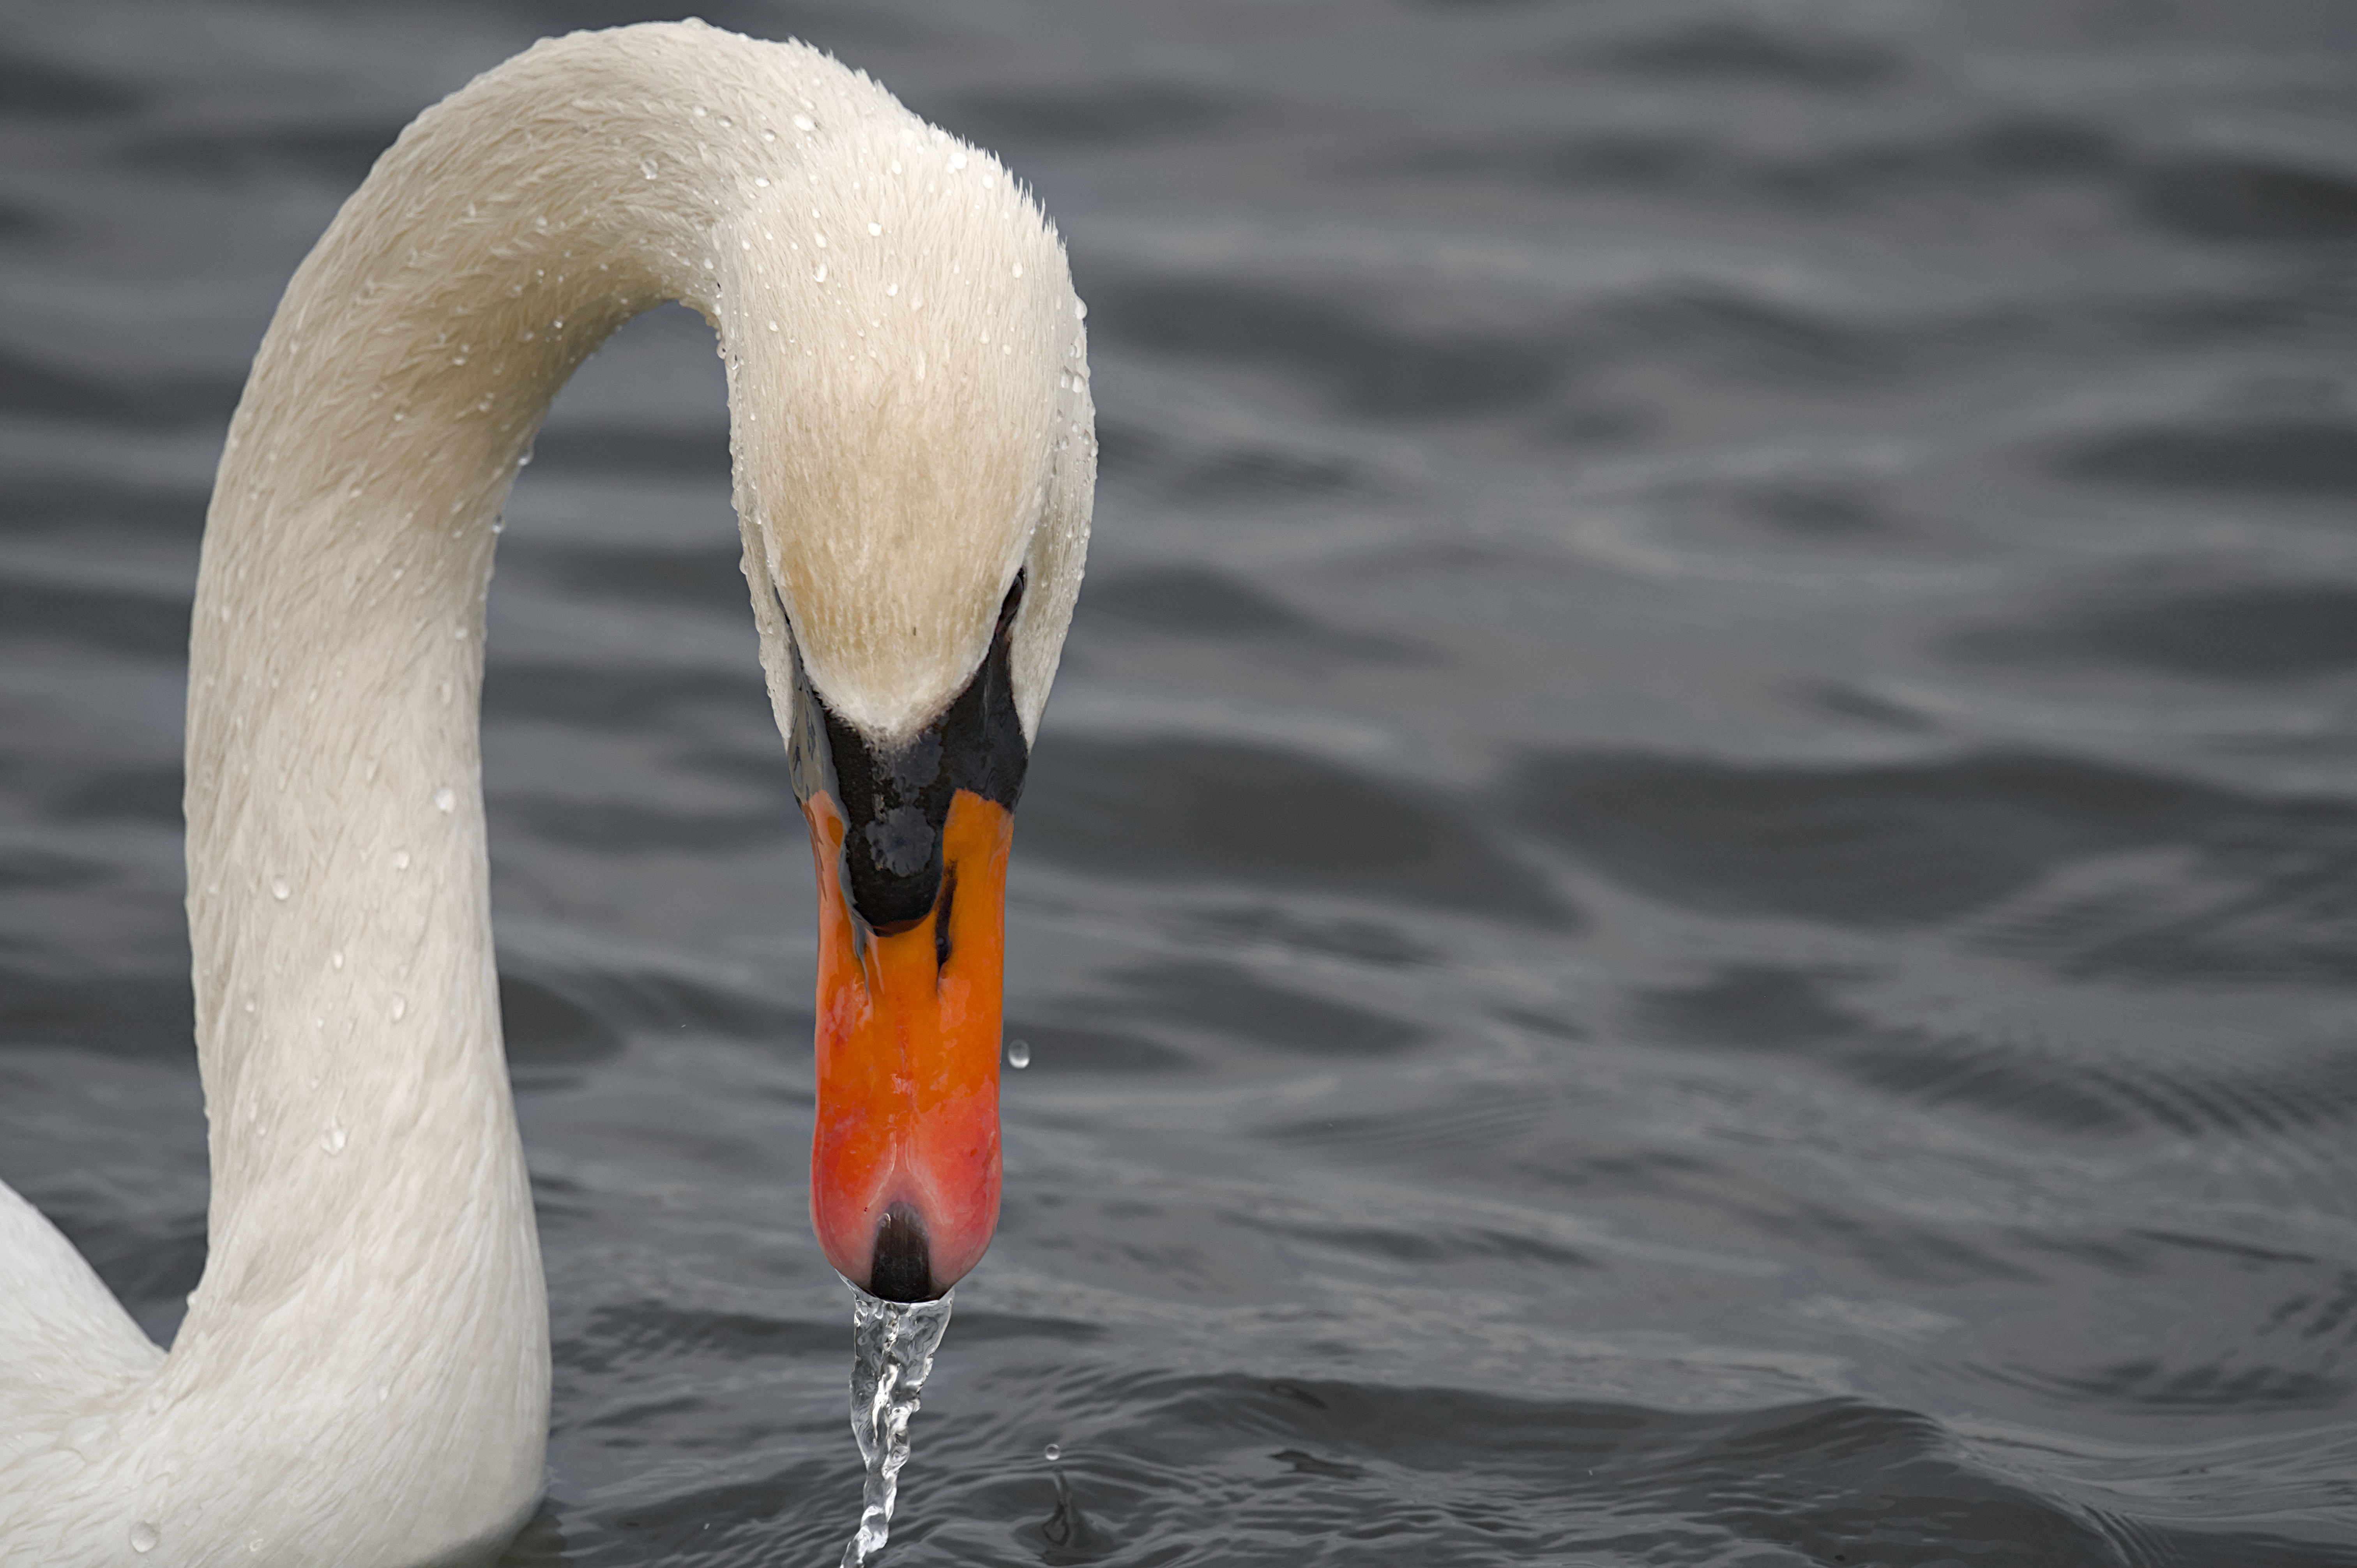
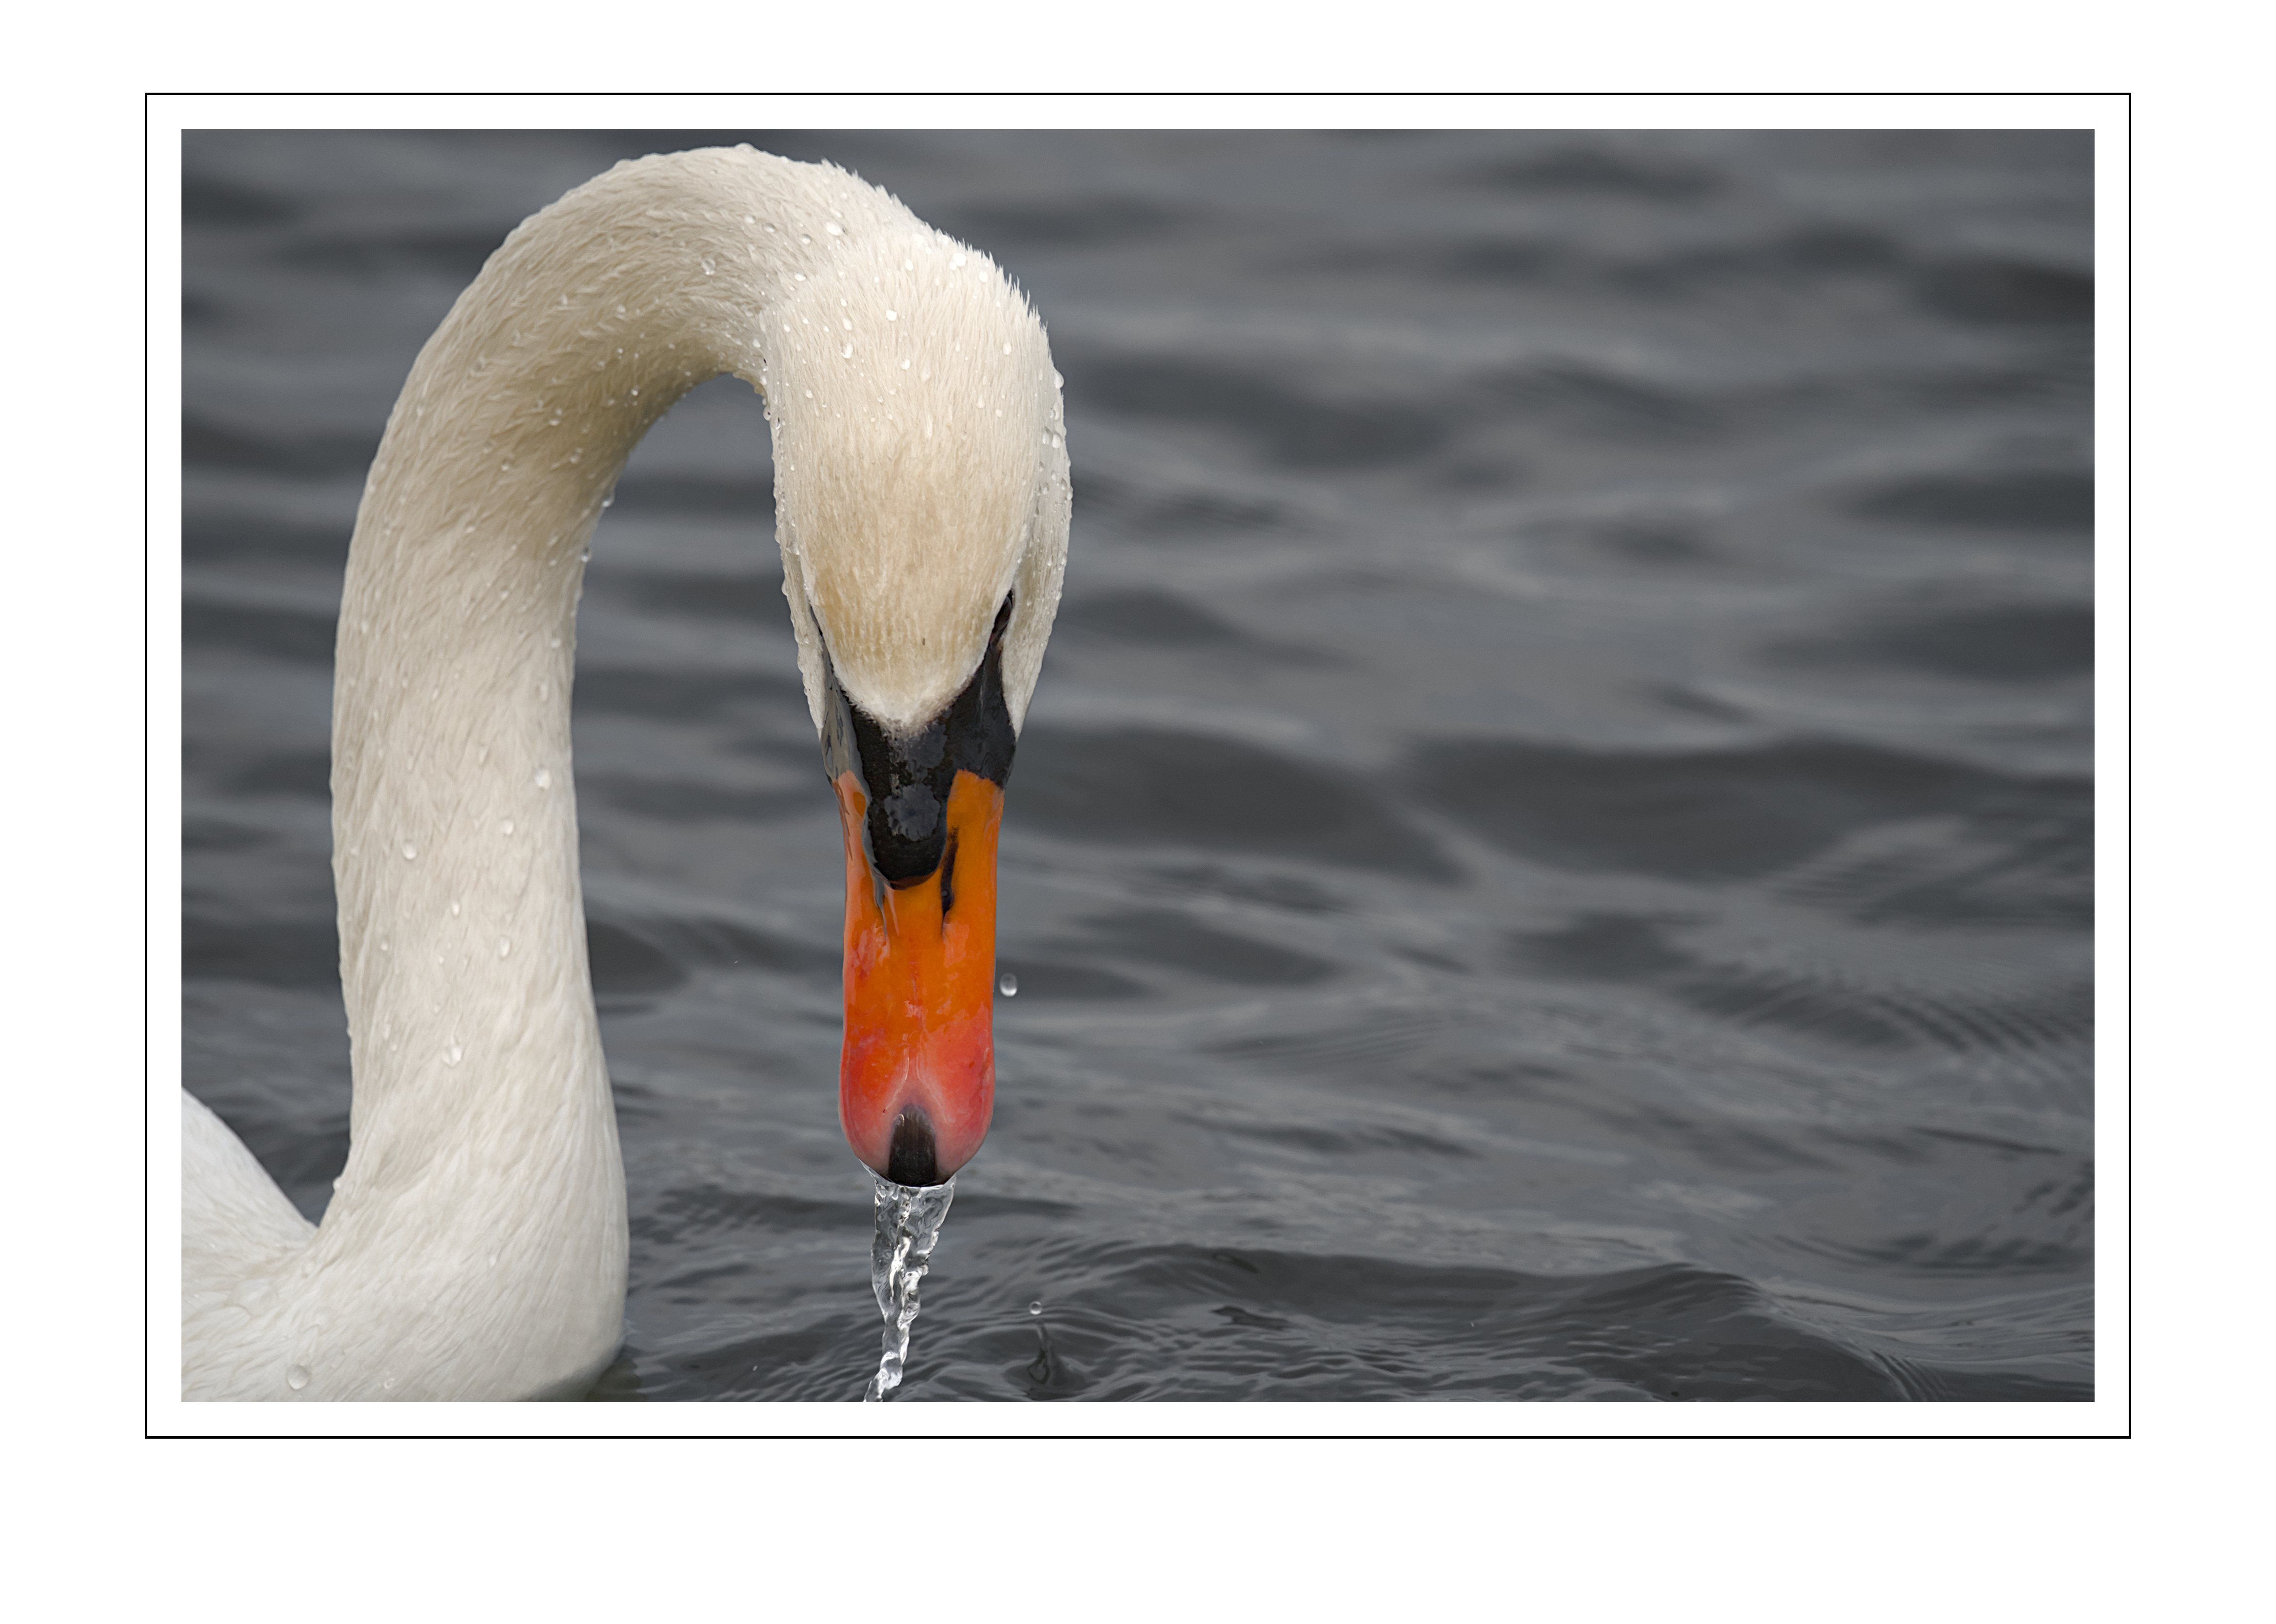
Output
Script (linux bash):
#!/bin/bash
for f in *.png; do ffmpeg -i "$f" -vf scale=-1:2610,pad=in_w+140:in_h+140:70:70:white "${f%.*}.tif"; done
for f in *.webp; do ffmpeg -i "$f" -vf scale=-1:2610,pad=in_w+140:in_h+140:70:70:white "${f%.*}.tif"; done
for f in *.tif; do ffmpeg -i "$f" -vf pad=in_w+10:in_h+10:5:5:black "${f%.*}_re.png"; done
for f in *.tif; do rm "$f"; done
for f in *_re.png; do ffmpeg -i "$f" -vf "pad=4667:in_h+570:(4667-in_w)/2:190:white" "${f%.*}size.png"; done
for f in *_re.png; do rm "$f"; done
Site mouse-over says the re-sized image height is 4667 px, not 2160 + borders?
Height to 2160 px + border > 3330 px total. Width variable to keep the aspect ratio.
Got it, thanks.