@charlyw64 You’ve said the same thing almost verbatim 6-7 times over two threads. Why not just edit this image and prove to us that display referred is superior? Talking about things in the abstract without a reference image only goes so far.
5 Likes
Dude they are using Rec2020 not fake blues of Prophoto…but its there if you want to use it…
I imagine there was a warm atmosphere
_MG_5096.CR2.xmp (9.7 KB)
4 Likes
Tricky! I agree with @Jade_NL that one should best avoid overexposure, at least when the clipped structures are important for the composition.

_MG_5096.CR2.xmp (23.9 KB)
1 Like
Yes, the atmosphere was quite warm.
Looking at those edits I see some tools I ditched in order to be fully “converted” 
RGB Curves for example.
I’m trying to ideally use only CAT, Tone EQ, Colour Balance RGB and Filmic RGB.
(Besides modules like Lens corrections, Denoise, Perspective correction and similar)
False colors are RGB triplets with valid arithmetic values that don’t match any color on the visible locus. Since darktable uses Rec 2020 by default to process RGB algos, and since Rec 2020 is smaller than the visible locus, it’s impossible that any false color can be encoded within Rec2020. Only Prophoto RGB can contain some false colors. Colors that have a coordinate in Rec2020 (or in any large space used as a working space for the pipeline) and no corresponding color in output RGB are called out-of-gamut, and this is a different problem because we know they are visible.
You are just mixing unrelated things all around and making claims unsupported by facts.
Fuck off now. It is predictable : you map luminosity at constant hue and chroma. I don’t know what is more predictable than this in a tone mapping task. It’s unpredictable only because your understanding of what’s going on seems to be a fuck fest of unrelated concepts mixed in a random way. Because you don’t understand it doesn’t mean it’s unpredictable.
Color has 3 dimensions : hue, chroma/saturation and lightness/brighteness. The definition of predictability is being able to affect one without messing with the 2 others.
Since you are so clever, tell me how to do a dynamic range compression without changing contrast… I’m really curious.
There are not a number of filters that will transform false colors to something valid. Actually, most filters will make that worse since the #2 concern of any photographer, after adding contrast, is to add chroma/saturation… which will only push non-valid colors to even worse non-valid colors. Also… non-valid colors tend to have negative values. How do you compute the log or the power of a negative value ? You don’t, you can’t, it’s not a number.
7 Likes
Thanks to this somewhat vivid discussion I’m able to learn rather quickly.
I happened to have a chance to put this knowledge to a test this very evening. This time I chose Fujifilm X-T1 over Canon 6D and spot metering in order to protect highlights. One camera, one lens, and believe me, despite the lens being as fast as f/1.2, ISO 6400 was nothing uncommon 
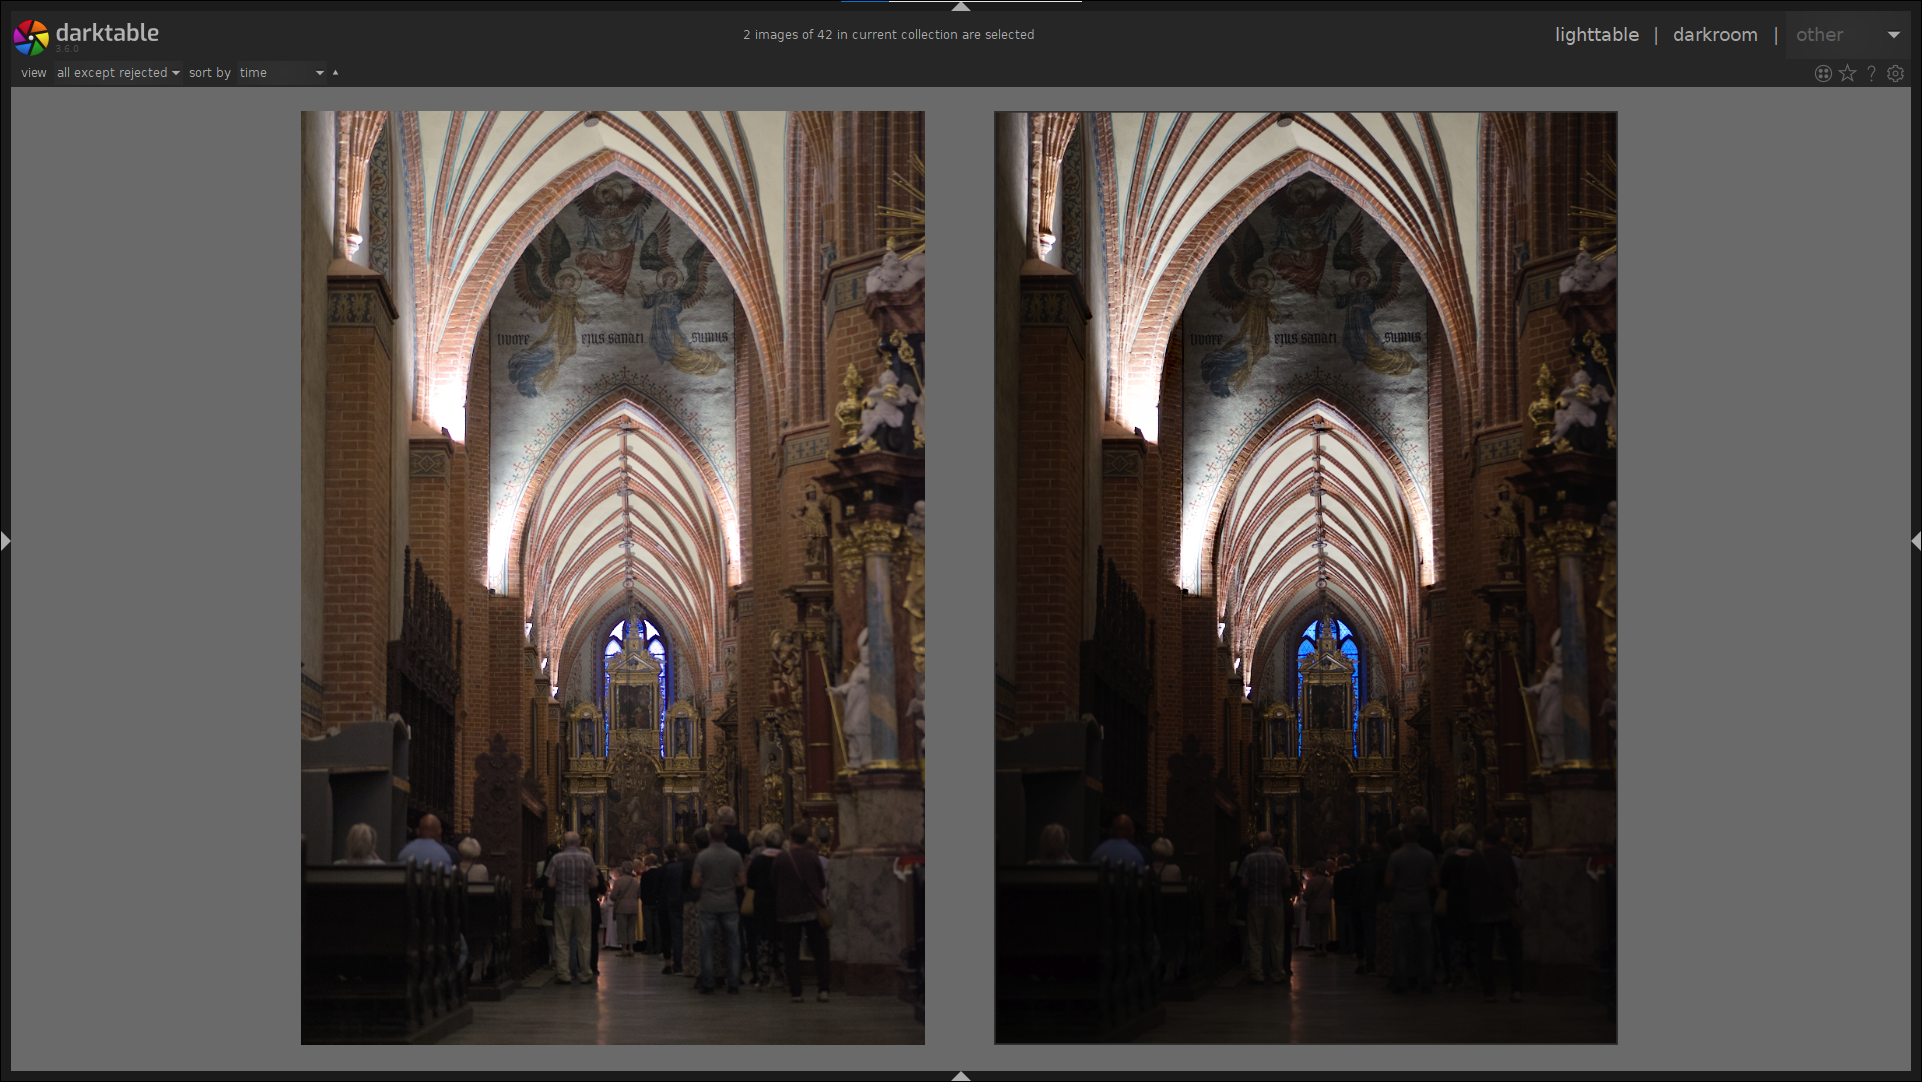
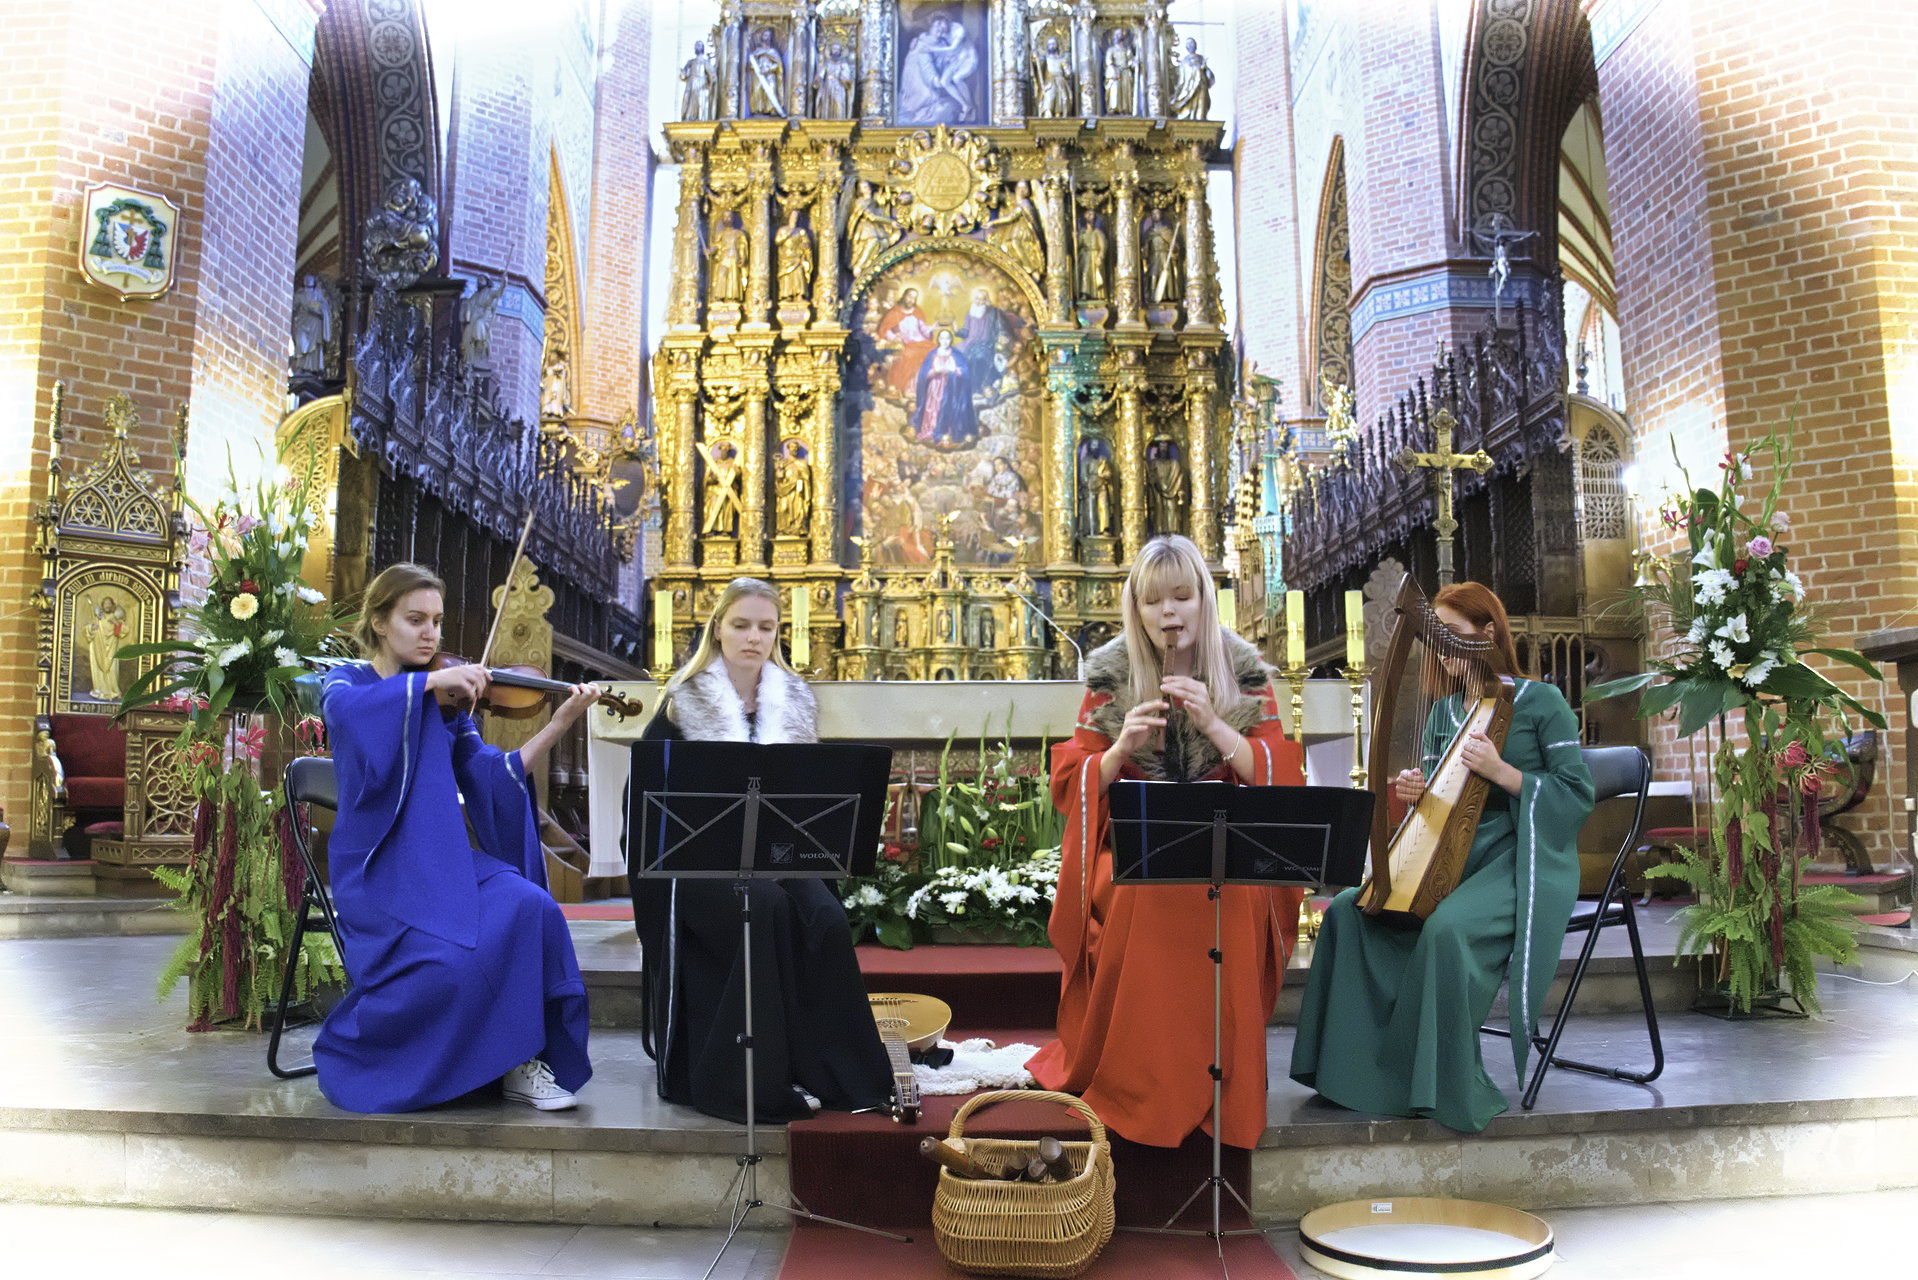
So is the effect achieved with scene-reffered workflow - on the left.
@anon41087856 has opened my eyes - in my pursuit for minimal number of tools used, I was trying to get the contrast and colours right in Filmic, thinking that chrominance preservation is my enemy, i.e. switching it off to get the colours back.
Then I understood that not only Tone EQ complements the Filmic, but Colour Balance RGB too. And thanks to chrominance preservation I can pretty much freely manipulate with its sliders, because that brave Filmic watches my back.
Also I think I can consider the mystery of cyan highlights solved - turning off the Highlight reconstruction, setting threshold in Filmic to 0 EV to let it blend & inpaint, and not overdosing “White relative exposure” work brilliant.
Appropriate preset was made
16 Likes
@charlyw64
It sounds like you don’t understand the scene referred workflow. Although filmic is placed late in the pipe, it is set early in the workflow, before you do any other contrast (as in tone eq), saturation (color balance rgb) or sharpening (contrast eq, diffuse or sharpen) adjustments. If you do all those things first, then turn filmic on, then yes everything will be shifted. But if you set filmic first, then do those things, the results are predictable.
Work in this order and you will be fine: turn off highlight reconstruction, White balance (d65), cat in color calibration, exposure, filmic, tone eq, color balance rgb, contrast eq and/or diffuse sharpen, denoise.
Things like lens correction, demosaic, crop and perspective can be done whenever suits. If you wish to add any non scene referred modules like local contrast or color zones, do them late in the workflow - after color balance rgb or sharpening. That’s a pretty good basic guide to get started.
2 Likes
If lens correction has strong vignette correction and you use it you might want that added early rather than later
Thanks folks, this has been an extremely helpful discussion, many things are a lot clearer now.
That may be predictible but not as I would ever want to edit an image! I don’t want to determine beforehand how to distribute my scene contrast, I determine that on the basis of what looks good in the end and how far I can stretch the limits without it looking overedited. It als will depend on my editing purpose, if I want to print or only display on screen (and most often I want to have one edit with just some corrections applied at the end to serve the more constrained purpose).
Isn‘t that workflow supposed to decouple the edit from the display/output device properties? So if I need different output device color spaces (sRGB for display, AdobeRGB/ISO Coated for print) I would need to change settings throughout including filmc as that determines the output dynamic range - which then again interacts with all the other edits. So where are the benefits from going through all that hassle?
I stand by my assessment that this scene referenced mode is too convoluted - and completely counterintuitive. You can‘t explain that „do this thing that‘s at the end first and then go back and do what you originally wanted and never touch the mess at the end again“ to anyone without the feeling that the developers have lost the plot. If that pipeline must be followed like that then this needs to be hidden from the user, he must not know that the things he needs to set first are the last element in the order of execution!
You assess that scene referred is “too convoluted”, but i am certain that the reason for it is because you not only do not understand it but deliberately hinder yourself in understanding it by sheer rejection of it’s merits. You deliberately not learn in and use your failures as a proof of it being bad. That’s like claiming that cars are bad, never even taking driving lessons and then running one into the tree just to demonstrate “see cars are bad”.
But just recently you’ve said
So you deliberately don’t shoot scenes which would be hard or impossible to do using display referred workflow but you “don’t want to determine beforehand how to distribute my scene contrast”. You deliberately limit yourself to extent of the tools you know and even not to the max and you claim that workflow which allows more than your self-impossed limit is bad.
Now I need to address your assessment:
Because you don’t understand it, haven’t spent time working on understanding it and deliberately don’t want to understand it just to be able to claim that it’s too convoluted and counterintuitive.
People have explained their workflows based on their understanding that works for them. darktable has very comprehensible and clear manual, there’s hours of video material showing hands-on what can be done, there are topics here diving into scene-referred, there’s even available hands-on training from people working on the stuff - all that so that people can use scene referred to their heart’s content without self-imposed limits or hitting algorithmic limits with display referred.
Also - there’s more than one way to skin a cat but you have to know how to skin an animal, what tools to use etc. You can’t grab a stone, hit cat repeatedly and claim that “skinink cat no intuitive!”
In darktable the philosophy is to not hide the stuff from user. So that user can tweak and adjust anything. And the responsibility to learn what all this knobs, buttons, whistels and thingamagigs are for is on the user.
Obviously this paradigm shift can be hard and confusing, the scene referred stuff is still evolving, there are still modules that can and should be ported to better spaces than L*a*b* but that doesn’t mean that the whole scene referred is bad. As this topic shows the scene referred requires learning to be able to take advantage of it. Same as you needed to learn display referred, but didn’t notice the need to learn it because it was long time ago and it was the only way. Imagine having to re-learn walking just to notice how hard and counterintuitive walking is!
Now - since this topic is solved, no need to bring more OT to it. You claim problems with filmic and sharpening. In “put up or shut up” manner I ask you now: create new topic, a play raw challenge, explaining exactly what you have problems with and set the limit that people need to use scene referred so you can learn it. Or show in it your edit and challenge people to do better using scene referred.
9 Likes
I think I can relate to your troubles somewhat, @charlyw64. The scene-referred workflow (and Darktable’s philosophy) do make some things more complicated. Many things that are a single, easy slider in Lightroom are suddenly spread over multiple modules, have confusing side effects, and often initially “don’t look right”. I’ve been there. We’ve all been there. It’s not easy.
But, I’ve been there in Capture One as well: the highlights that turned a false color, the raised shadows that produced halos, the black slider that affected the entire image in weird ways. These issues are, I believe, inherent to image processing, and various tools merely provide different slices through the complexity, never solutions.
Darktable’s way is a complex one, with many options and possible techniques. It’s genuinely hard to get right. It’s also a breath of fresh air in image processing, as for all its complexity, it does provide the tools to fight the false colors and the halos and the masking in ways Capture One and Lightroom do not.
I am myself torn between the “easy” and fast workflow in Capture One, and the “complex” one in Darktable. At various times in my journey, I have slipped to one or the other for months at a time, so I certainly understand your struggle.
However, there is one thing in your diatribes that I don’t understand: I get that you dislike Darktable. But if you do, why not move on? Capture One, Lightroom, Silkypix, Luminar, Exposure, Zoner, ACDSee, Affinity, ON1, Aftershot, RawTherapee, are all there for the taking. There’s no harm in preferring one workflow over another. Why demand that the one tool that is different should conform to the masses as well? I’d rather Darktable be quirky and different and perhaps not always to my taste, than it be just another one of the many.
(BTW, Darktable is not actually unique. The video world has long adopted a scene-referred workflow. It’s just that the photo world has not (yet?) made much use of it.)
5 Likes
Thats ok, carry on and use a tool that provides the capabilities you need. There’re plenty of different tools. If darktable doesn’t provide the workflow you want to use then it’s simply not the tool for you.
There’s no benefit for developers to change core concepts because this would satisfy your demand but not their ![]()
2 Likes
Resistance to new ideas is very common in technology, especially if a new user has to unlearn some their ideas and techniques of the old tech.
Many tech companies fall at this hurdle as new users “switch off” before they get familiar with the new world and its possibilities.
One of the best ways to get over this hurdle is to see something that solves a pressing problem:
If the new user can say “Oooh, that’s good, I can’t do that today” they gain instant motivation to look deeper into the way the new tool works (and some tolerance of the things that aren’t quite right yet!)
Maybe the best way forward in these threads is to stress the urgent problems users can solve with Scene-Referred workflow, FilmicRGB, Color Calibration, and Color Balance RGB - the things that are not at all easy to do in the old world.
SOO - what do people see as the big photography issues that DT3.6 kills off?
2 Likes
You’ll find them here (the language is a bit casual, but you get the point):
1 Like
Sorry, for someone pretending to know everything about image processing the language you use in your „scientific explanation“ is absolutely inacceptable. Instead of undue name calling (which in a forum one may let slip through) you should instead remain neutral in language. Thus as a result your „whitepaper“ about the merits of your approach is unreadable due to this persistent name calling. It is especially hard to gain any sort of reasoning because the traditional approach is brushed off with expletives that would get people banned on other forums.
Some things though that you claim are blatantly false - at least in terms of generalisations you claim, they may be true for the previous implementation of Darkable (I never thought it was that badly designed that it fails to separate the working color space from the display/output color space, yet your constant bickering about display referenced seems to point in that direction).
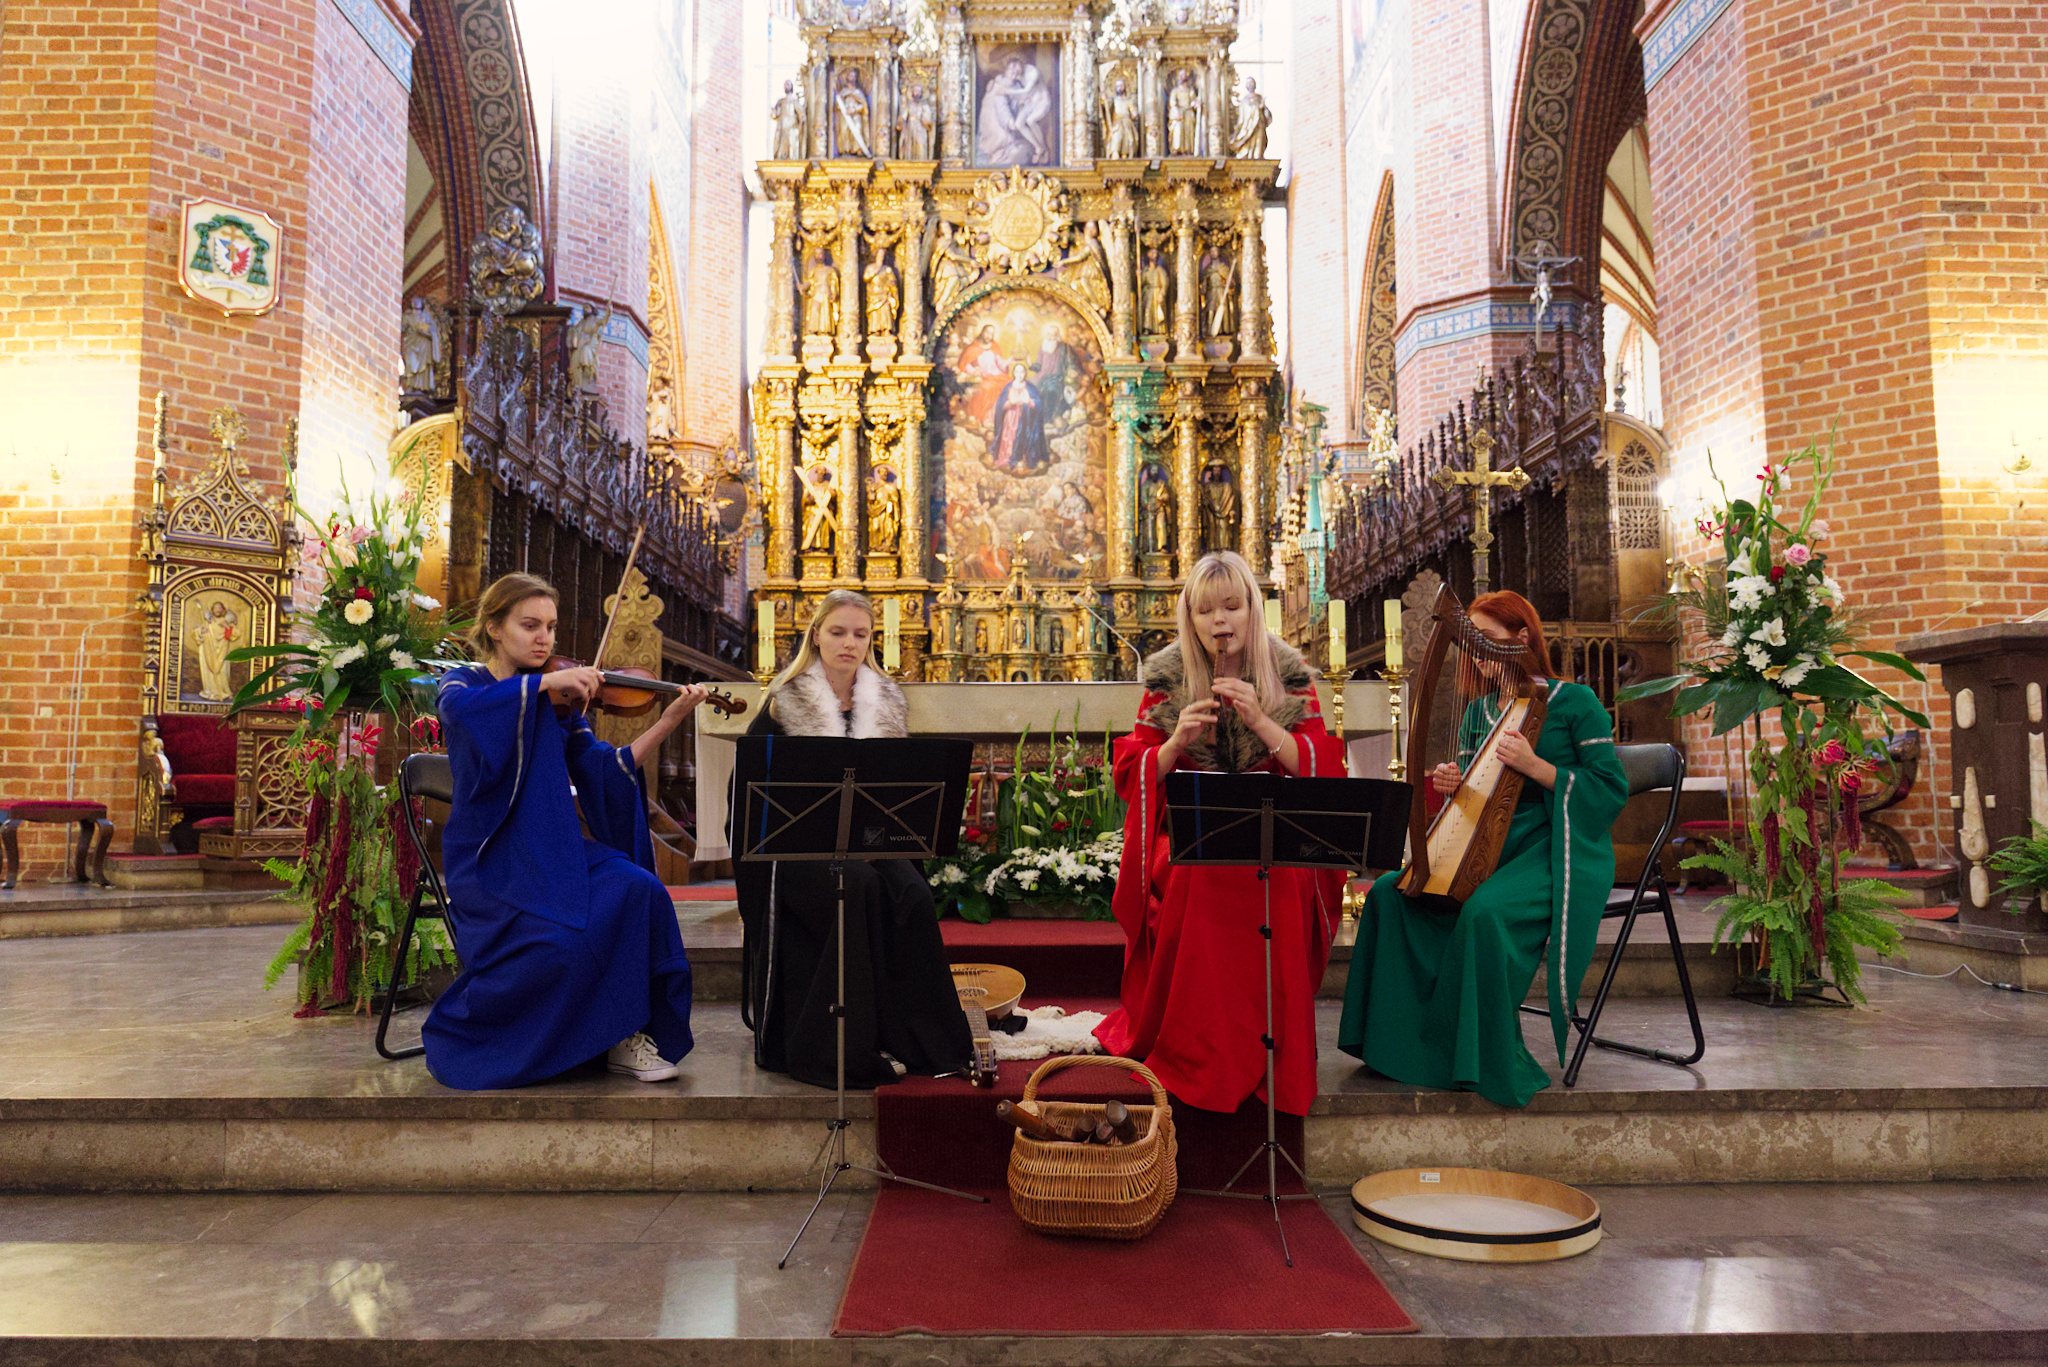
@Leniwiec
Nice image. My edition with RT-5.8-dev
I have applied the proverb: (I hope you understand the translation according to DeepL)
in Spanish: “Si no puedes con tu enemigo, únete a él”.
in English: “If you can’t beat them, join them”.
The enemy is the high lights.
So to make sure no one looks at the enemy of the high-lights, we join them: 
20210814_MG_5096-3.jpg.out.pp3 (14.9 KB)
Process:
- “Film Simulation” LUT module: 75% CrispWinter (from RT’s CreativePack-1 collection) to cool the environment a little.
- Module “Vignette Filter” to kill the high lights at the top.
- “Graduated Filter” module to darken the background.
- Distortion at 0.130 to emphasize a little more the musicians.
- A little crop.
Greetings.
3 Likes
It would help if you could start supporting your allegations with something resembling proof.
Non sequitur…
darktable is no company that can fall if new users don’t get familiar with it. It’s mainly driven with the
spirit by the developers. As long as they have a benefit in making darktable more capable to fit their demands, darktable will improve. Thats how foss works: it’s driven by those who does the job, not by those that just knows everything better and blame the stupid ignorant developers ![]()