I have some issues with this sidecar file on darktable 4.0.1+1~ga59e0af56
It complained about some version incompatibility with the lens module, and every click is processed so slow, working... is displayed for ages.
I have some issues with this sidecar file on darktable 4.0.1+1~ga59e0af56
It complained about some version incompatibility with the lens module, and every click is processed so slow, working... is displayed for ages.
Yes, I had Max RGB and it was awful. Although something is still wrong, even with no preserve chrominance:
20221125_081712_0057.ORF.xmp (54.8 KB)
I’m not sure what’s happening in the bright bit of sky. When I’m on the PC a bit later I’ll load your sidecar and have a look… curious. I might do the same with @dqpcoxeas 's out of interest. Regarding slowness, you could check whether the ‘diffuse and sharpen’ module is in use, even multiple instances. It’s a very powerful module but can really slow things down on a more average computer (like mine)
Maybe I should play with higlight reconsideration module, or the reconstruct tab in filmic rgb?
Yes, there are several diffuse and sharpen instances in @dqpcoxeas sidecar.
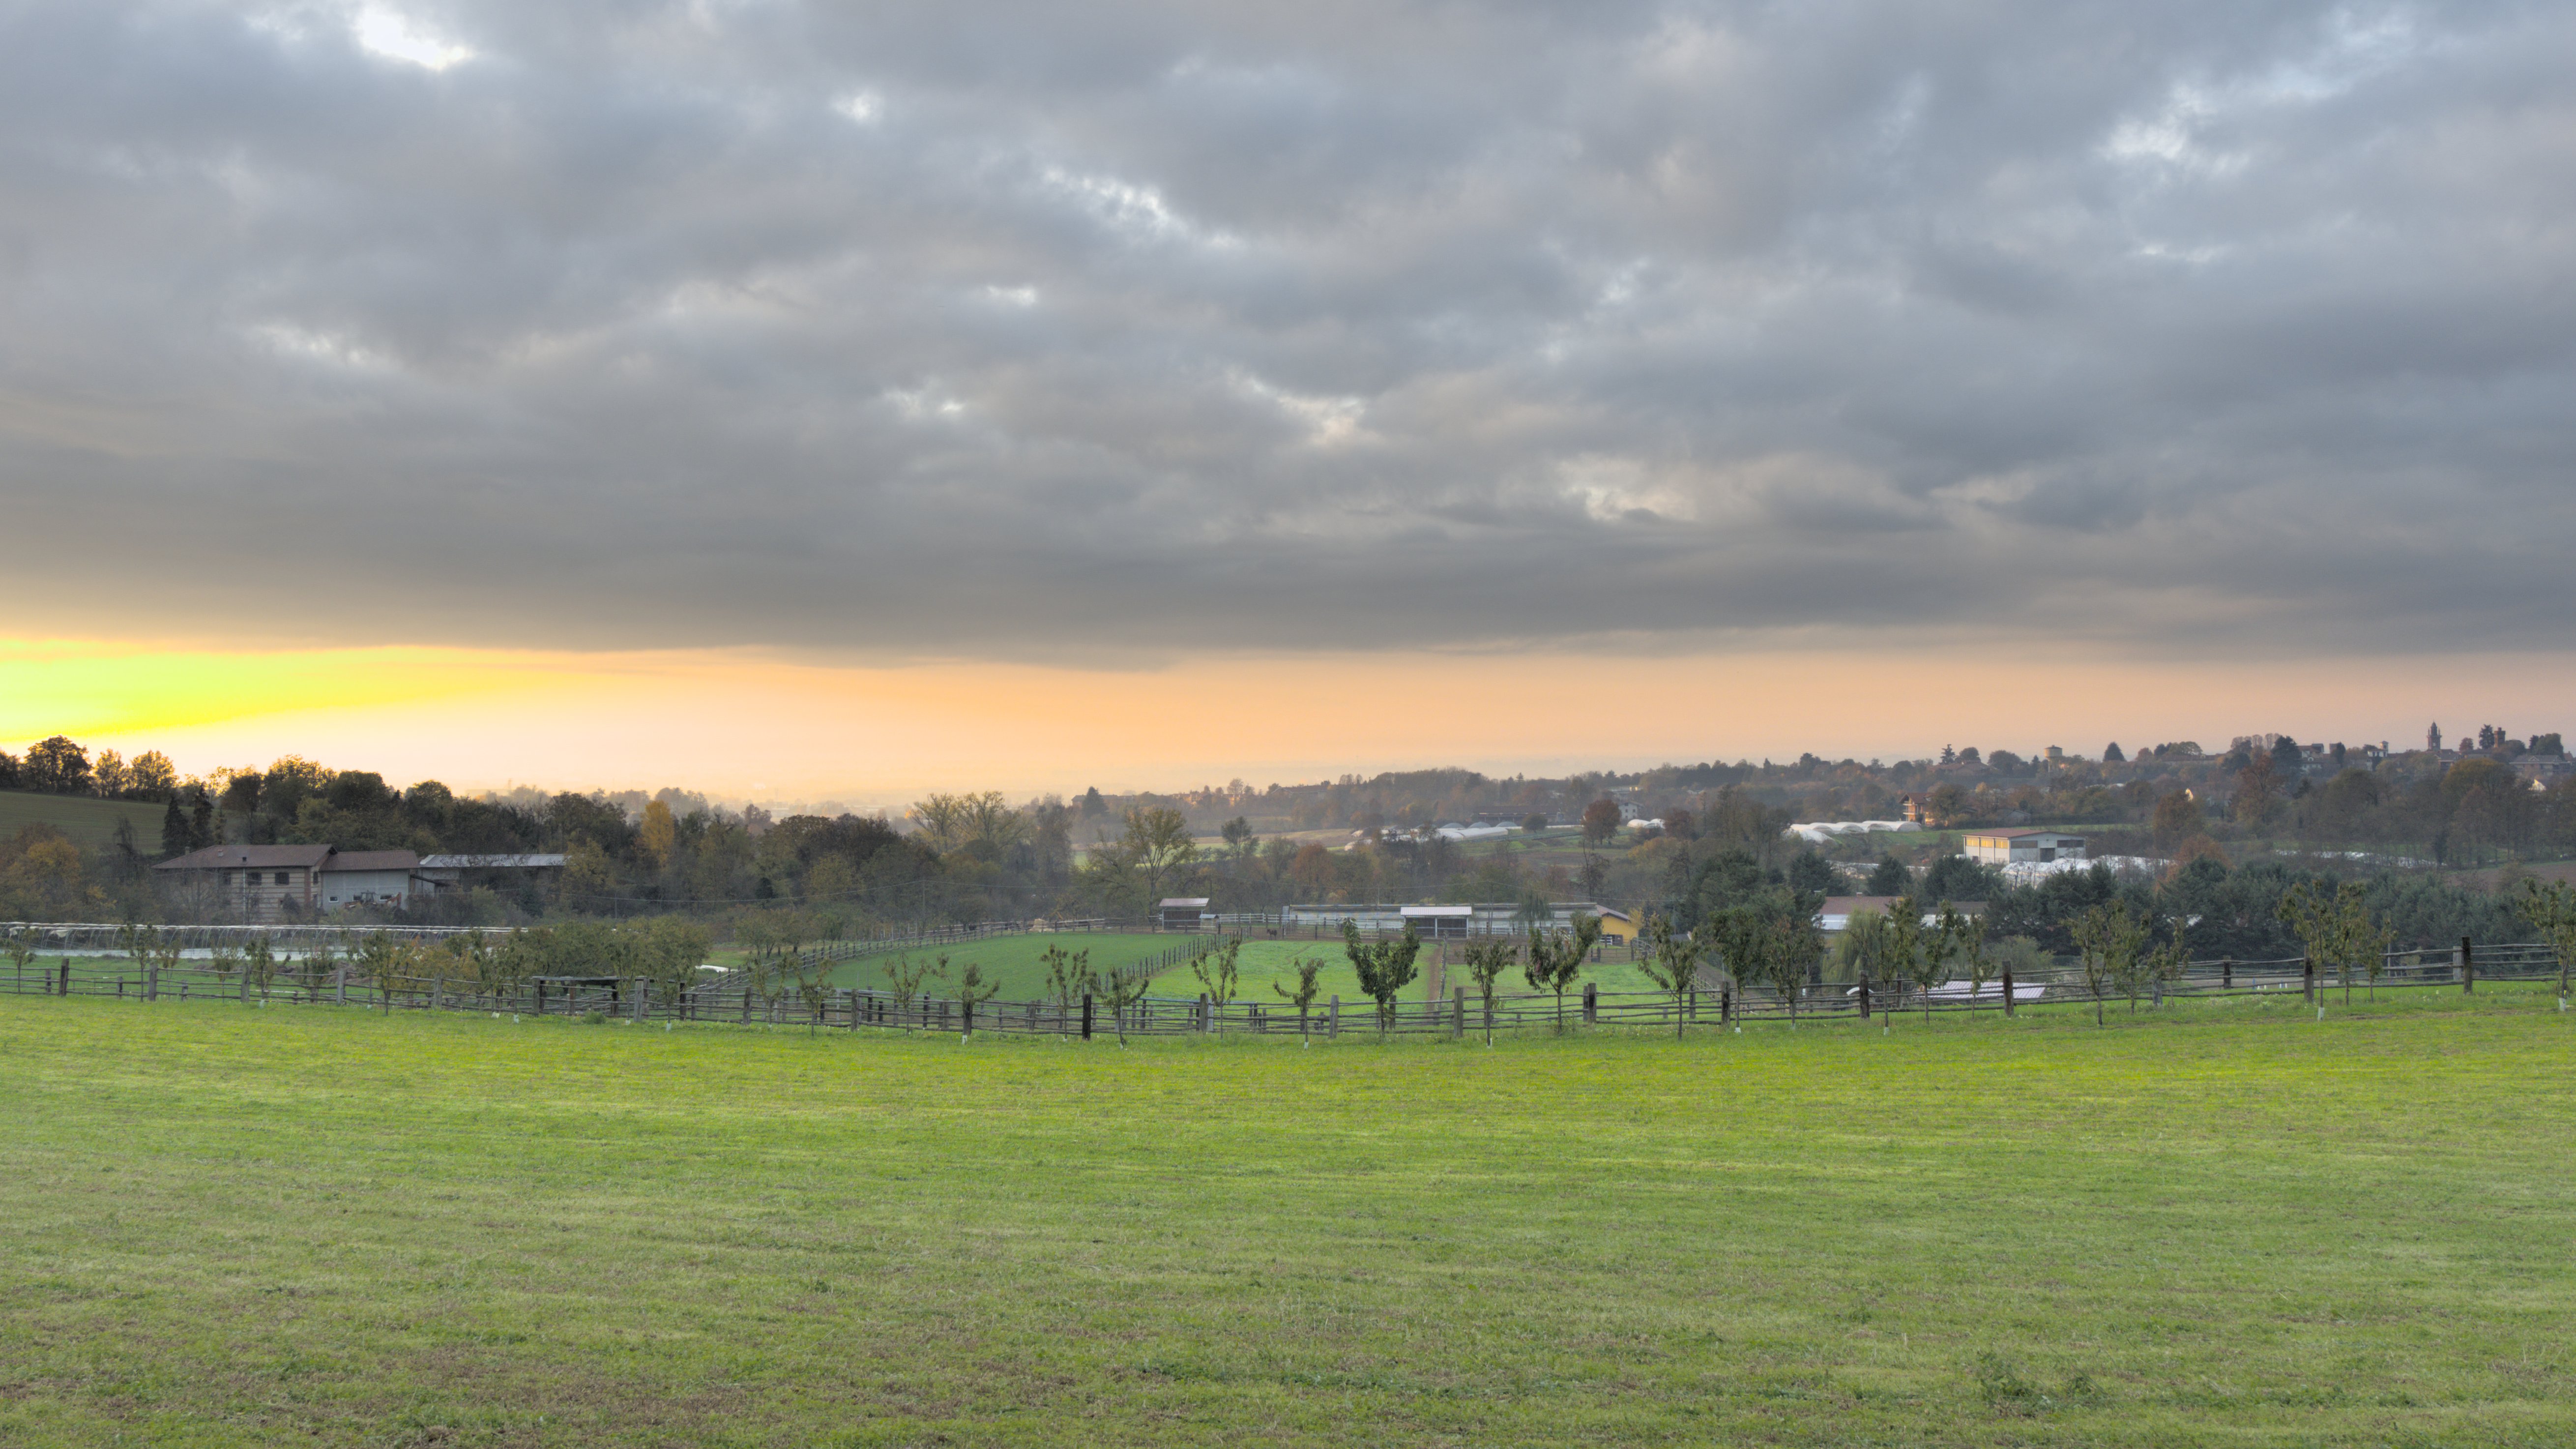
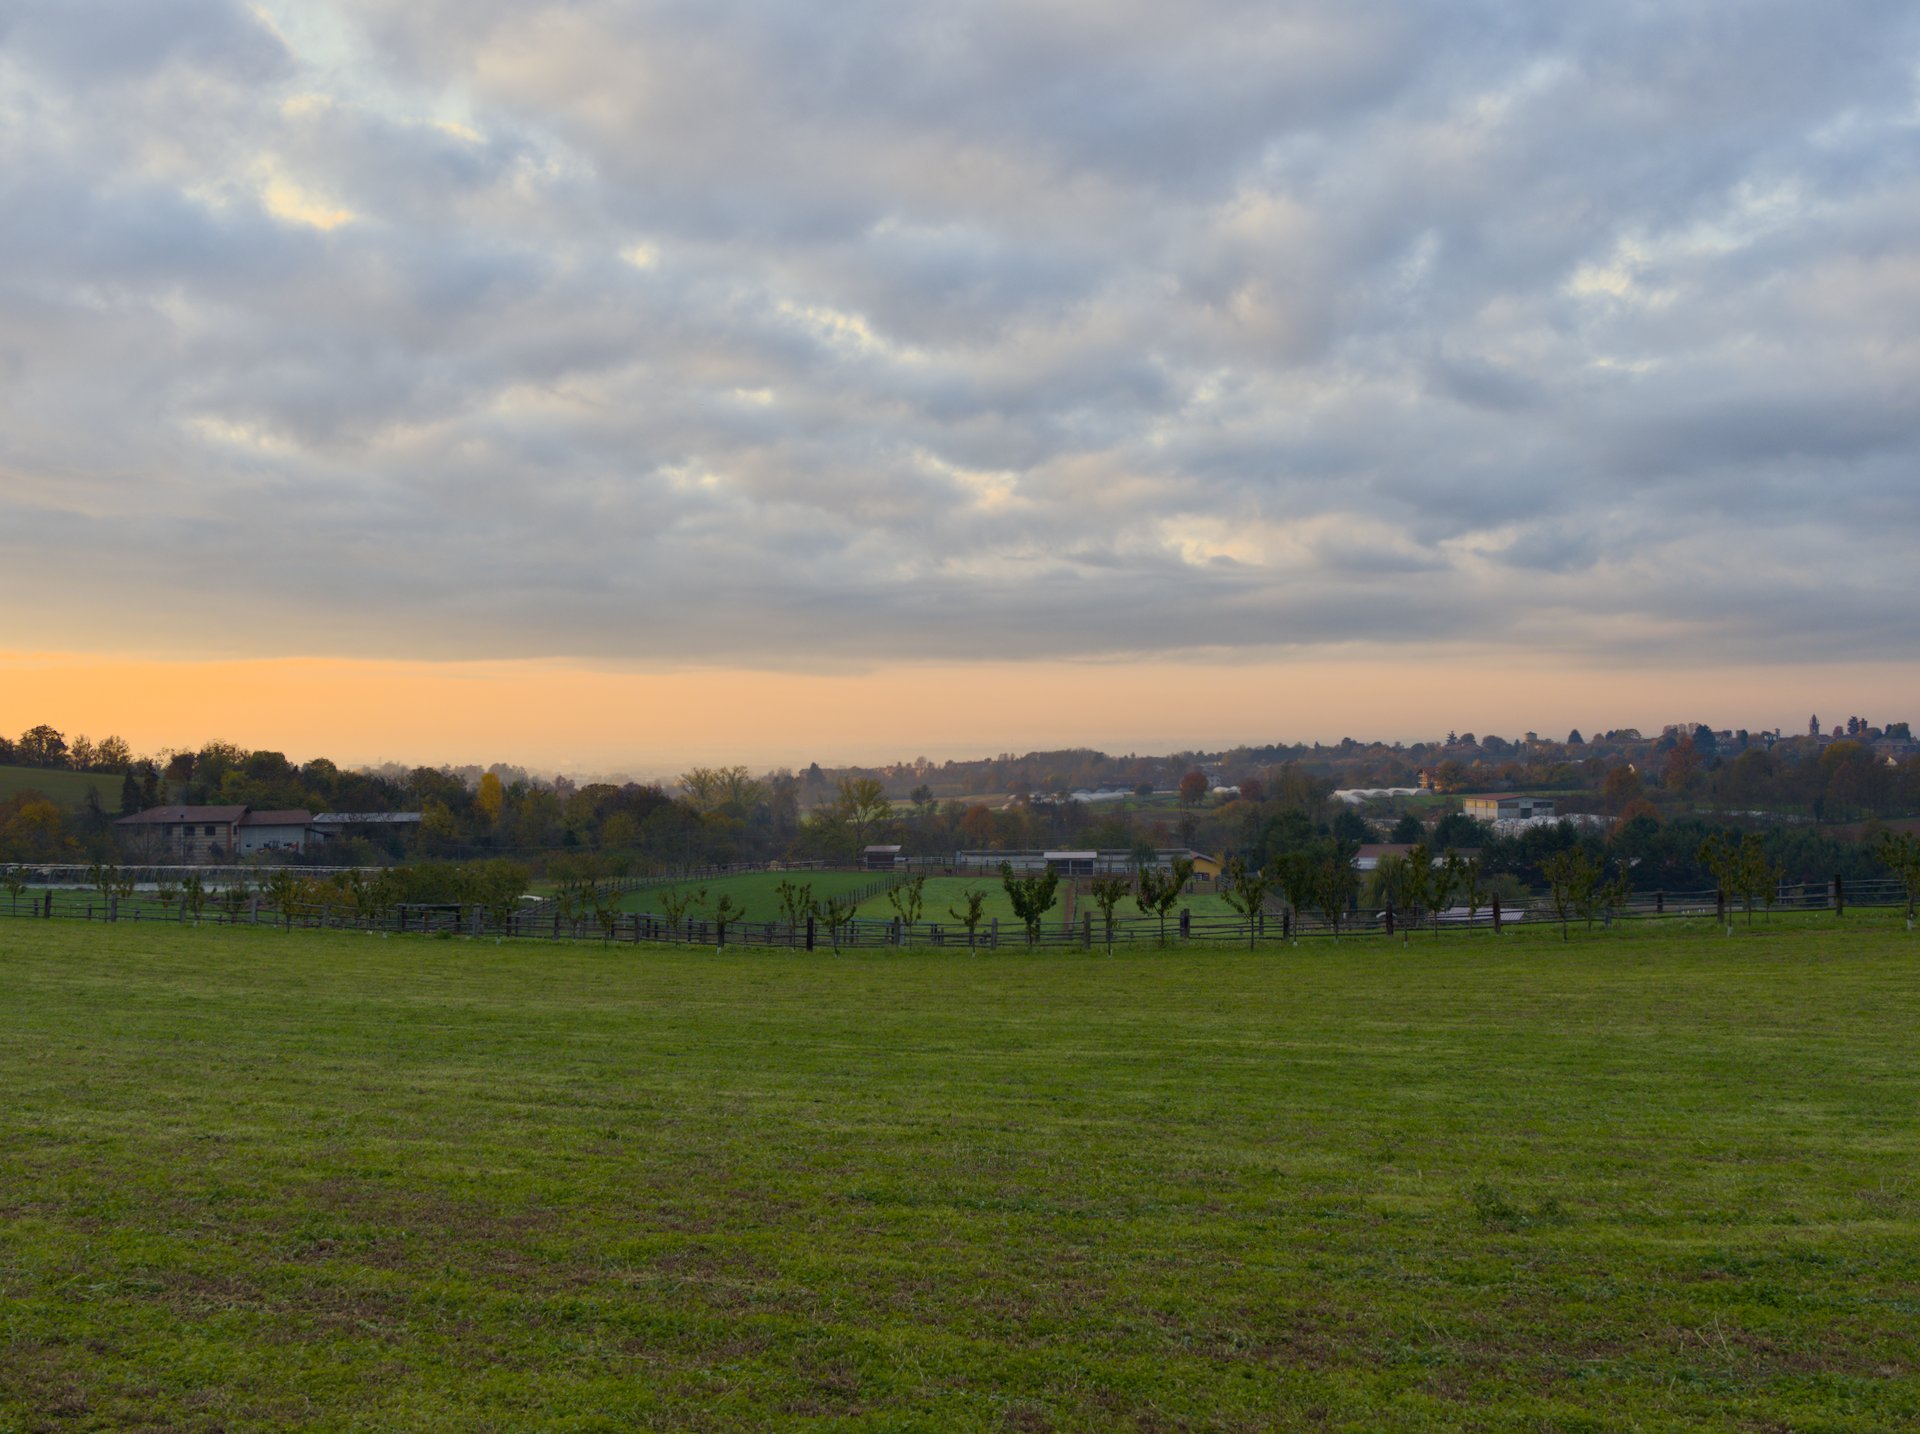
I don’t think there’s any need… if I drop the exposure way down (-2 or -3ev) it’s clear that the raw file is not clipped. I must confess I was a little puzzled about the intense yellow on the left of the sunset portion of the image. Usually filmic rgb will tone down that kind of thing slightly, especially in v6 ‘preserve no’ (non-expert here btw).
I think the harsh transition in the bright sky was caused or enhanced by the brilliance settings in the color balance rgb ‘centro’ module. I fiddled with it slightly and got this (below) without touching anything else, except also the saturation setting in the same module.
But it seems a surprisingly challenging image, especially if one wants to keep the bright color in the sky!
Oh, and yes, the slow response you mentioned will be the d&s modules. Try switching them all off and see if things speed up!
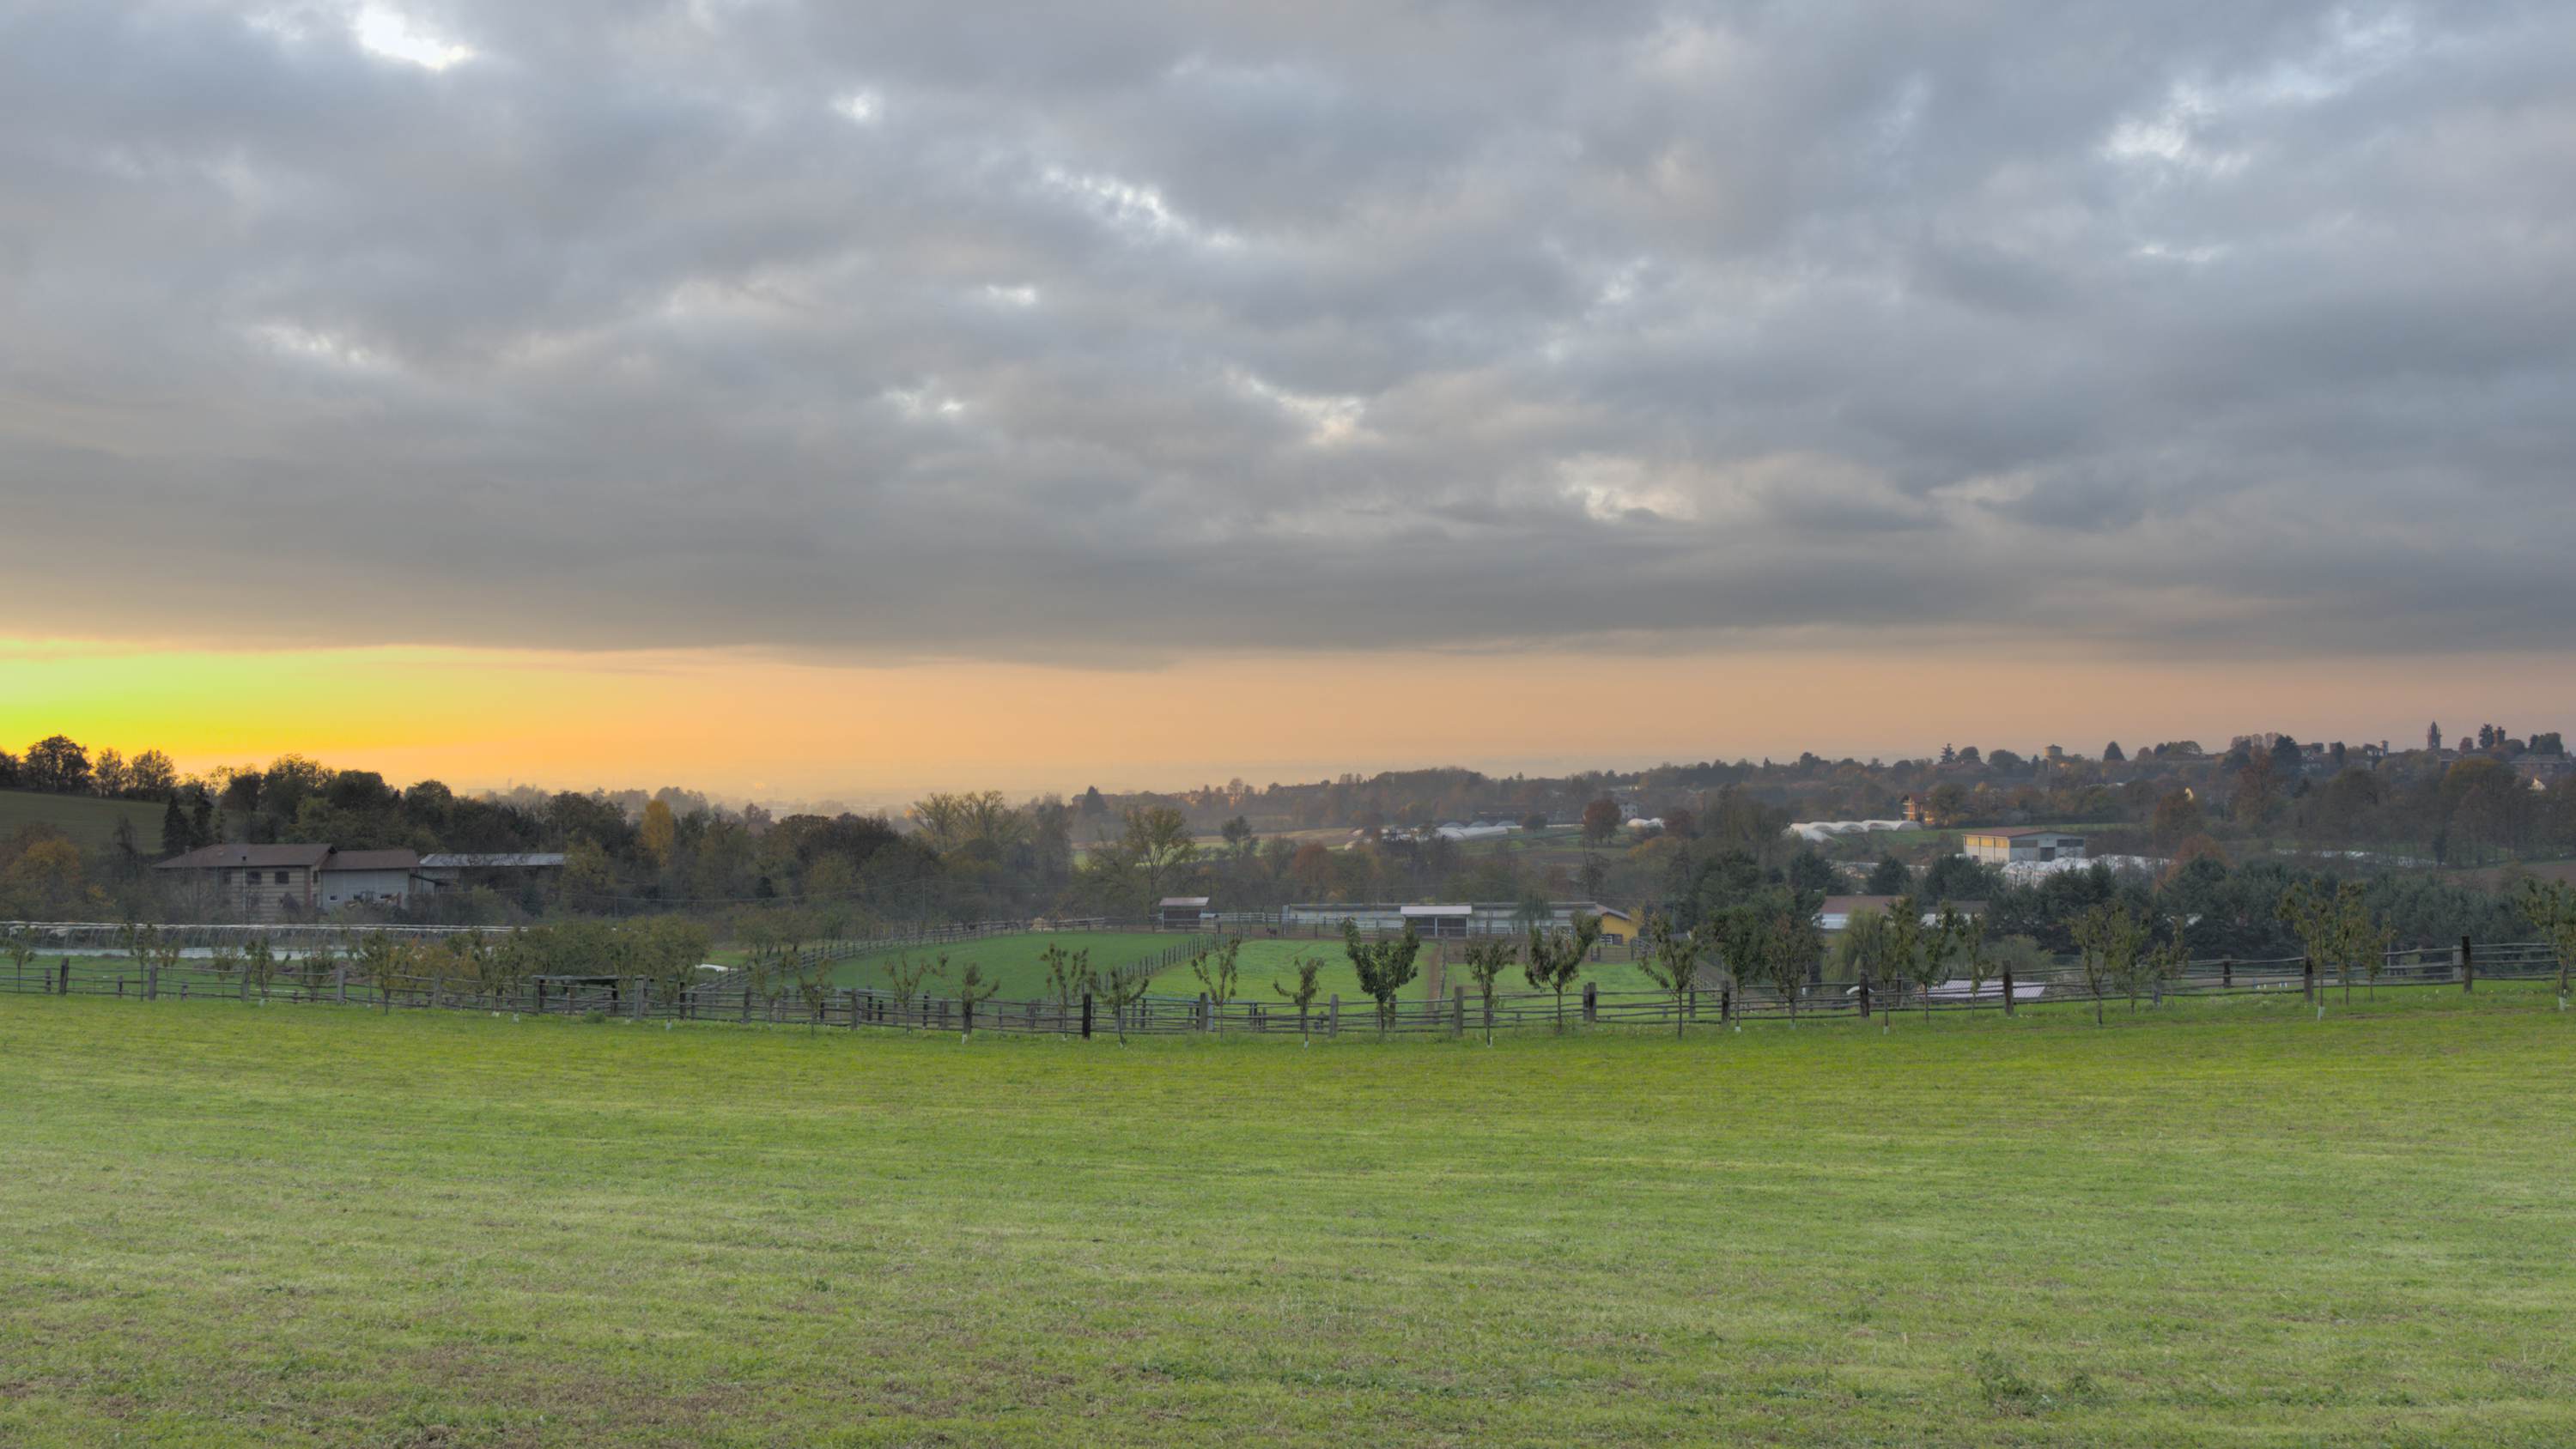
Another try using different settings in that color balance rgb module. Slightly different but better IMO. Used the 4 ways tab for darkening instead of the brilliance sliders. I don’t really get on with the brilliance adjustments for some reason 
20221125_081712_0057_02.ORF.xmp (56.6 KB)
The options for highlights recovery and ton mapping starts to get a bit overwhelming to me. A lot of things to try during wintertime  .
.
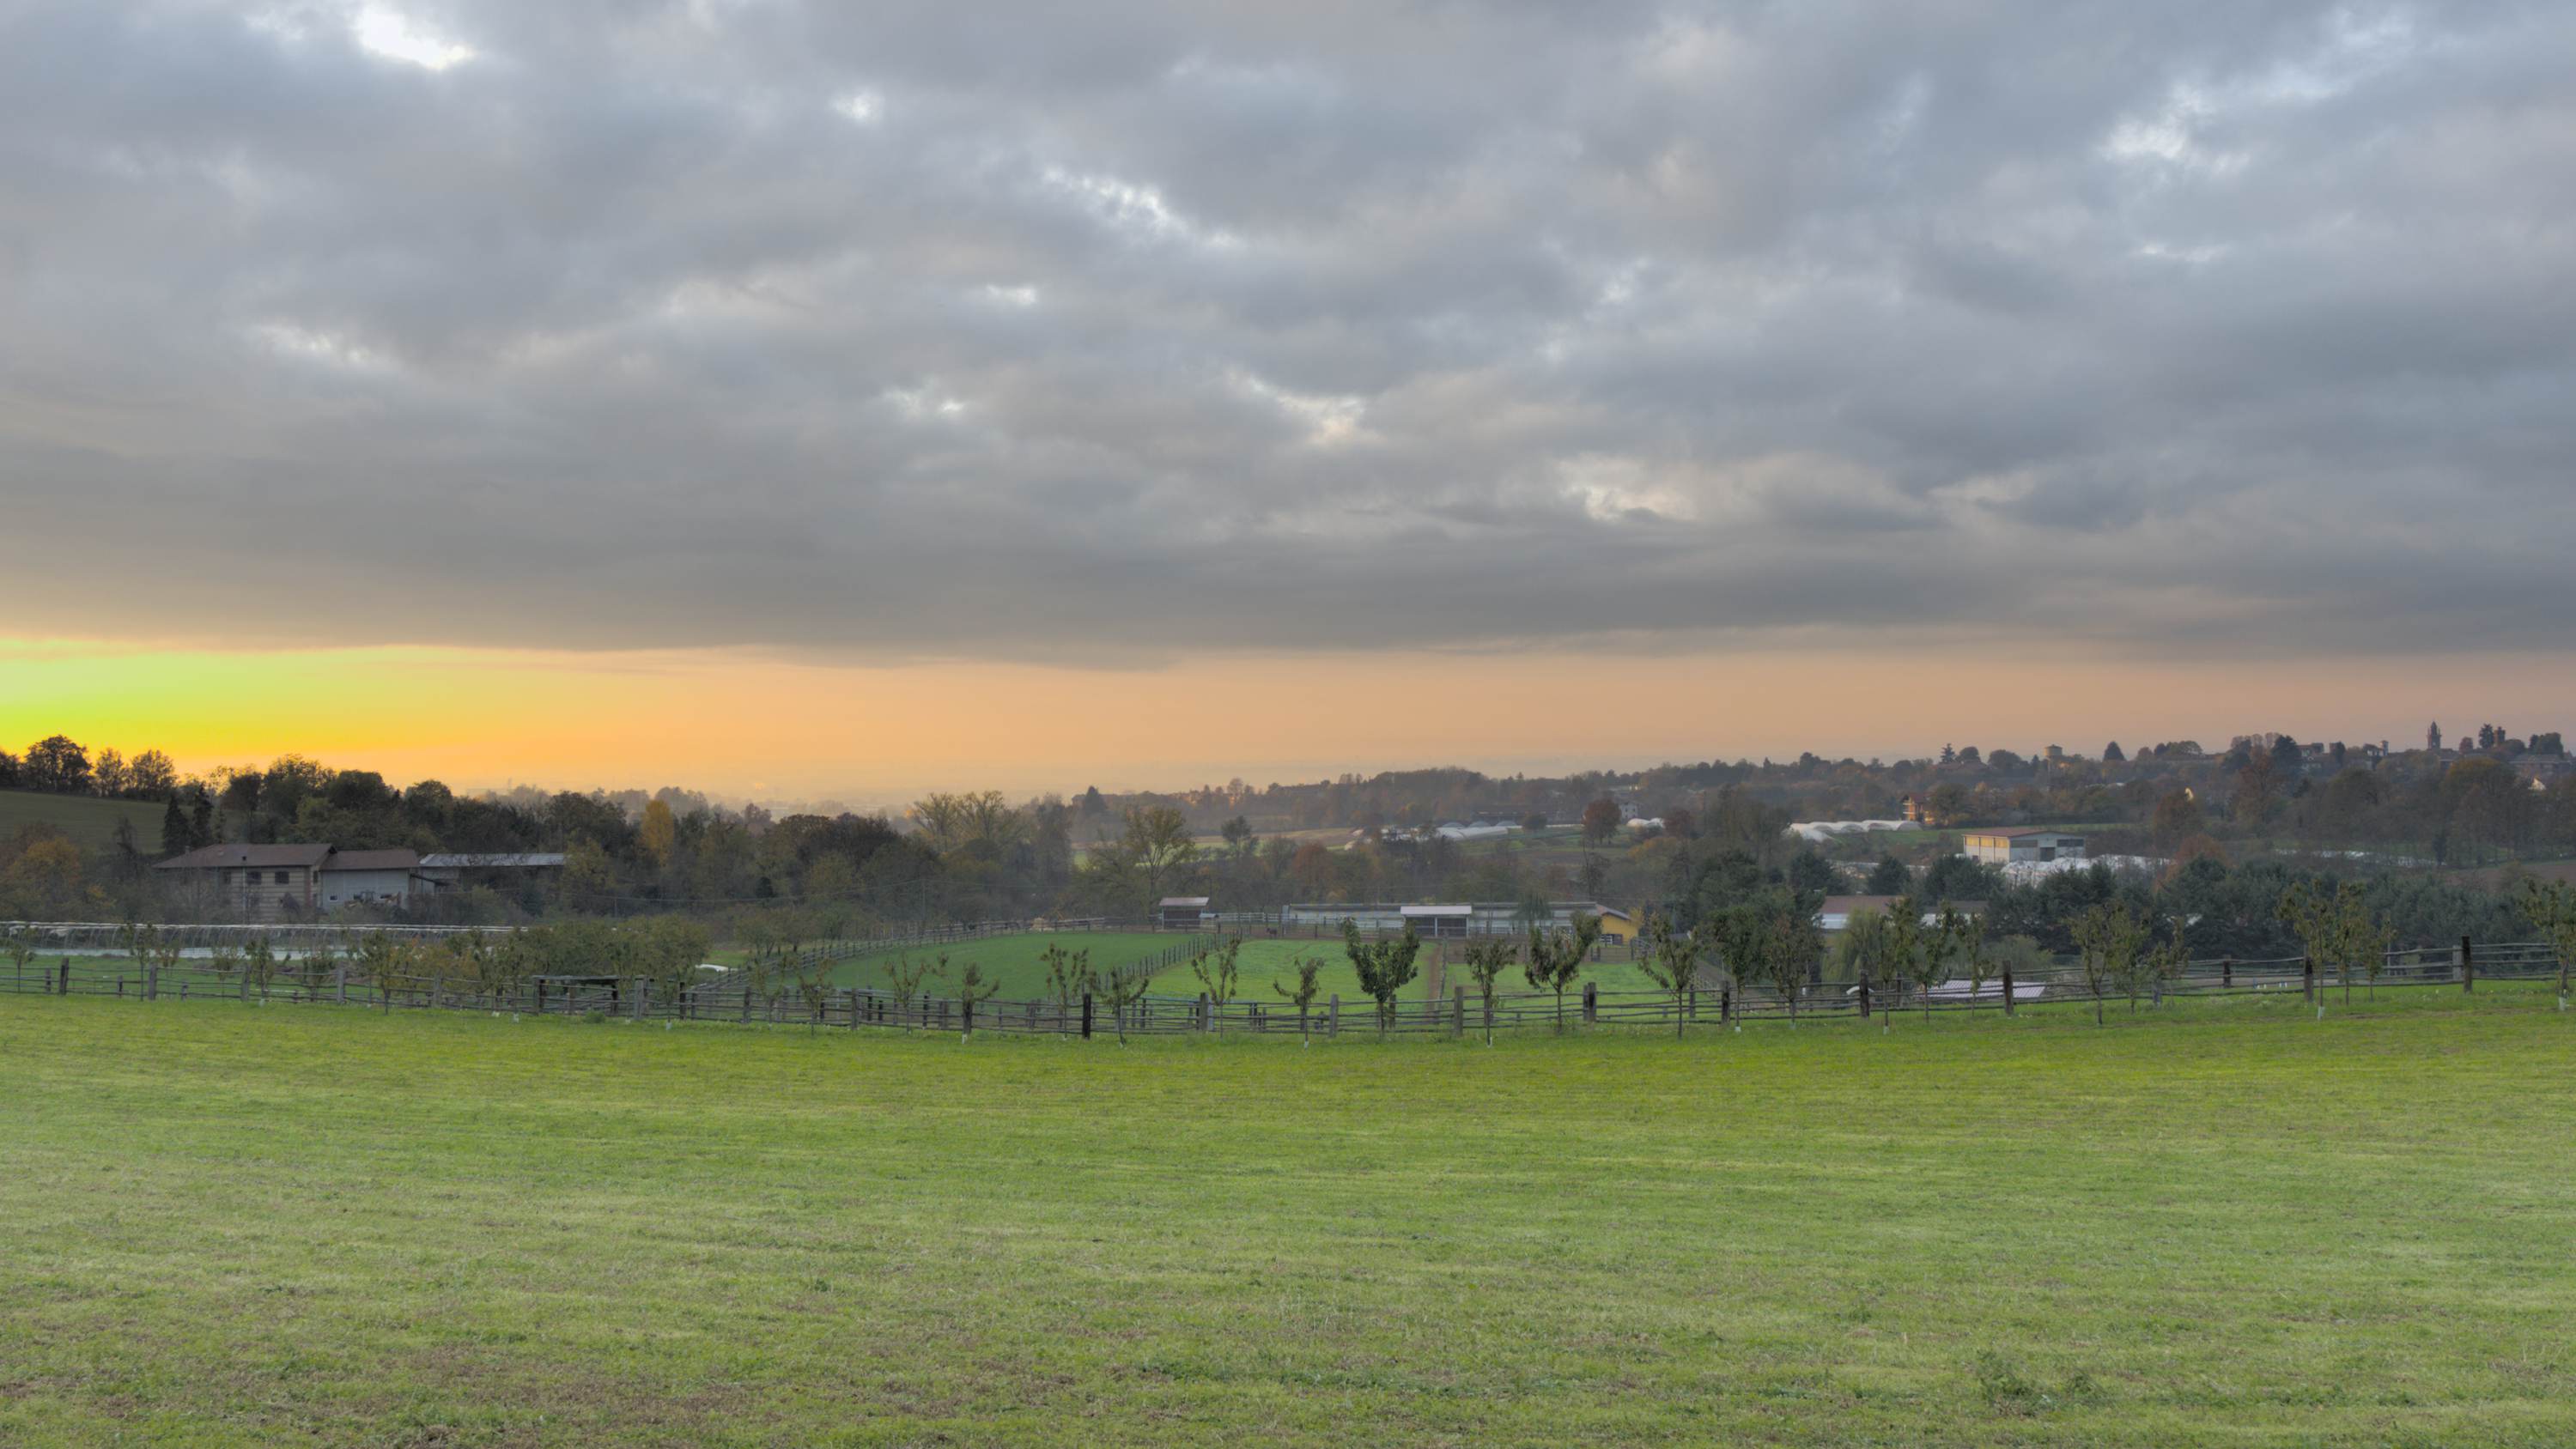
Here my first try using sigmoid. In addition, I used the masks tab in Color balance RGB to color the highlights.
20221125_081712_0057_01.ORF.xmp (38.3 KB)
If it helps…
The Darktable version I’m using right now is : 4.1.0~git897.6bb53e25-1
Indeed, I use multiple instances of diffuse or sharpen depending on the needs.
Saúdos.
Use v5…better for skies like this use safe or even try soft for the highlight shoulder. Use some latitude and tweak midtones saturation up or down as needed. Use color pres at no and slide the latitude towards or away from highlights. These tweaks can usually produce a pleasing result for color and saturation…
I’m watching Aurélien Pierre’s video on highlight reconstruction, it’s very informative.
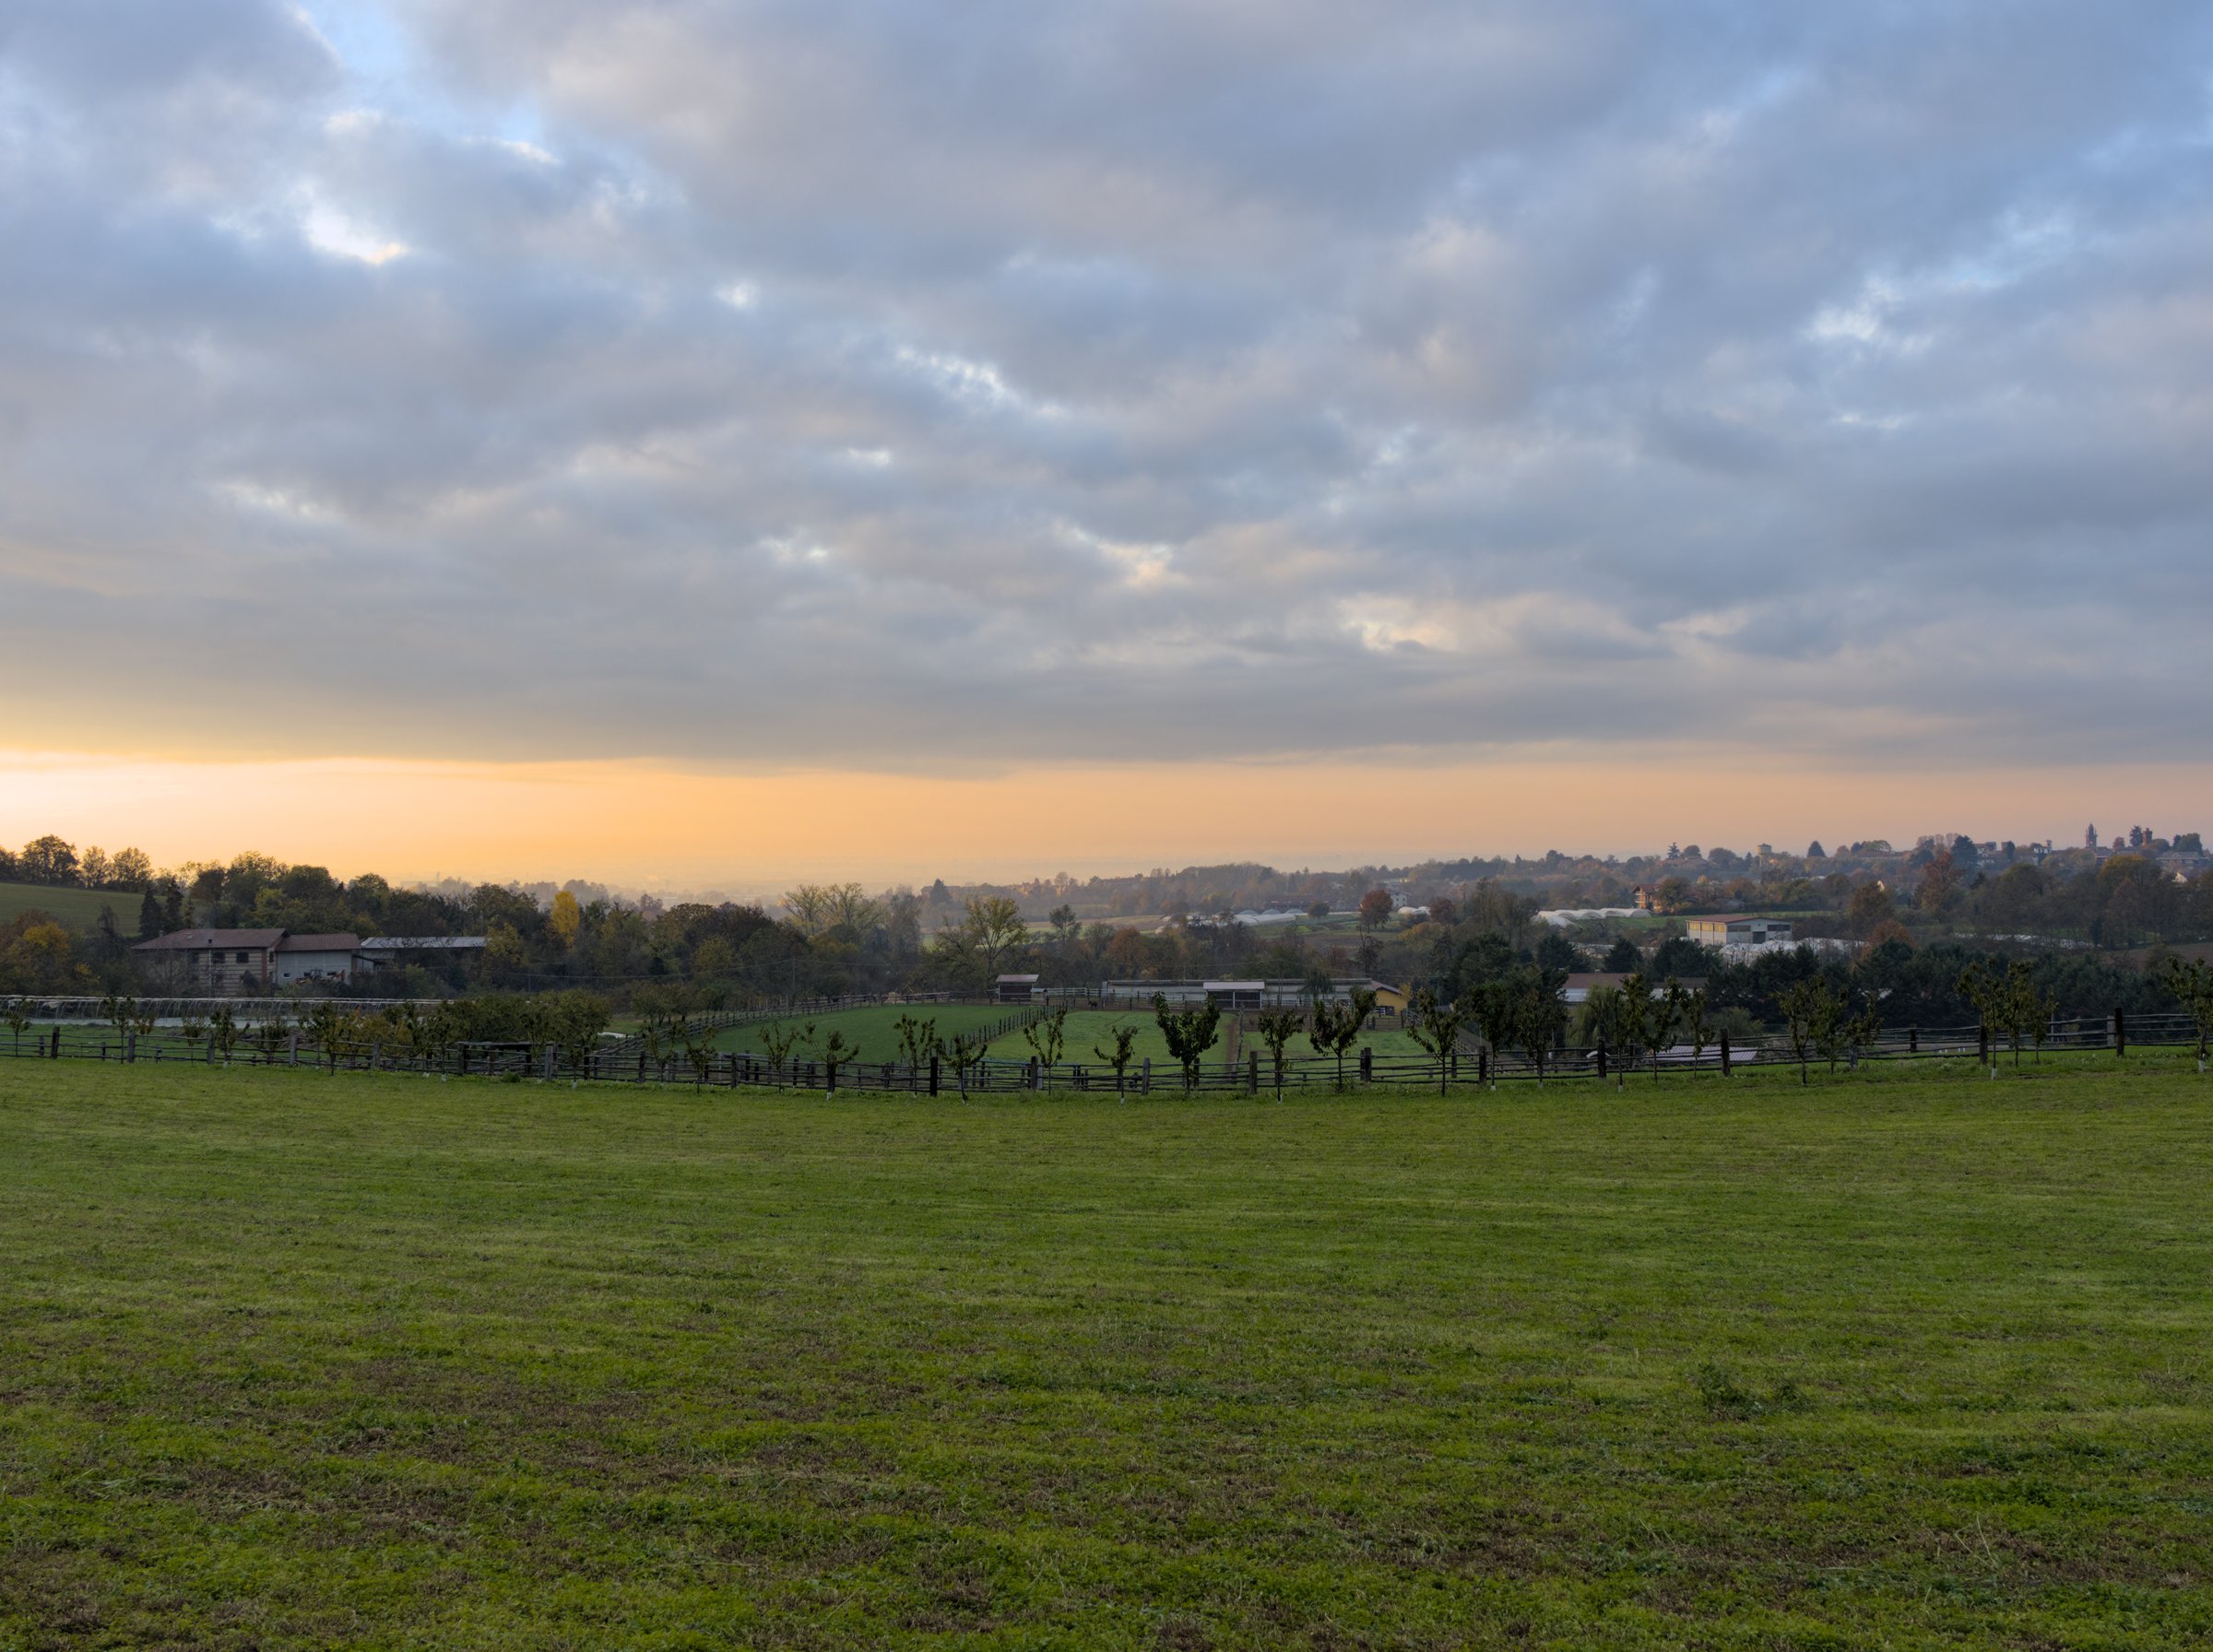
I ended up with the following version, where I took advantage of guided laplacian highlight reconstruction (with 5 iterations and a 512px diameter). Filmic rgb with v6 color science and max RGB preserve chrominance.
It’s not as spectacular as several alternative versions I saw here, but I’m nevertheless very happy with my result, considering that just few days ago I was stuck with what I could get out of OM Workspace.
20221125_081712_0057.ORF.xmp (81.9 KB)
As well as his videos, you could have a look at Boris Hajdukovic’s (@s7habo) videos. I haven’t watched that many but the ones I have are great, very informative and he shows quite a lot of different approaches.
One nice one he has shown is to use the tone eq and blend in one of the color channels to add or sub track…for example using blue you can boost the blue in an area by hovering or if you take the blue away make it more yellow… it can be a nice tweak for skys… you often need to use opacity as well but it can be just the right little touch or tone down that you need … same for green in areas or reds… Obviously only one way to do this among many…
I’m exploring the new features of RawTherapee 5.9. Some of them are arcane, others are unreasonably complex. For this image I employed abstract profile.
Hello,
Nice processing, it motivates me to learn Rawtherapee,
Greetings from Brussels,
Christian