That’s an approach I will try. It will mean reloading the image in a different image editor, so quite a few more steps in a workflow, but then, I don’t see it being needed every time. Hopefully only occasionally.
Ah yes, I also worry about what a printing lab will do to it before printing it for me.
Phew. So much help, so I’ll say a collective thank you to all. Meanwhile I can now get D&S to do all the sharpening I need from nearly any image, and I still have the old sharpen module in hand just in case.
I meant the dehaze preset in D&S sorry… I find it a nice way to crisp up images and its not an effect at all like you get with the dehaze module… sorry if I was unclear…
On its own it is often nice but can be a bit strong also…but when denoise is added and there is a bit of softening of the image I find this is a good match to recover that back…
For sure any translation of an effect demonstrated on YT would be prone to not actually appearing as it might to the user but I think Andy might also just be quite measured and justifiably so when he was demonstrating sharpening.
it’s very easy to over do contrast and sharpening… and it is also very subjective and must be managed around issues with scaling and display media printing etc etc…
I must say that I am still puzzled that quite a few people say that one of the sharpening presets of D&S are enough to give them a sharp image. Are you perhaps starting with a jpg out of the camera? I ask because, a RAW image from my Canon 80D, or a RAW from my Lumix FZ80 for that matter, needs quite a bit more sharpening than that. I now have a preset for D&S that approximates what sharpen used to do, but does much more intensive sharpening than those default presets supplied.
Maybe share that preset…although it may be specific to your hardware it might also provide a bit of insight as to your preference for sharpness… maybe along with a test image that you apply it to…
No, it’s from a raw file. And i repeat , it’s all subjective and to taste !
But yes, with ‘sharpen demosaic aa’ and ‘lens deblur: medium’ presets I’m already scared of overdoing it . If you want more , then i wonder why .
Maybe post a raw file you’re willing to share ? Because maybe you are just right, or maybe we just have different tastes.
Using the kit lens vs a nice L series, accounting doe shutter shock and handling movement and subject movement , … Pff. There are so many reasons why your images might not be as sharp as you would like .
So maybe you apply more sharpening that might not be needed with ‘a better approach at the shot’. Maybe because its a limit of your gear. Maybe because you just like more sharpening.
A lot of maybes, and I’m sure i don’t have them all :).
For my part the preset is aa filter sharpening apllied with noise profiled and basic colorfullness as a style applied at the start of processing…then exposure and filmic.
Appreciate the thoughts, however, for me, the comparison with the OOC jpg version of the same image as the RAW file, tells me I am not being silly with the amount of sharpening. I only want similar sharpness to what the manufacturer of the cameras has determined to be “correct”.
I thought an example might help. First is with sharpening demosaicing default preset, second is with increased sharpening (from D&S plus a little of the old sharpen module) I will admit the second is heavily sharpened, but I wanted an good example. I prefer the second one.
For most manufacturers the level of JPEG sharpness is also user-defined from a menu in the firmware, though they often provide a number of basic styles to choose from. I guess you’re talking about the default out-of-the-box style (for Canon I think it’s called “standard”)?
edit: although you can set the camera to save jpg and RAW, even when not using the automatic styles, even in full manual, it still does the sharpening etc to produce the jpg.
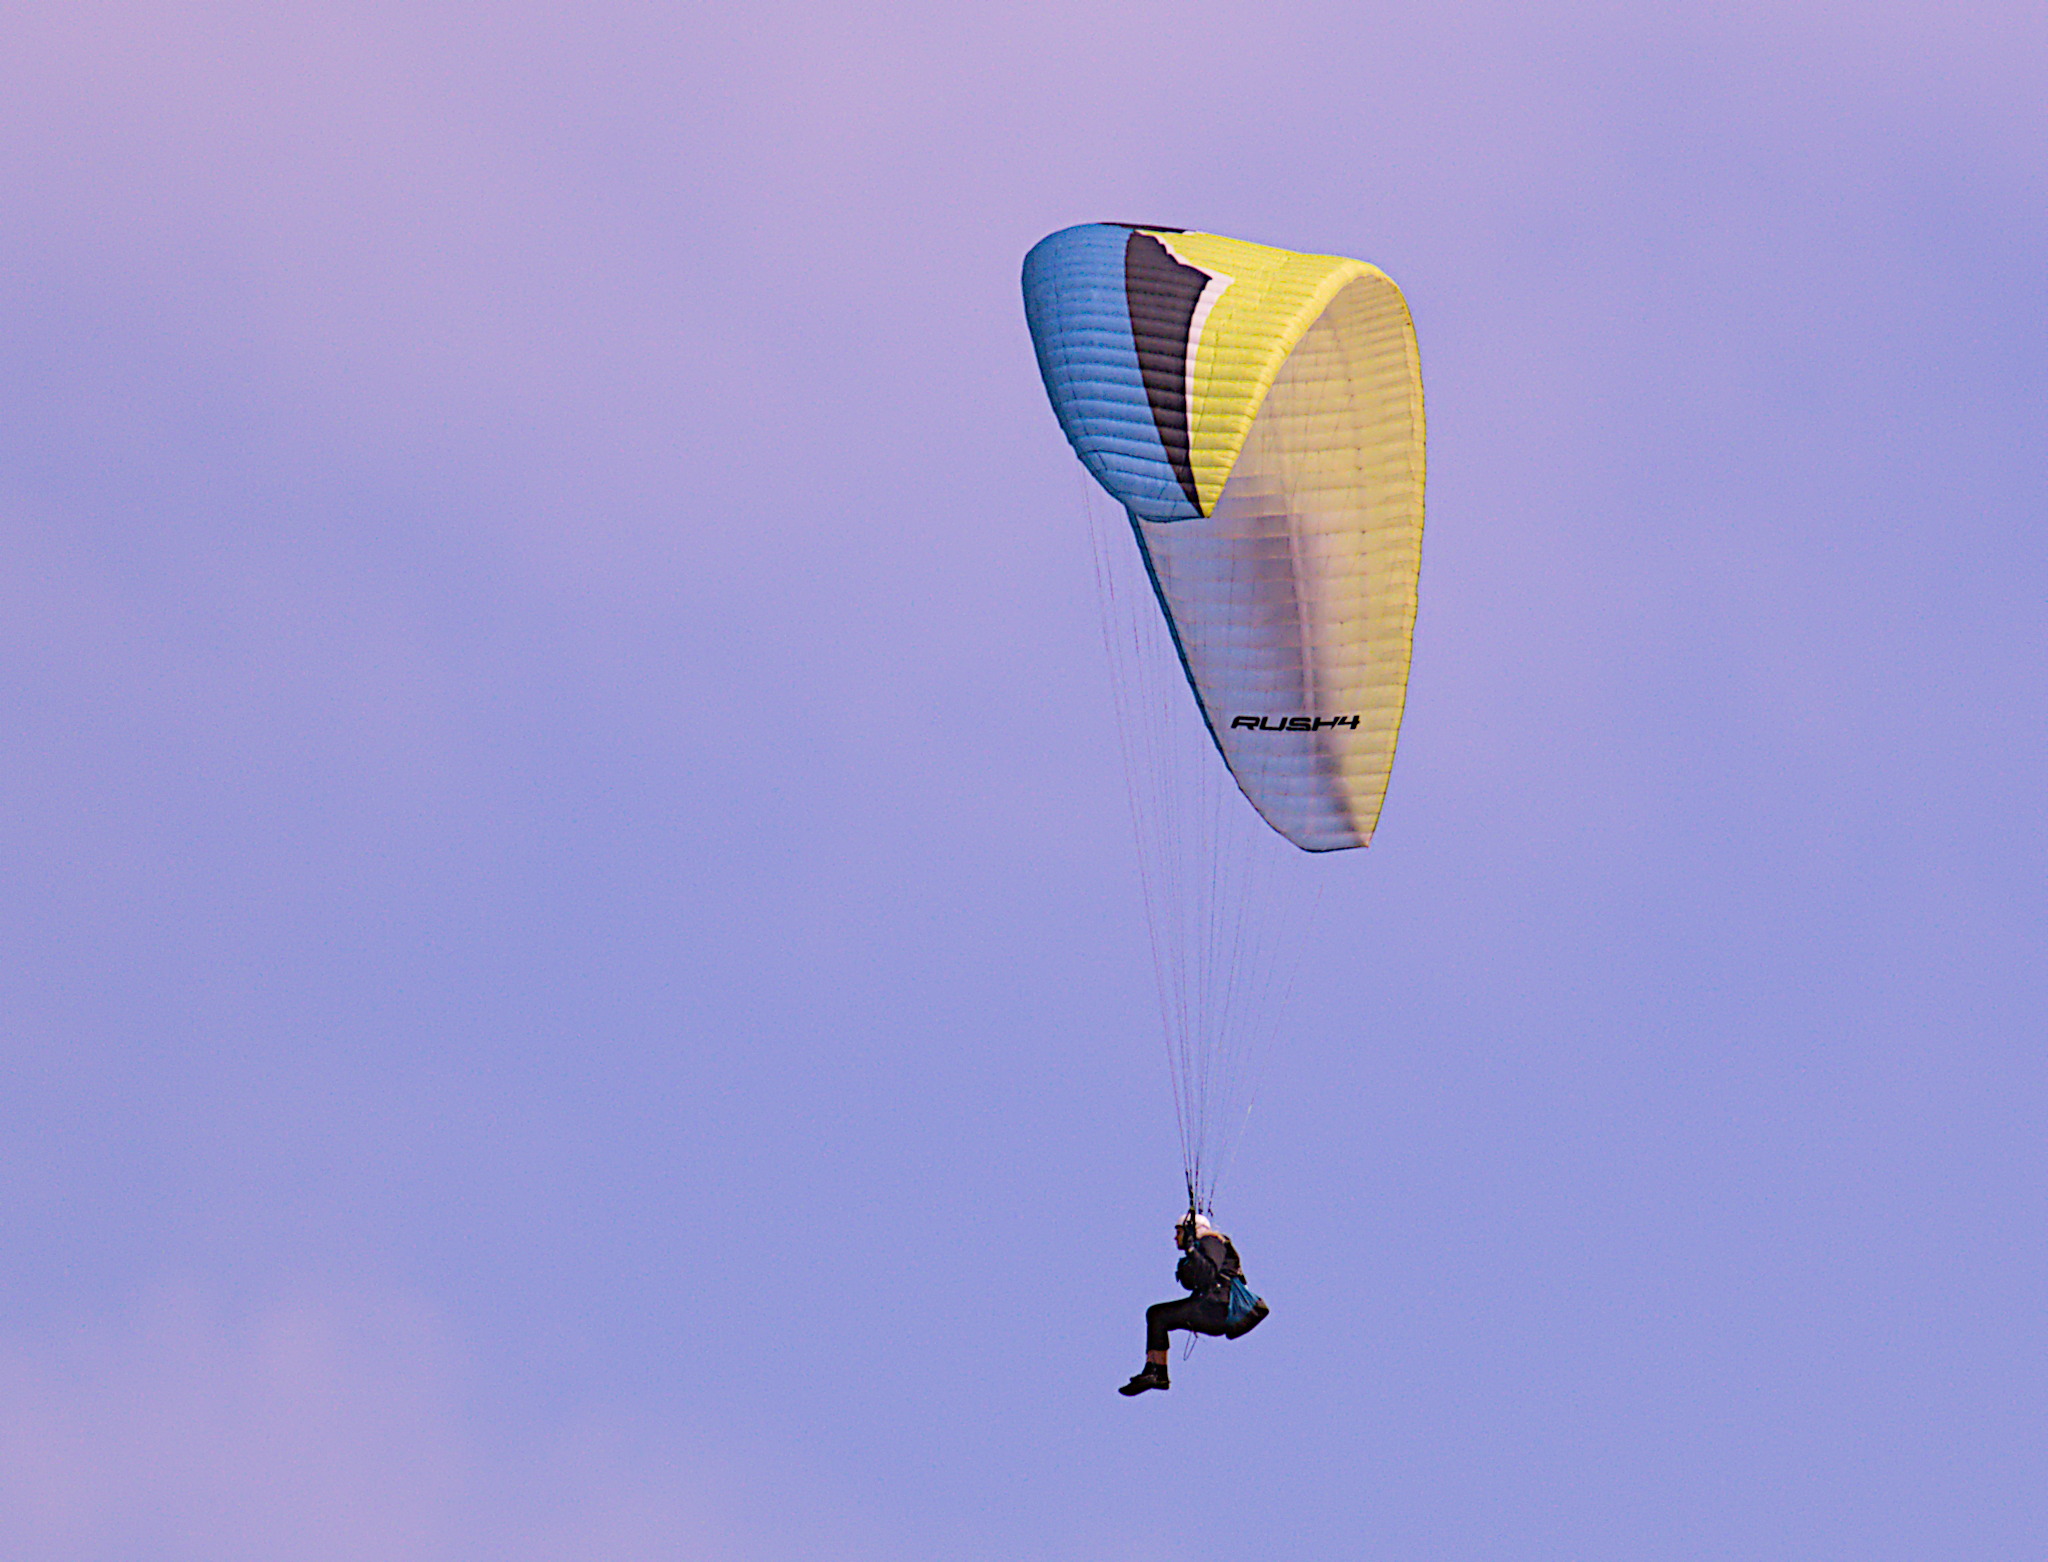
What I dislike aobut the second one is the harsh black line along the left edge of the glider(?), and the purple line on top of it – I think it’s haloing.
You are right. With the new D&S module, I can back off a bit using the edge sensitivity control and reduce the halo, with the old sharpen module, it is harder to control. Another reason I chose this image is that haloing is most problematic in situations like this with high contrast against a plain sky background.
This one is with D&S alone, using my new tweaked preset. I think I like it best.
For a portrait I find the demosaic aa filter preset of D&S is sufficient. For a landscape I also use the sharpen module with the amount set from 0.50 to 2.0. There is a real danger of over sharpening images. I more often than not use local contrast module as I like the ‘clarity’ it gives an image. I still have a lot to learn with the D&S module and defer to the comments of more experienced users of D&S here. Good luck.
Sounds like you pretty much see it the same way I do. Yes, for a portrait of someone, you do not want pin-sharp images. For images that need it, I find the sharpen module set to 1.0 is plenty and just vary the radius to suit the image.
When I was creating my better sharpening D&S preset, that’s what I was comparing it to. I then adjusted the setup so I had some leeway to under or over sharpen the average image. The D&S module is definitely more adjustable in sharpen mode, than the old sharpen module. It will cope with a wider range of situations for sure.
You mentioned local contrast. Yes I have used that, although, filimic, along with the color balance rgb module contrast and perceptual brilliance sliders with adjustable shadow highlight masks, has pretty much replaced a bunch of older modules for me, so I seldom use shadows and highlights, and local contrast, and even haze removal is now mainly used as originally intended, and not as an effect. I also used to use the velvia module because I liked the look, but I am finding the color balance rgb - global vibrance and perceptual saturation and chroma, are allowing greater control and producing great images.
If I was to need more, the contrast equaliser and tone equaliser would be my choice these days.
 . If you want more , then i wonder why .