Interesting. I like the look of the fruit in the second image. (The two colour images are presumably before and after?)
The process is above my head but where did the three gammas 2 .8 .5 come from / how derived?
Is it easy to apply this processing to my test image above, the TIF? - I’d be interested to see the results.
Completely arbitrary gamma values just to demonstrate (higher = brighter, untouched = 1). That’s all I wanted to do here - show that gmic makes testing extremely fast compared to writing in c and compiling. I wouldn’t suggest this as a drop in replacement; it’s working in sRGB “gamma” and doesn’t allow radius selection amongst other issues. Nonetheless, here’s an example of the test image with quite aggressive values 2,1,0.5:

As you can see, there is some halo. That could be reduced by changing radius.
Edit: yes the previous was before (top) and after (bottom).
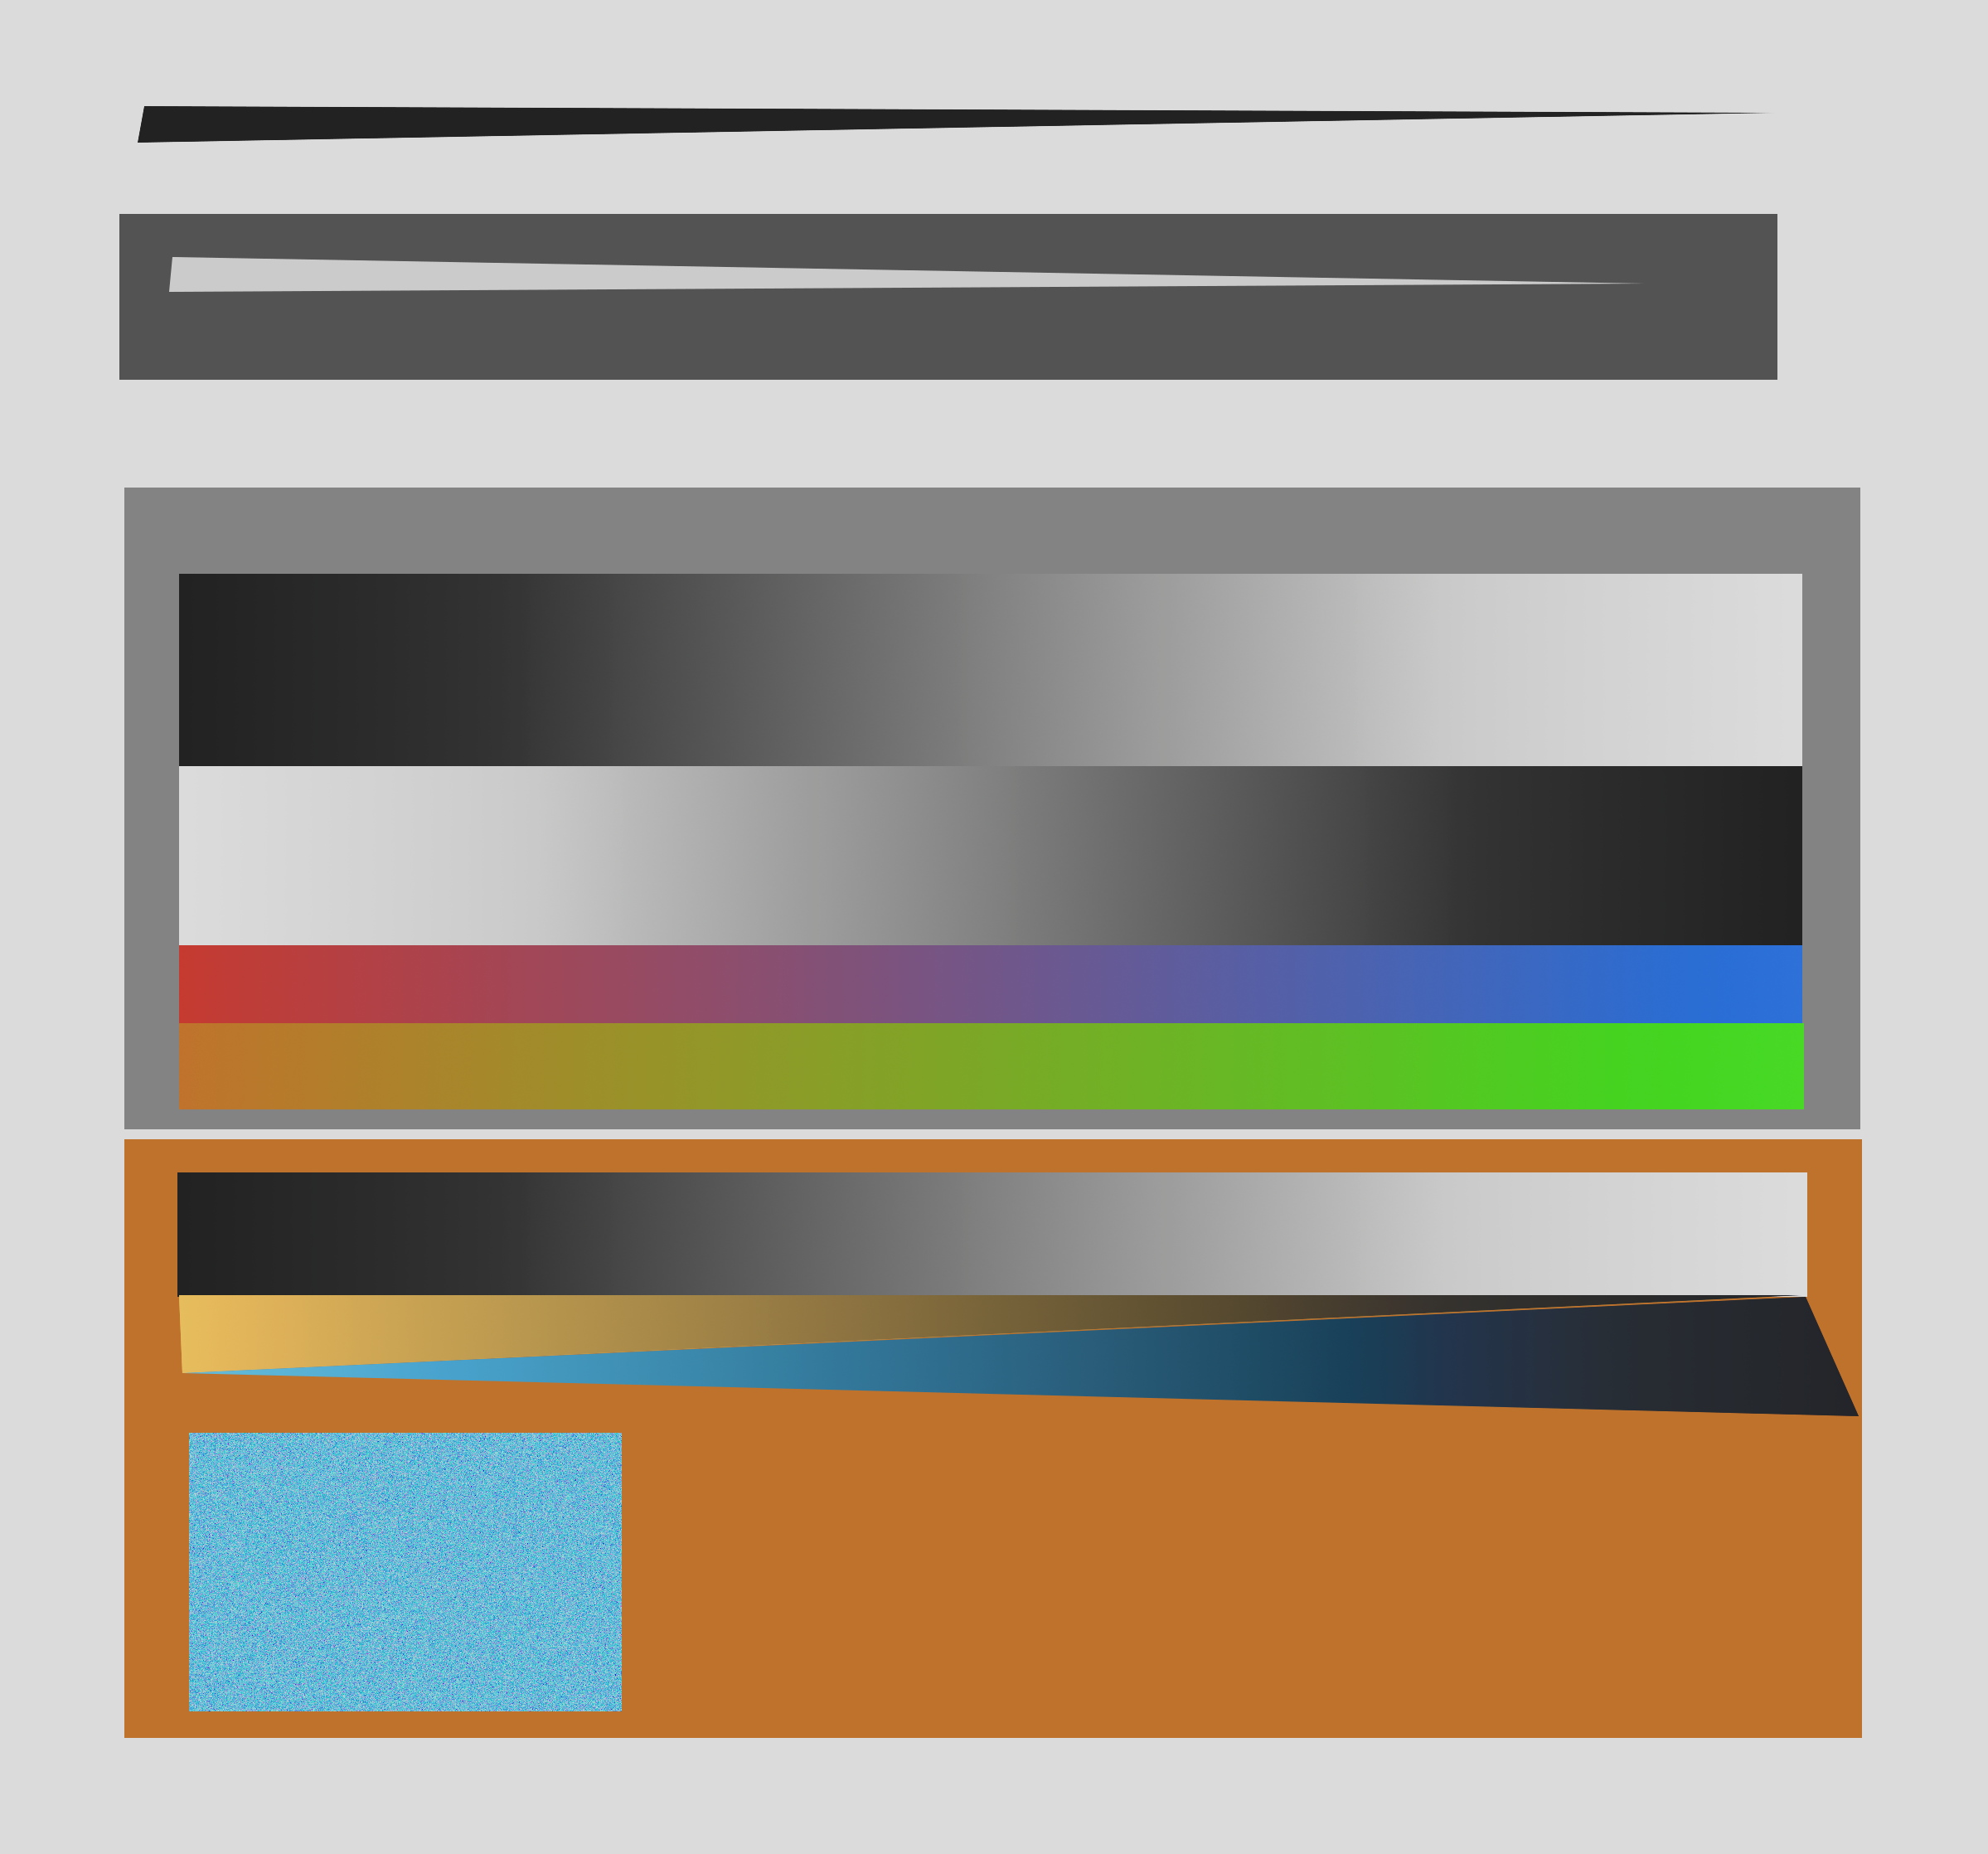
I would like to understand the problem better. What would the gradient ramps look like ideally?
I’d suggest something like this -
-
Before
-
After
-
After but with less tonal width


@garagecoder, thanks for posting your GMIC version.
1 Like
I did an experiment. I get that too when I really push the the edges of the ramps. See how @garagecoder’s ramps have dark and bright edges? When I try to smooth them out perceptually, the artifacts appear. I won’t share the G’MIC code or images because they didn’t output correctly and I don’t have the time to figure it out.
I looked for that build, but didn’t find it on 181025.
@agriggio could you please explain briefly the structure of the algorithm behind new shadows/highlights tool? I know what a guided filter is but I am having some trouble understanding the C code.
I may have some suggestion for modifying it to prevent gradient reversals like the above but I want to make sure I know what’s going on before spouting off.
Hi,
the idea is pretty simple (actually naive I’d say). The algorithm applies a “gamma” (i.e. power function) to highlights and shadows separately, with exponent > 1 for highlights, and < 1 for shadows (with the actual value dependent on the “amount” sliders). The “tonal width” sliders decide the thresholds (in percentage of the L* channel) for determining what to target. For example, the “highlight tonal width to 70” means that all the pixels with an L* value >= 0.7 in a range [0,1] will be considered highlights. A guided filter is used to blur the masks for smoother transitions. The “radius” parameter controls the smoothness essentially.
All suggestions are very welcome. However, IMHO the examples above show that the tool is “broken” in the same way as the following shows that the Tone Curve tool is “broken”:

(I.e., if you push the sliders too far, you are going to get artifacts…)
1 Like
I think the idea to use a guided filter is quite keen, actually! Some googling indicates that Adobe was using local laplacian filters, at least a few years ago (http://blogs.adobe.com/lightroomjournal/2012/02/magic-or-local-laplacian-filters.html), so I think it is great that we are using a better method than even the leading commercial software.
I was going to suggest building a one-to-one sigmoid-type curve from the given parameters and then using that to remap the L* channel. A larger highlight parameter would be more lifting in the highlights, and so on. This would prevent gradient reversals, but it seems impossible to do it without touching the midtones, so actually the current implementation is probably best.
Although I agree that all tools can be abused, my feeling is that the kind of tonal overlaps indicated upthread are responsible for the characteristic “bad HDR” look that heavy highlights/shadows adjustments sometimes produce. So it may be worth thinking about how to prevent them so we can recover even more detail without worry. This idea is explained more here:
Thanks again for your explanation and your contribution!
The problem is where you have the same pixel value appearing in both dark and light areas (a common occurrence), if you wish to adjust it for one of those areas only. Using a global curve/lut of any type will not work in that case, without some form of mask/map.
Sometimes using iterations of a smaller adjustment can avoid artifacts (equivalent to repeatedly applying a smaller tone change). Obviously at the expense of run time (here’s one done with iterative bilateral map):

1 Like
The S/H tool is not meant to do “heavy HDR”. Rather, it’s meant to be applied with a “light touch”, and used in conjunction with other tools that can deal with dynamic range compression (the “Dynamic Range Compression” one in particular – oddly enough ;-). See also:
1 Like
Good points, both of you. Thanks for the discussion!