Although if you bookmark all the time it gets unwieldy. I do like the newer reminder feature that comes with bookmarking though.
In general, be consistent with your posting habits. Focus on one or two threads at a time. That way it is easier to find what you are looking for when you want to reference it in the future.
A quick word about the := operator. It belongs to the family of Arithmetic Assignment Operators available in G’MIC to assign or update variable values.
These arithmetic operators are:
+=, -=, *=, /=, %=, |=, &=, ^=, <<=, >>=, and of course :=.
All these operators are supposed to work only with numbers, so they automatically try to evaluate the right-hand side of the expression. That’s why:
var:=30*cos(pi)
echo $var
is correct and wil display
-30
On the other hand, the classical variable assignment operator = works with strings, so:
var=30*cos(pi)
echo $var
is also correct, but it will display
30*cos(pi)
That’s why, you can also force the math evaluation of the right-hand side, enclosing it with {}:
var={30*cos(pi)}
echo $var
will display
-30
Conditionals
In the same spirit, all flow control commands that expect a boolean value (0 (false) or another value (true) ) as an argument, such as if, elif, check, repeat and while also try to evaluate their argument automatically.
2 - How can i shift an image with x,y coordinates for a given angle ?
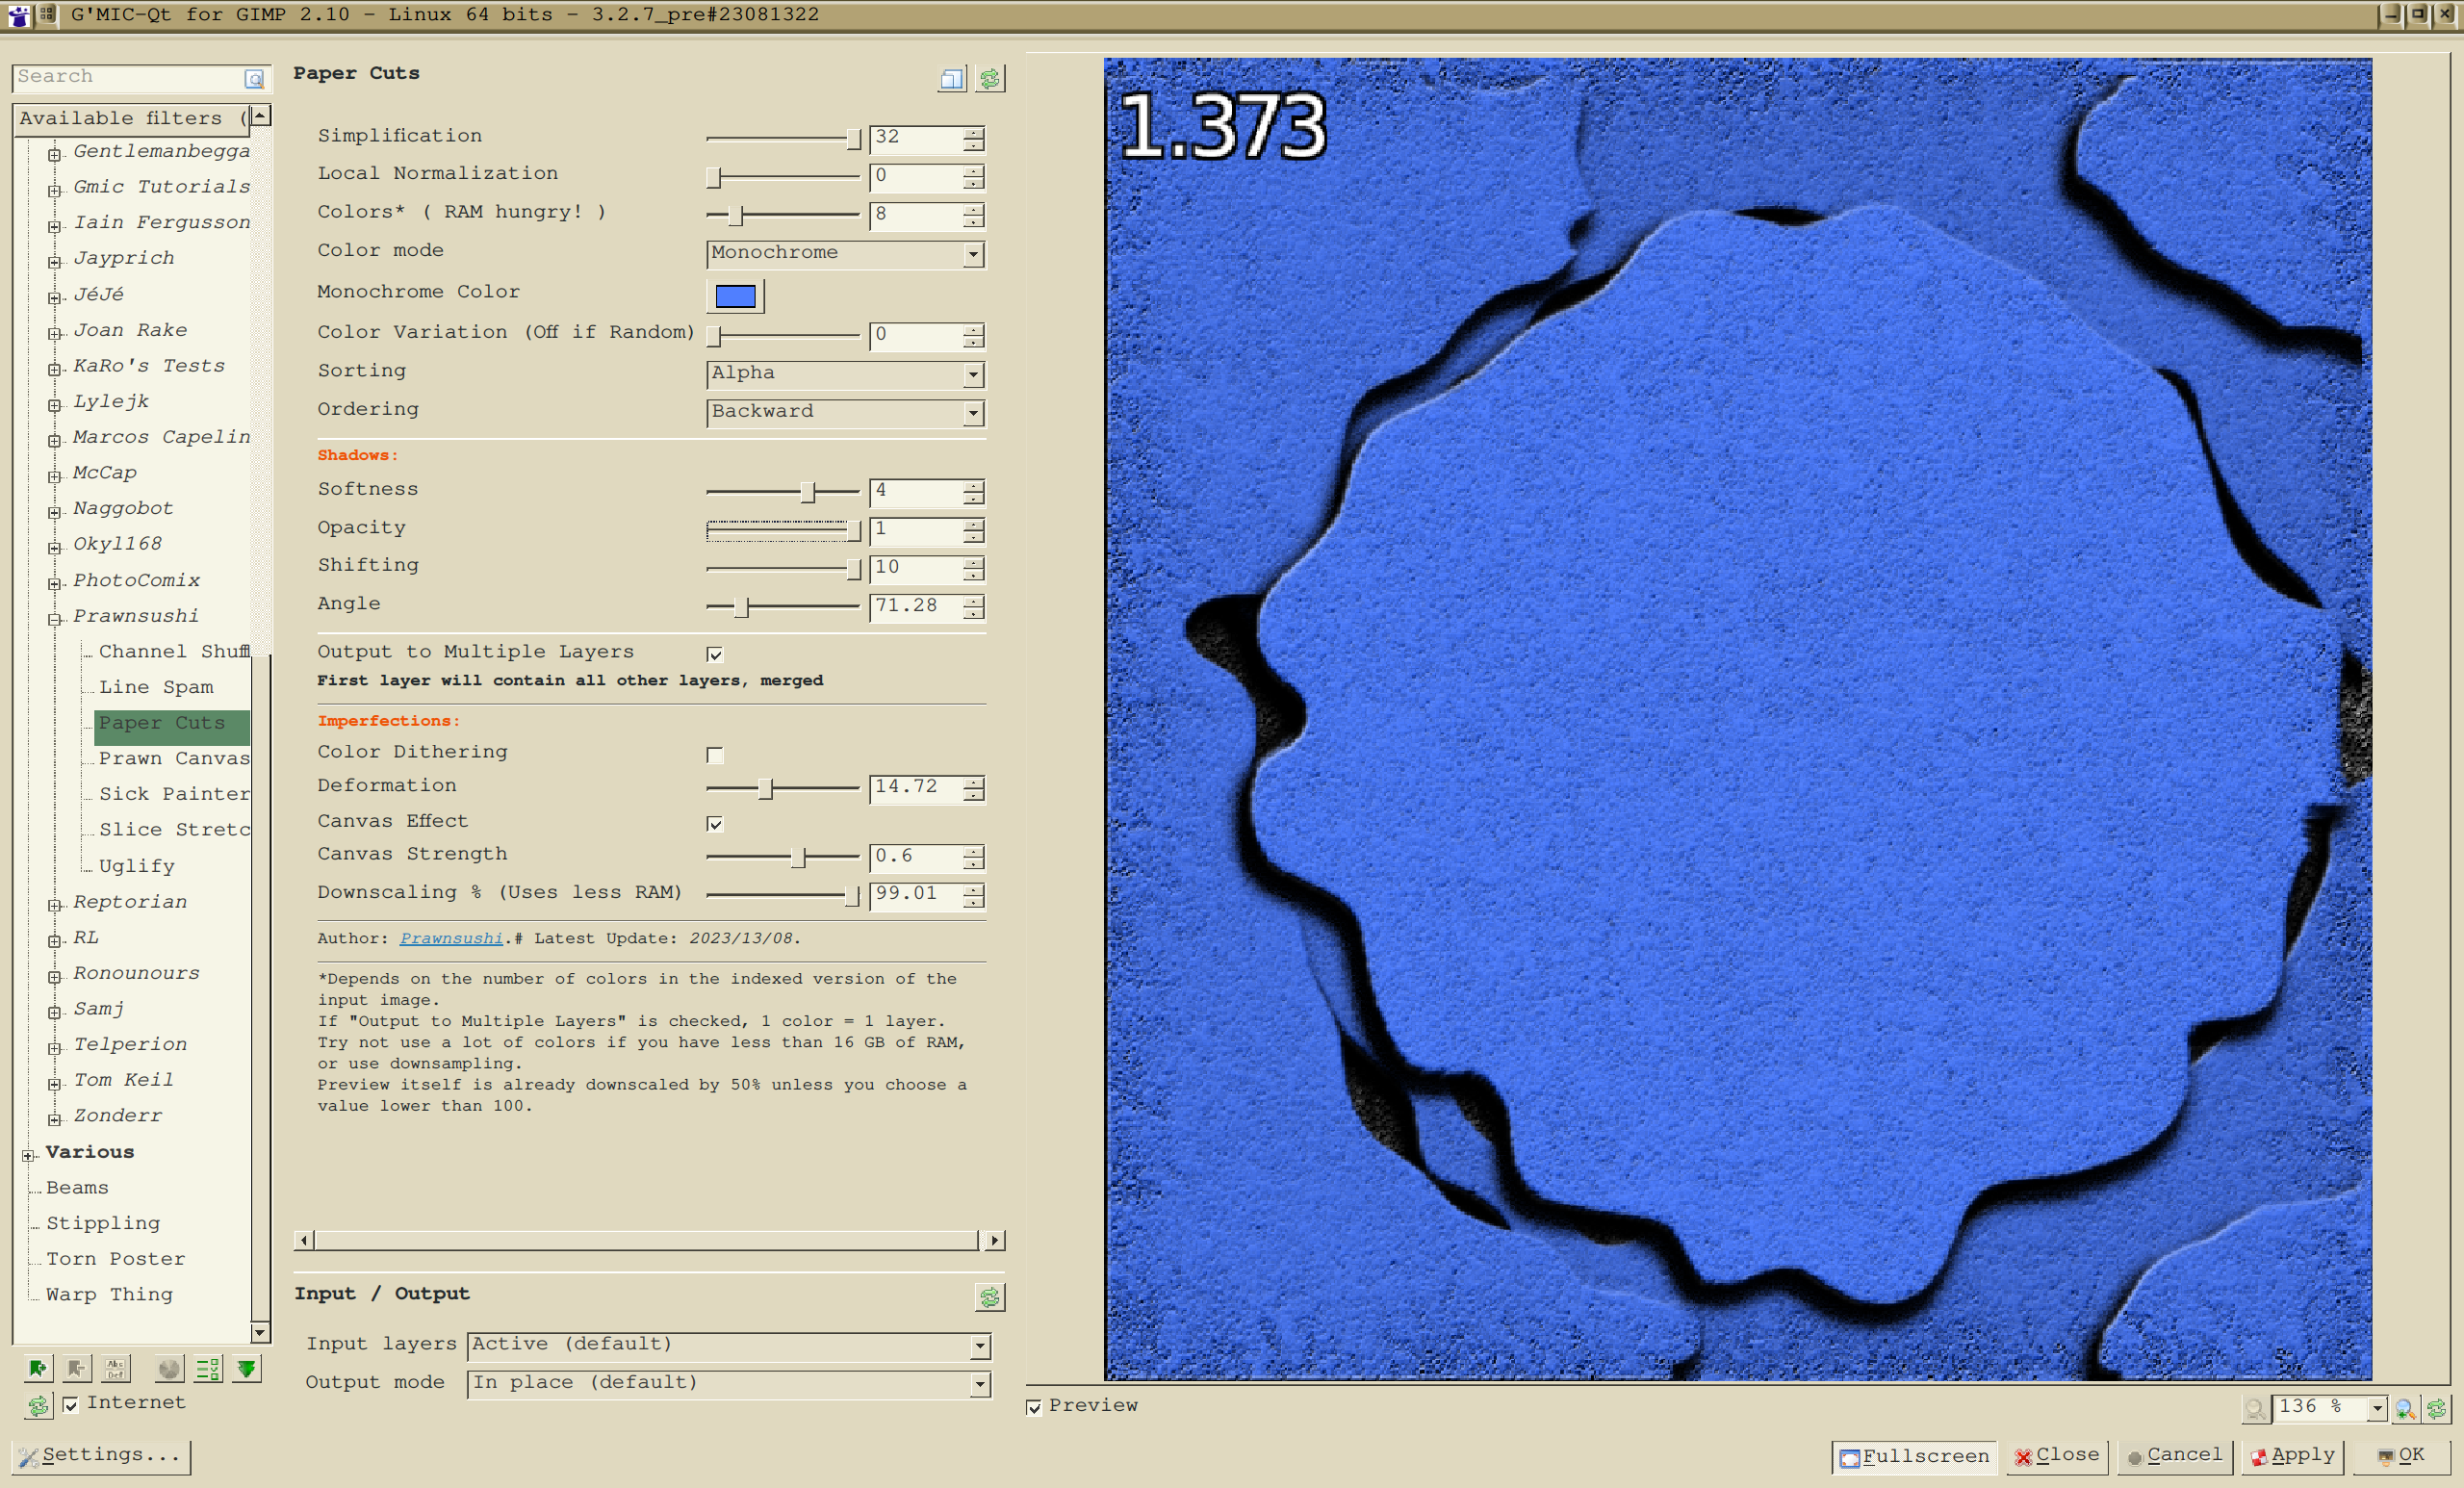
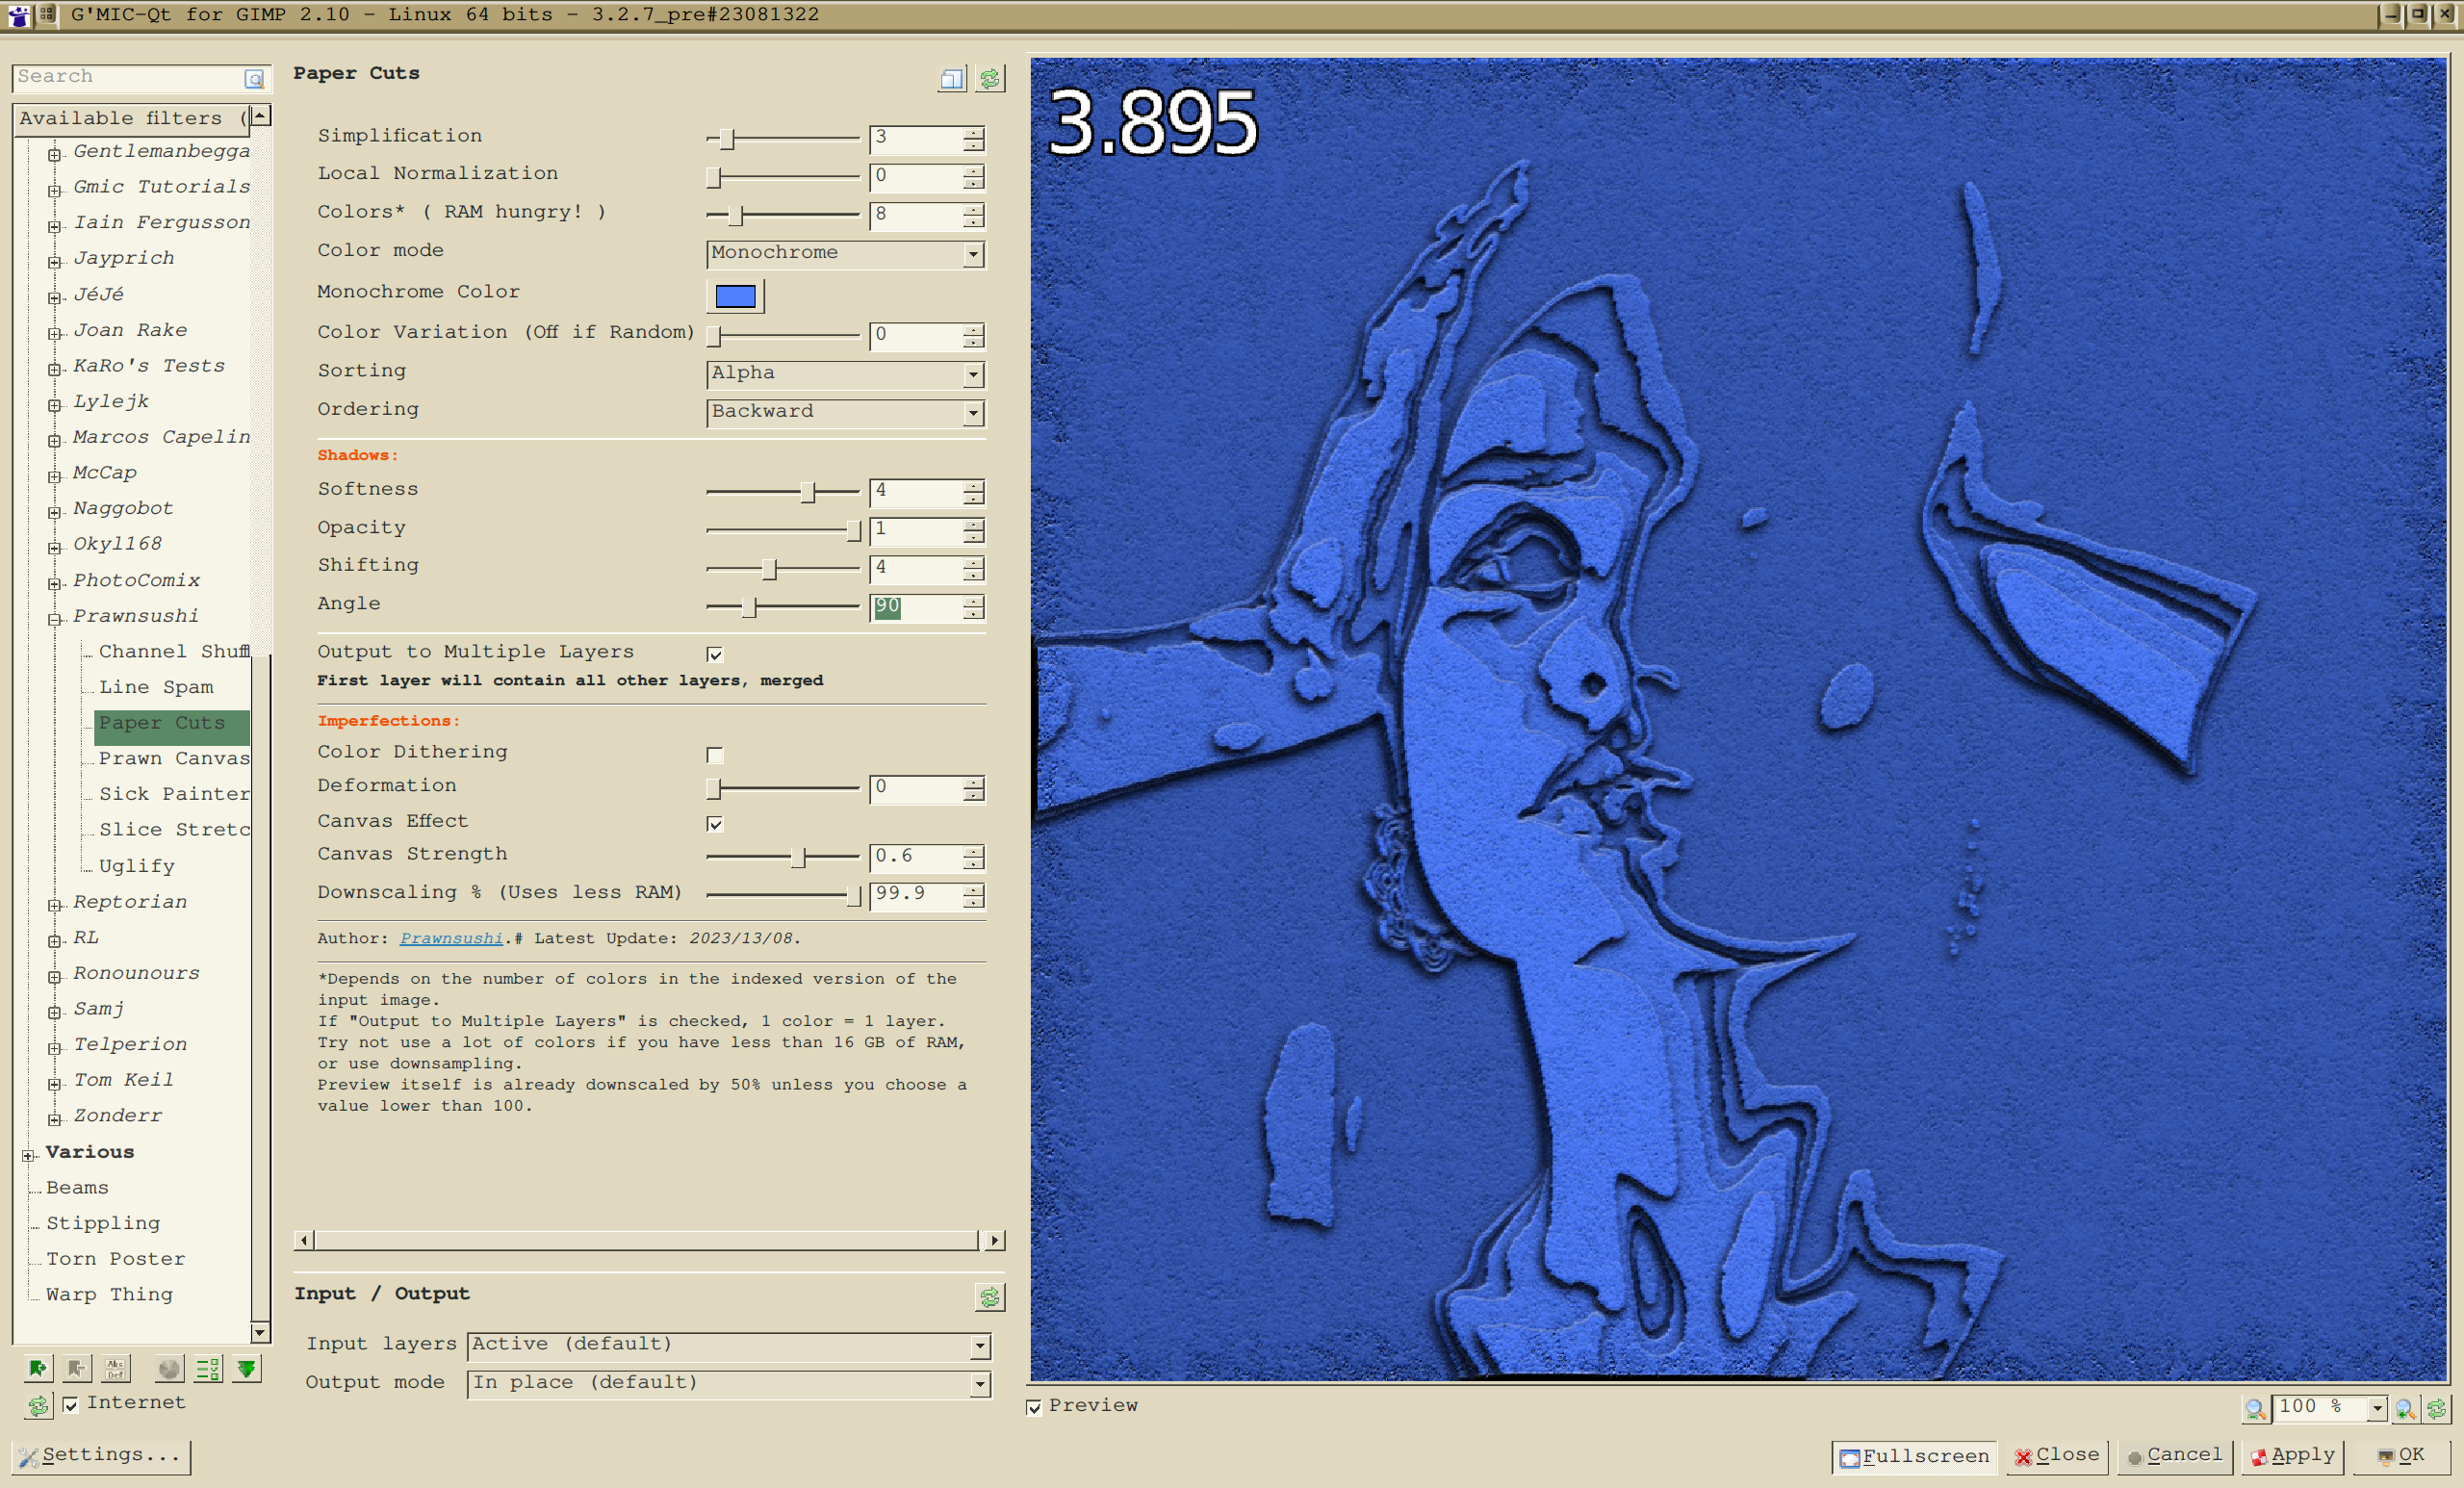
Imagine light coming from an angle and shifting a drop shadow by a few pixels in the opposite direction ( See Testing > Prawnsushi > Paper Cuts ). I’m using rep_emboss_relief to “try” to bevel a little the contours (with alpha) and adjust the shadow accordingly.
I think i have noticed this somehow because I have used it a lot (otherwise i got errors anyway heh).
The highlight and shadow are always in the opposite direction, so applying 180° would do. The highlight is 90 to the right of angle, and shadow is 90 degree left.
I’m not sure actually, will this give me 3 different values?
They are used here afterwards :
if $10>$13 Rs-=$Rstep else Rs+=$Rstep fi
if $11>$14 Gs-=$Gstep else Gs+=$Gstep fi
if $12>$15 Bs-=$Bstep else Bs+=$Bstep fi
 thickline $sx,$sy,{[$ex+u($>*100),$ey+u($>*100)]},$ls,$o,$Rs,$Gs,$Bs
Looks a bit strange as the shadow seem to move in the wrong direction.
rep_emboss_relief 5,{$ang+180},1,2,1,0,1 seem to look better but I don’t know if the angle is the right one since it’s inverted (if I use 90° light is coming from above):
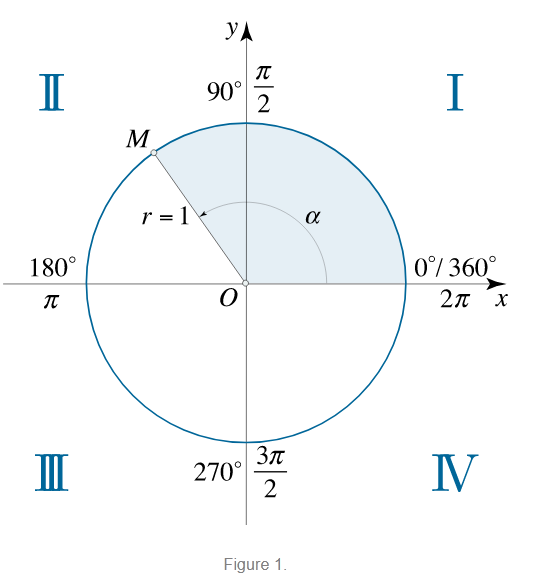
Well in the end it’s probably me not interpreting the angle correctly. I tend to think 0 is on the left (so light should come from the left), 90 top, etc…
You can think of a operation applying to a vector as in applying operation to every index of a vector and return the output vector. This shortens code. Instead of doing a,b={$1/2},{$2/2}, it can be done with a,b:=[${1-2}]/2. They’re both result in the same thing.
The start is based on a mathematical assumption that right starts with 0. And highlight is the first thing that people usually look at because that’s where people find where’s the light is coming from.
I’m ok up to that point, I changed a lot of lines in my code to this kind of stuff, but @David_Tschumperle 's example just puzzles me I’ll just try it and see what happens!
I prefer shadows. I used to draw with a pen/pencil or tablet, and to me light is just the white page. Everything else are shadows. But that was long ago haha.
I’ll check the rest later because it’s already tomorrow right now …!
I think that’s pretty much what I’m doing, no? But without drop_shadow (didn’t know it existed).
# This could probably be done at once on all images but it just eats all my RAM
# That's also why shadows are merged with parent layer after each pass
repeat $np {                     # A bunch of images from split_color
   +b[$<] $shb spread. {$shb/4}  # duplication here
   sh. 0,2  fc. 0,0,0 rm.        # Not filling alpha channel
   if $sho<1 sh. 3 *. $sho rm. fi
   if $sx
   # Shadows shift ($coeff is for downsampling, to reduce distance at low res):
   shift. {$coeff*($sx*[cos($ang),sin($ang)])}
   fi
   shrink_xy[$<] {$<*$coeff}    # just for fun
   mv. $<                       # placing shadow below parent
   blend[$<,{$<+1}] alpha       # Merging to avoid fire & chaos later
 }
 # ...  here, a bunch of other stuff, then :
 rep_emboss_relief 5,$ang,1,2,1,0,1 # Tried {$ang+180} here
You should emboss into separate layers, use drop_shadow, and blend alpha after. That way, you can avoid the bug. Emboss/Relief has been specifically designed to account for alpha channel whenever it exists. Needless to say, I need to check if I can emboss in a mask to speed it up.
Well, I tried to do what you said, had to reorganise the code a bit, and the “bevel” outline disappeared, so I don’t know if the angle was right. I noticed before and after modifications that the shadows seem to turn around 100x faster than it should be.
Anyway, after a few other tests and reorganization the script broke, and also froze my pc in the process, hahaha. I think i’ll just move on.
I think I decided to take a stab at my own version of Paper Cut though I need to finish up Mitchell Concatenation first. I’ll format it similar to your code.
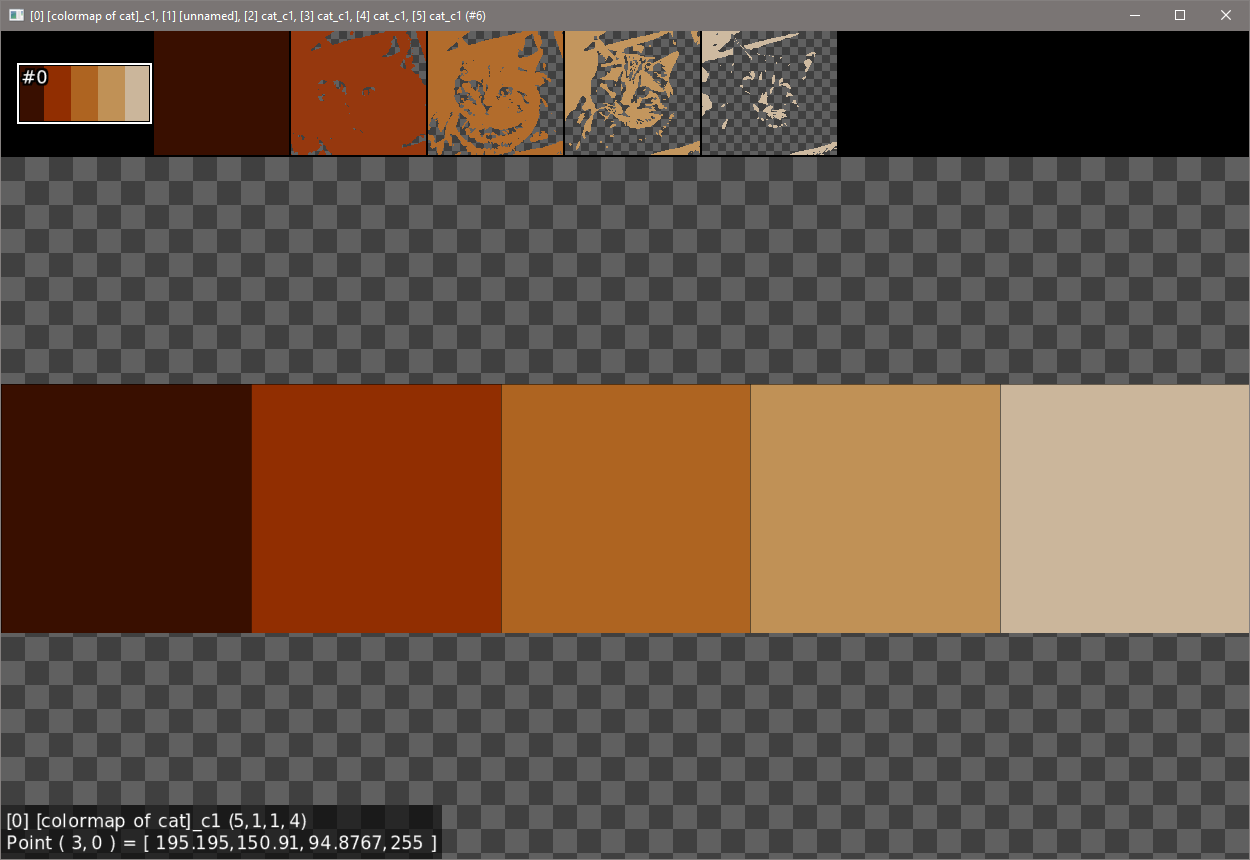
First approach: For me to stack each layers similar to split colors except that areas are decreasing. I need to use dynamic array.
Another approach: I think the easier way is to use blur and index and just map index rather than color onto index, then utilize math command like ge, and then after the layers are created, map the color together with alpha to them.
This is perfect for paper cut! Well, it’s not without downsize I do realize, I will continue to refine my approach or maybe it’s just right. This approach will make it more feasible to apply emboss and shadow. It’s a start at the end of the day.
Iteration 0, questions are never dumb. For iterations > 0, questions are dumb only insofar as the questioner does not listen to answers.
On the whole, though, nice thread. Three remarks on continuing your investigations. These have and are serving me well.
Steal from gmic_stdlib.gmic (1) Take a command of interest (how about adjust_colors?) (2) Locate it in the standard G’MIC library (with commit 588804aa4def, adjust_colors starts at line 12579) copy the command out of the standard library and paste it into your own custom command file. (3) Rename it (adjust_colors ⇒ my_adjust_colors) and save it (my_adjust_colors.gmic). (4) Test that it works:
Now you can hack away at your own personal copy of adjust_colors to determine why hue shifts don’t seem to work with this image (but look carefully). Change stuff (break stuff). drop break points (see next). Alter verbosity or run in debug mode (see next after next).
Use the G’MIC display as a script breakpoint . The display command stops your script, dumps the image list to the shell and visualizes it. Now, New and Improved! You can observe the state of your script at the point of display. Drop as many as you want. Drop one after every executable line to emulate single-stepping.
Learn how to [manage verbosity] (debug_cheat)
Left to its own devices, the G’MIC interpreter supresses command messages for all but those operating in the root scope (What’s that? See next), that is, verbosity level 0. Increase verbosity to unmask command messages operating at deeper scopes. For rough snooping, bracket interesting commands this way:
…v + adjust_colors. 0,20,0,-50 v -
Learn how to read a debug stream.
Thow G’MIC onto the couch and demand that it tells you everything it is thinking! (Heh, heh). Master the babble, and you will have a deep grasp of how G’MIC operates. It’s a fire hose of data, but cyclic. Every cycle consists of one command execution.
Some command executions are boring. built-in commands execute within CImg.h and are invisible to the G’MIC interpreter (but that’s where the image processing work gets done).
Custom command executions are interesting. We see the G’MIC interpreter in action. That action has two parts: (1) itemization of the pipeline, and (2) scope entry and exit.
Itemization is where G’MIC takes a string and itemizes it into a pipeline. It is how G’MIC “sees” a command. When G’MIC behaves in unexpected ways, study the itemization. Is G’MIC itemizing the way you think it is itemizing?
Execution takes place following itemization. Item-by-item, the G’MIC interpreter decides if it has a (a) built-in command, (b) a custom command, (c) an assignment of a value to a variable(foo:=iM^2.5) (d) substitution of a variable for its value ($foo ⇒ ‘1038353.2430059575’) or a directive ({3,n}) (e) an argument list or (f) a comment. Study the execution; if for no other reason then to examine the operation of commands. This will introduce you to G’MIC commands whose existence you may not have expected, but are quite useful.
(b) is significant. Custom commands imply scope entries and exits. While ‘pipeline’ impresses upon our minds a not-quite-true linear progression, the G’MIC interpreter actually traverses a tree. The interpreter encountering a custom command constitutes entry into a branch. At a branch, the G’MIC interpreter (1) puts the execution of the current pipeline on hold (2) retrieves the pipeline which the just-encountered custom command defines, this from a hashtable of known commands (we assume the lookup is successful), (3) itemizes it, and (4) commences its execution. The G’MIC interpreter has entered a new scope. It will enter yet-deeper scopes should it encounter subsequent custom commands. Barring such, it will come to the end of the pipeline and drop back down to the so-called parent scope. Eventually it drops to the root scope /, formed from the itemization of the initial command line. On finishing that pipeline, the G’MIC interpreter exits.
When G’MIC emits a debug stream, it demarks scope entries and exits points with statements like "Enter scope 'blablabla/'" and "Exit scope 'blablabla/'". If you copy these debug streams from your shell and paste them into your favorite text editor, you can search on these markers to isolate commands of interest.
For a closing illustration, lets define a short custom command and observe its execution in debug mode:
<gmic> in angle brackets is a debugger-only visible message; [gmic] is a message that also would appear on the console in normal operation.
The number provides the current size of the image list. This clearly changes with image creation or removal, but can also change on scope entry to reflect what the command’s selection admits to the new scope.
While entry into custom commands commonly causes changes in scope, there are other triggers: substitutions, loop entry and creation of local contexts also engender scope changes.
The last part of the left hand margin displays the scope path, starting with the root scope.
A better suggestion is to switch to developing with CLI interface, and do GUI later. It’s far more flexible than GUI only. Main reason is that you can call the command via CLI, and trace it on your head easier with display without having to type in display.
Debug is a little too verbose for my taste, but that’s probably because of the insanely complex filters I do.
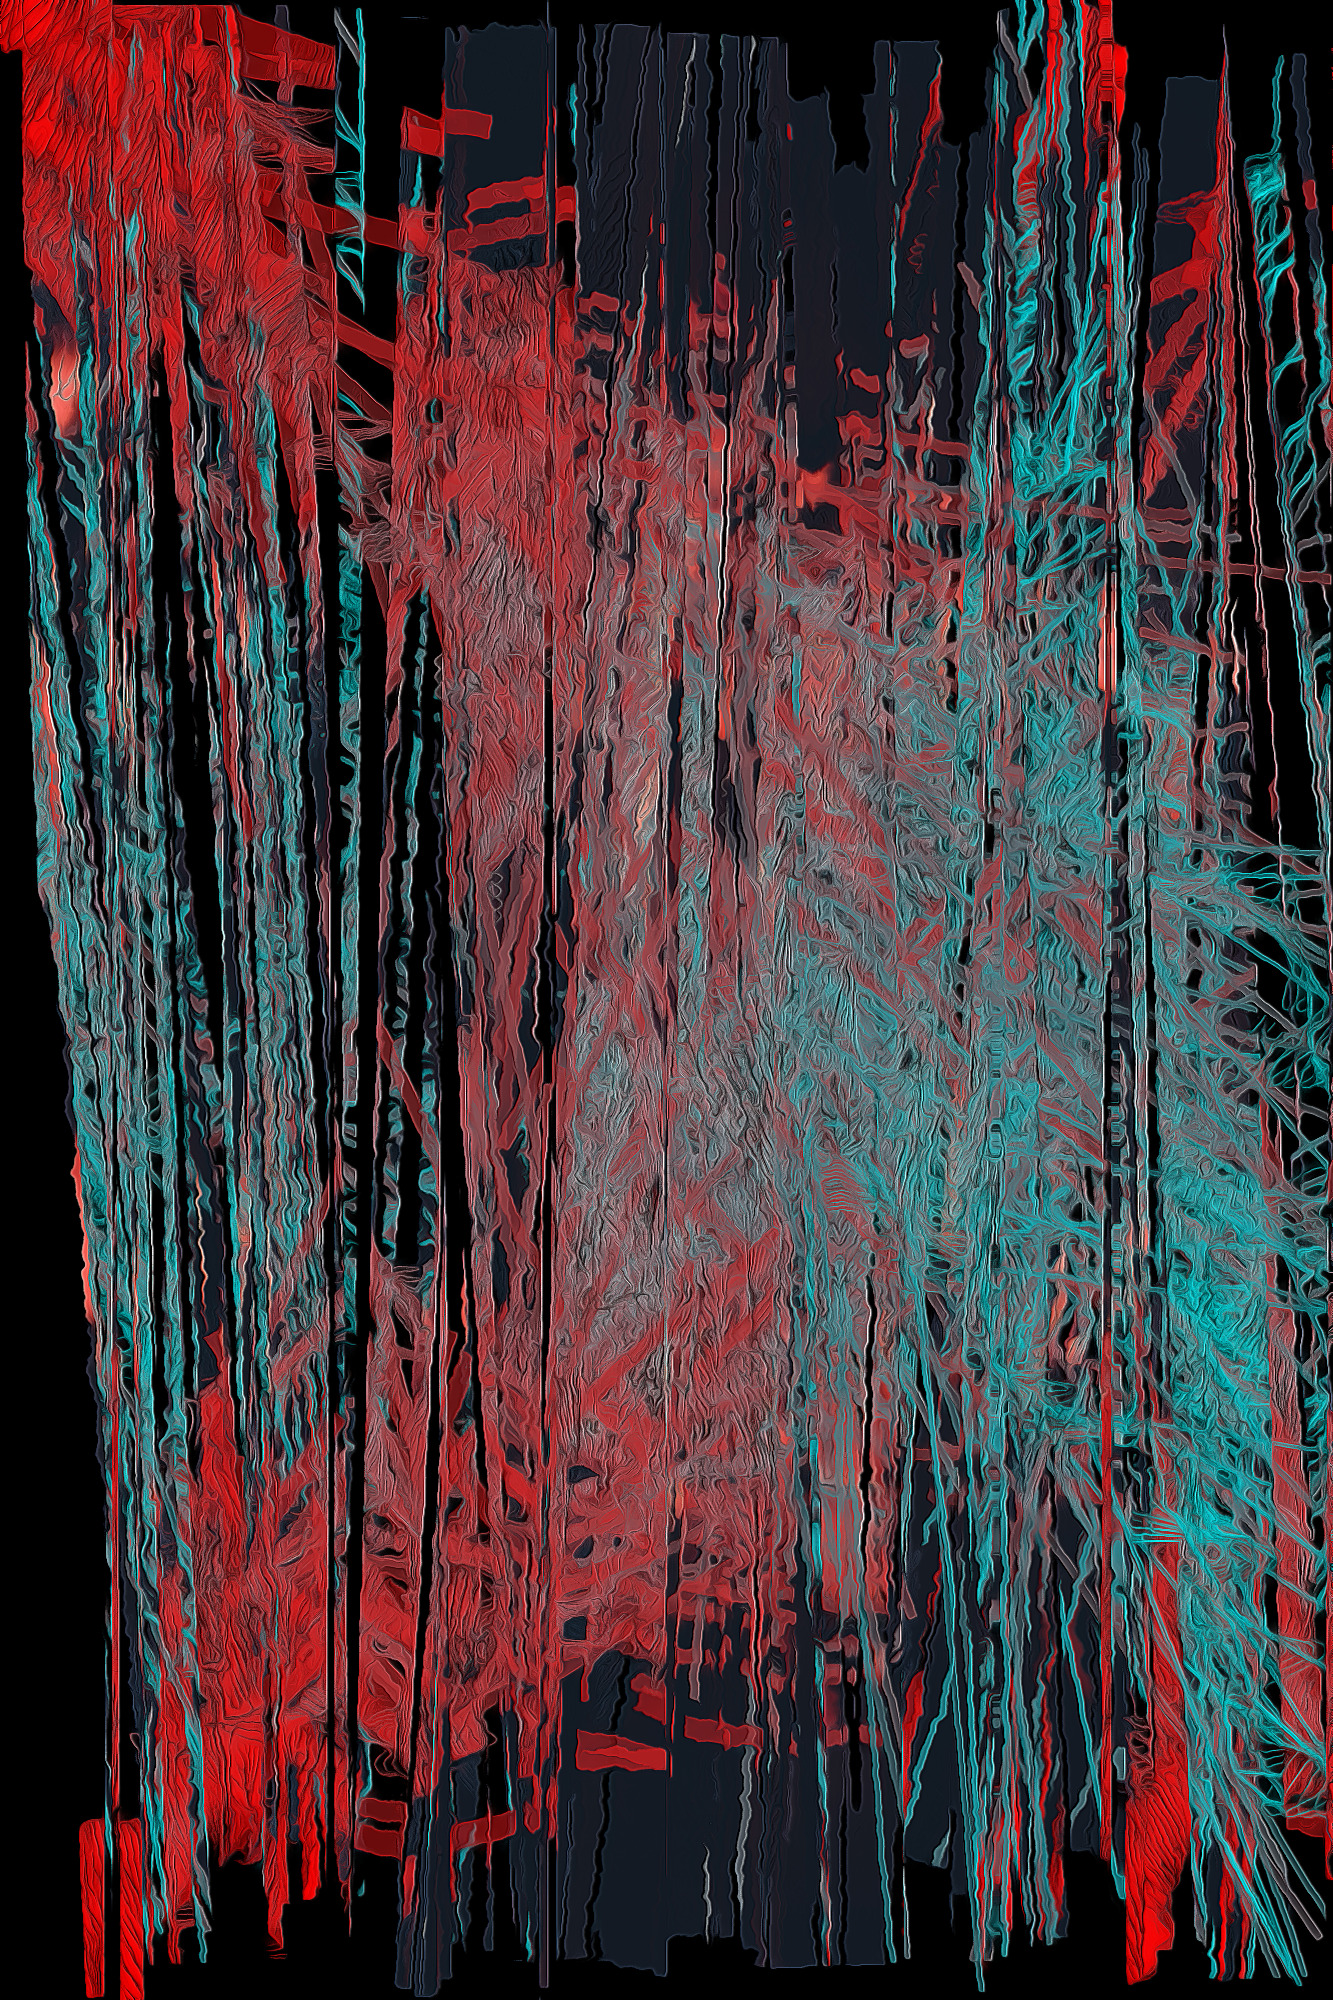
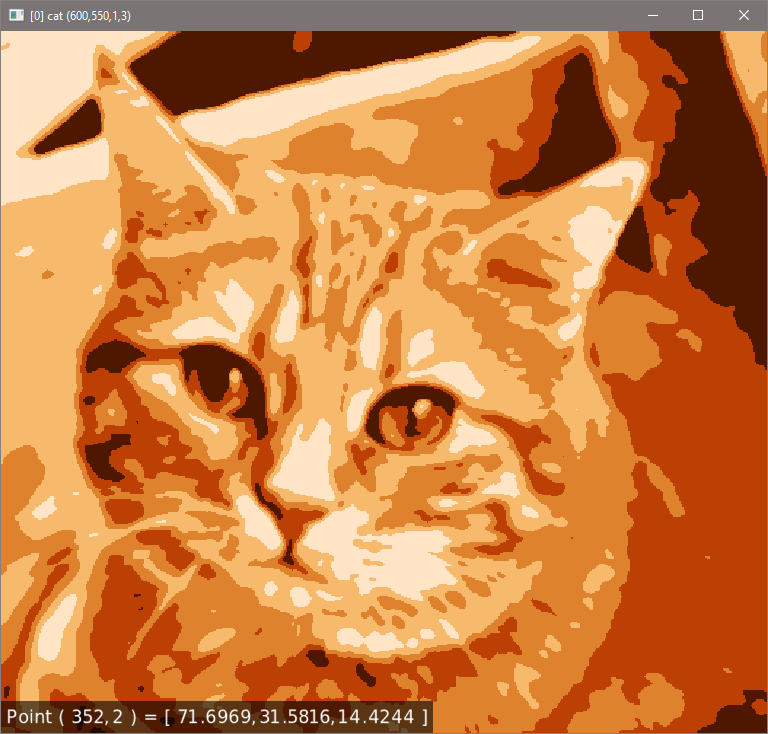
I use autoindex instead of quantize. I did use quantize at the beginning but it is too slow IMO, even with the fastest settings. You probably won’t see a difference on small 600px images though (I often use 6000x4000px photographs, but downscale them to 3000x2000 for papercuts). And also autoindex allows for color dithering which is really fun with Layers+deform+ canvas!
This was made with the current version in the repo
TIP: Set downscaling at 99% to bypass the preview downscale to 50%. It’s just there to preview a bit faster.
Anyway globally the main steps are:
Autoindex
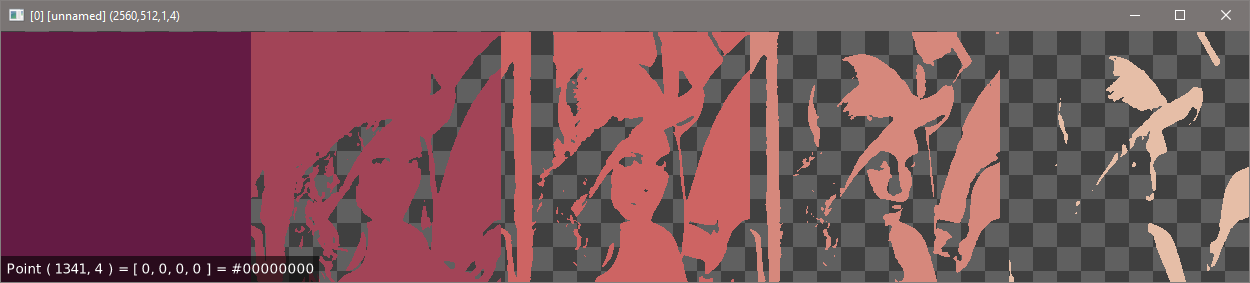
Split_colors
Sort_list
Fill colors
Add shadows
Canvas
Emboss
Why? It just looks like Split_colors does the same thing as your color stacking. In what way will embossing and shadowing be easier to implement? I just duplicate the layer, fill channels 1-3 with black, and blur it a bit. It’ s just the shifting angle that kills the mood. In the end I may just use a few easy angles (0, 45,90, 135,180, etc), that will probably be enough.
Don’t worry yourself
Prepare your senses
Until the knowledge commences
Anything in there looks hyper complicated to me, I mostly do simple layer operations like any human without scripting knowledge would do in Gimp. But who knows maybe there’s a few things that do not require more brainpower than I have?
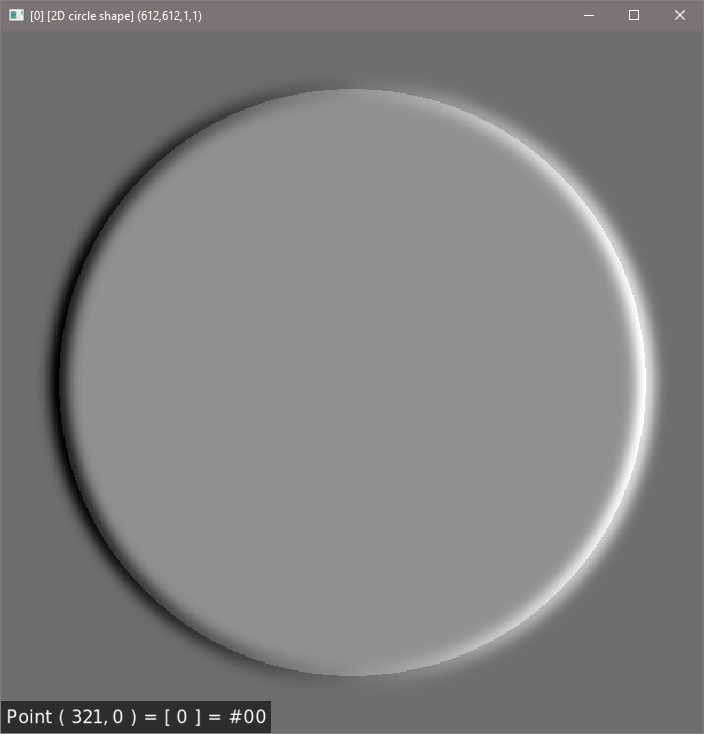
Haha, not the most practical example but I see a change. It’s just that I got tricked by the 1 color image, with all pixels at the same intensity.
I use d everyday, and I also use w + wait 200 for loops (That’s how i recorded the Line Spam video). Except that using d is a bit buggy in the GUI ( it often spams for no reason), but i’m used to it now, and i just select a category that do nothing to stop it. Also found out that deselcting “internet” and pressing CTRL+R is a faster way to reload the filter, than closing and going back to Gimp (even if i have a shortcut for Gmic).
Yes I (sort of) know how to use verbosity. I don’t check the output often though, since my errors are mostly quite obvious 99% of the time. The breakage in Paper Cuts involves the share command, which was working before the PC crash . I think the problem may come from the loop I placed it in : I replaced repeat $! by foreach earlier, which made me think it was easier to use foreach since it seems to loop over images, using one at a time and seemingly ignoring the rest, so I don’t need to use selections. Something to check.
I’ve read about this before in the references/tutorials, but I don’t really think about it. Maybe i should…
I see… that’s interesting. I’ll try to use the “verbose - debug” options in the gui more often. I just easily forget that’s it’s there (and it’s probably activated too), and forget to check the output.
Thanks, I’ll try!
Well, for paper cuts I added the option to output as layers, so viewing these in the CLI display won’t give me a clear view. It’s just easier to see them in Gimp. Alpha merging everything in the end tends to make shadows look a little darker too (had to merge layers for GUI preview).
The problem lies in the RAM usage : my PC (well it’s a Linux macbook) can’t handle it even with max swappiness
It would be easier to emboss and apply shadow because my approach doesn’t result in edge being next to each other. You can literally carve out papers this way, and then cut it like my approach and glue it together in real life. Emboss/Relief is a form of edge detection.
Now, I feel like embossing based on alpha. I’ll fork my own emboss/relief into relief_shape.