Trying to emulate Adobe's clarity in RawTherapee

@heckflosse I think it is fine. Although the app in the latter half of the discussion is PhotoFlow, the discussion has been on the strategies. Perhaps, we could change the category to the more general Processing and then tag away the rest (ATM, RT, PhF and briefly G’MIC).

@Reptorian Are you suggesting that you have something in the works? I have already been using a bare bones version that I demonstrated above. Not the best example images but it worked in my latest PlayRaws. As with almost all of my commands, they never reach community.

I don’t quite agree… I’m just experimenting with the processing pipeline I am most familiar with, but whatever I come up can be ported to RT. It would have simply taken me much longer to experiment in RT directly.

@heckflosse @agriggio as a first step, I would suggest to reproduce in RT my suggested “incremental guided filter”, as the basis for the local contrast adjustment. The description given here should be already quite detailed, but if anything is not clear just ask me.

The rest is just some rather trivial pixel manipulation in log space, and I simply need few hours to write down the formulas. Meanwhile you can have directly a look at the code here.

2 Likes

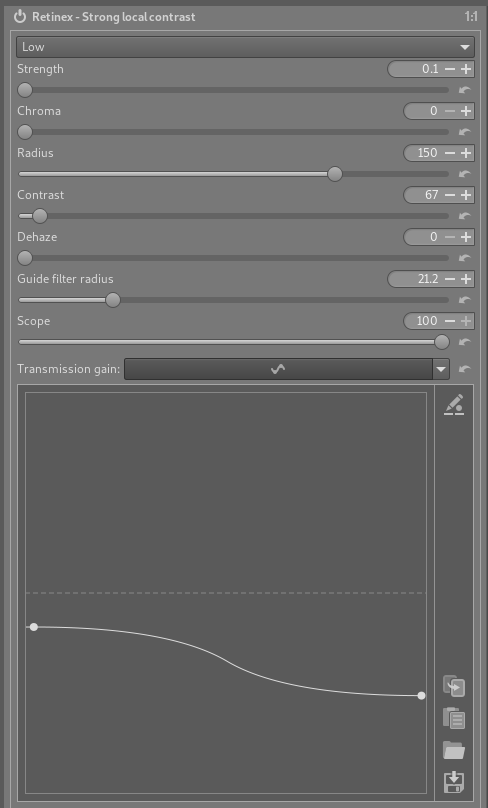
No link, but finally here is some help to know what those sliders do:


Clarity in RawTherapee

This is a wavelet module to increase local contrast and local saturation. It enhances the details (luminosity and chromaticity) of the selected level and below, and merges them with everything else above the selected level (the residual image) in a way that improves the appeareance of the image.

When you turn on the Sharp-mask and Clarity module with Clarity method: Clarity , the configuration of the wavelets (at the beggining of the tool) will automatically be changed to:

  • Background: residual
  • Process: Above the level
  • Level 7

If you turn off the module, Process will go back to All levels in all directions .

While the other settings must remain untouched, you can change Level 7 and set a higher (8 and above) or lower (6 and below) level. The higher the level, the more powerful the clarity action will be. In other words, the lower the level, the fewer the details that will be enhanced, and the more subtle the action will be.

As soon as you turn off the module or select again All levels in all directions , the effect of the clarity dissapears: the tool needs the proper settings in the configuration for the module to work. In spite of this, the settings within Clarity are not lost, you just have to select again Above the level (or turn on the module) to get the clarity effect again.


When you Merge Luma (luminosity), sliding to positive values enhances the contrast of details, while sliding to negative values makes the image more dreamy, fuzzy .

When you Merge Chroma (chromaticity), sliding to positive values enhances saturated colors, while less saturated colors get less variation. Sliding to negative values makes the image less vivid, while maintaining the less saturated colors mostly untouched.

Soft Radius allows you to smooth out halos without affecting much the rendering. However, this is not without side effects: dark areas will become darker, and more and more areas will be considered not contrasty enough to be enhanced, so will remain untouched.


Hope this helps, although I’m not really sure if it has relevance yet, the way the post has evolved.

I wish to thank Jacques Desmis (@jdc) for his help.
Xavier

2 Likes

Thanks for the explanation. I never used this but that is what I do sometimes in my own G’MIC processing, though it likely isn’t as sleek as @jdc’s. :blush: I often find that the stuff I do so happens to parallel what other people have been doing already. A good sign that I am doing something right with my random processing and experimentation. :stuck_out_tongue:

1 Like

I played a little bit in RT with the two images (“Blue” horse" and “House”), and 2 tools from the recent “Local Adjustments”: “clarity” (from the Contrast by Detail Levels) and “Retinex”.

Blue Horse “base” image:

Blue Horse “clarity+50”:

Blue Horse “clarity+50” + “Retinex”:

Blue Horse “clarity+100”:

Blue Horse “clarity+100” + “Retinex”:

House “base” image:

House “clarity+50”:

House “clarity+50” + “Retinex”:

House “clarity+100”:

House “clarity+100” + “Retinex”:

Note that:

  • there’s no sharpening applied
  • I have also a light amount of Dynamic range correction applied on both (amount 20)
  • I added a single local adjustment spot over the entire image, with the spot “Transition value” set to maximum (95) and “Scope” values set to 100 for both local adjustment filters (in order to affect most of the image which, I know, is not the original purpose of Local Adjustments…)

Retinex is very powerful (in the sense that it easily can go really over the top), but I think that combined with clarity, both applied with taste, can give really good results.

Edit:
here’s a screenshot showing the settings I used in Retinex:
Screenshot_2019-05-23_11-06-07

Edit 2:
the Retinex examples are wrong, they were obtained with a buggy code.

@sguyader

Thank you for all these tests and examples

Note, that I solved the “huge” bug in “Retinex”…
I also add a new “mode” in Retinex, when you choose “scale = 1” Local Retinex have a behavior close to “local contrast”, but with values and results differents…

2 Likes

Thanks Jacques, I’m going to check this.