12 Likes
2017-06-15_12-44-33.NEF.xmp (14.1 KB)
6 Likes
10 Likes
9 Likes
ART 1.25.6
2017-06-15_12-44-33.jpg.out.arp (12.4 KB)
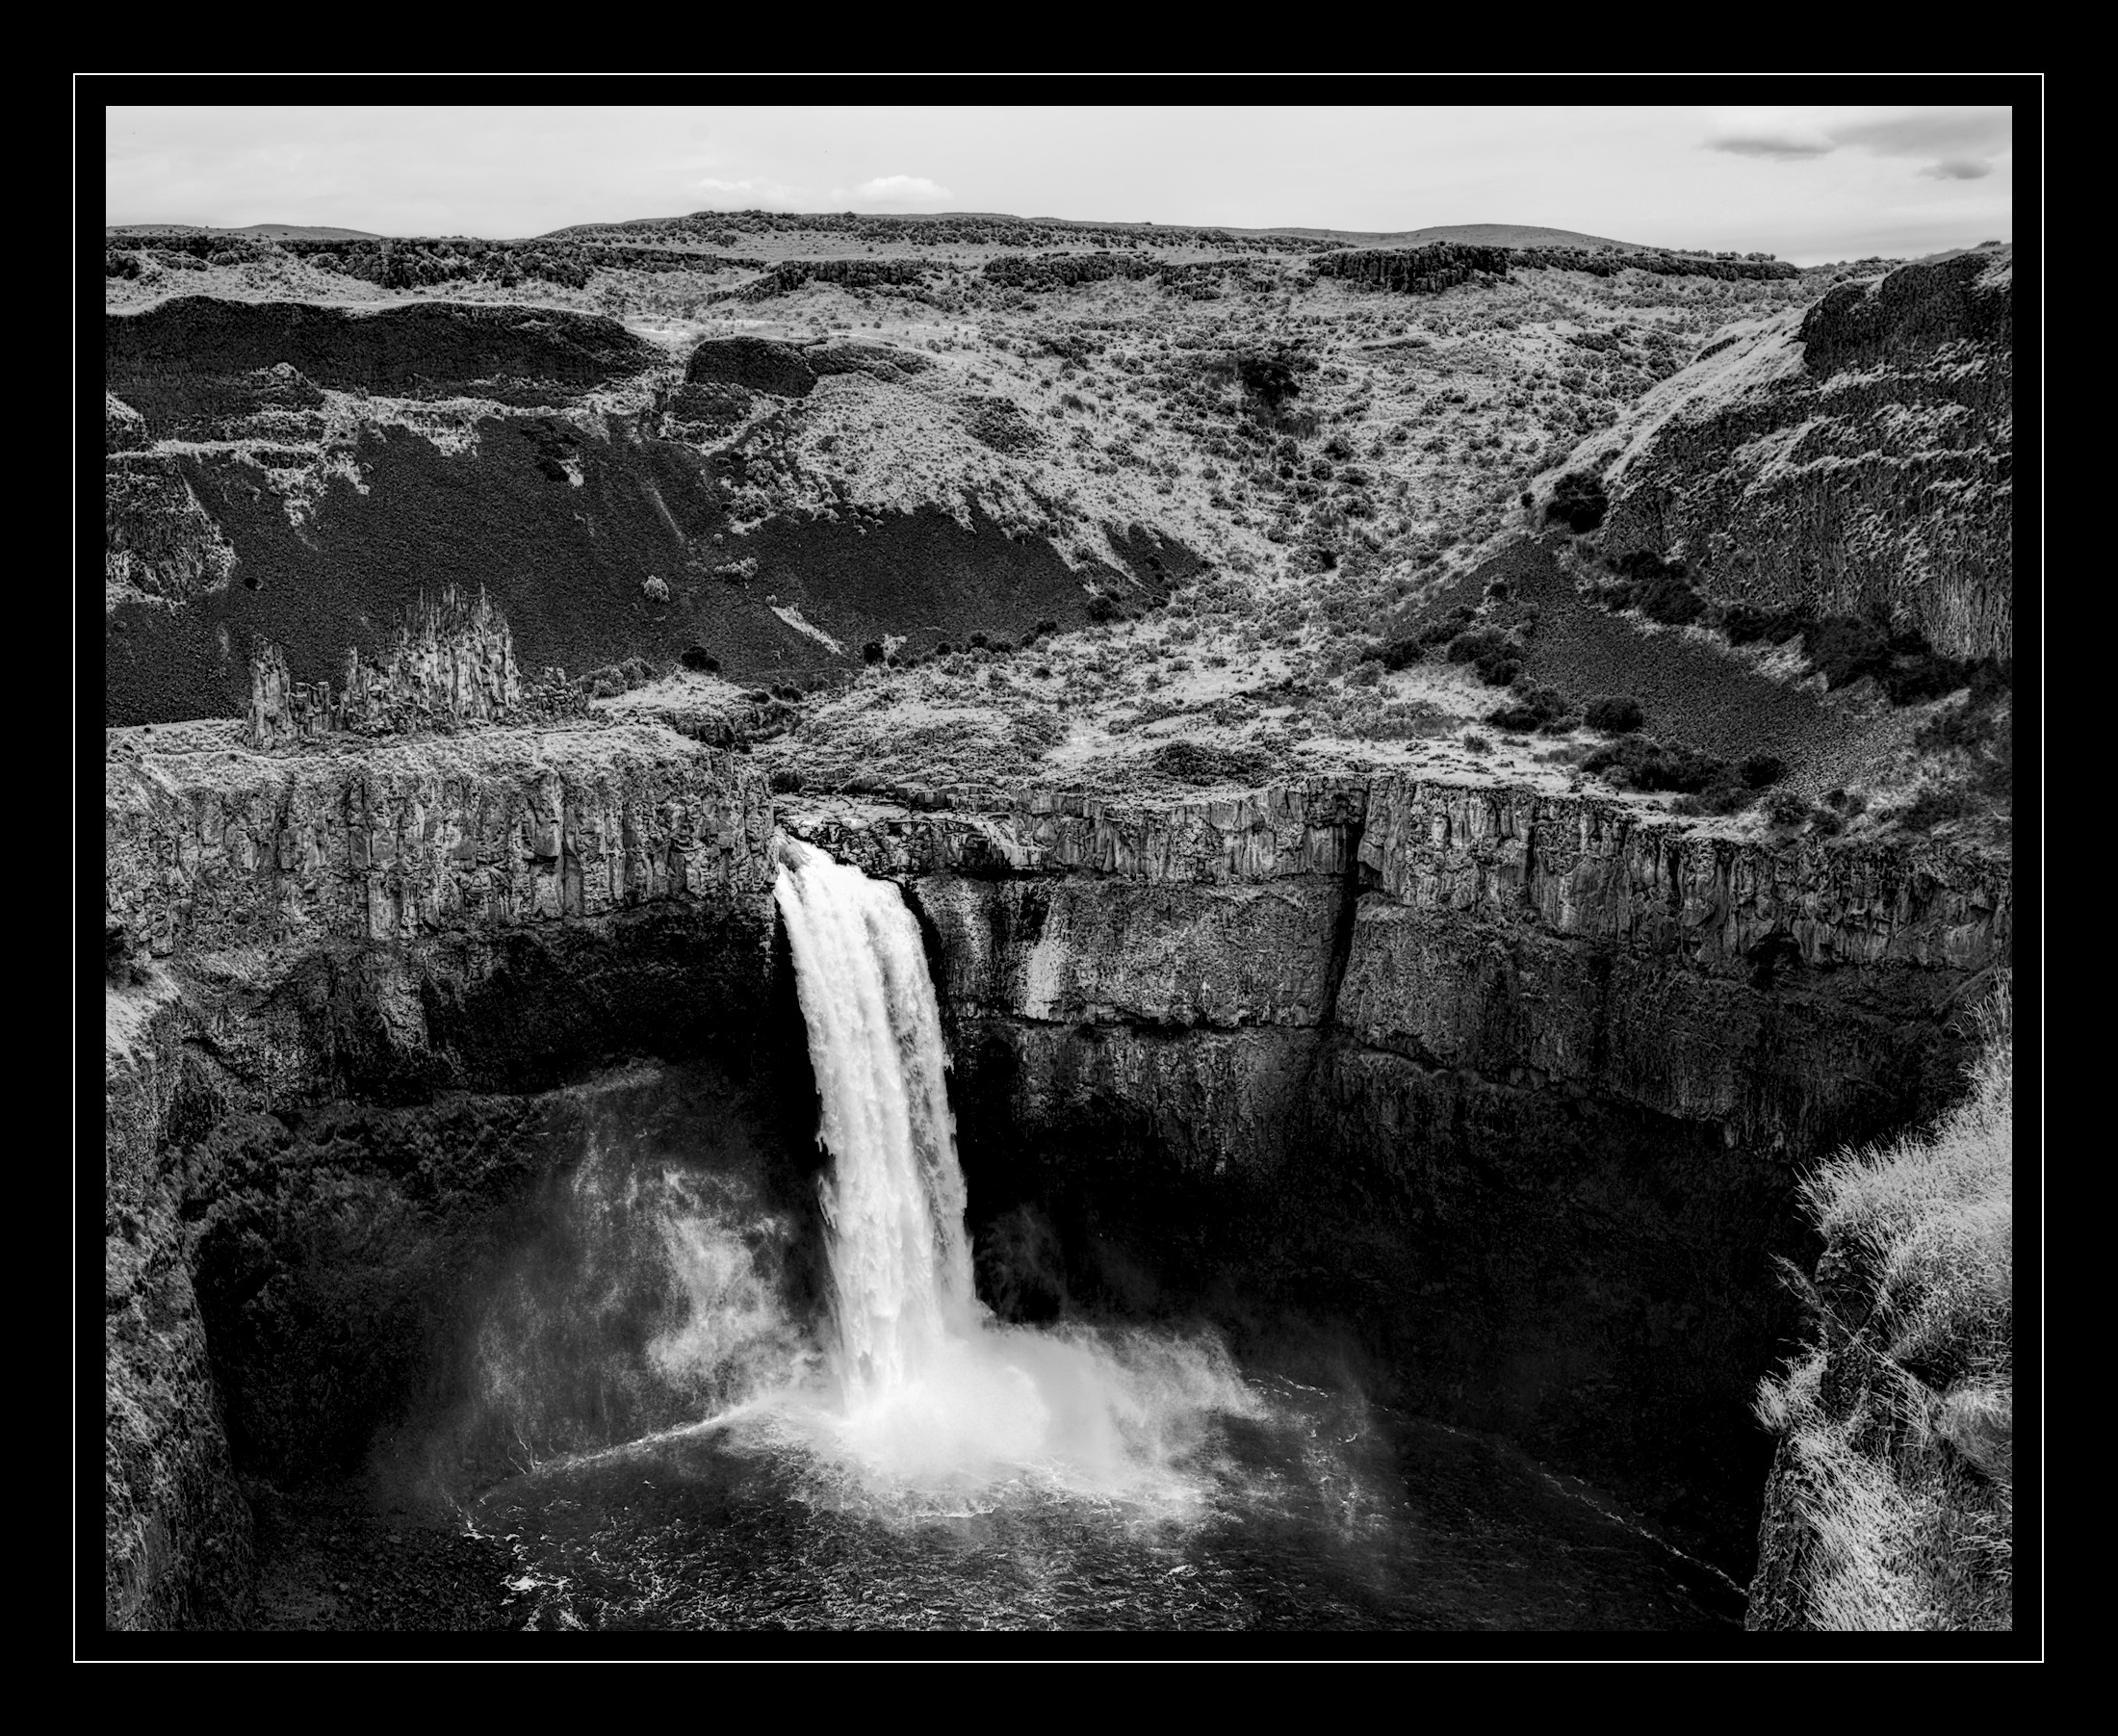
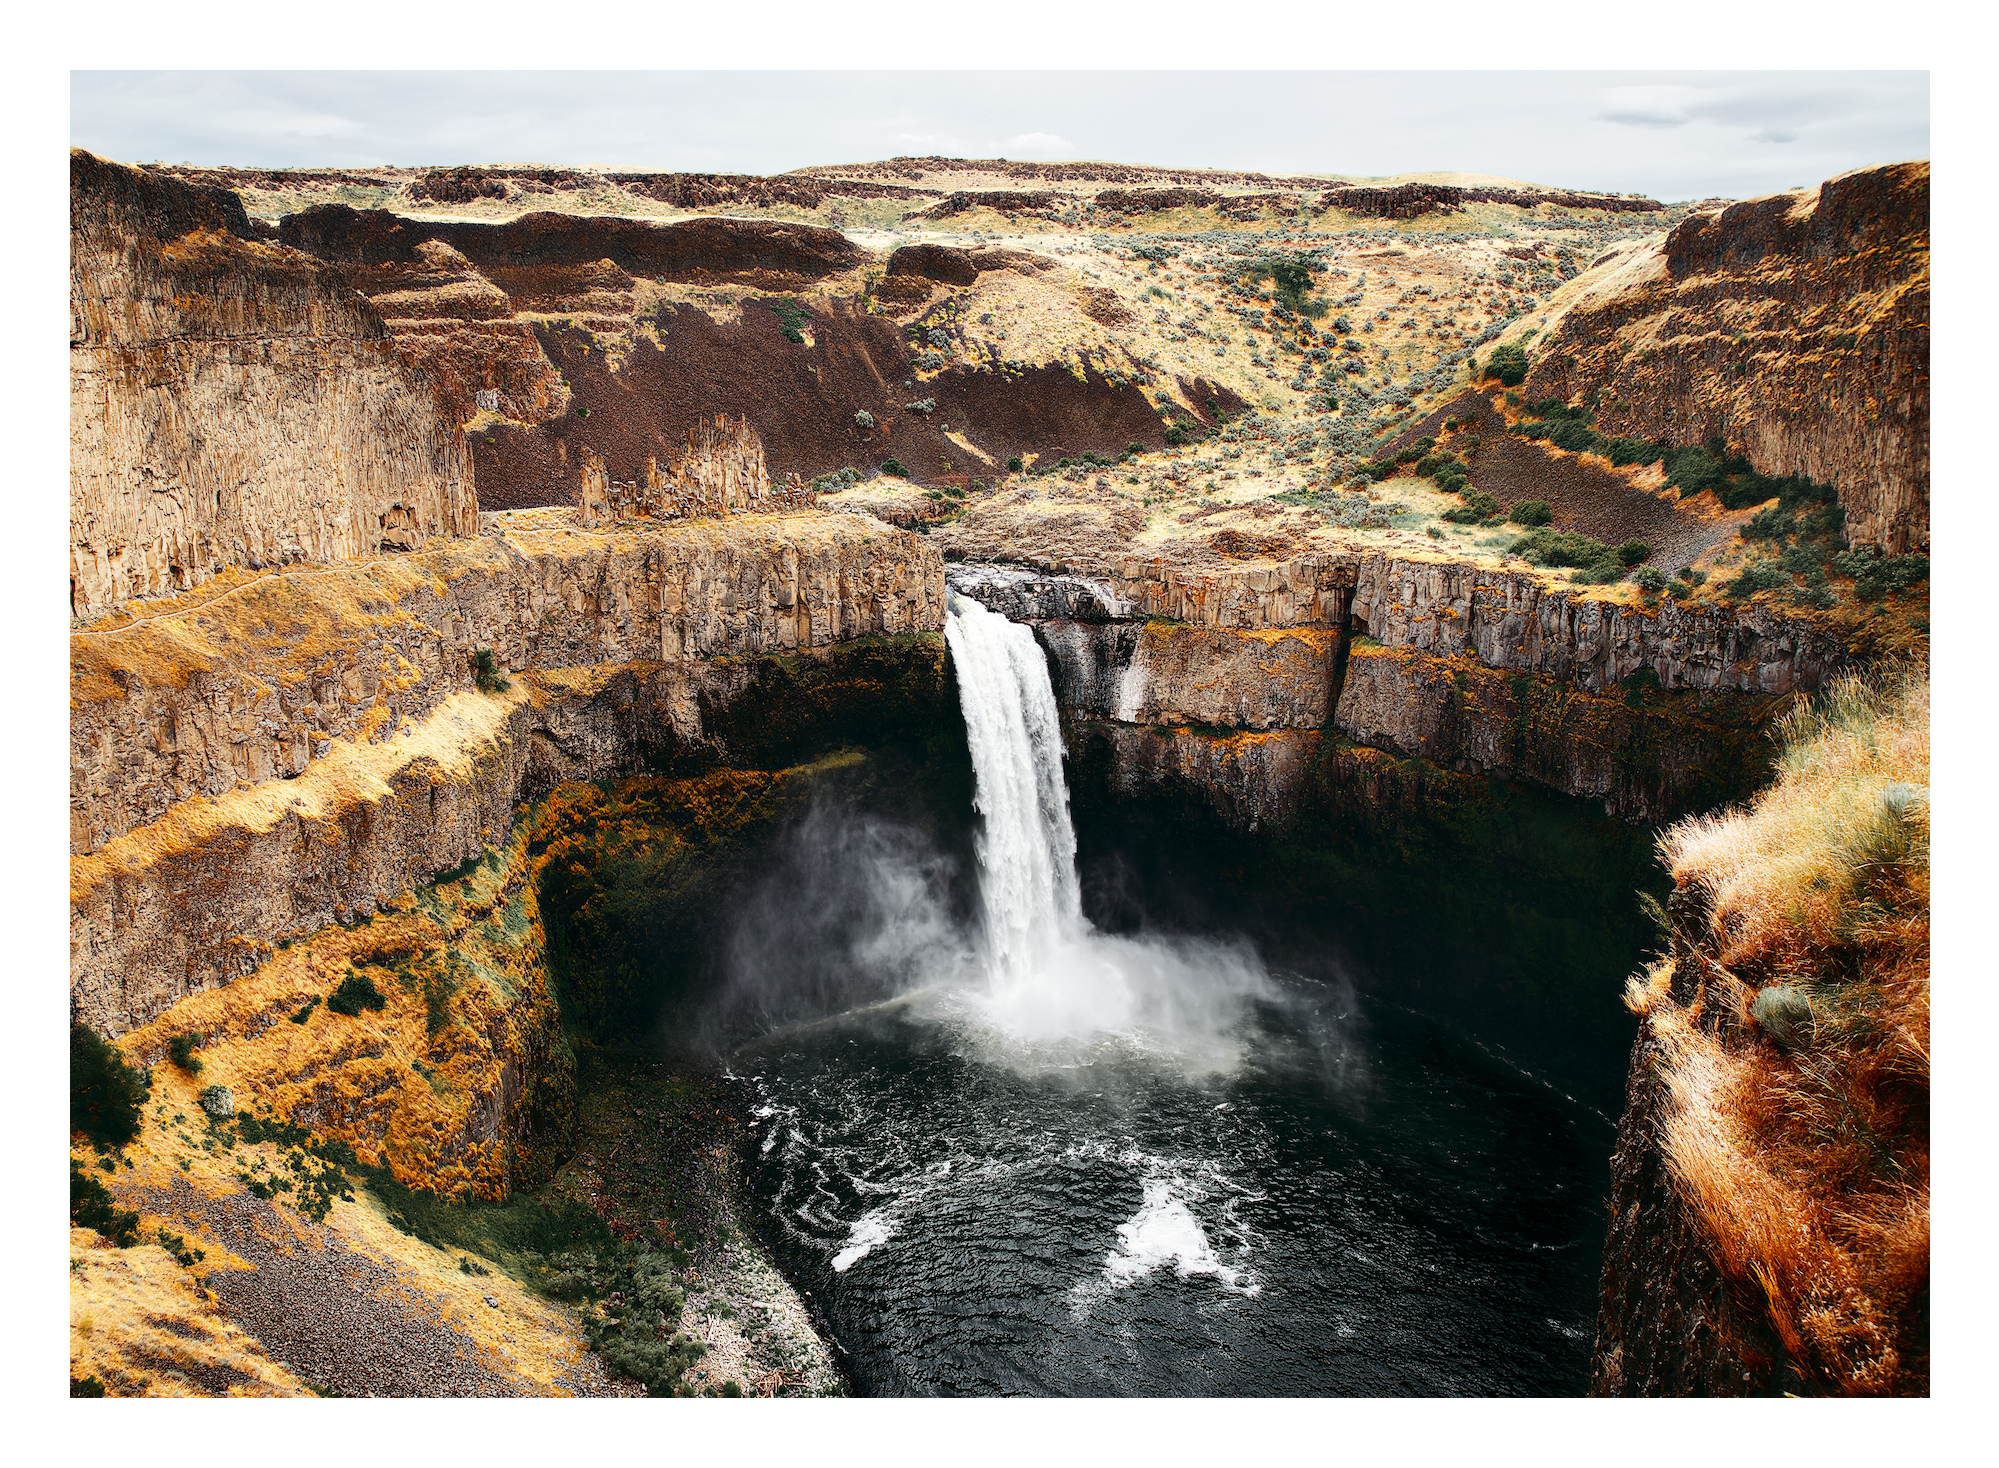
Second variant. Exported the first edit as tif, applied some local filters in RT.
2017-06-15_12-44-33-1.jpg.out.pp3 (21.3 KB)
4 Likes
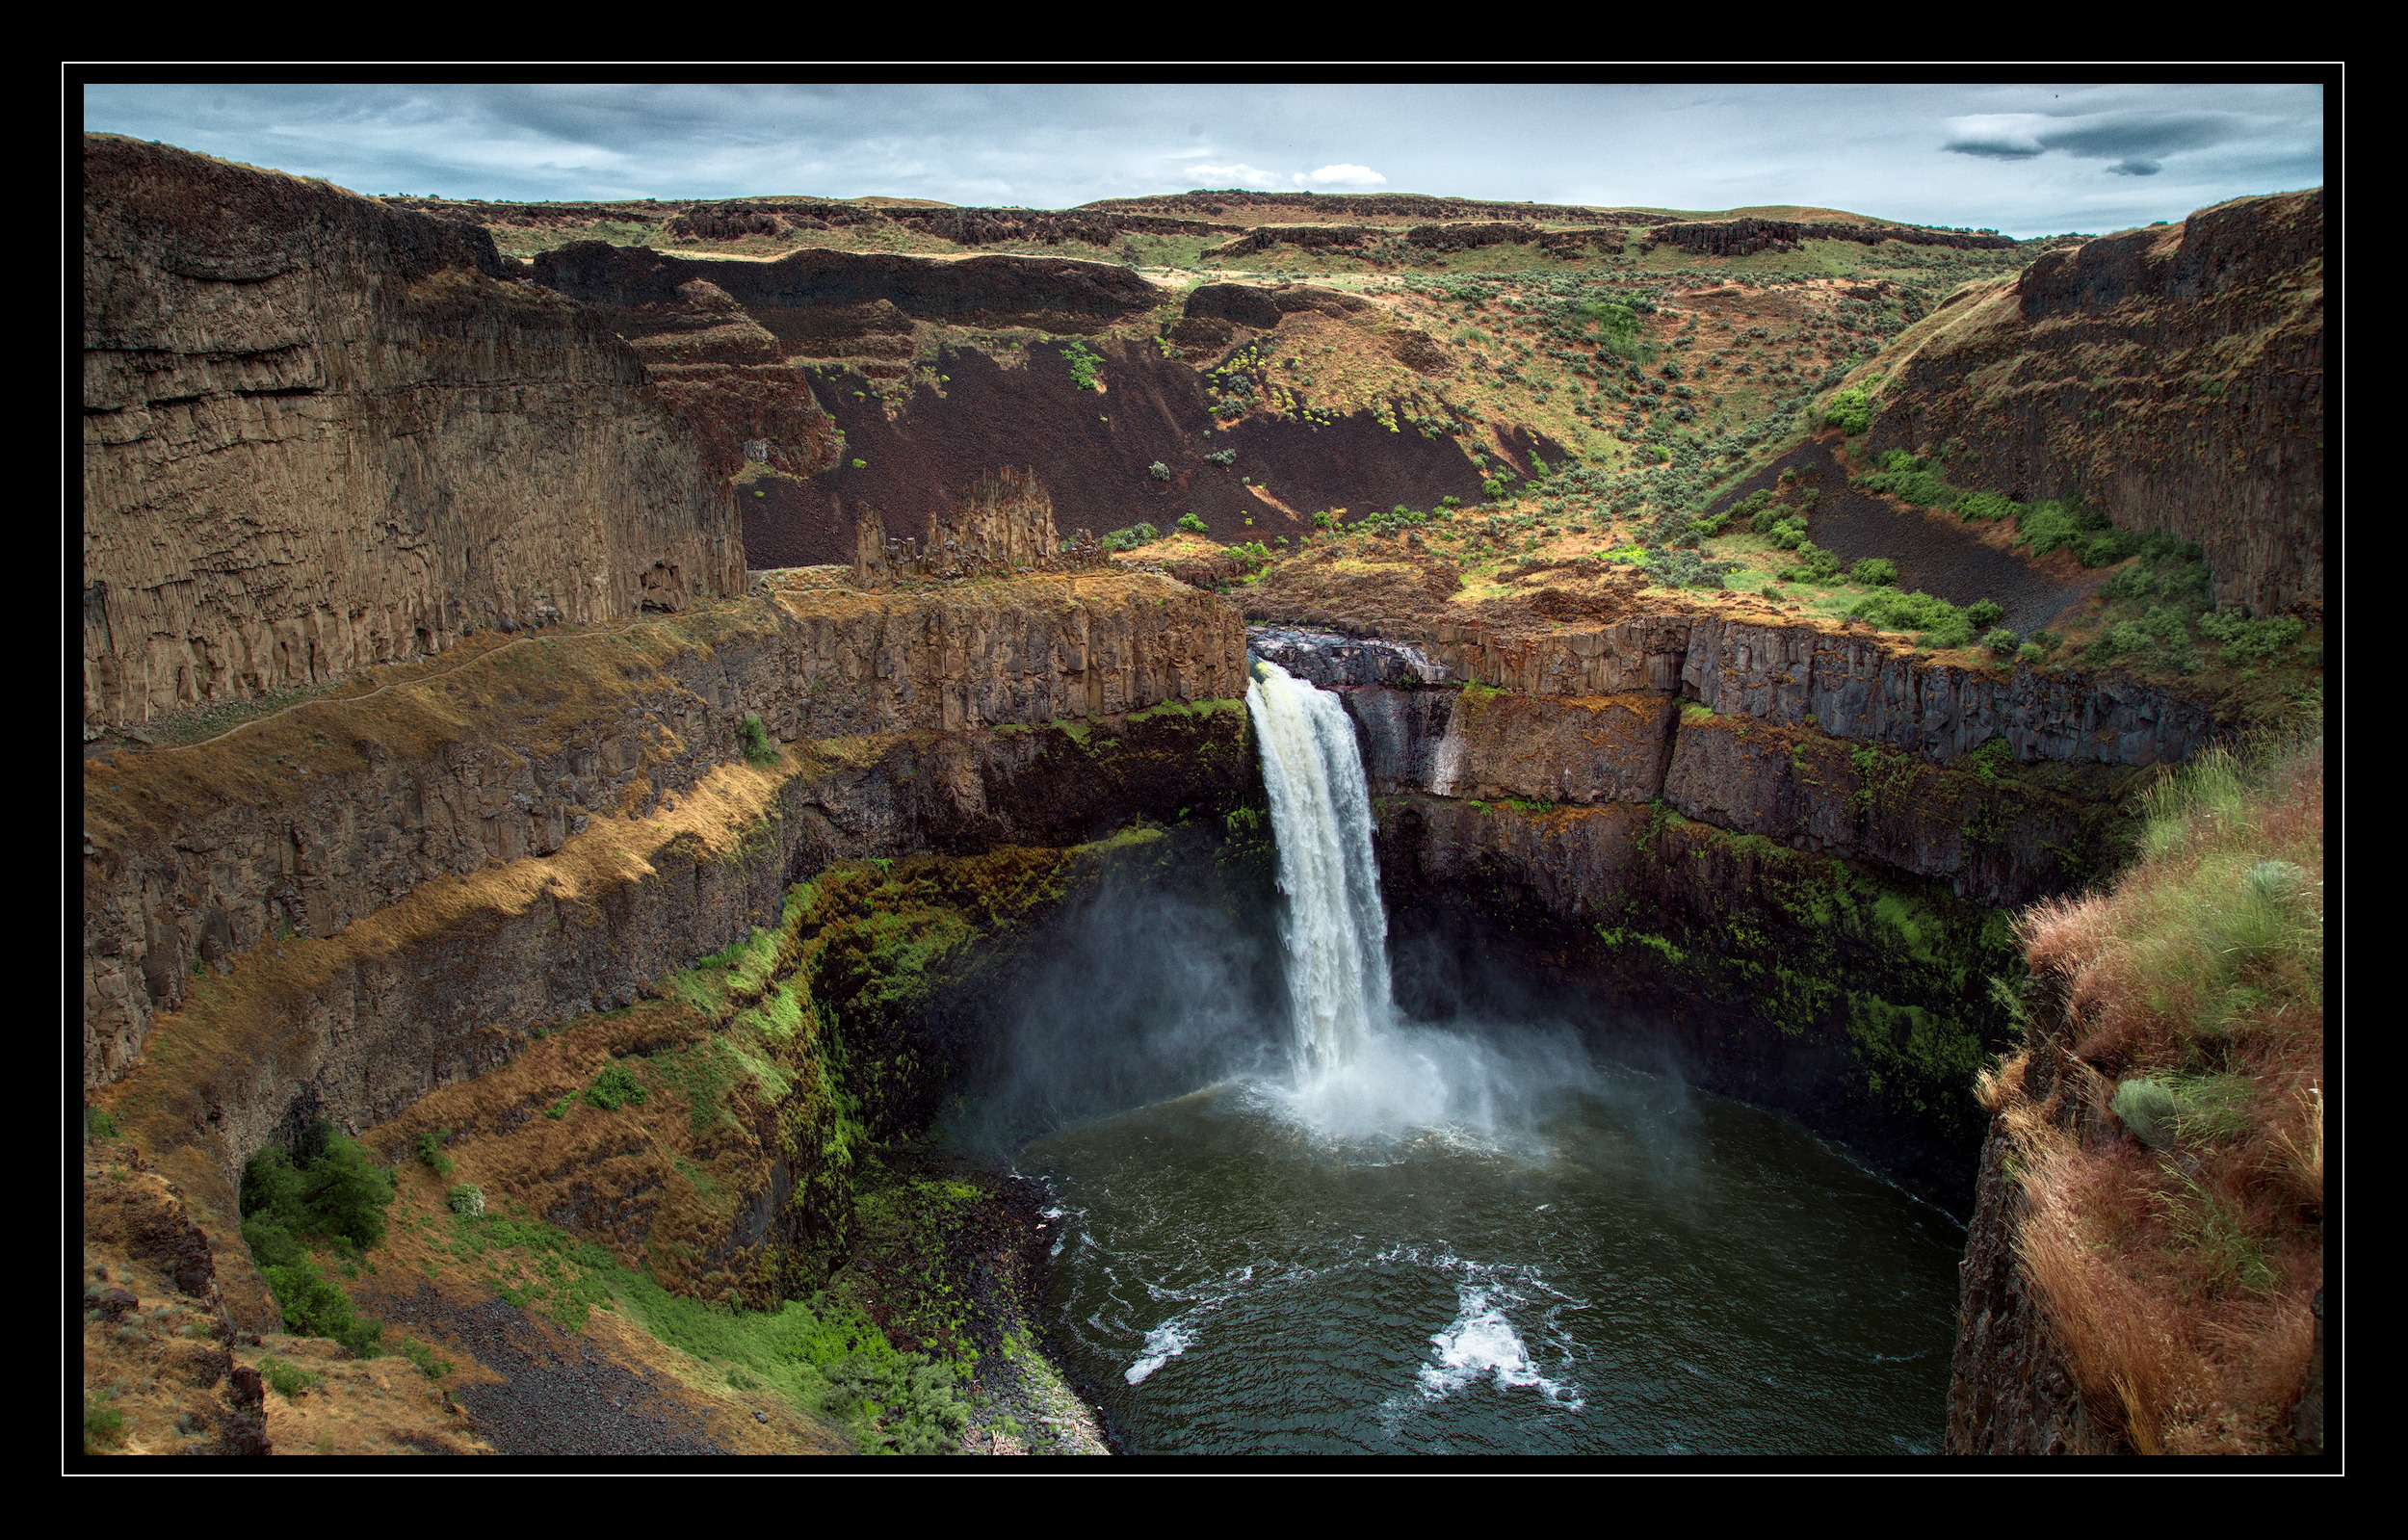
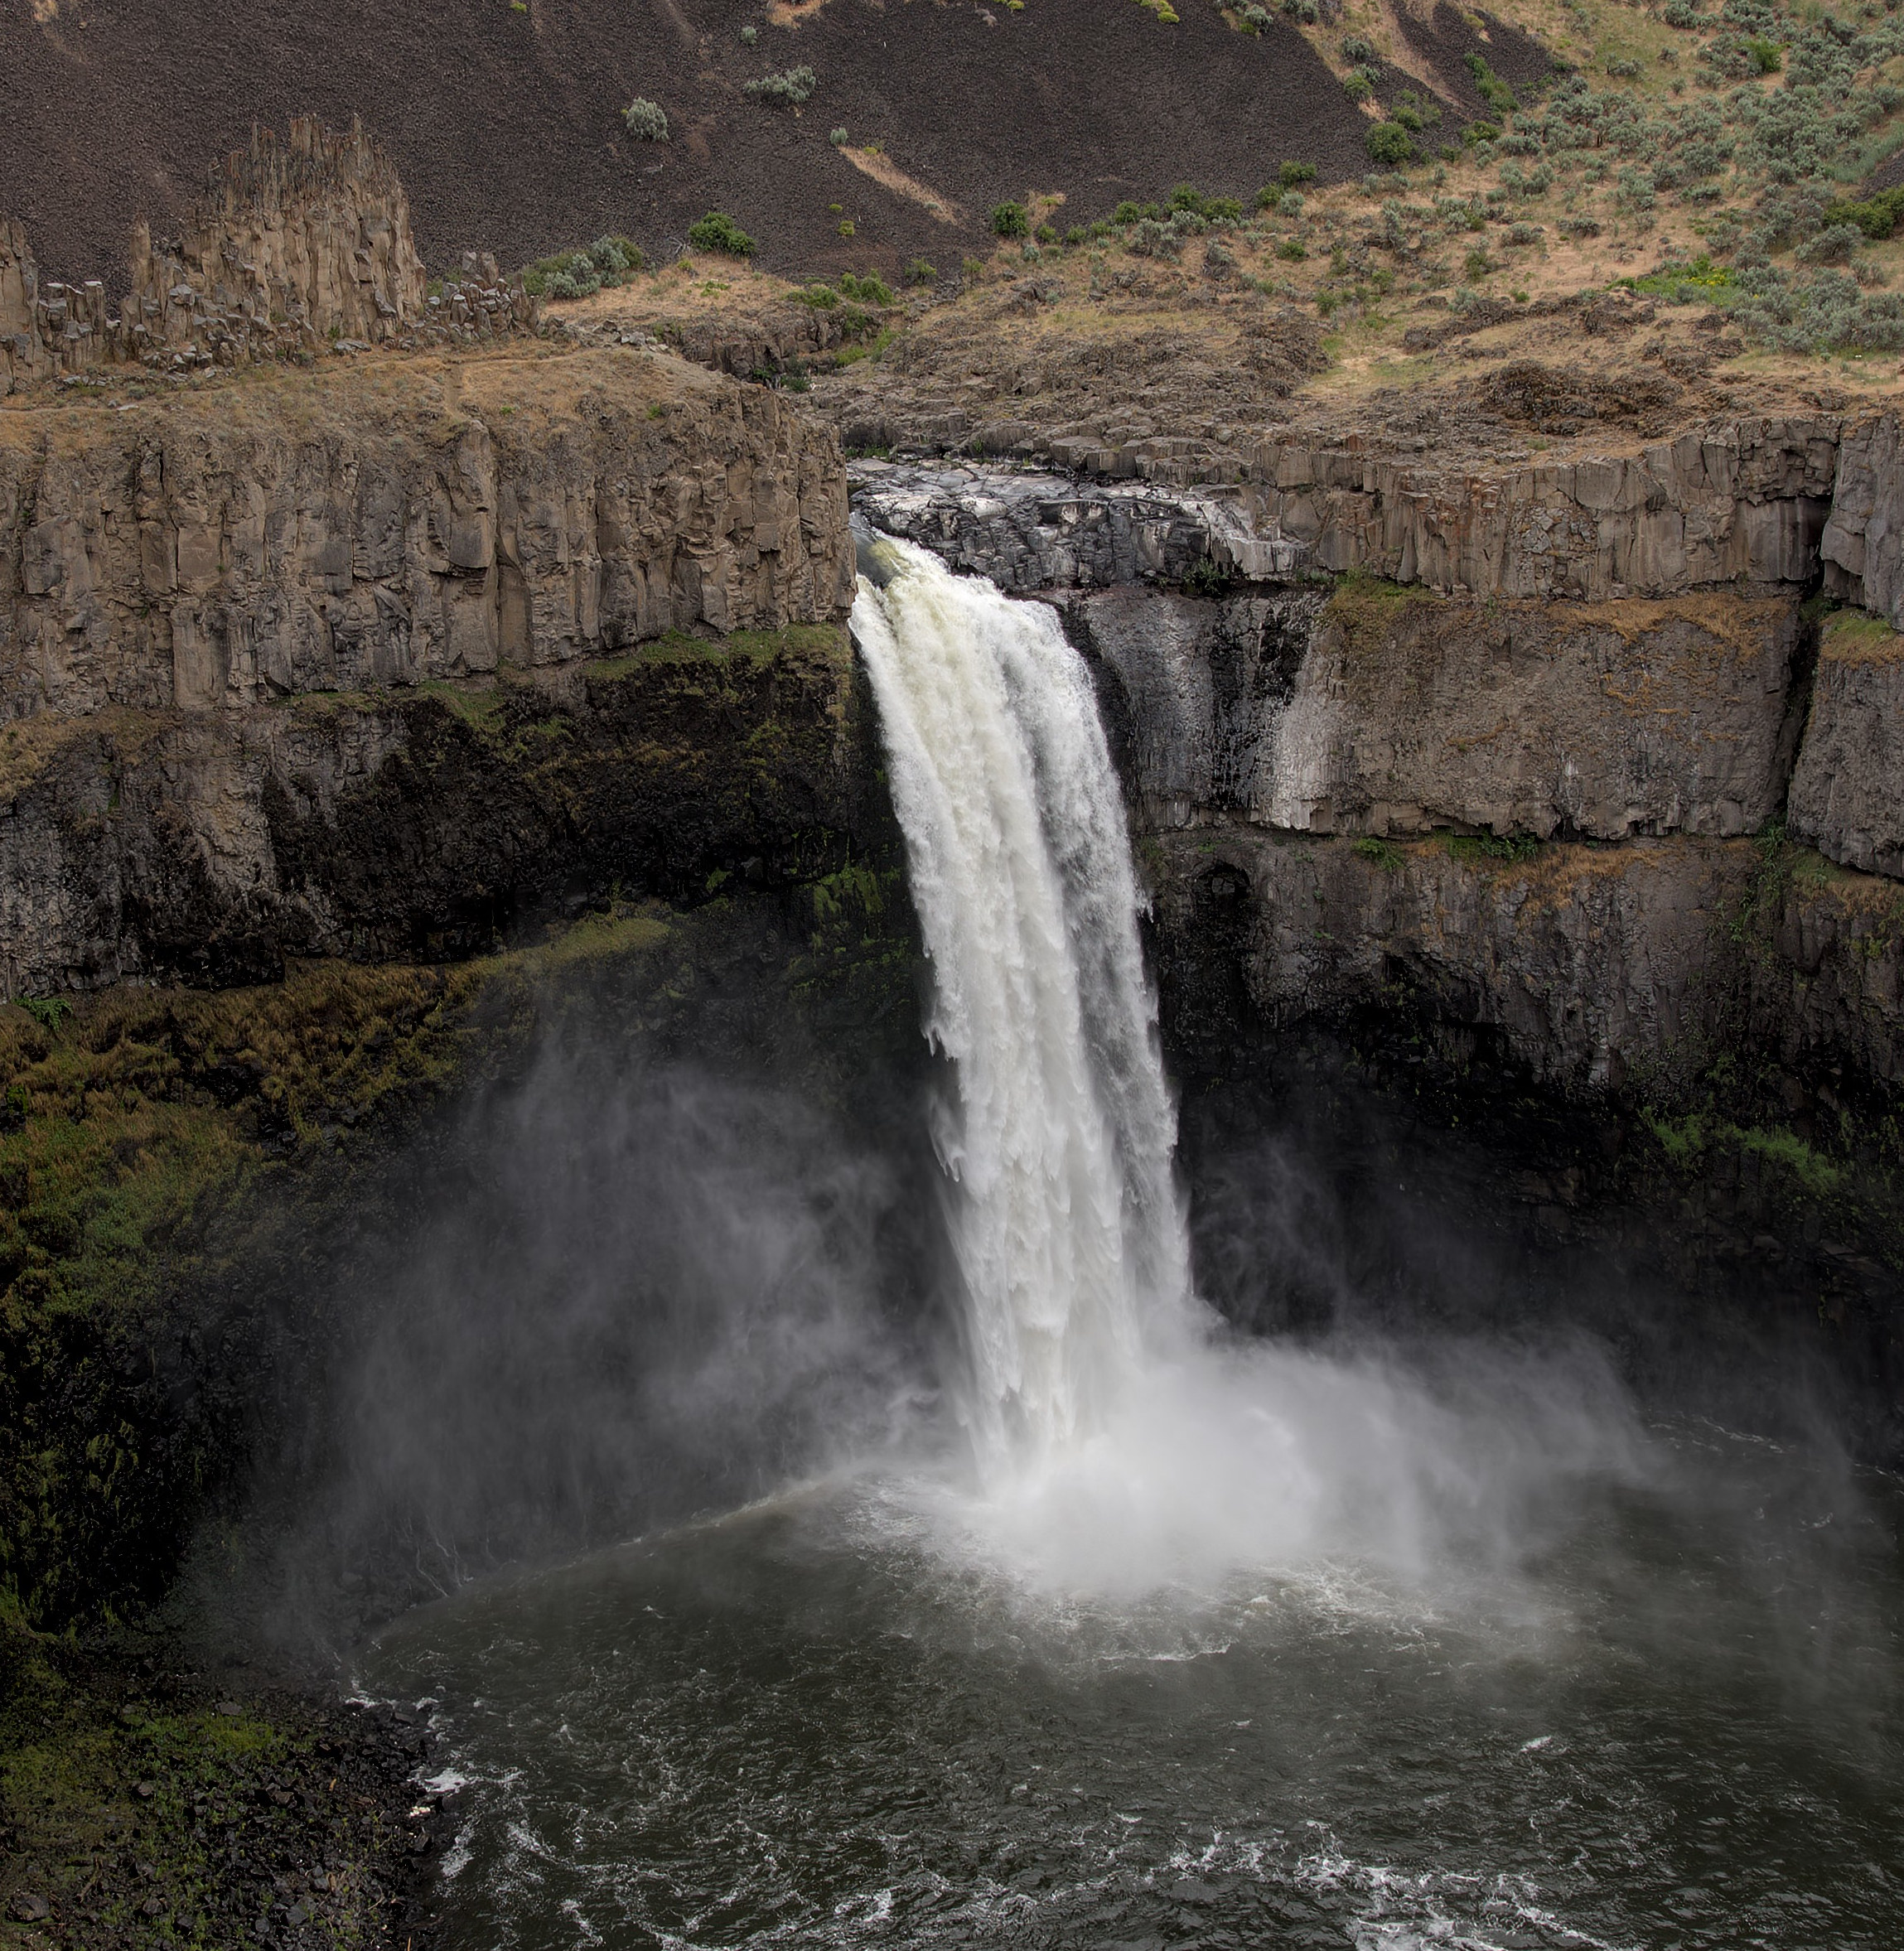
Thanks. I read about it, interesting place. Massive floods during the ice age, and a kayaker rode the waterfall a few years ago…
1 Like
6 Likes
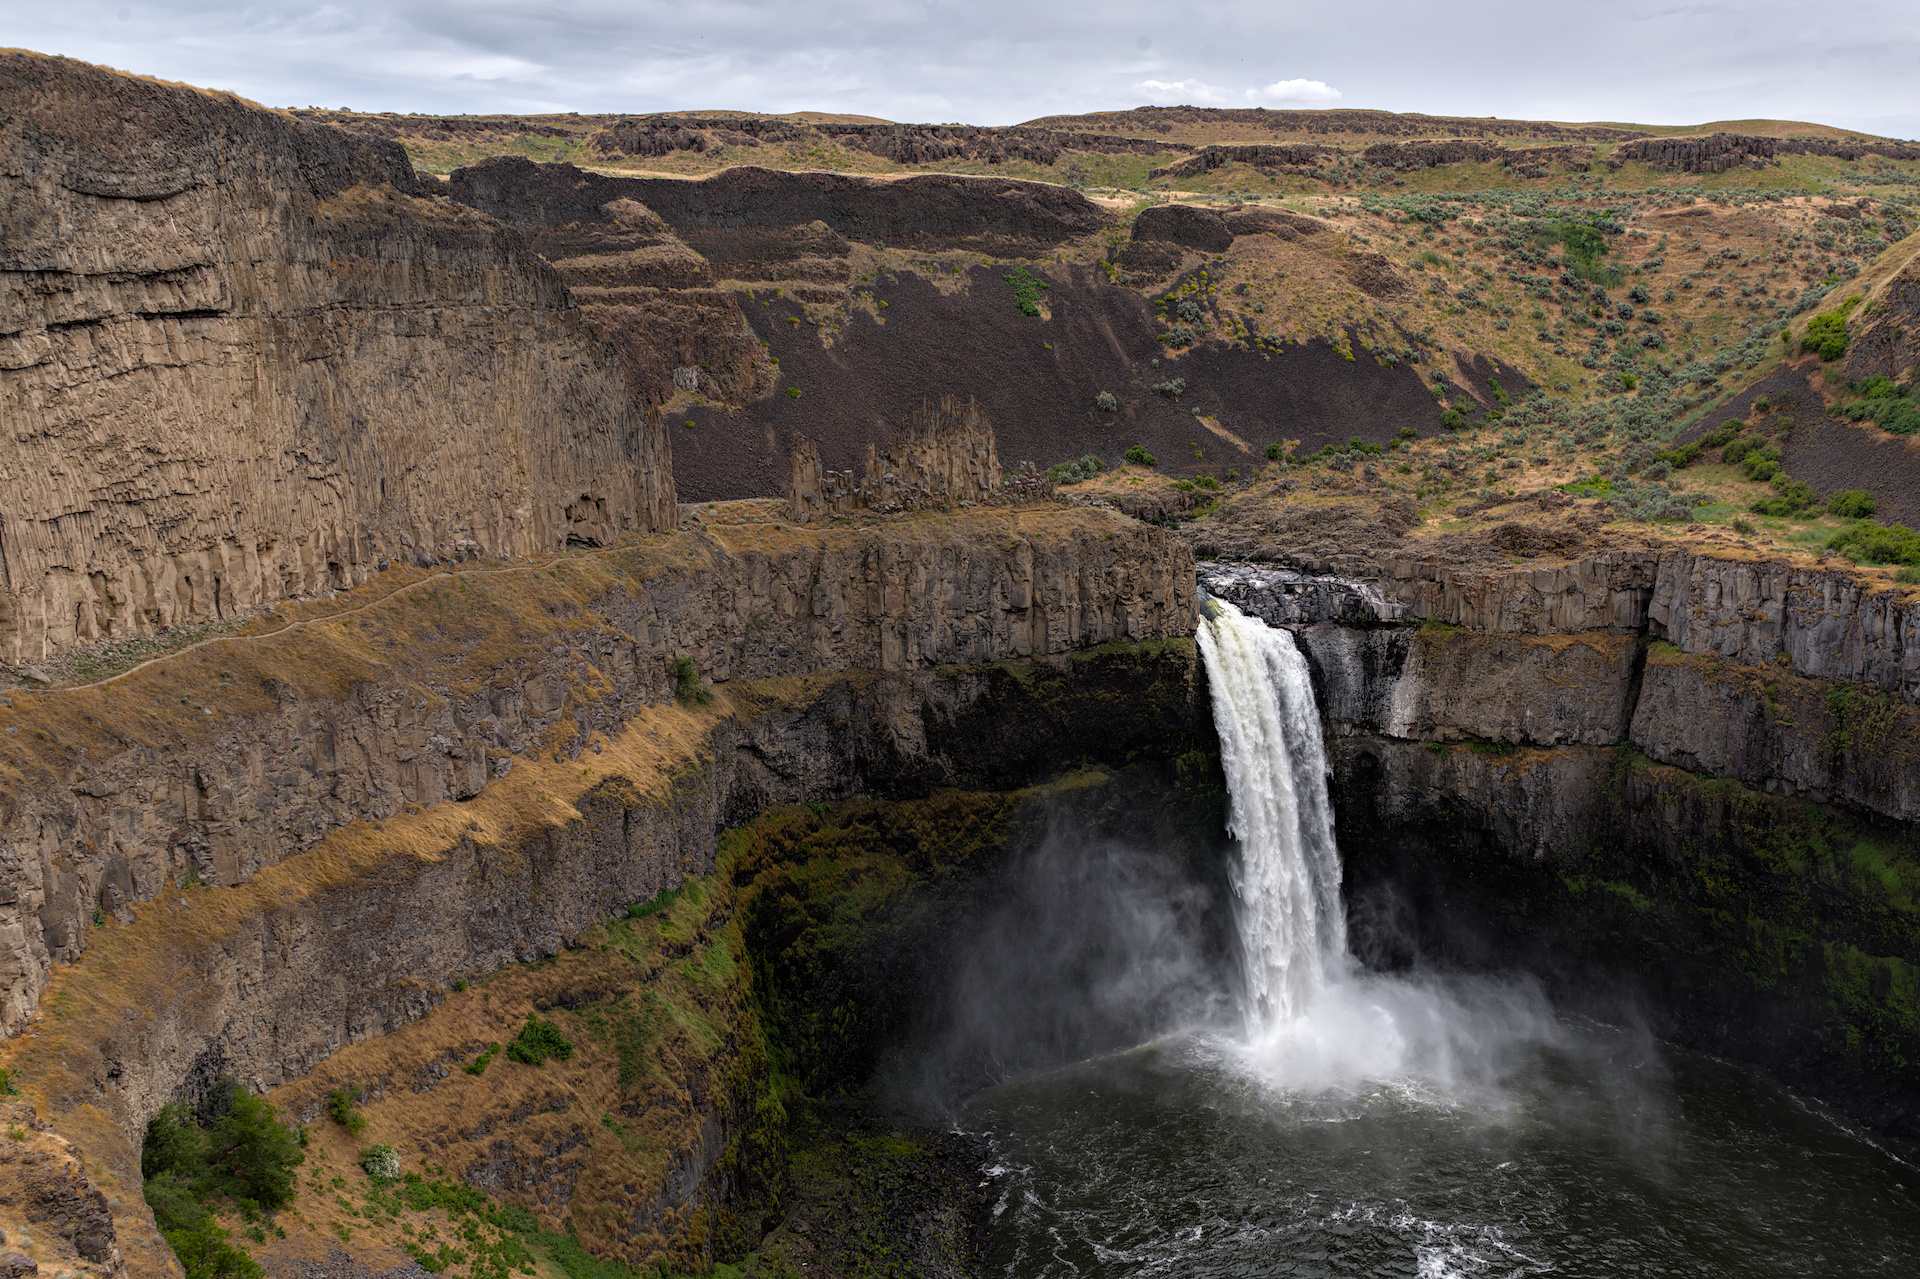
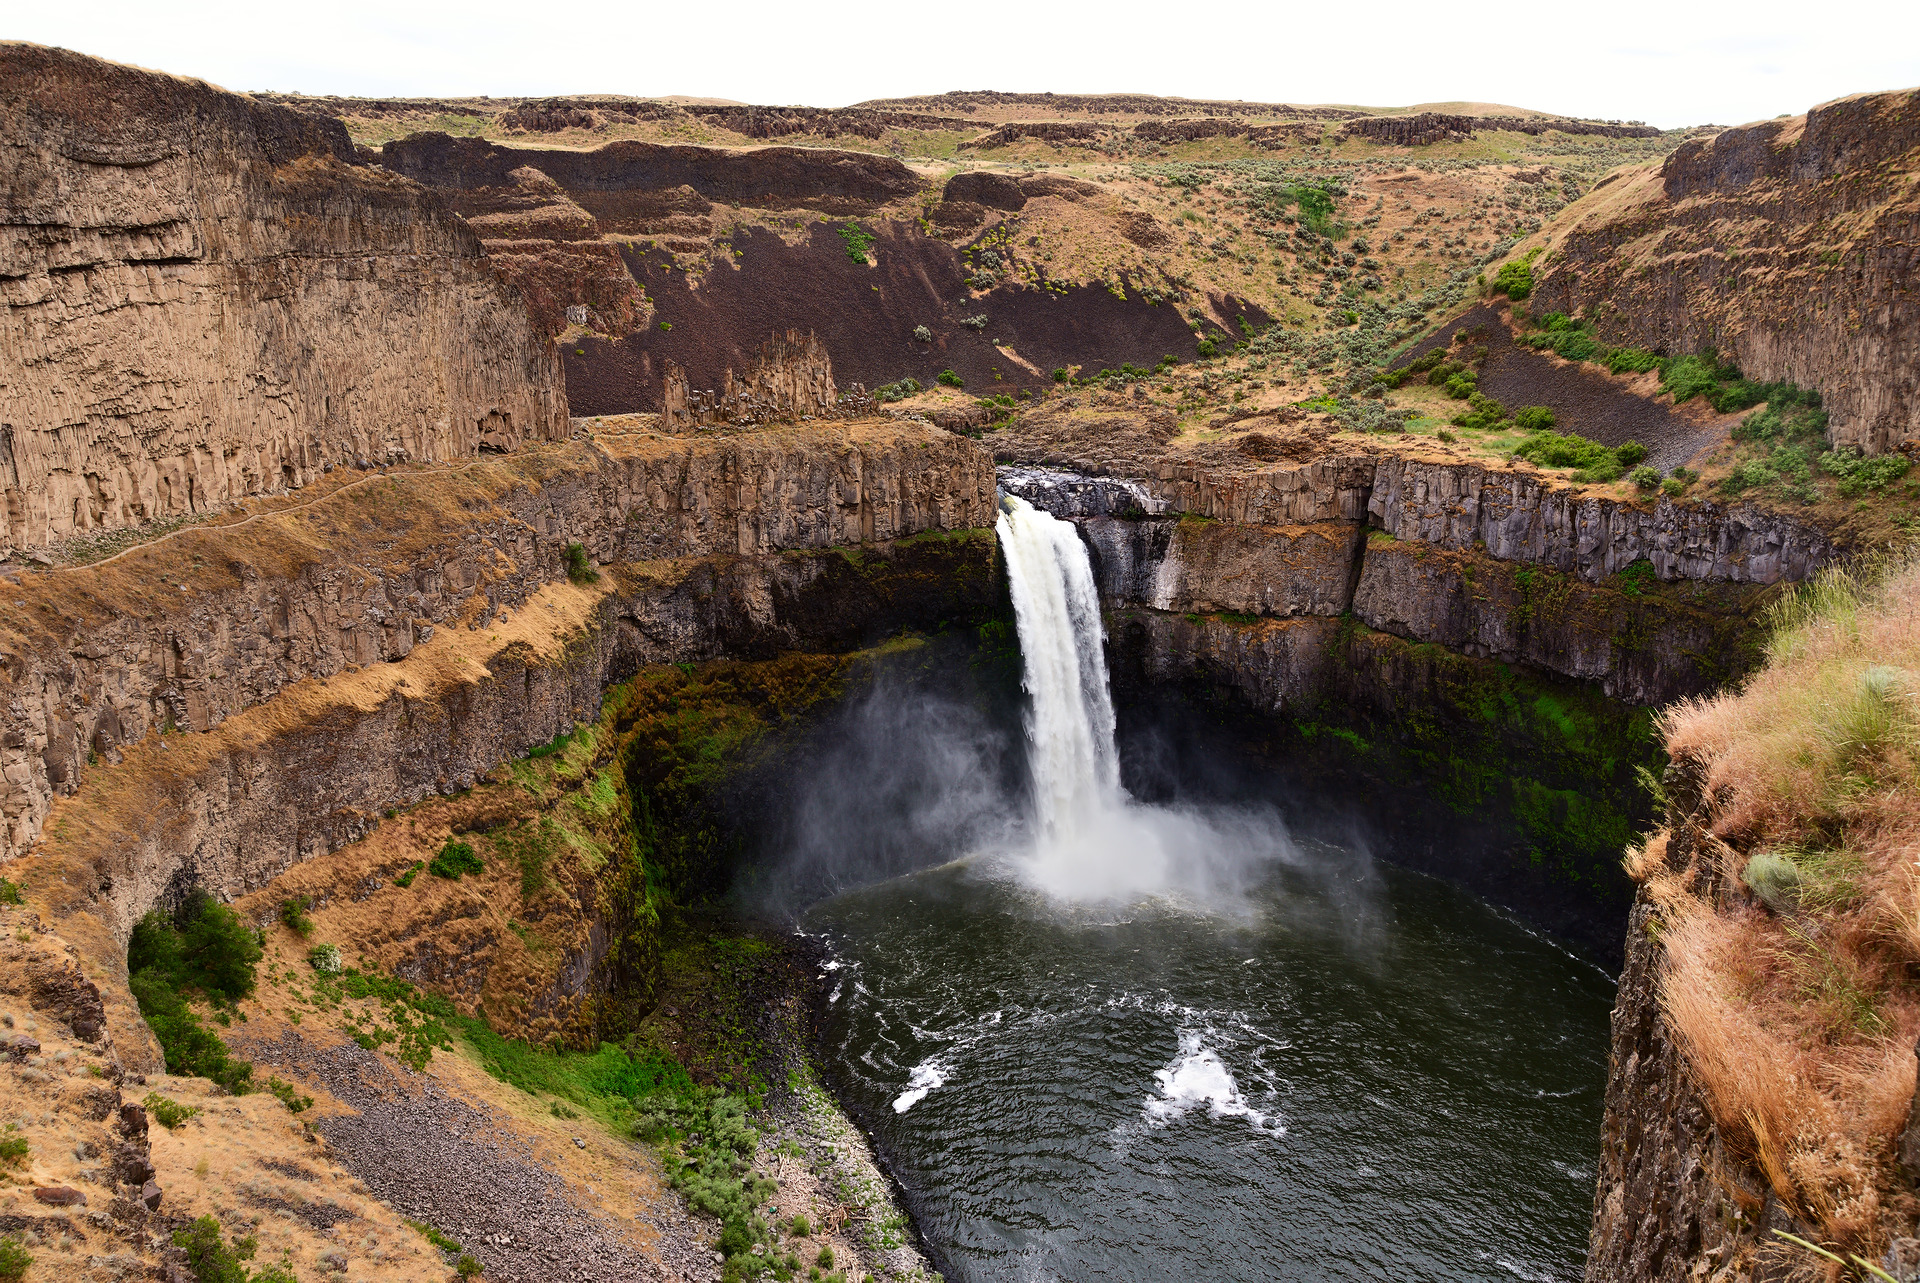
I don’t have an artist in me, I mostly try to make my photos look like how I remember the scene (which is not working for this ![]() ) Given the shot is at f/13, I assumed you wanted to capture the details of the scene, so I tried to make the image as sharp and as natural as possible (20 iterations of RL-deblur as part of my dt-nind-denoise workflow)
) Given the shot is at f/13, I assumed you wanted to capture the details of the scene, so I tried to make the image as sharp and as natural as possible (20 iterations of RL-deblur as part of my dt-nind-denoise workflow)
@mod: sorry for the large file, the image is meant to be explored at zoomed in. Feel free to delete this post as needed.
2017-06-15_12-44-33.NEF.xmp (9.4 KB)
EDIT: updated to a cropped image, apology to mods
3 Likes
I believe you succeeded.
1 Like
If people want to see a large version, they can get your side car. If you want to highlight specific things, then use some 100% crops.
1 Like
Yeah, I was thinking about that, but this is not just pure darktable. It involves using RL-deblur to reconstruct details. Since it’s rather difficult for others to reproduce, might as well just throw the full image in, and let mods deal with it ![]() (sorry, sorry, I’ll try to donate to contribute to the server/storage cost)
(sorry, sorry, I’ll try to donate to contribute to the server/storage cost)
While we are on the topic, just want to mention that I prefer RL-deblur over sharpening, as RL-deblur is actual detail reconstruction, not just making details perceptually/visually sharper. But, noise also get accentuated in that process. Thus, while nind-denoise is not completely accurate in converting noise, it does remove all noise, thus is the perfect companion to RL-deblur.
1 Like
@sillyxone
Is there somewhere a step by step guide for the not so tech-proof people.
I followed your links, but understood just partly what you do.
The results regarding denoising and sharpening are in any case very convincing.
1 Like
I think the biggest part is getting nind-denoise working, my python script doesn’t need anything special (just Python in the terminal and darktable).
See if you can follow the instruction on the nind-denoise page to install its dependencies, then checkout the code from its github repo, and try running it.
Running on CPU-only will be slow, but at least that would be the first successful step. Installing CUDA for nVidia GPU (to speed things up) is another big step, but usually there are tutorials/guides for your distro.
I’ll try to whip up a step-by-step documentation on another thread, to get feedbacks from those willing to be guinea pigs ![]() I’m only familiar with Ubuntu so there’s a limit, hopefully others with expertise will chime in.
I’m only familiar with Ubuntu so there’s a limit, hopefully others with expertise will chime in.
2 Likes
A step by step guide would be indeed very nice.
I’ll have a look if I’ll get nind-denoise running. I probably stop after the first step. I have an AMD GPU.
- We ask for a few specific things
- You don’t follow them
- Nicely we suggest two other things
- You go “nah I will take up mod time on purpose lol”
![]()
Please understand this is annying.
If you want to highlight specific things, use some 100% crops, that will keep the image size down.
1 Like
Sincere apology here, wasn’t sure which part to focus on for the crop, since there was different center and edge sharpness. Anyway, updated the post with a crop (hopefully the full image in history can be cleaned). Will try not to do it again.
1 Like
I cleaned up the Python script a bit to be more generic, made some dependencies optional, and put up a rough documentation:
1 Like
Thank You, I will give it a try on the weekend.