This is how I usually use tone equalizer. Note that this is the complete editing history of a recent image of mine:

Until #11, it’s the workflow defaults, including filmic. I automatically apply lens correction via a preset, that’s #12, and my starting point.
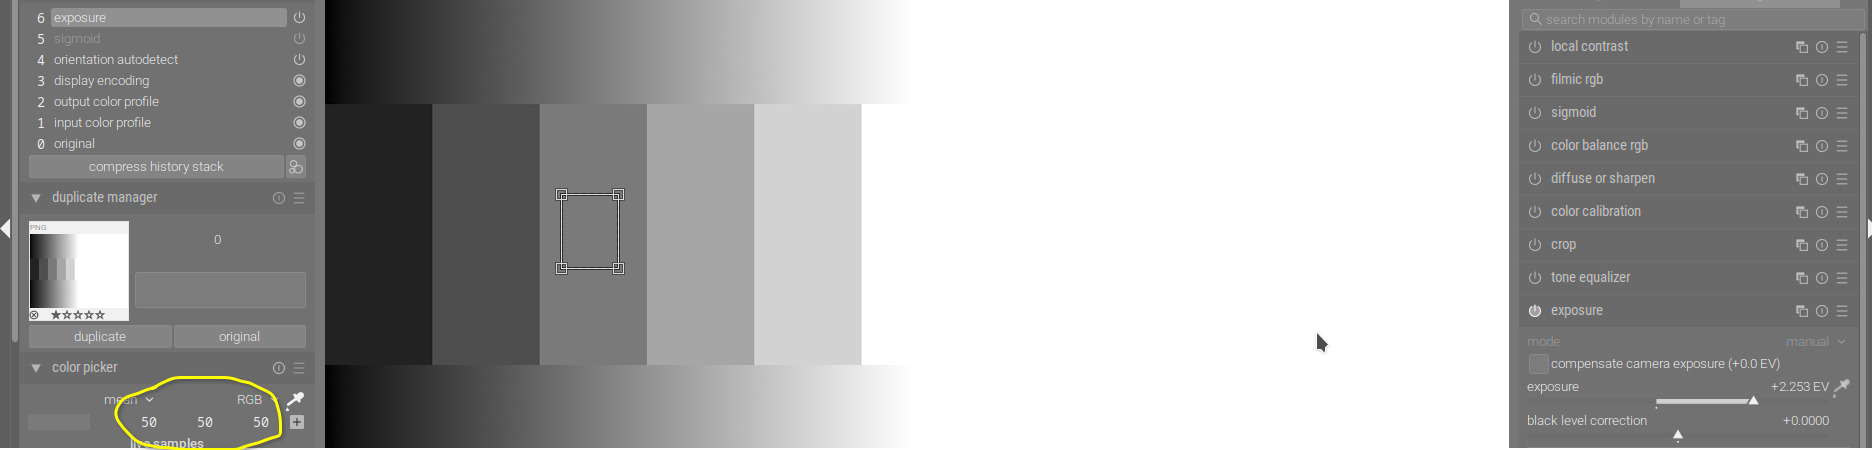
I was reasonably happy with the exposure, but found that there were no details in the dark parts, that’s why I turned on tone equalizer to bring back some detail there.
I then turned on denoise (profiled) and adjusted rotate and perspective.

I then adjusted filmic, but probably did not like the outcome, as I backed out the change; however, the entry is still there in the history. I then tweaked tone eq again:

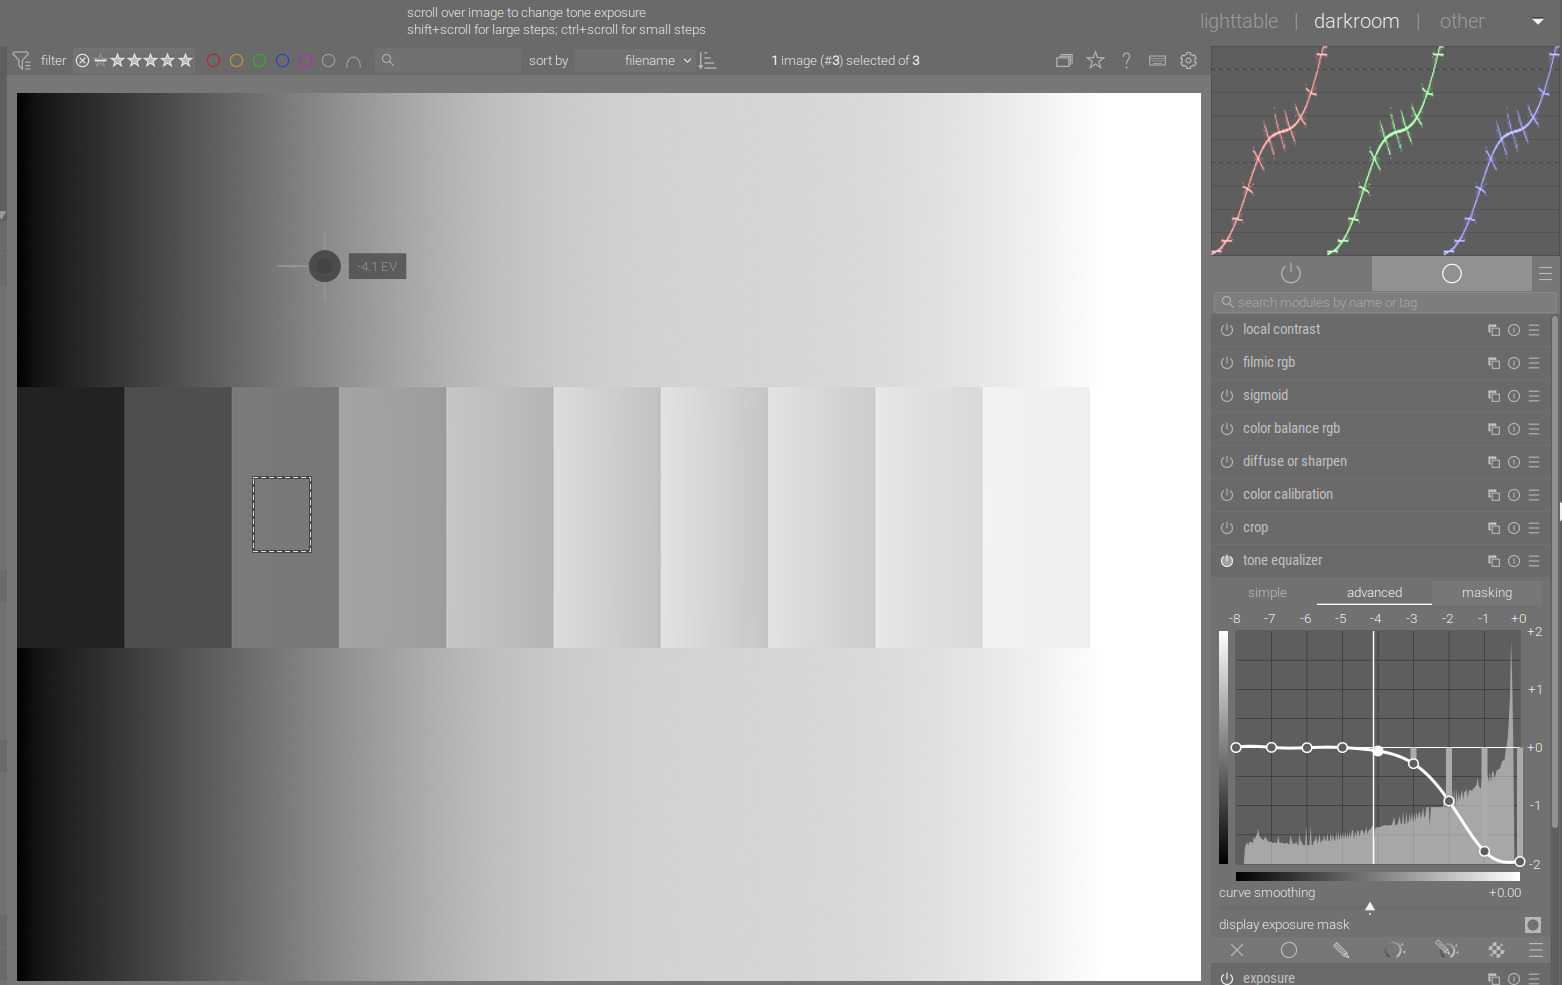
A comparison of the middle part between #15 and #17:

I then auto-tuned filmic in #18 (something I always try), but it produced artefacts, which I did not realise until later:

Then I cropped the image, and tried how it’d look with sigmoid.

In 23-24, I turned off sigmoid and turned filmic back on. That was when I noticed the artefact, so in #25 I lowered the white point in filmic (there were no details in the lamp to preserve, so I could just let it be my white point).

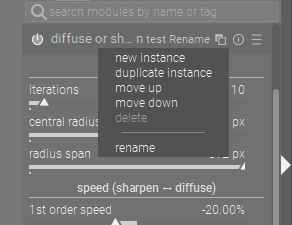
#26 - 29 were a back-and-forth between sigmoid and filmic, until I remembered we had a snapshot feature. ![]()
#30 was local contrast with the defaults, which basically finished the edit.
In #31 I enabled color balance rgb with the basic colorfulness: vibrant colors preset, but then decided against it and turned it off.
I don’t know what I did in #32 with color calibration. There seems to be no change.
In #33 I added another color calibration instance to try a few BW conversions, but then decided it was a festival of colourful lights, so I should keep the colours. Plus, I’m afraid of doing ‘art with a capital F’, as my English teacher once said.
Then I noticed a distracting bright spot on the left and cropped it out.